Southern Sierra High Route
↓
Aug 22, 2018
Quick Links
Trail Overview
This is an off trail route that parallels the JMT/PCT through the southern section of the Sierra Nevada including Center Basin, Wright Lakes Basin, the Mt. Whitney Zone, and Miter Basin. The route starts at Bishop Pass Trailhead and ends at the Cottonwood Lakes Trailhead. Adventure Alan created this route as an addition to Steve Roper’s original Sierra High Route. Alan Dixon has a ton of information on his website to help guide any hiker excited to walk the Southern Sierra High Route. Just as with the Sierra High Route – this hike requires dialed navigation skills as well as previous experience in the backcountry with off trail travel. In contrast to some other routes highlighted on our site, this route stays on more established trails for longer sections.
Experience
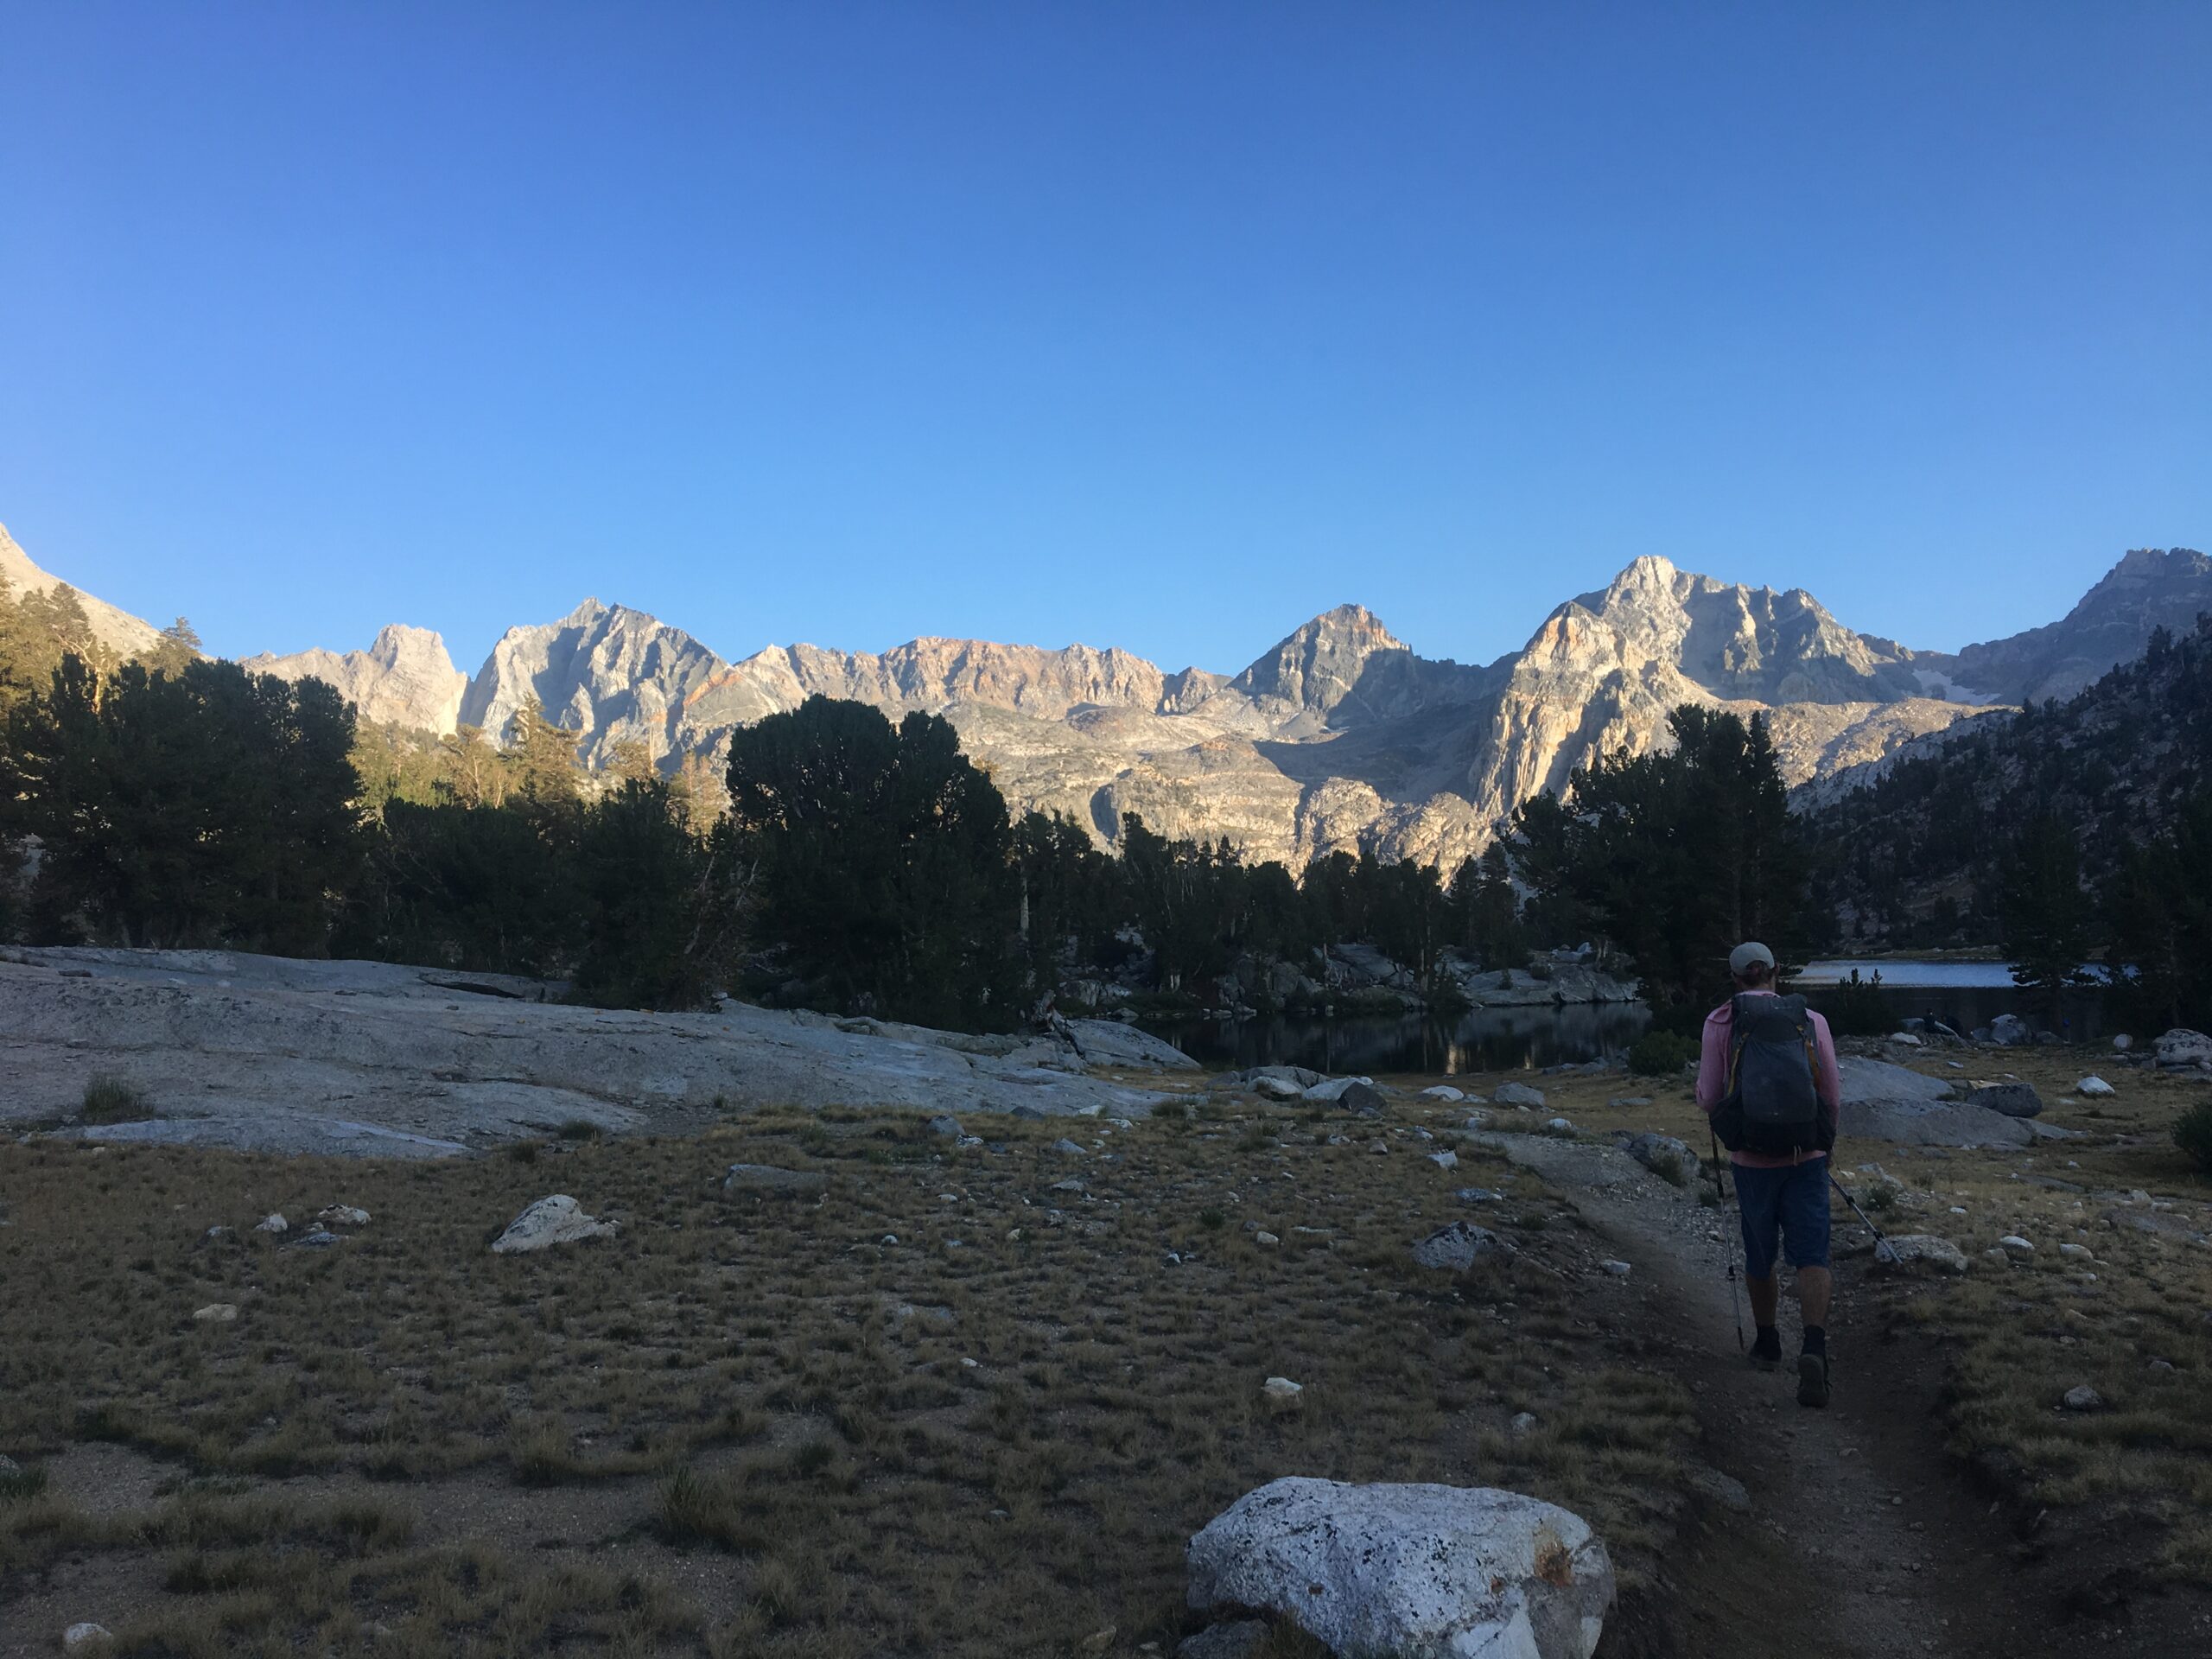
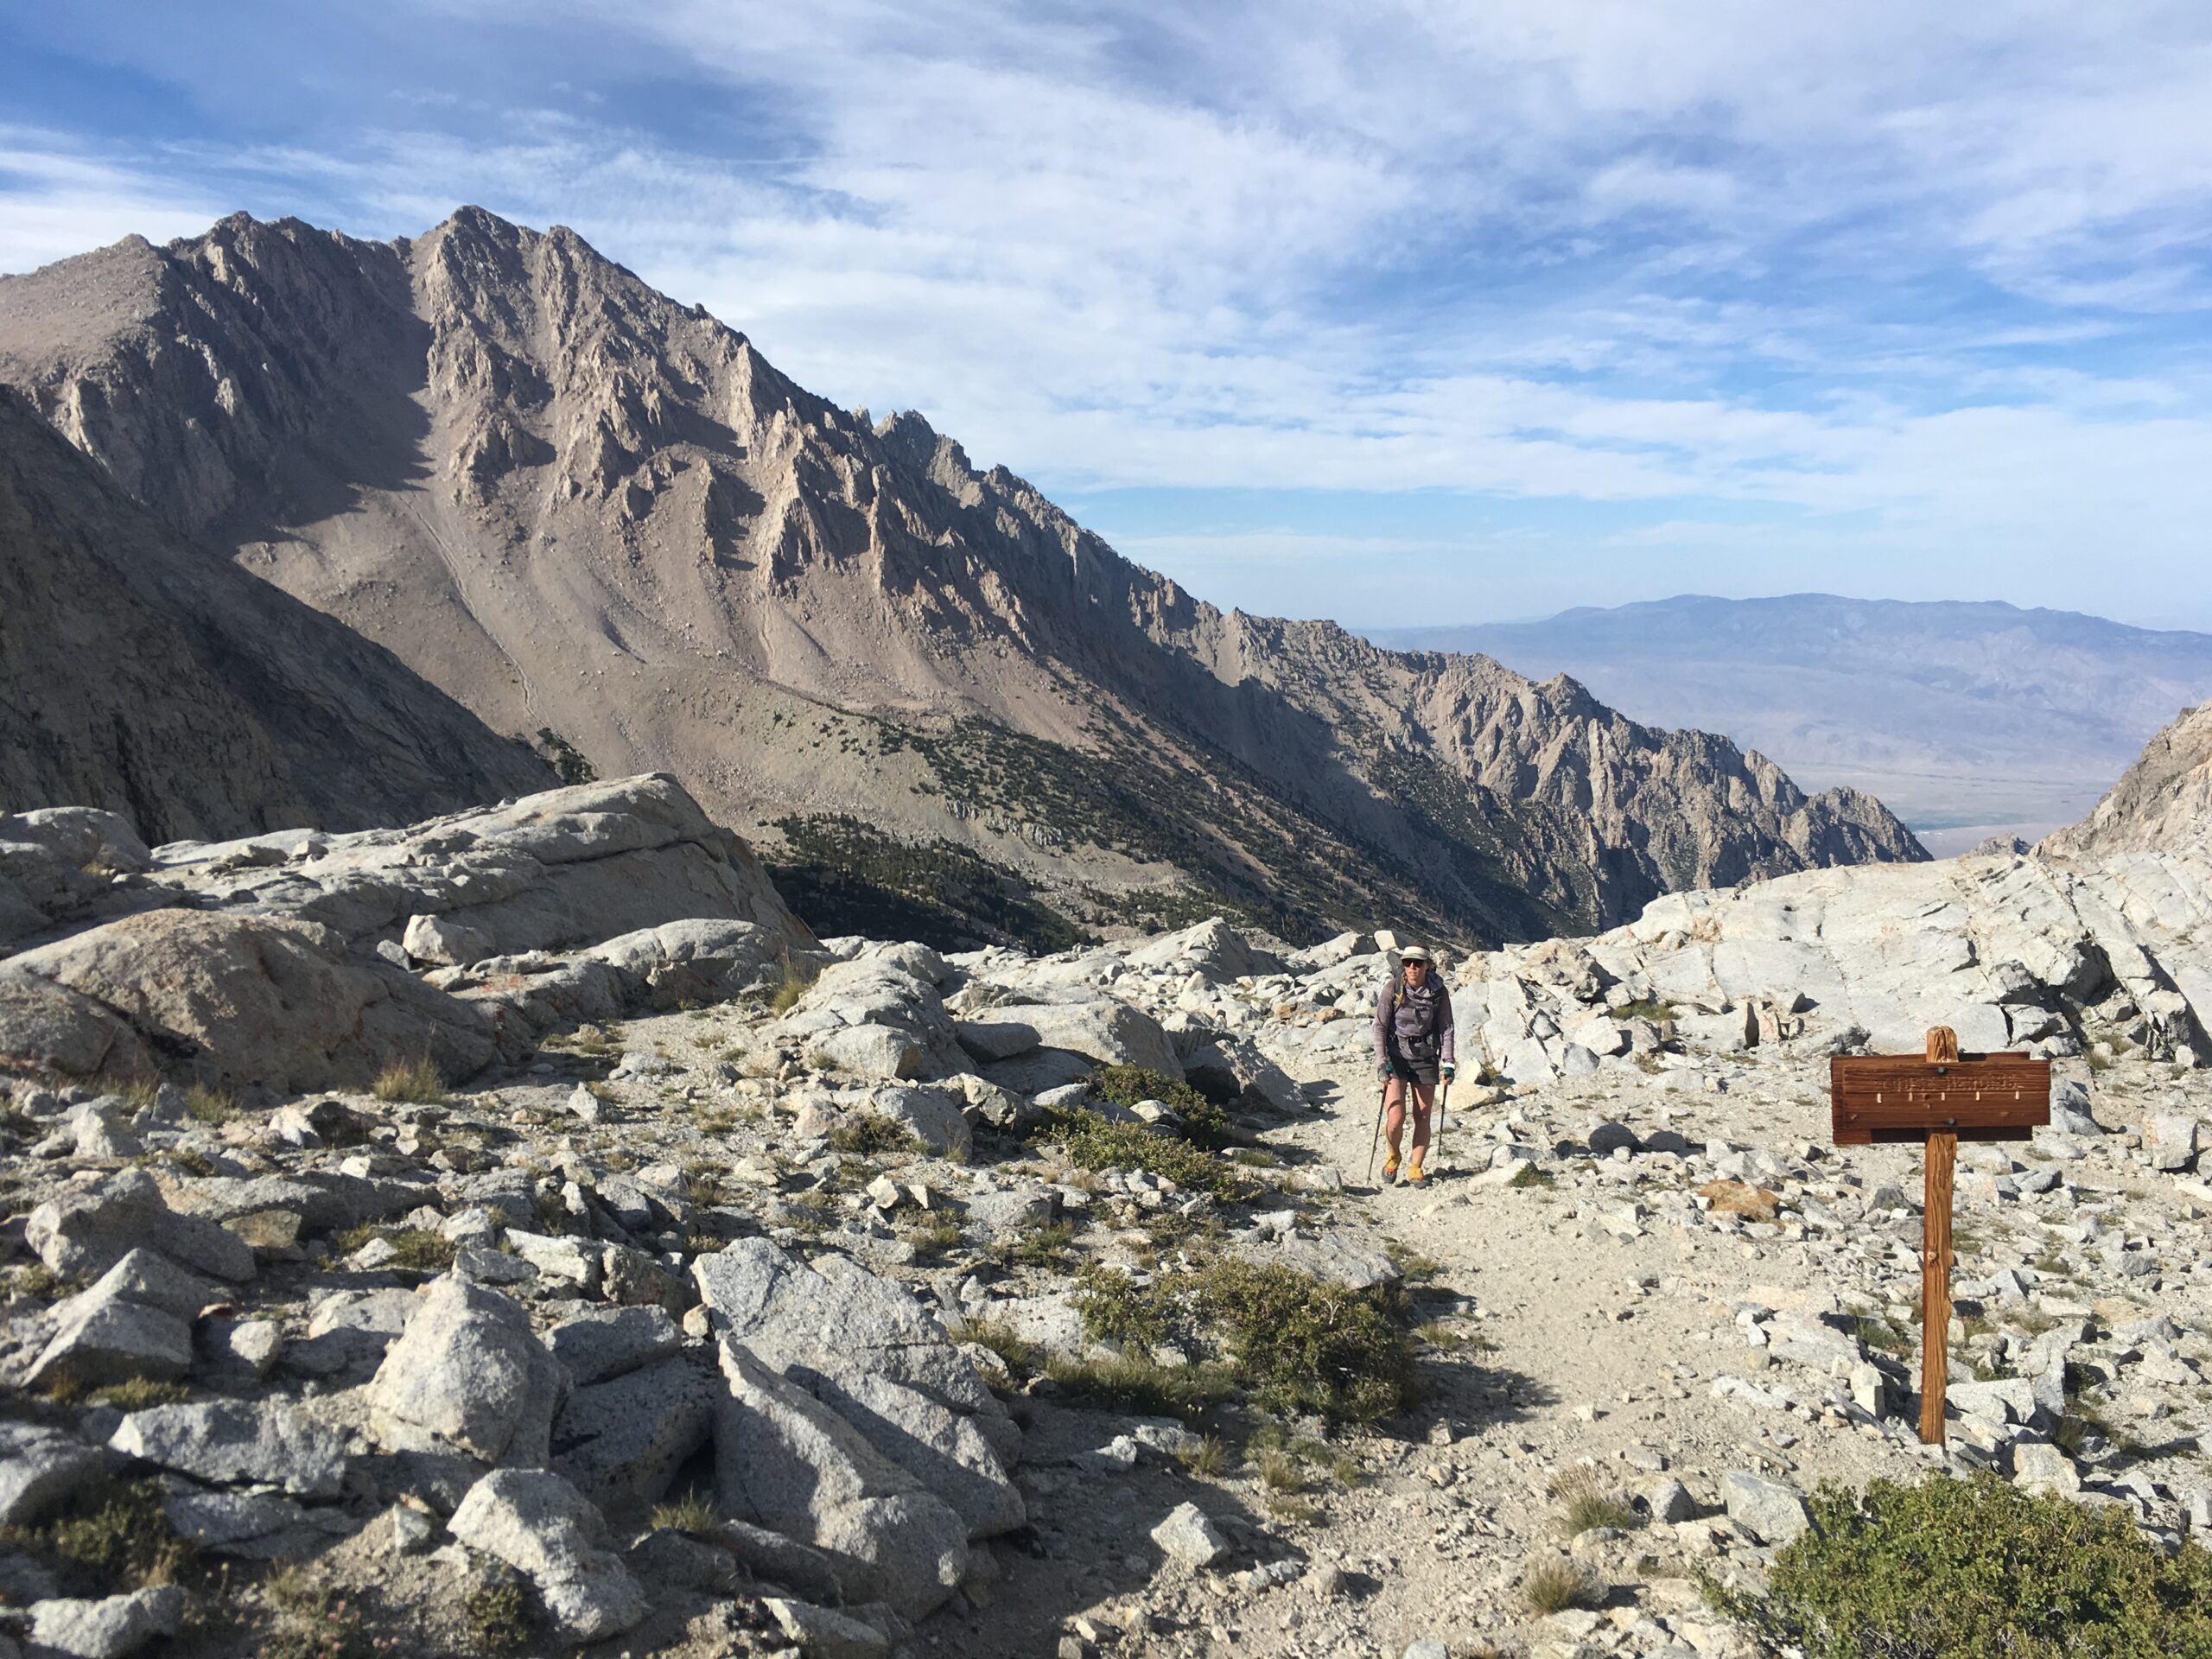
We hiked the Southern Sierra High Route in August of 2018. It took us 6 days to complete this approximately 100 mile route. We started from the Northern Terminus of Bishop Creek/Pass Trailhead and hiked south towards Cottonwood Lakes Trailhead. The day before we started we picked up a walk-in permit in Bishop, bought food at the Smart and Final/Safeway, and slept that night at the trailhead in our van where we packed food and prepped gear. Below you will find a map of our actual route and where we ended up camping each night, as well as a day-by-day breakdown of the trip and our experience.
Day 1
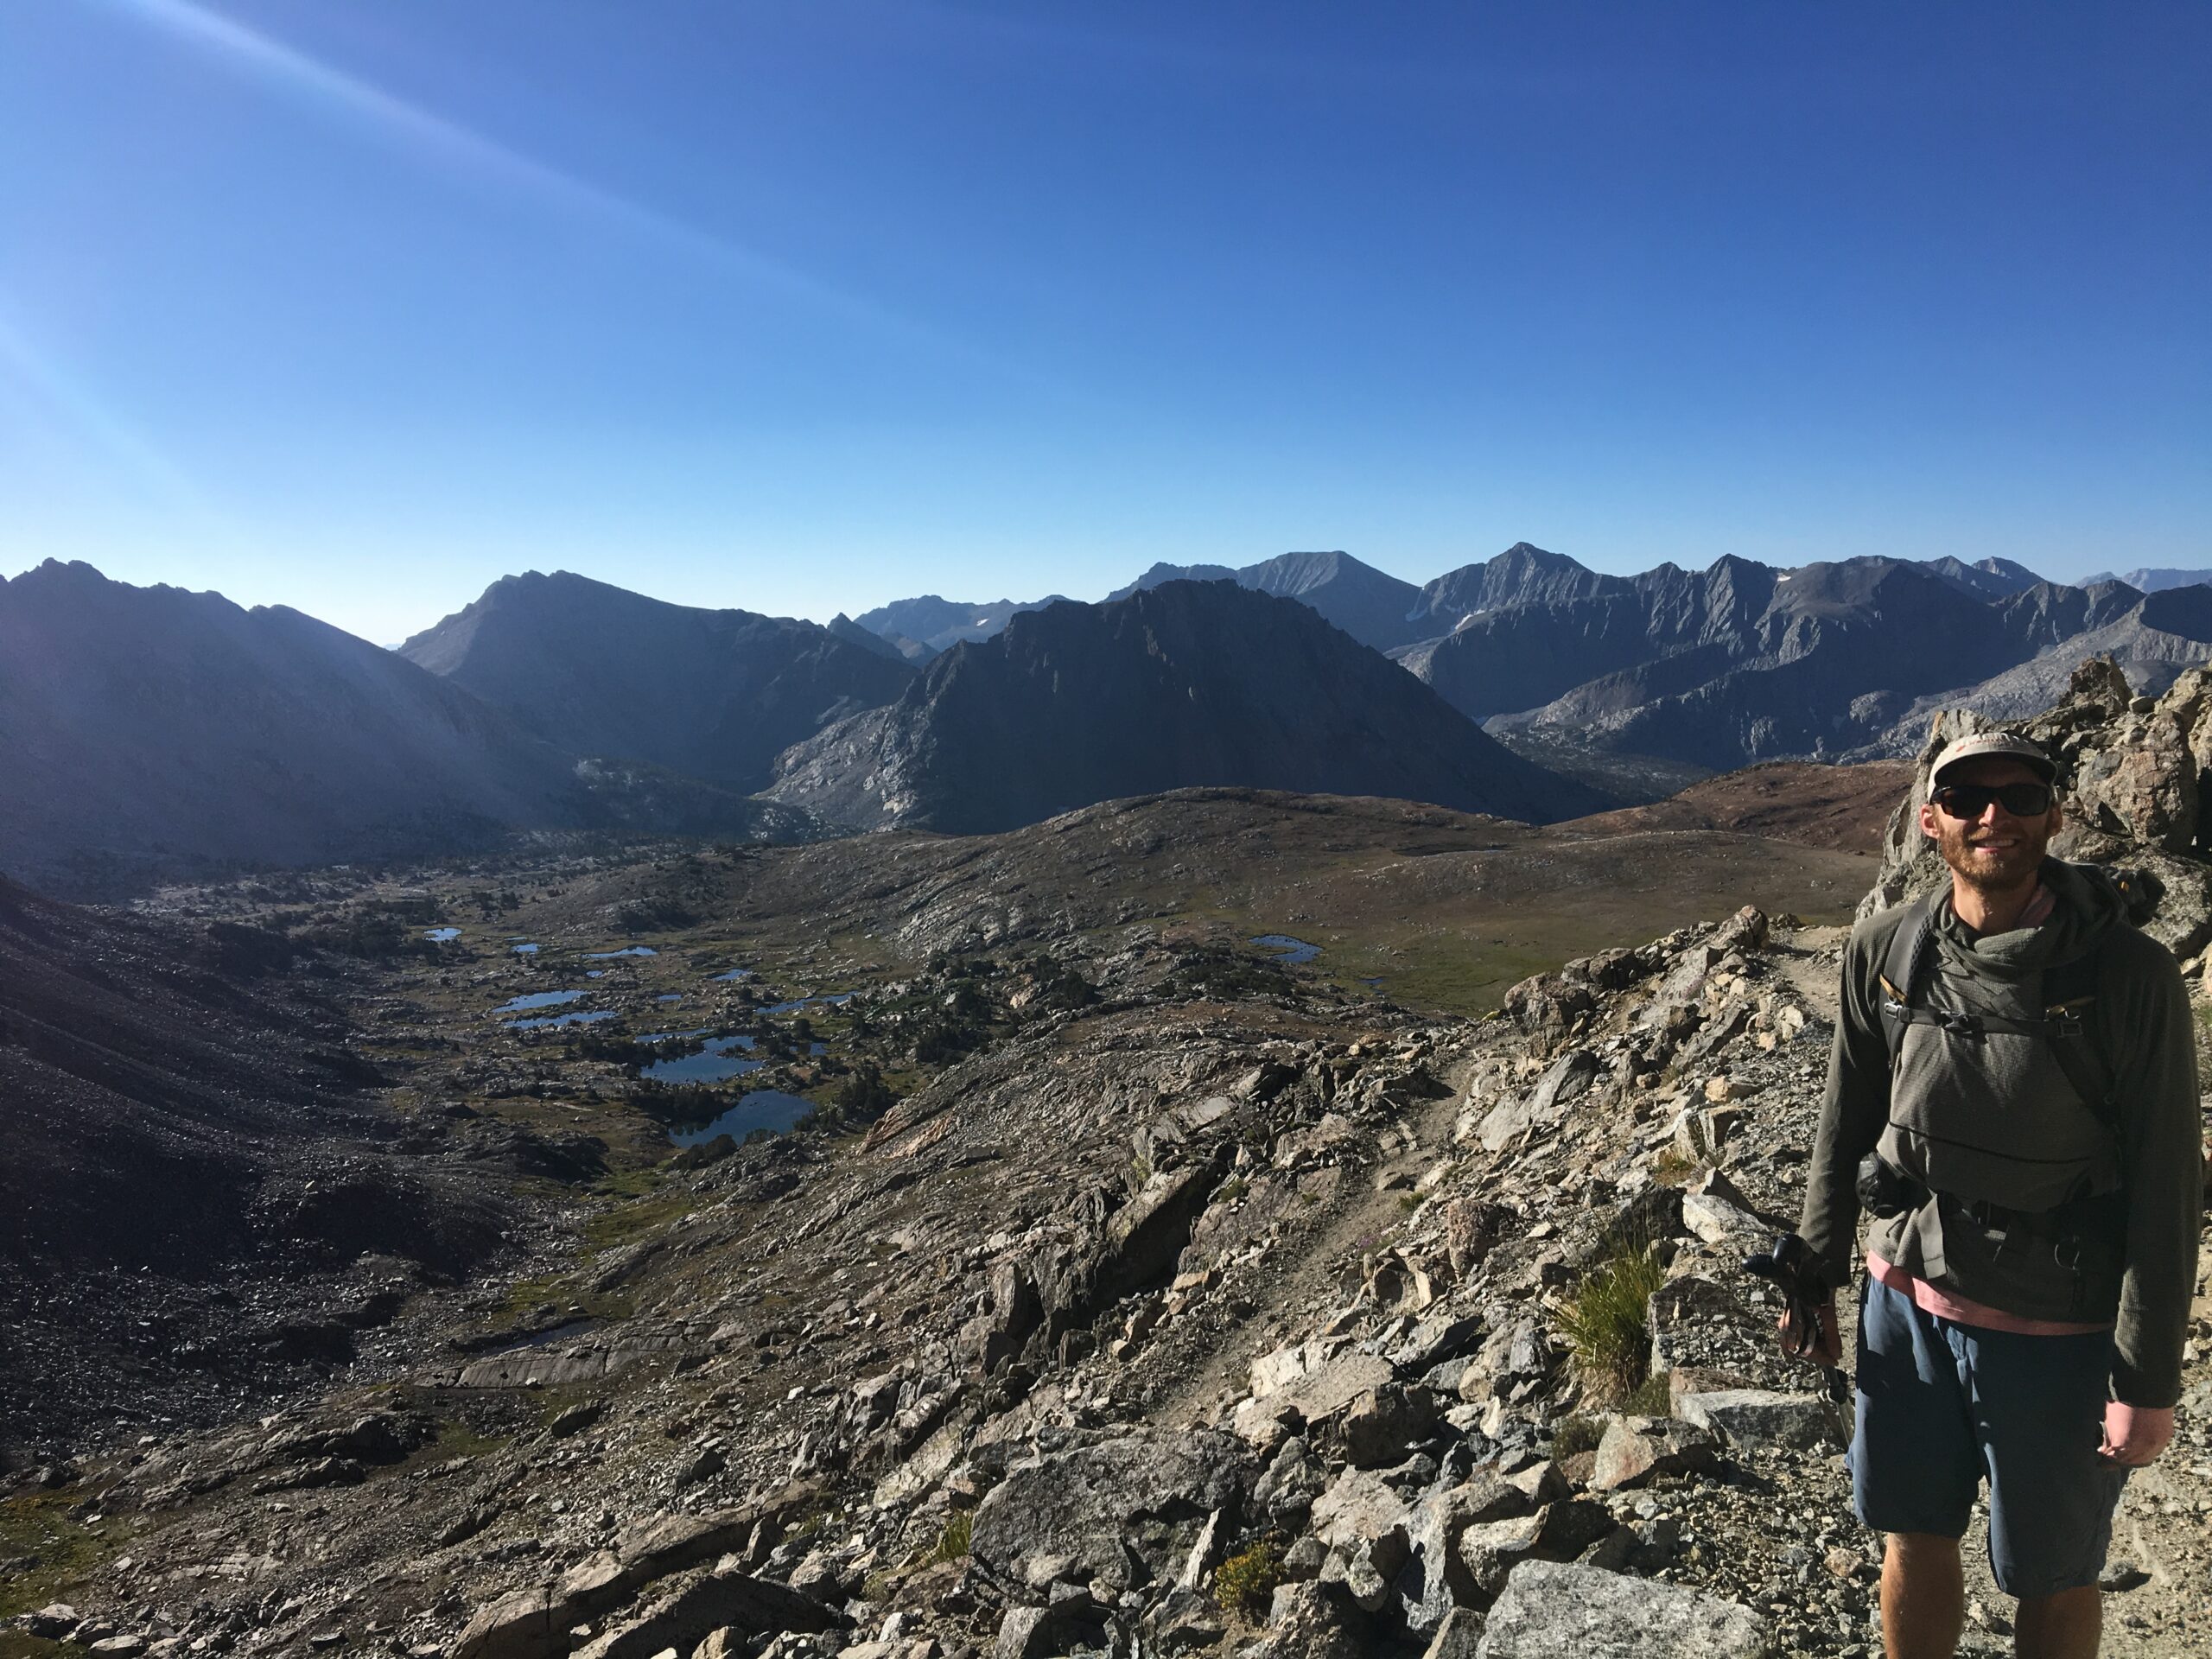
We started hiking early on the first day. We made our way over Bishop Pass towards Dusy Basin. We decided to stay high and go over Thunderbolt Pass instead of dropping all the way down and over Knapsack Pass. Then, we traversed across and over Potluck Pass and down next to the unnamed lake near the start of the ascent up Mount Sill. There, we took the rest of the day to relax and enjoy the lake, go swimming, and get ready for a bigger push the following day.
Day 2
We woke up early on the morning of Day 2 and hiked up Mt. Sill for sunrise. This was a high quality scramble to the top and the view from the summit was awesome. After a photo and snack we headed back to camp, packed our stuff, and continued on. We walked over a pass Southeast of the lake and dropped into Palisade Lakes Basin, where we then climbed the trail up and over Mather Pass. We dropped off Mather Pass and followed the trail all the way to a small body of water Northwest of Lake Marjorie. We jumped in, made some dinner and headed straight to bed. We were tired from waking up early.
Day 3
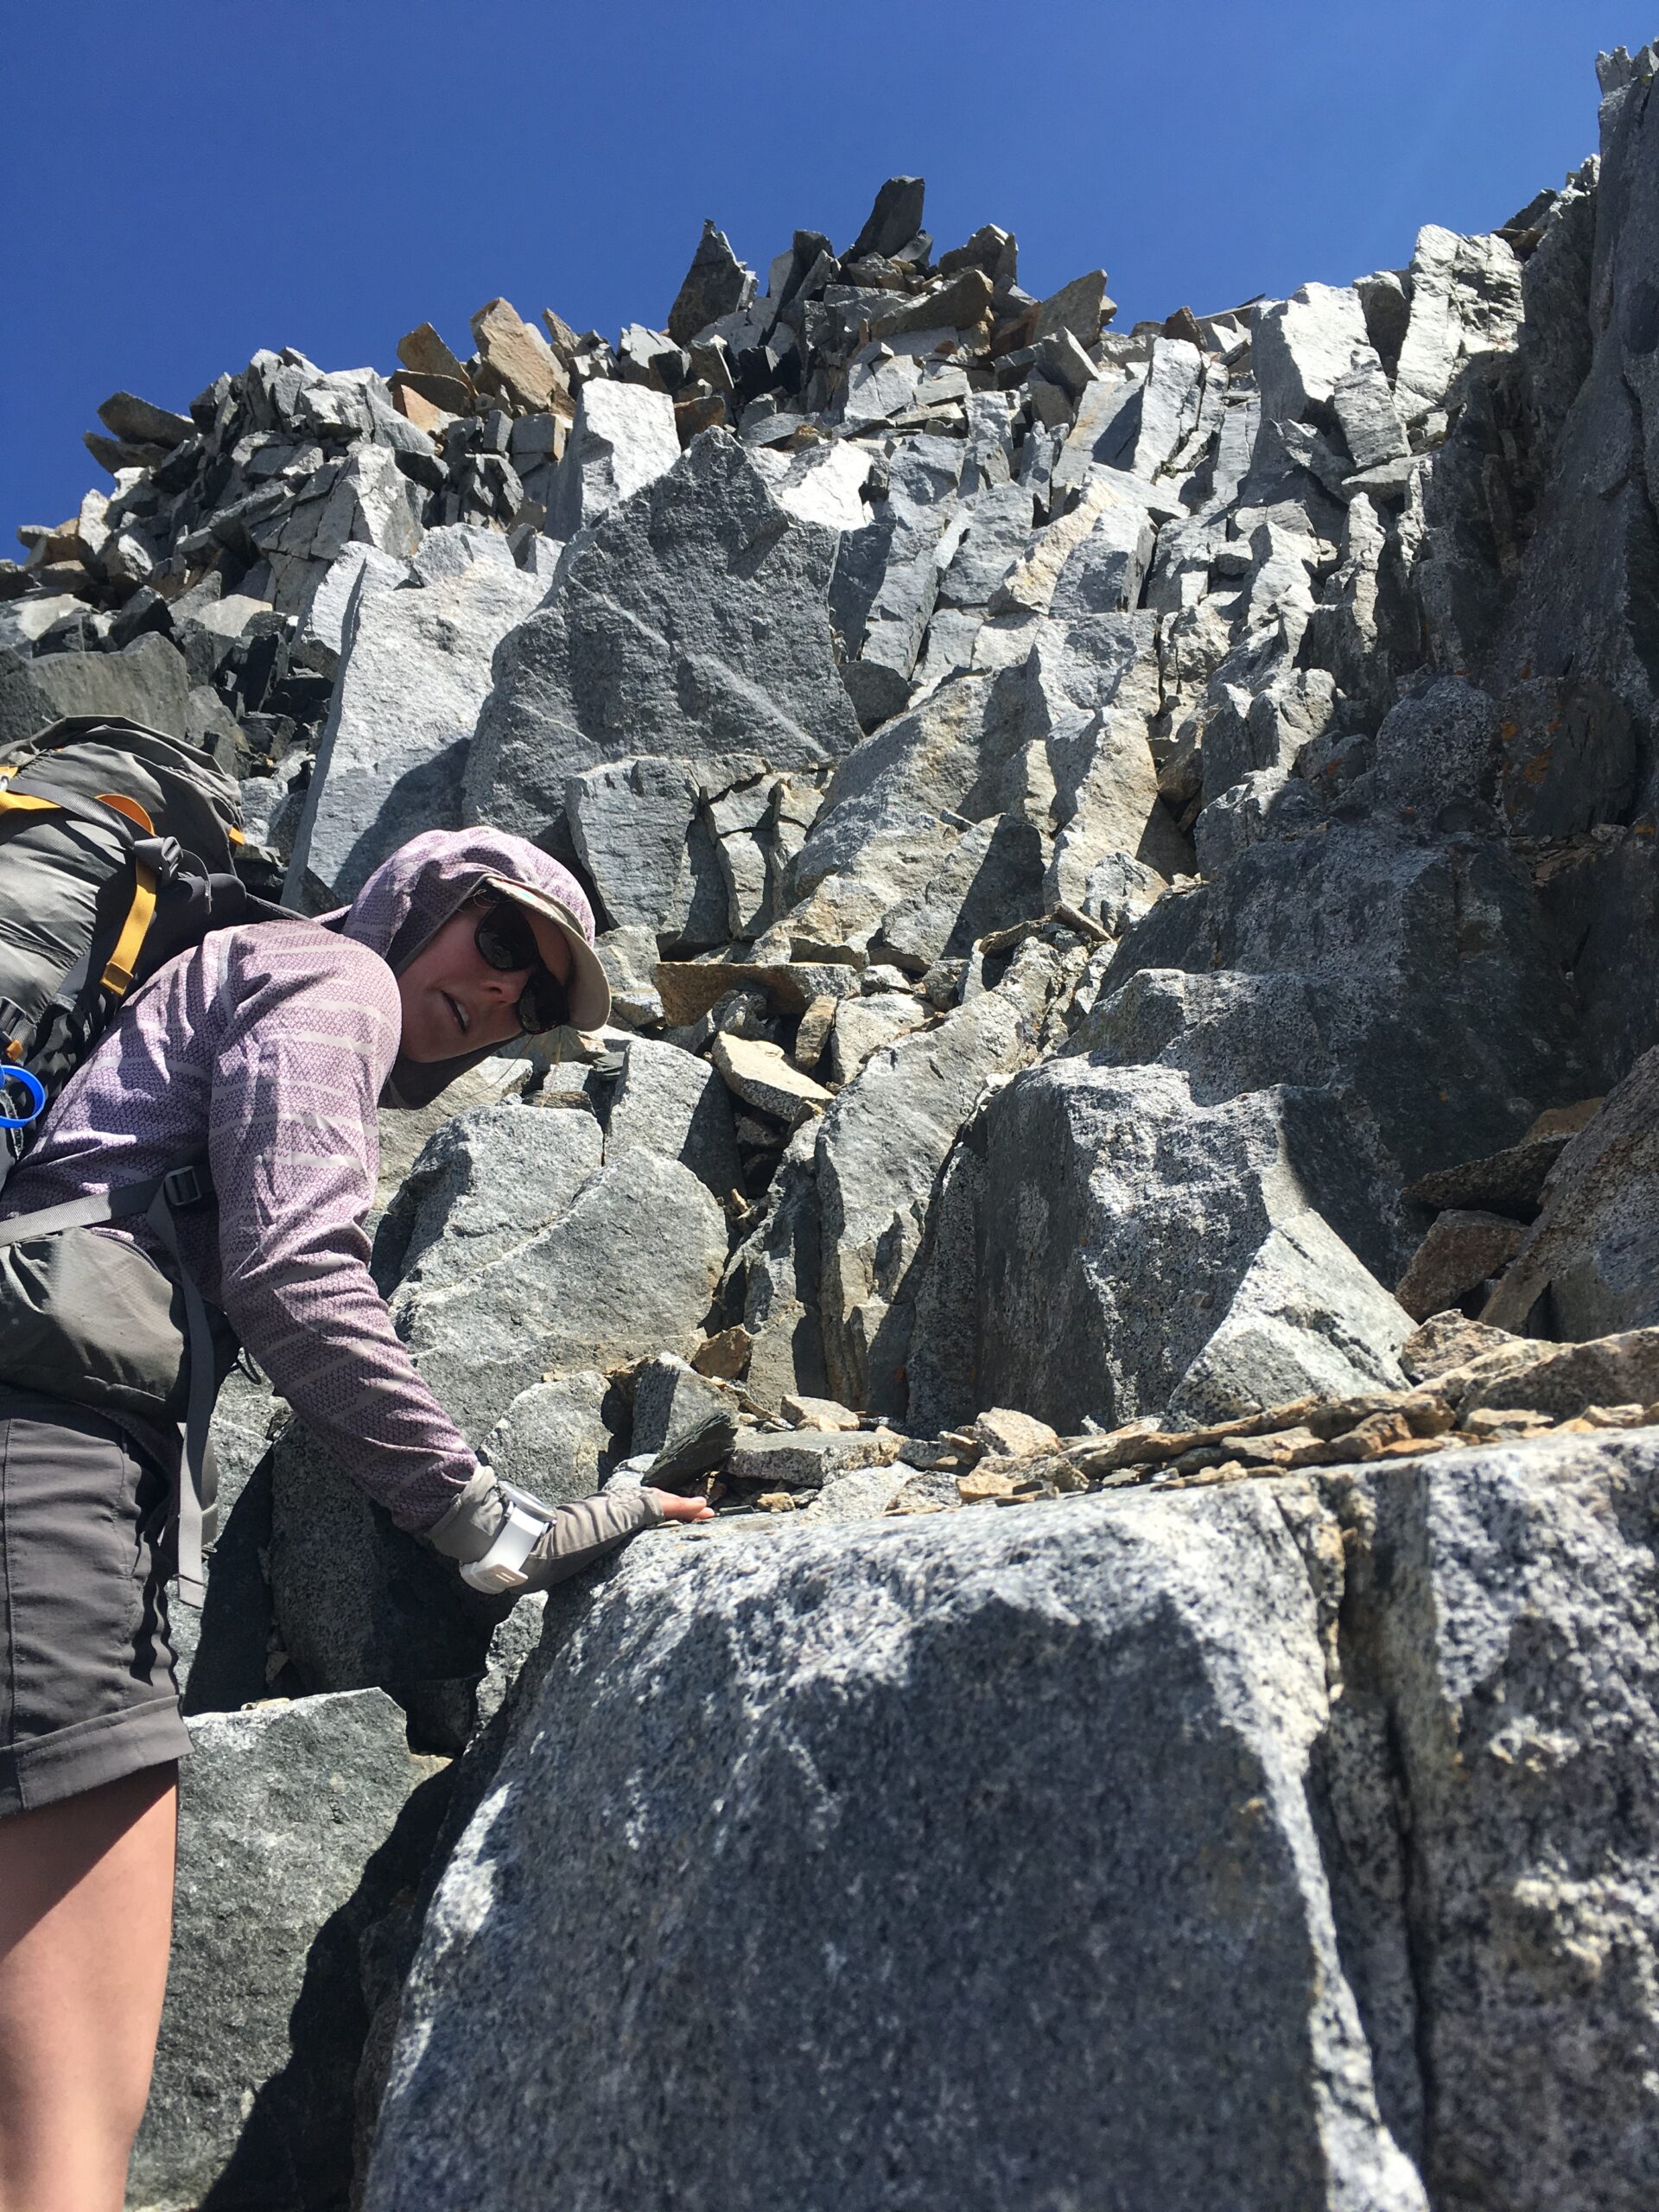
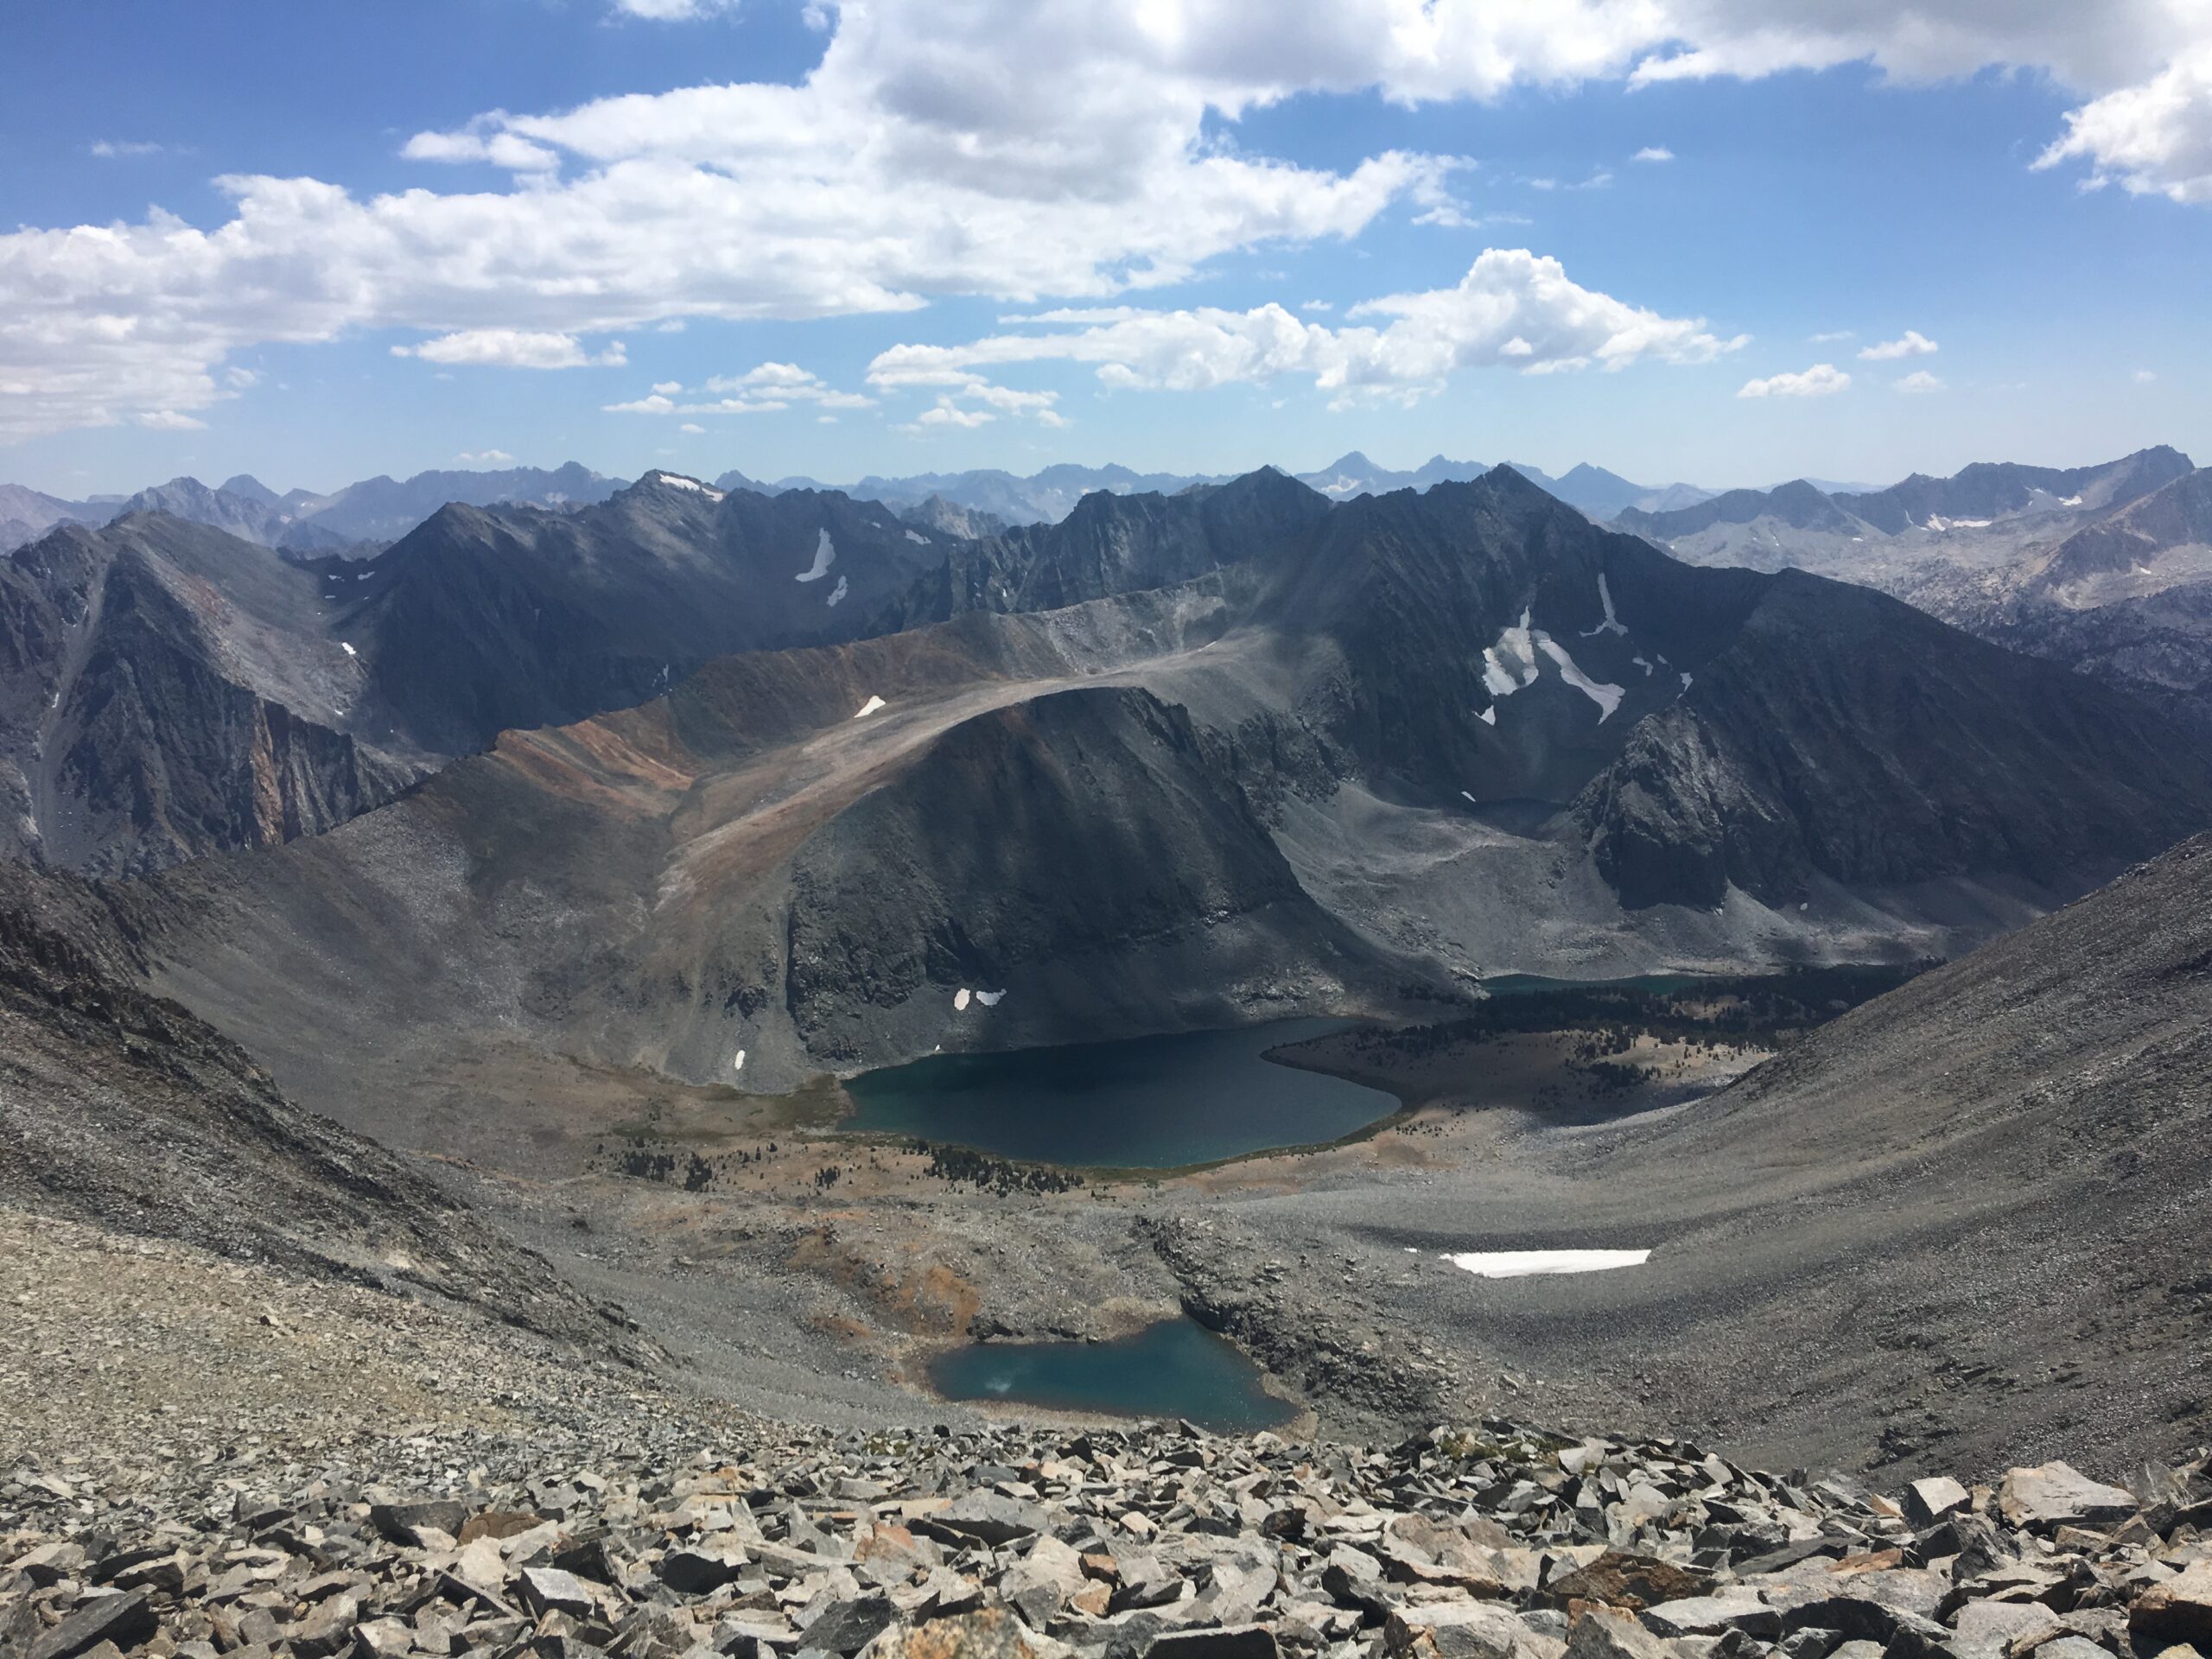
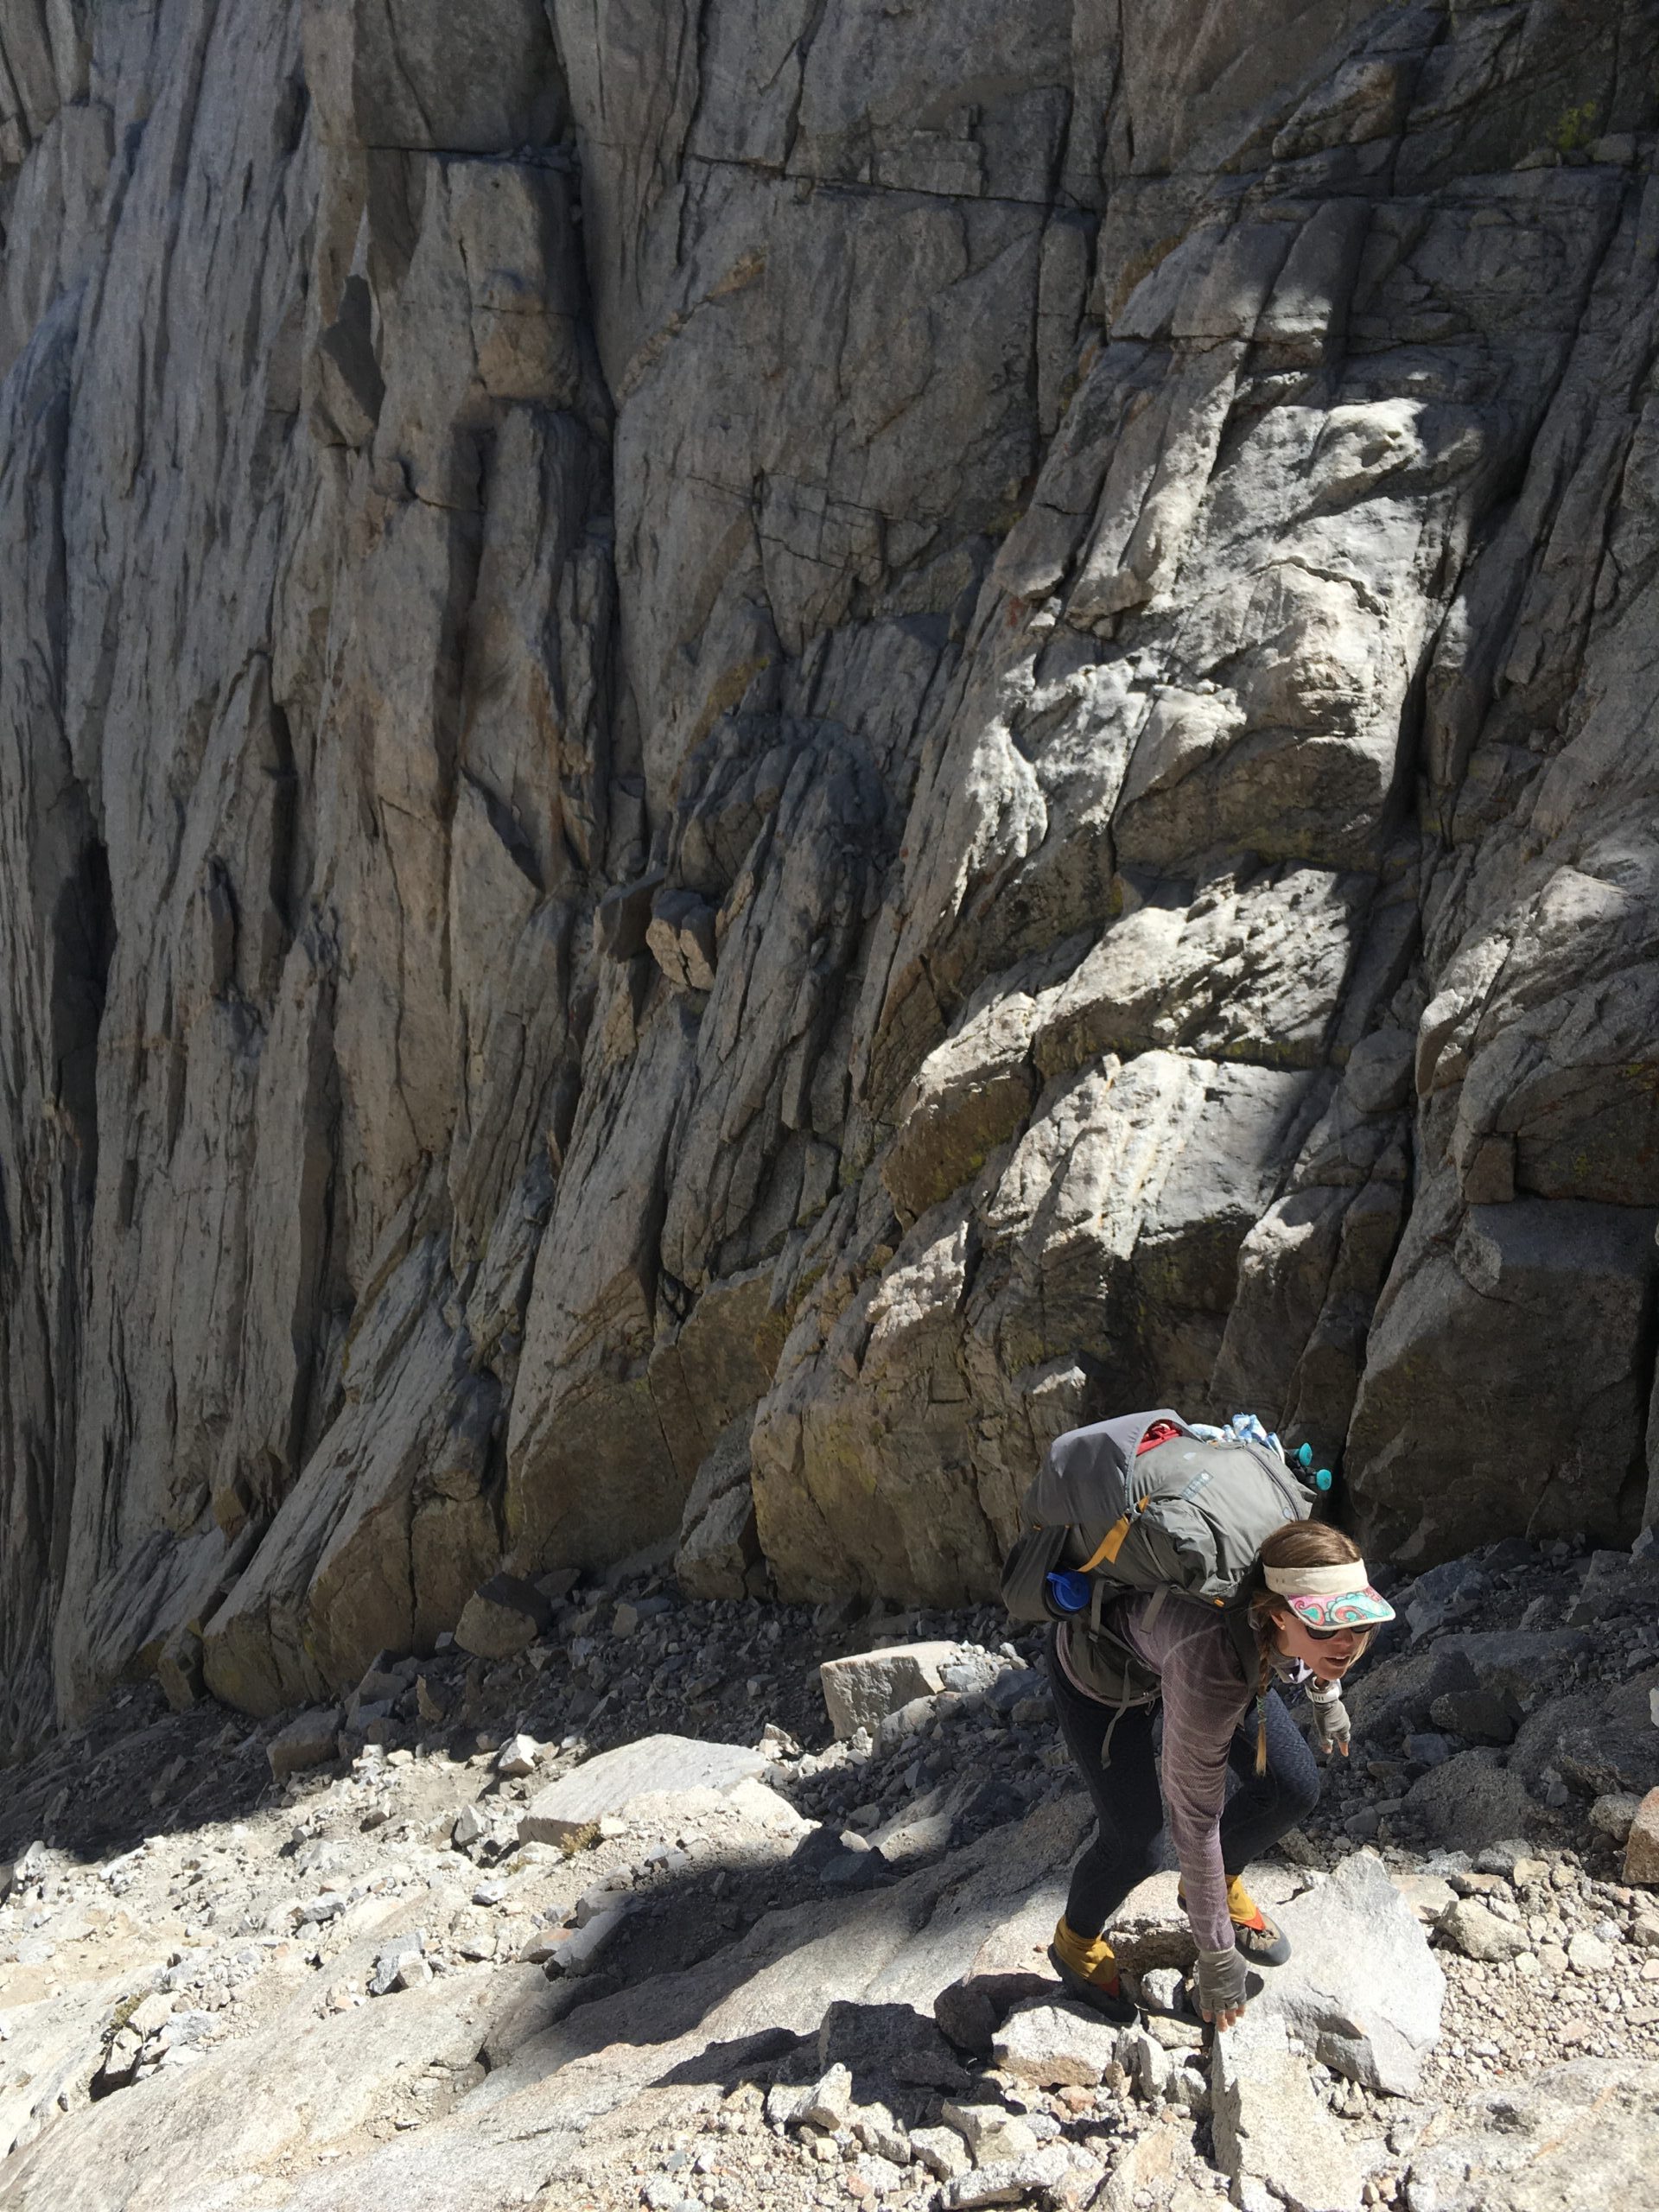
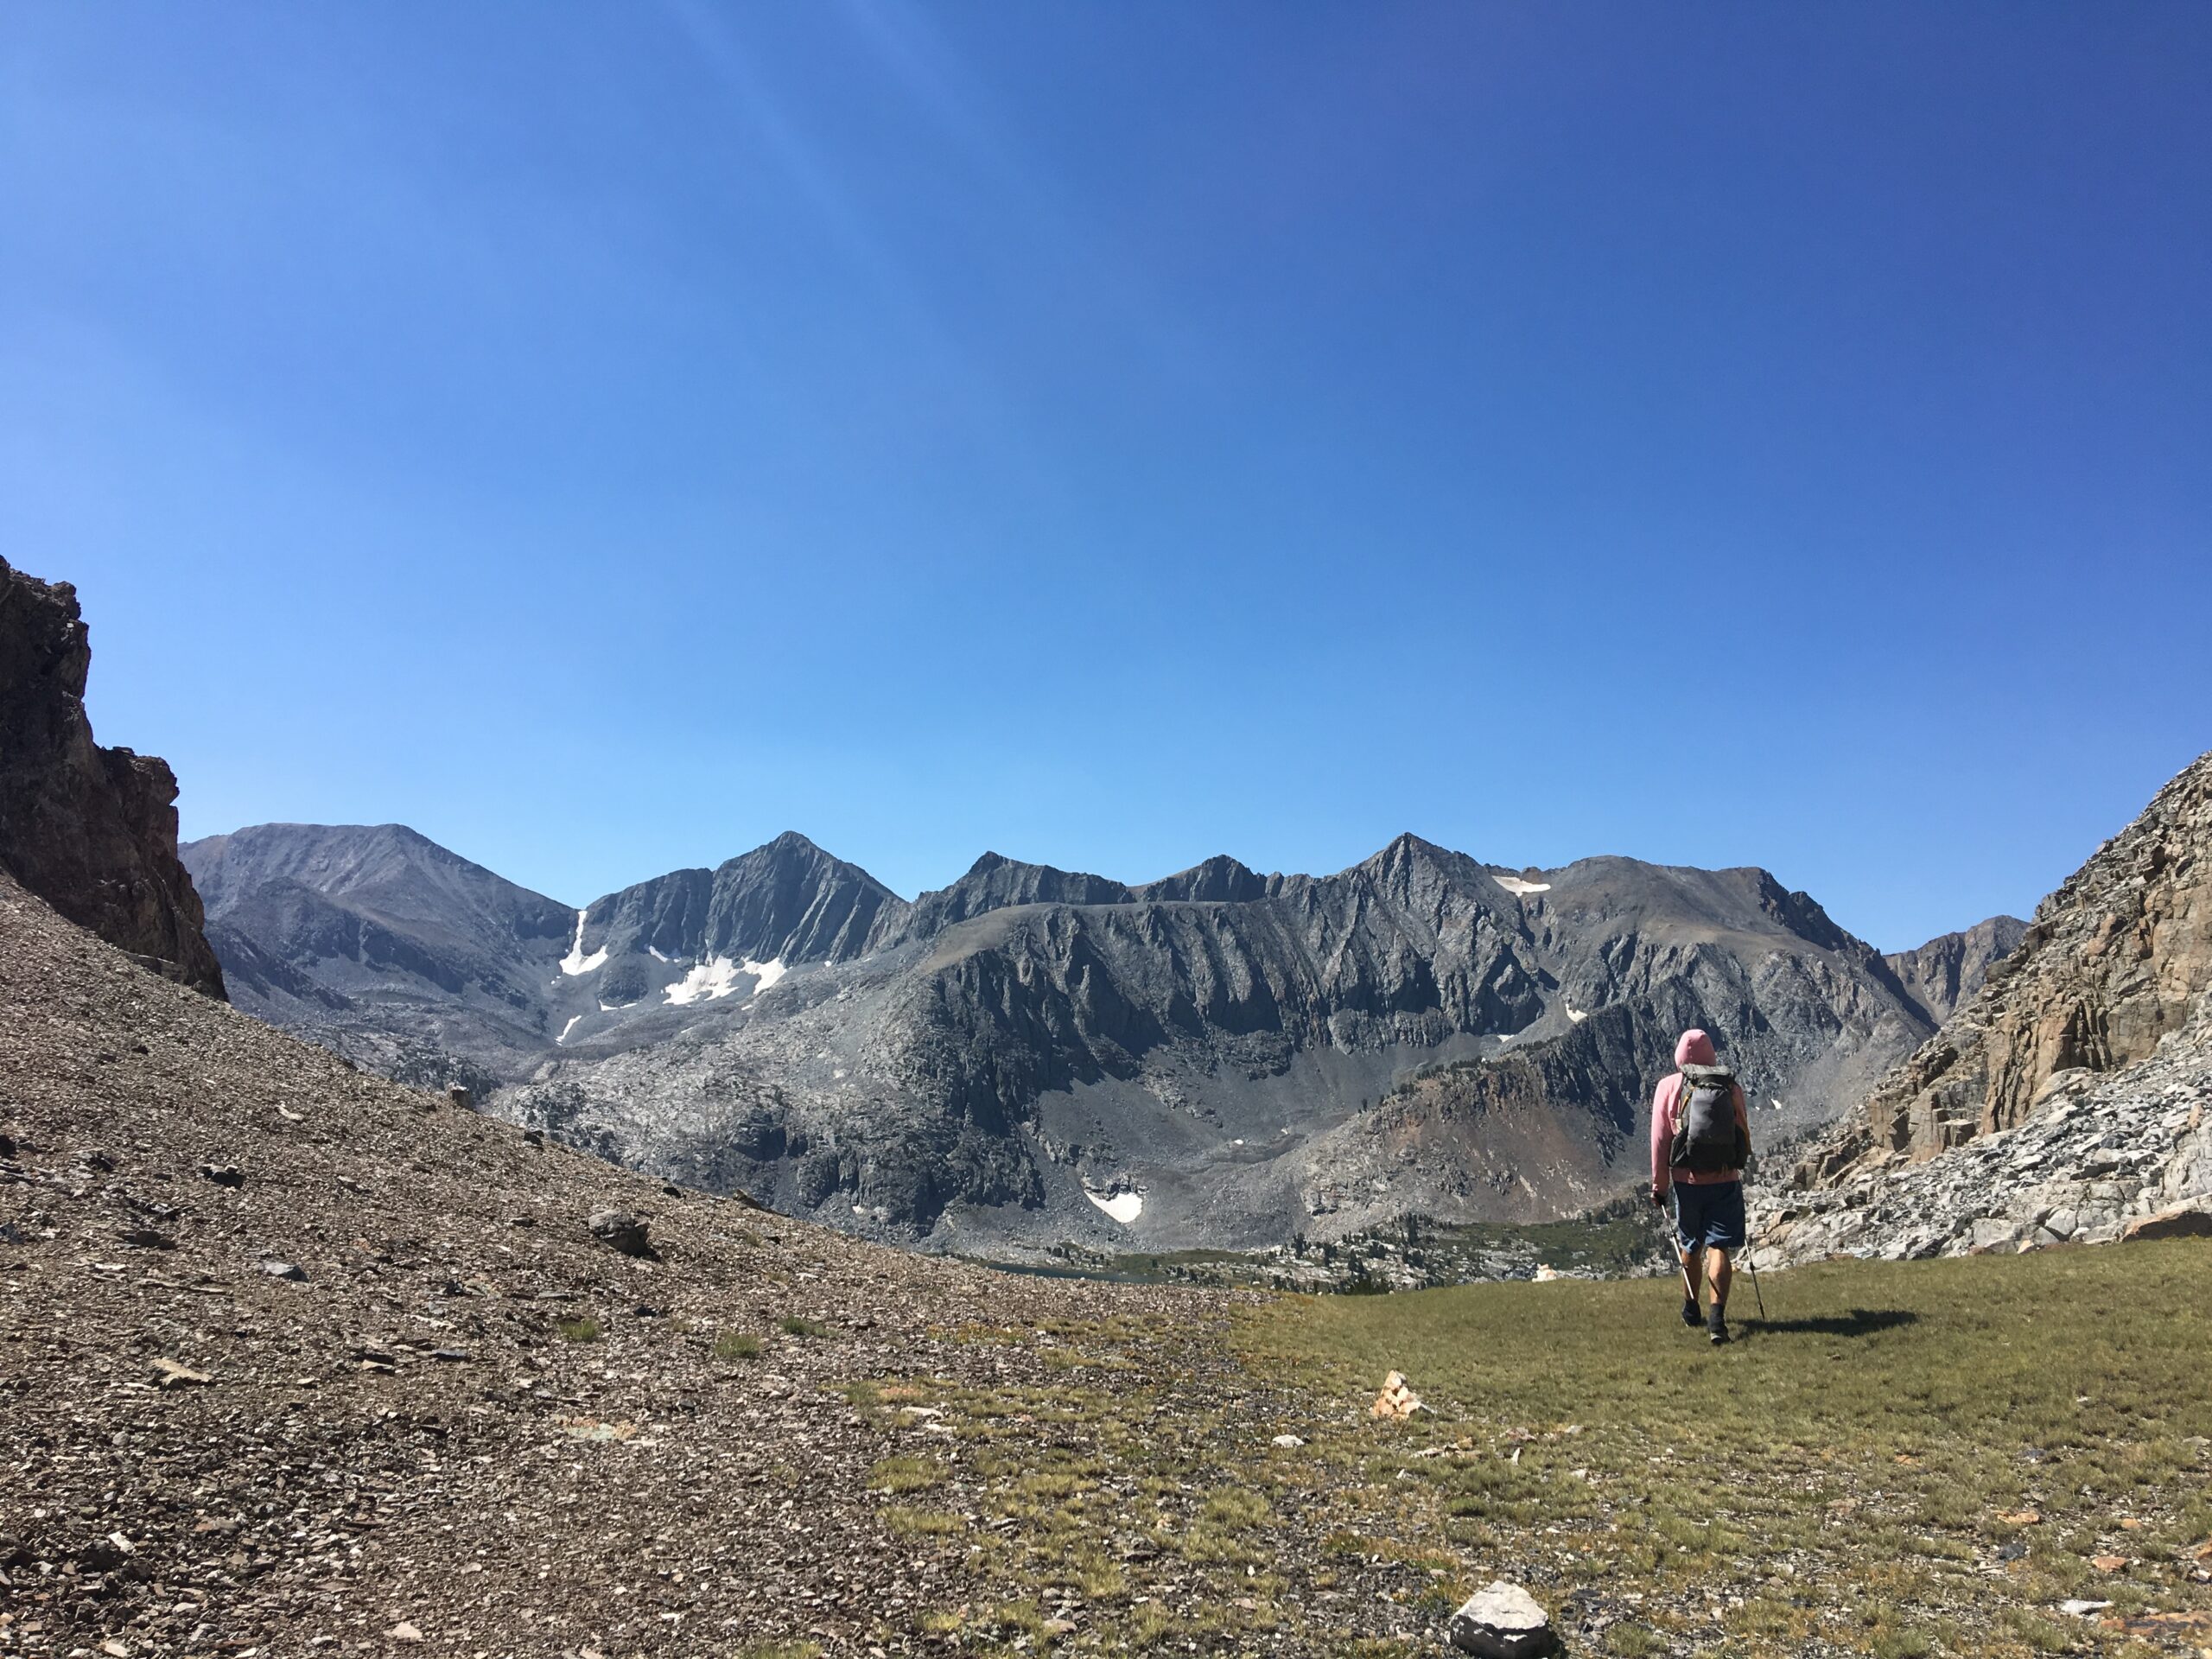
On Day 3 we were excited about trying the Mt. Baxter Alternate Route that Alan Dixon suggested in his updated information on the Southern Sierra High Route. We headed over Pinchot Pass and then down, eventually stepping off the trail. We strolled past a lake, up and down a small pass, and then dropped into the basin where would start climbing Mt. Baxter. As we made our way up we felt that the route description had downplayed the challenge of the terrain. The climb felt very scrambly with a bunch of loose boulder hopping and balancing involved. Eventually we made it to the top where the view was totally worth it! We spent a few minutes enjoying the scenery, then dropped off the top (equally as unstable as the way up). From here, we followed the trail that goes out and down to Dollar Lake and then hiked our way to Rae Lakes Basin – camping beneath the Painted Lady – just before Glen Pass. It was another long day! The Mt. Baxter alternate was pretty full on and we felt that it really added value by making the route feel even more remote.
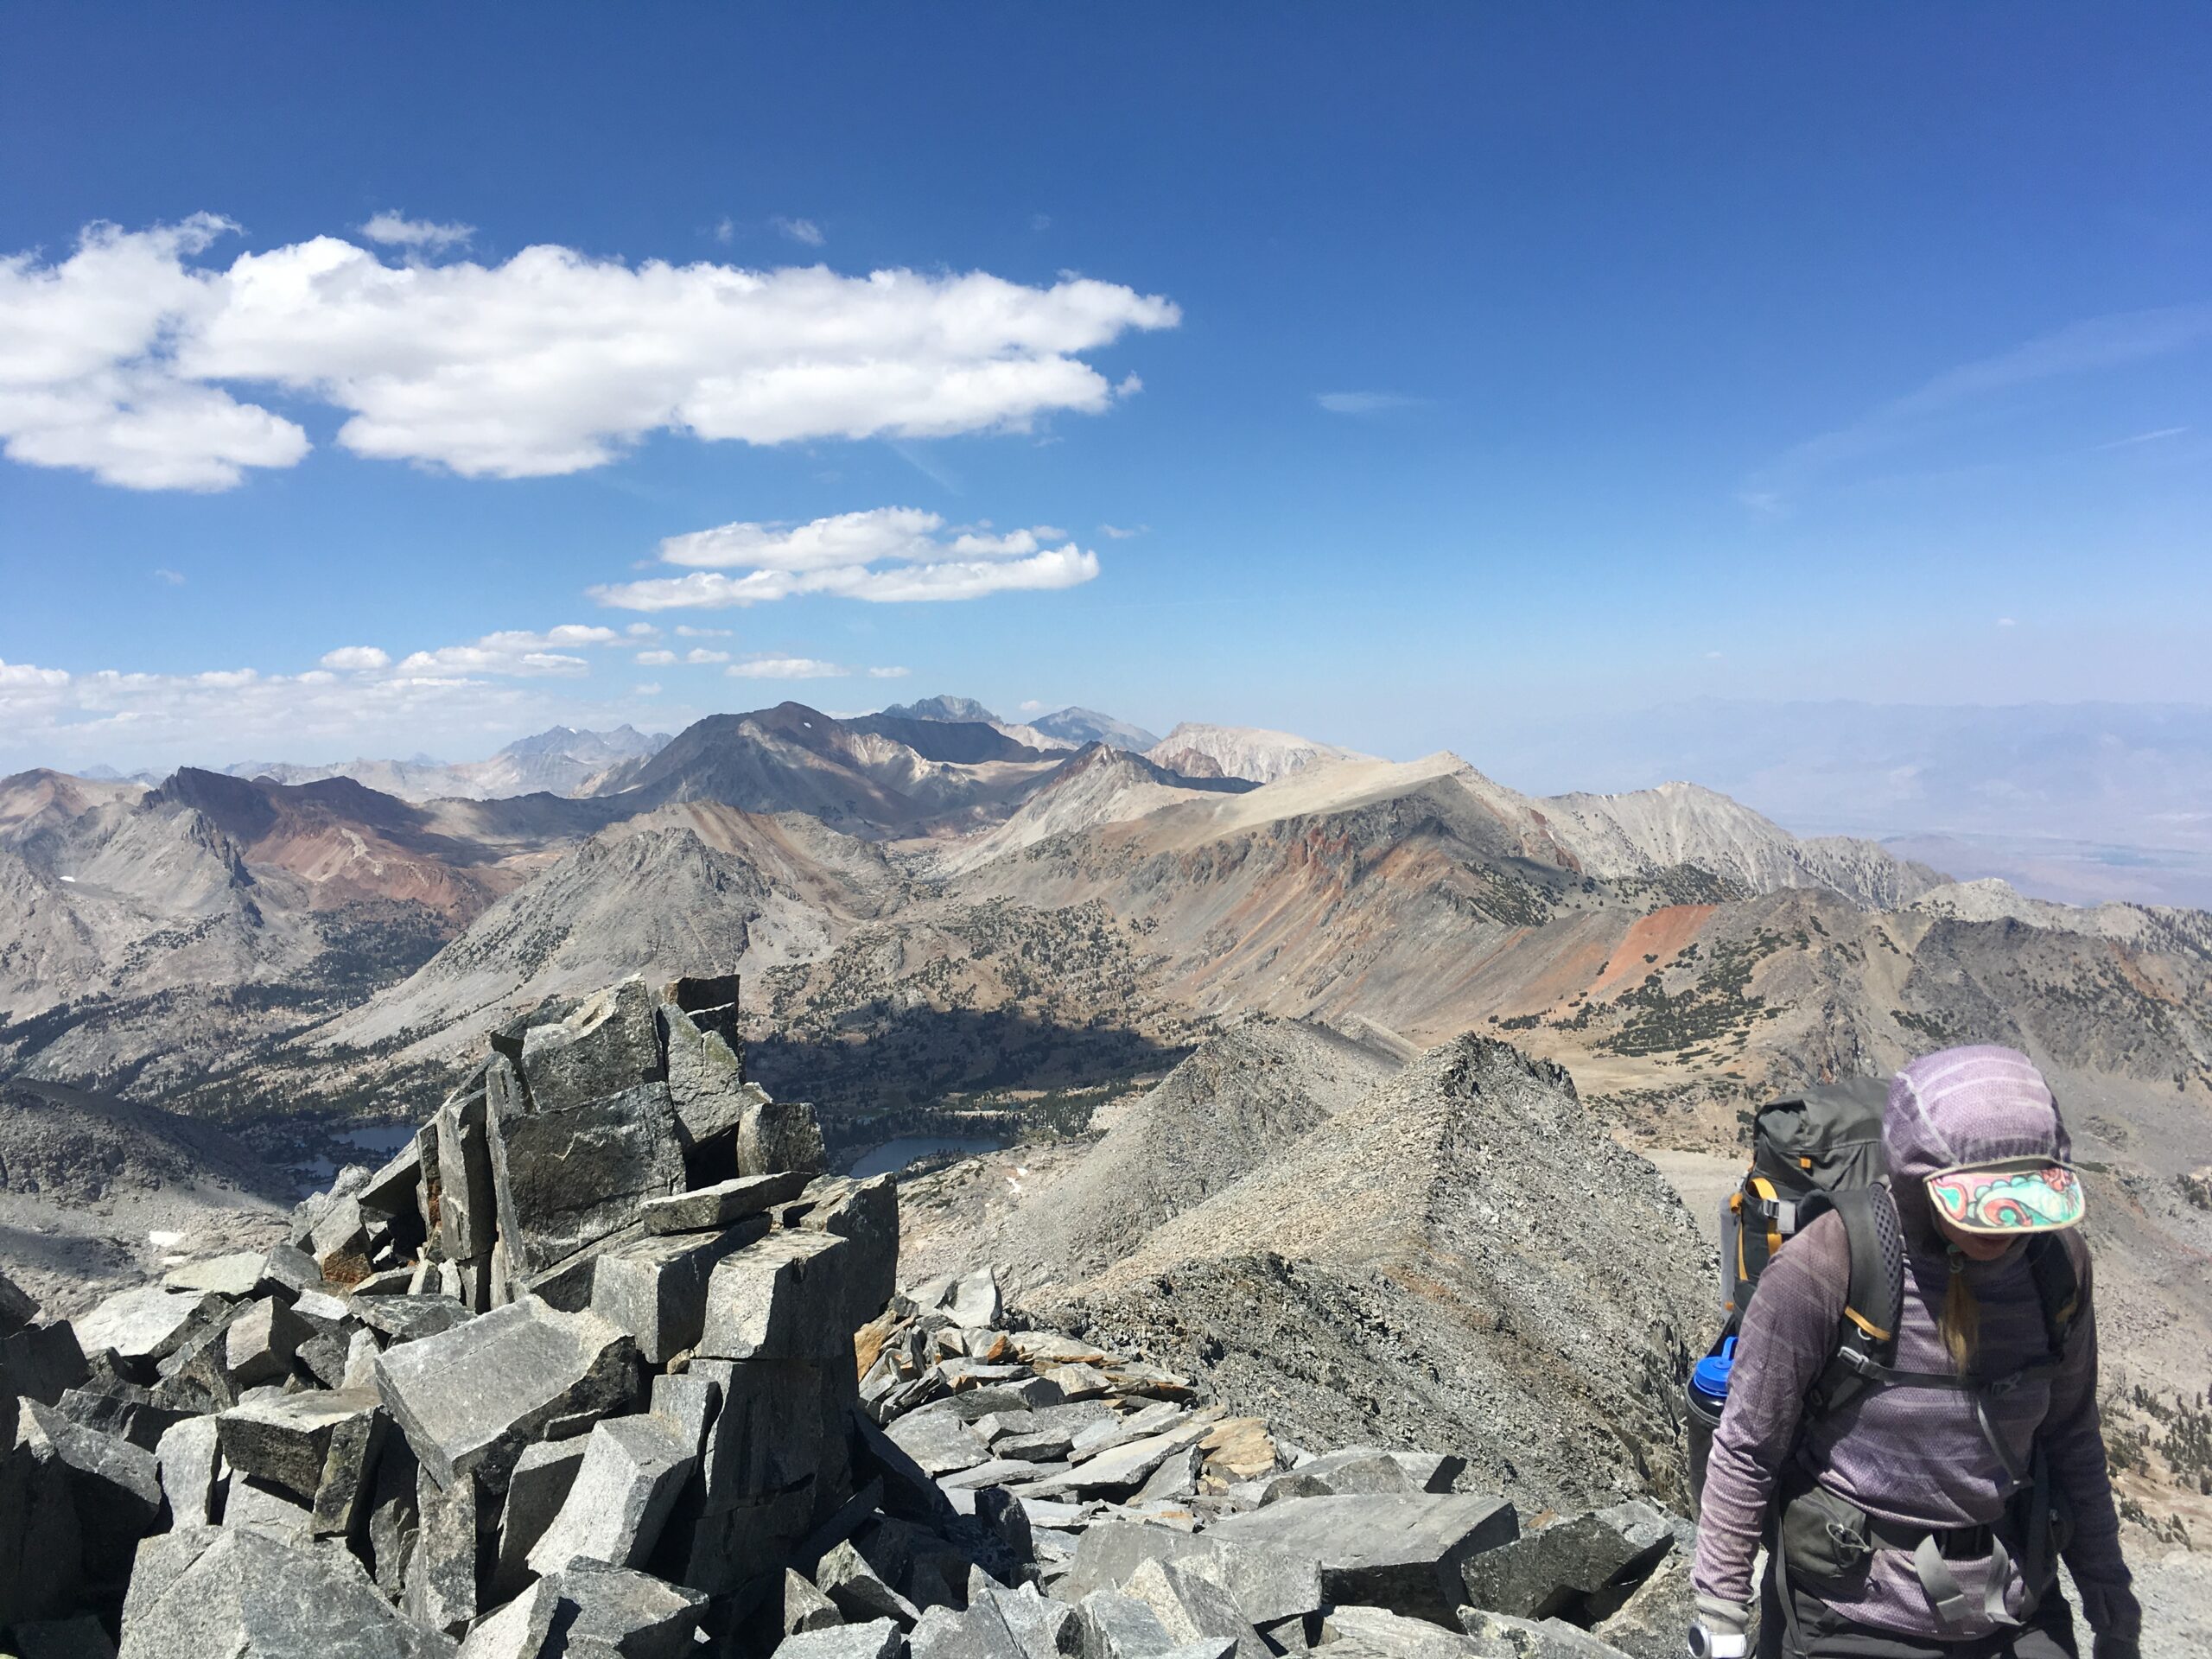
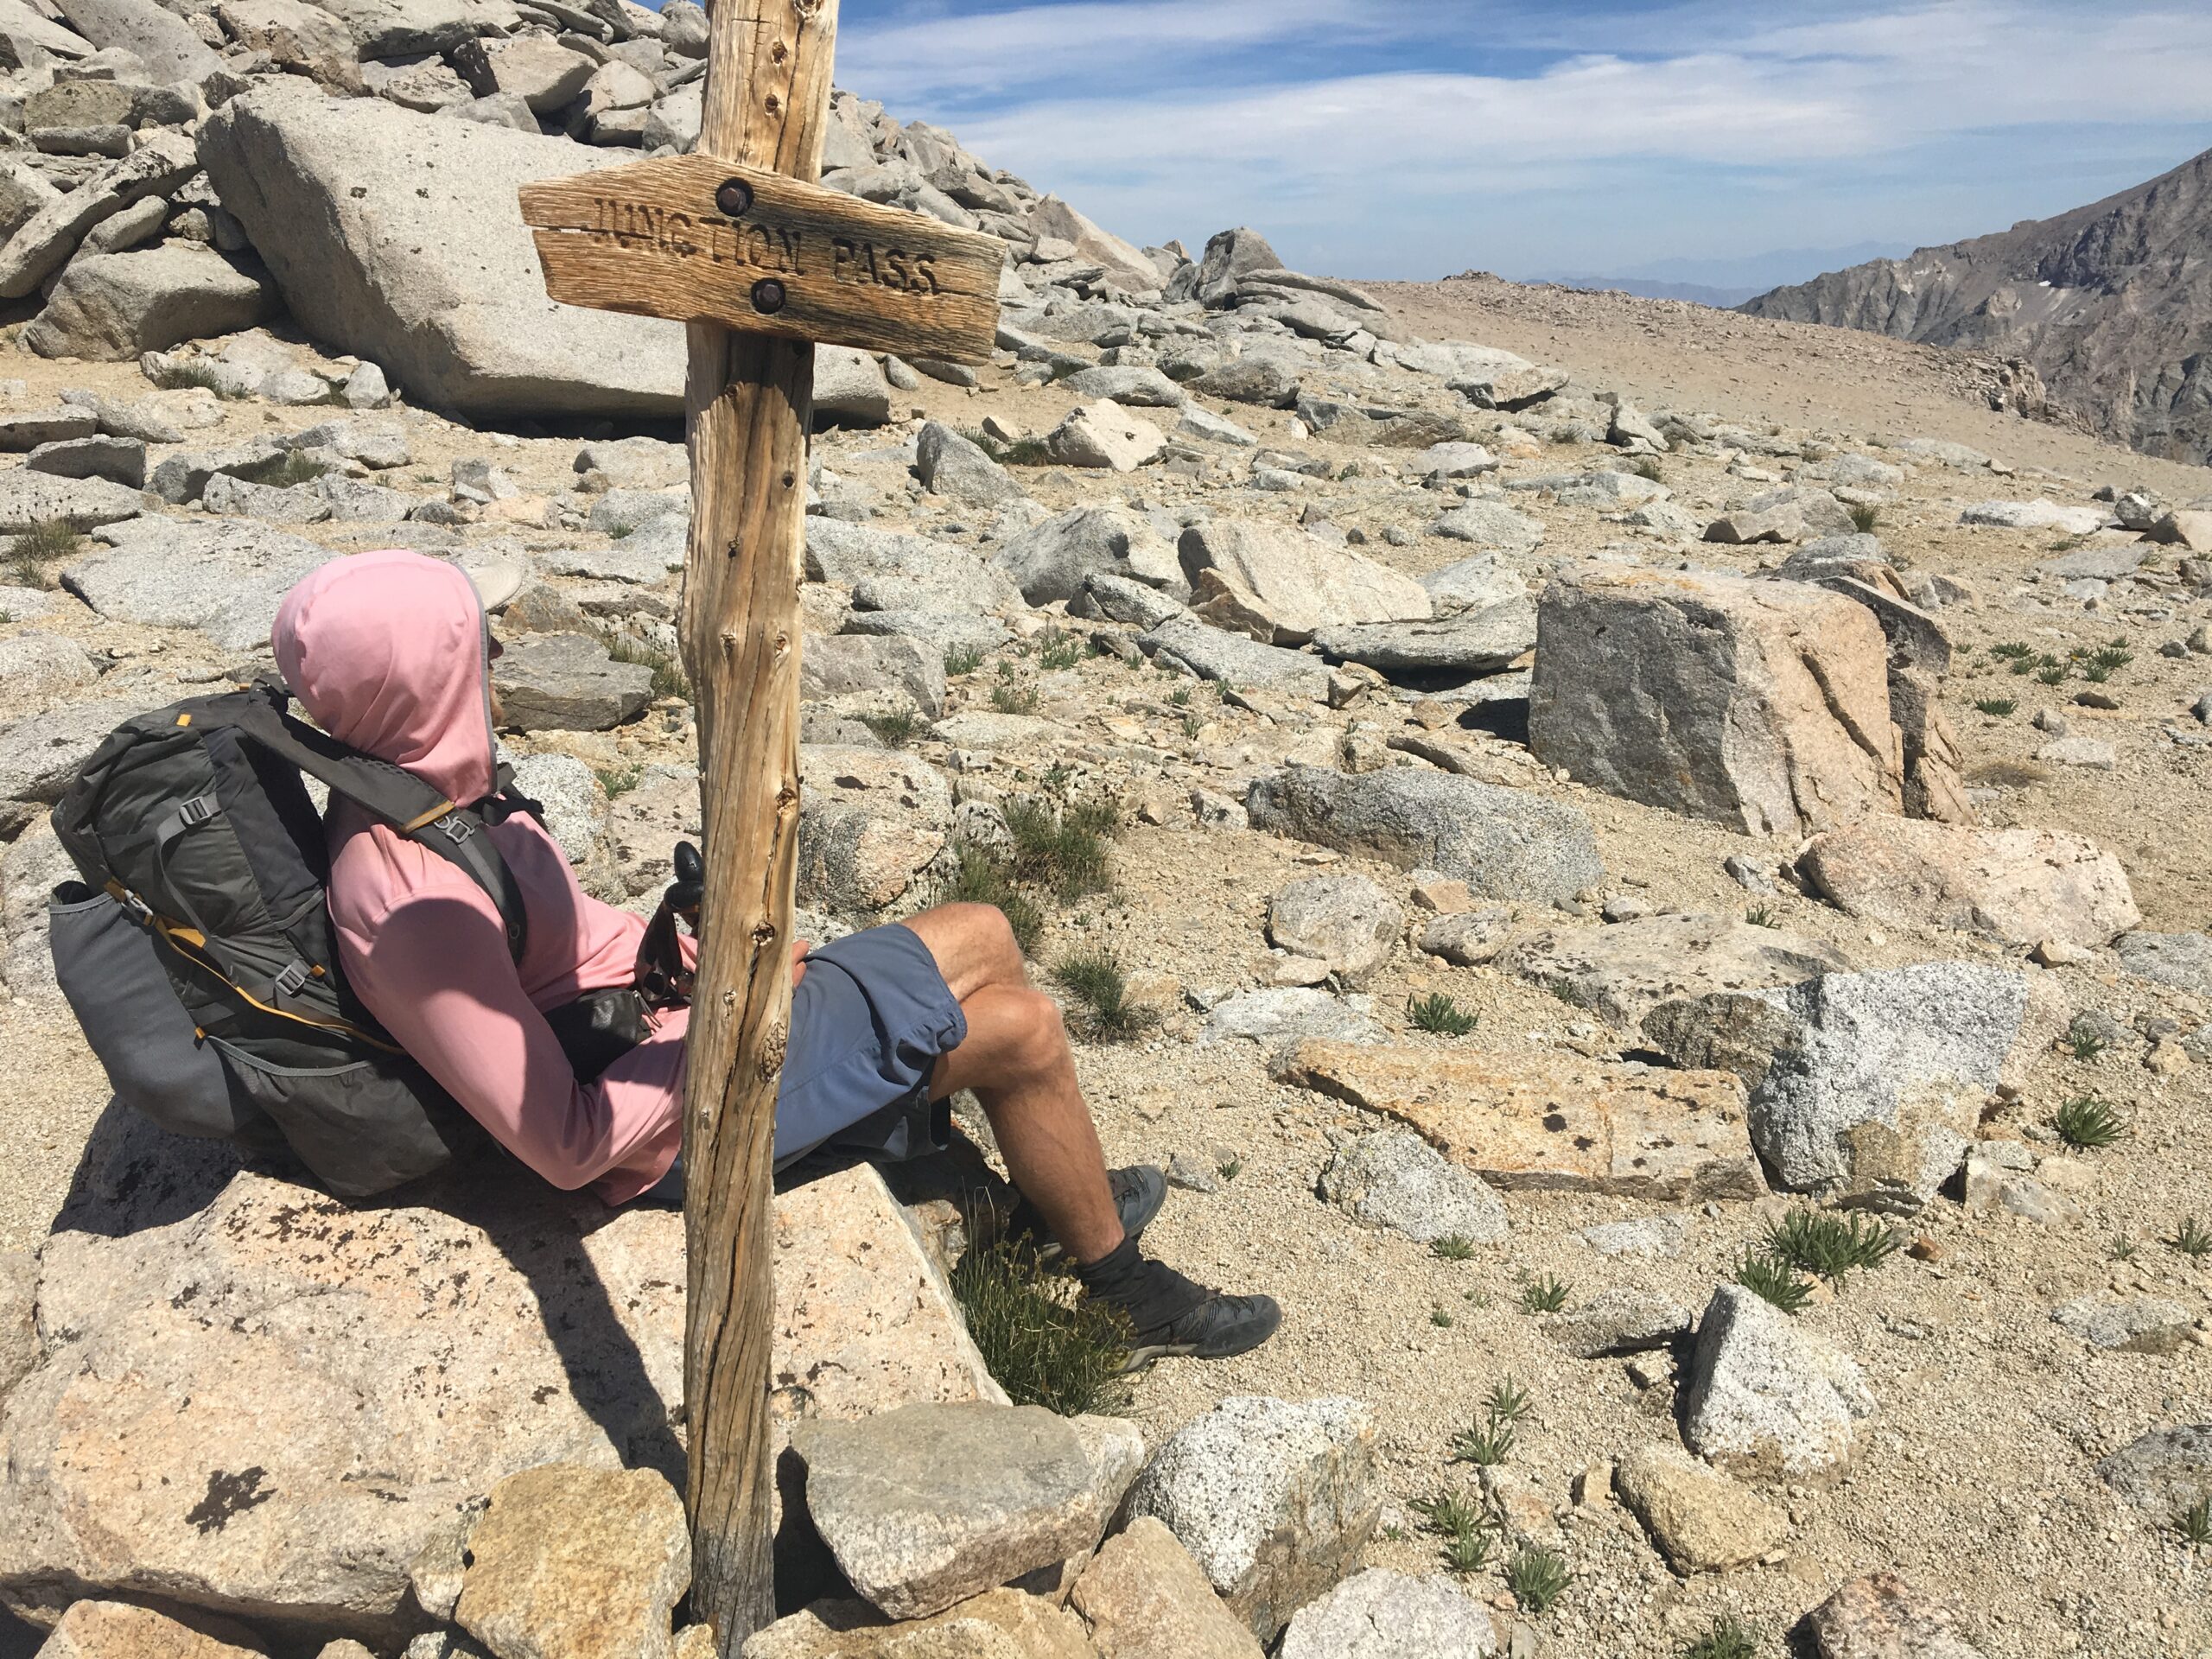
Day 4
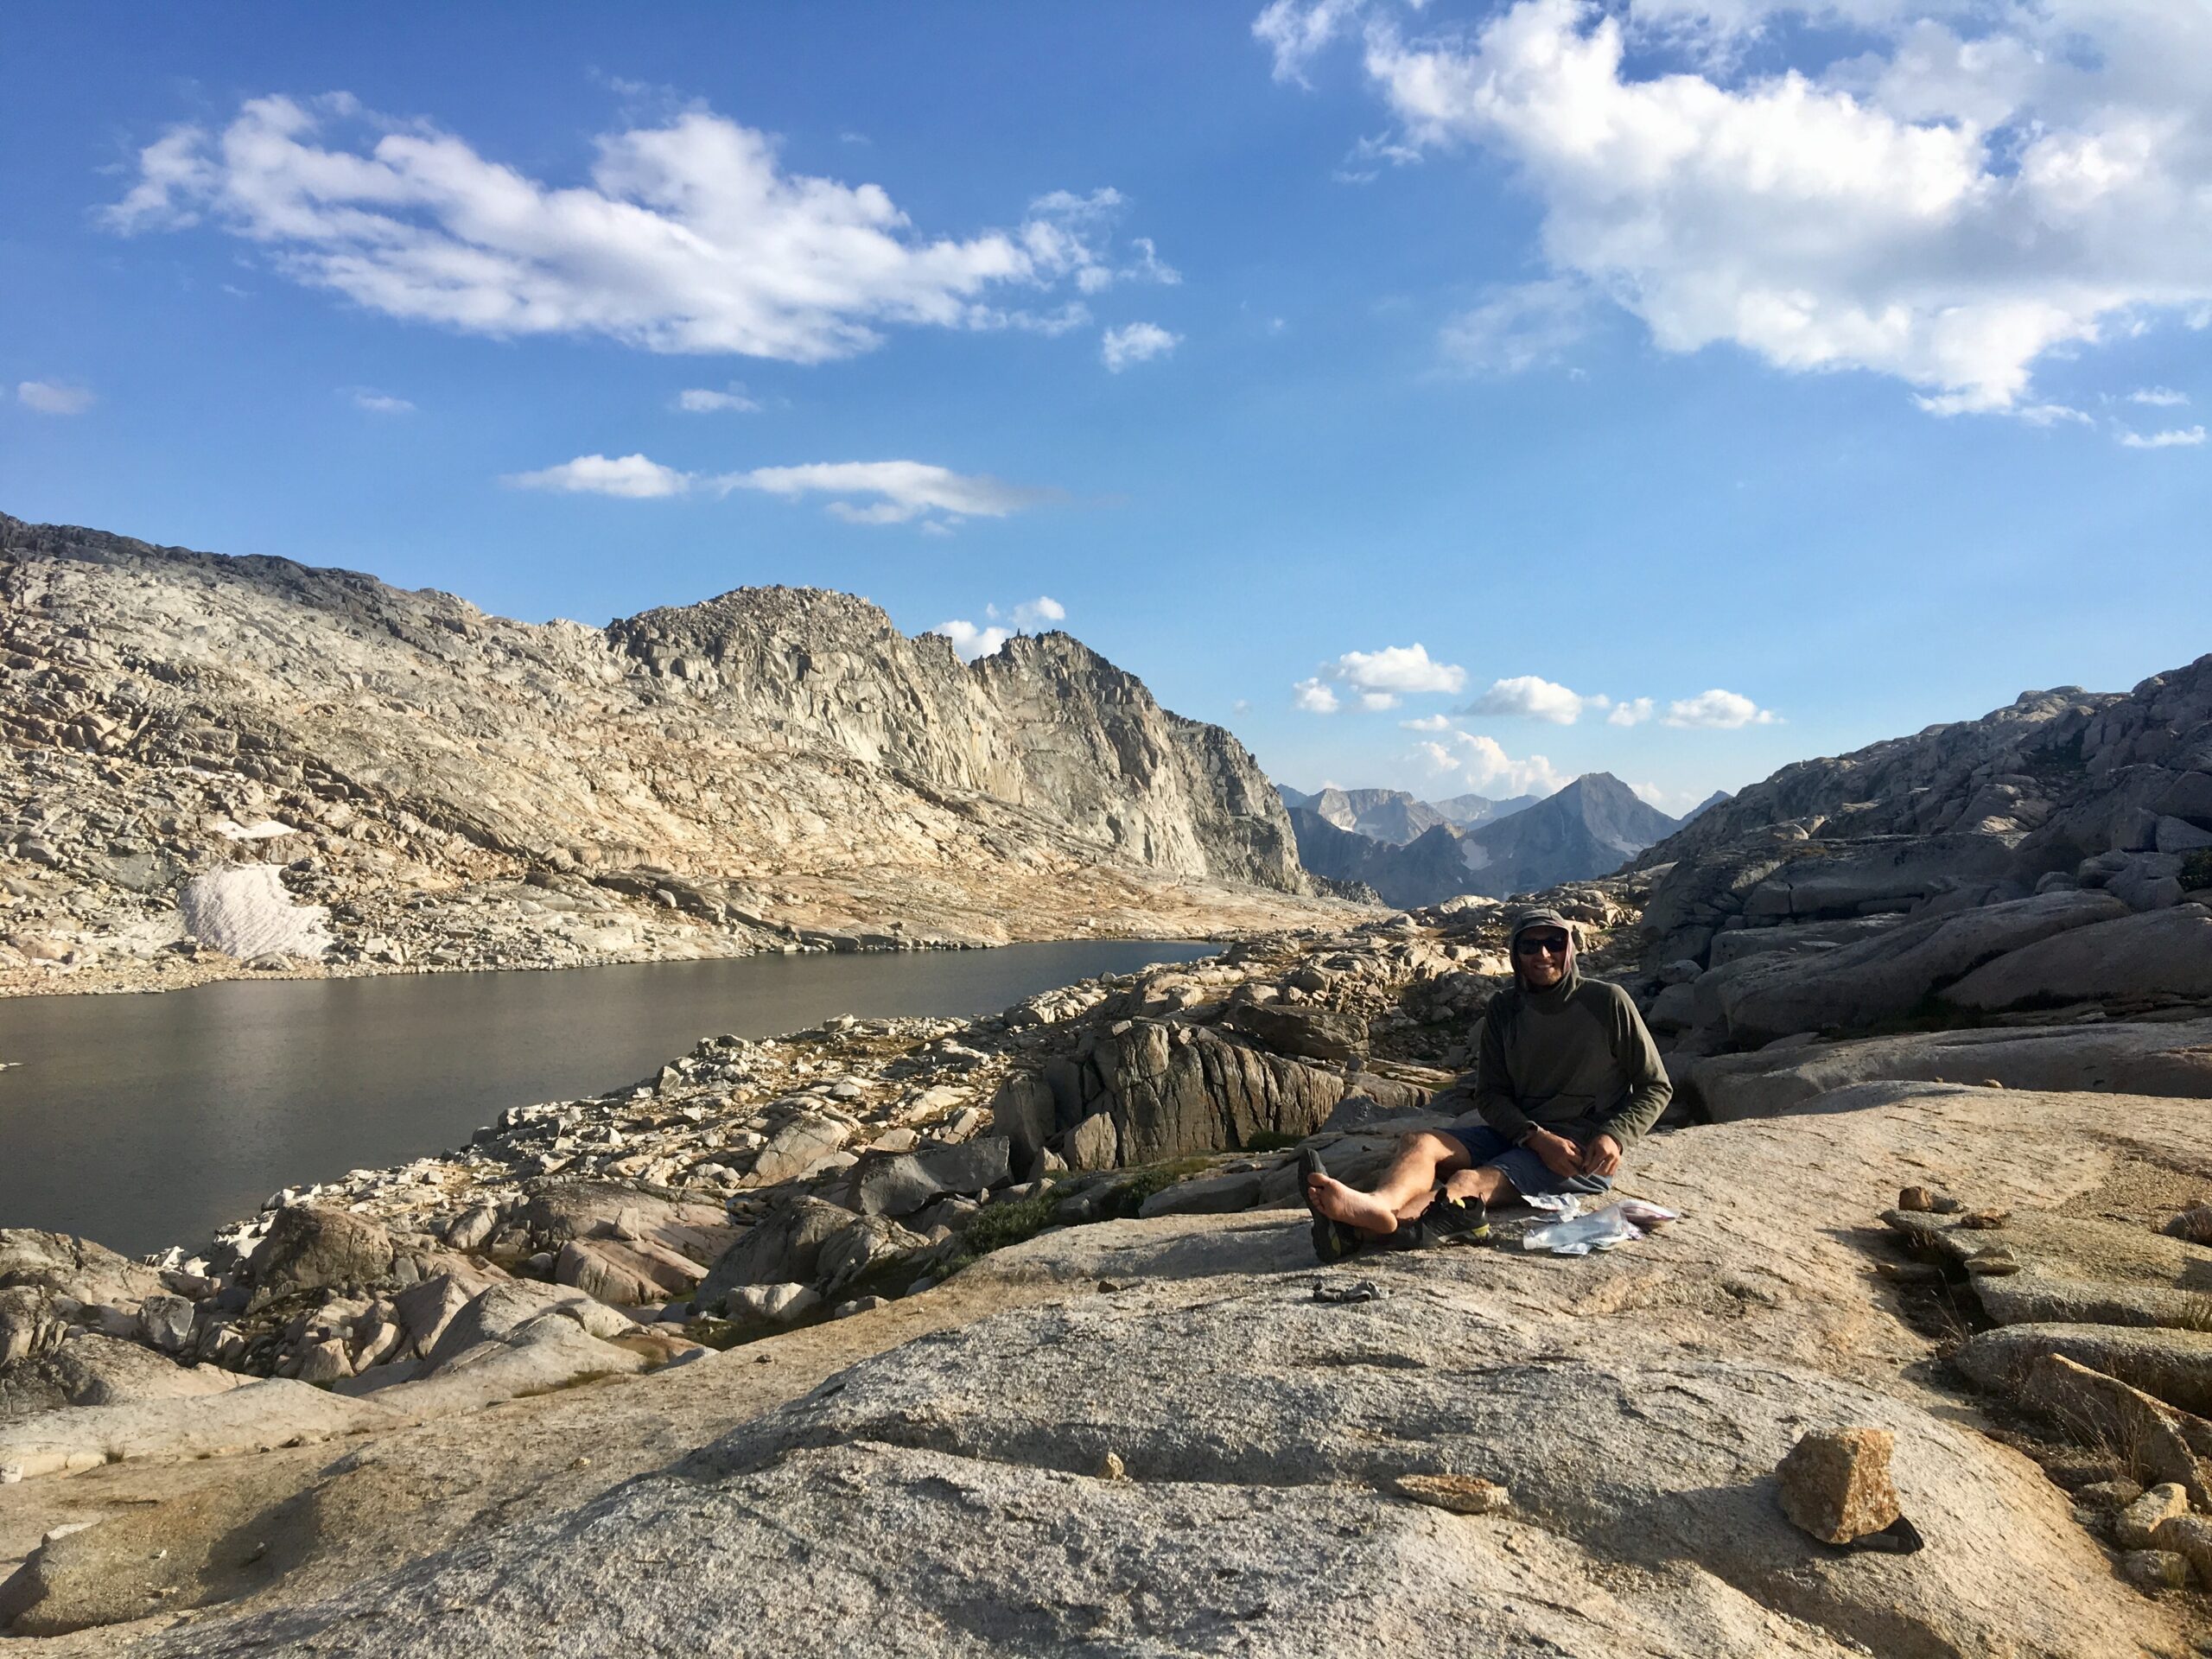
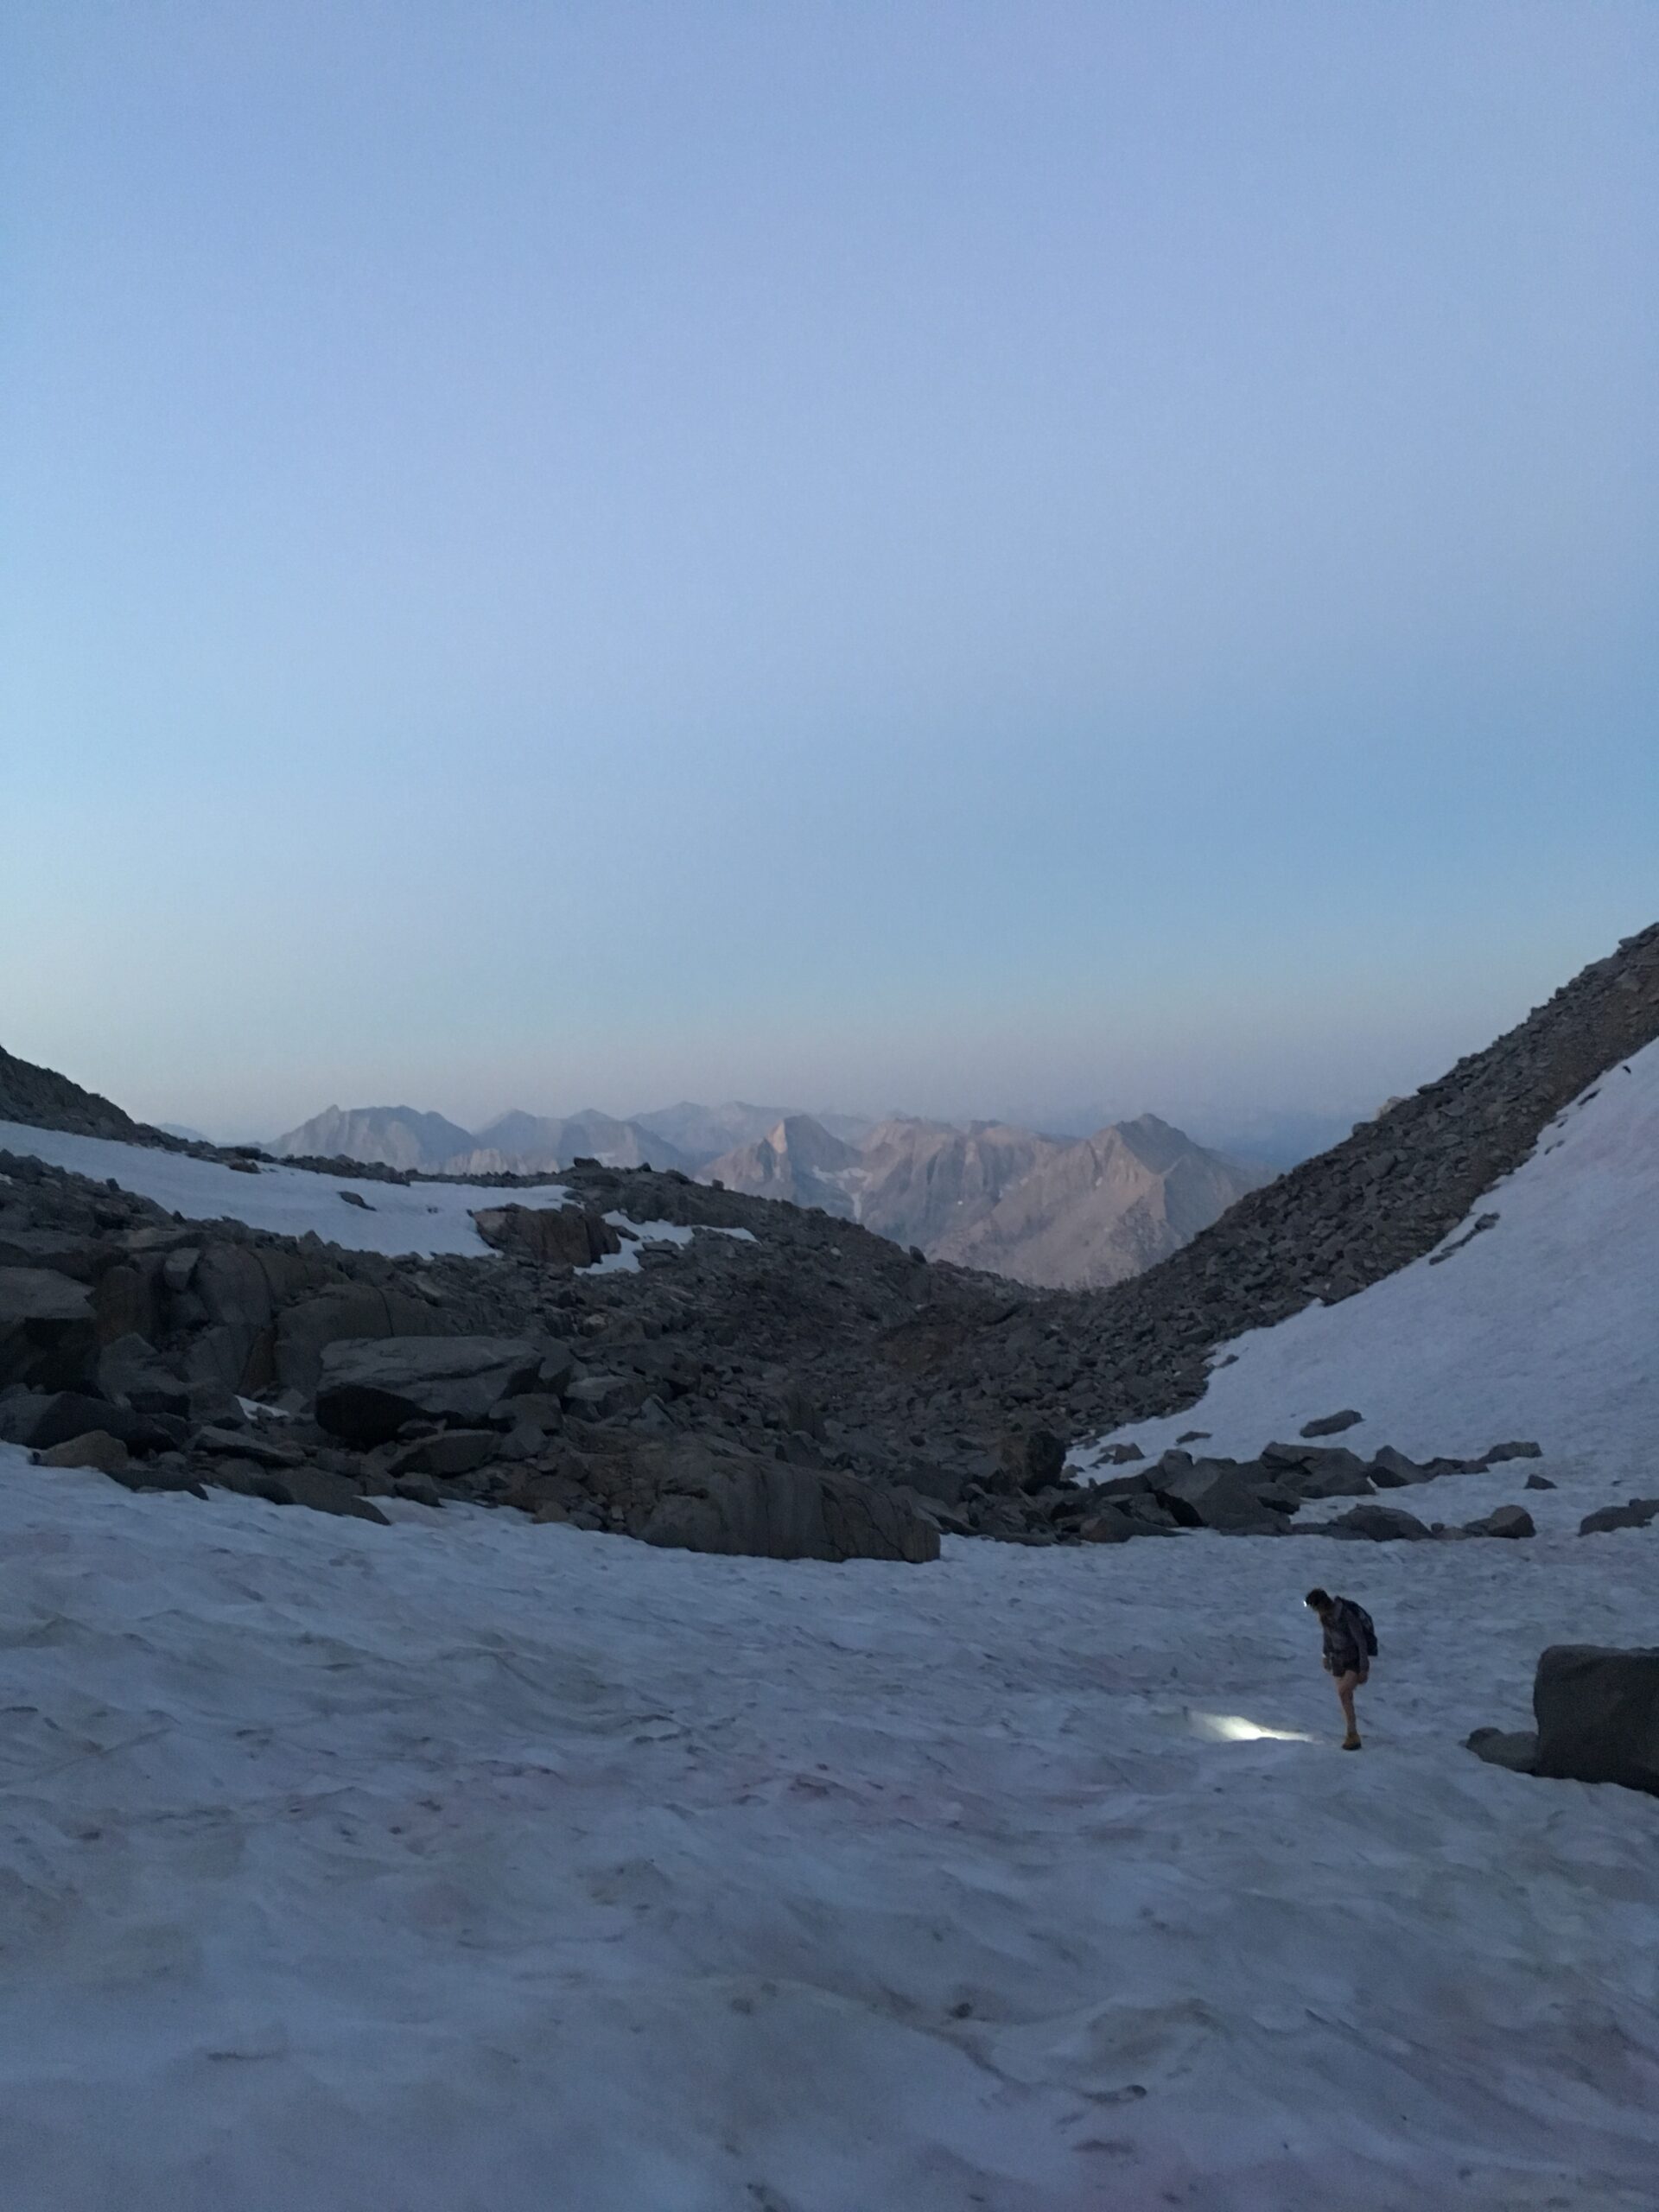
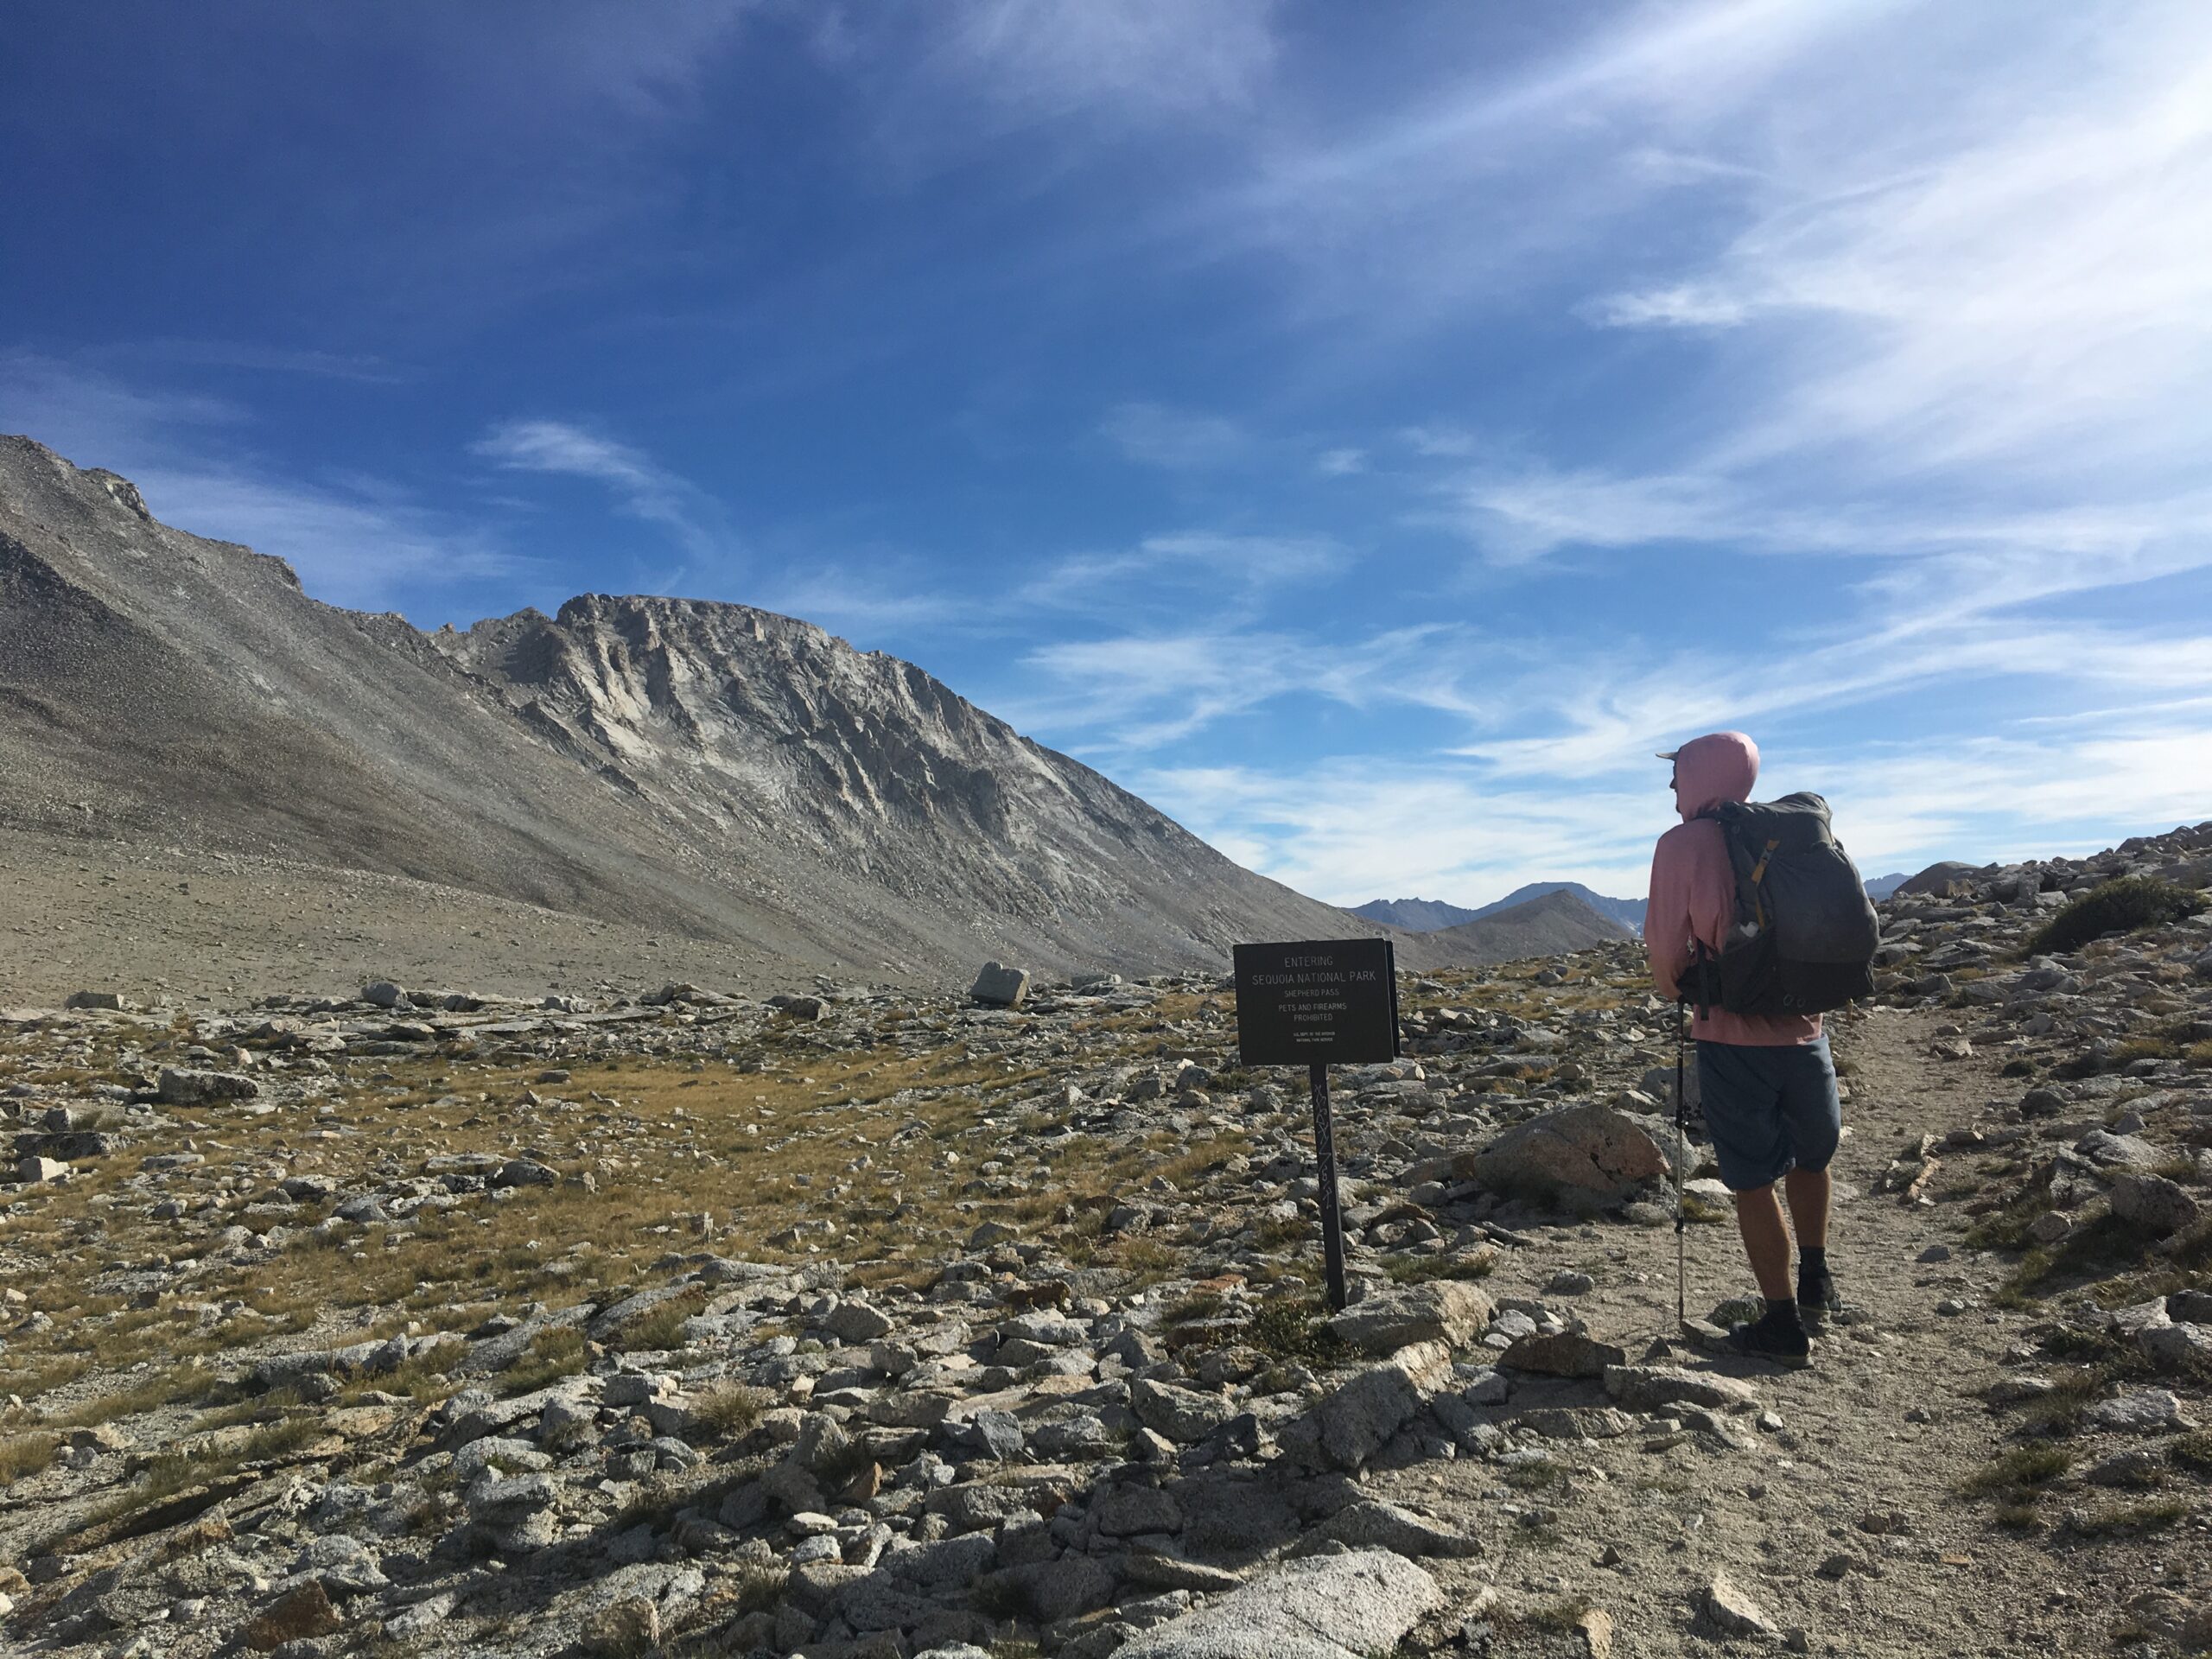
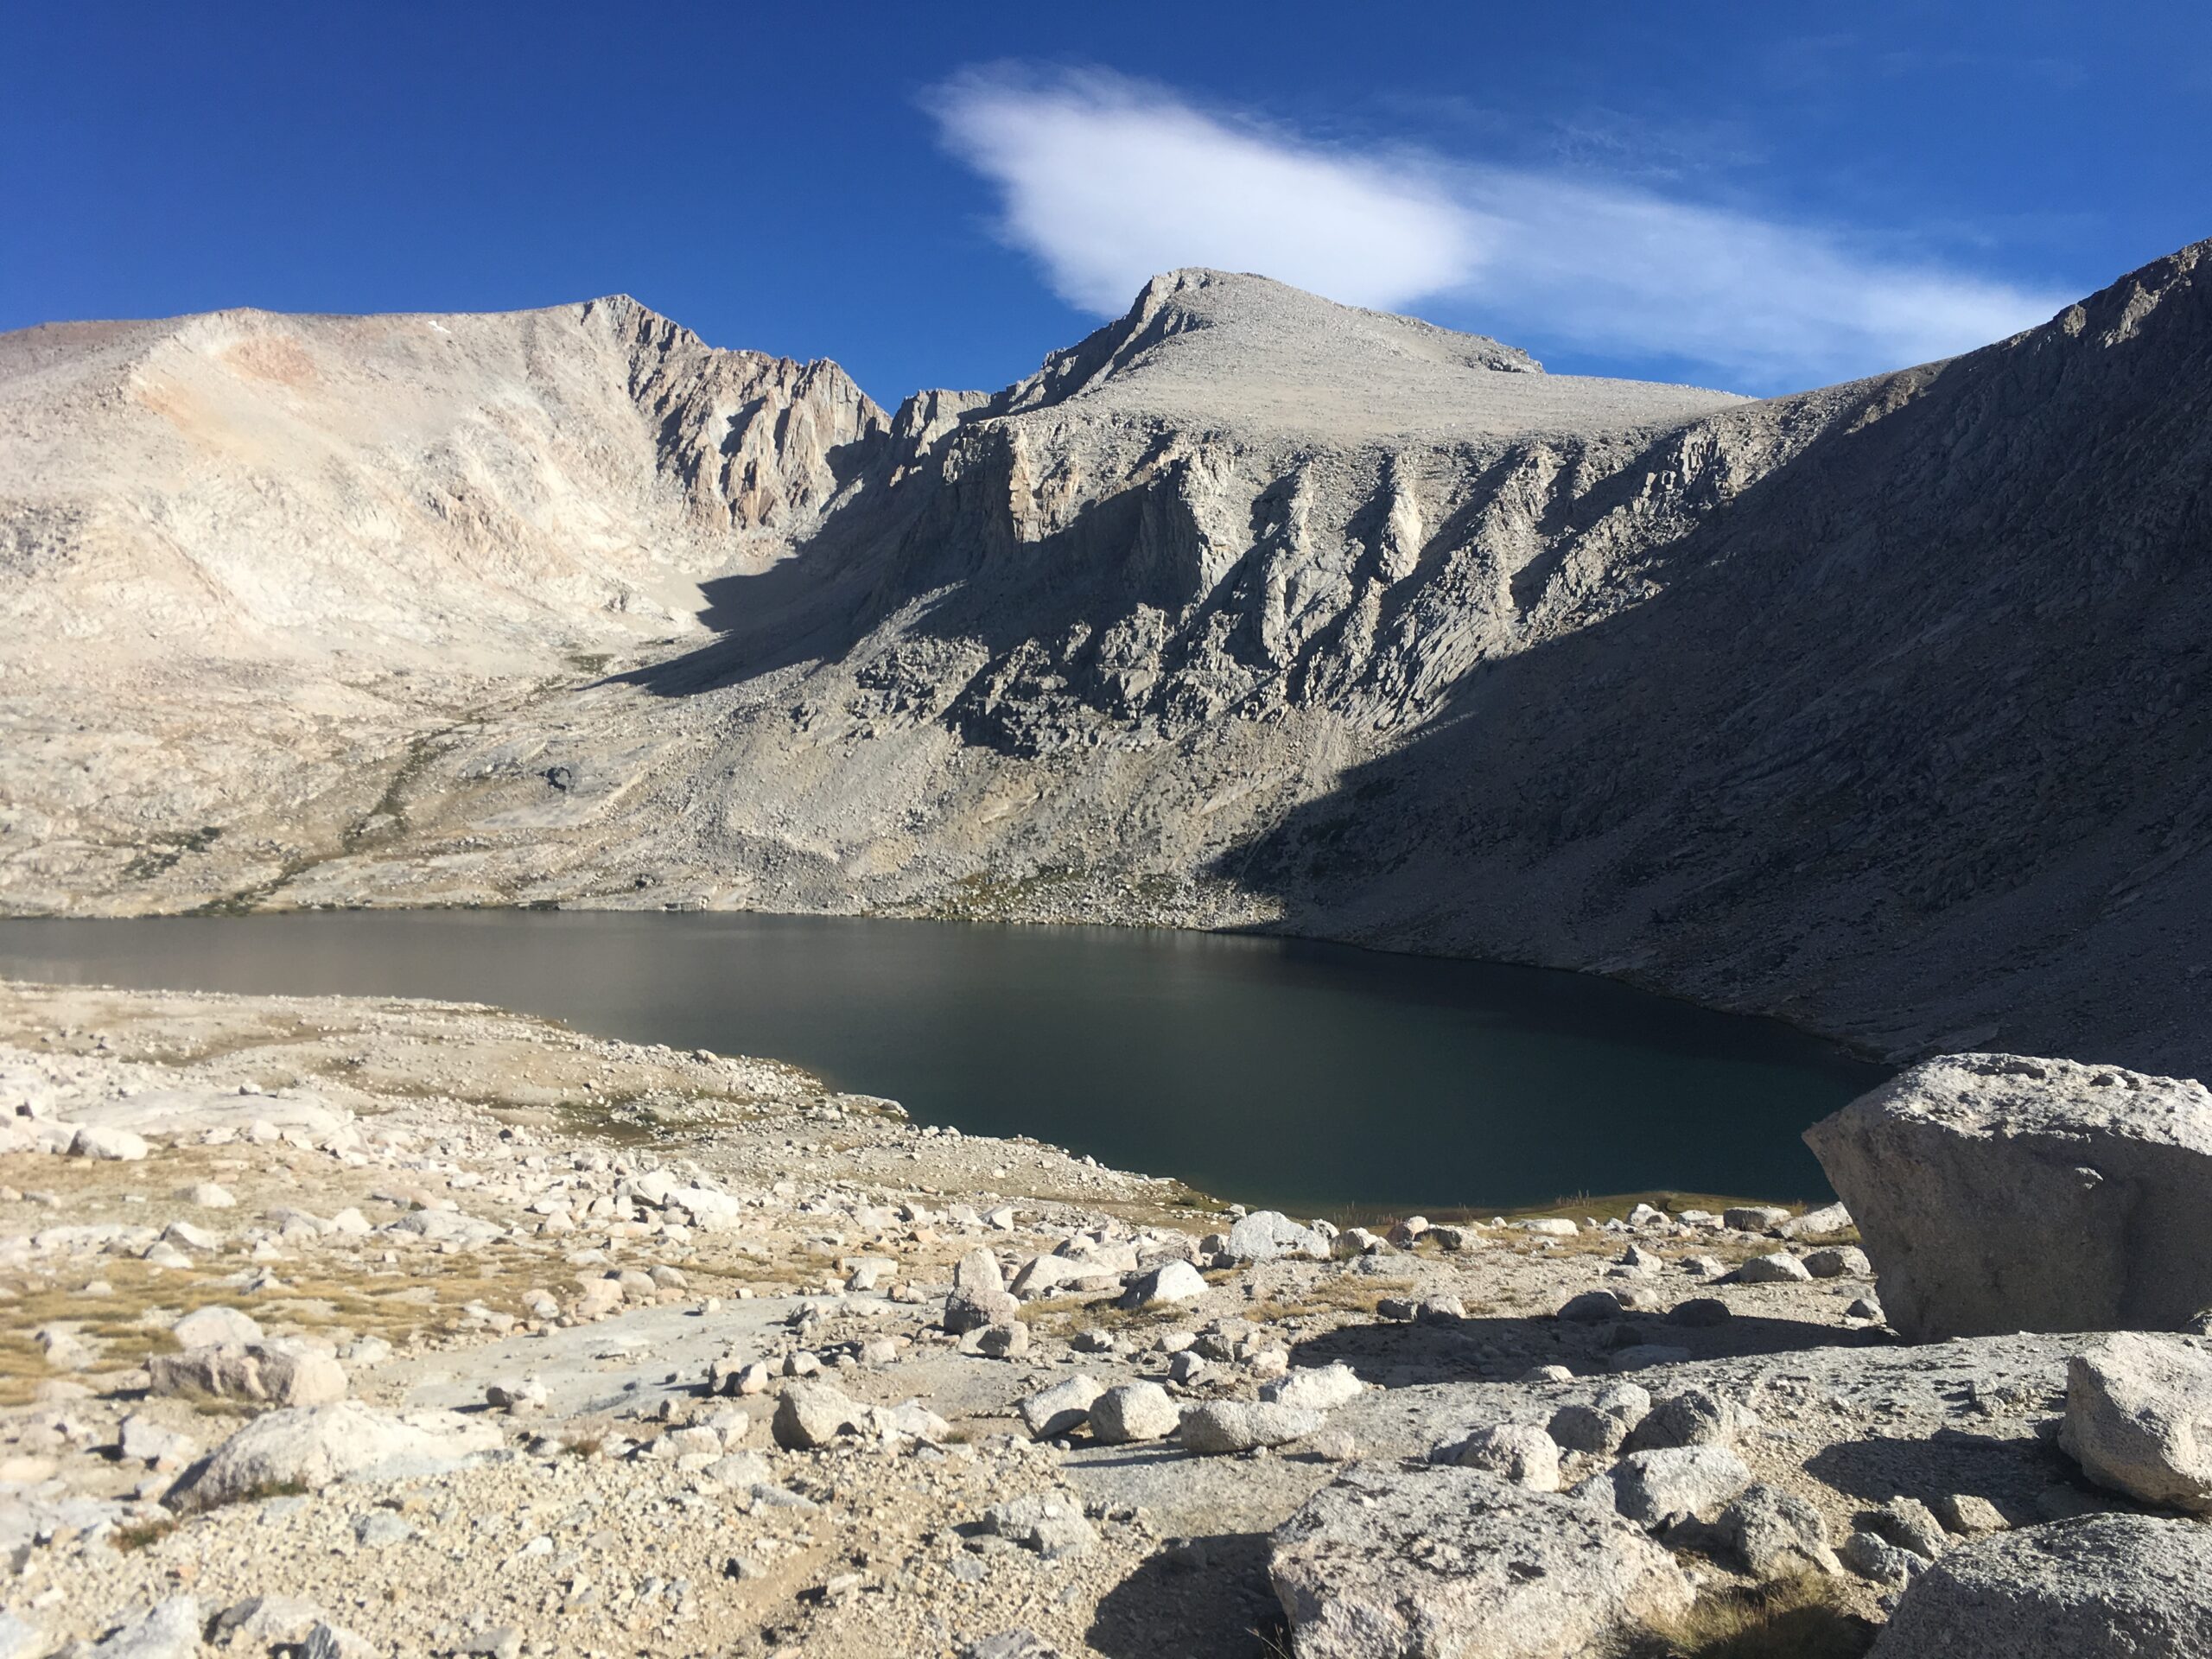
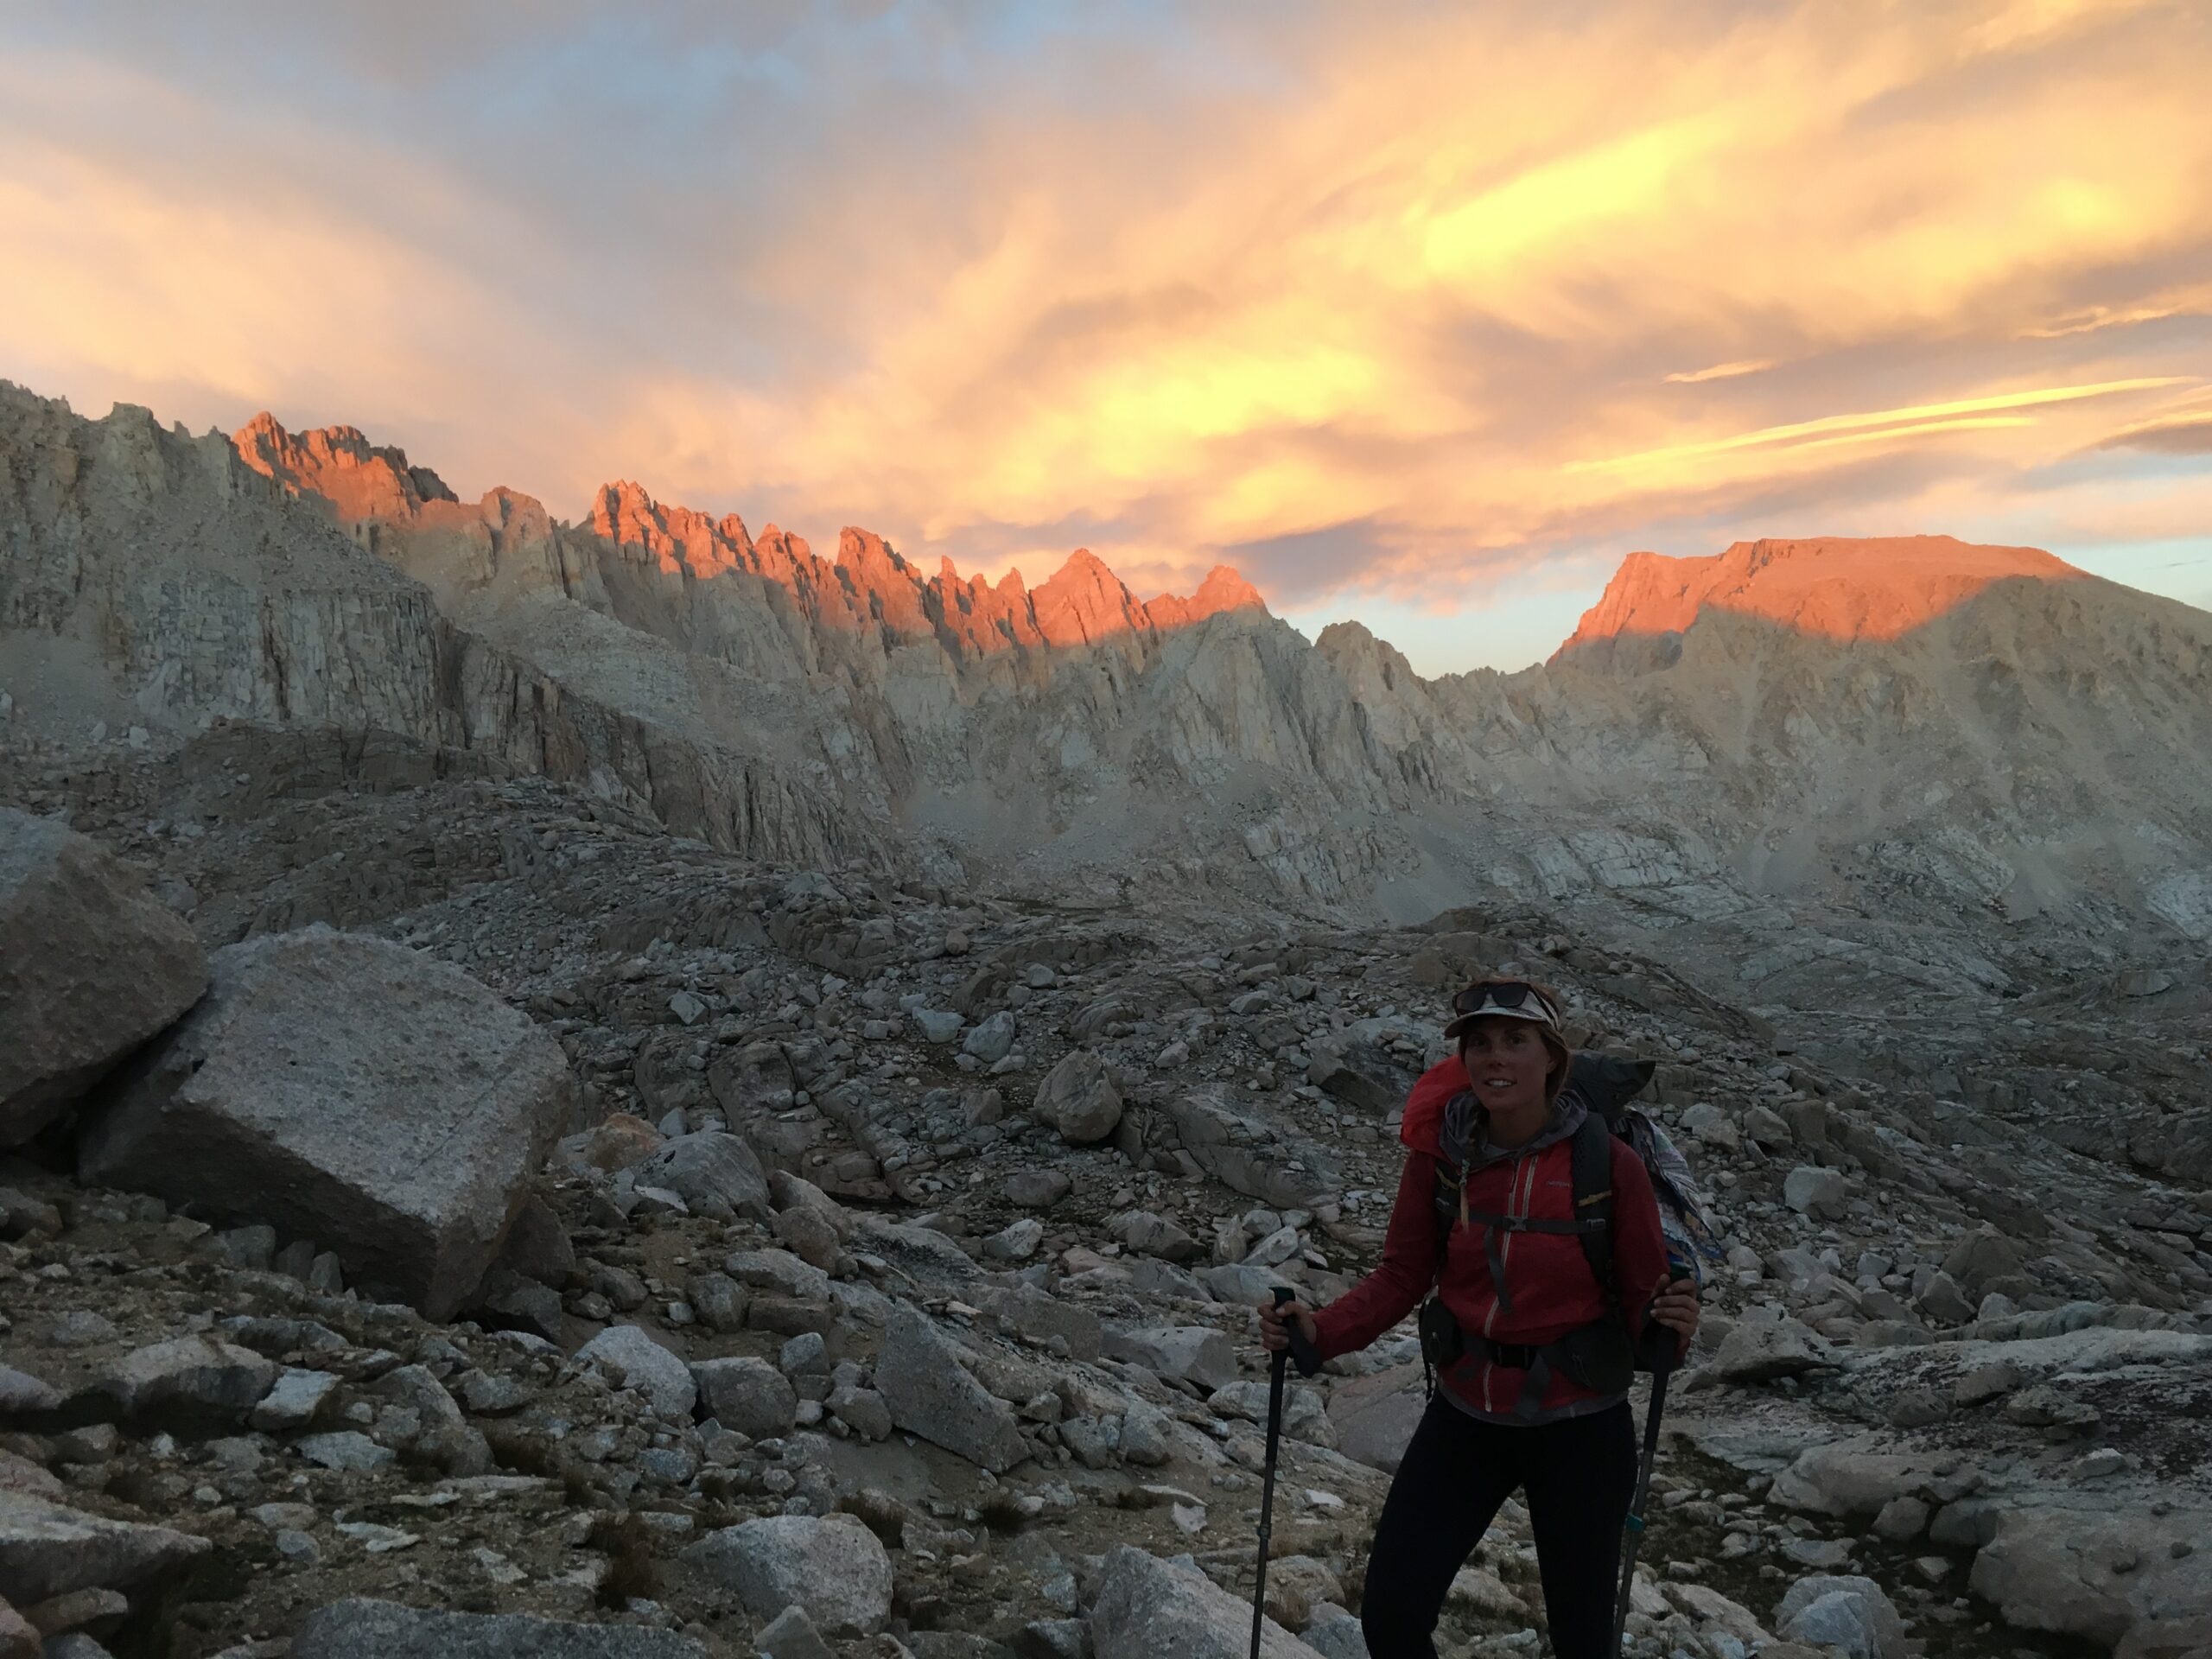
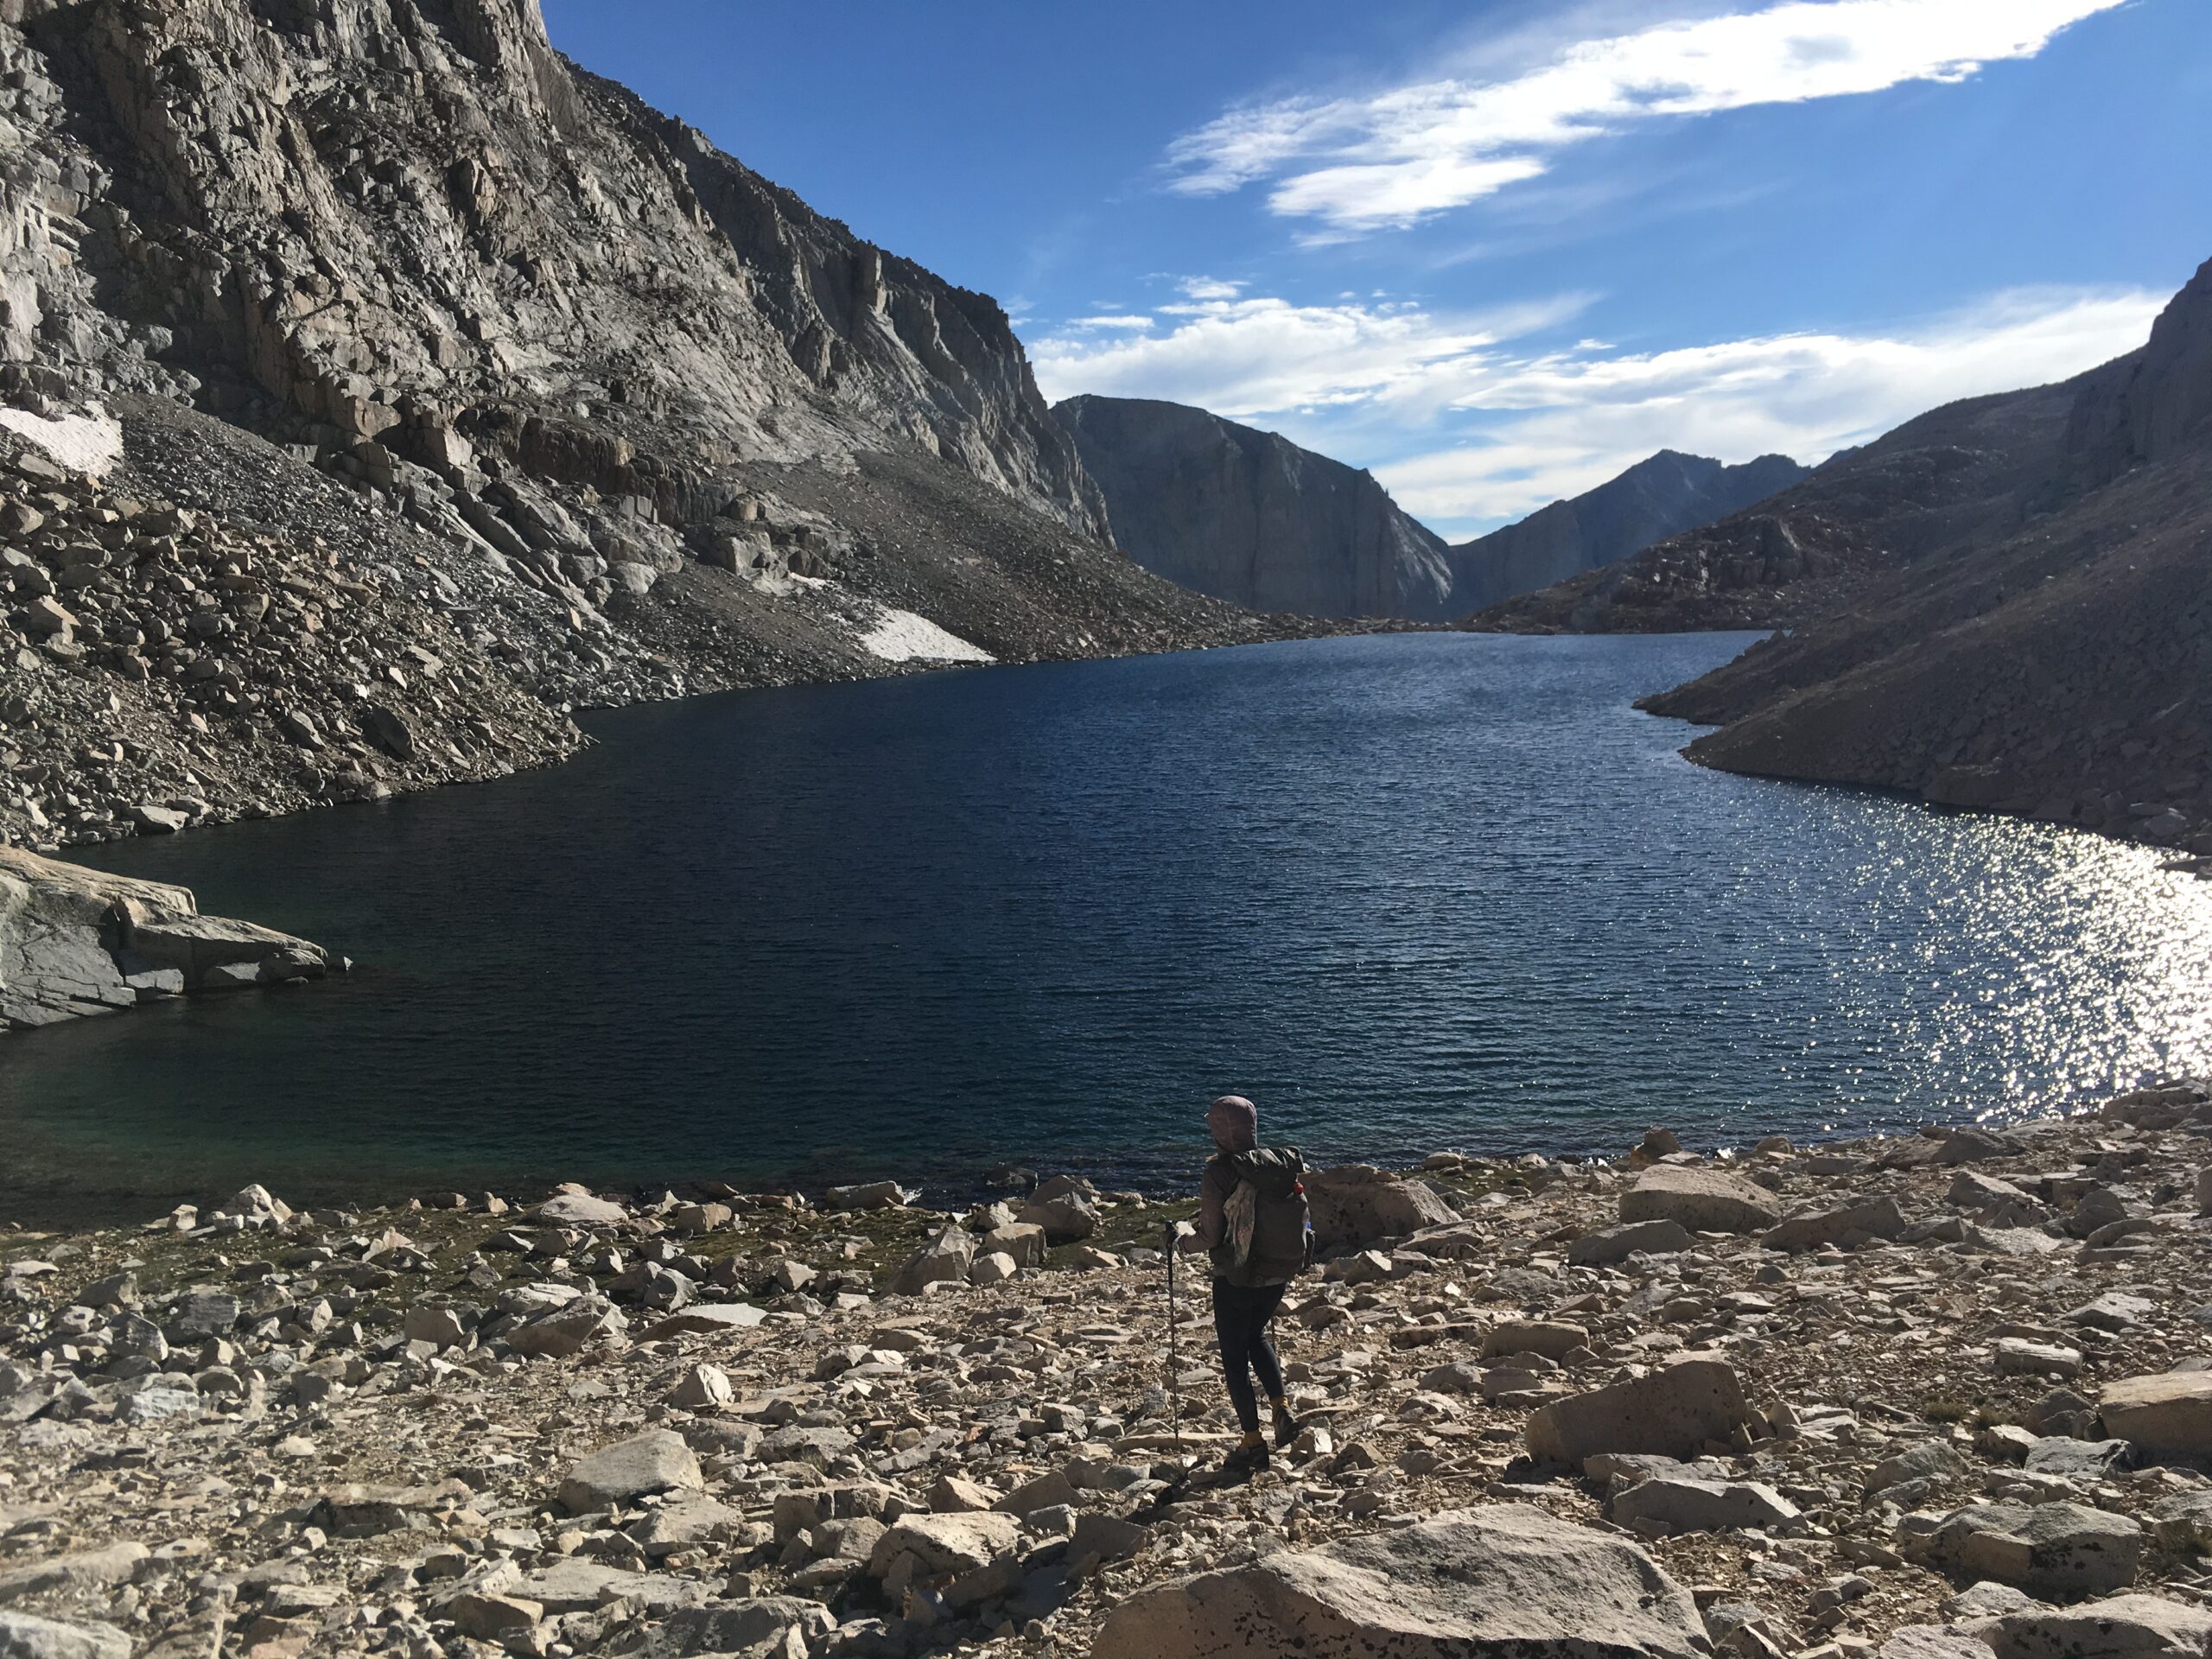
We were hoping to make it all the way to Tulainyo Lake on Day 4, but we were feeling worked from the last 3 days and not optimistic we would make it that night. We made the climb over Glen Pass, down the other side and then onto the trail that leads over Forester Pass. A few miles up the trail we cut off at a very obvious cairn (even though the route information says it is fairly hard to see). We headed up into Center Basin and took a break to swim at some of the beautiful alpine lakes there. We then went over Junction Pass – it was interesting to know that this was where the JMT traveled before Forester Pass was made. We loved looking across from this point to watch the tiny silhouettes of JMT hikers going over Forester Pass. Junction Pass marked the beginning of a very high elevation section. Dropping off of this pass seemed tricky, but we got lucky and found a high use trail on the hillside before the rocks and snow began. This path dropped us down to the base of Shepherd Pass. We climbed up Shepherd Pass – seeing a deer massacre from an old avalanche on our way up – walked through a basin and over Wright Lakes Pass. From there we dropped into Wright Lakes Basin, passed many old dead trees, and settled in to camp for the night, low on Wallace Creek. Another long day, and we were still planning to summit Mt. Whitney tomorrow.
Day 5
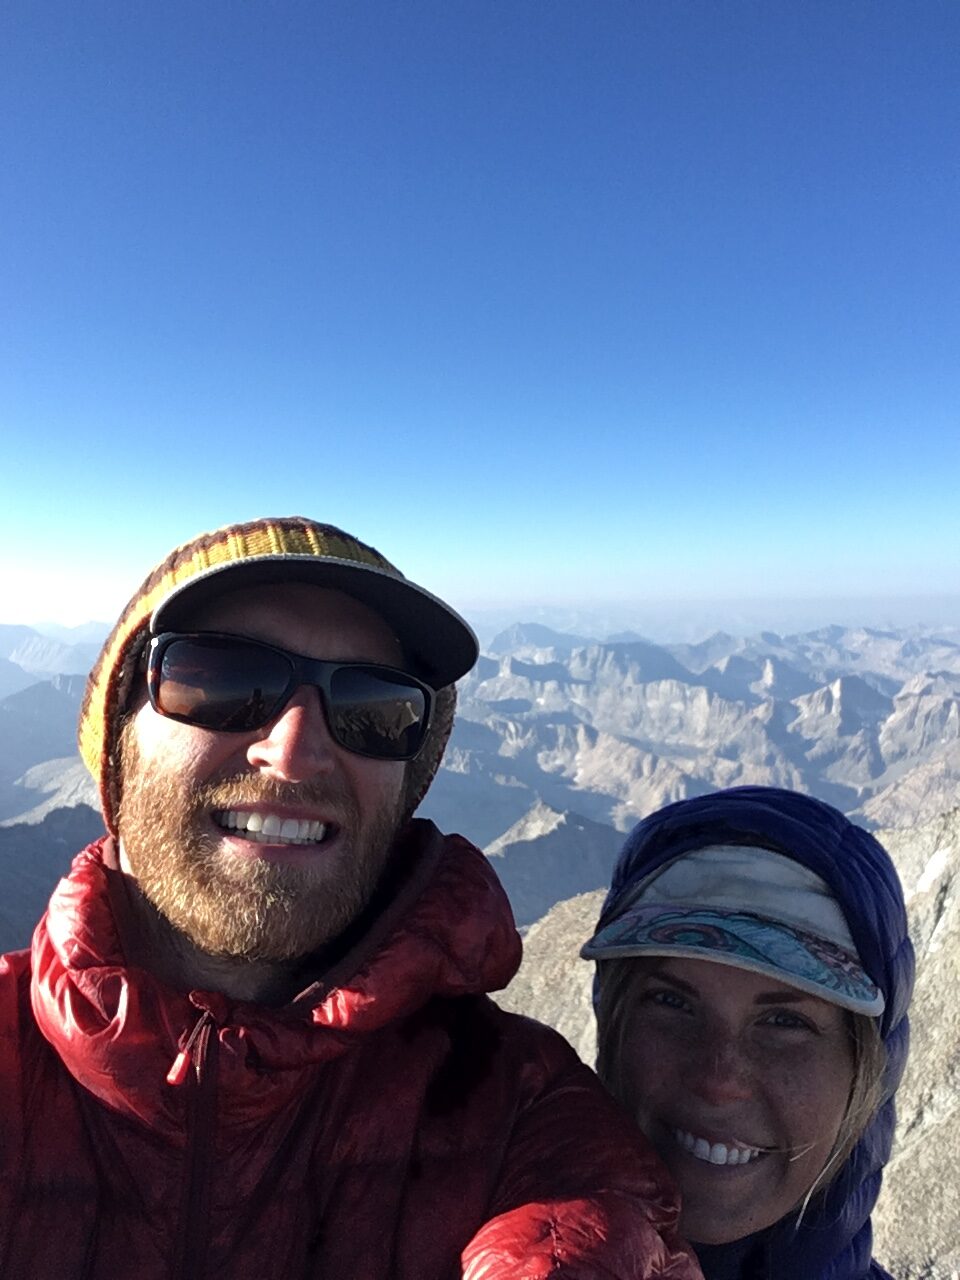
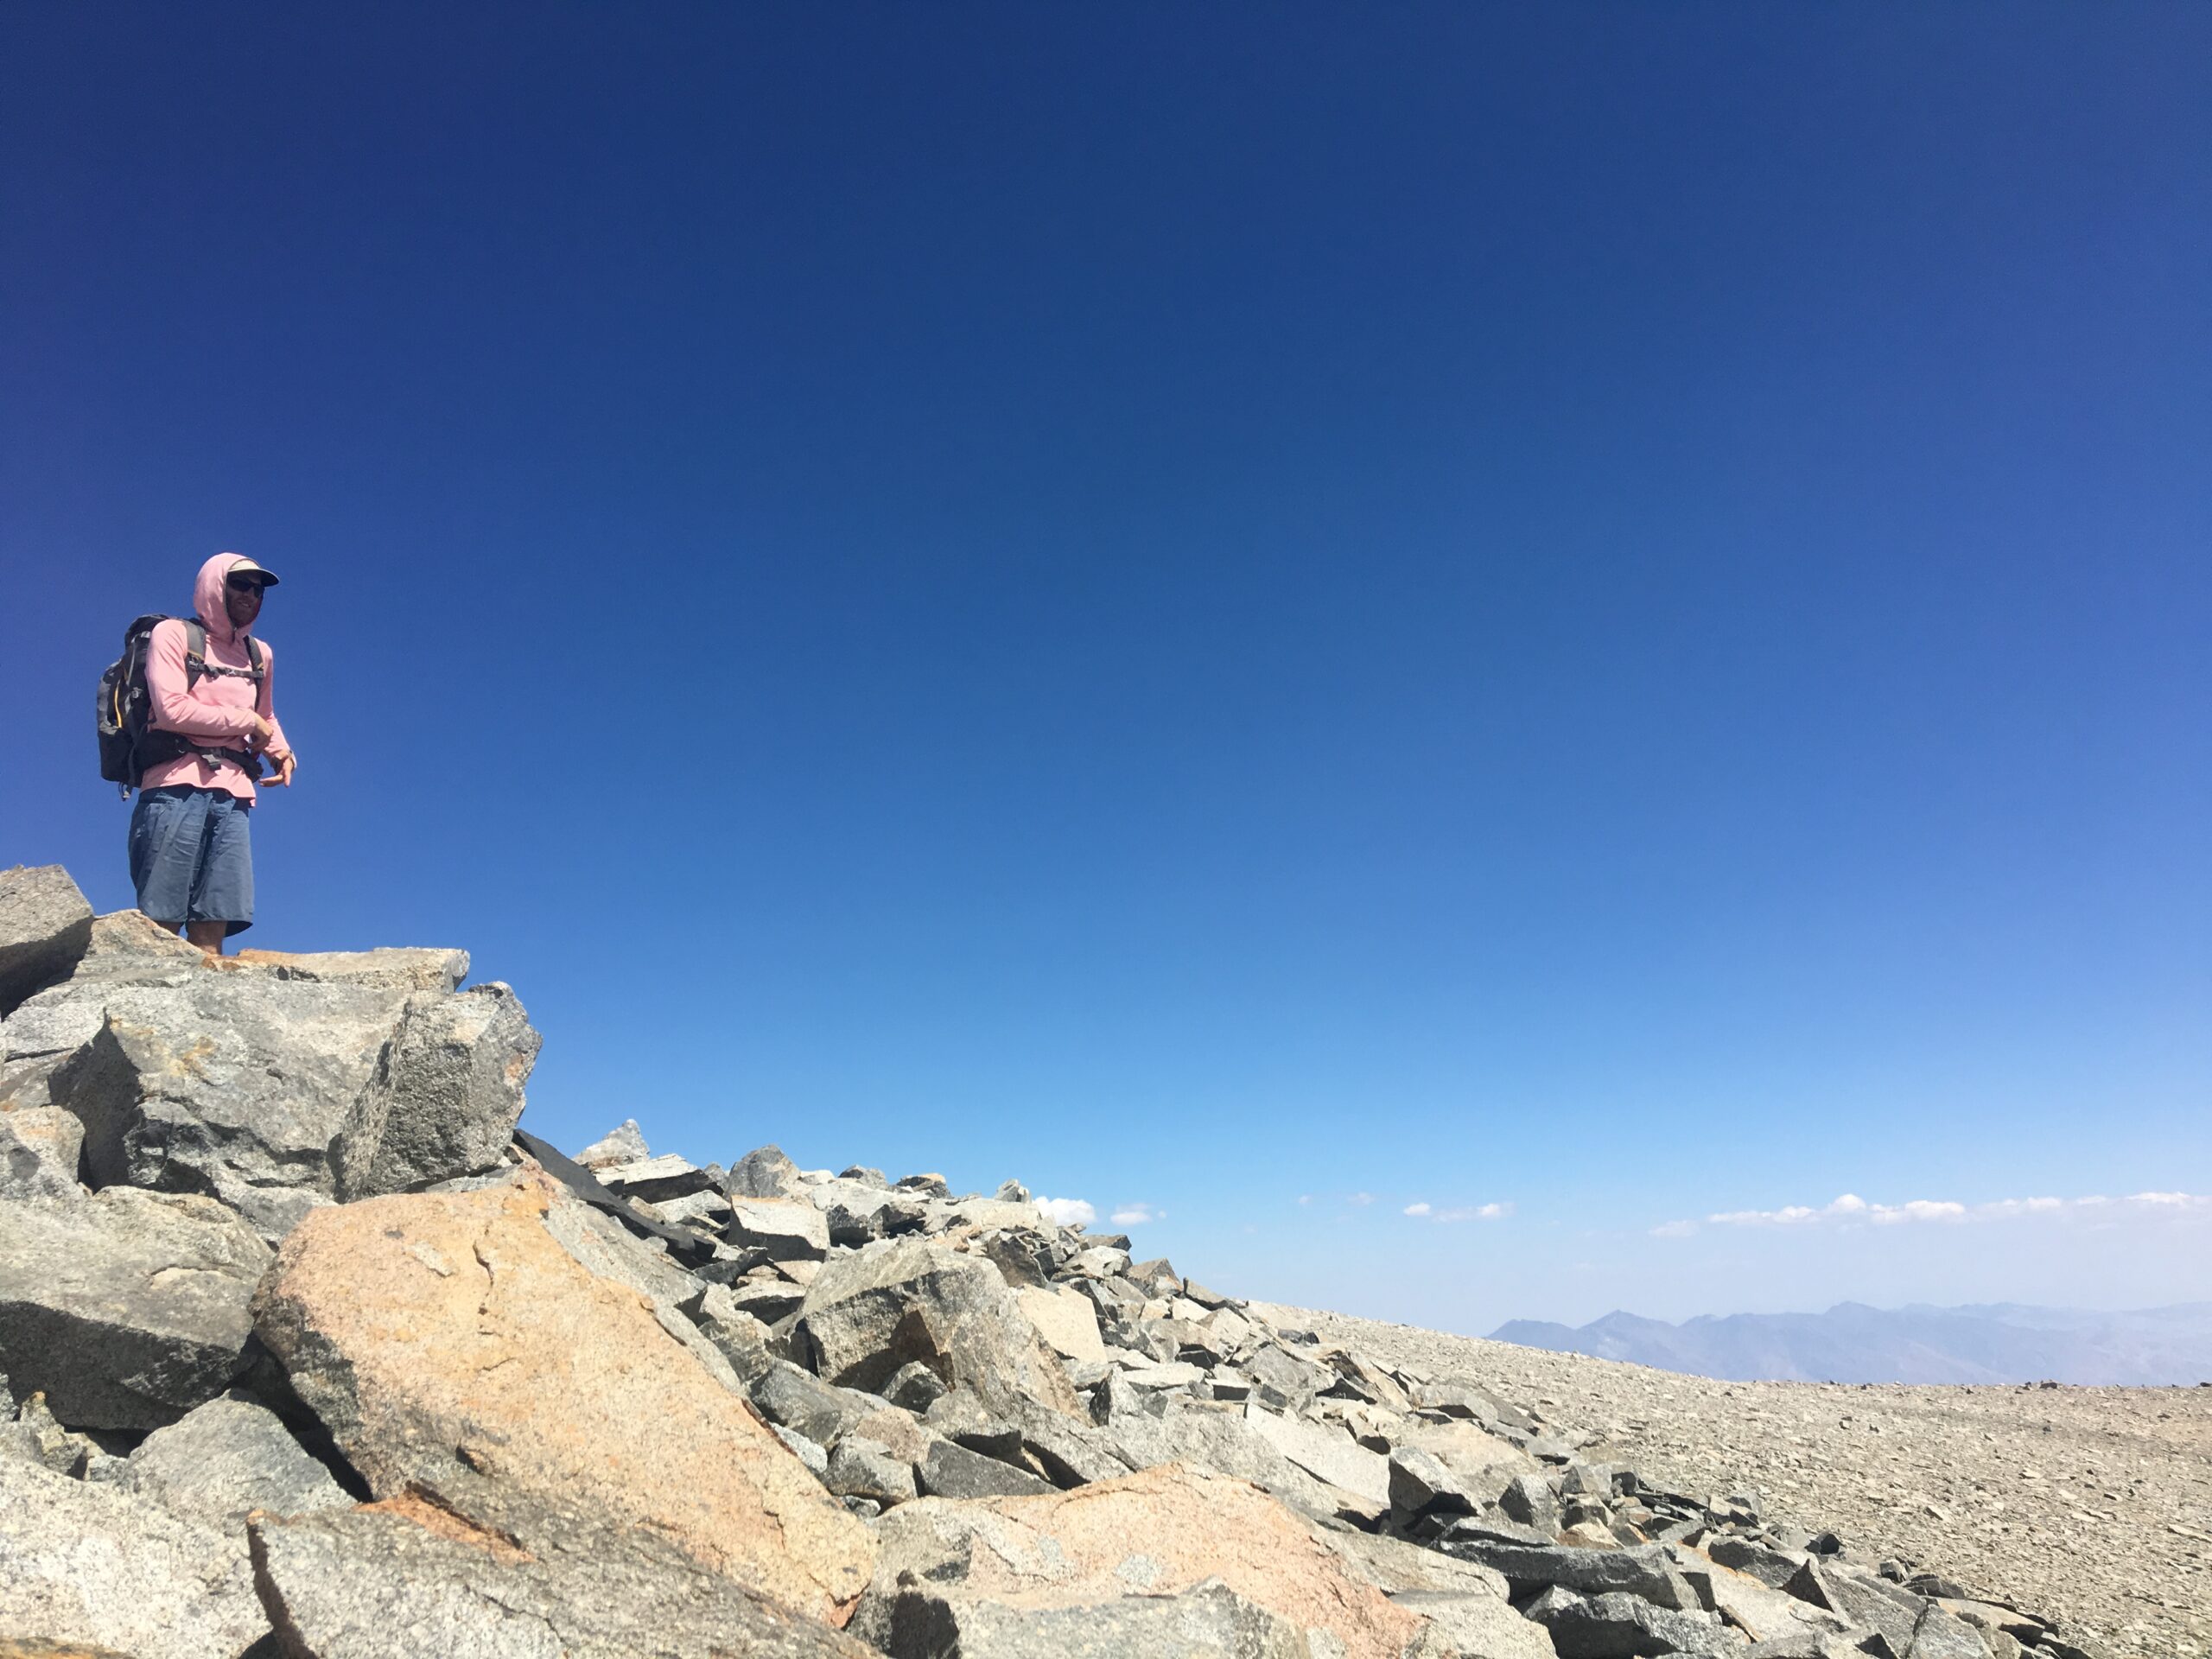
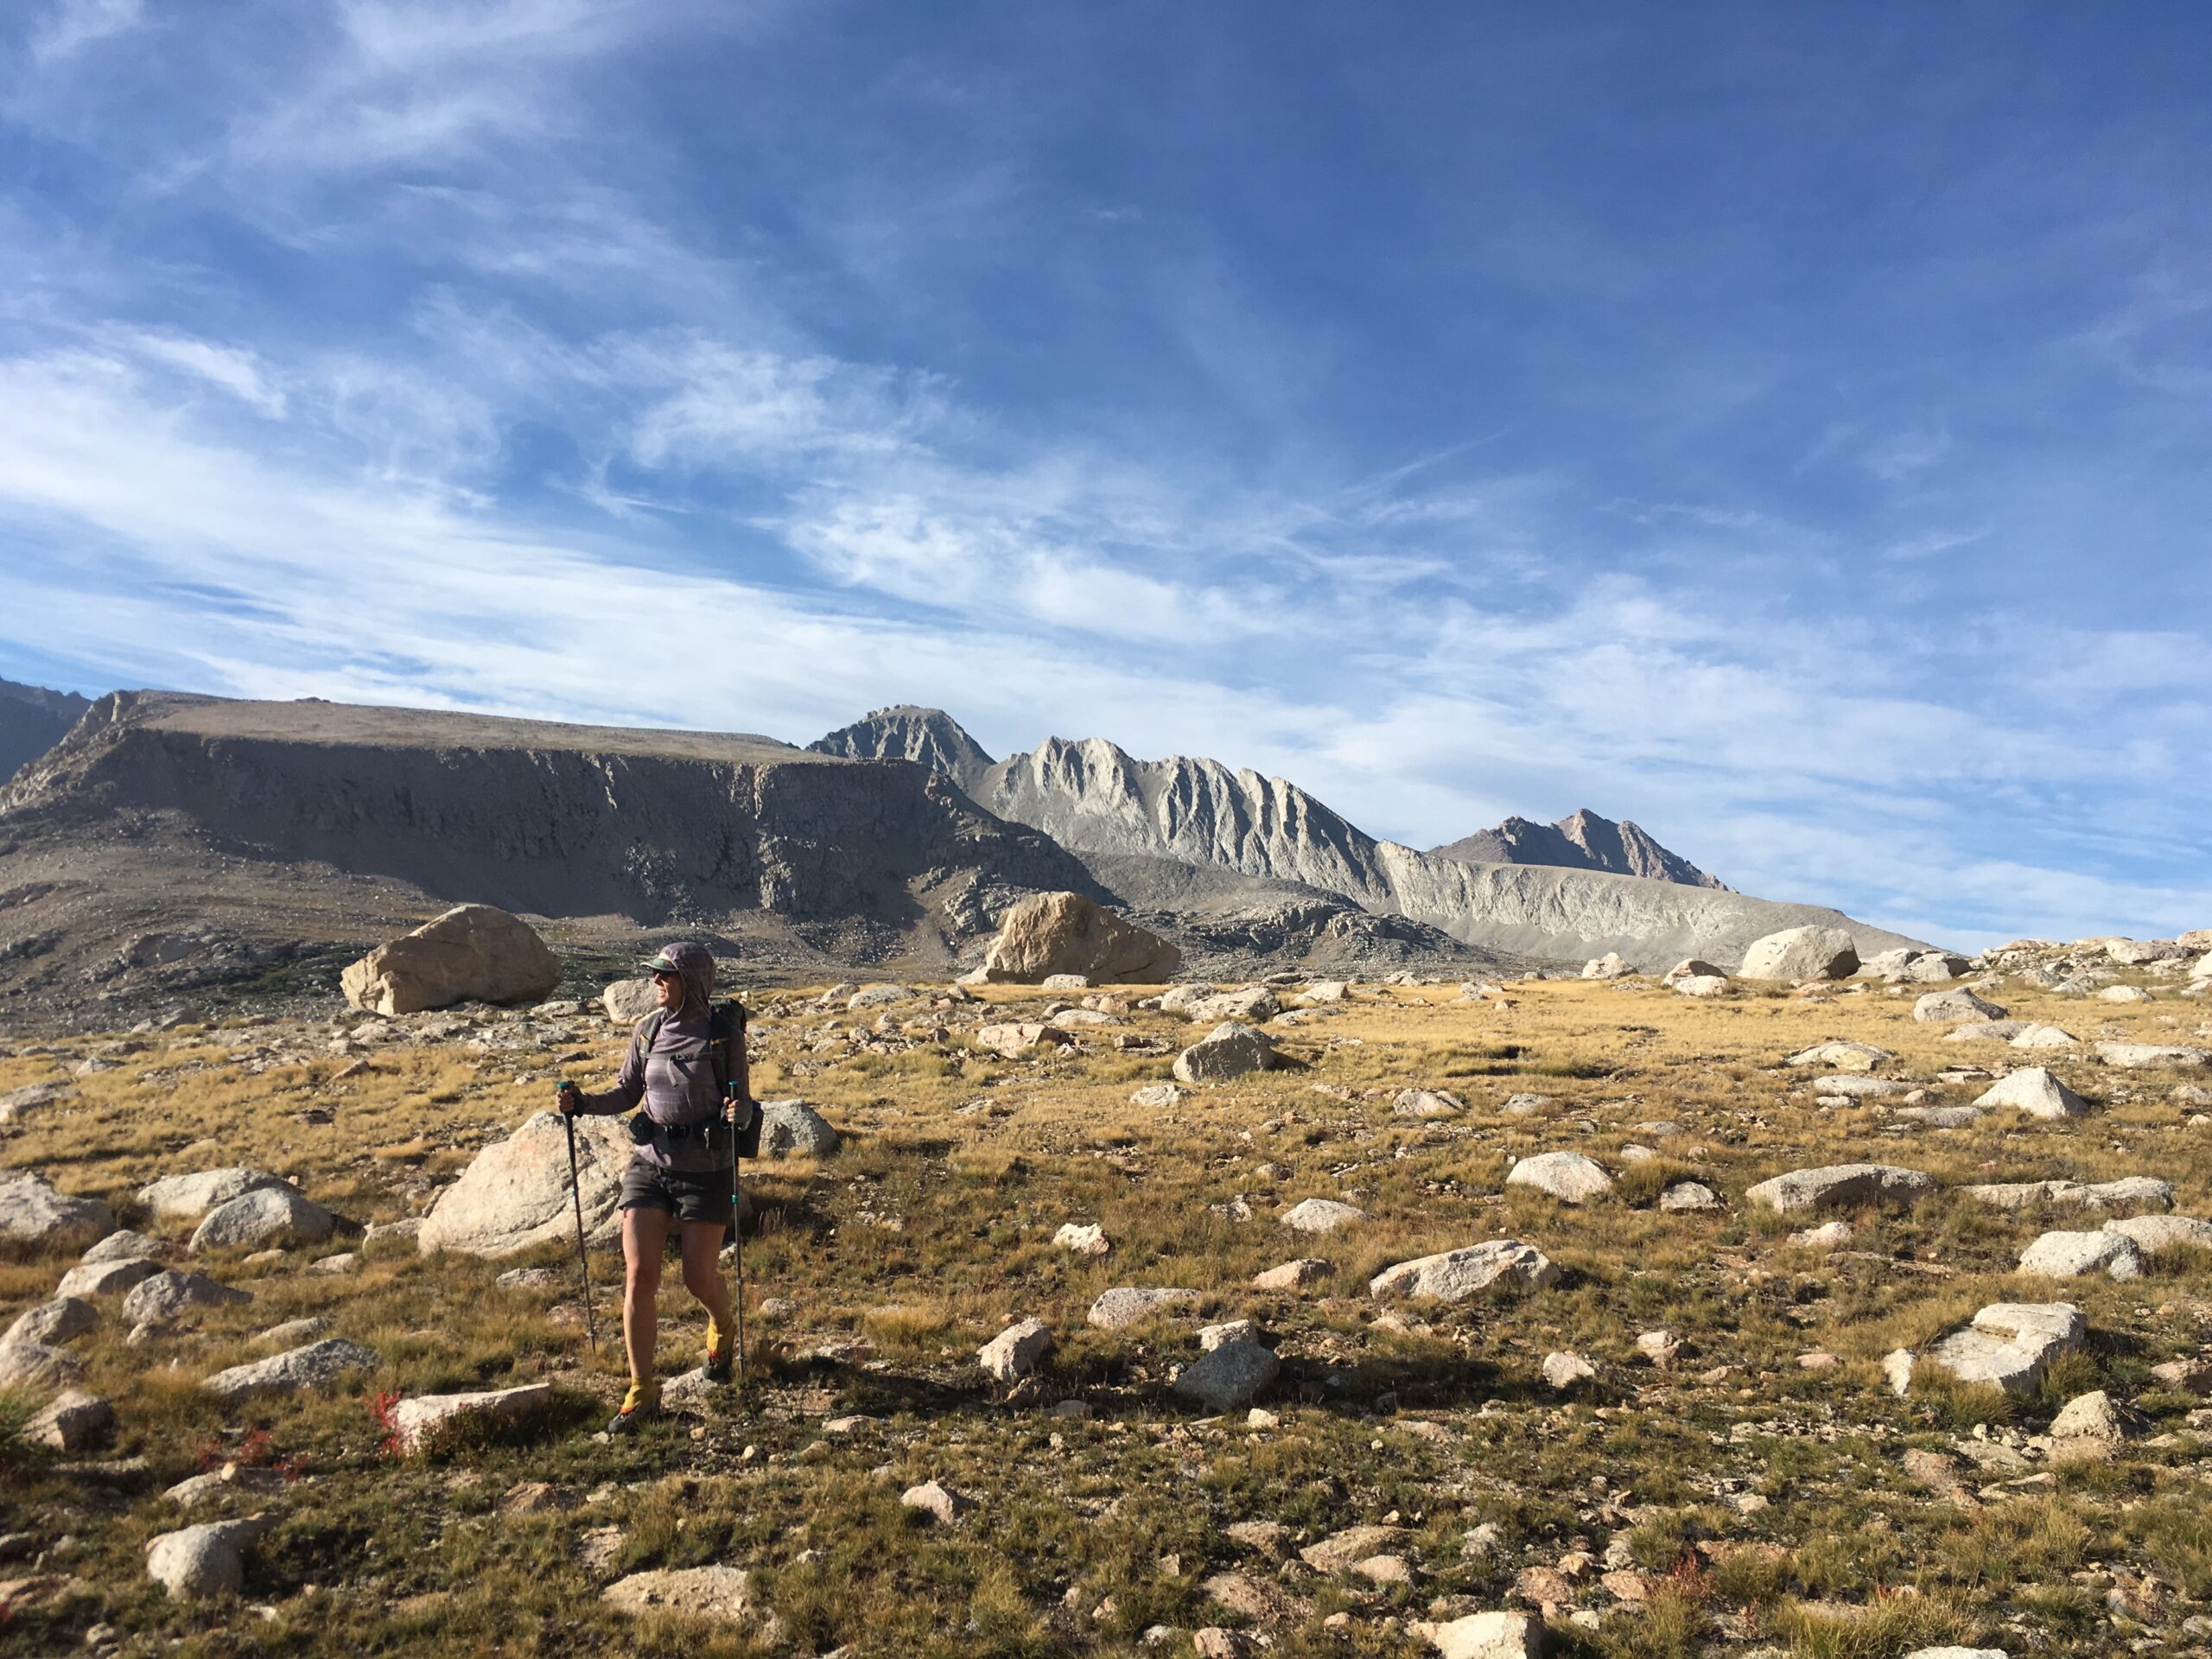
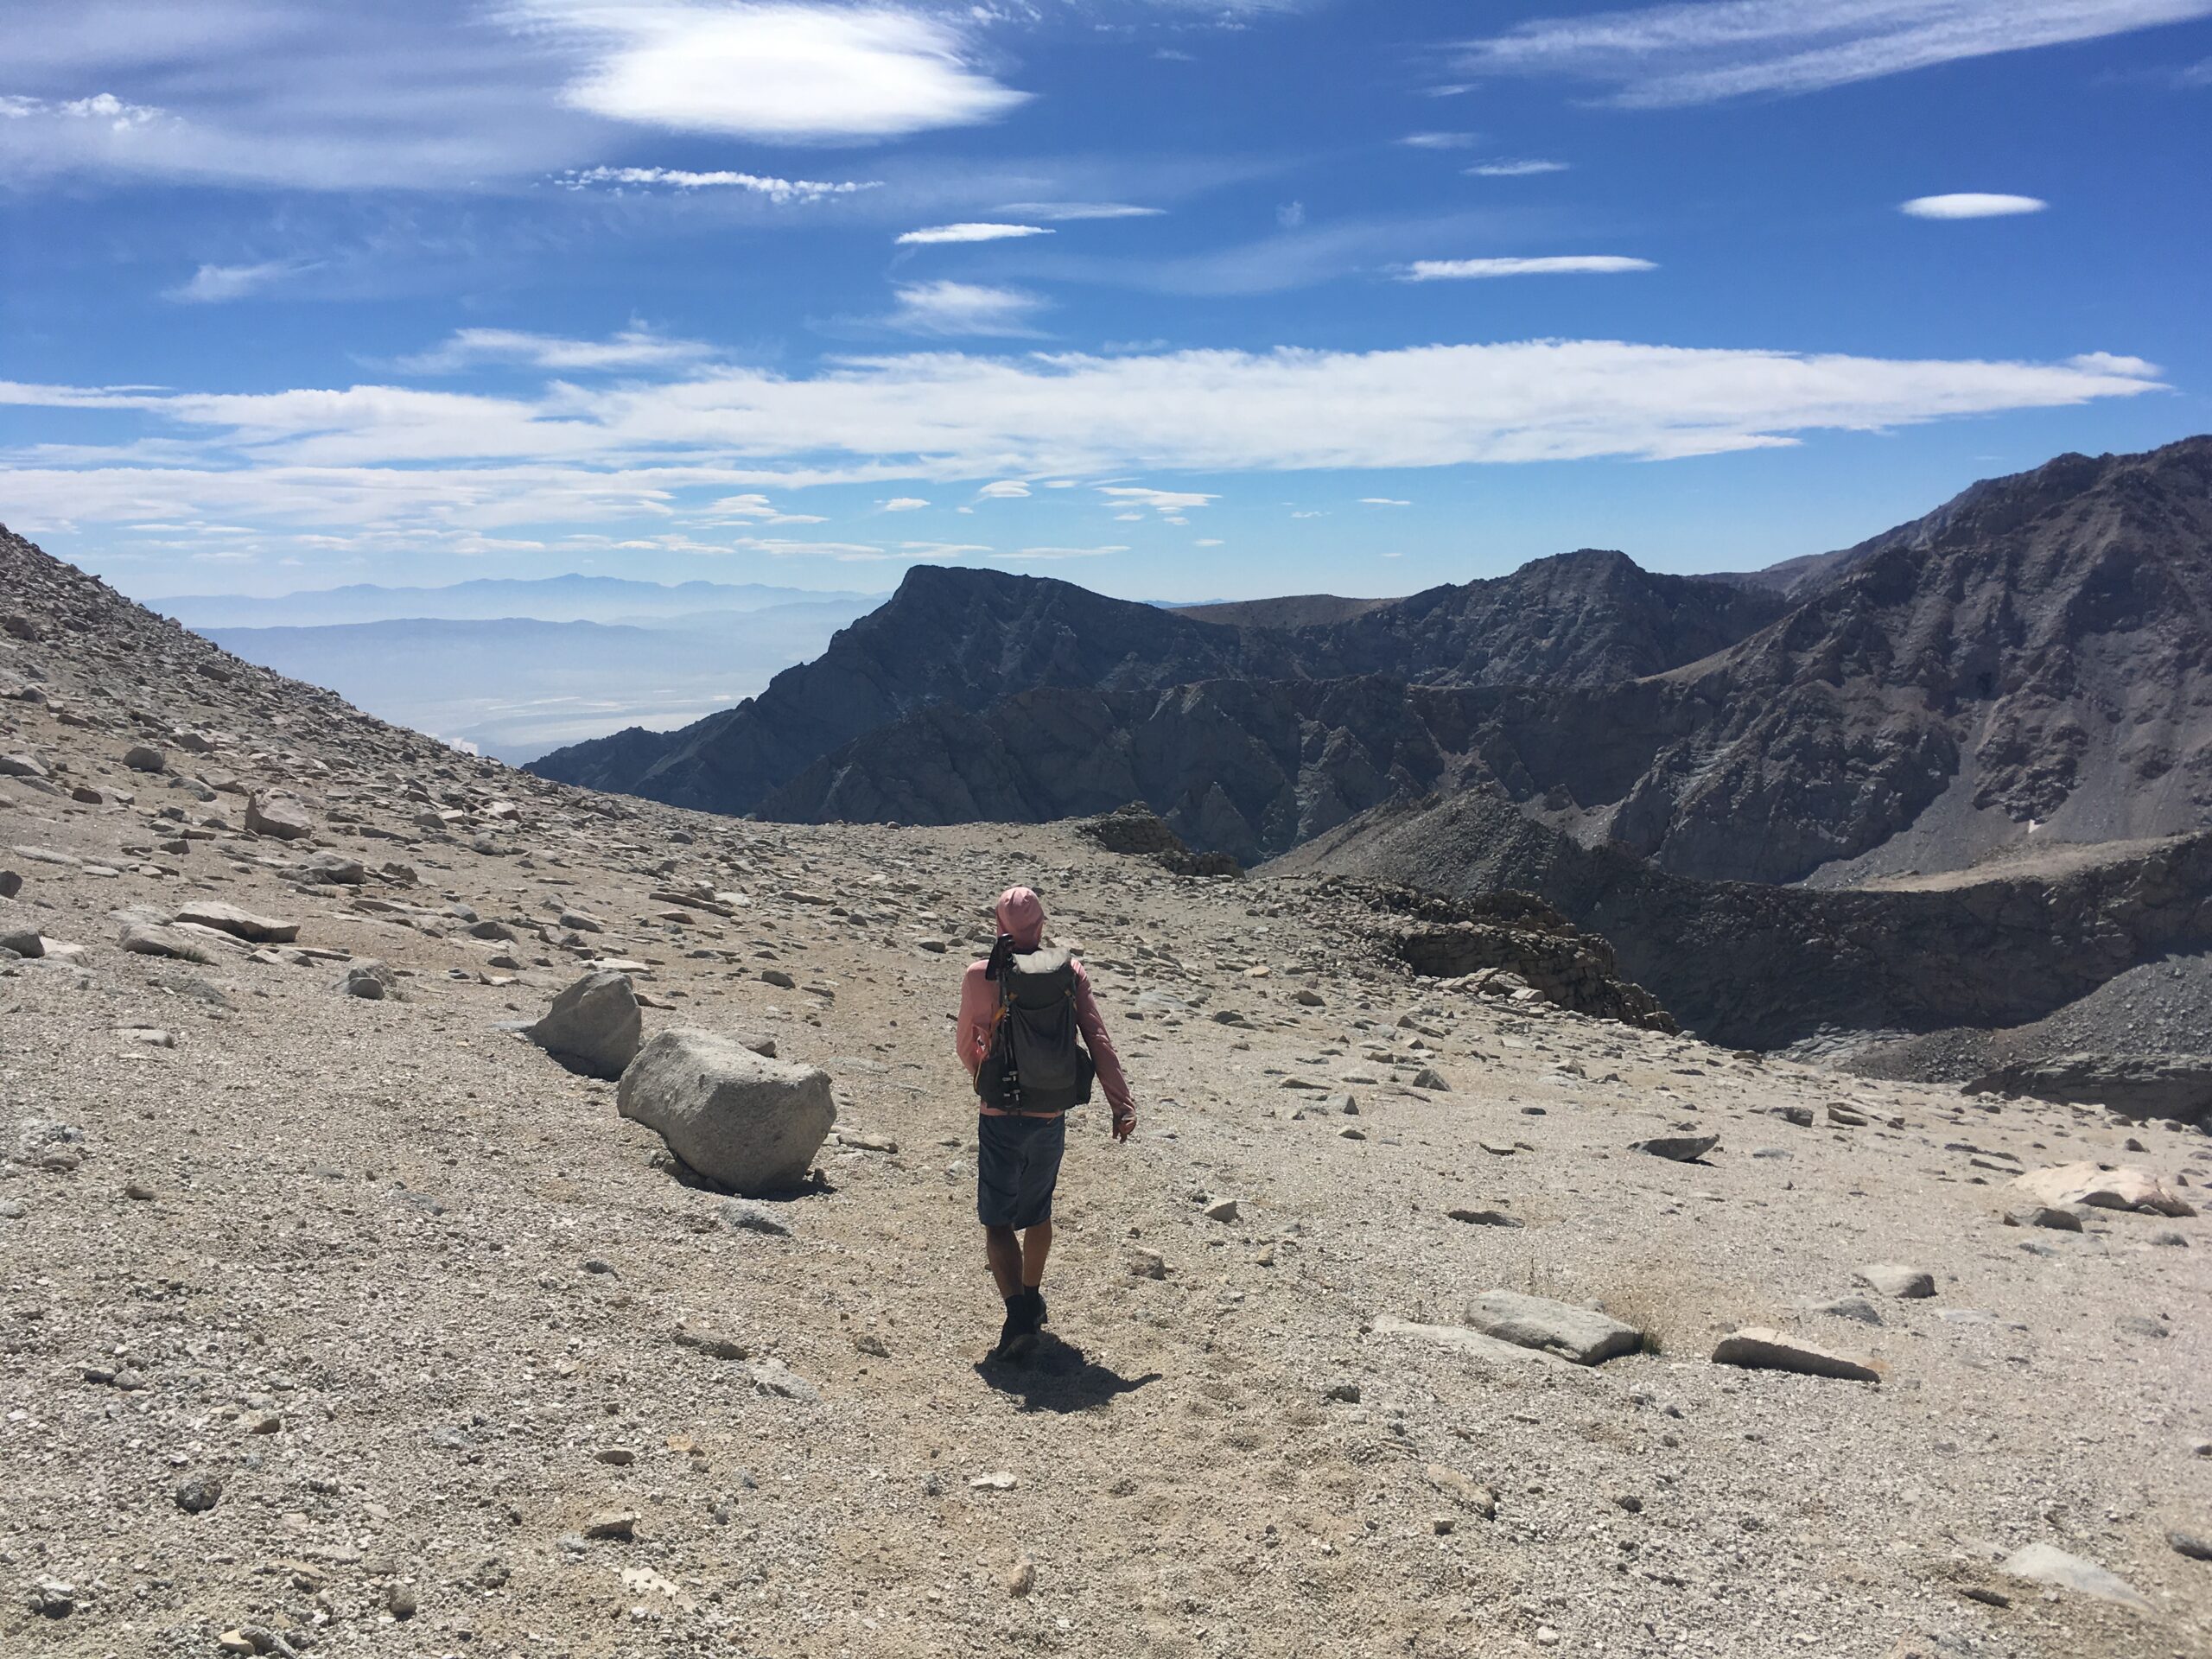
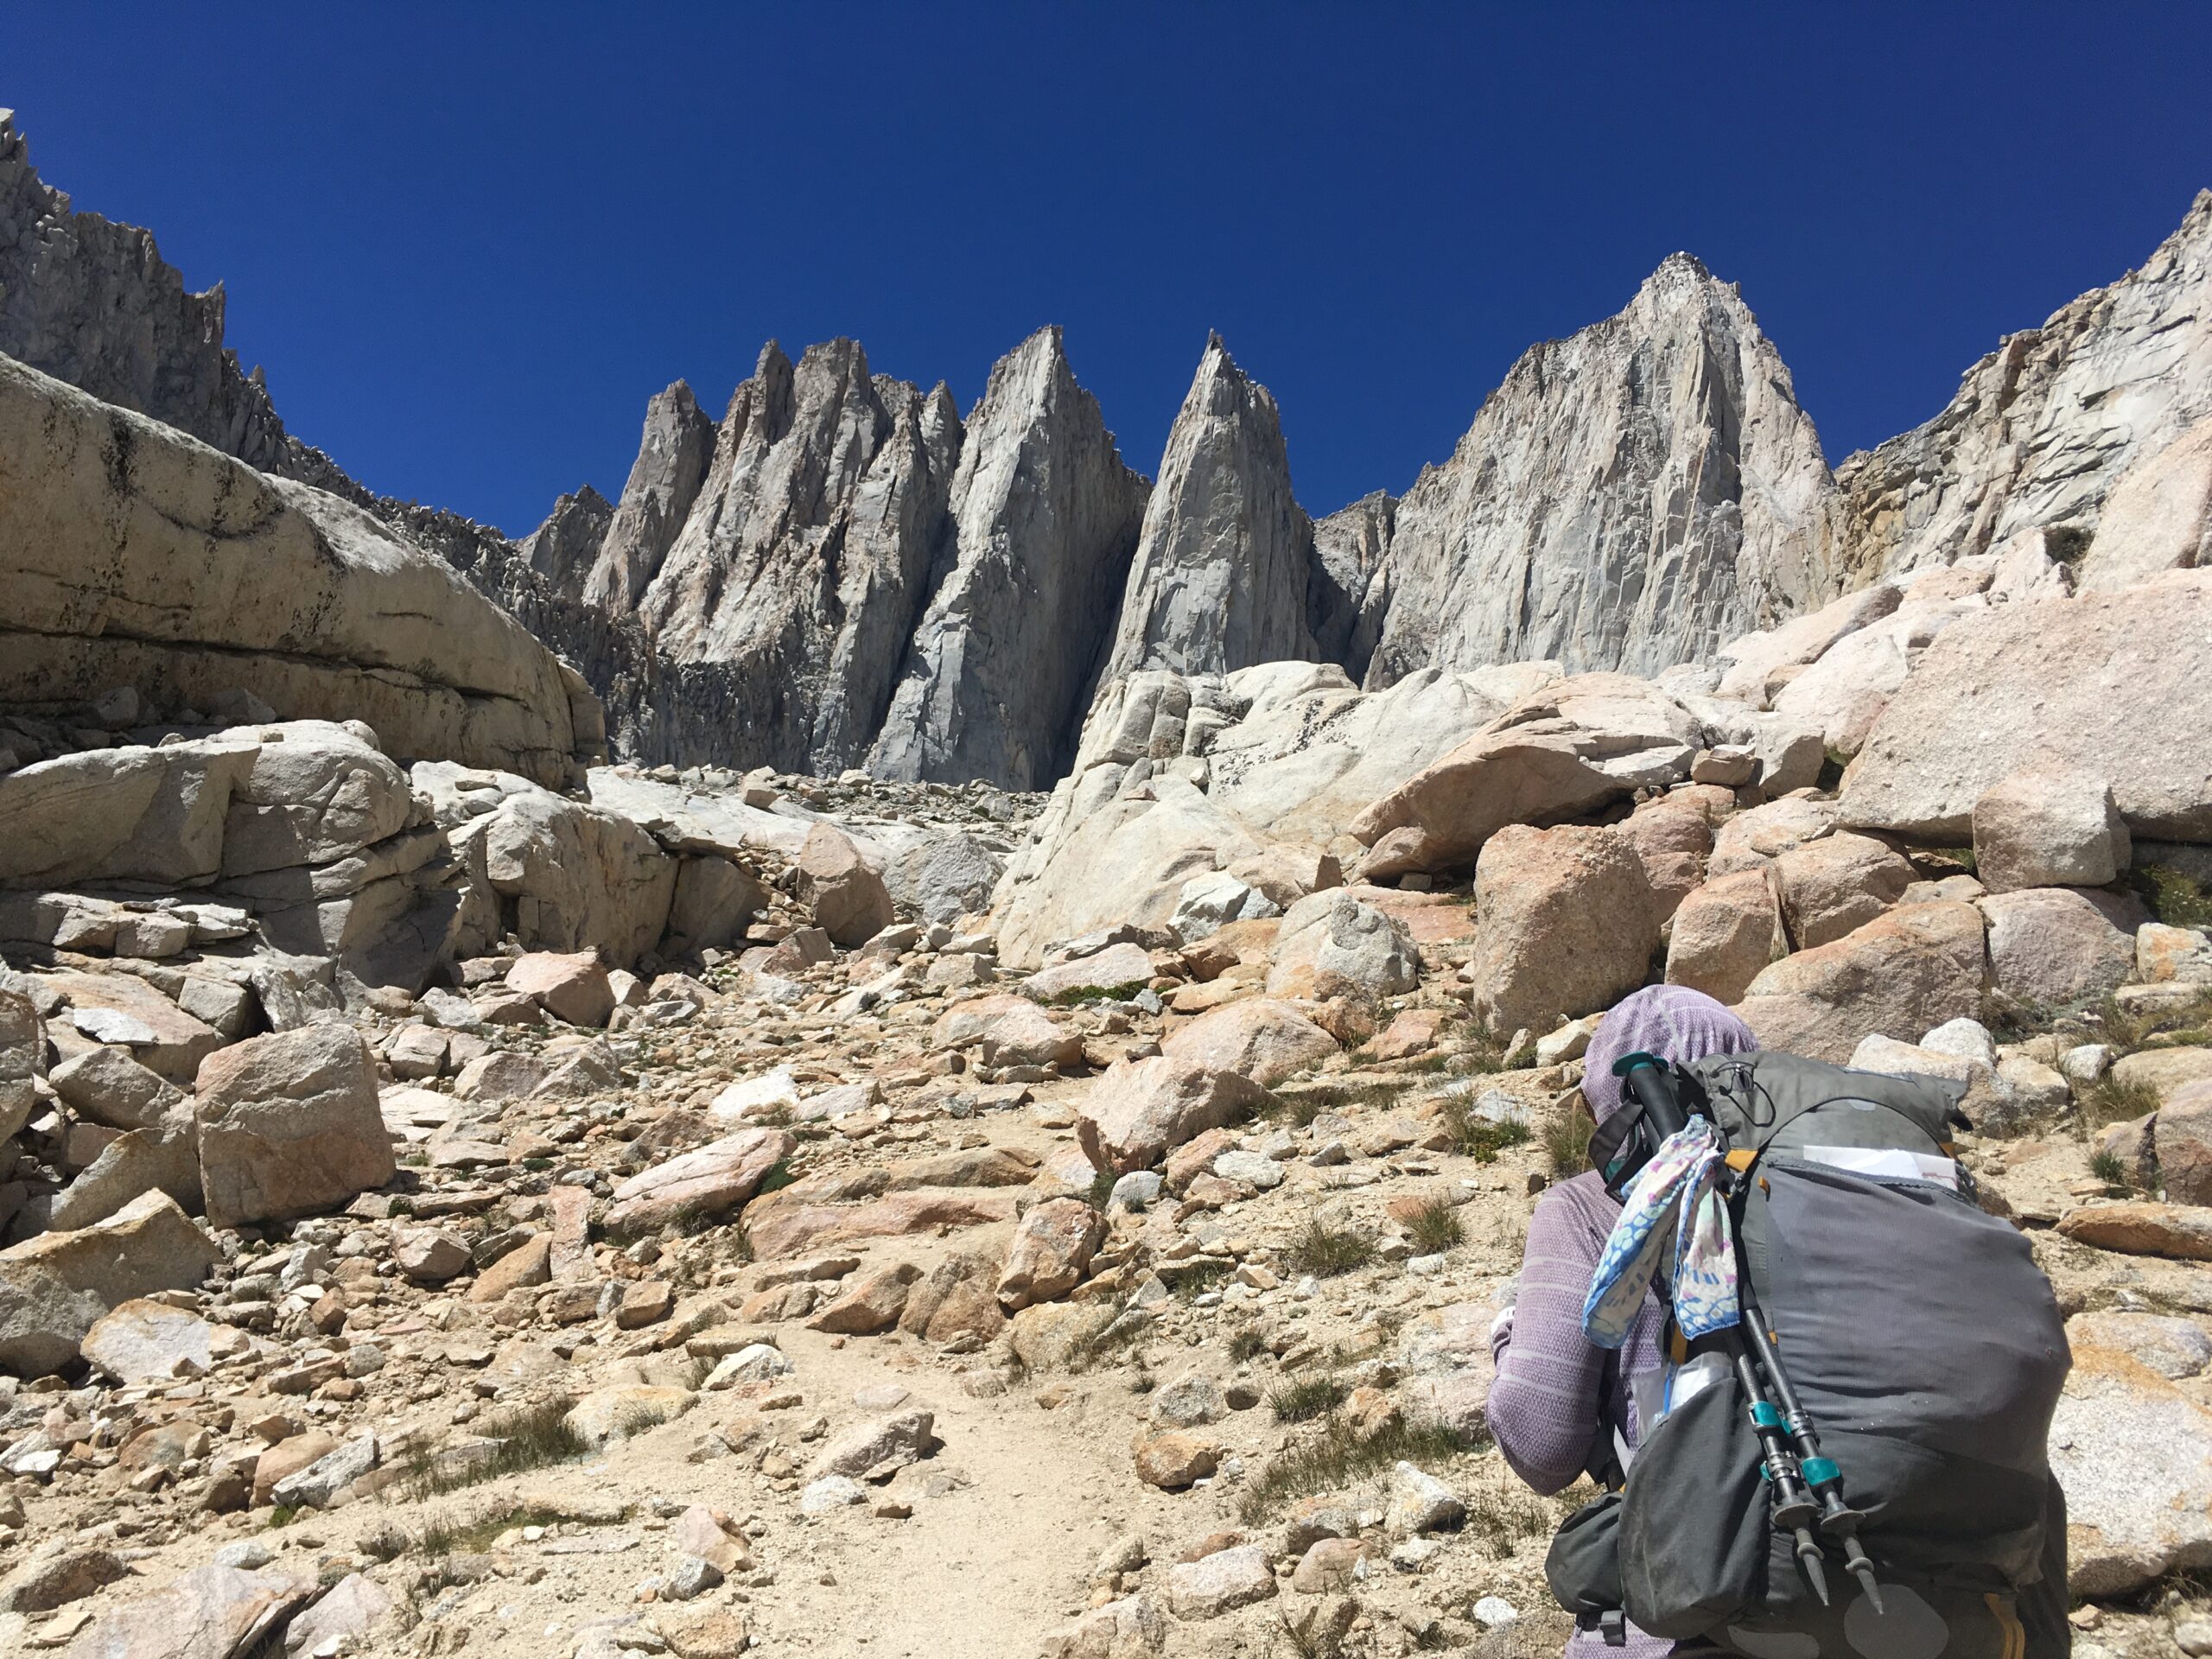
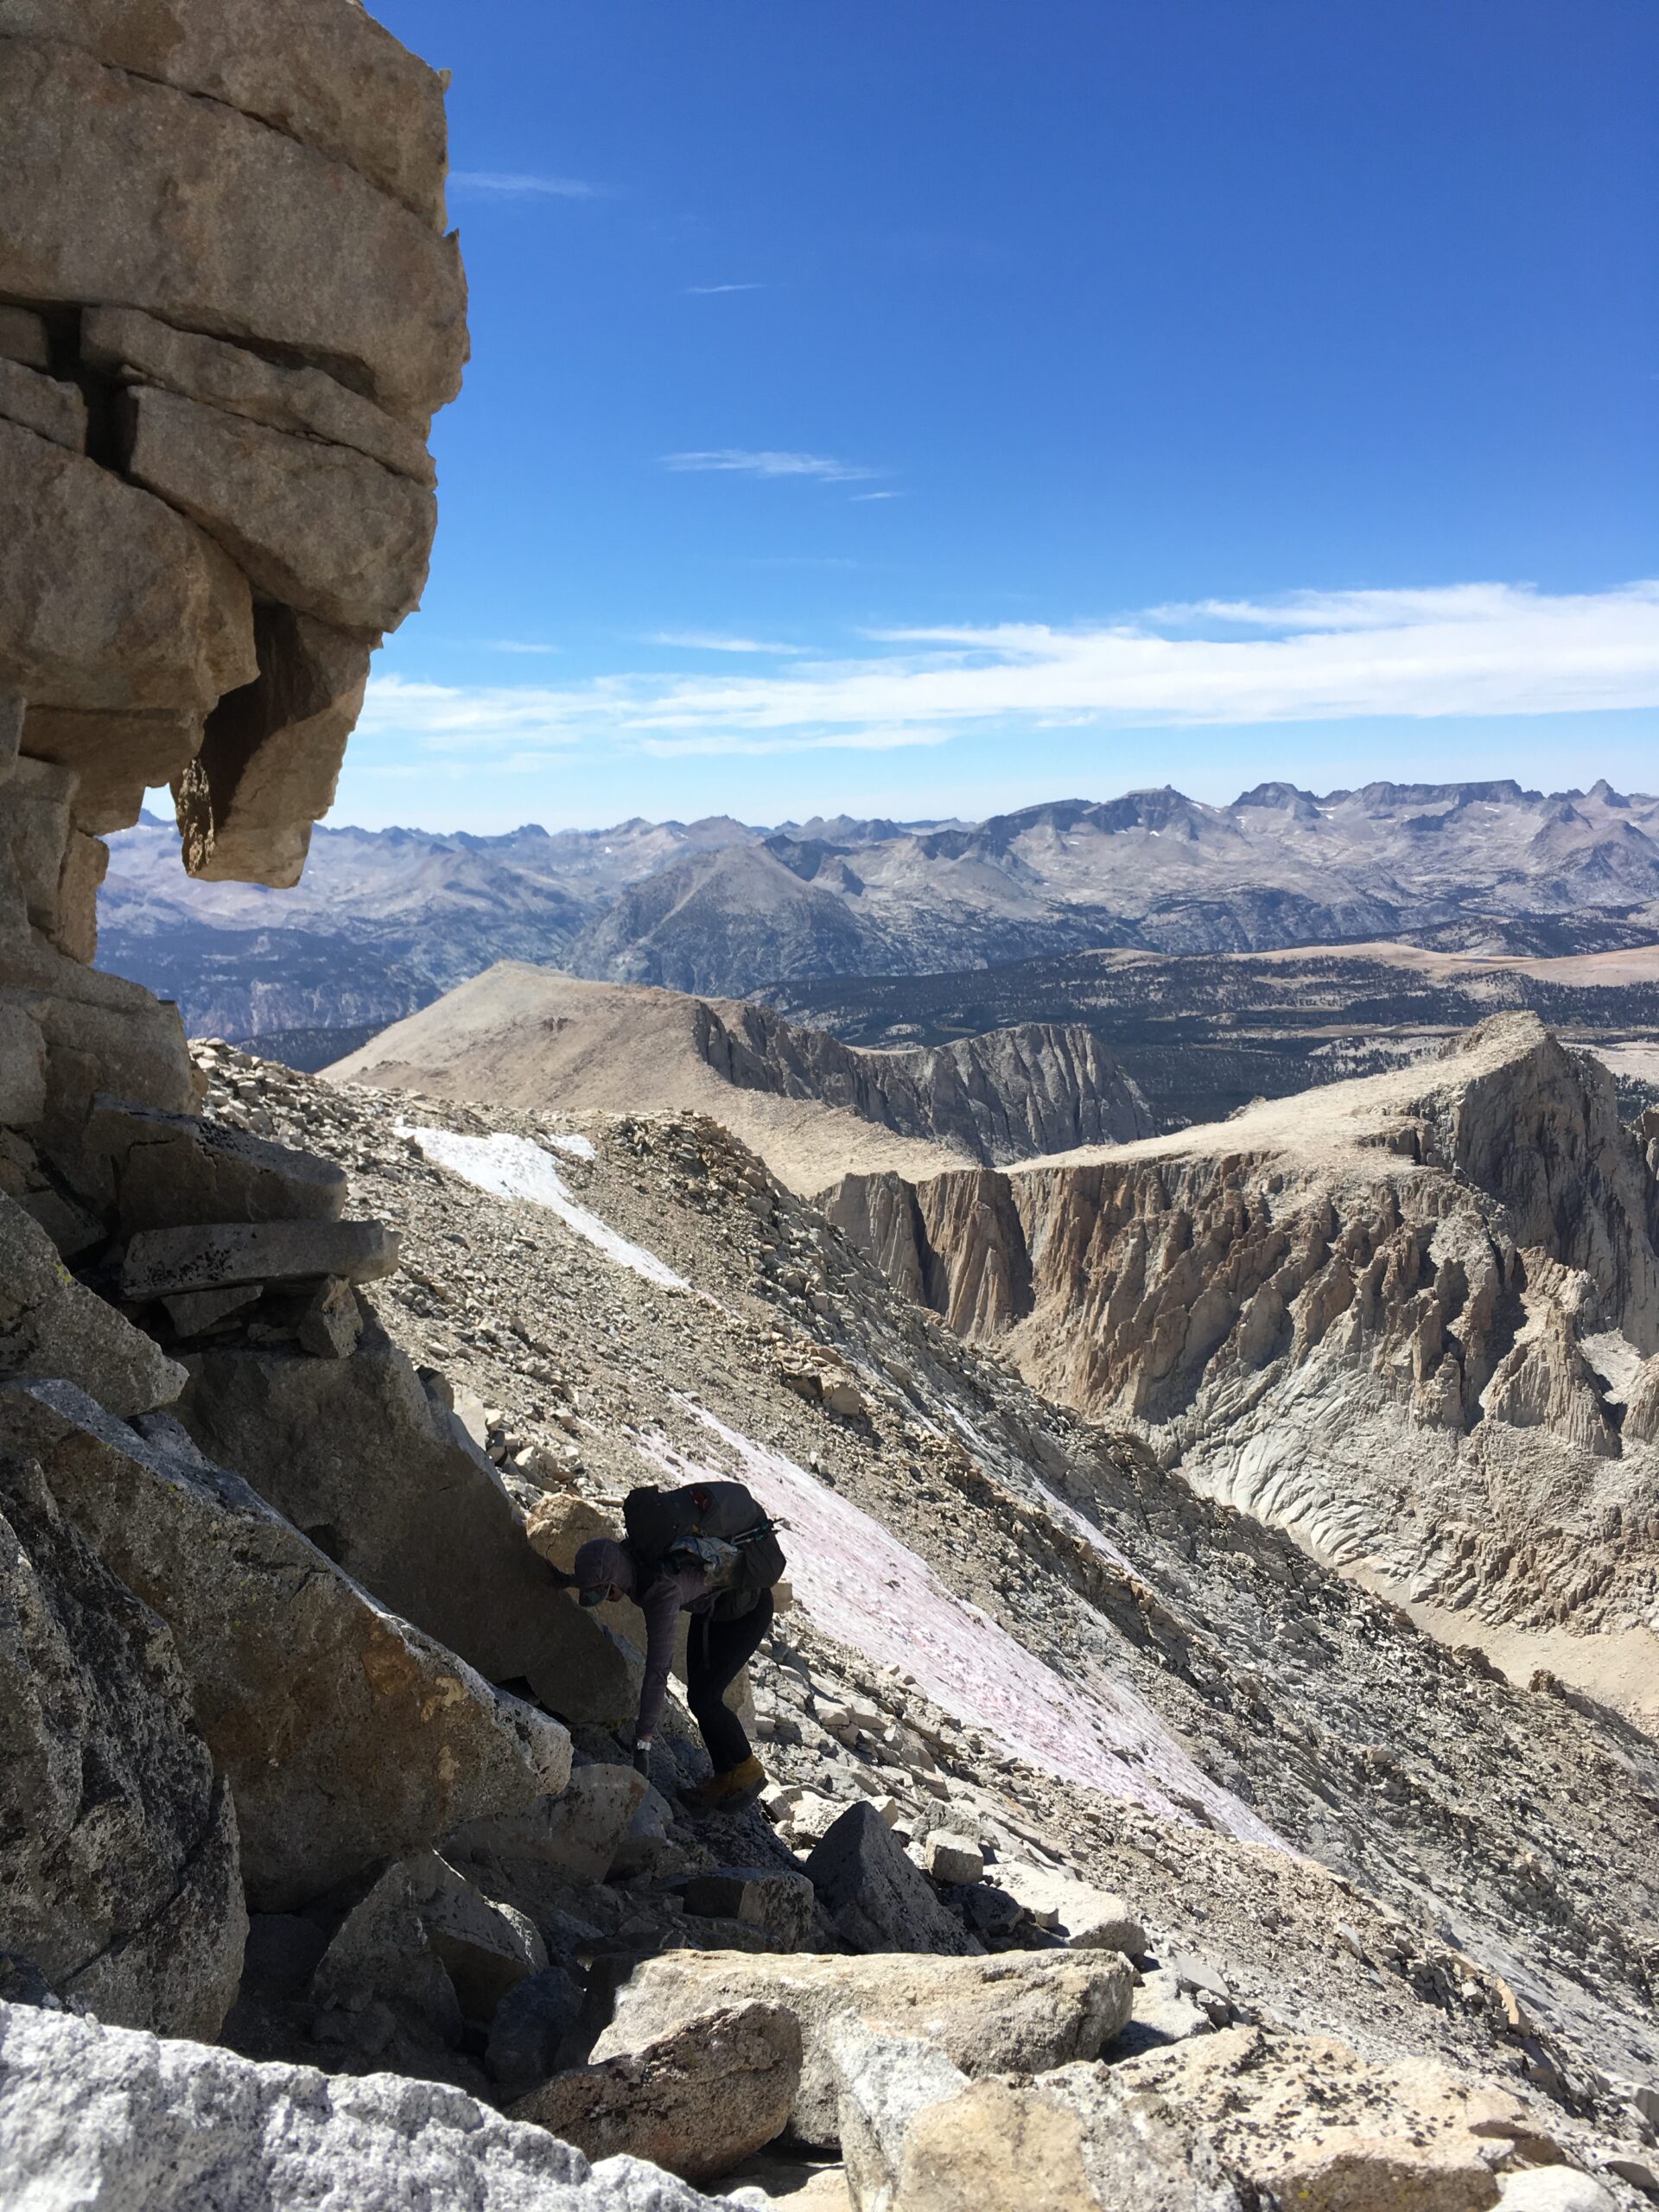
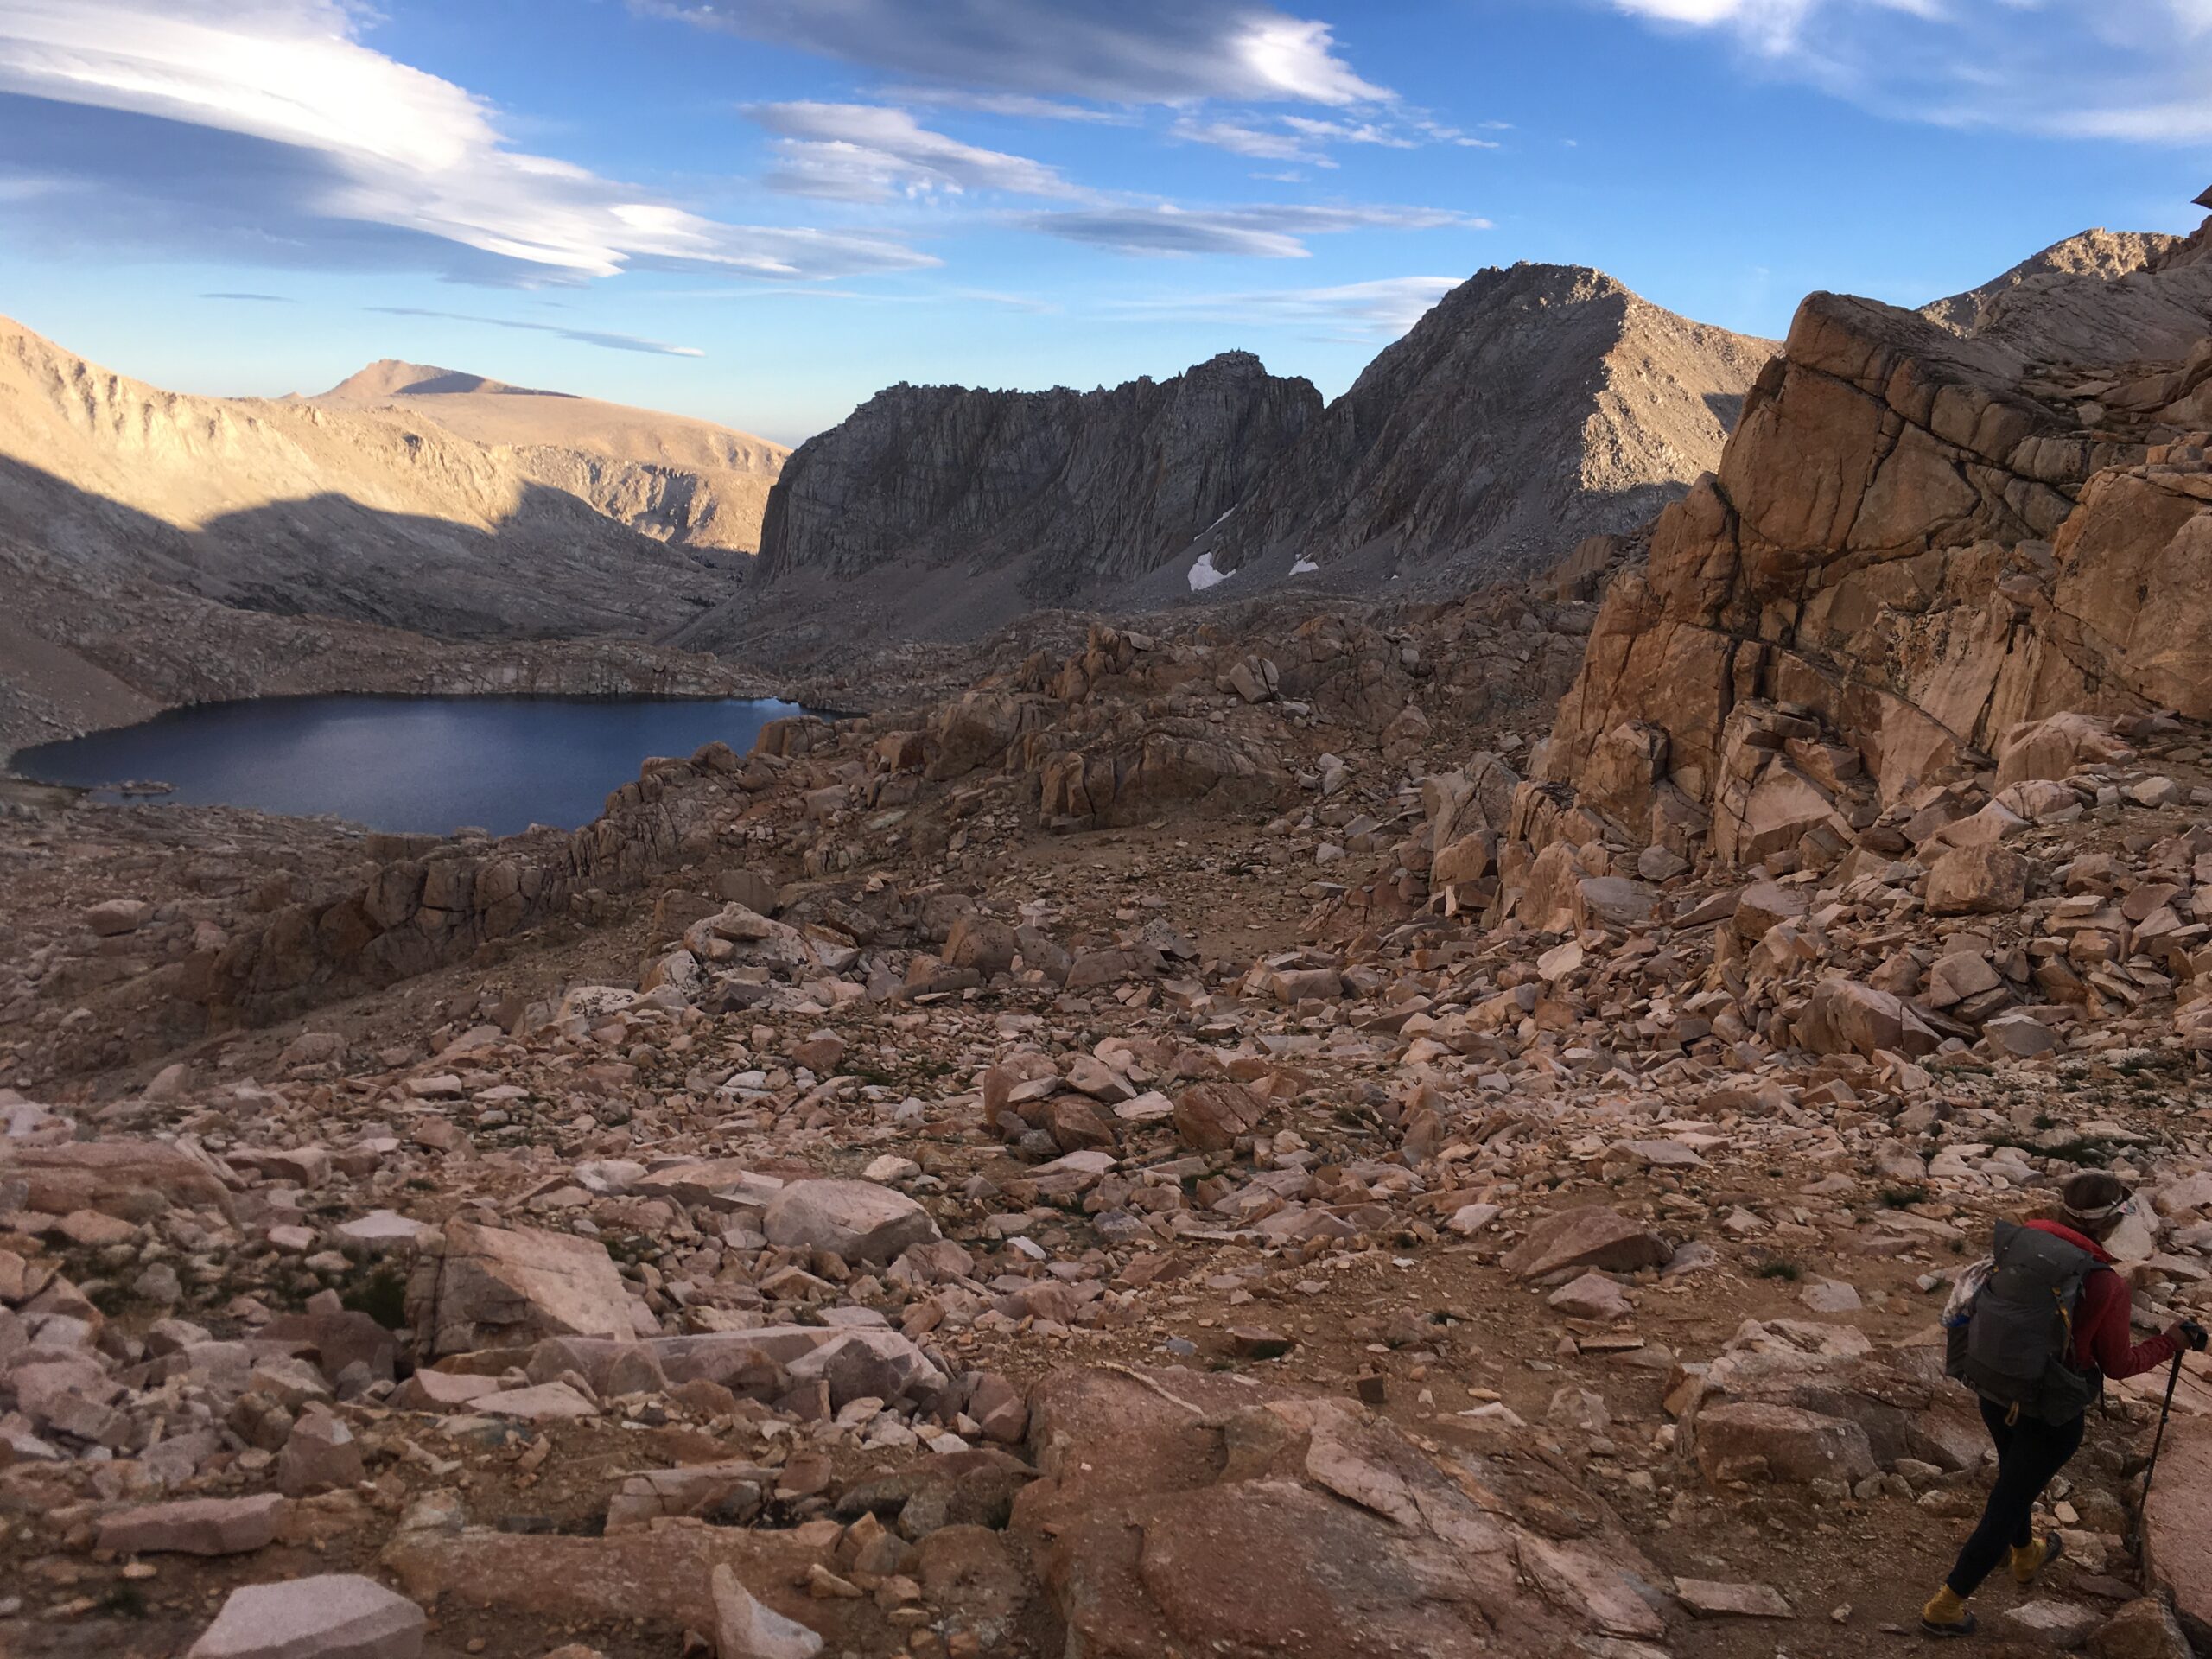
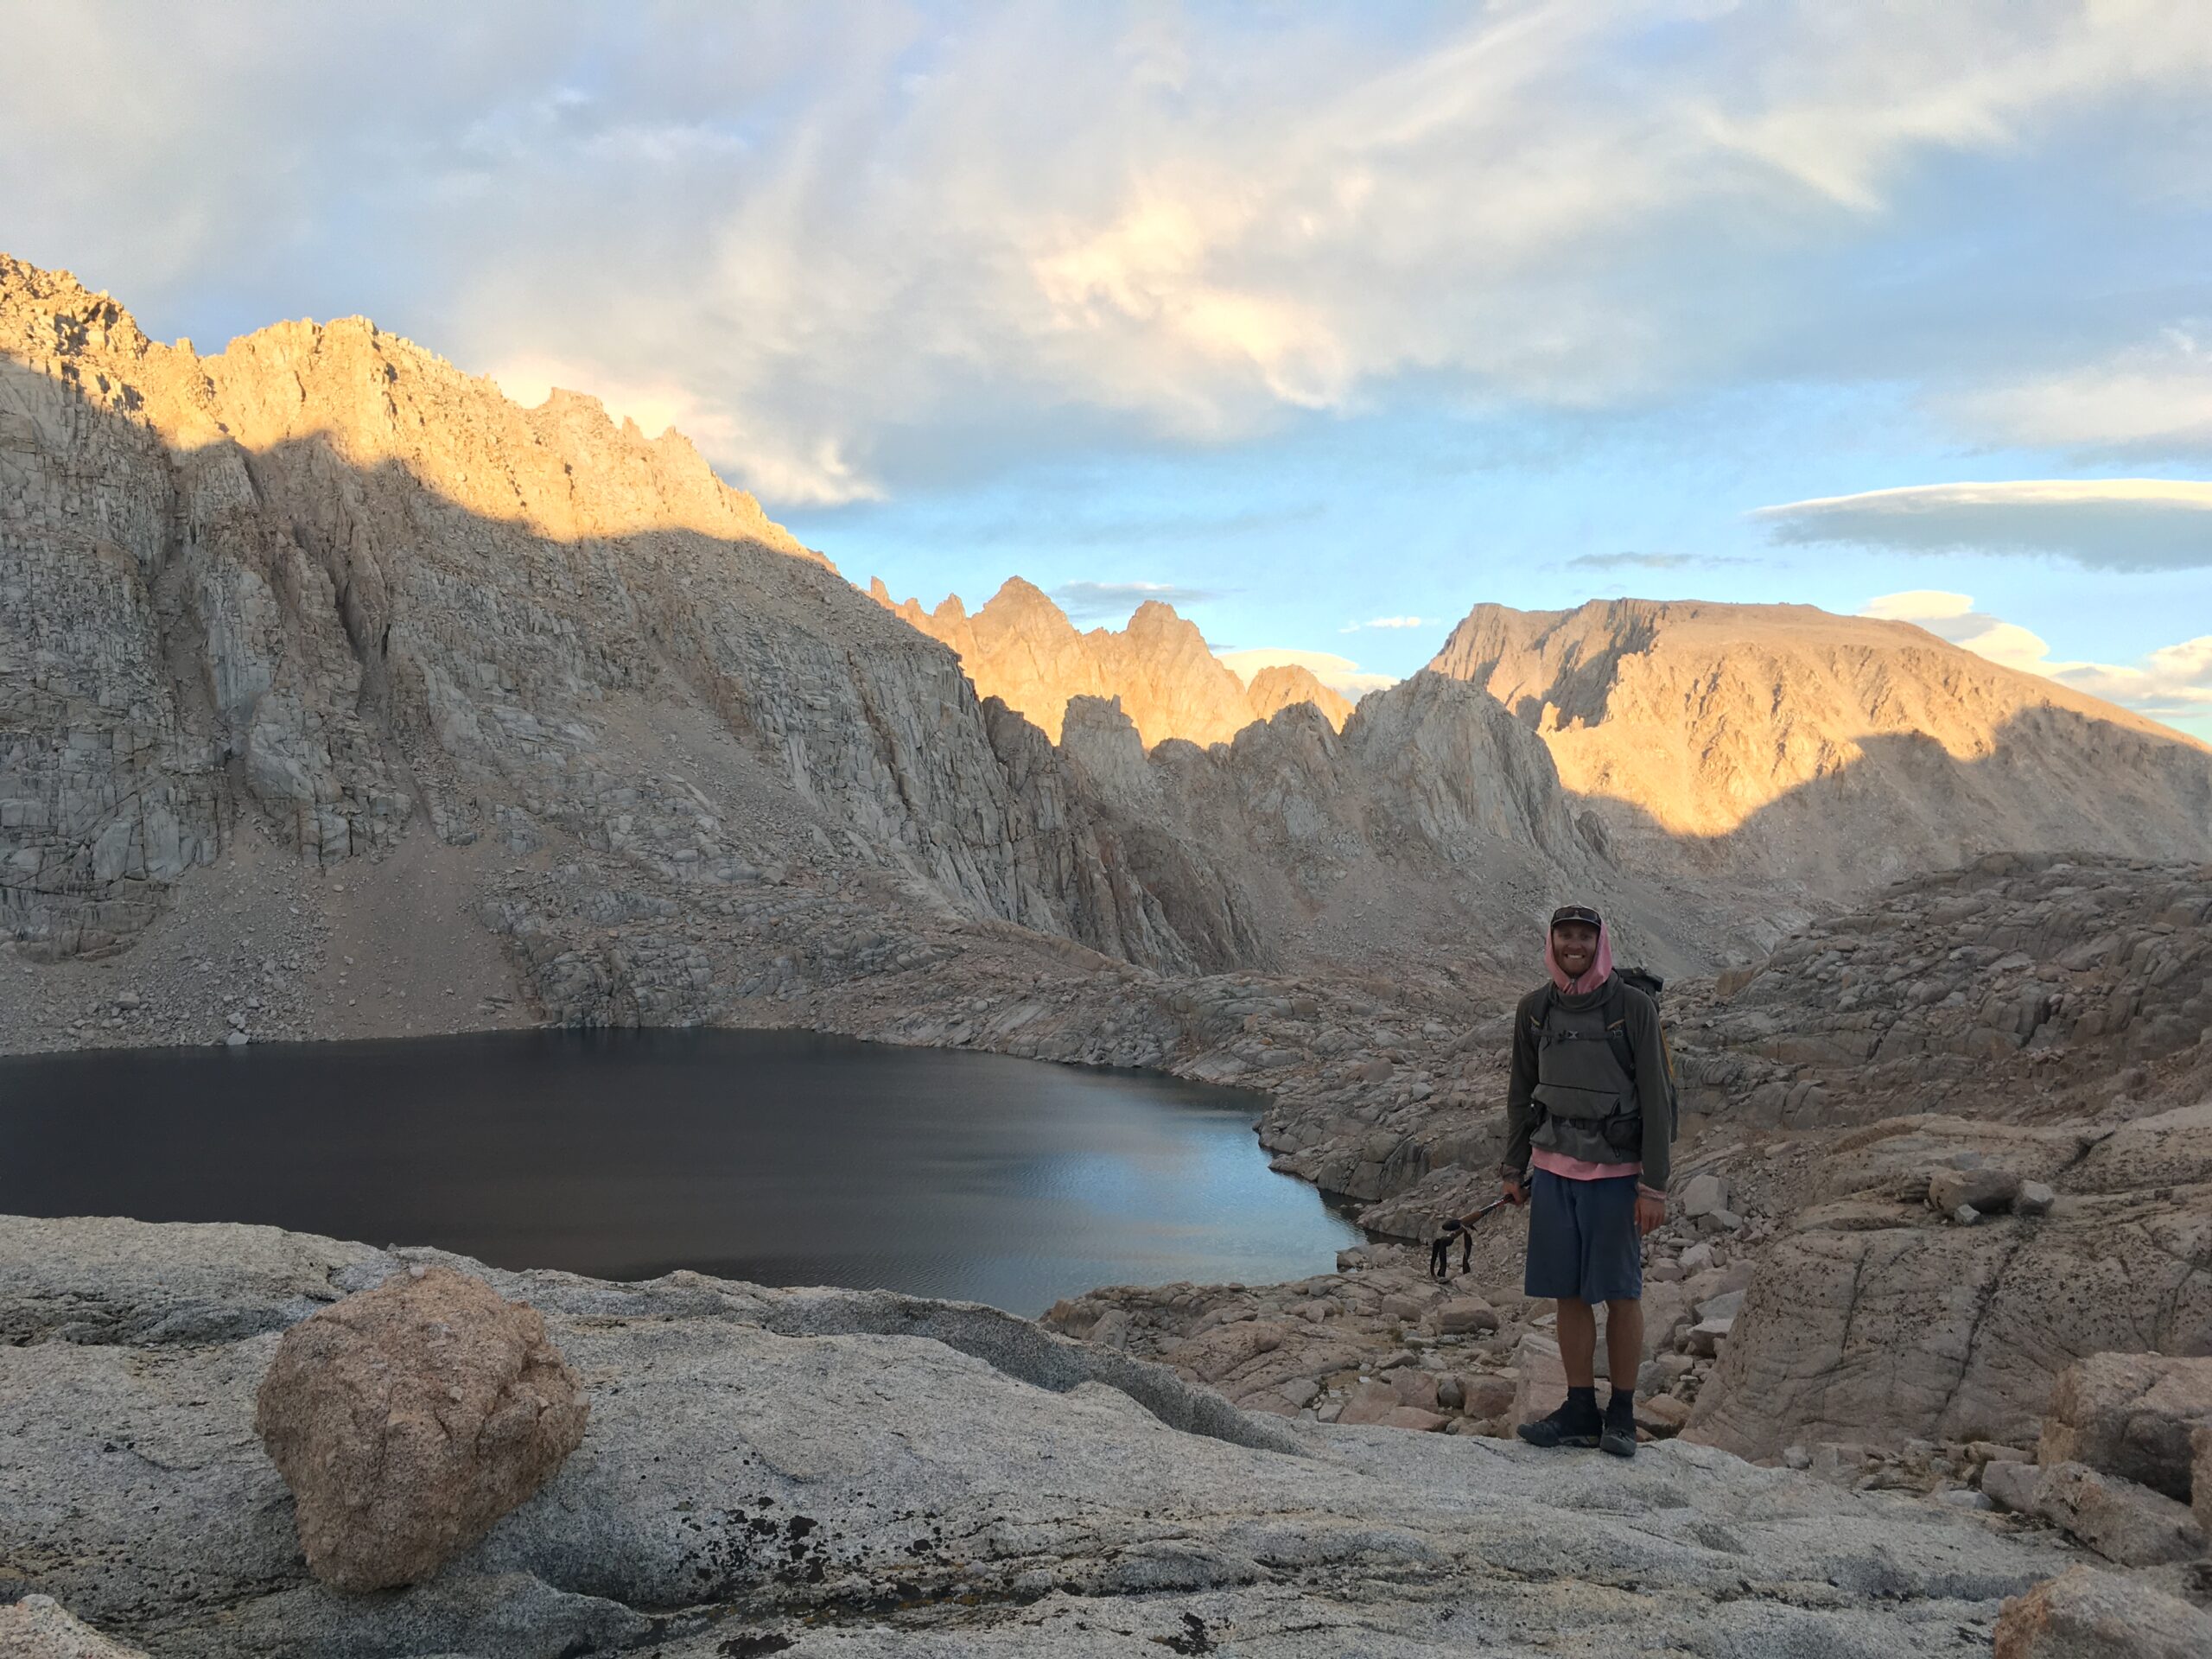
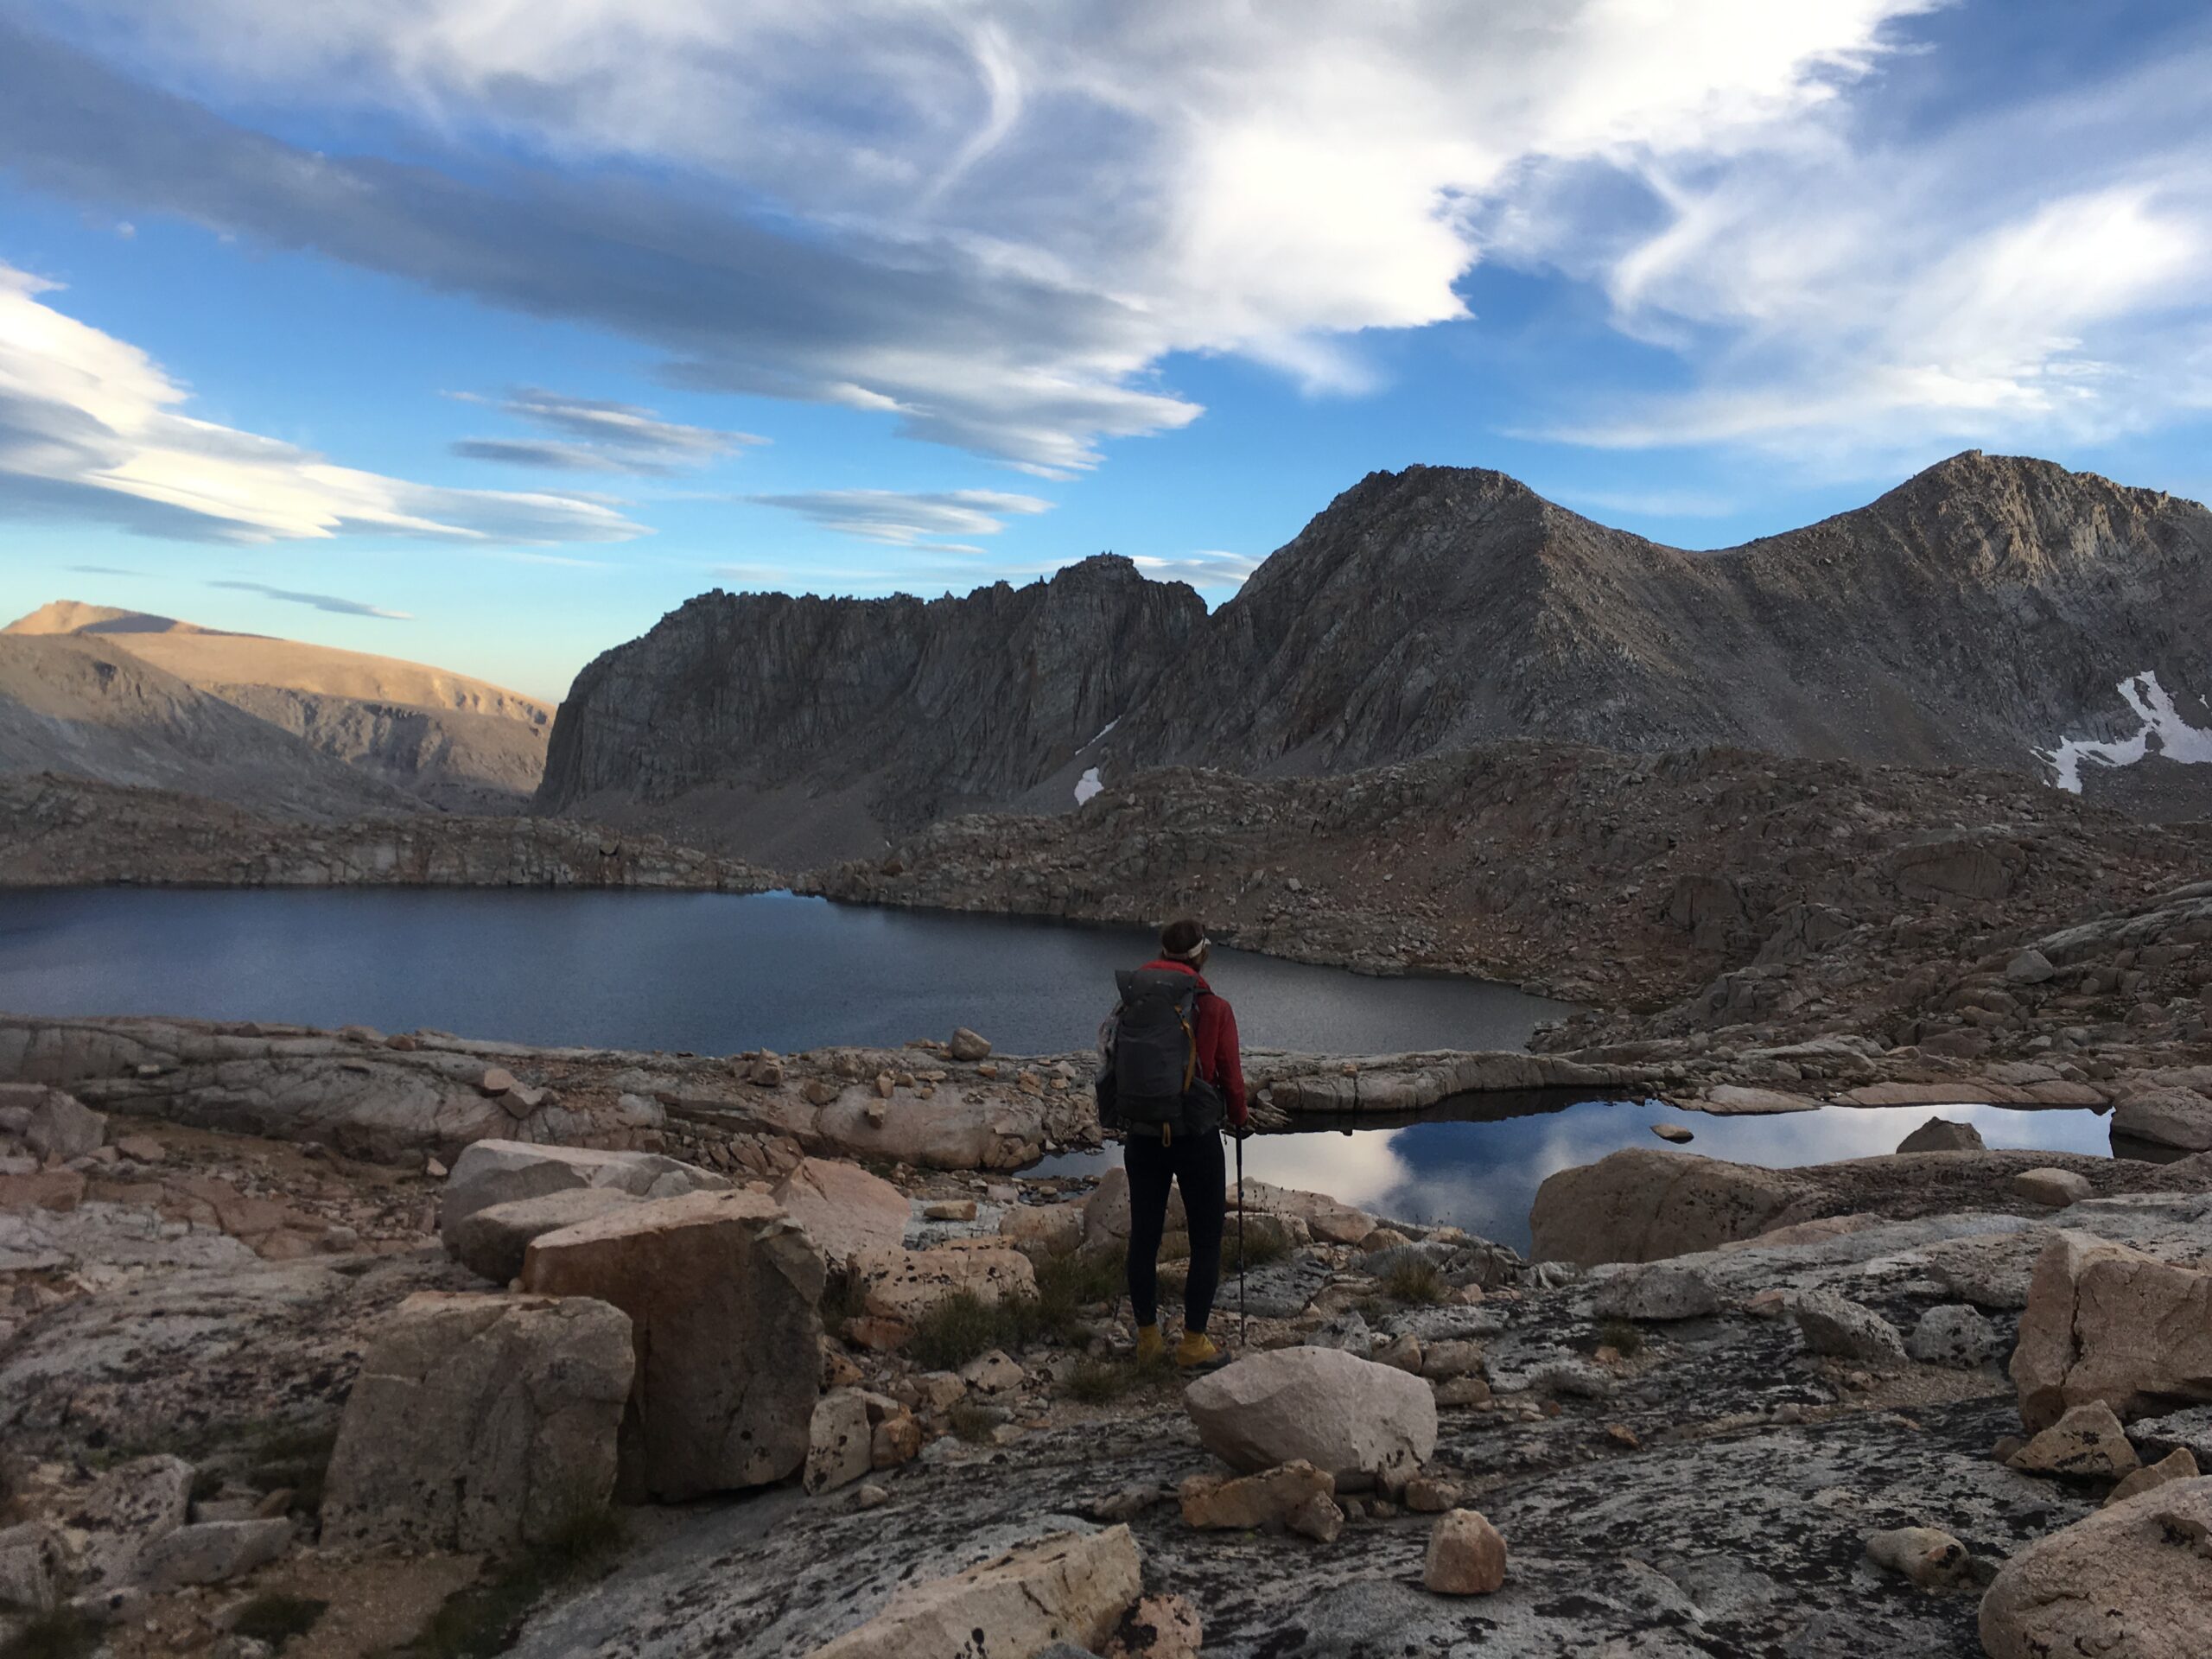
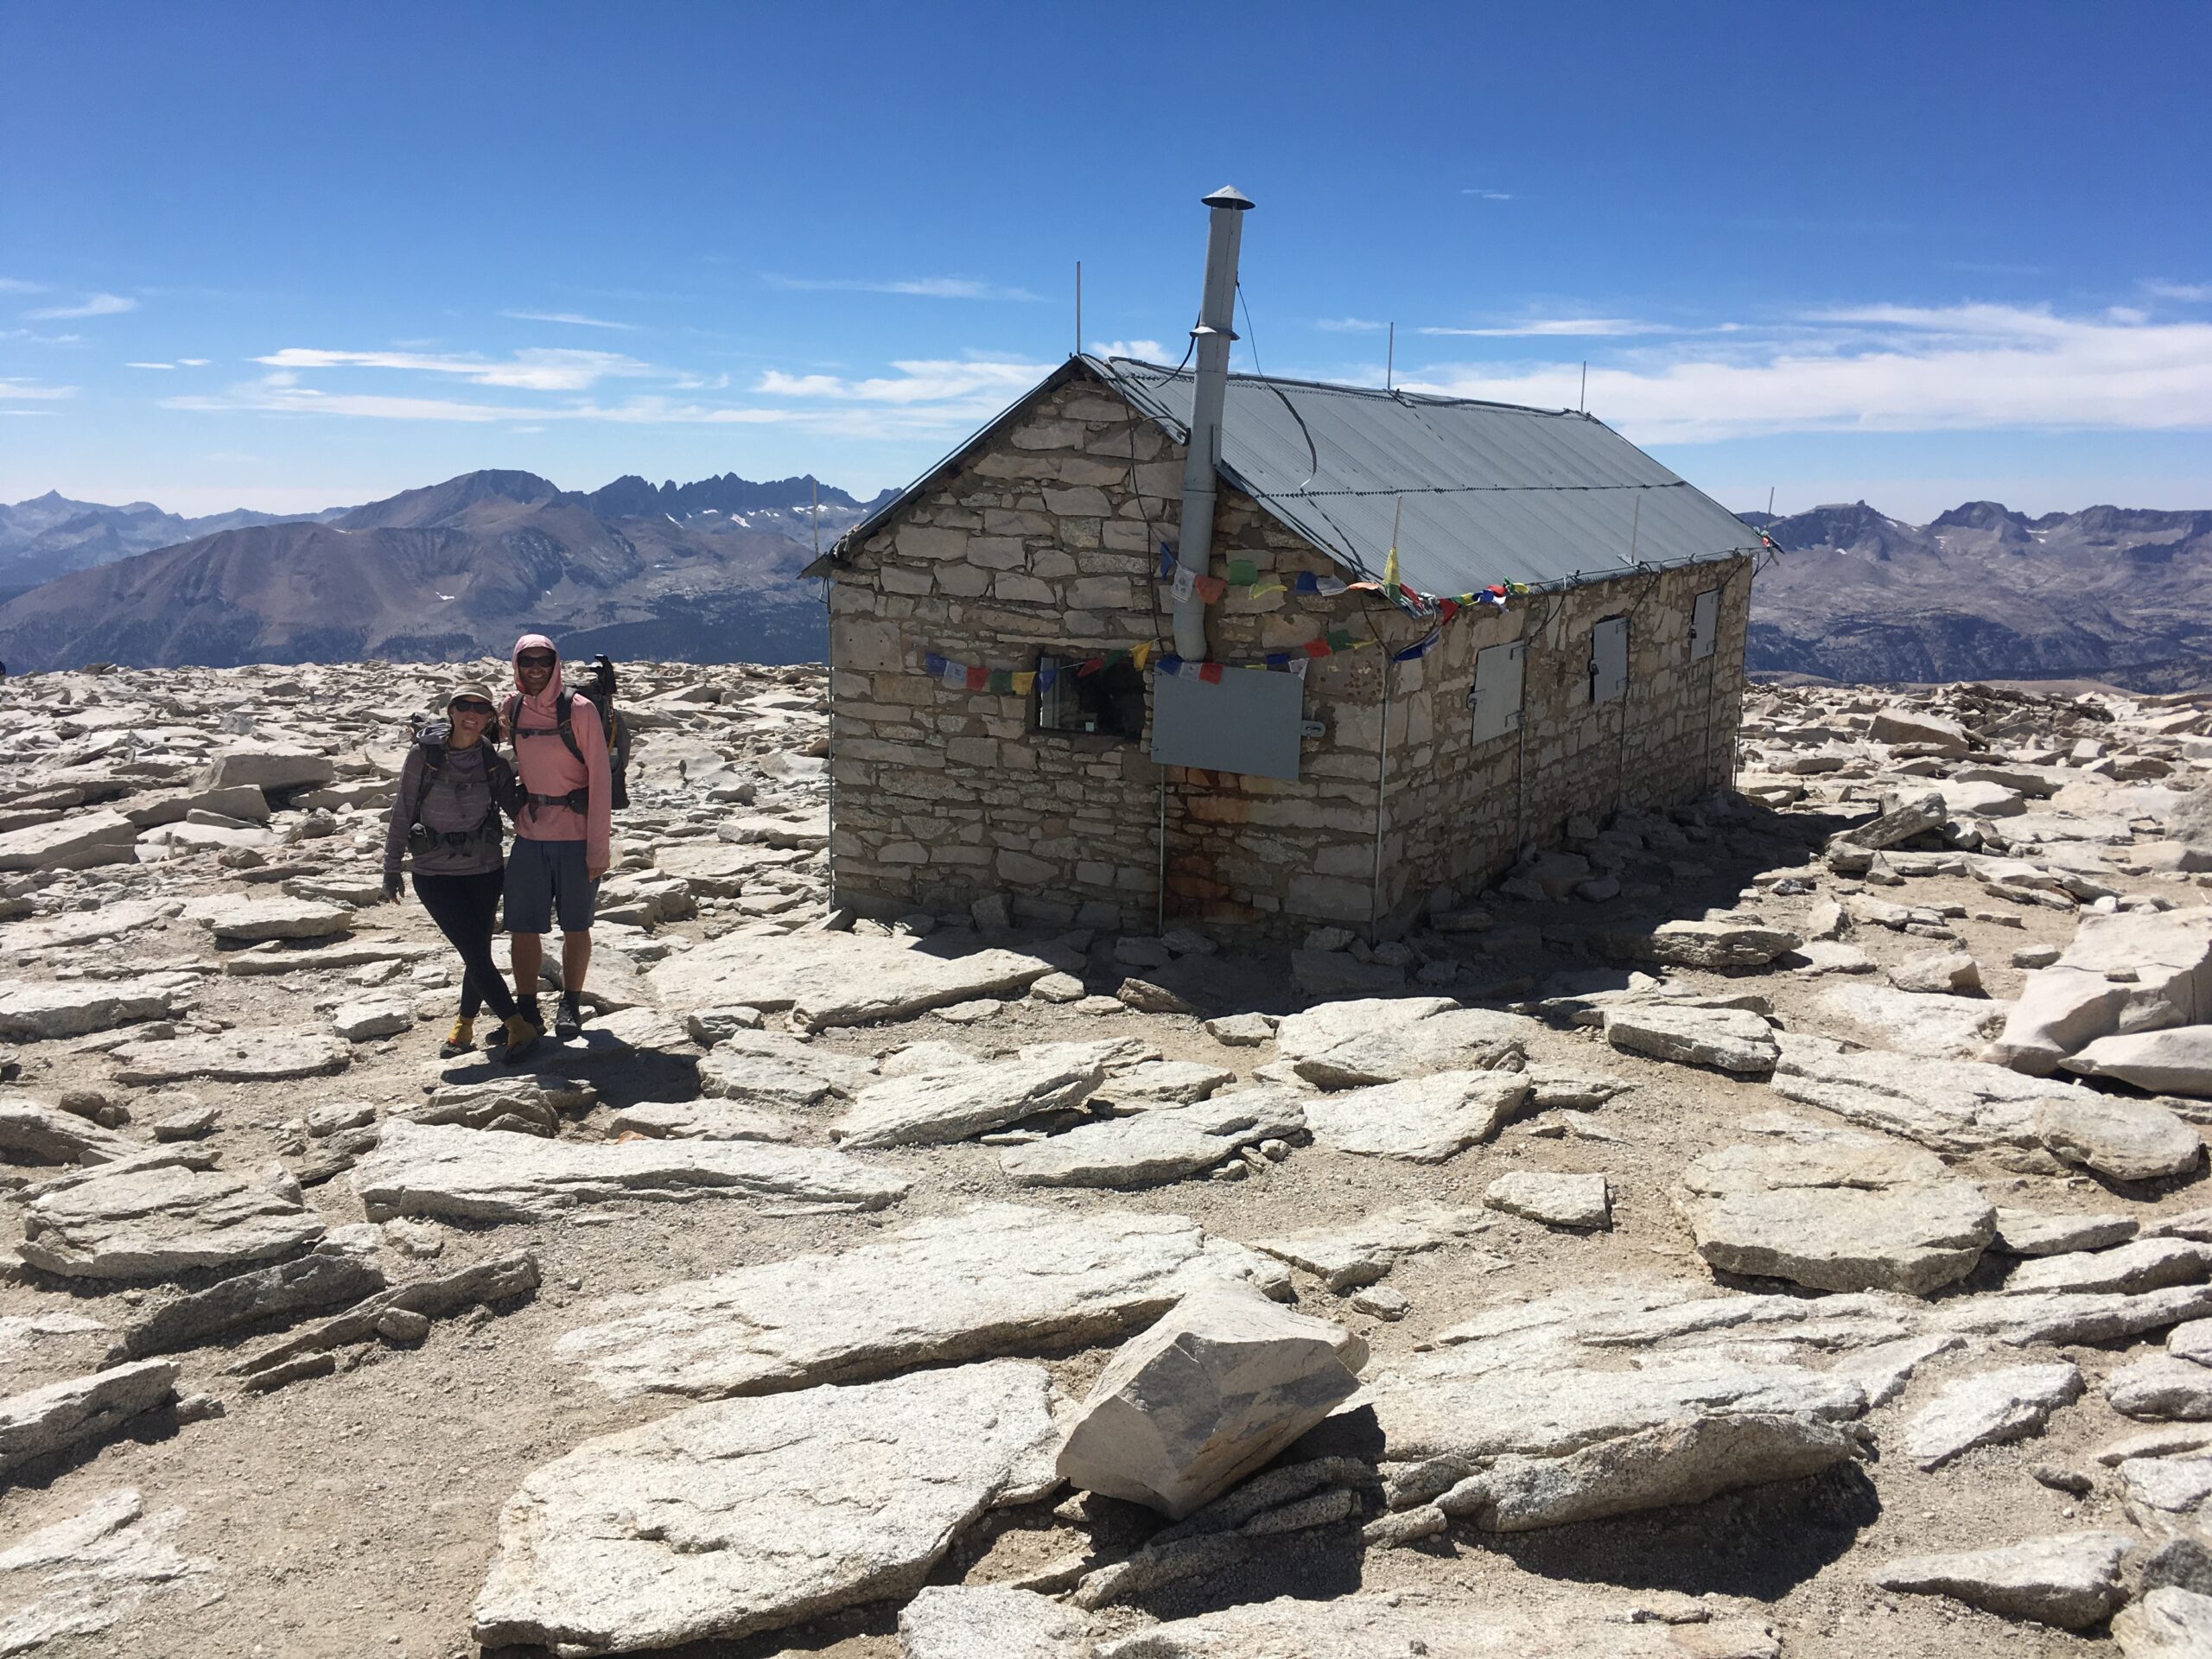
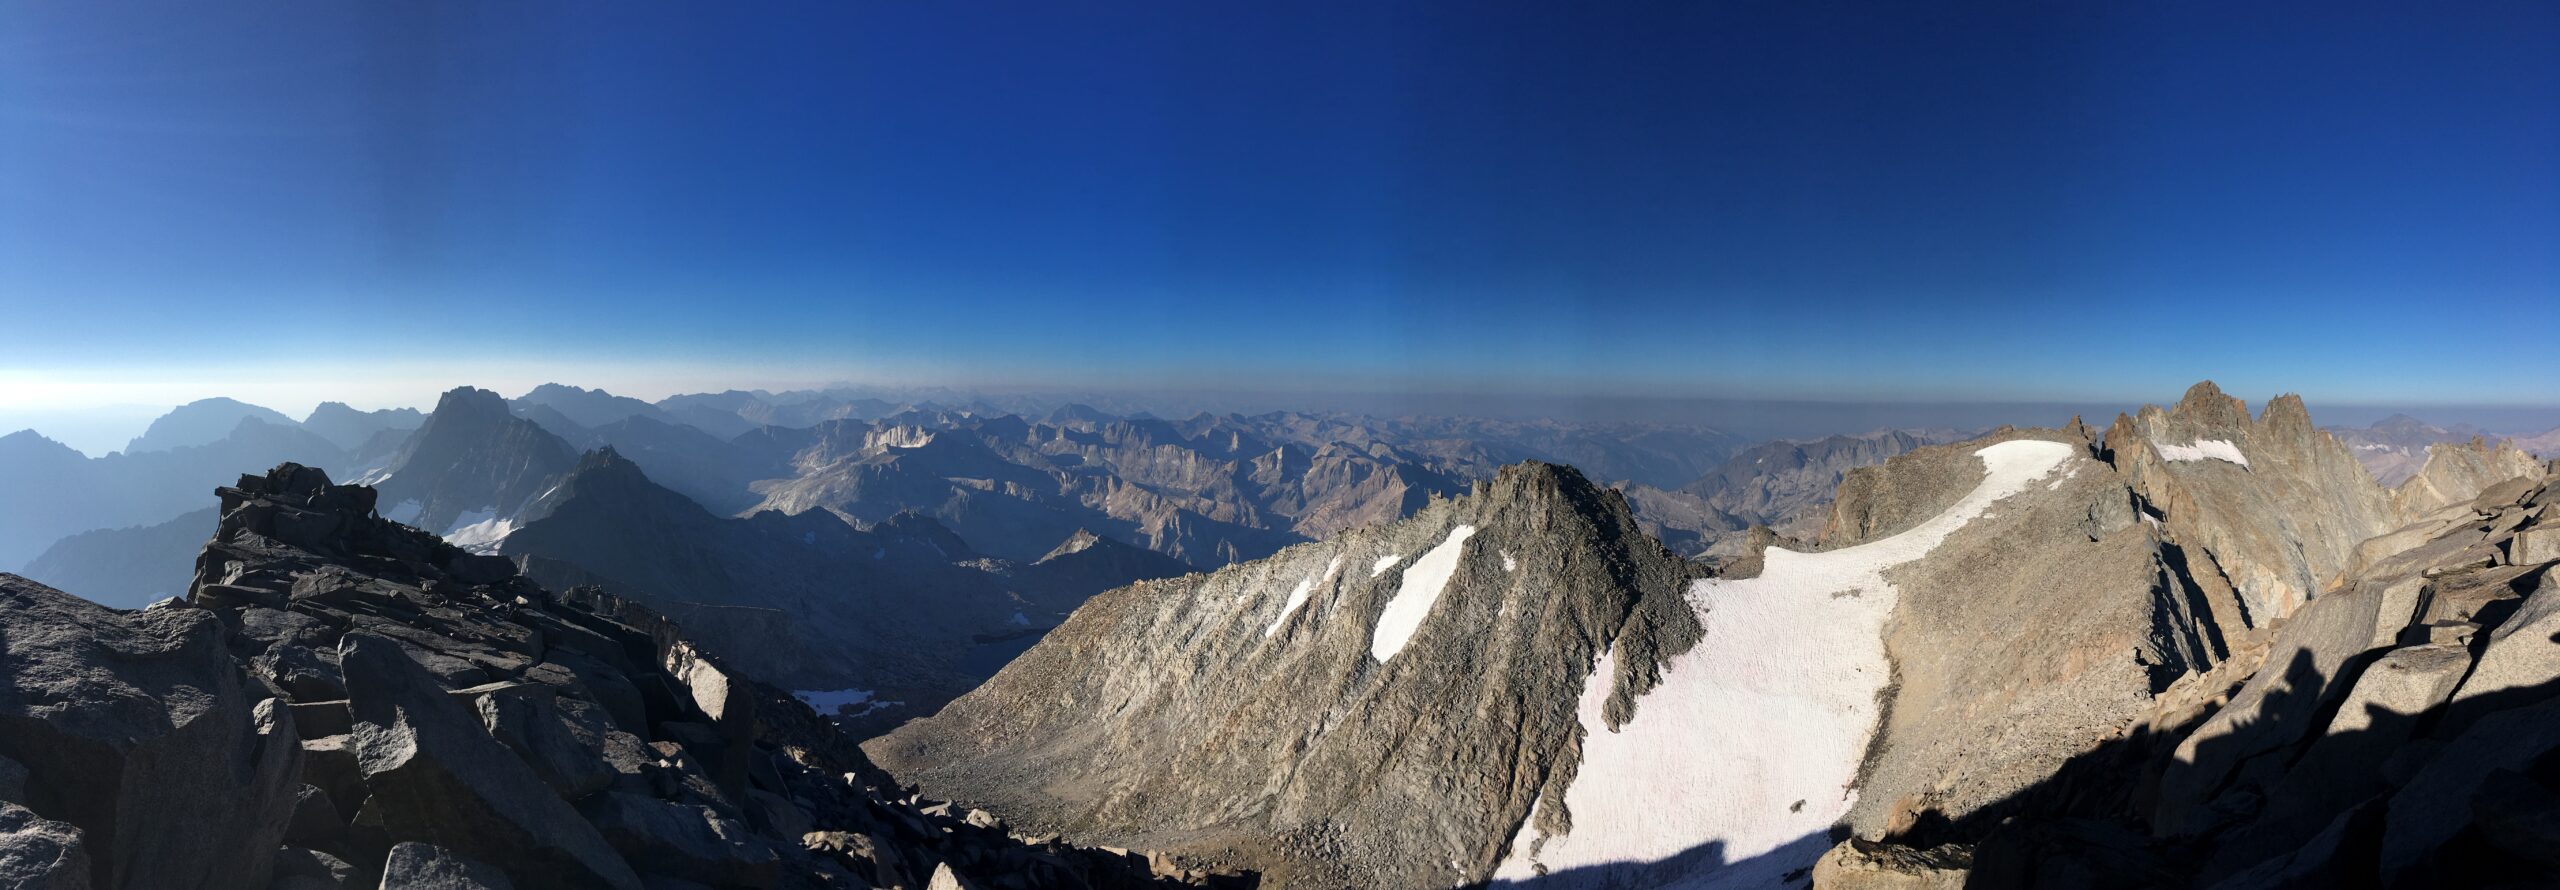
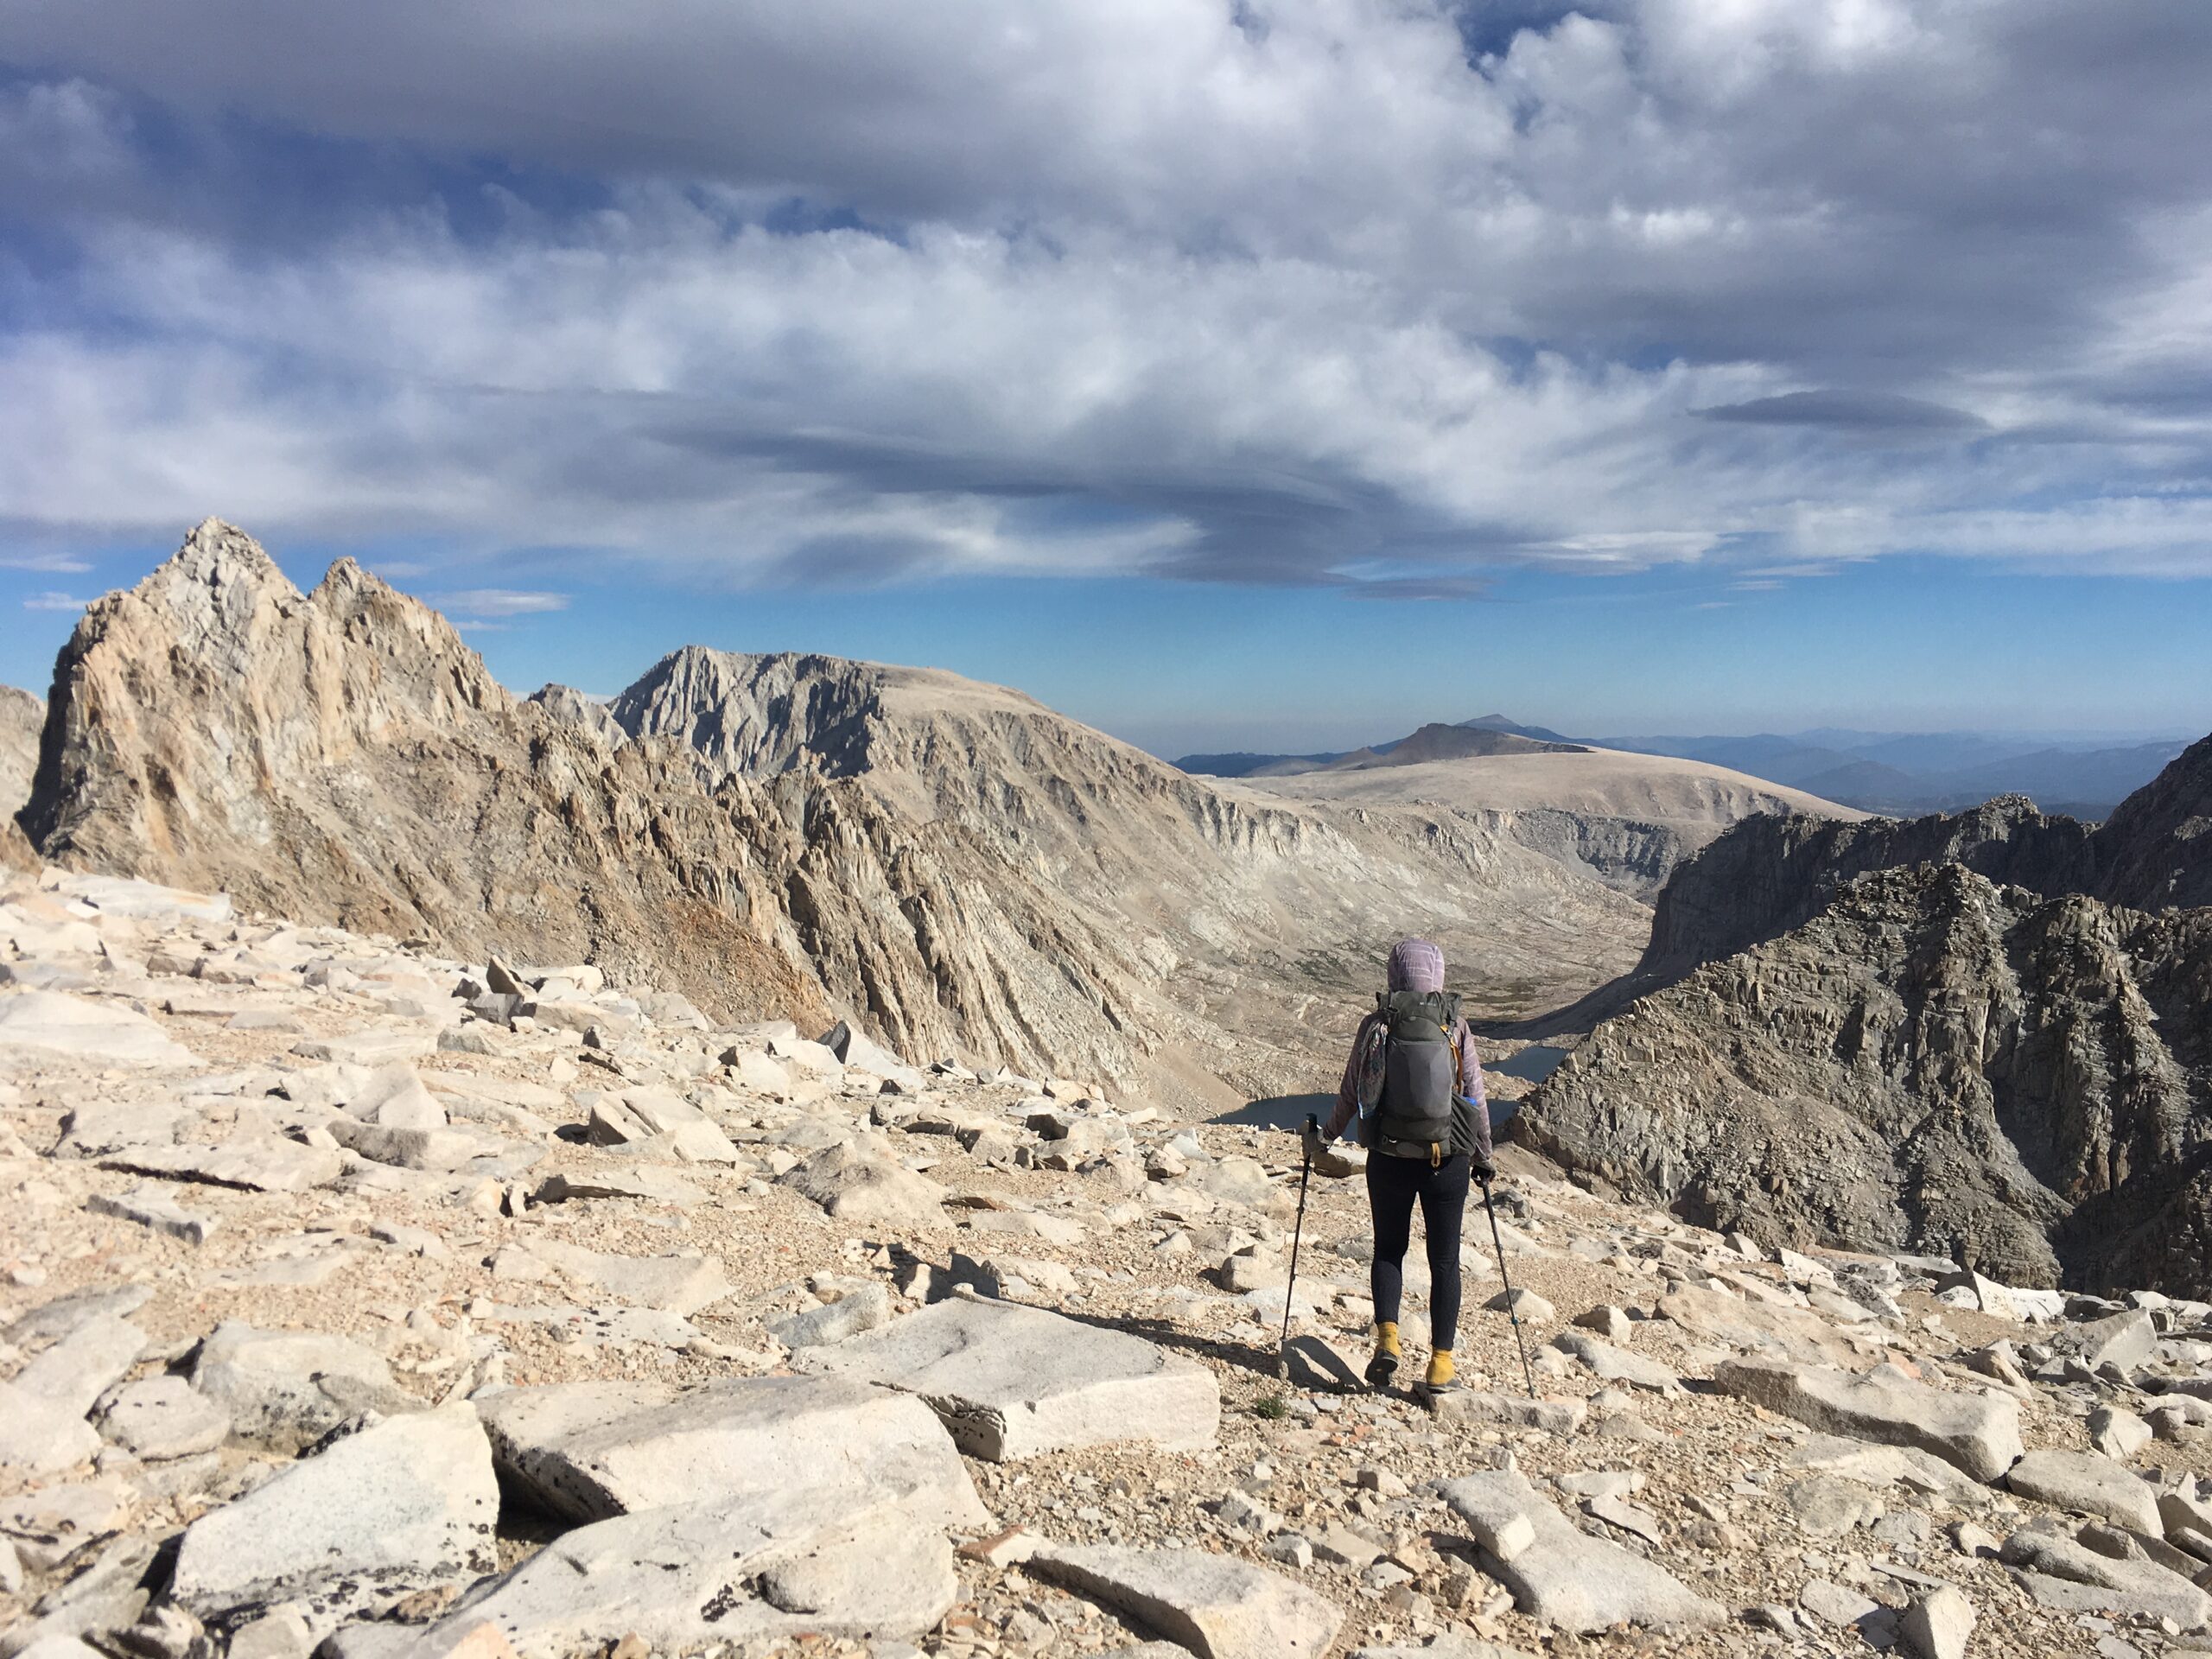
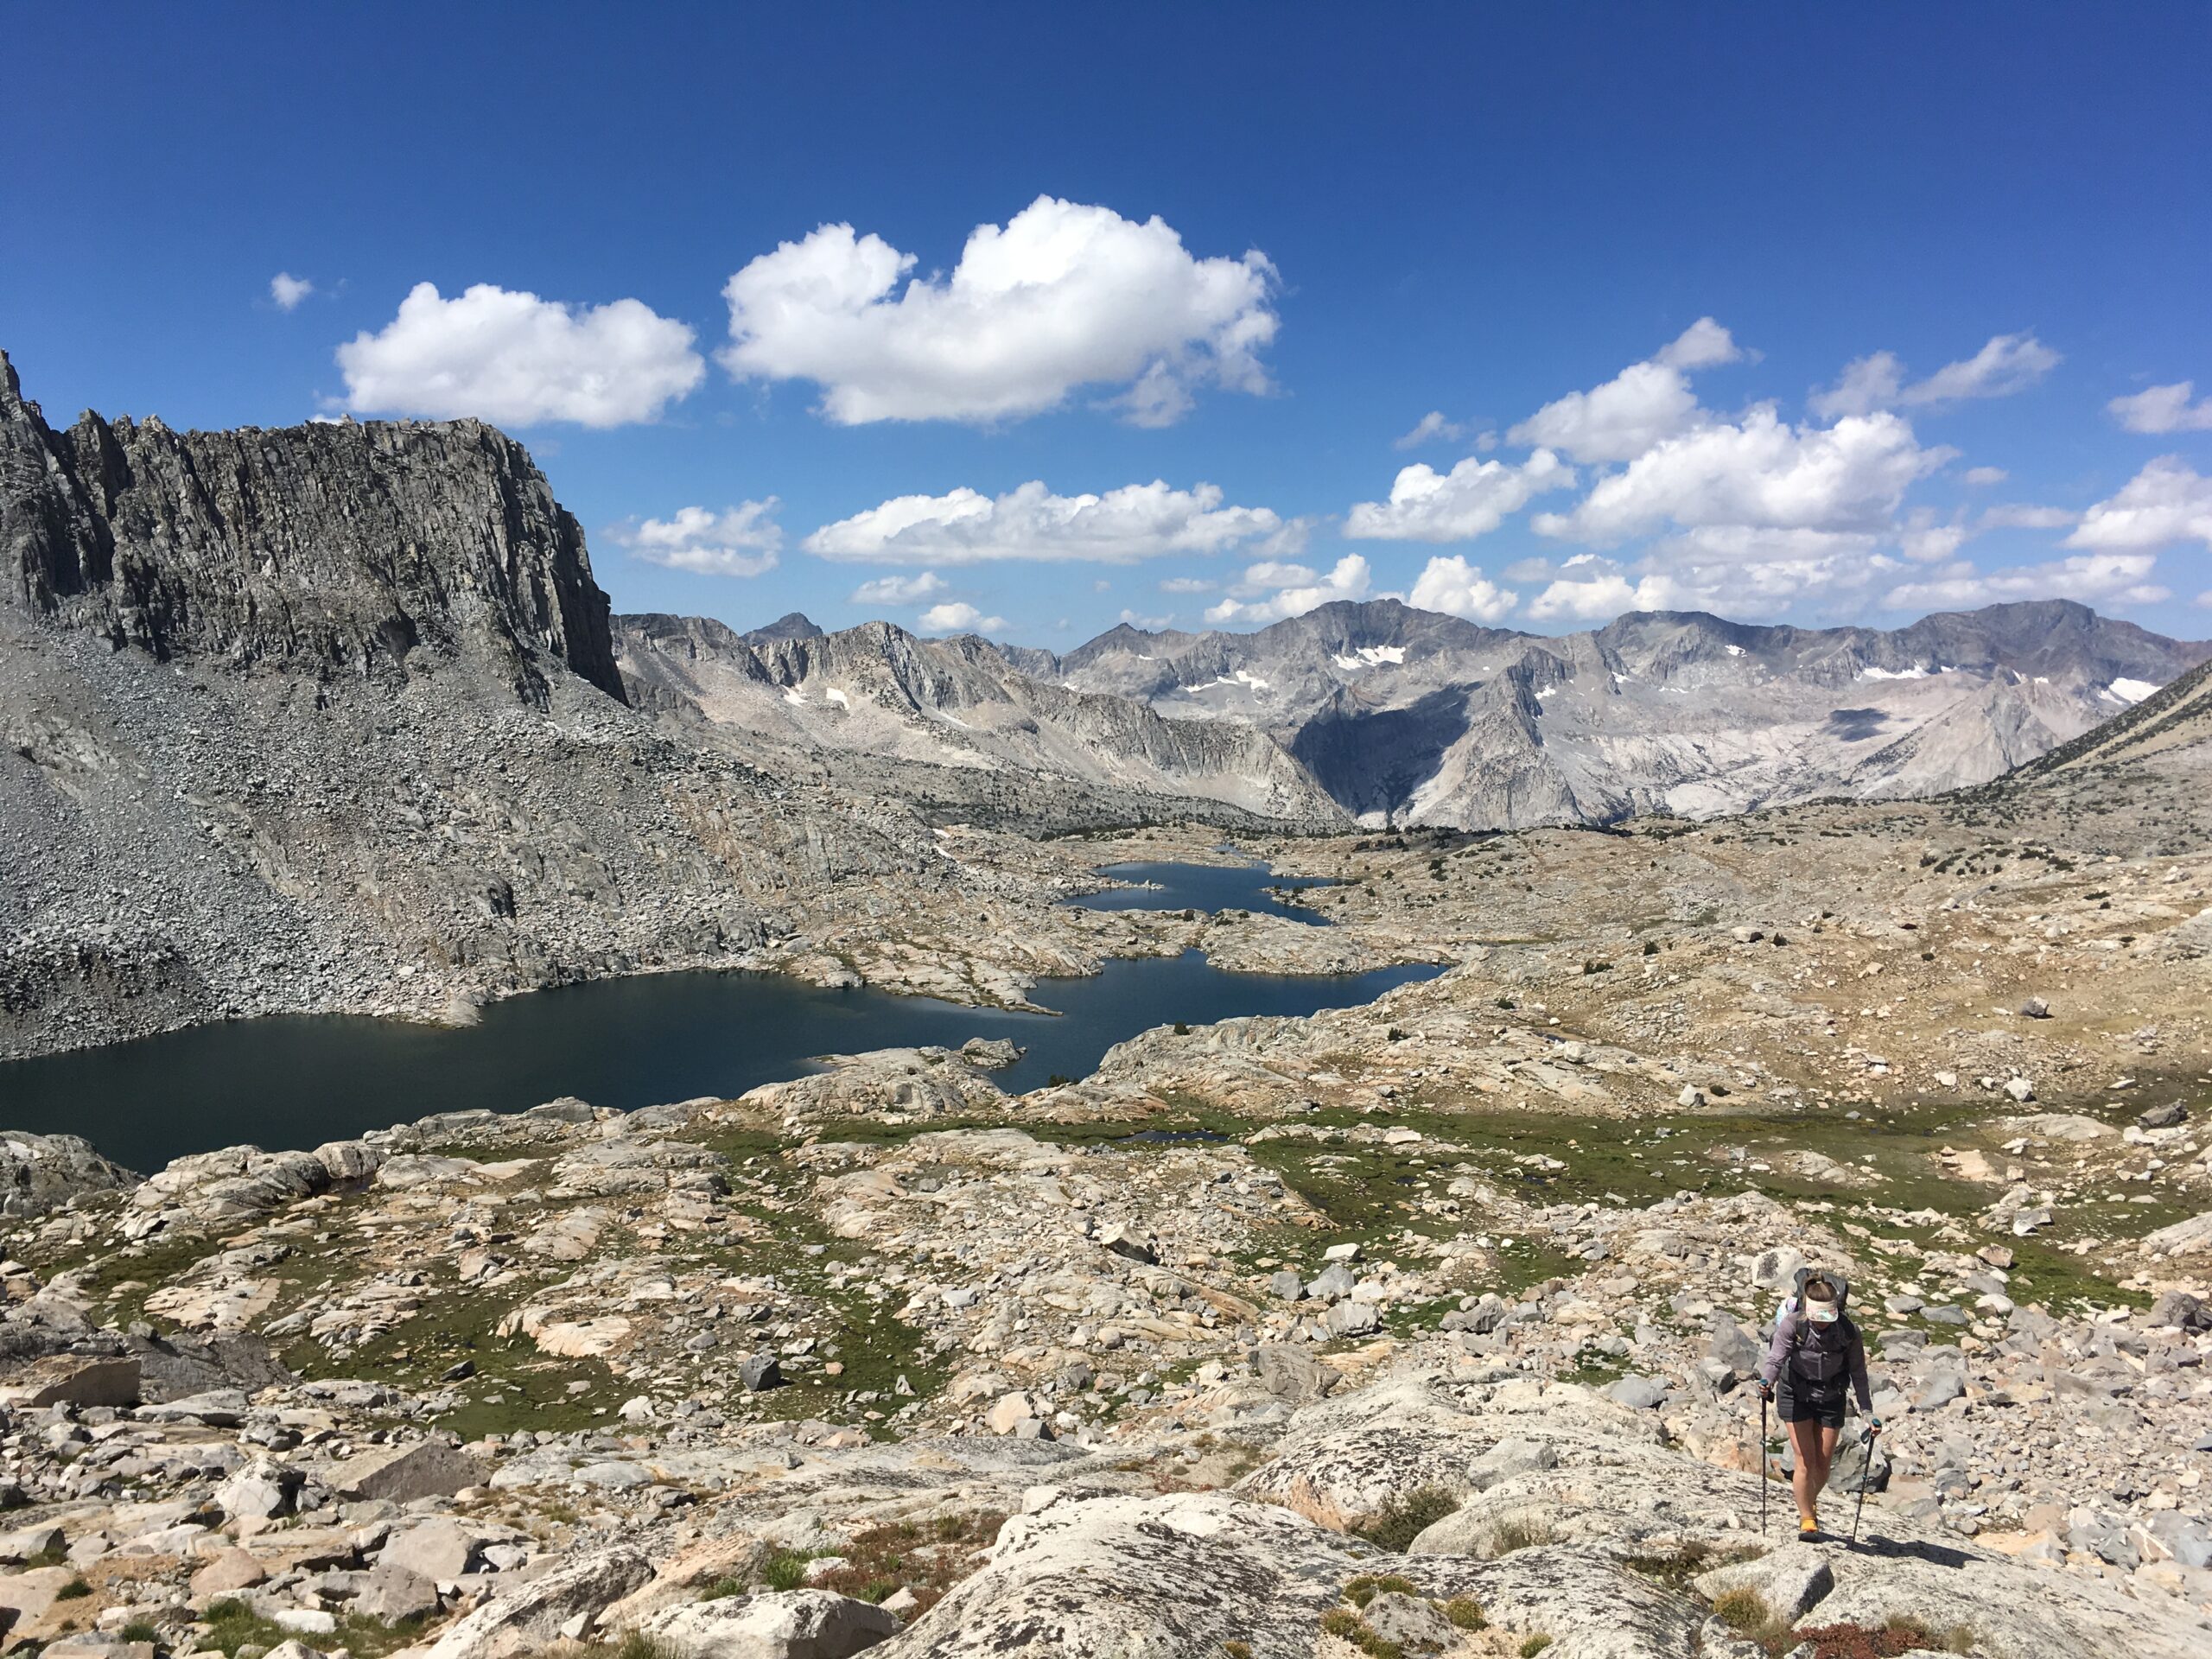
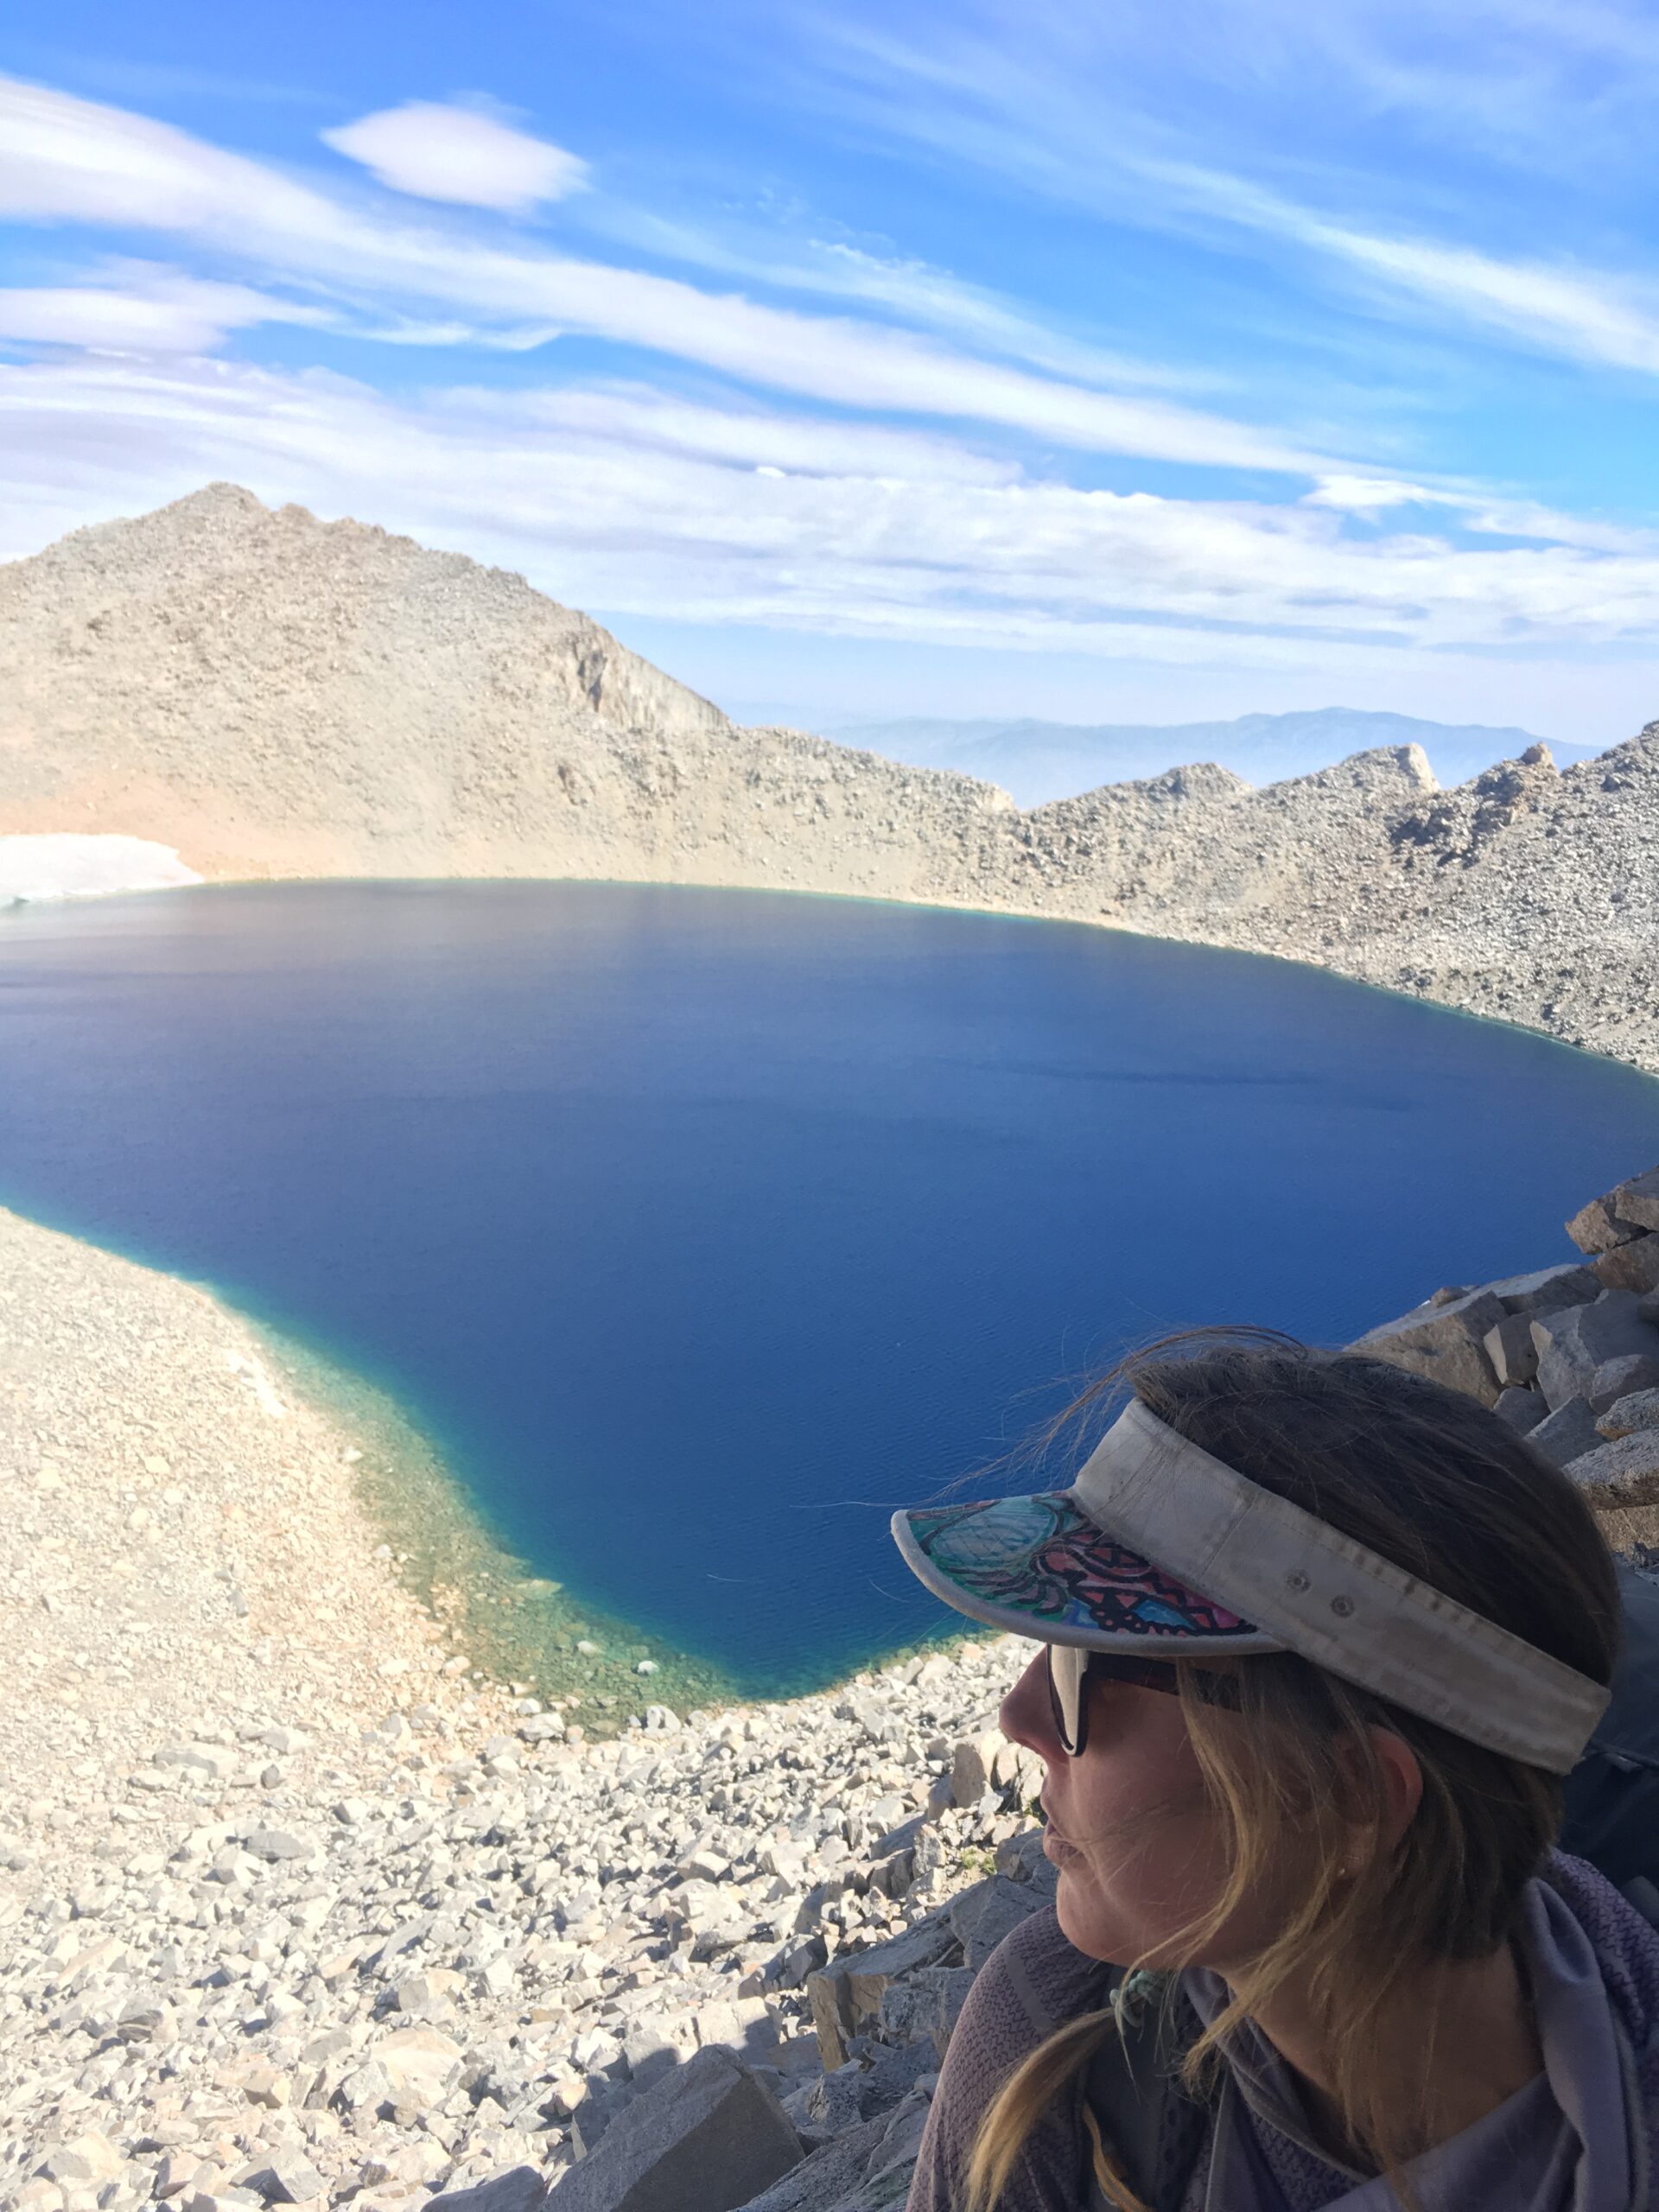
We woke on Day 5 and were lucky to find cairns marking a path all the way up Wallace Creek (it seemed surprisingly well marked). We then followed the drainage all the way to Tulainyo Lake. Wow! What an amazing lake right below Mt. Russell. We scarmbled over the Russell – Carillon Col. then dropped off Mt. Russell, hiked up to Iceberg Lake and followed the Mt. Whitney Mountaineers Route up to the summit. We snapped a photo and reminisced on how the last time we were here was on the Low 2 High Route (we could actually see Telescope Peak in the distance). We headed down the trail to Trail Crest and then cut off right before the switchbacks, over the ridge of Mt. Whitney to drop into Crabtree Lake and Miter Basin. We spent the night in Miter Basin a little bit north of Sky Blue Lake. The basin was a stunning maze of granite and water – one of our favorite places we have visited in the Sierra together.
Day 6
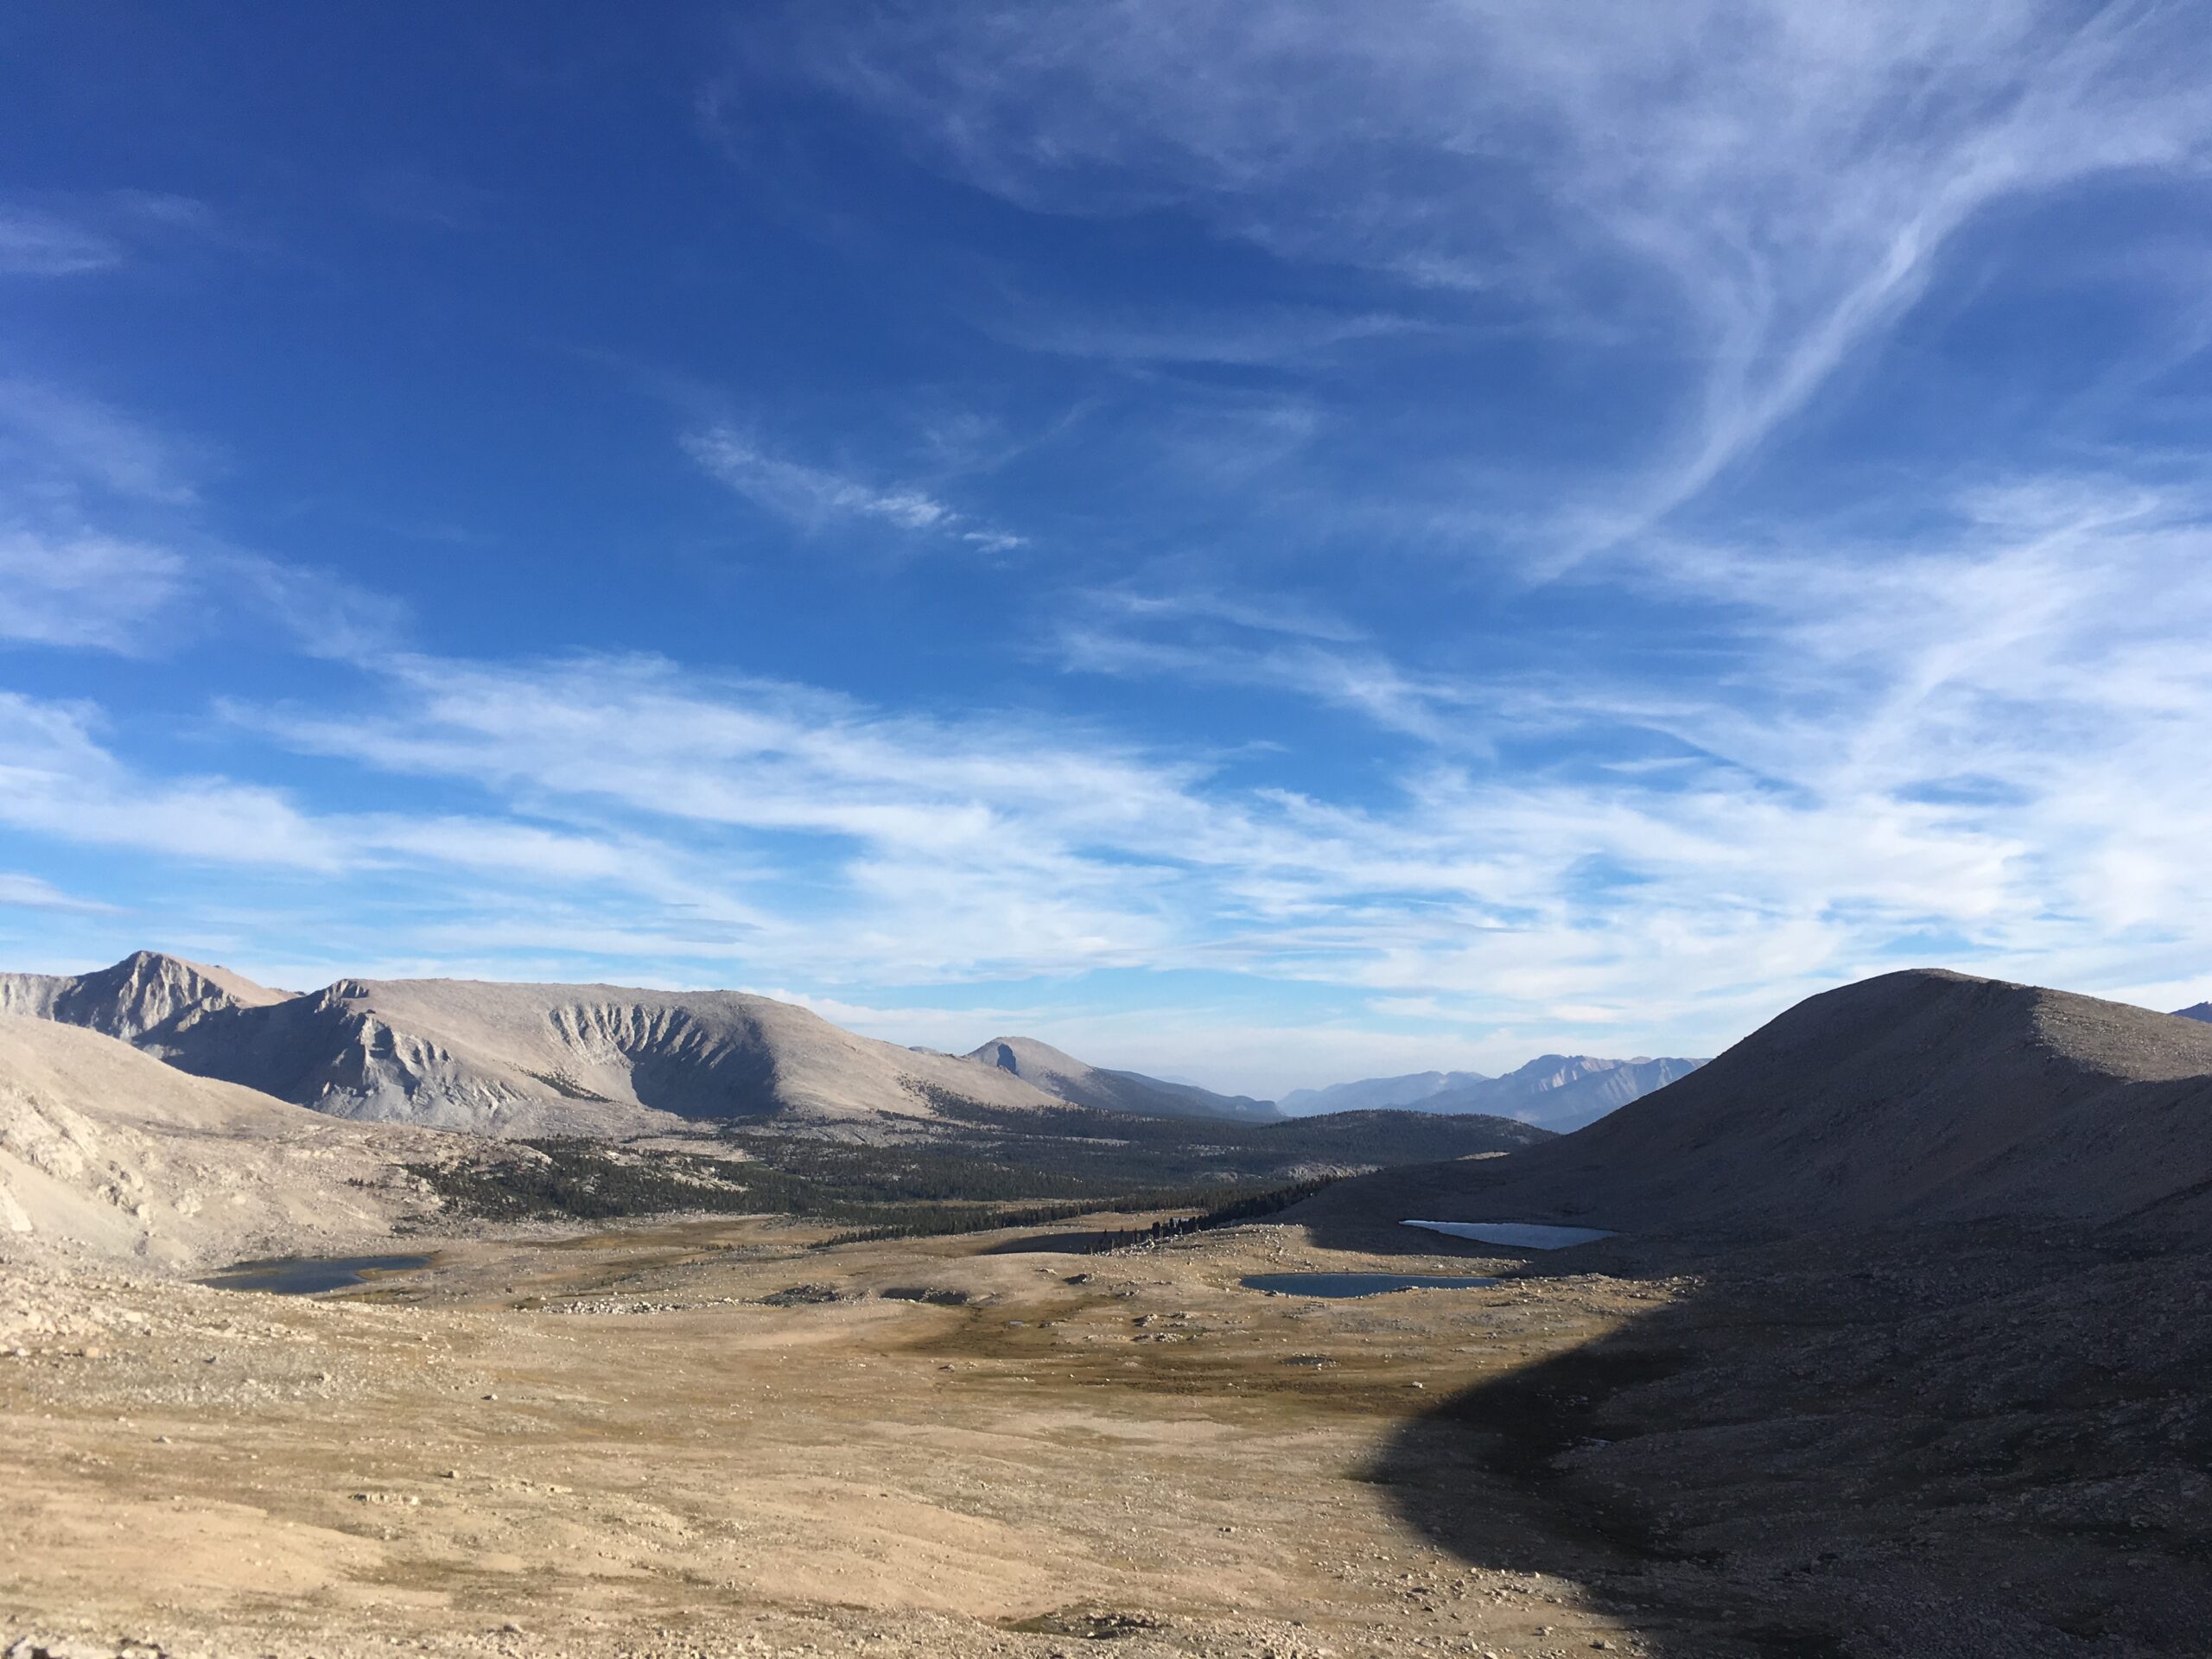
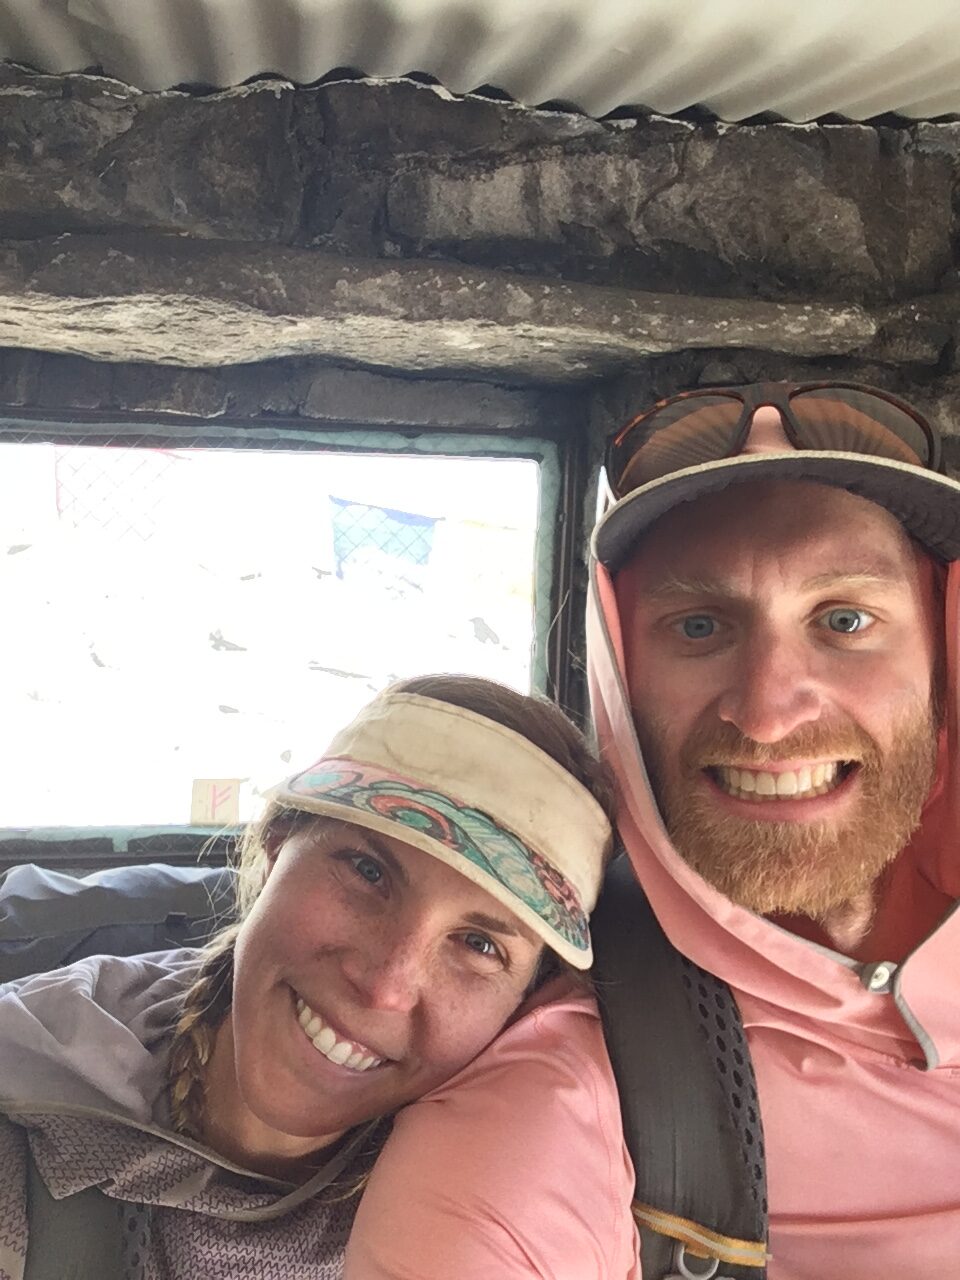
On Day 6 we woke up in Miter Basin and knew that we were headed out of the wilderness today. We strolled down Miter Basin and hit the trail towards New Army Pass. We climbed the mellow, but long, New Army Pass, took a quick break at the top, and walked down the trail all the way to the Cottonwood Lakes trailhead. It was not as busy as we hoped, so we waited a while to hitch a ride back into Lone Pine. We eventually did get a ride from two kind women who were visiting from the Midwest. We got some food in town and spent that night at the Dow Villa hotel in Lone Pine. The next morning, we caught the Eastern Sierra Transit Authority bus back to our car at the Bishop Creek/South Lake trailhead.
Logistics
Below you will find some basic details on the logistics behind the Southern Sierra High Route. The logistics are organized around starting at Bishop Pass Trailhead at South Lake and walking south to Cottonwood Lakes Trailhead.
Route Information & When to Hike
Most likely, the best time to hike this route is late Summer/early Fall (mid July to late September), when snow is at a minimum. The route starts at the Bishop Pass Trailhead at South Lake and ends at the Cottonwood Lakes Trailhead south of Mt. Whitney and Miter Basin. This relatively high alpine route is about 100 miles in length. At many points it travels on or parallels the John Muir Trail, which makes for some interesting conversations and interactions with other hikers along the way.
There are a few awesome side trips and peaks that are also possible while hiking this route. Peak options that are in line with the route are: Mt. Sill, Mt. Russell, Mt. Whitney, and Mt. Langley. These are all classic 14,000 foot peaks in the Sierra, but you will most likely need a few extra days if you are hoping to add in one or more of them. In Alan Dixon’s information he also adds an alternate called the Baxter Alternate – which heads over Mt. Baxter, down to Baxter Lakes, and back to the John Muir Trail. This is a worthy alternate that is physically demanding, but offers incredible views on less often travelled terrain.
Maps
Alan Dixon has created a FREE very useful map set, as well as data points and information on the travel times and distances.
Transportation
Because the route starts and ends on the Eastern Side of the Sierra, transportation to and from the route can be fairly easy. If you have a vehicle, you can leave it at the Bishop Pass Trailhead and catch a ride on the Eastern Sierra Transit Authority bus back to Bishop from Lone Pine. You could then hitch a ride back to Bishop Pass.
If you are planning on flying into Reno, you could do this route completely by public transit – assuming your days are flexible and you are not on a tight timeline.
Food & Resupplies
In Bishop, CA there is a Smart and Final (with great deals) and a Safeway that are located in the same shopping center. The Eastern Sierra Transit bus drops people off and connects at the Safeway parking lot (a very convenient option). These two stores are probably your best bet for reasonably priced food on the East Side.
There are very few places to resupply on the Southern Sierra High Route. You could have someone meet you (or exit the wilderness) over Baxter Pass – assuming you did the Baxter Alternate, or over Kearsarge Pass into Onion Valley. The latter is where other hikers often get resupplied by horse packers/people who meet them at the trailhead.
Overall, it seems most efficient to either do the route in one carry of food, or to have someone hike out and meet you for a resupply at a specific location.
Permits & Other Requirements
You will need to have a permit to enter at either starting trailhead on the Southern Sierra High Route. You are able to reserve a permit ahead of time or take your chances with a walk-in permit. Permits can be picked up at the White Mountain Public Lands Information Center in Bishop or at the Eastern Sierra Interagency Visitors Center. There are other permit pickup locations, but these are the closest to either terminus.
Luckily, because you will be approaching Mt. Whitney from the north or south you do not need a permit to climb Mt. Whitney. We would encourage you to move through the Whitney Zone in a day, as it can be fairly crowded and hard to find a camping spot without creating more impact. Remember, all waste must be packed out in this area – so consider carrying a “wag bag” with you while you are traveling through.
Bear canisters are a requirement in the Inyo Wilderness.
Resources & Links
Photo Gallery