Te Araroa Trail
↓
Apr 15, 2019
Quick Links
Trail Overview
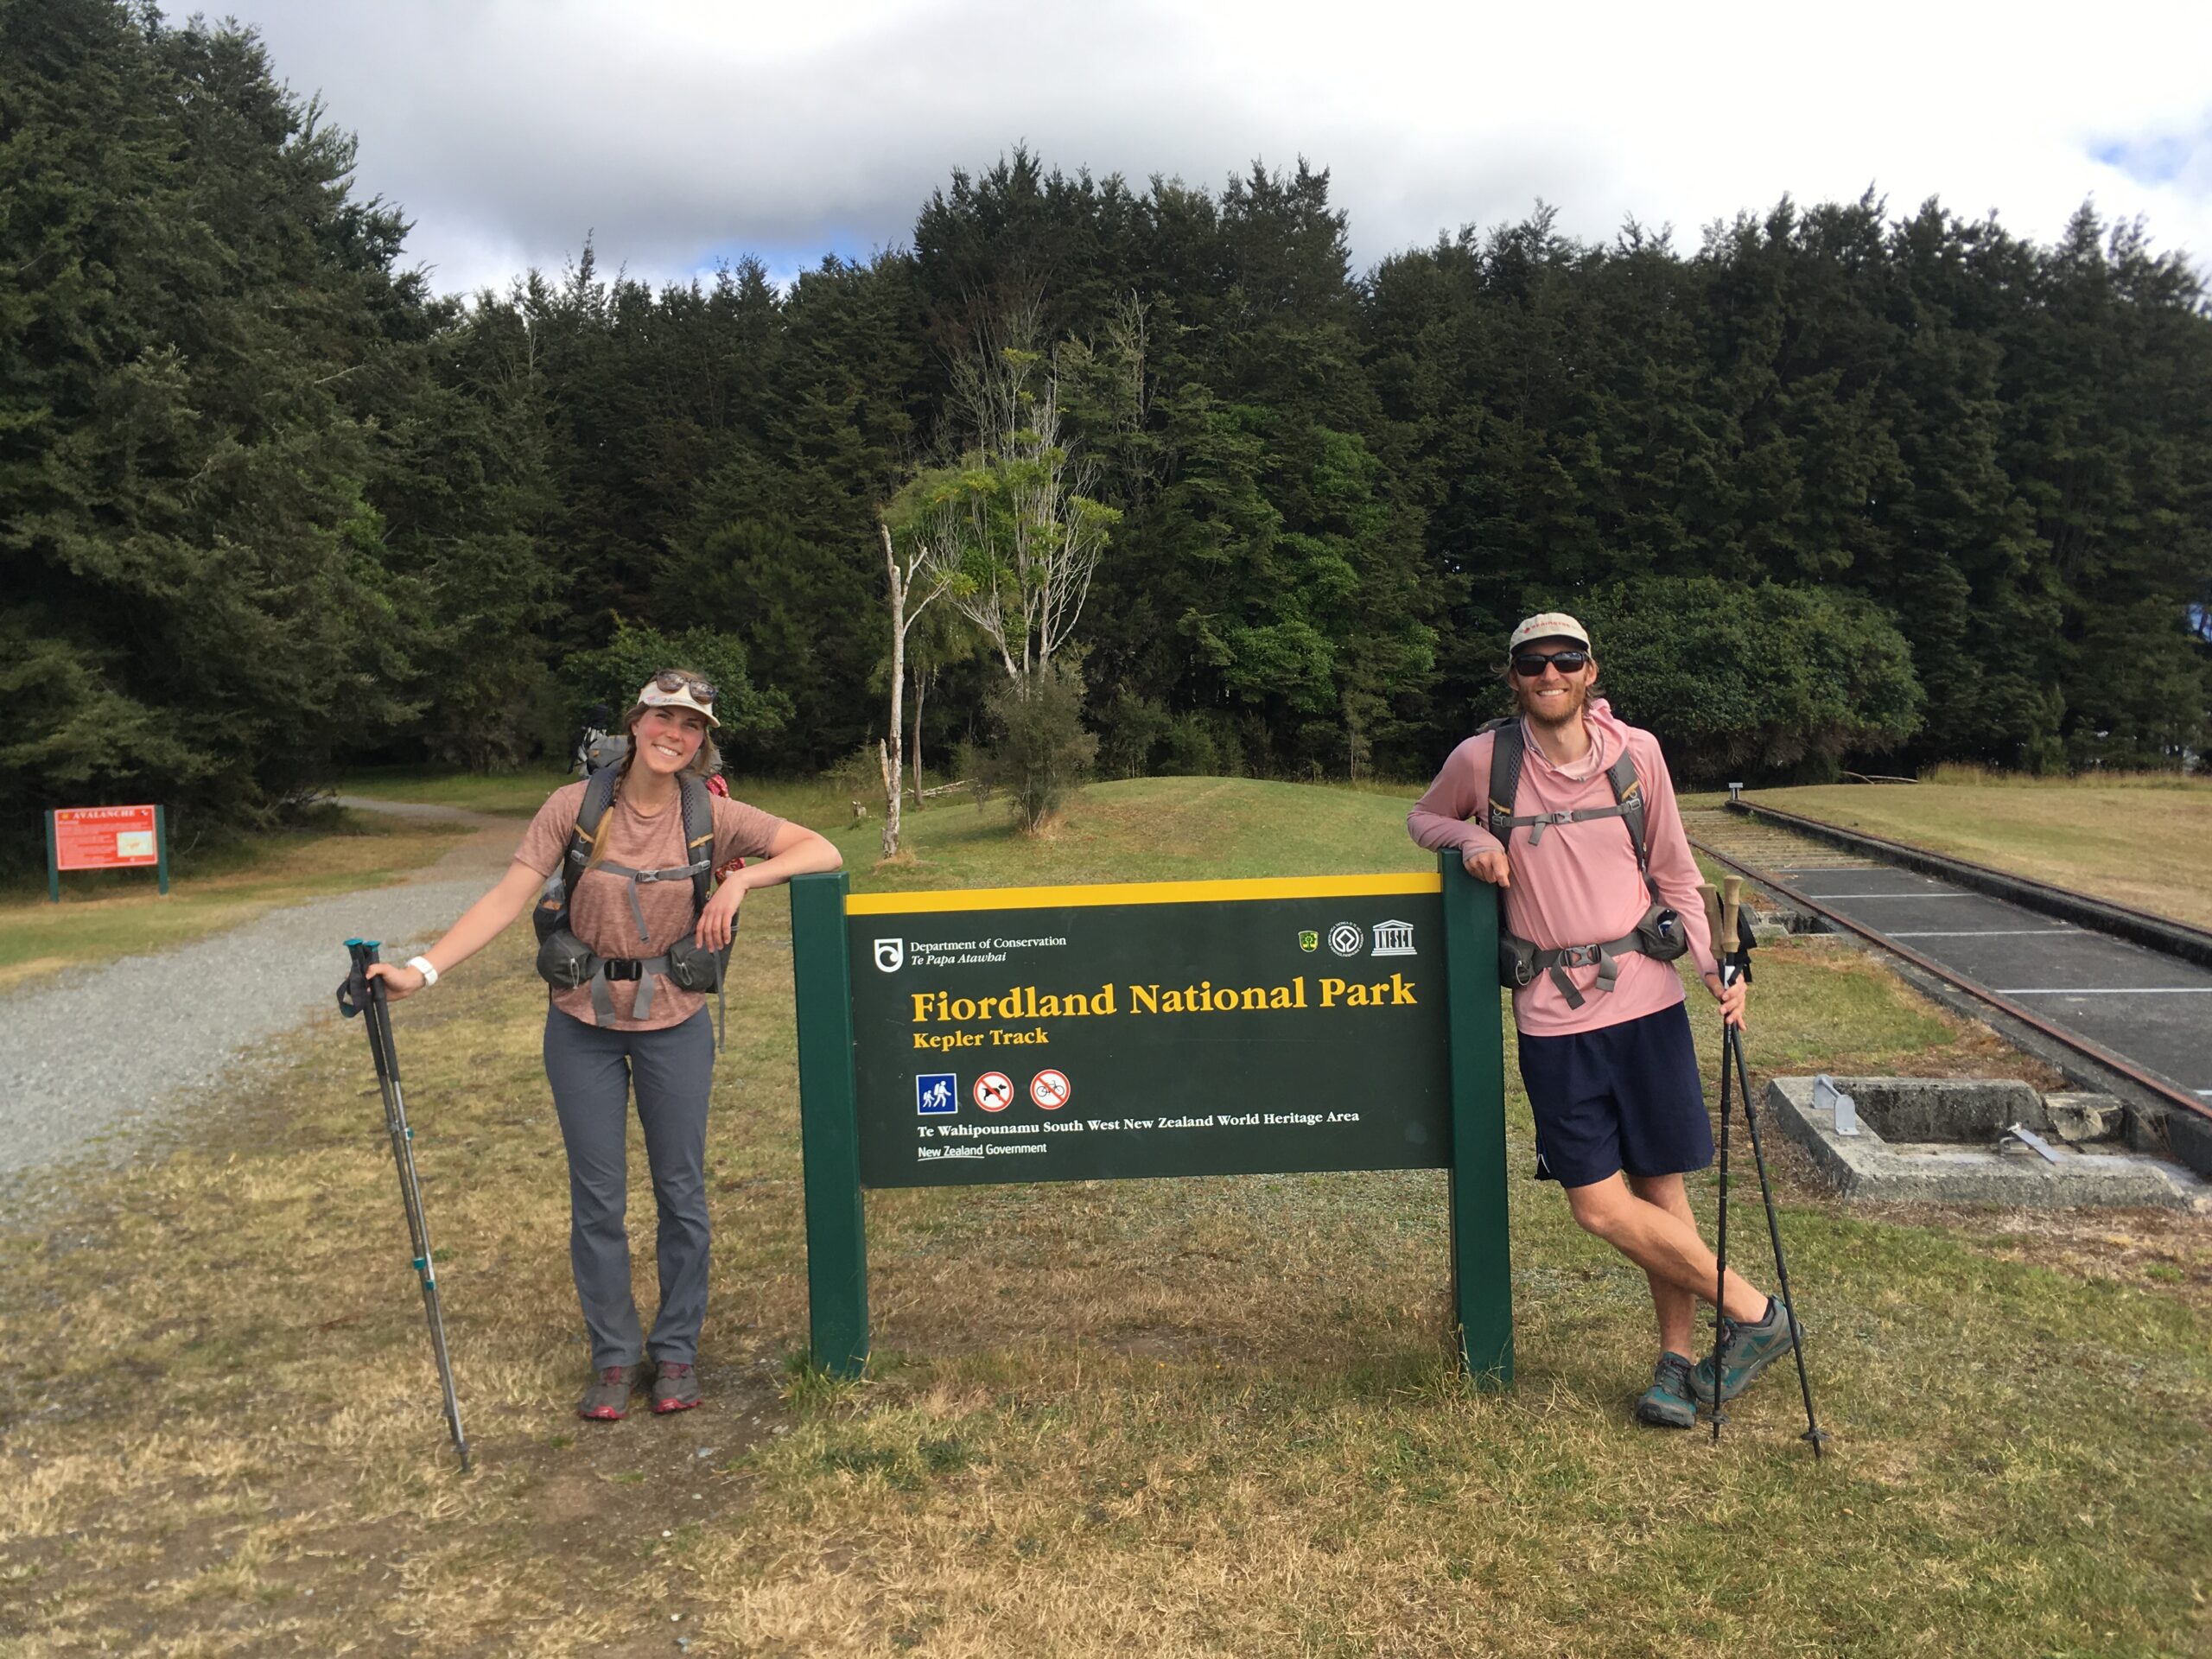
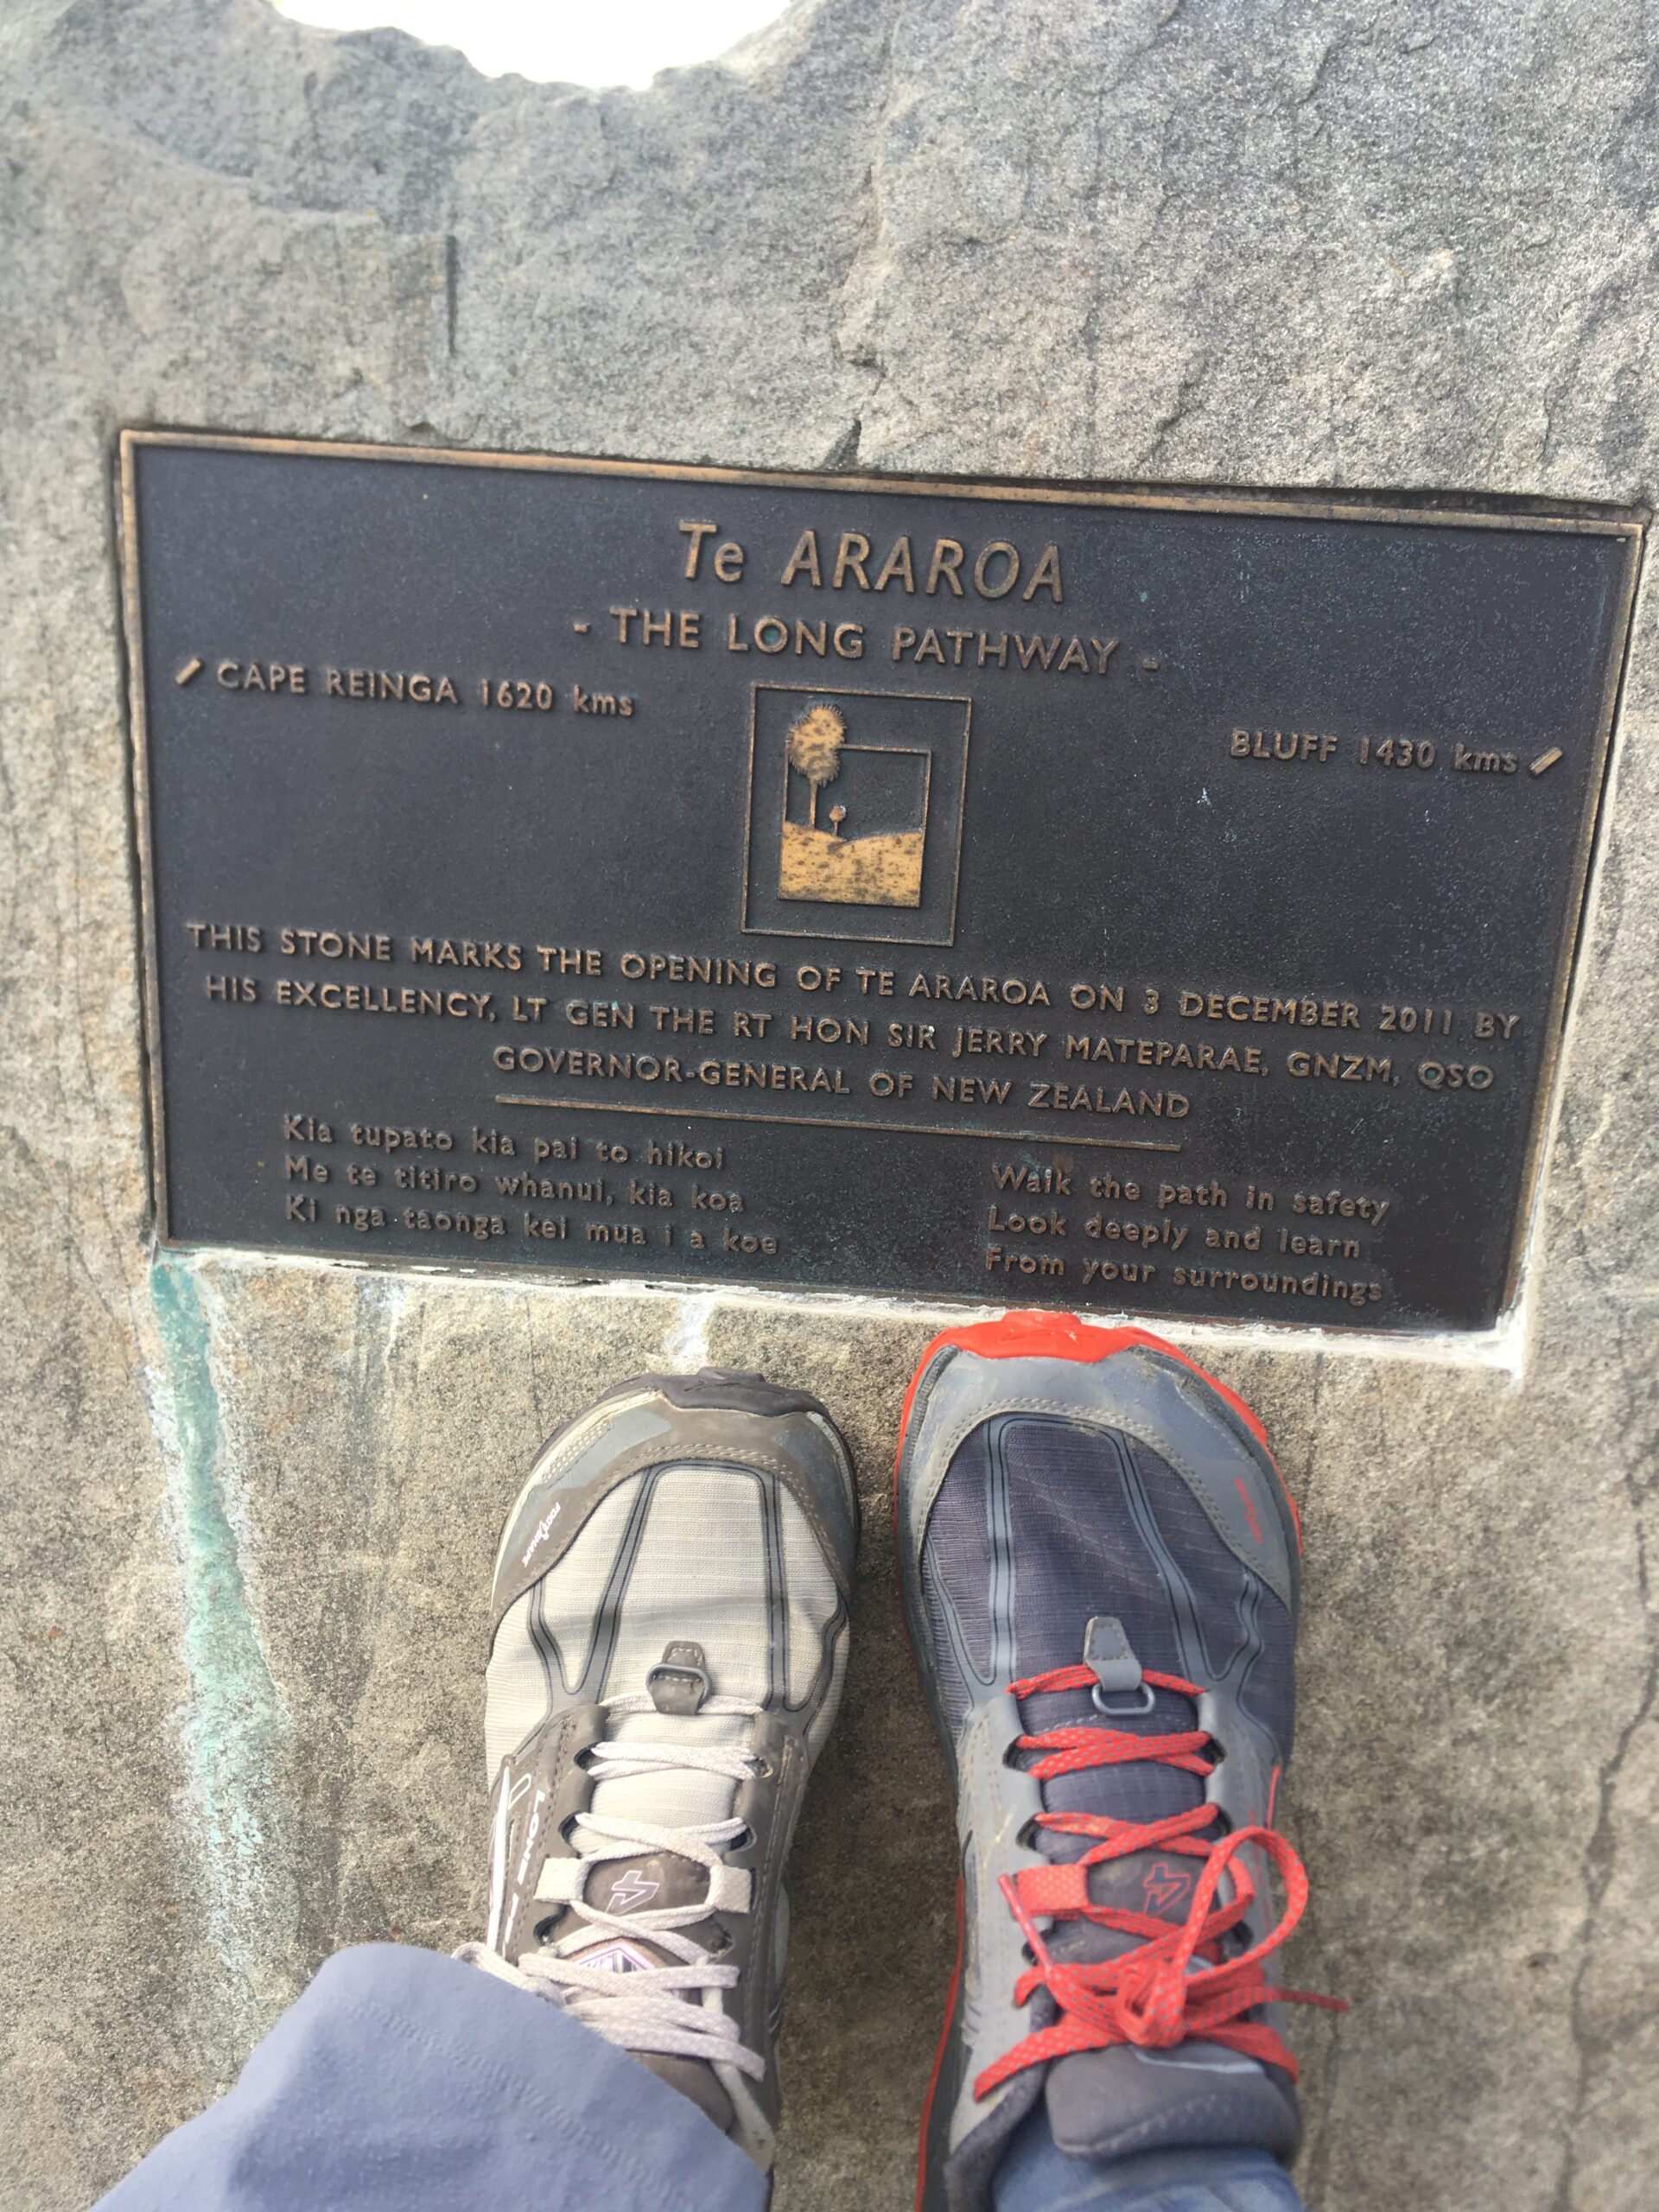
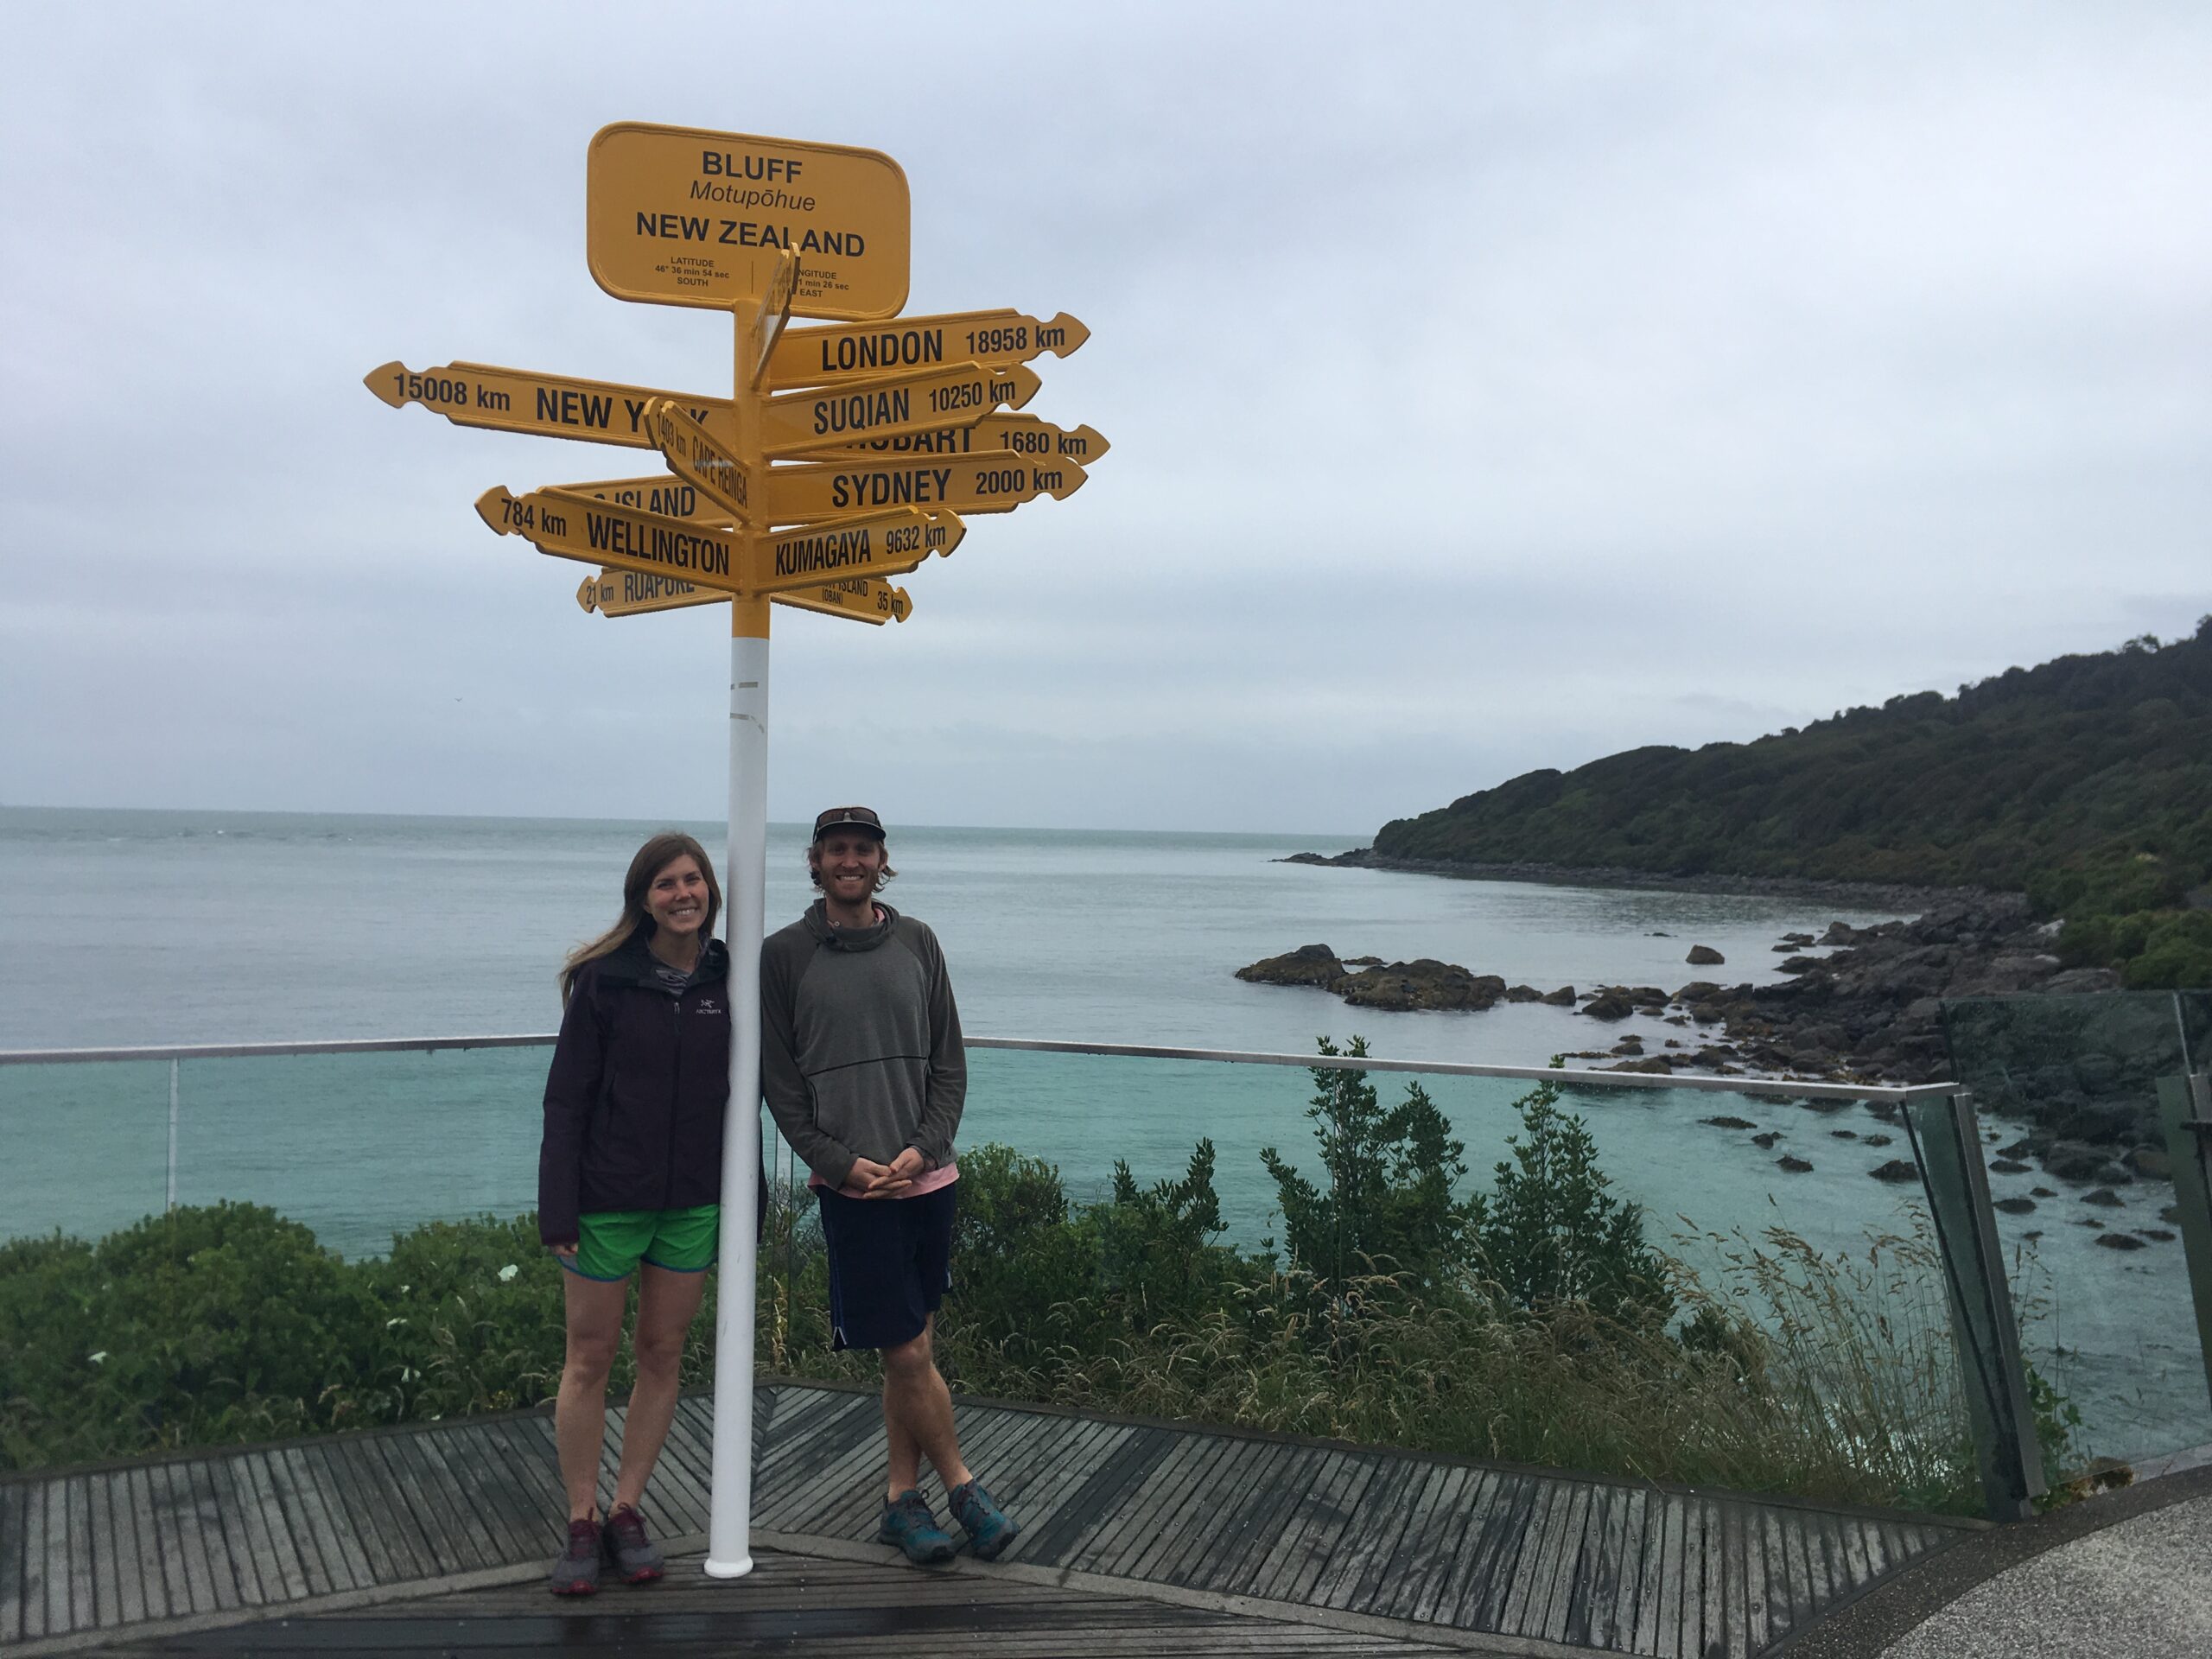
Southern Terminus: Bluff, Southland
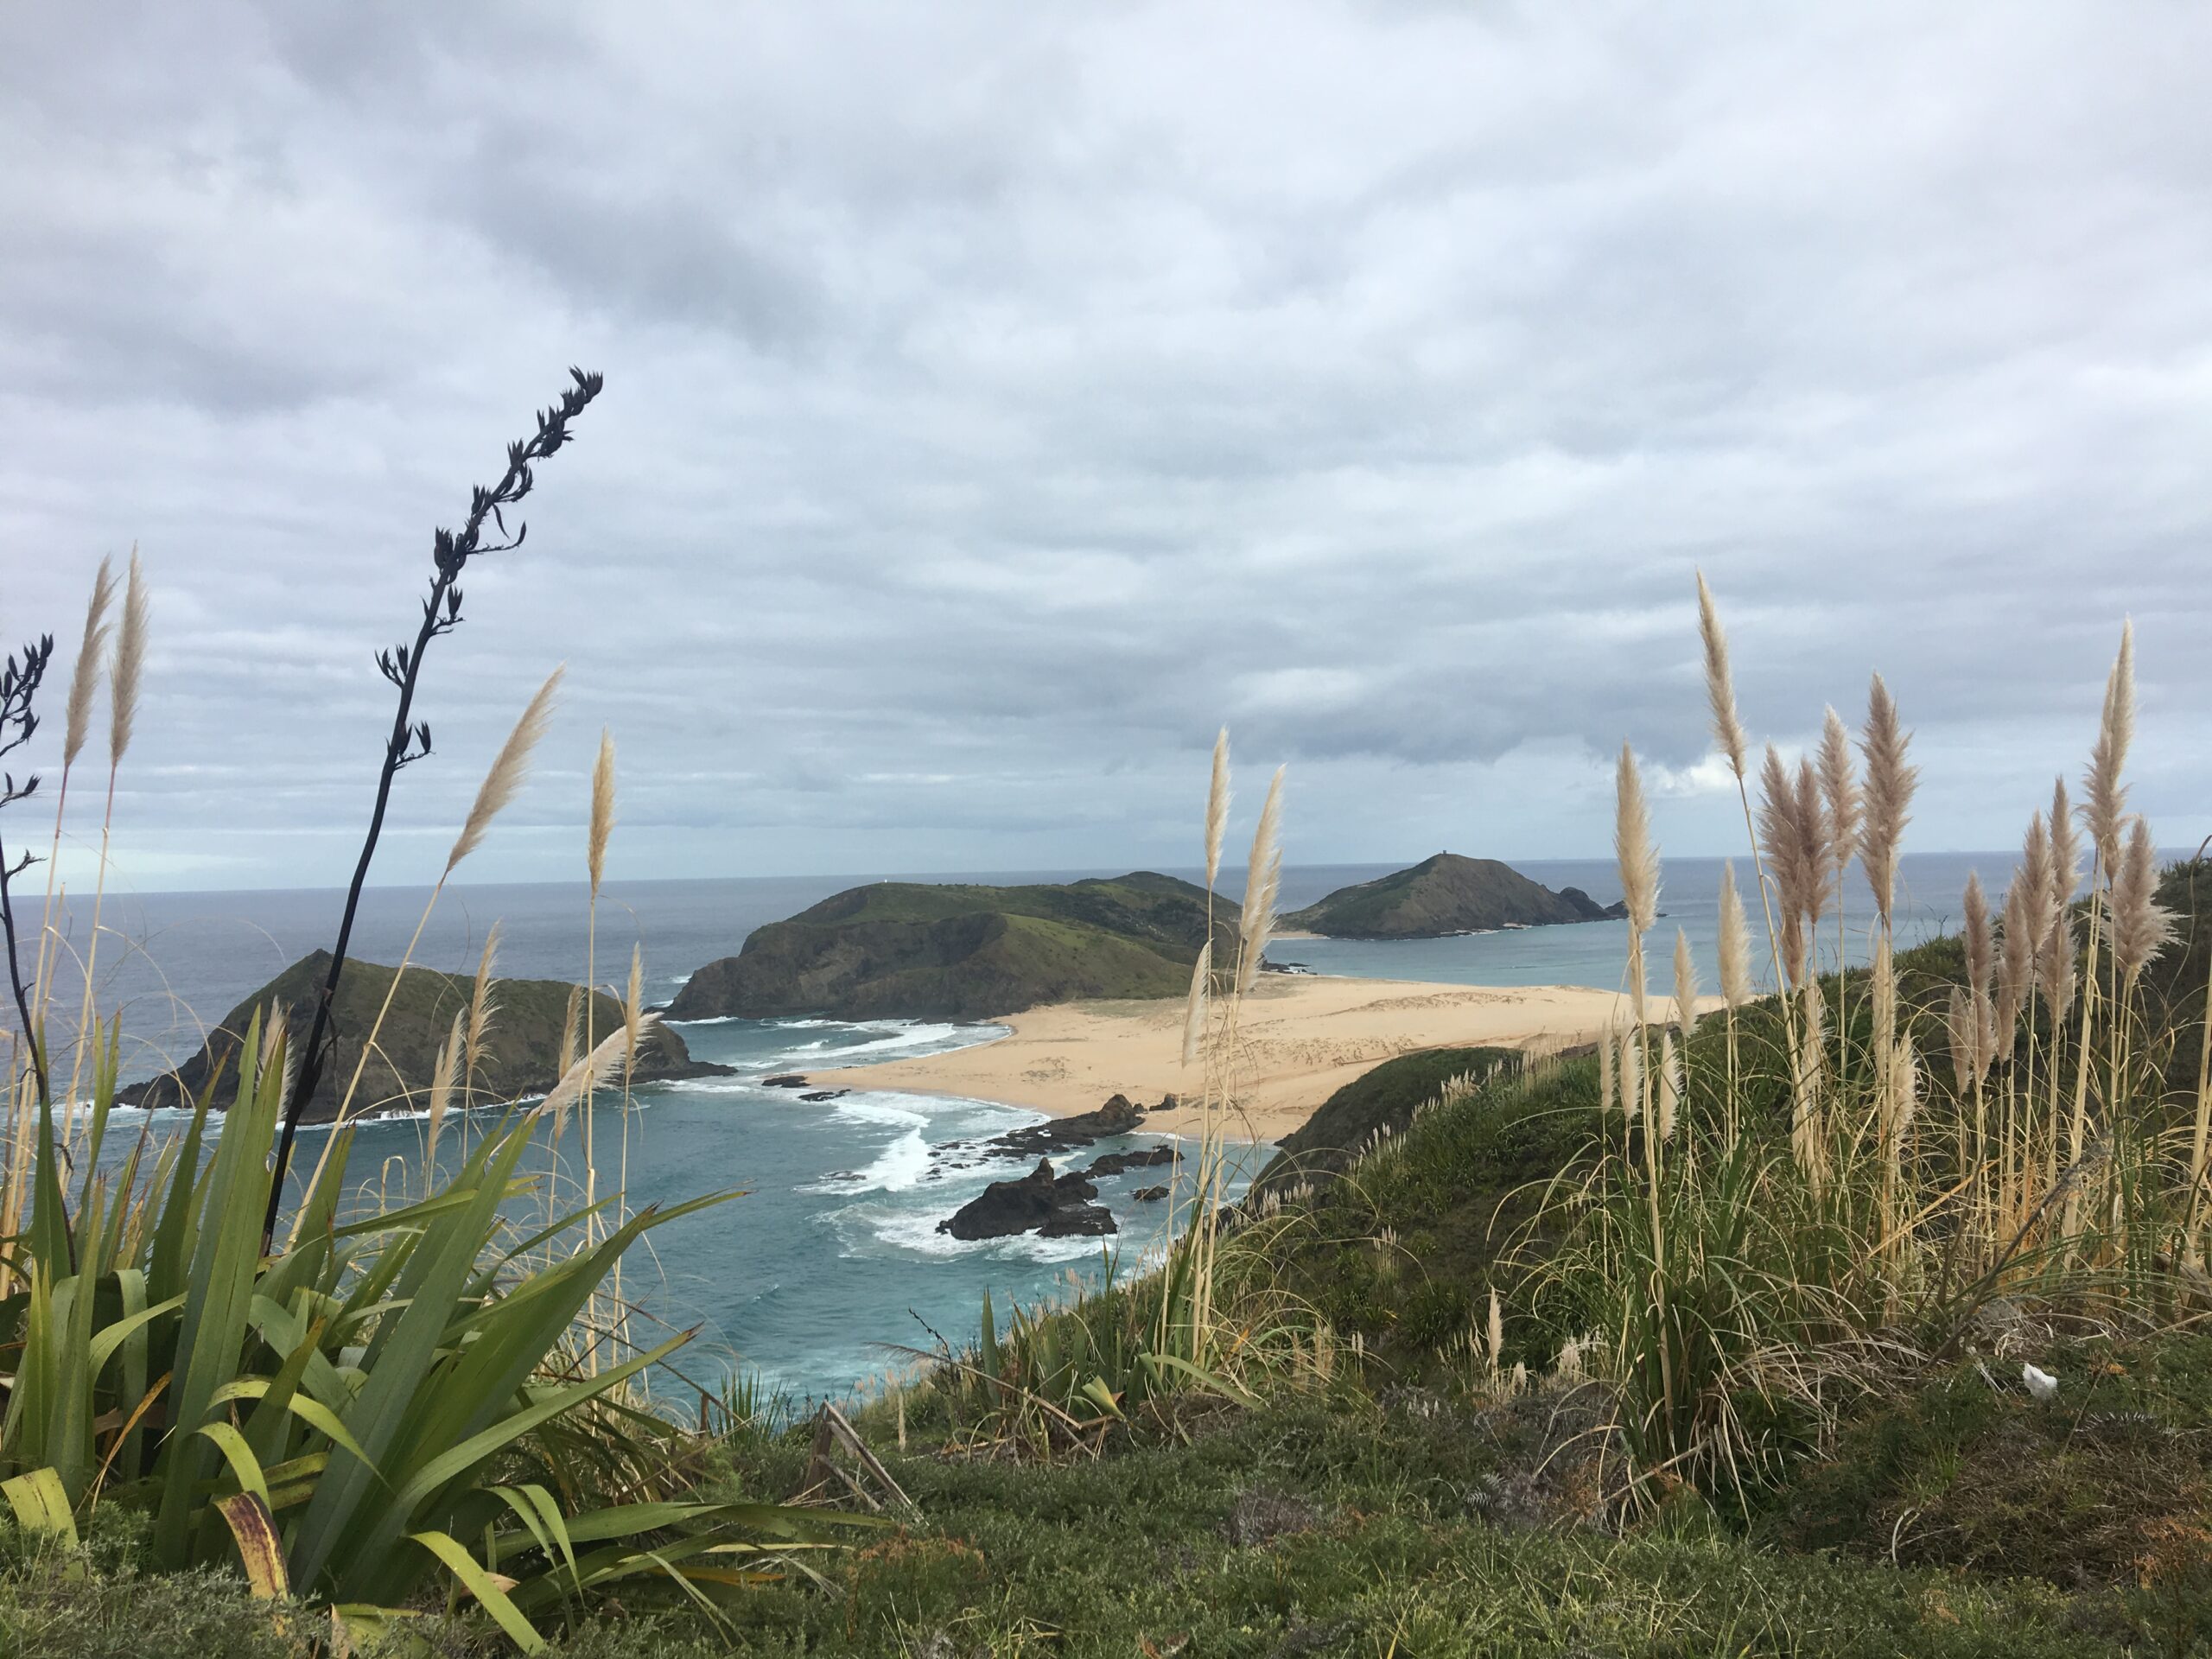
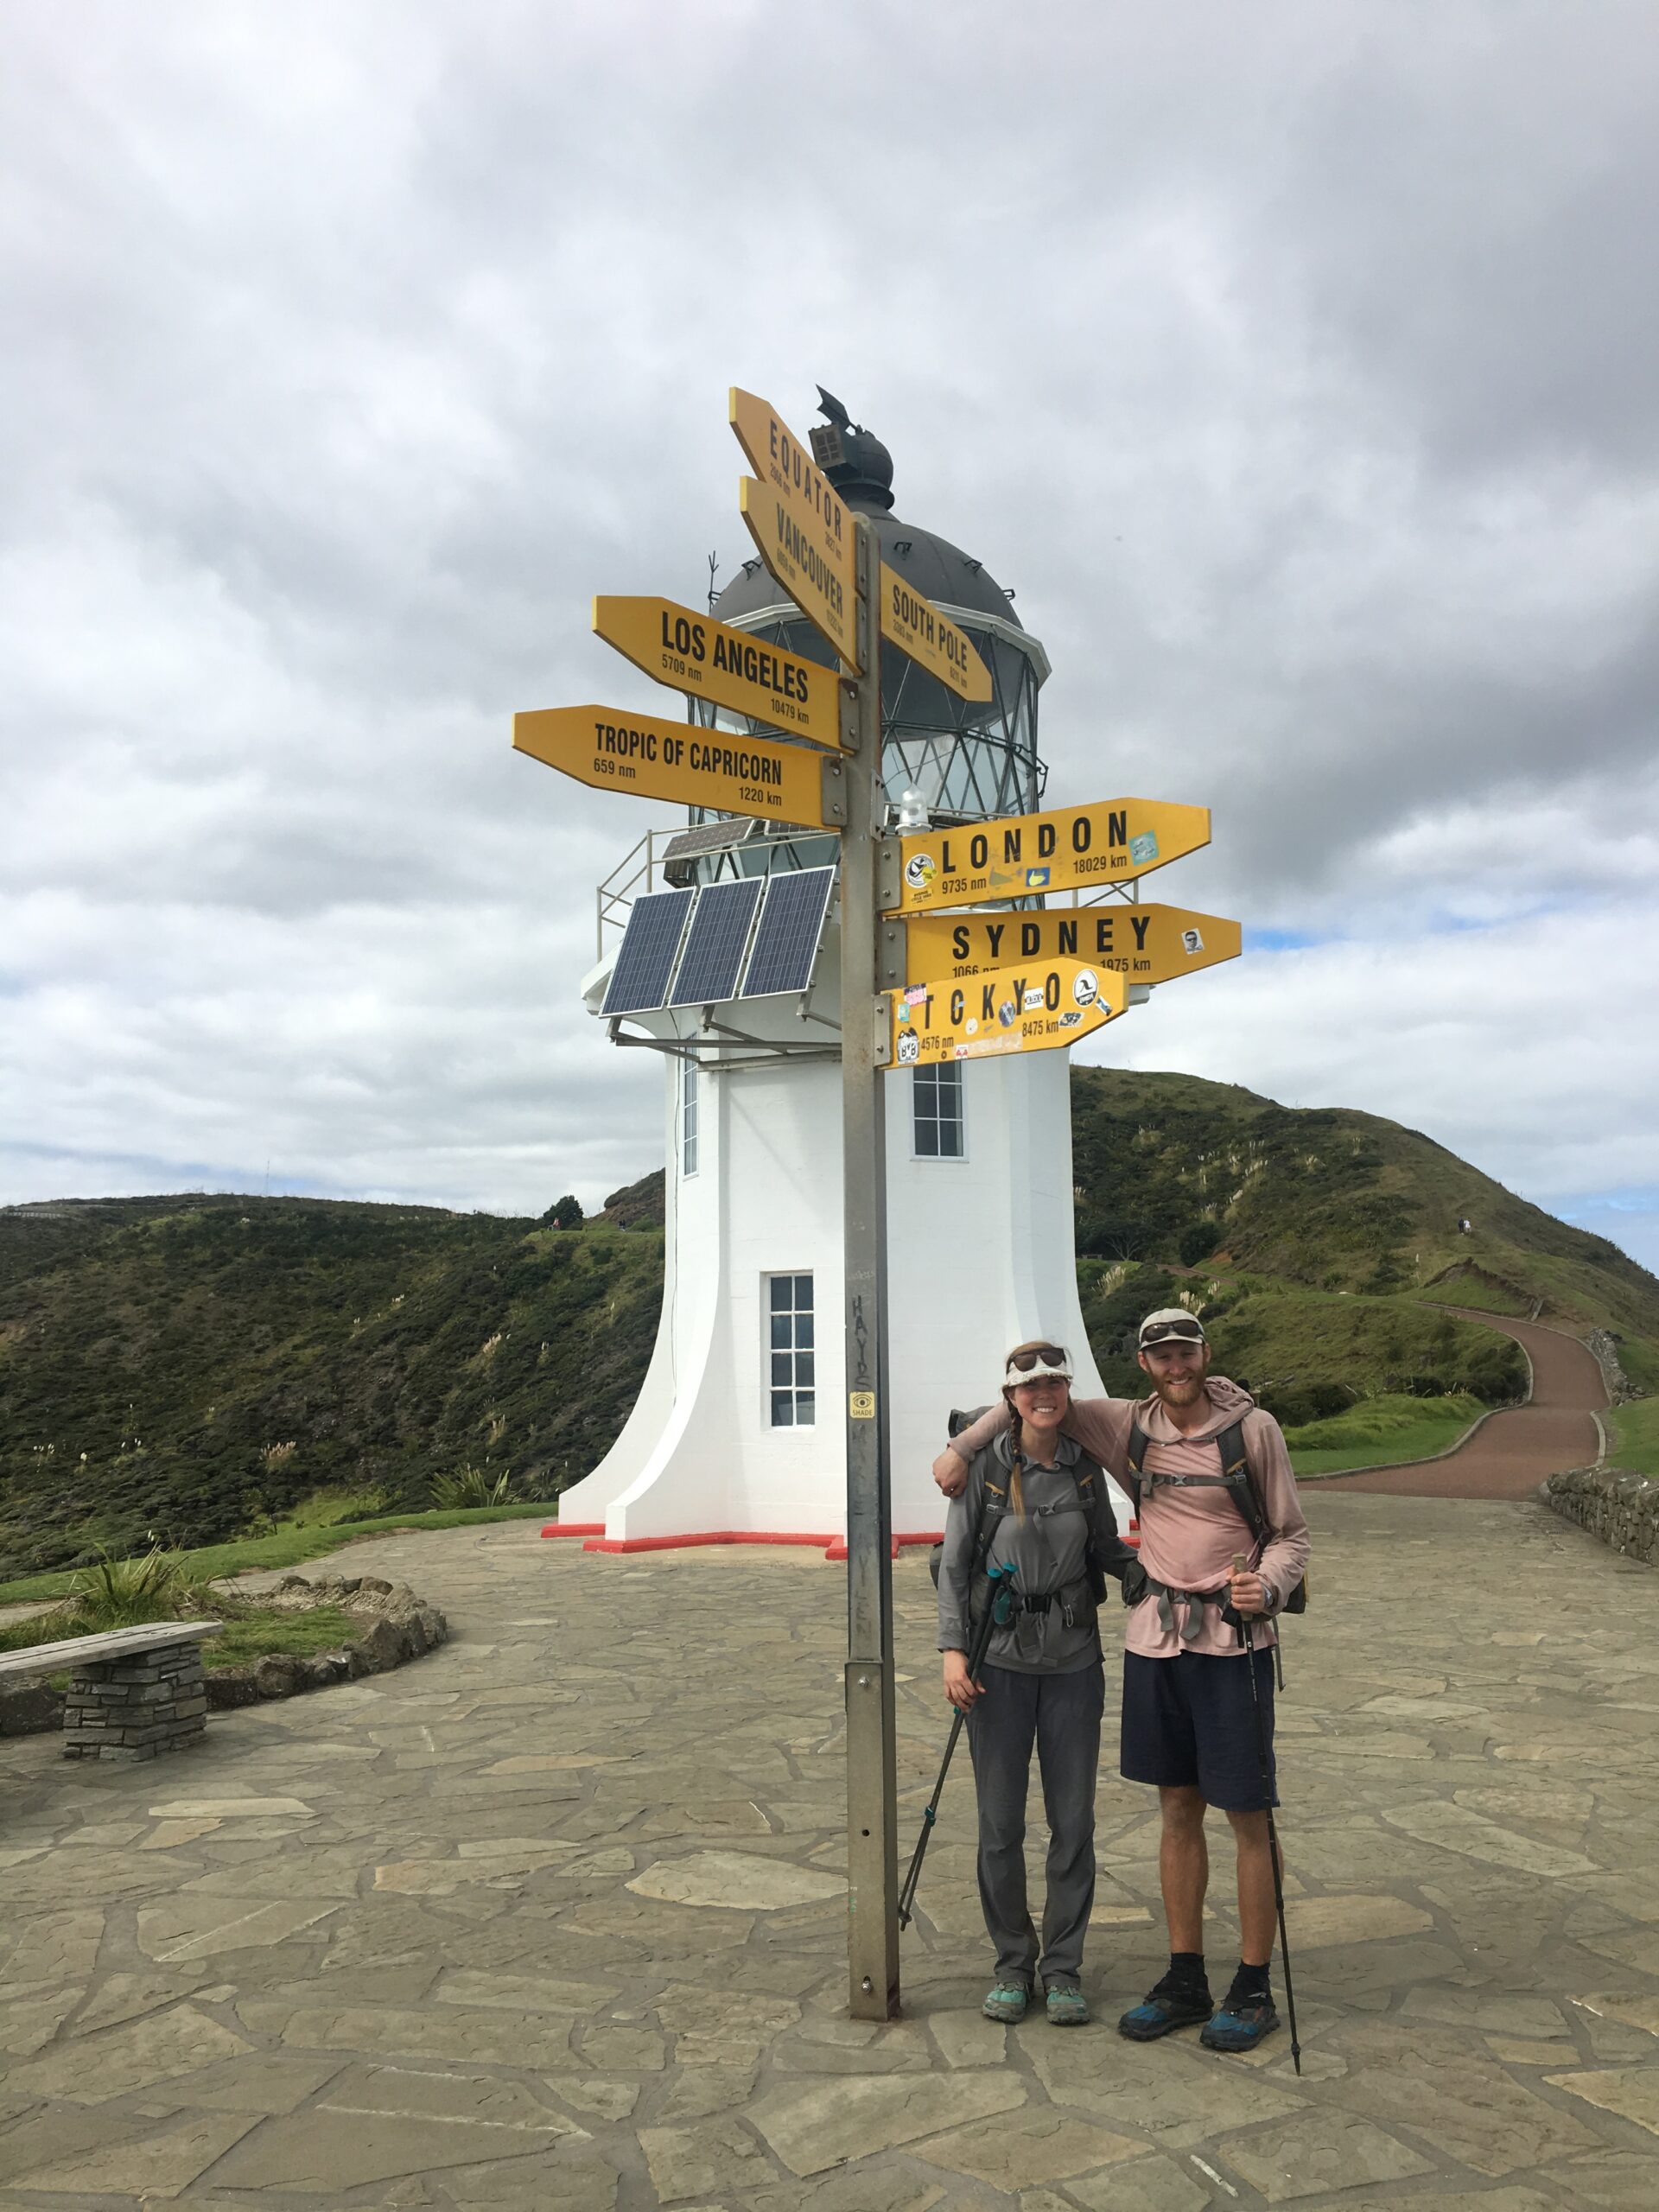
Northern Terminus: Cape Reinga, Northland
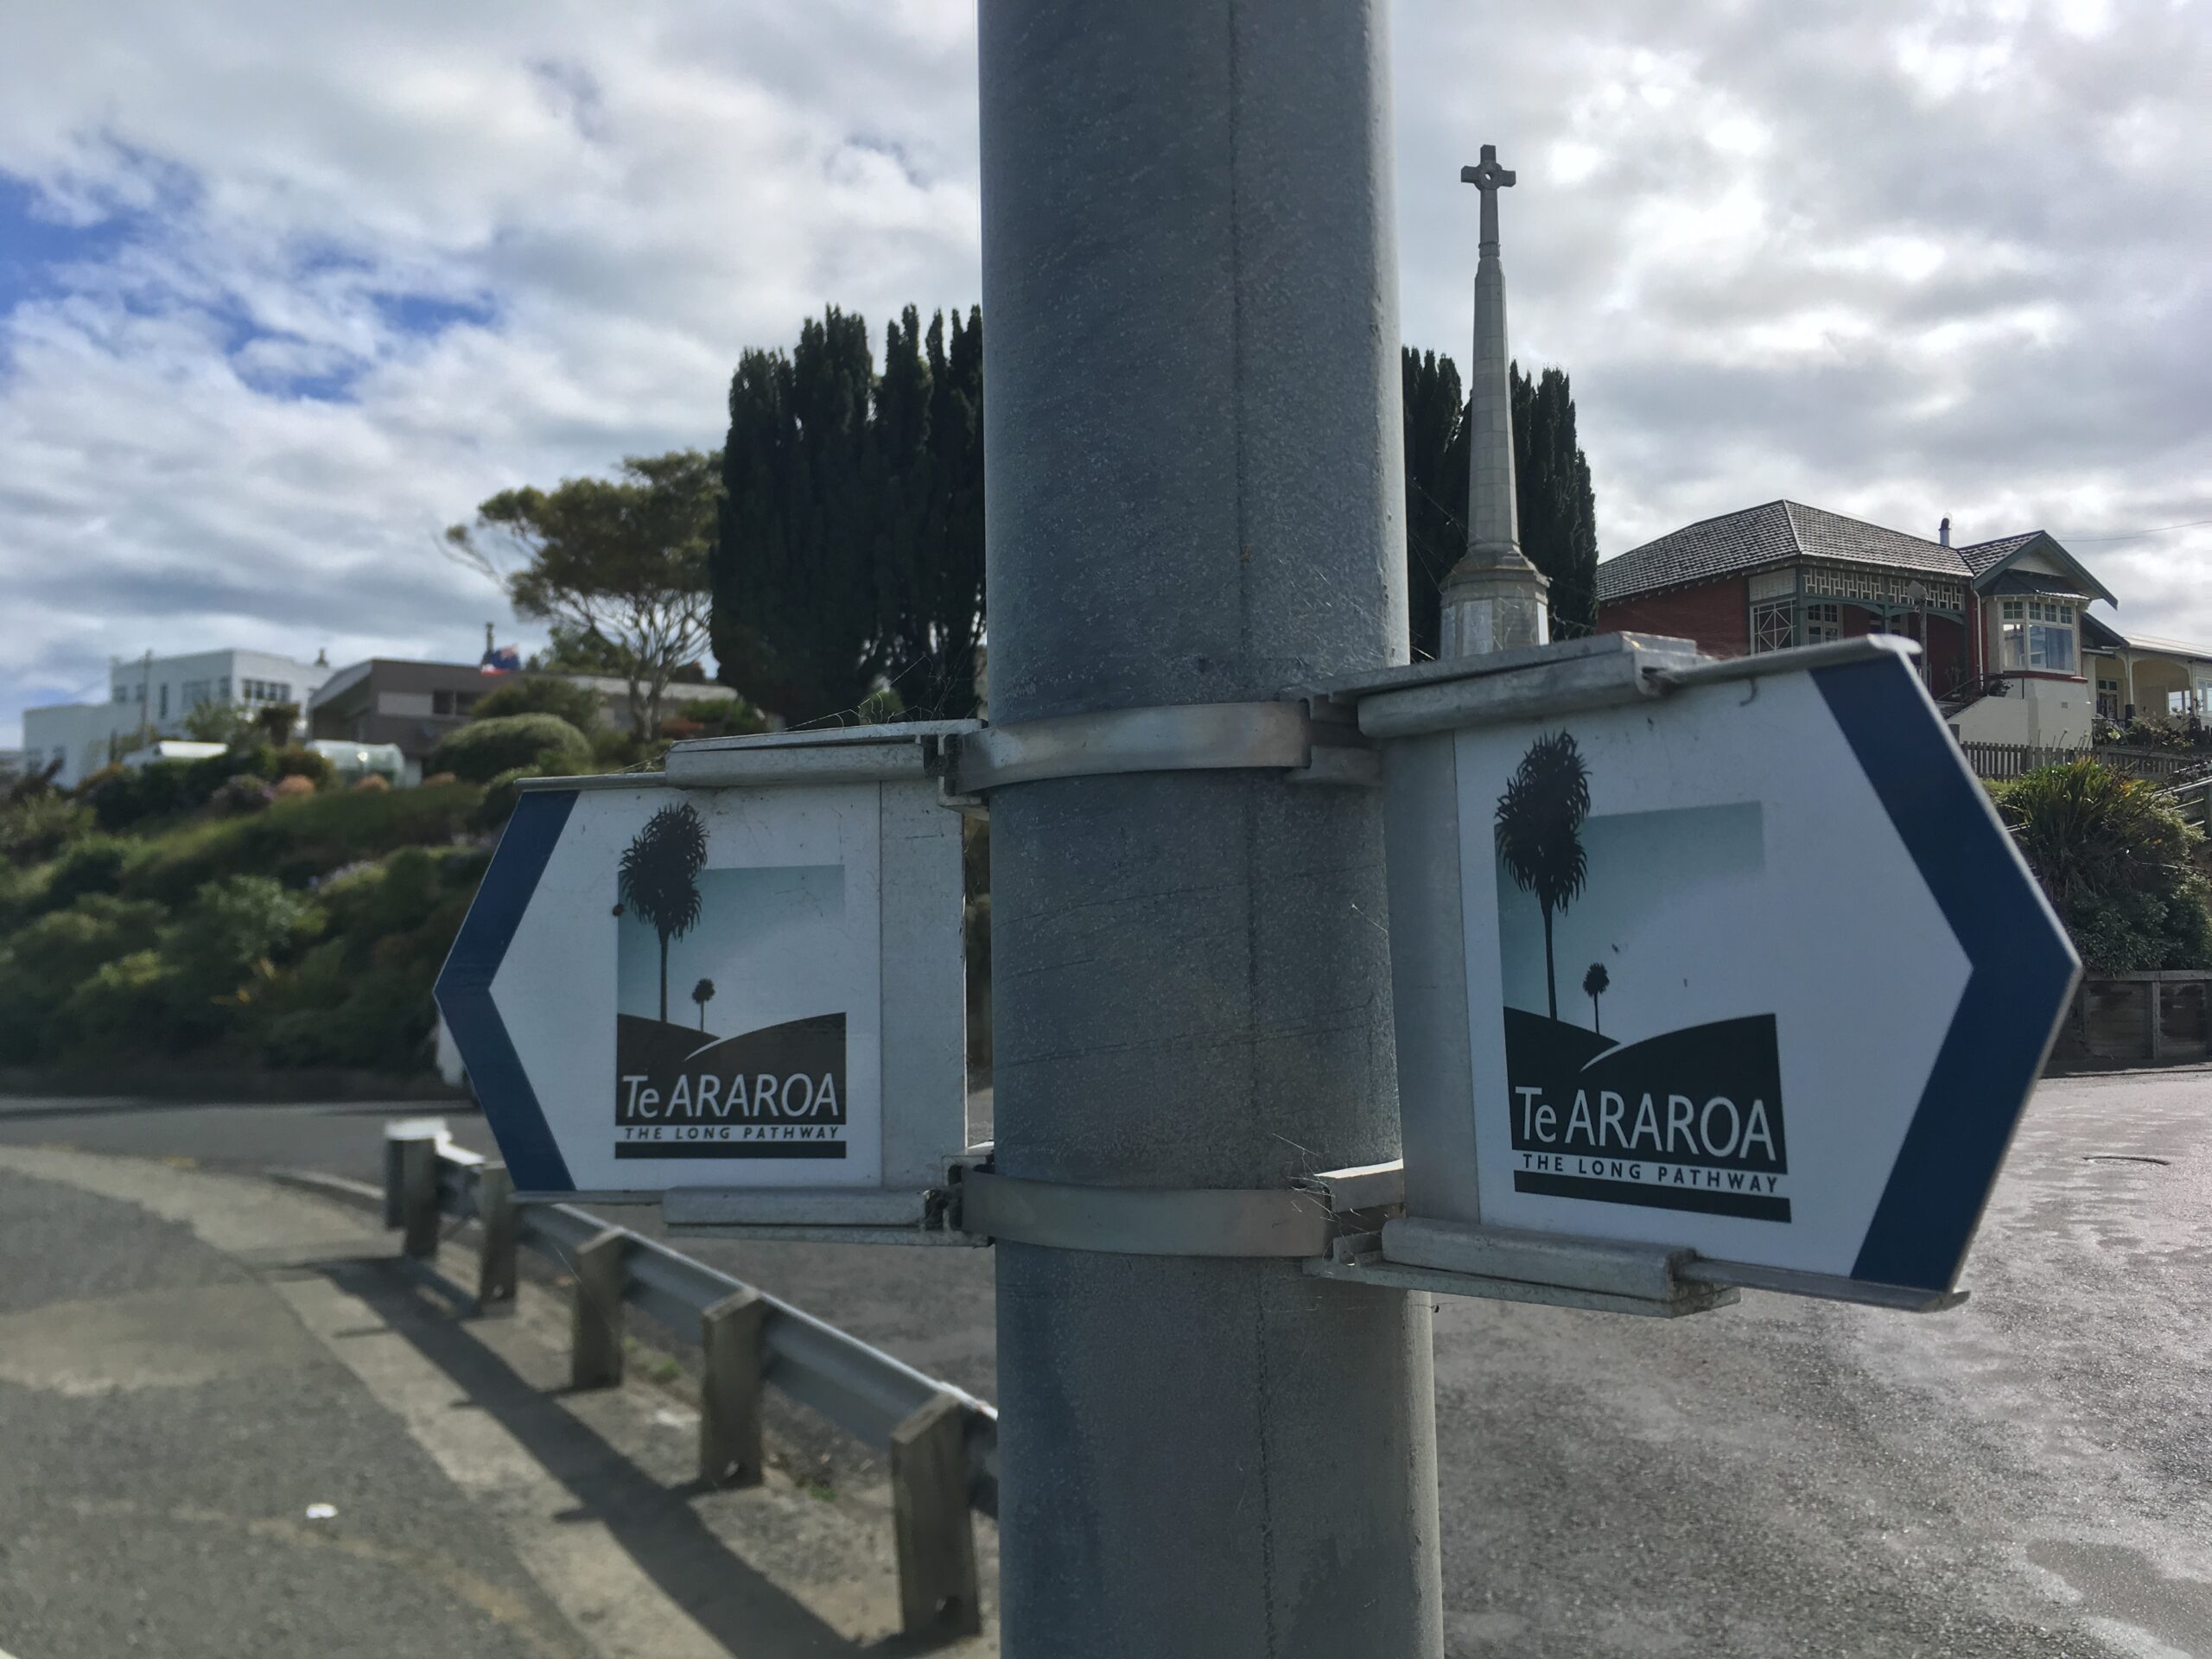
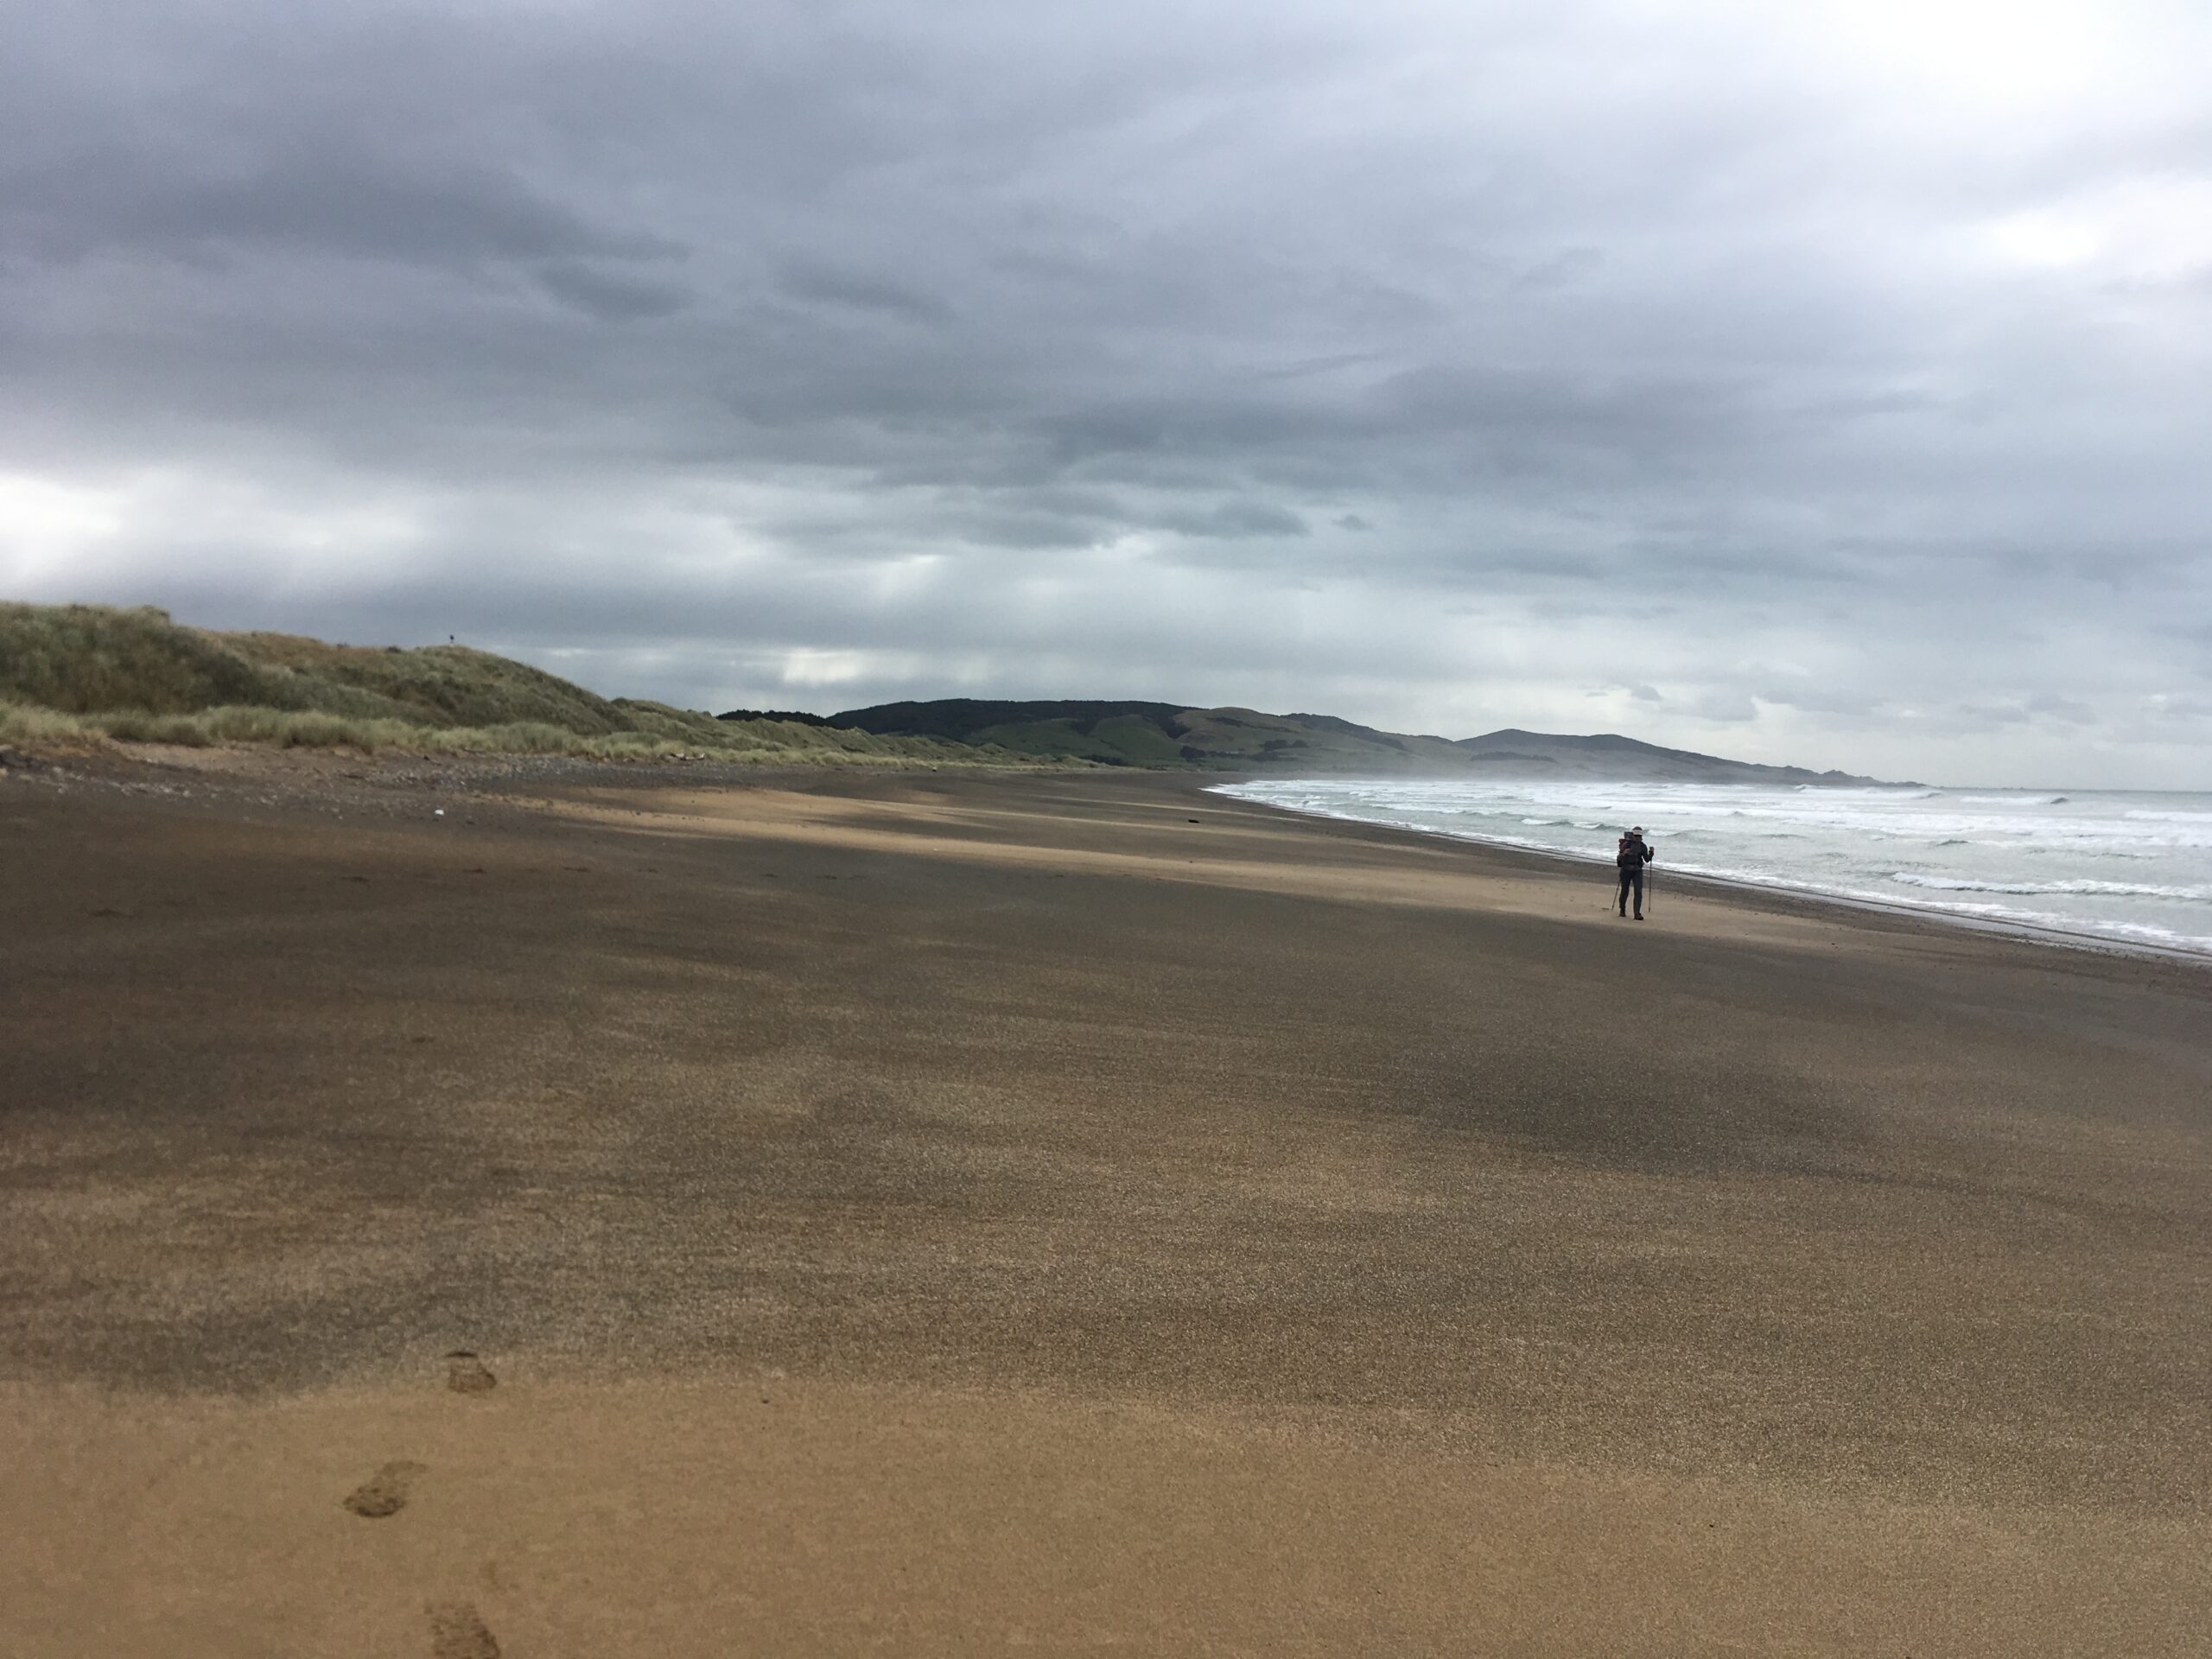
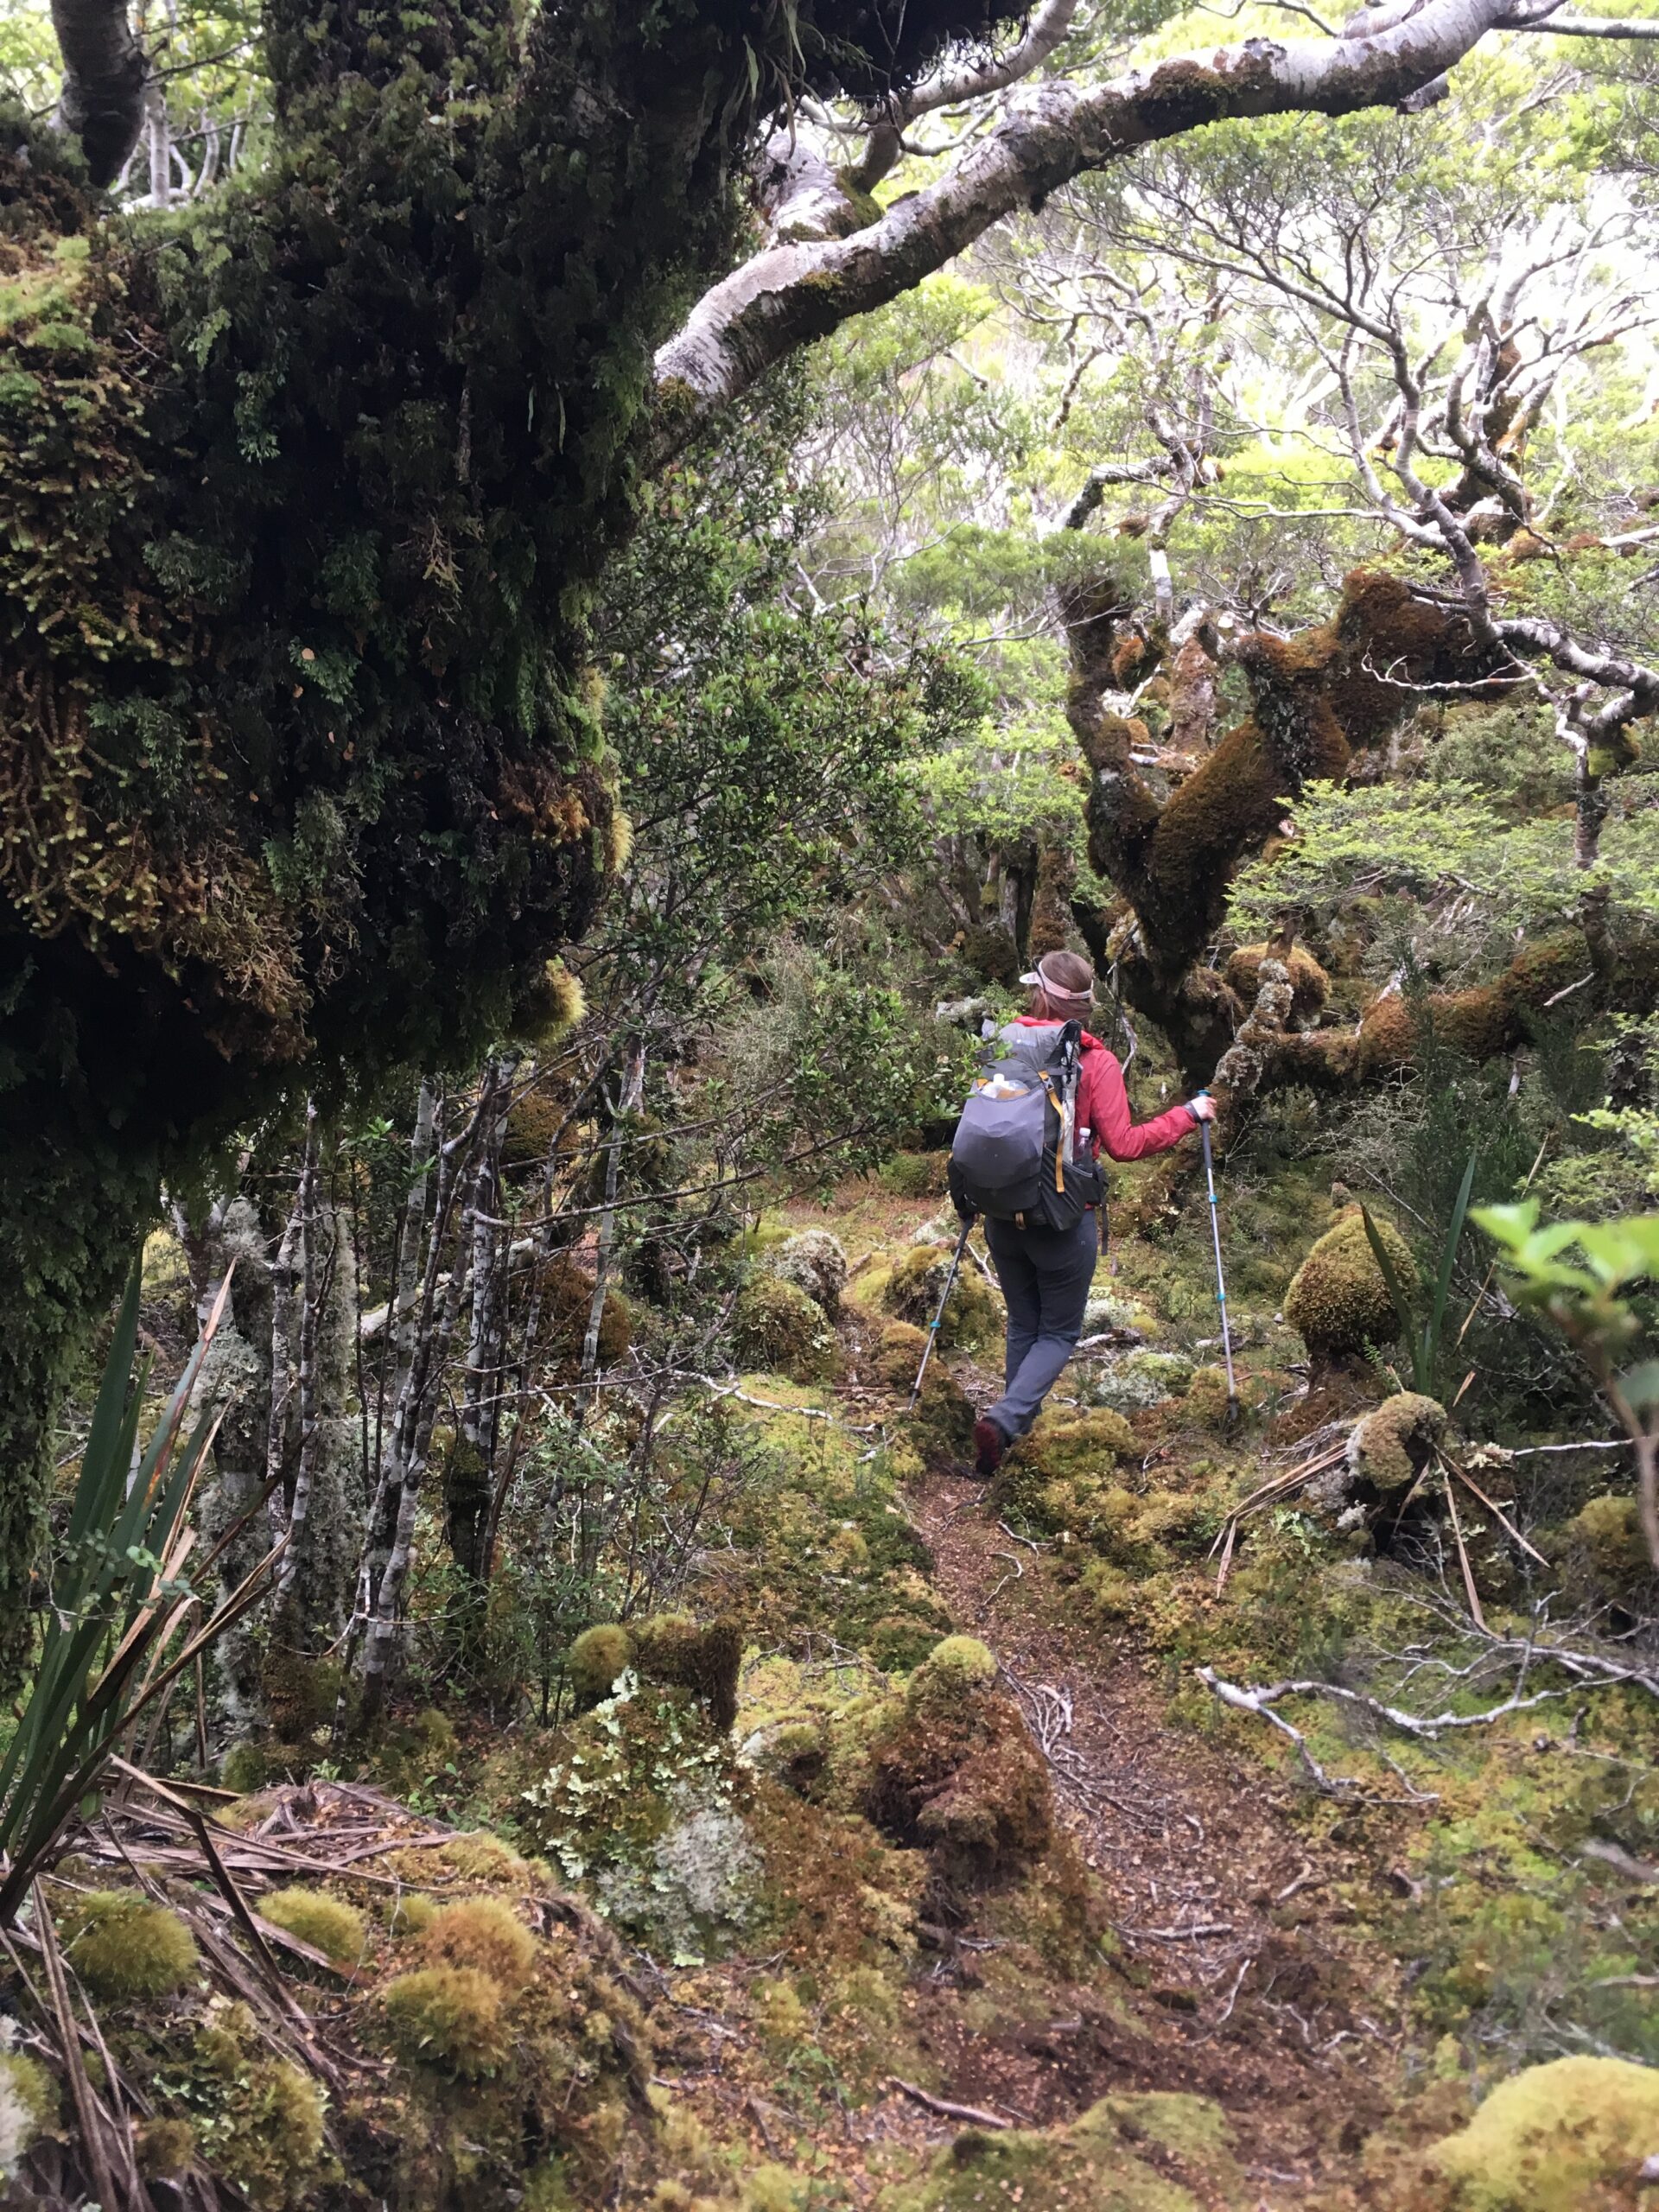
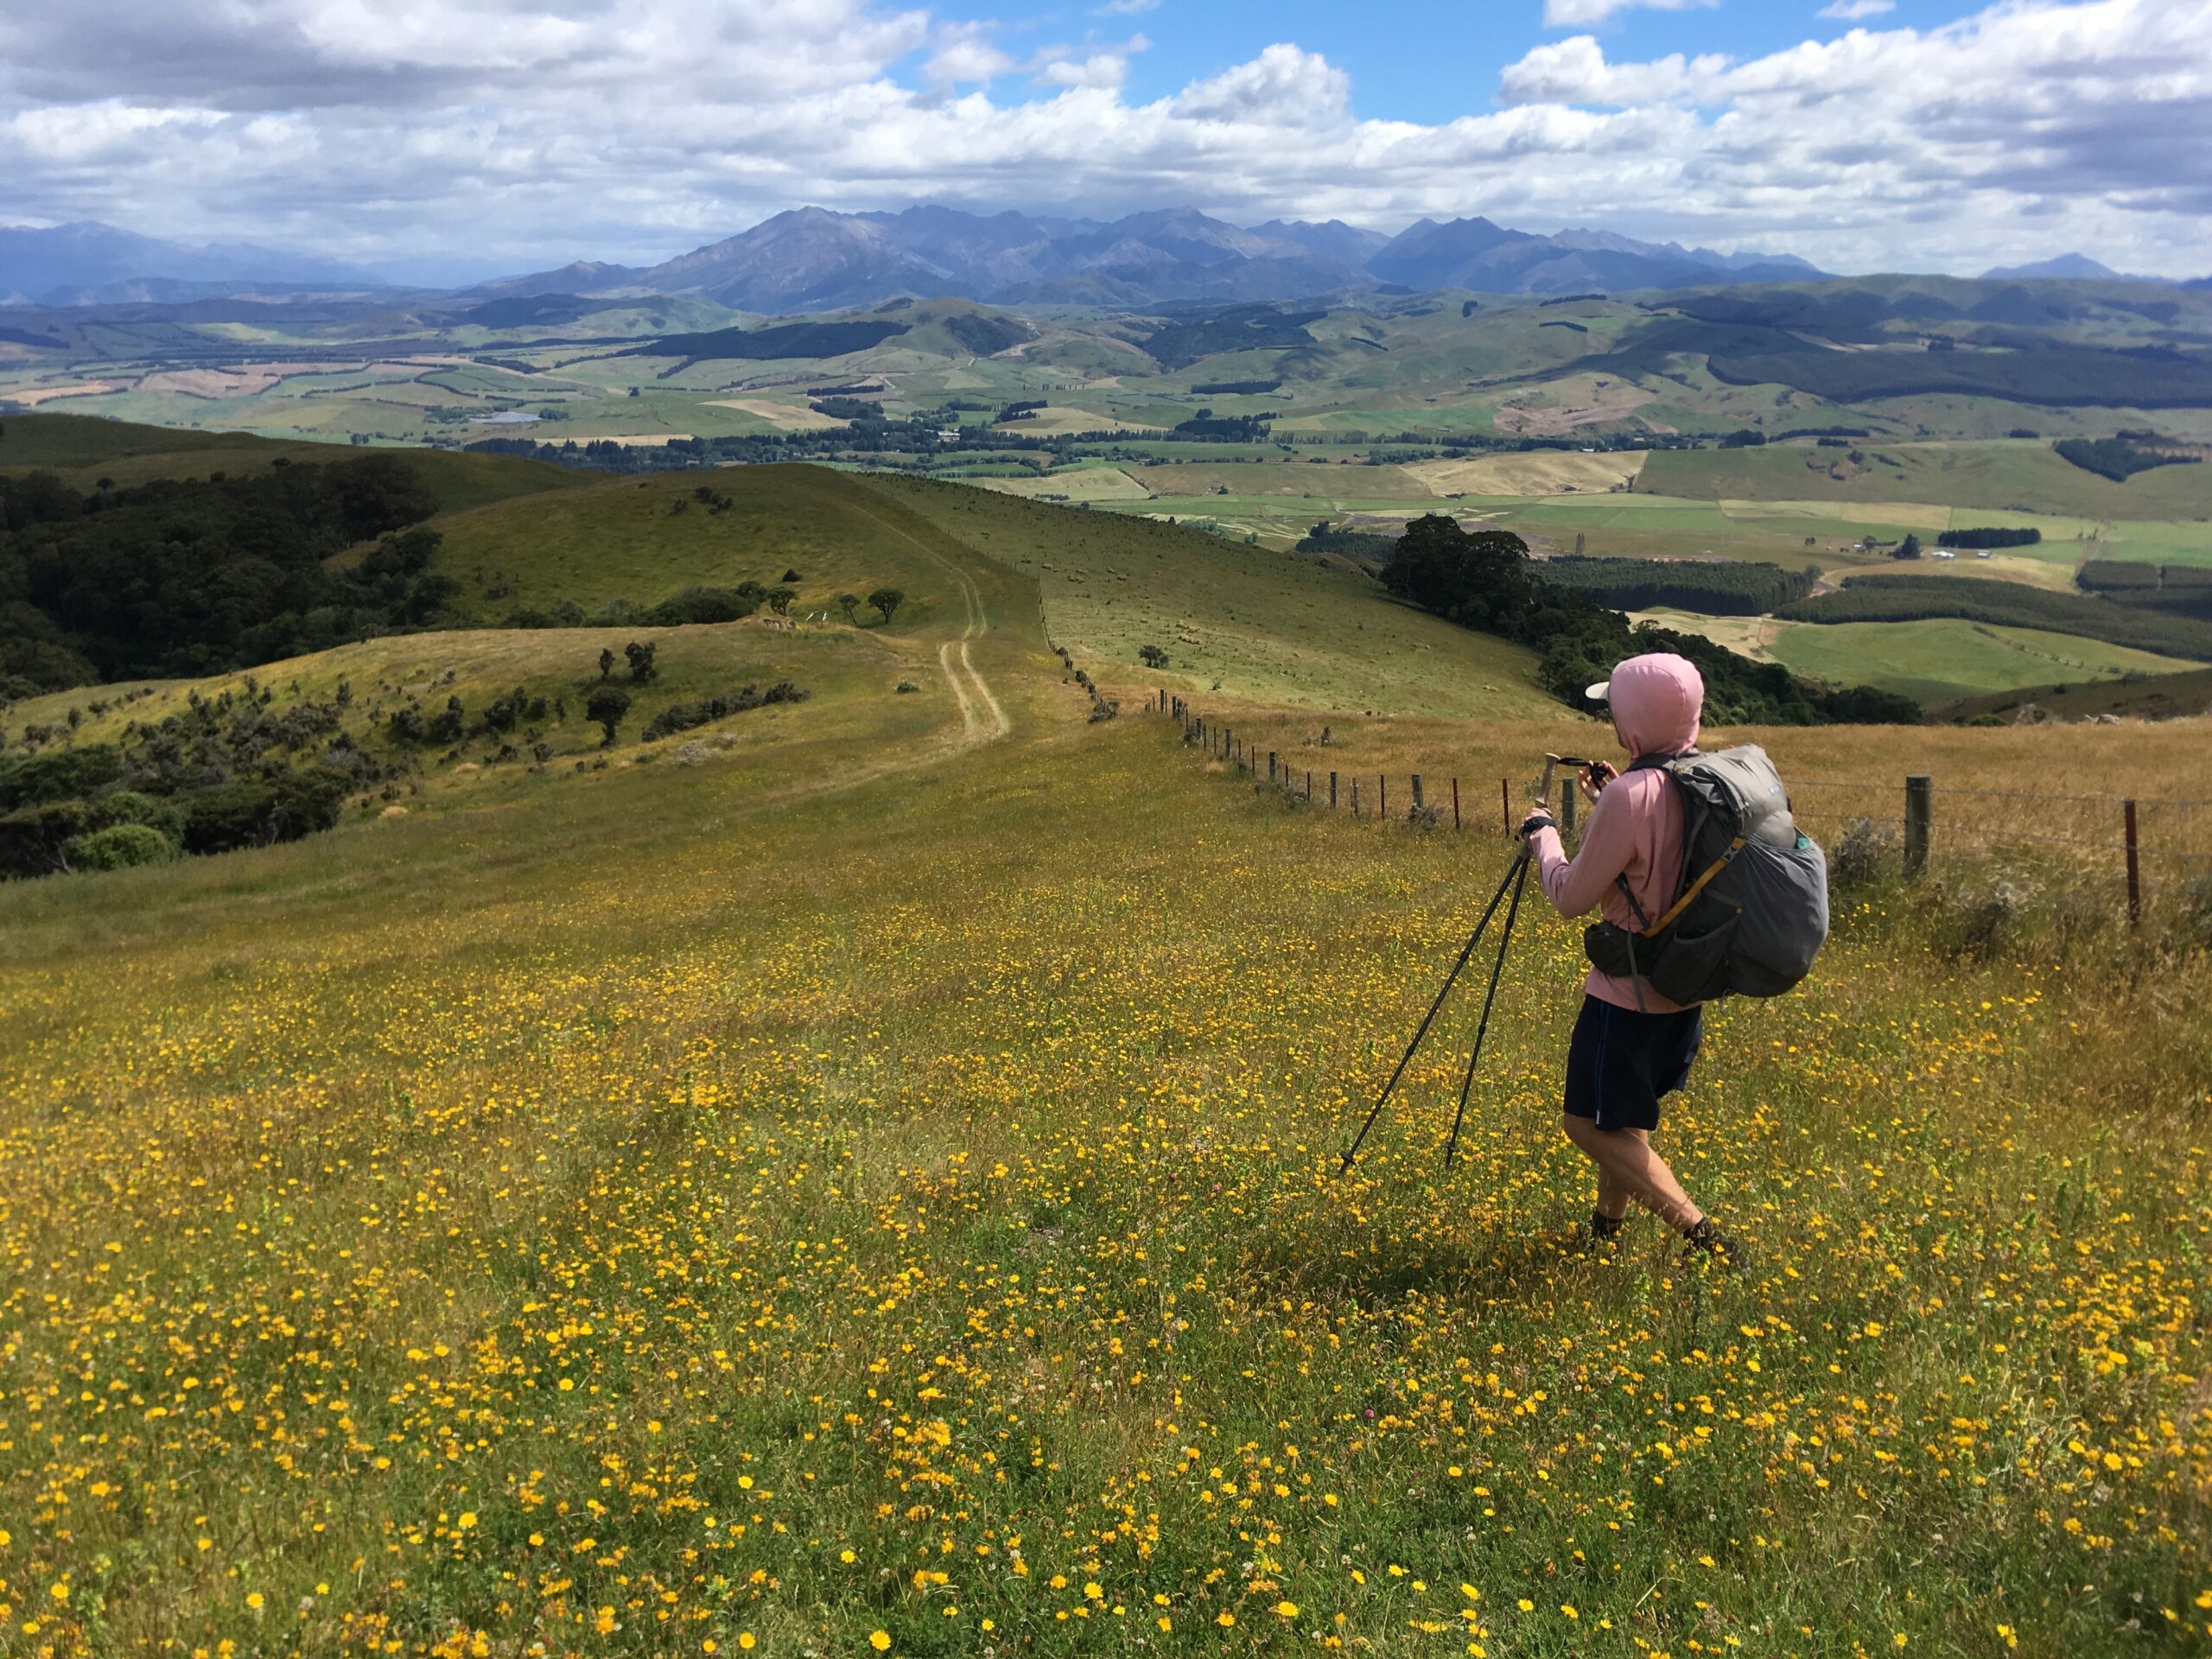
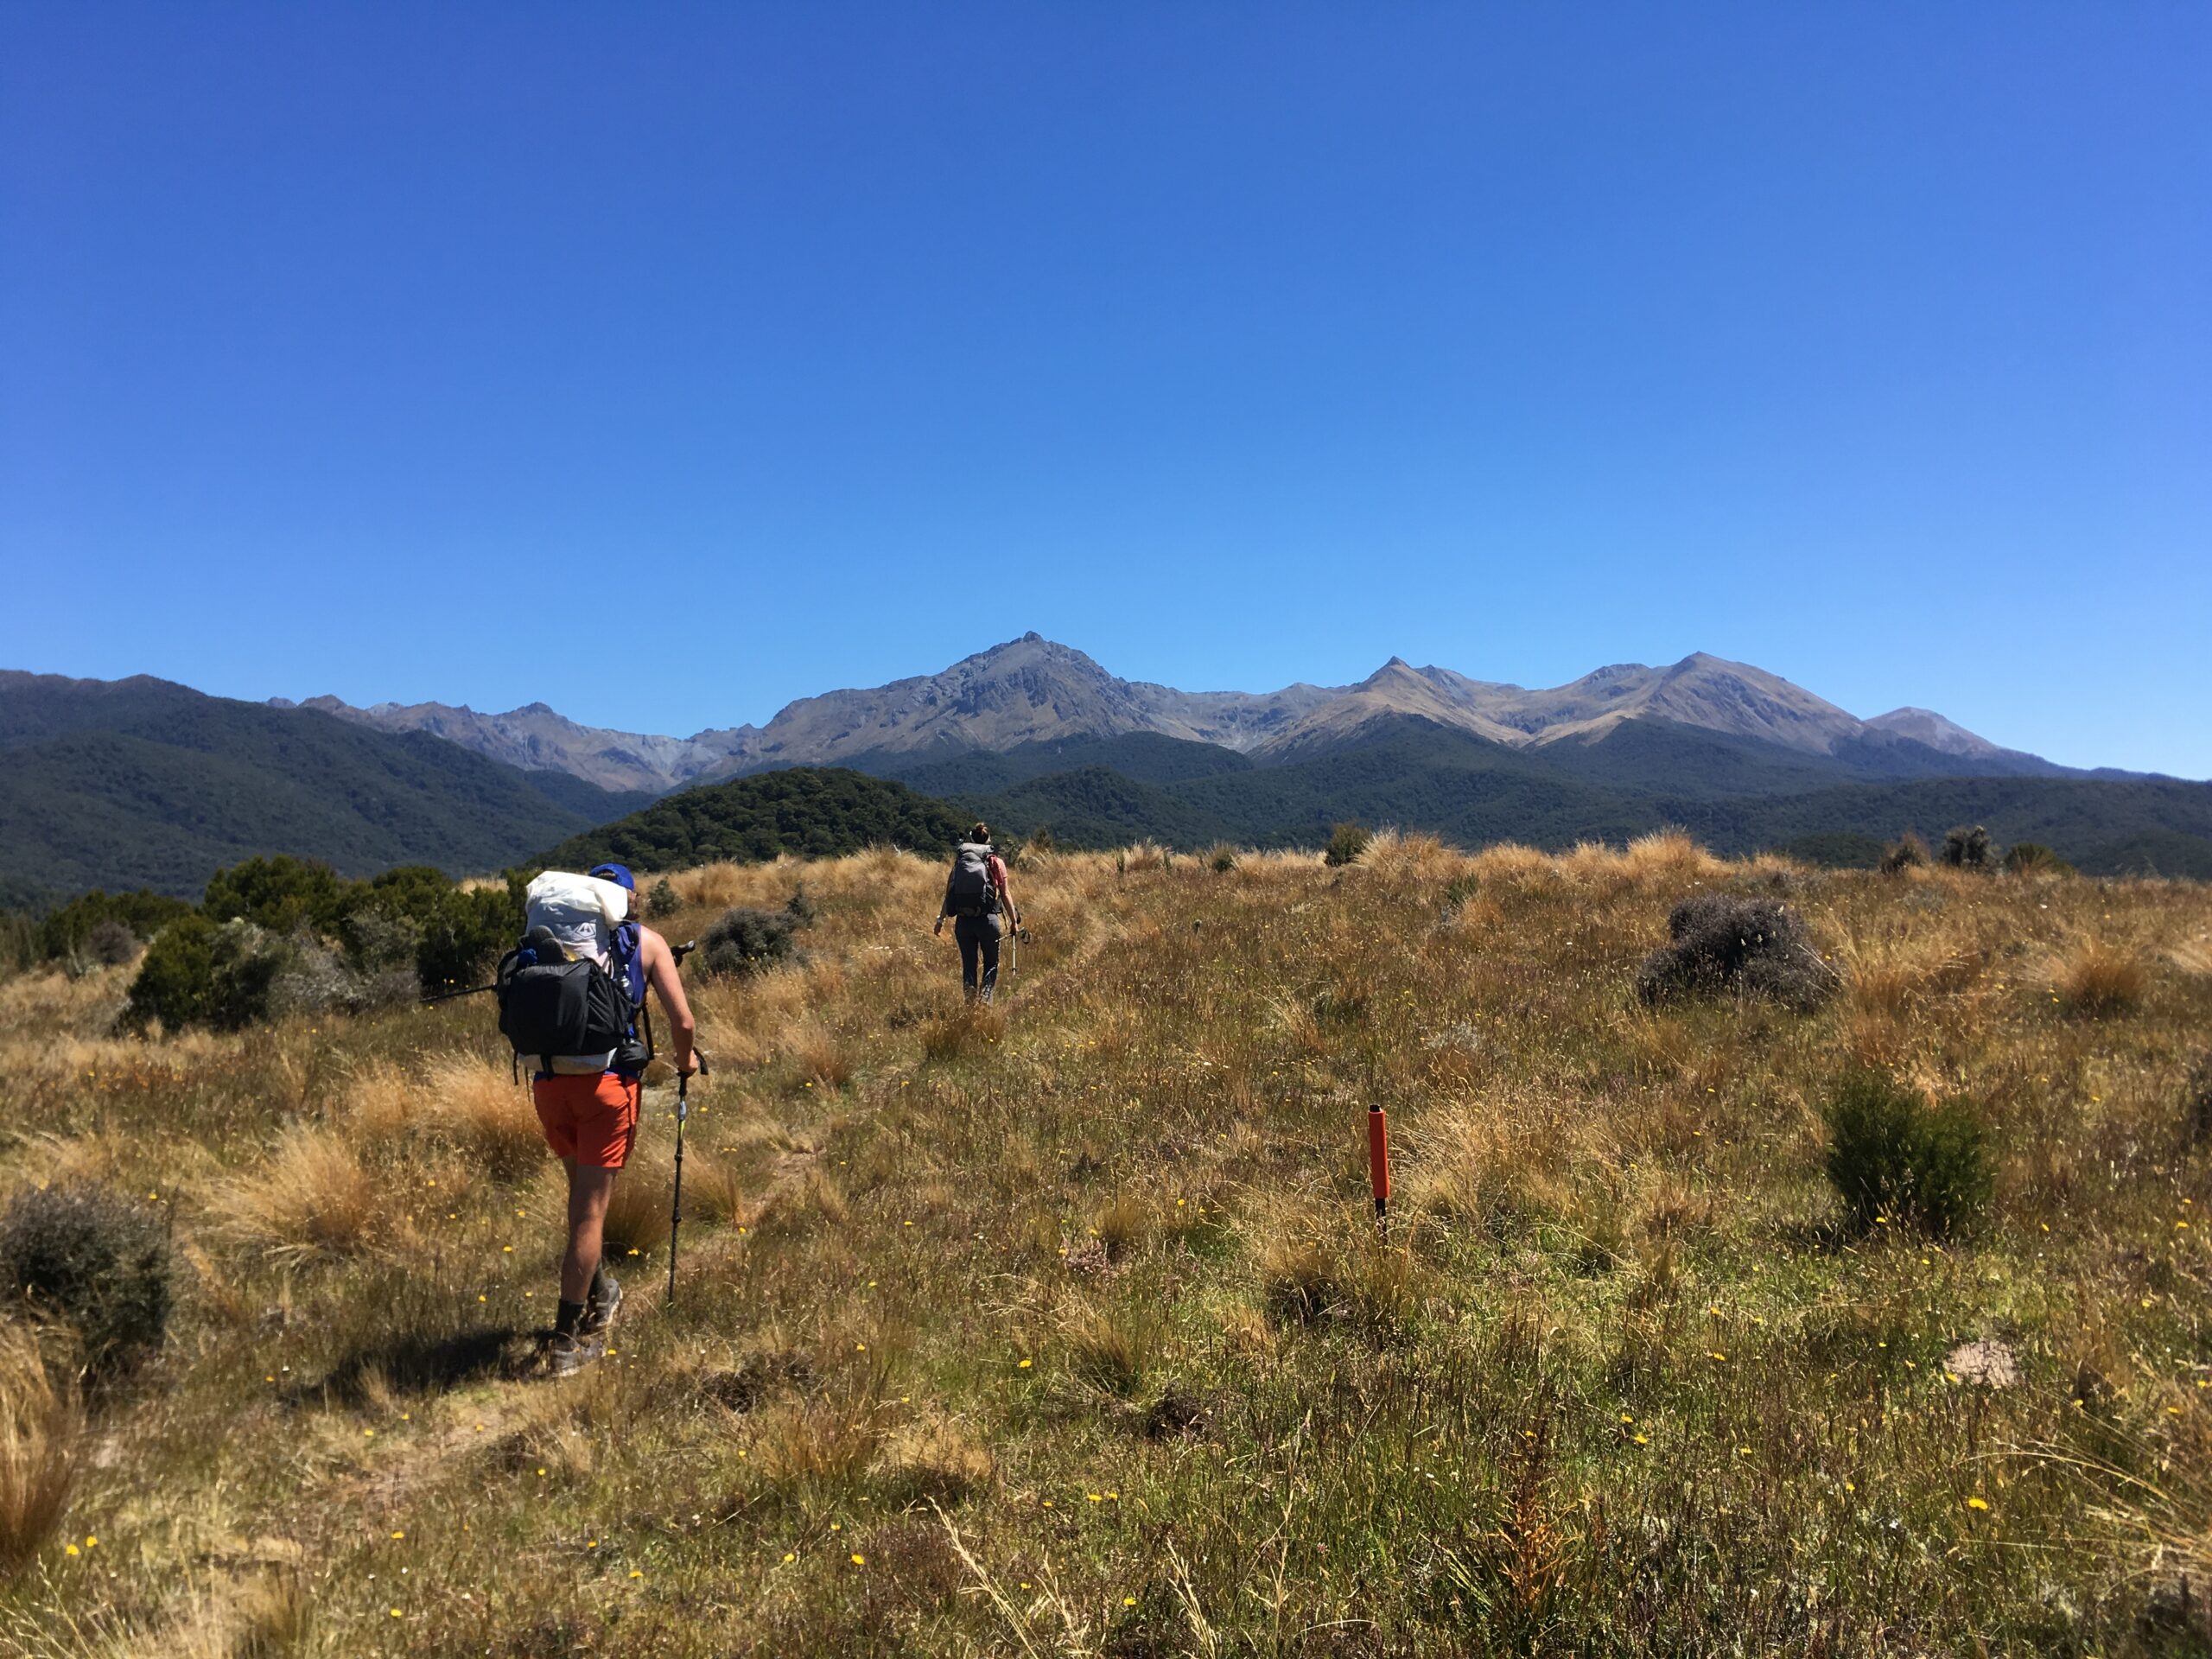
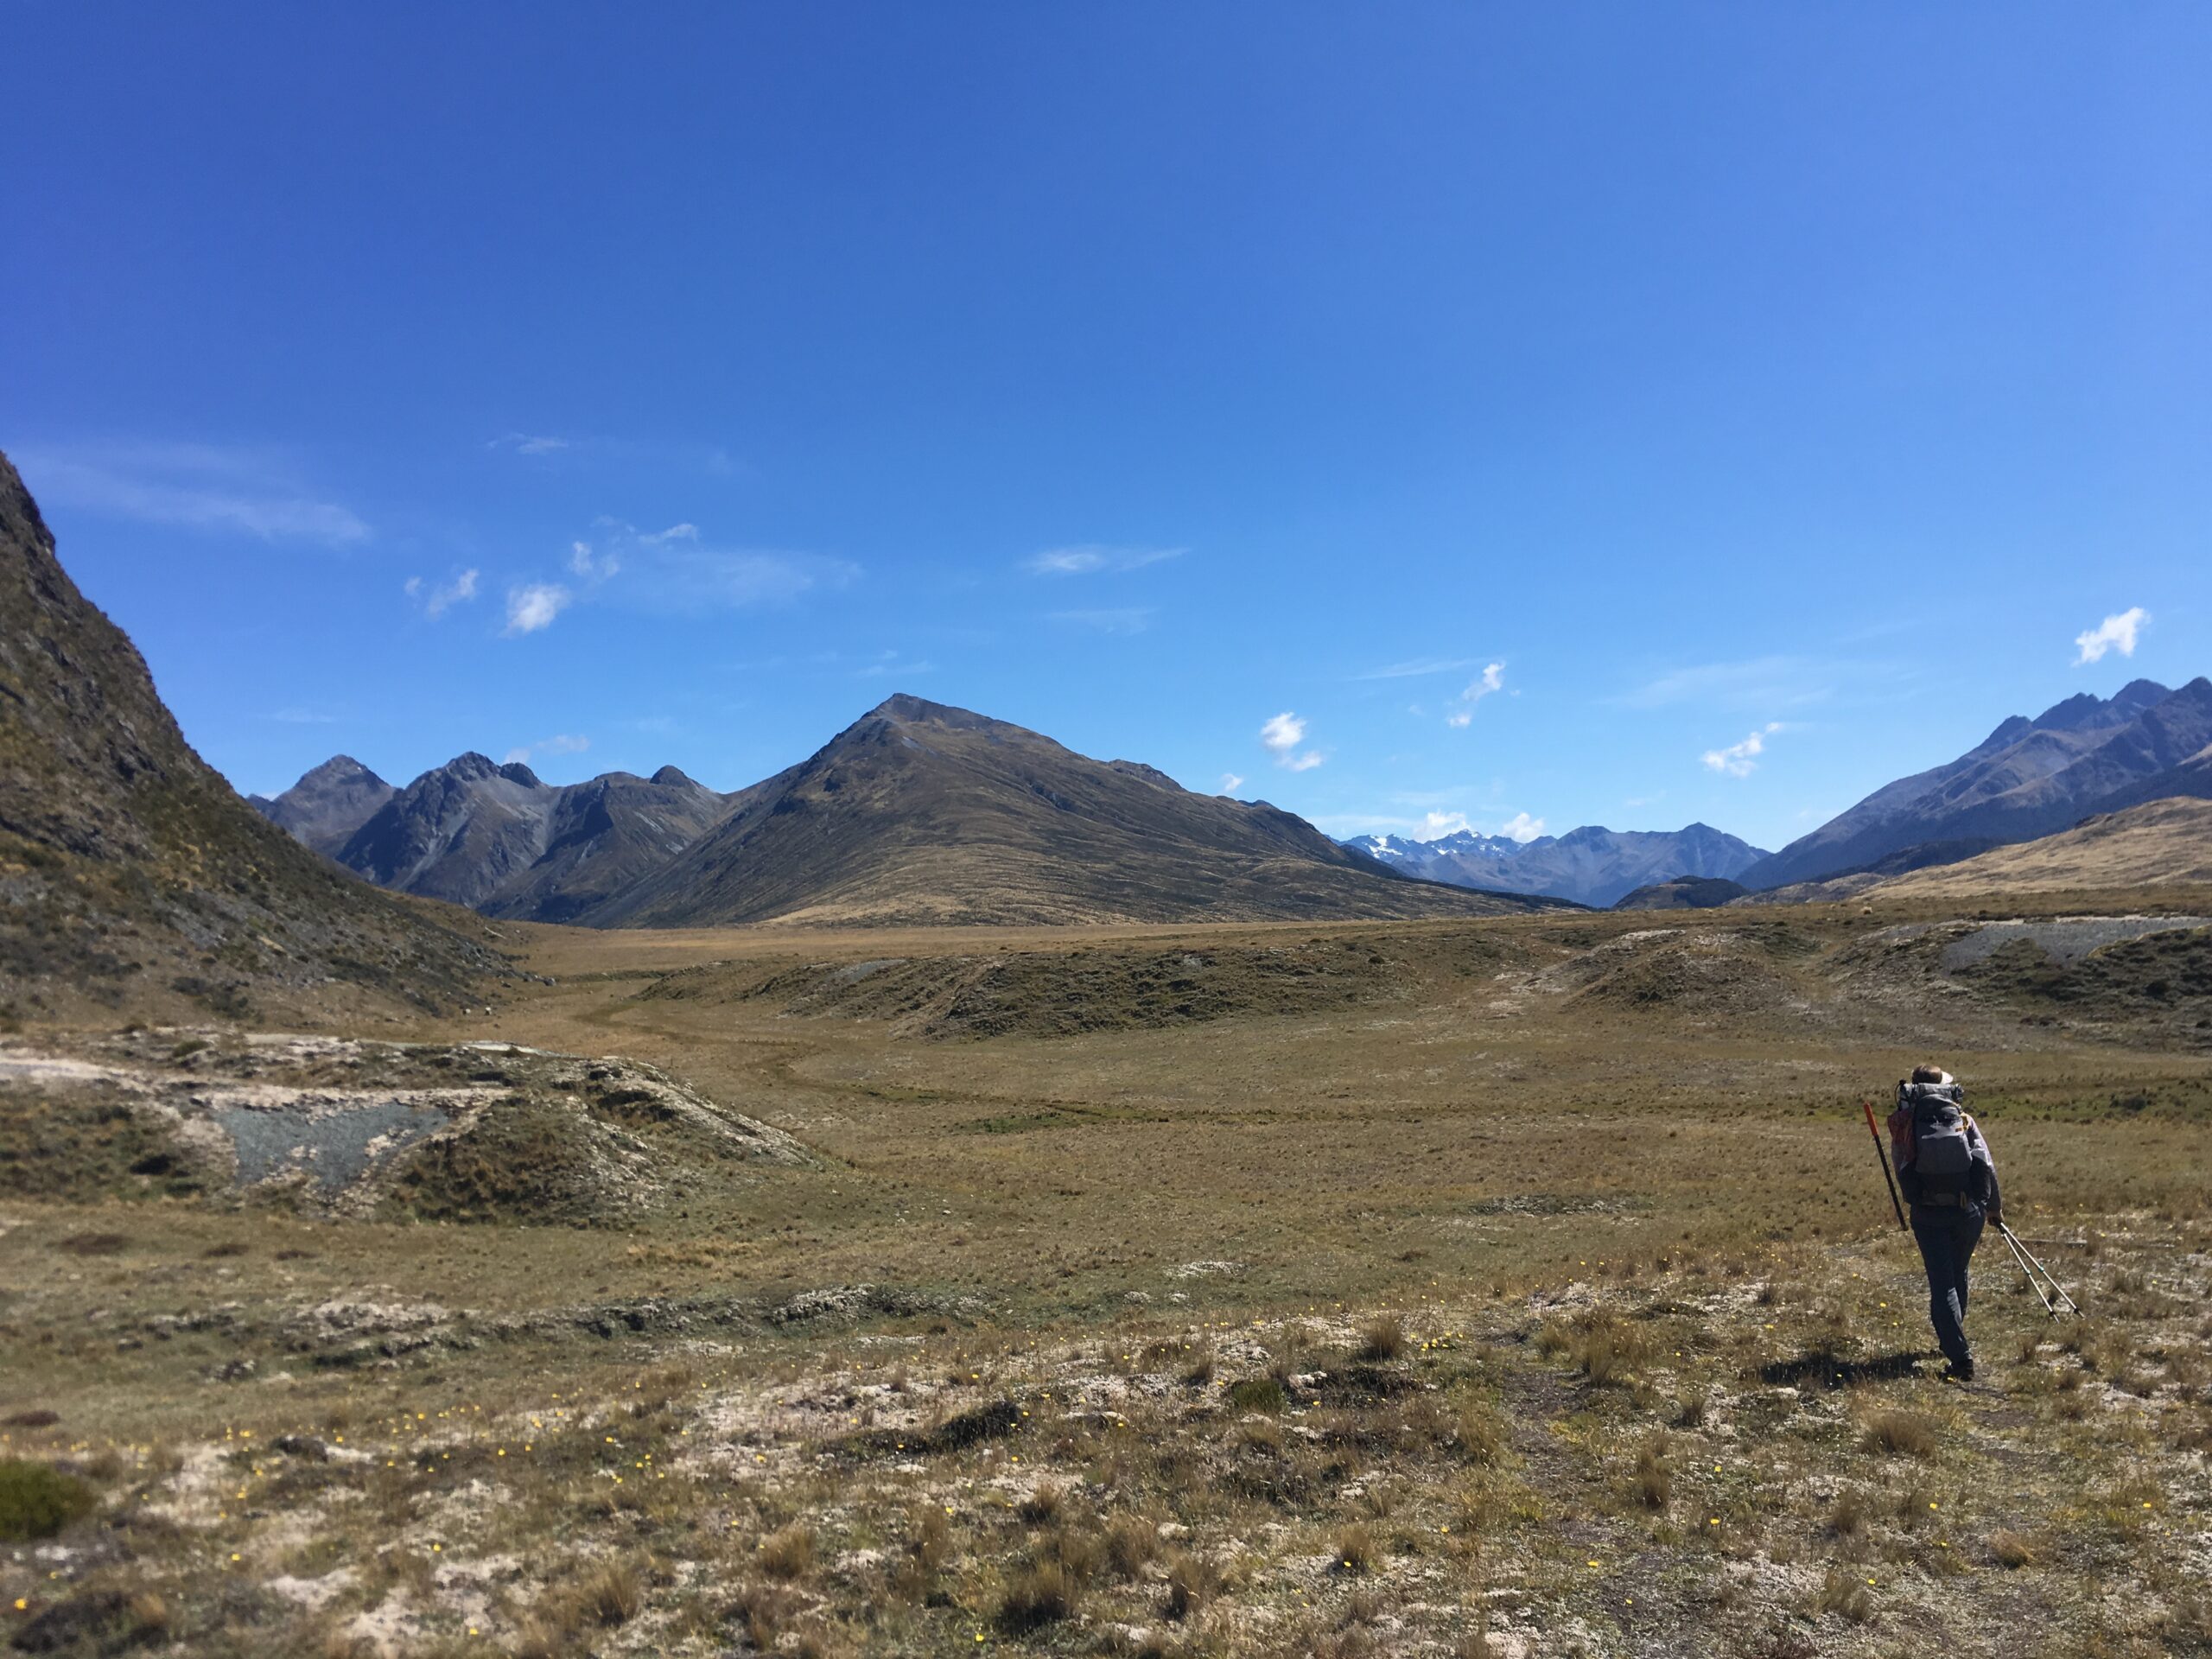
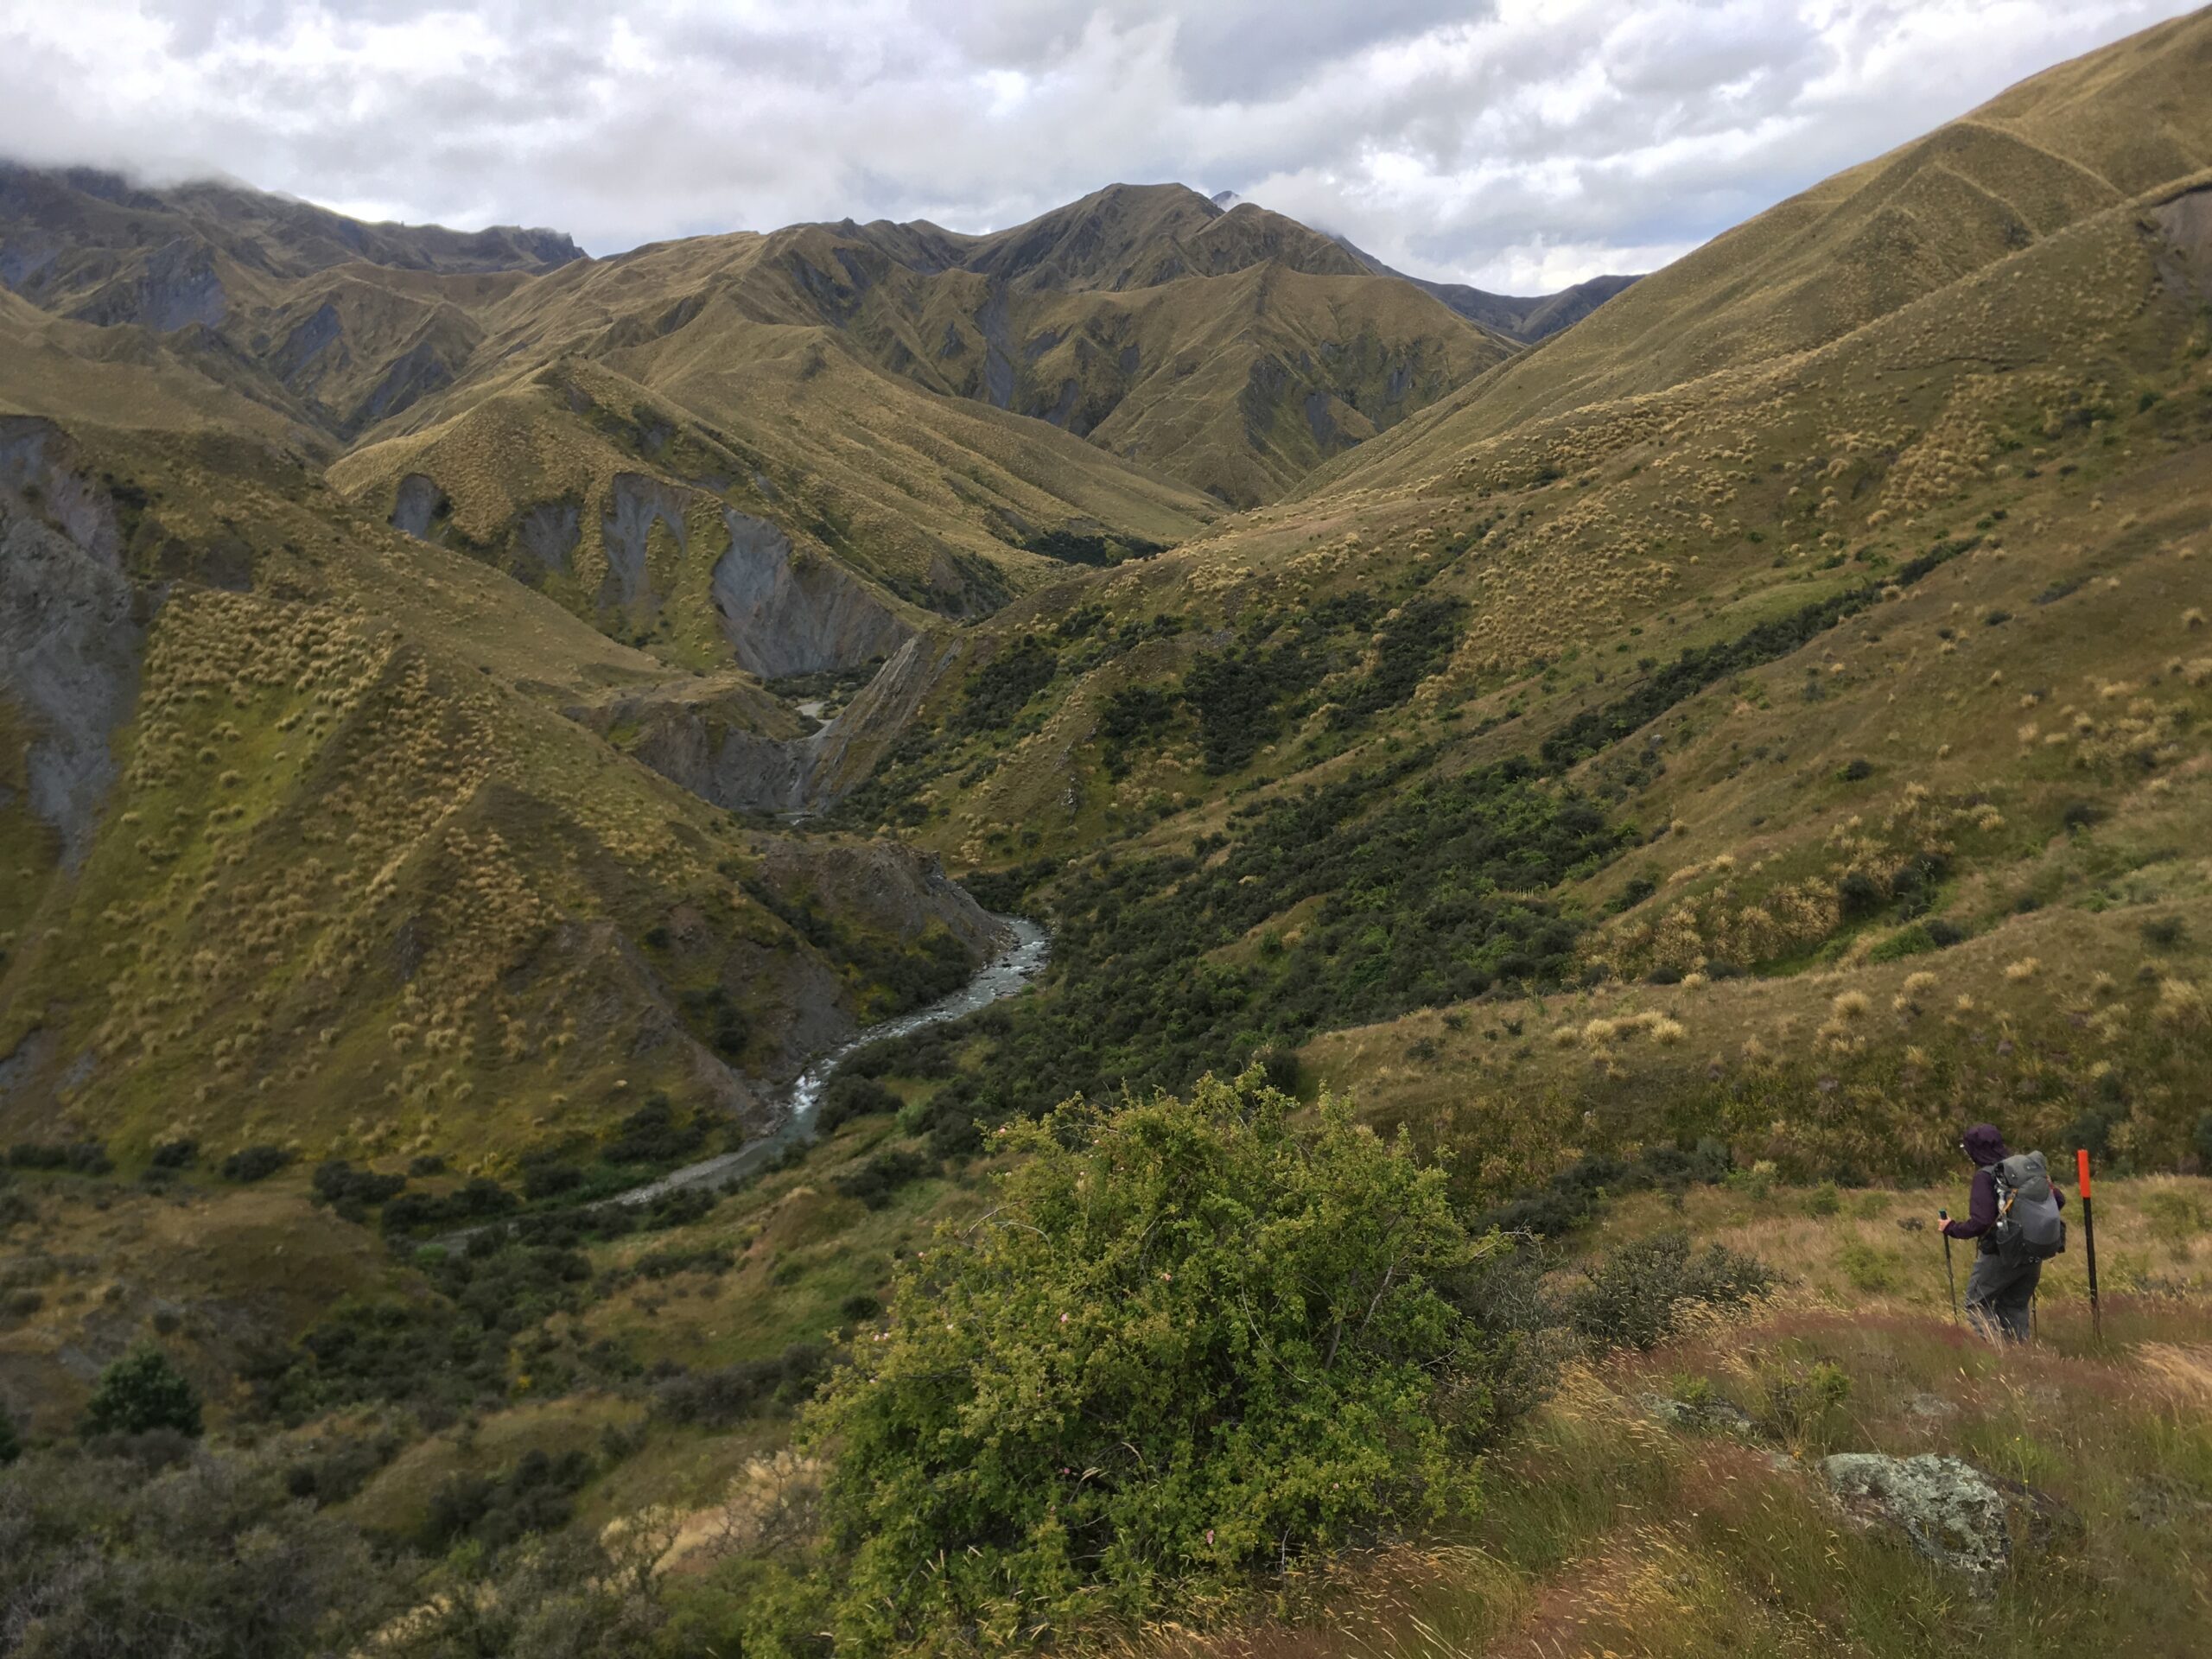
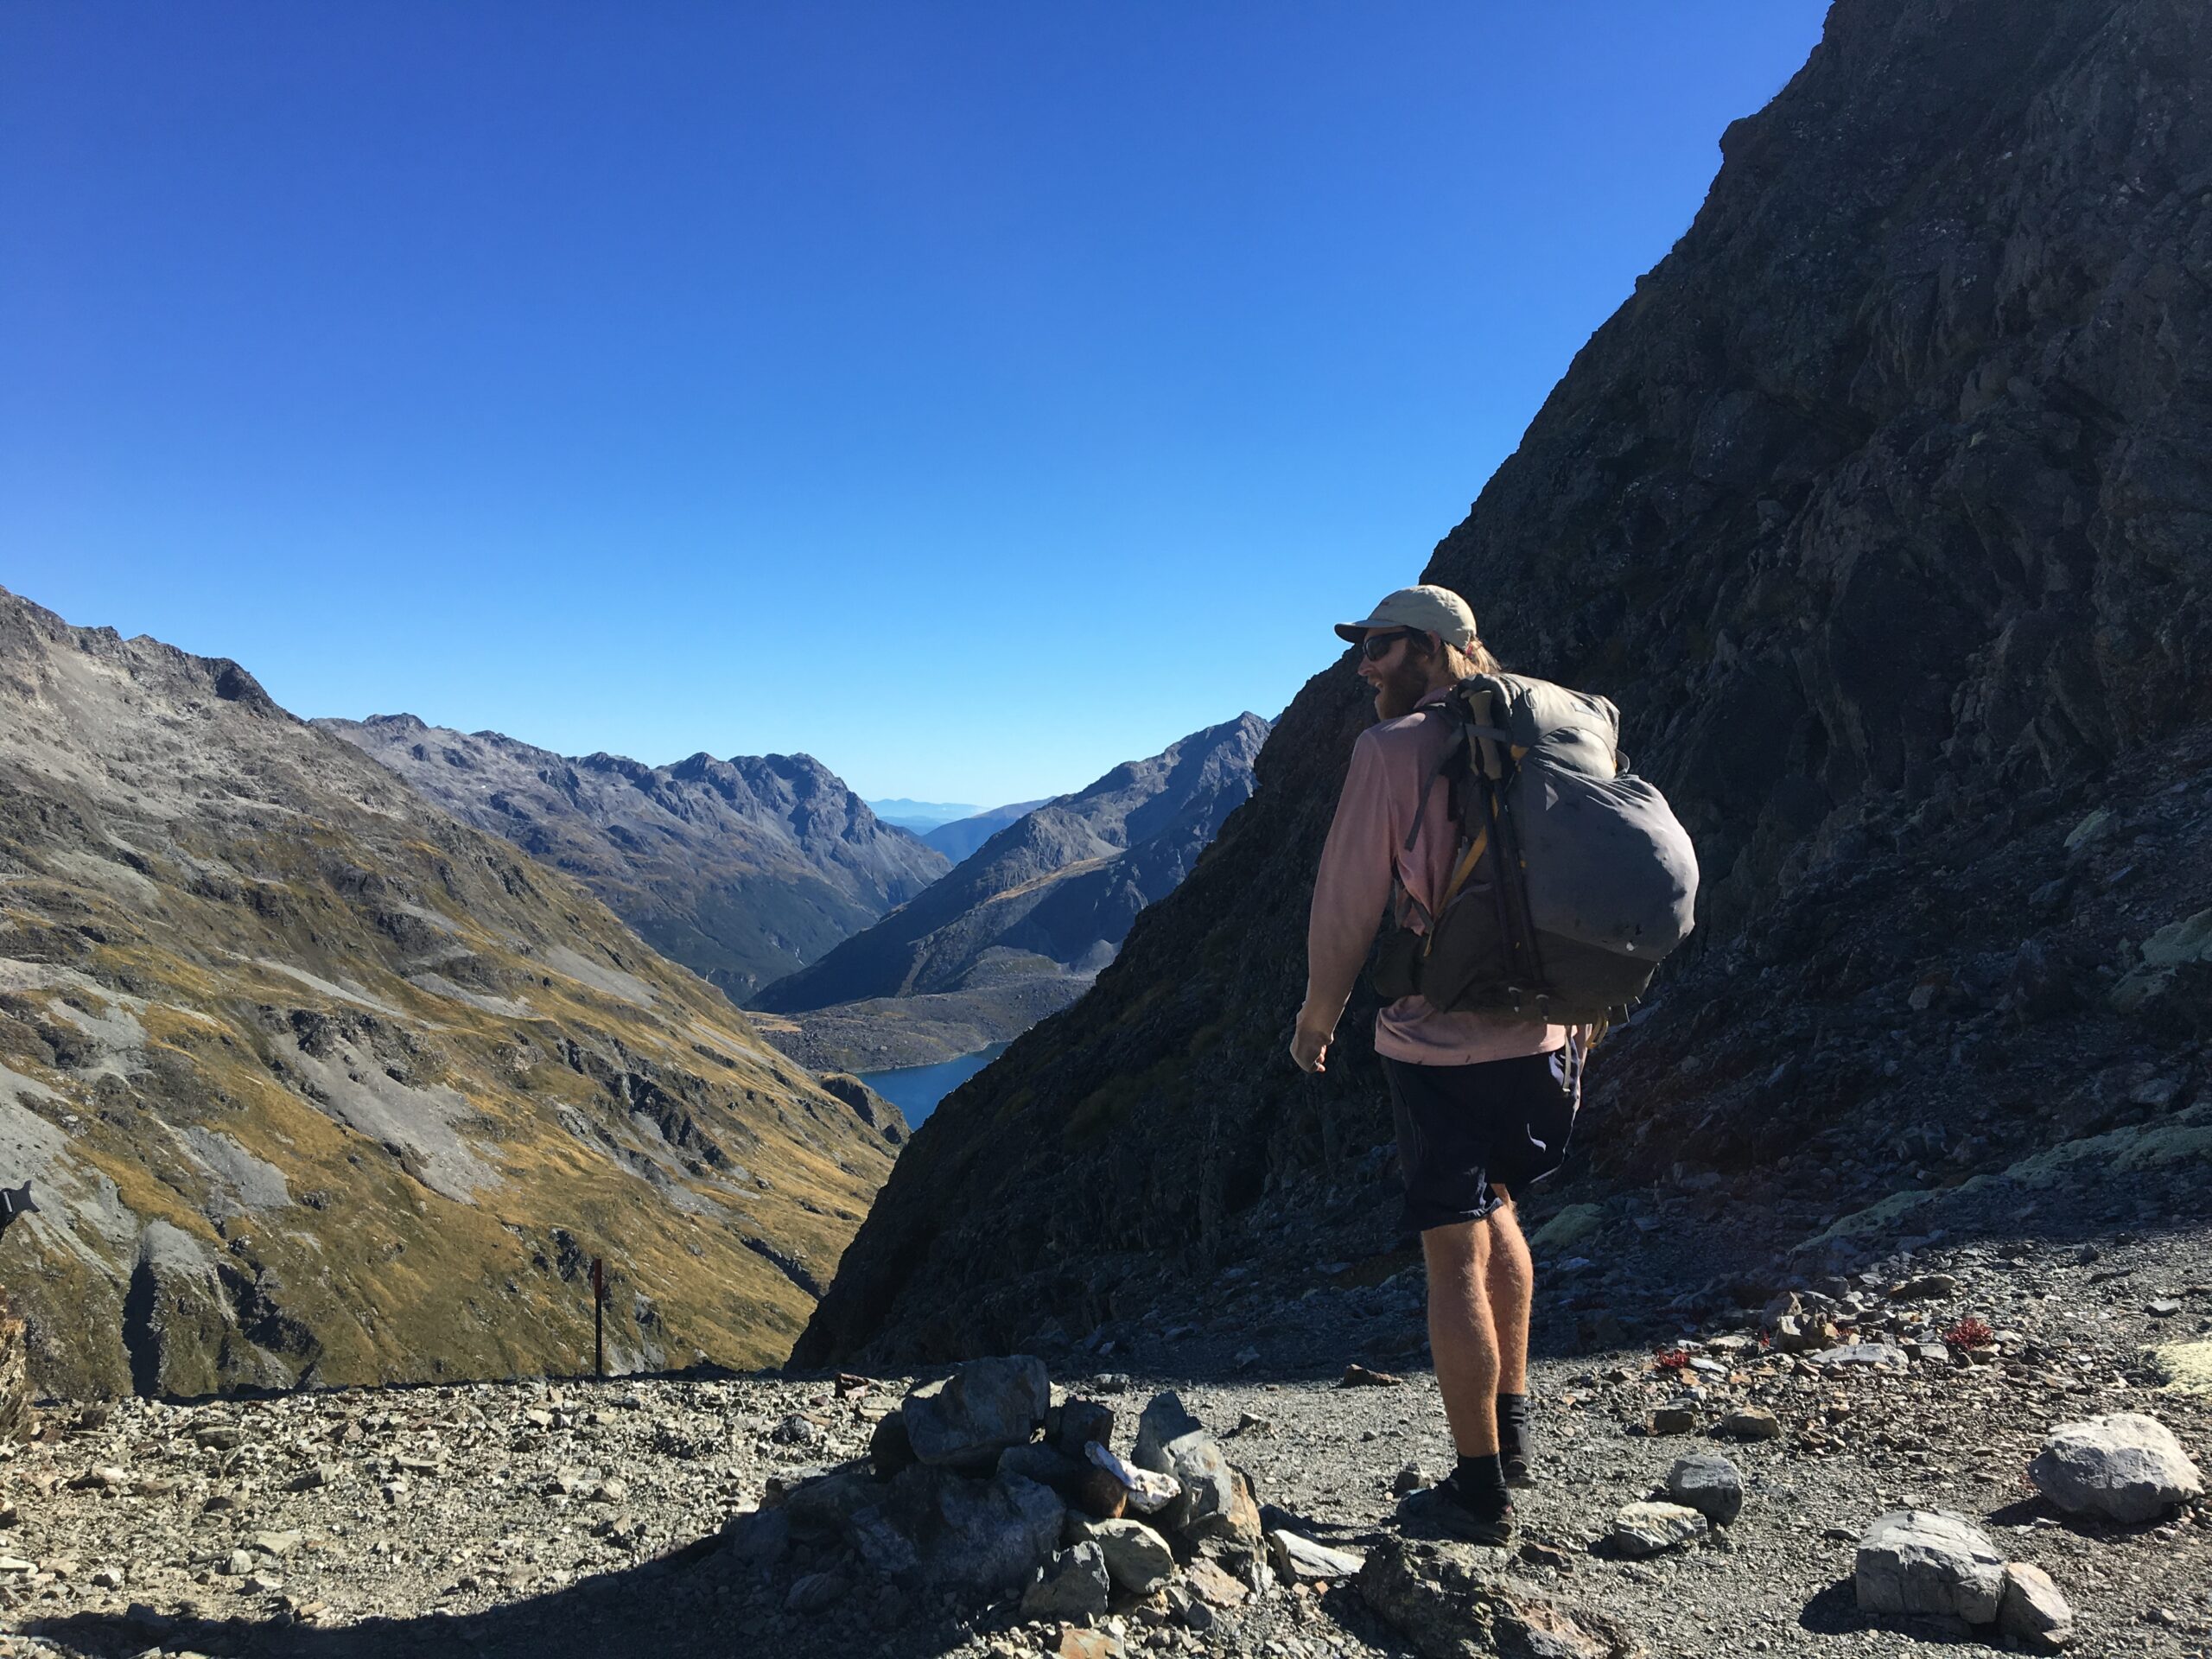
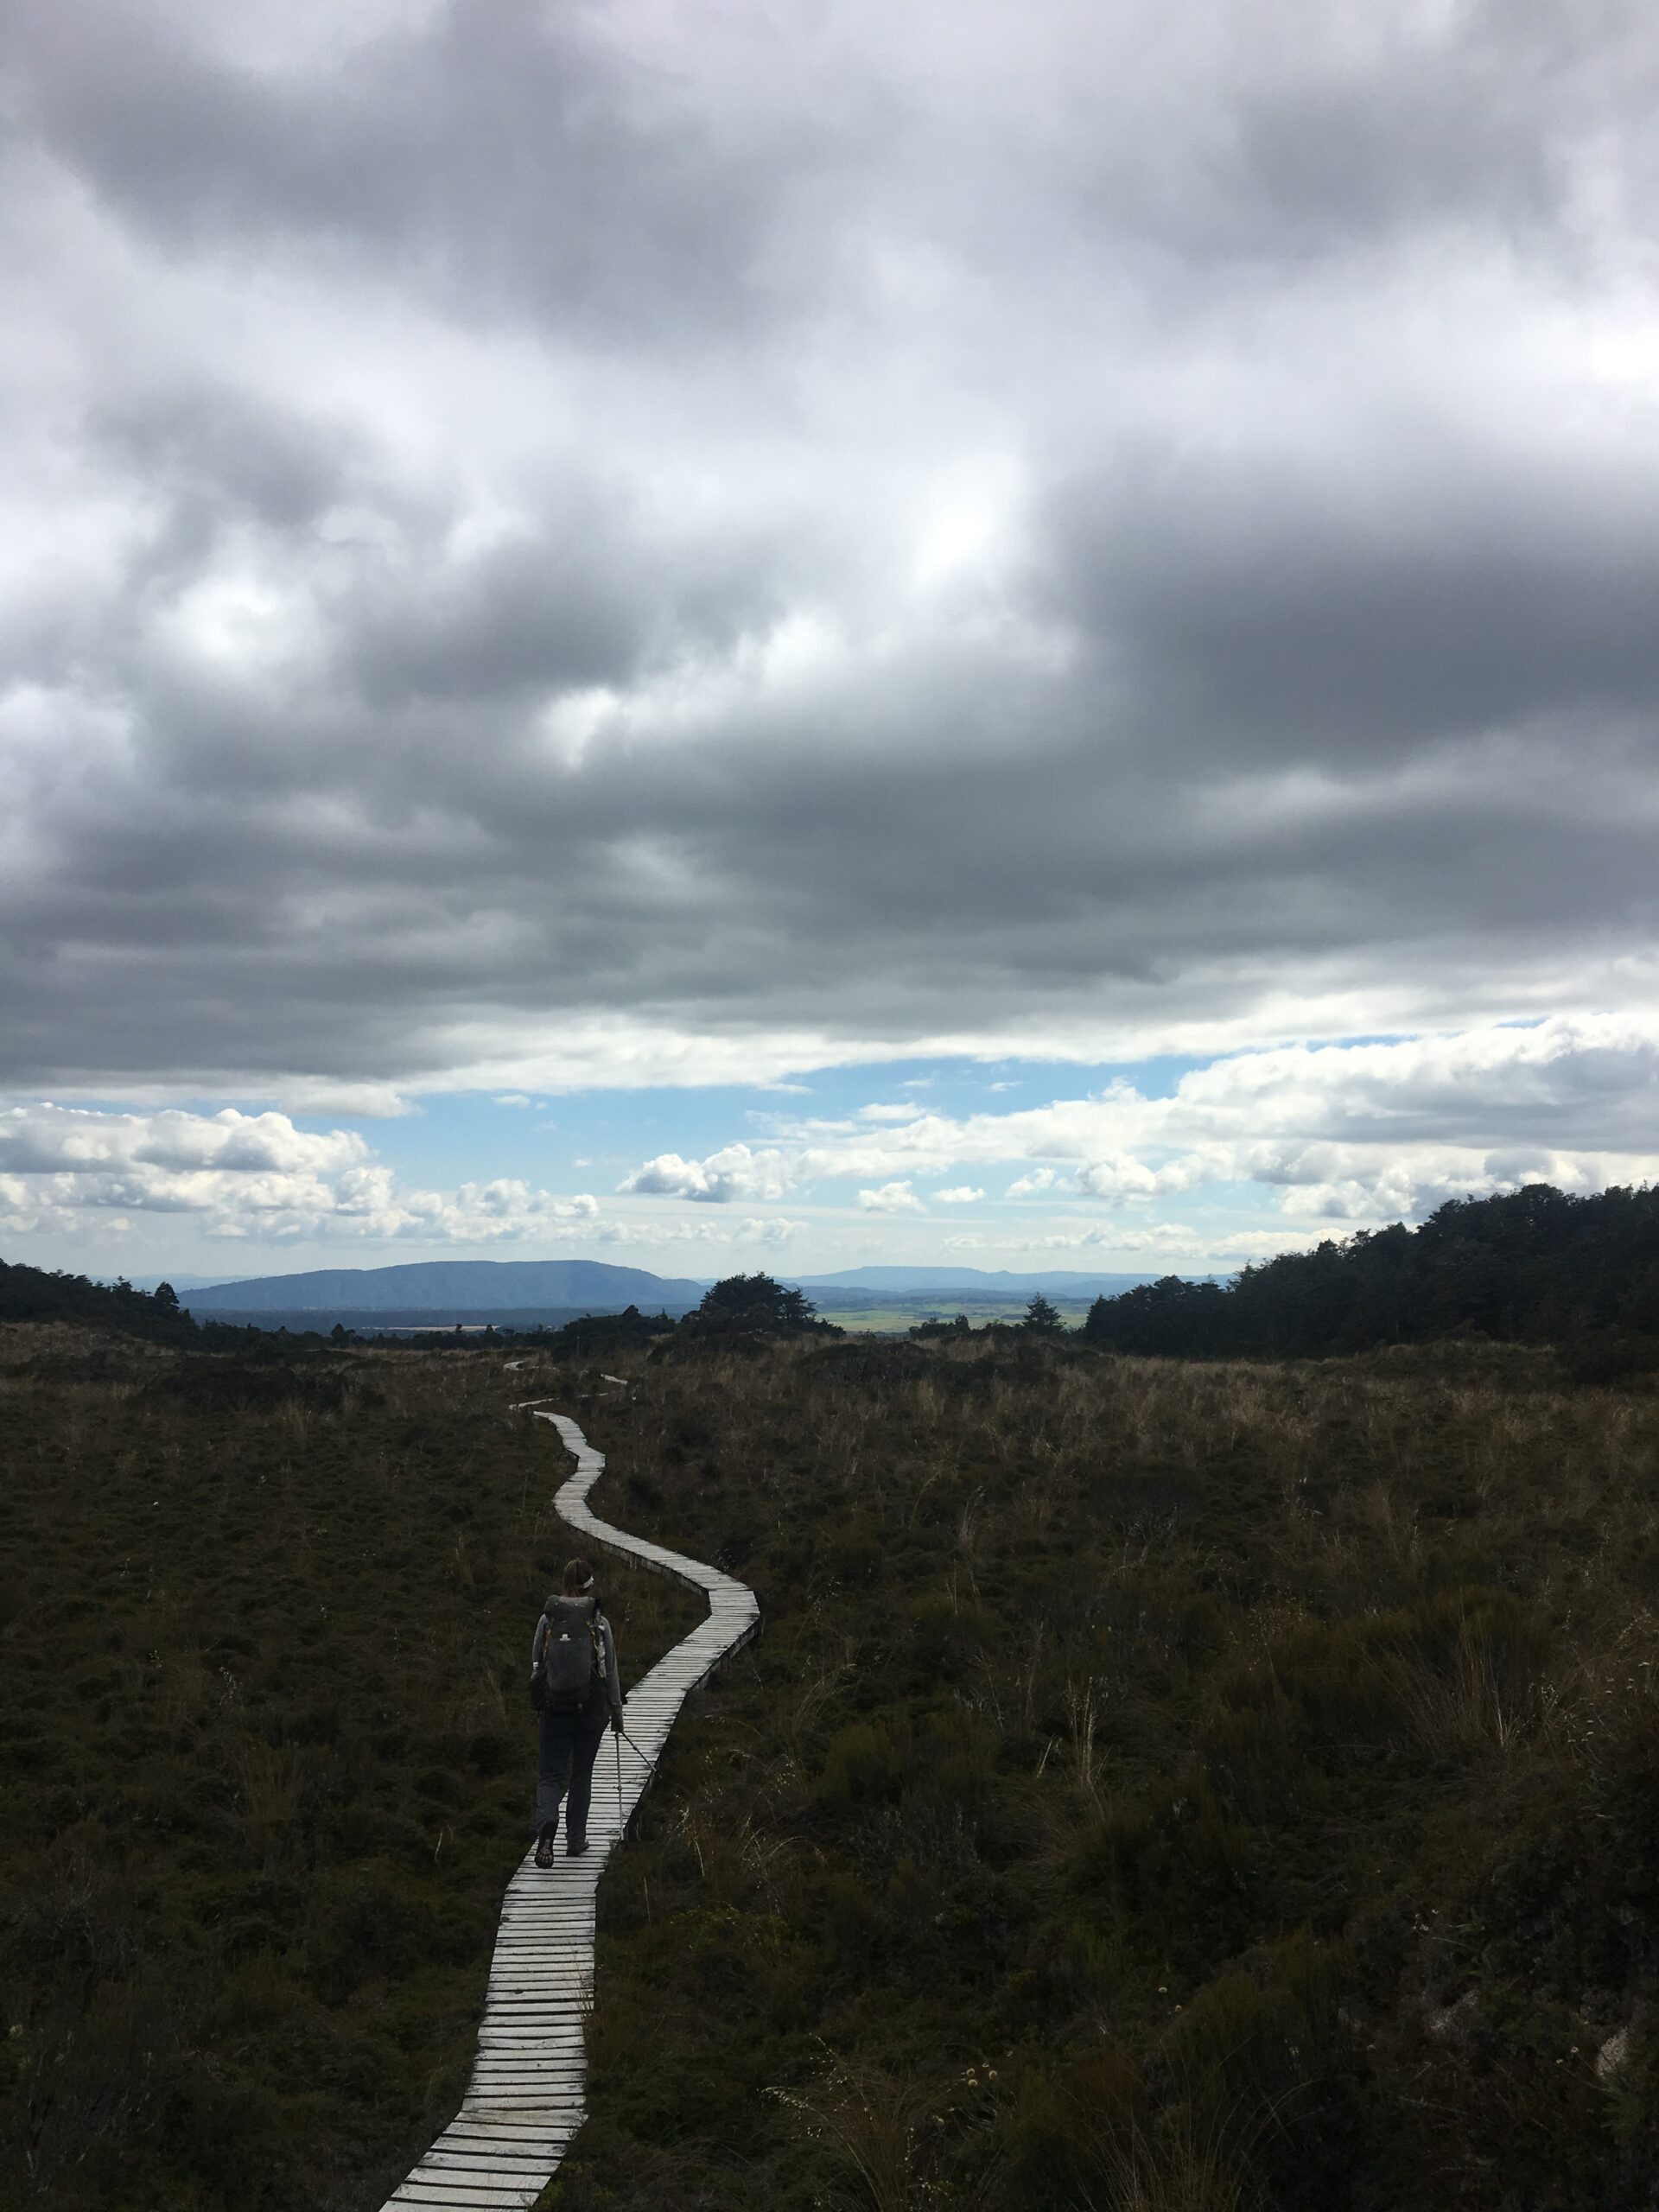
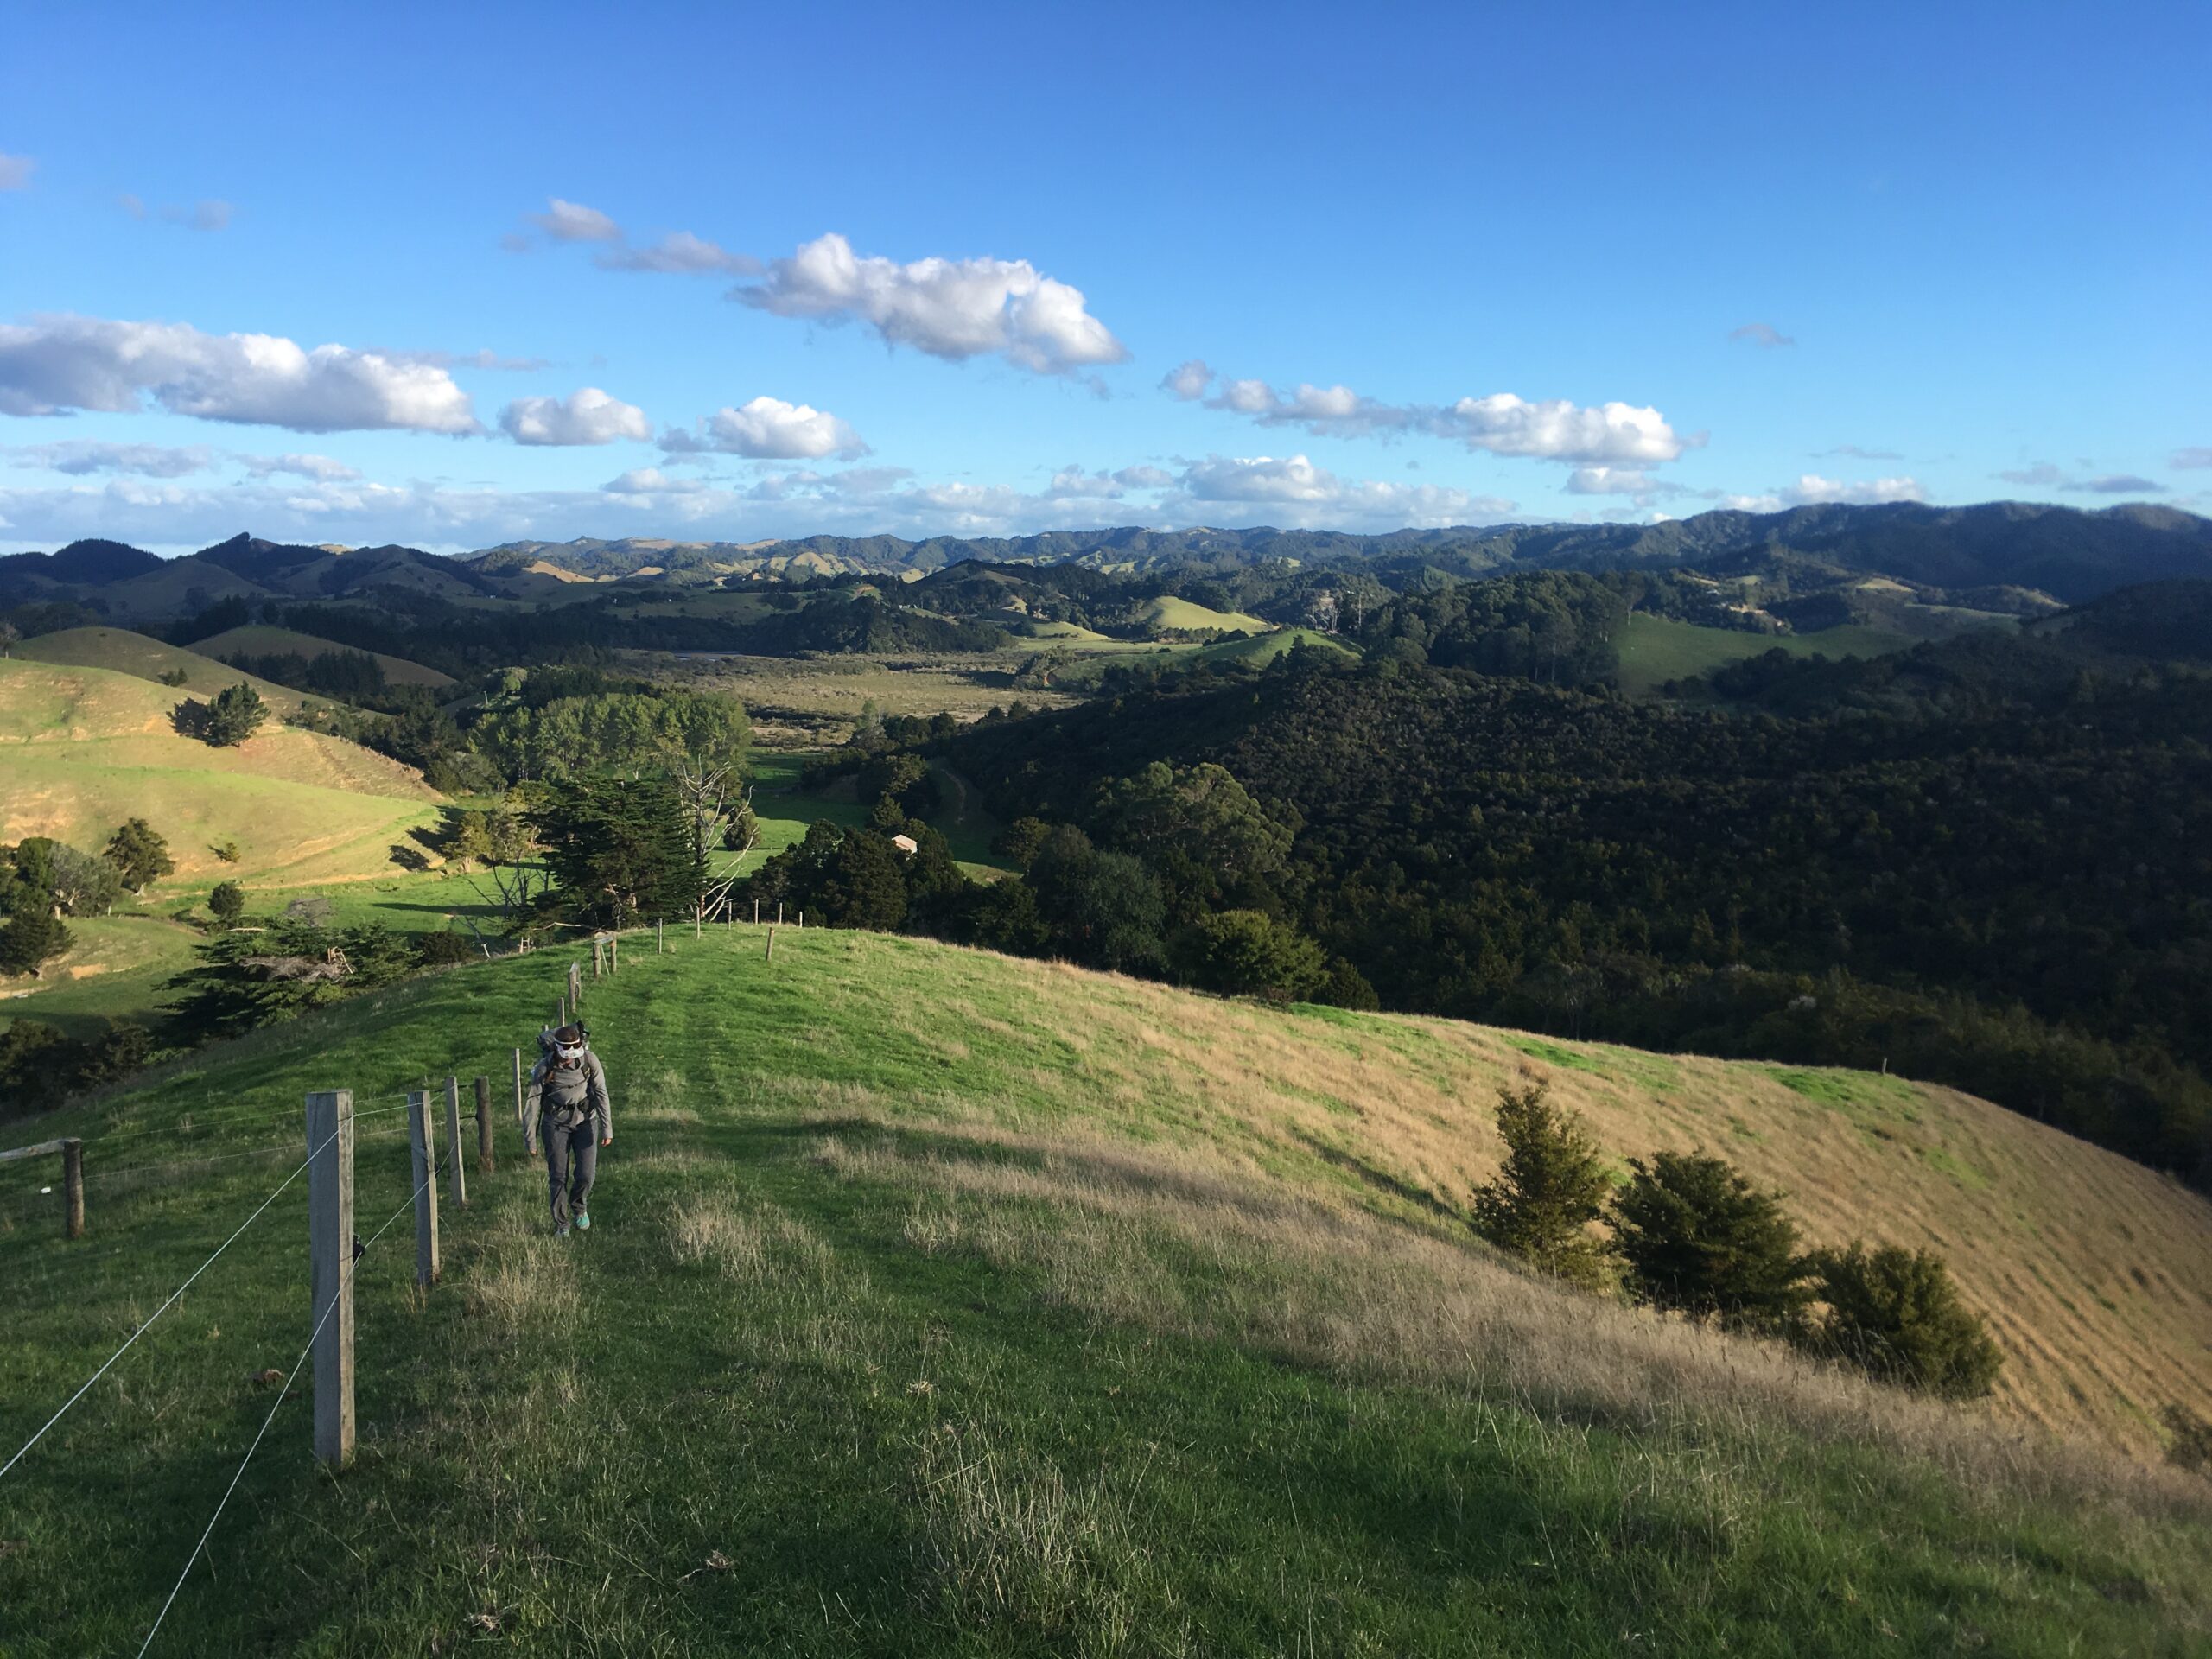
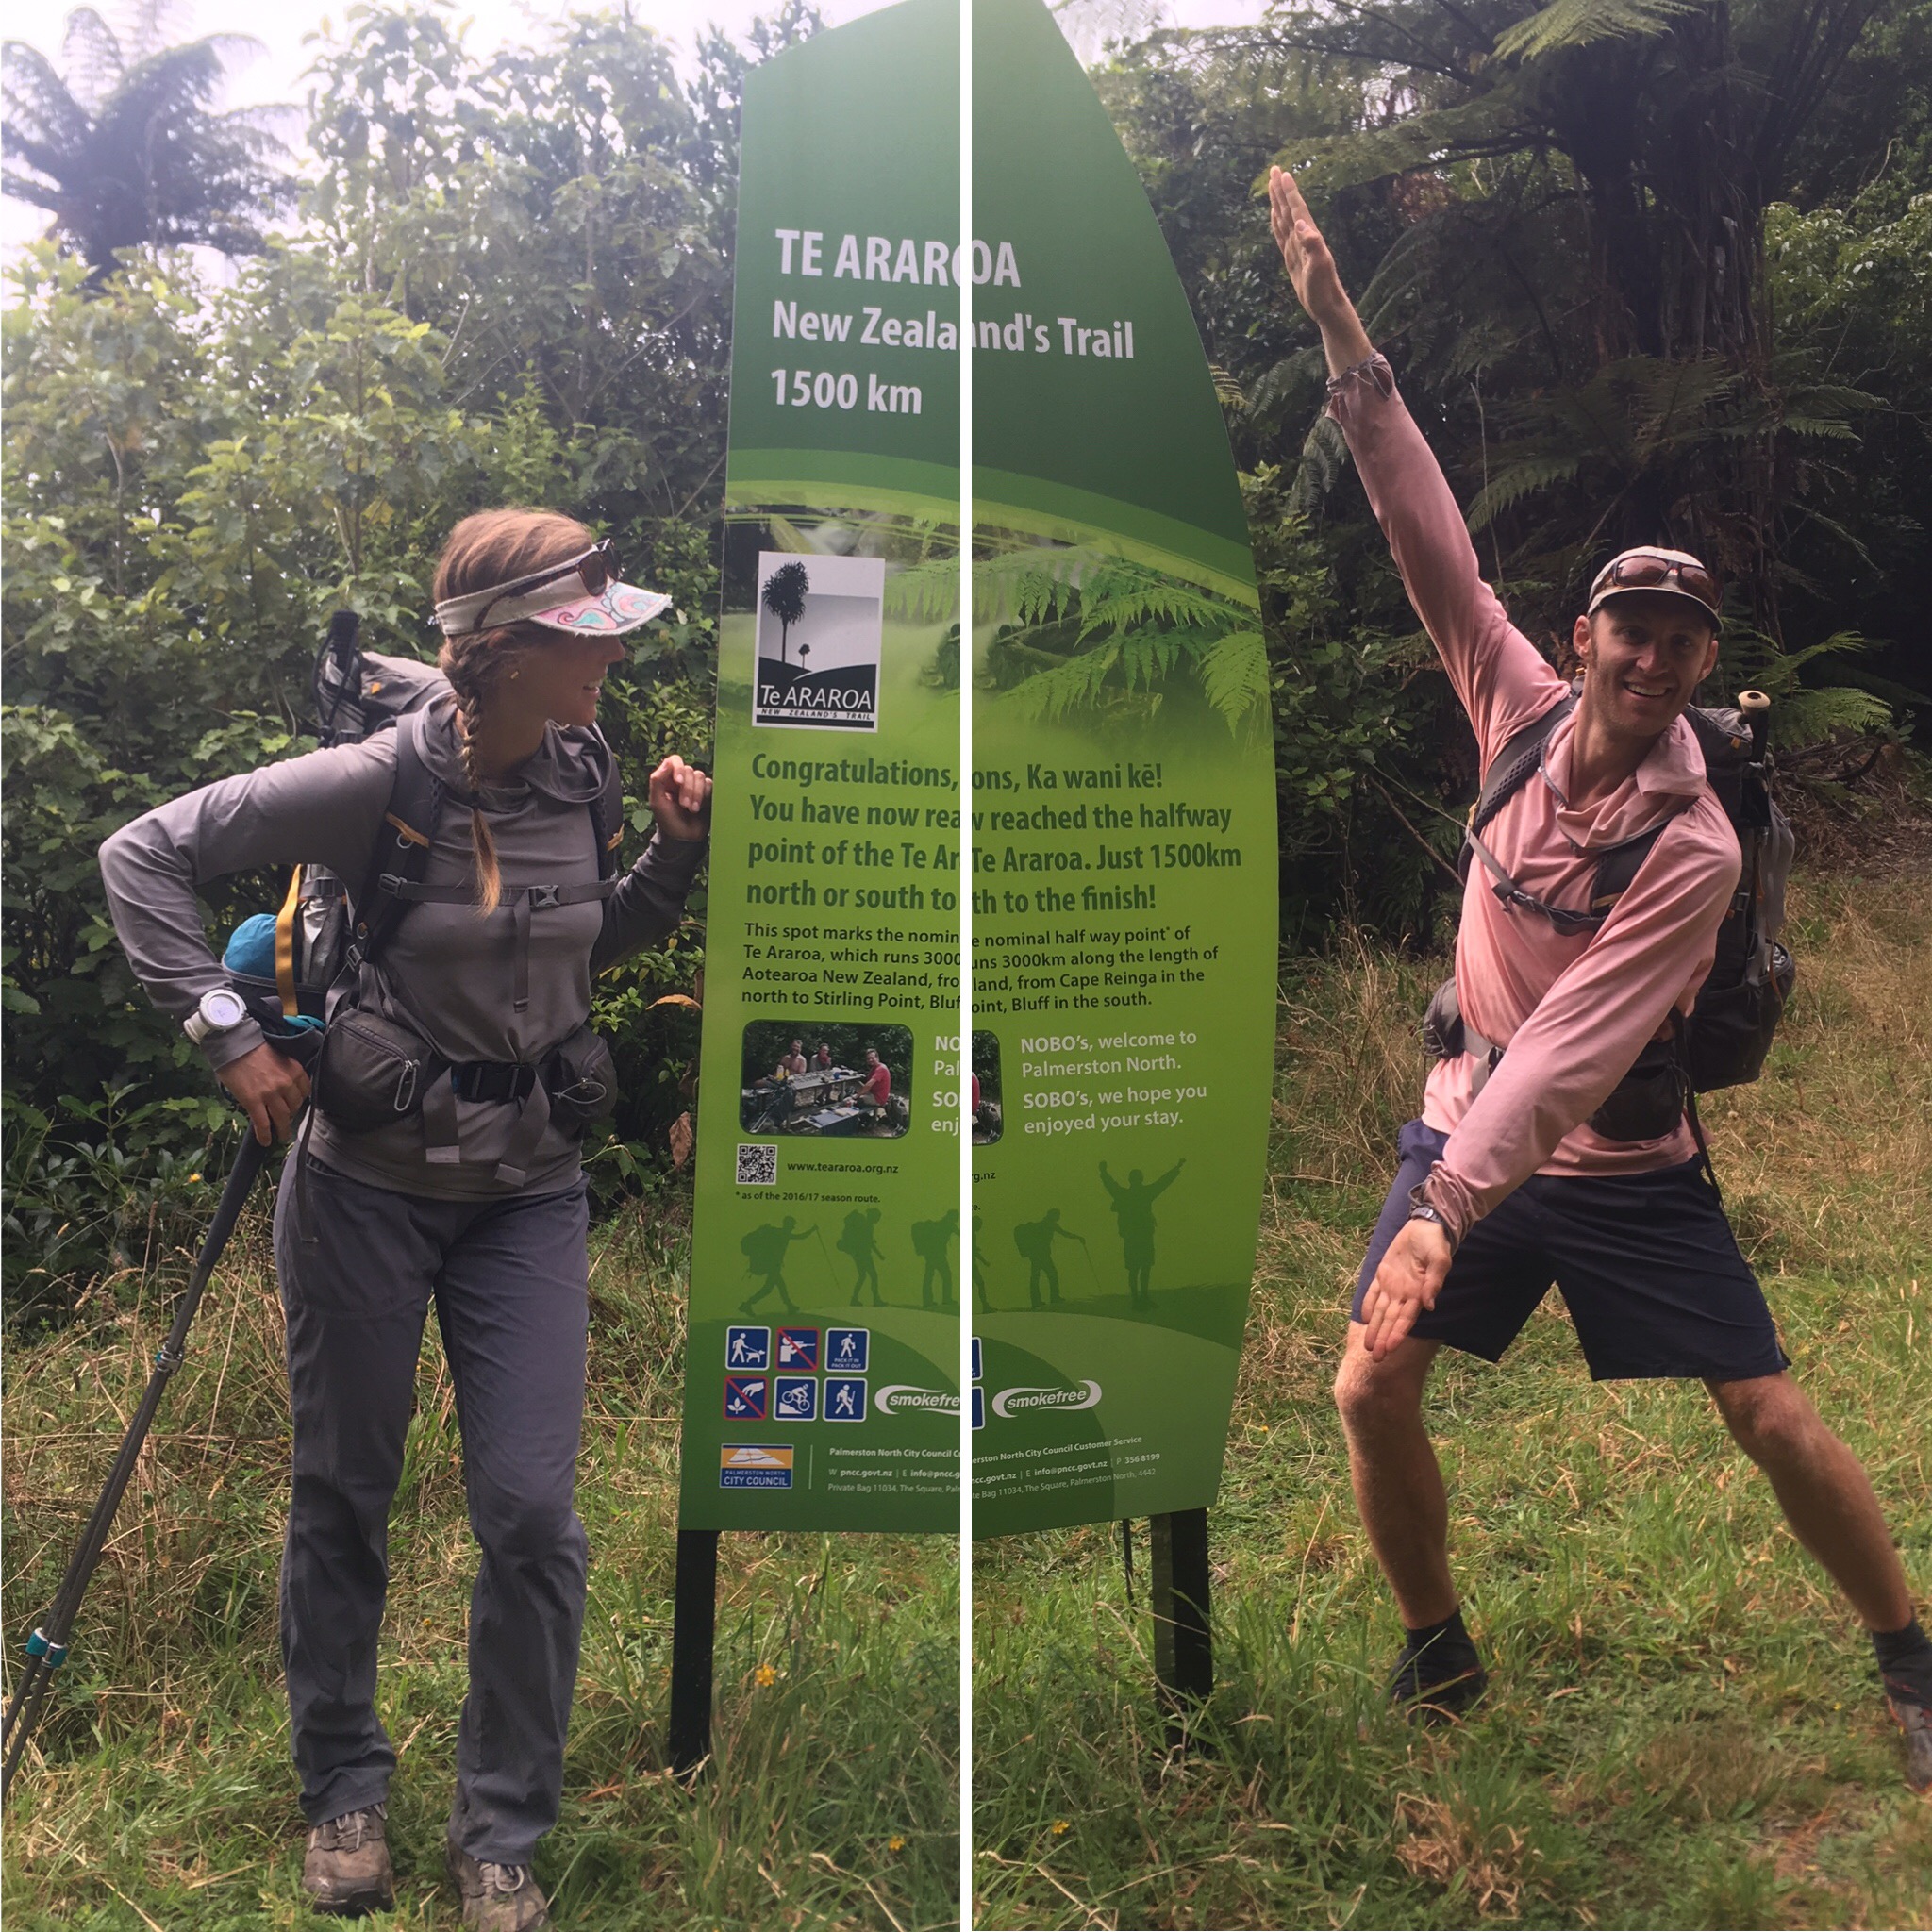
The Te Araroa (or The Long Pathway), pronounced “tiara – row – a,” is about 3000 km or 1800 miles in length. It crosses varied landscapes – taking the walker through forest, alpine, and coastline ecosystems in rapid succession. This long walk offers a great variety of views, challenge, adventure, and basic tourism in New Zealand. This provides a unique travelling experience – to discover large swaths of a country solely on foot. In many instances we found ourselves in a wilderness setting one day and walking through a city center the next.
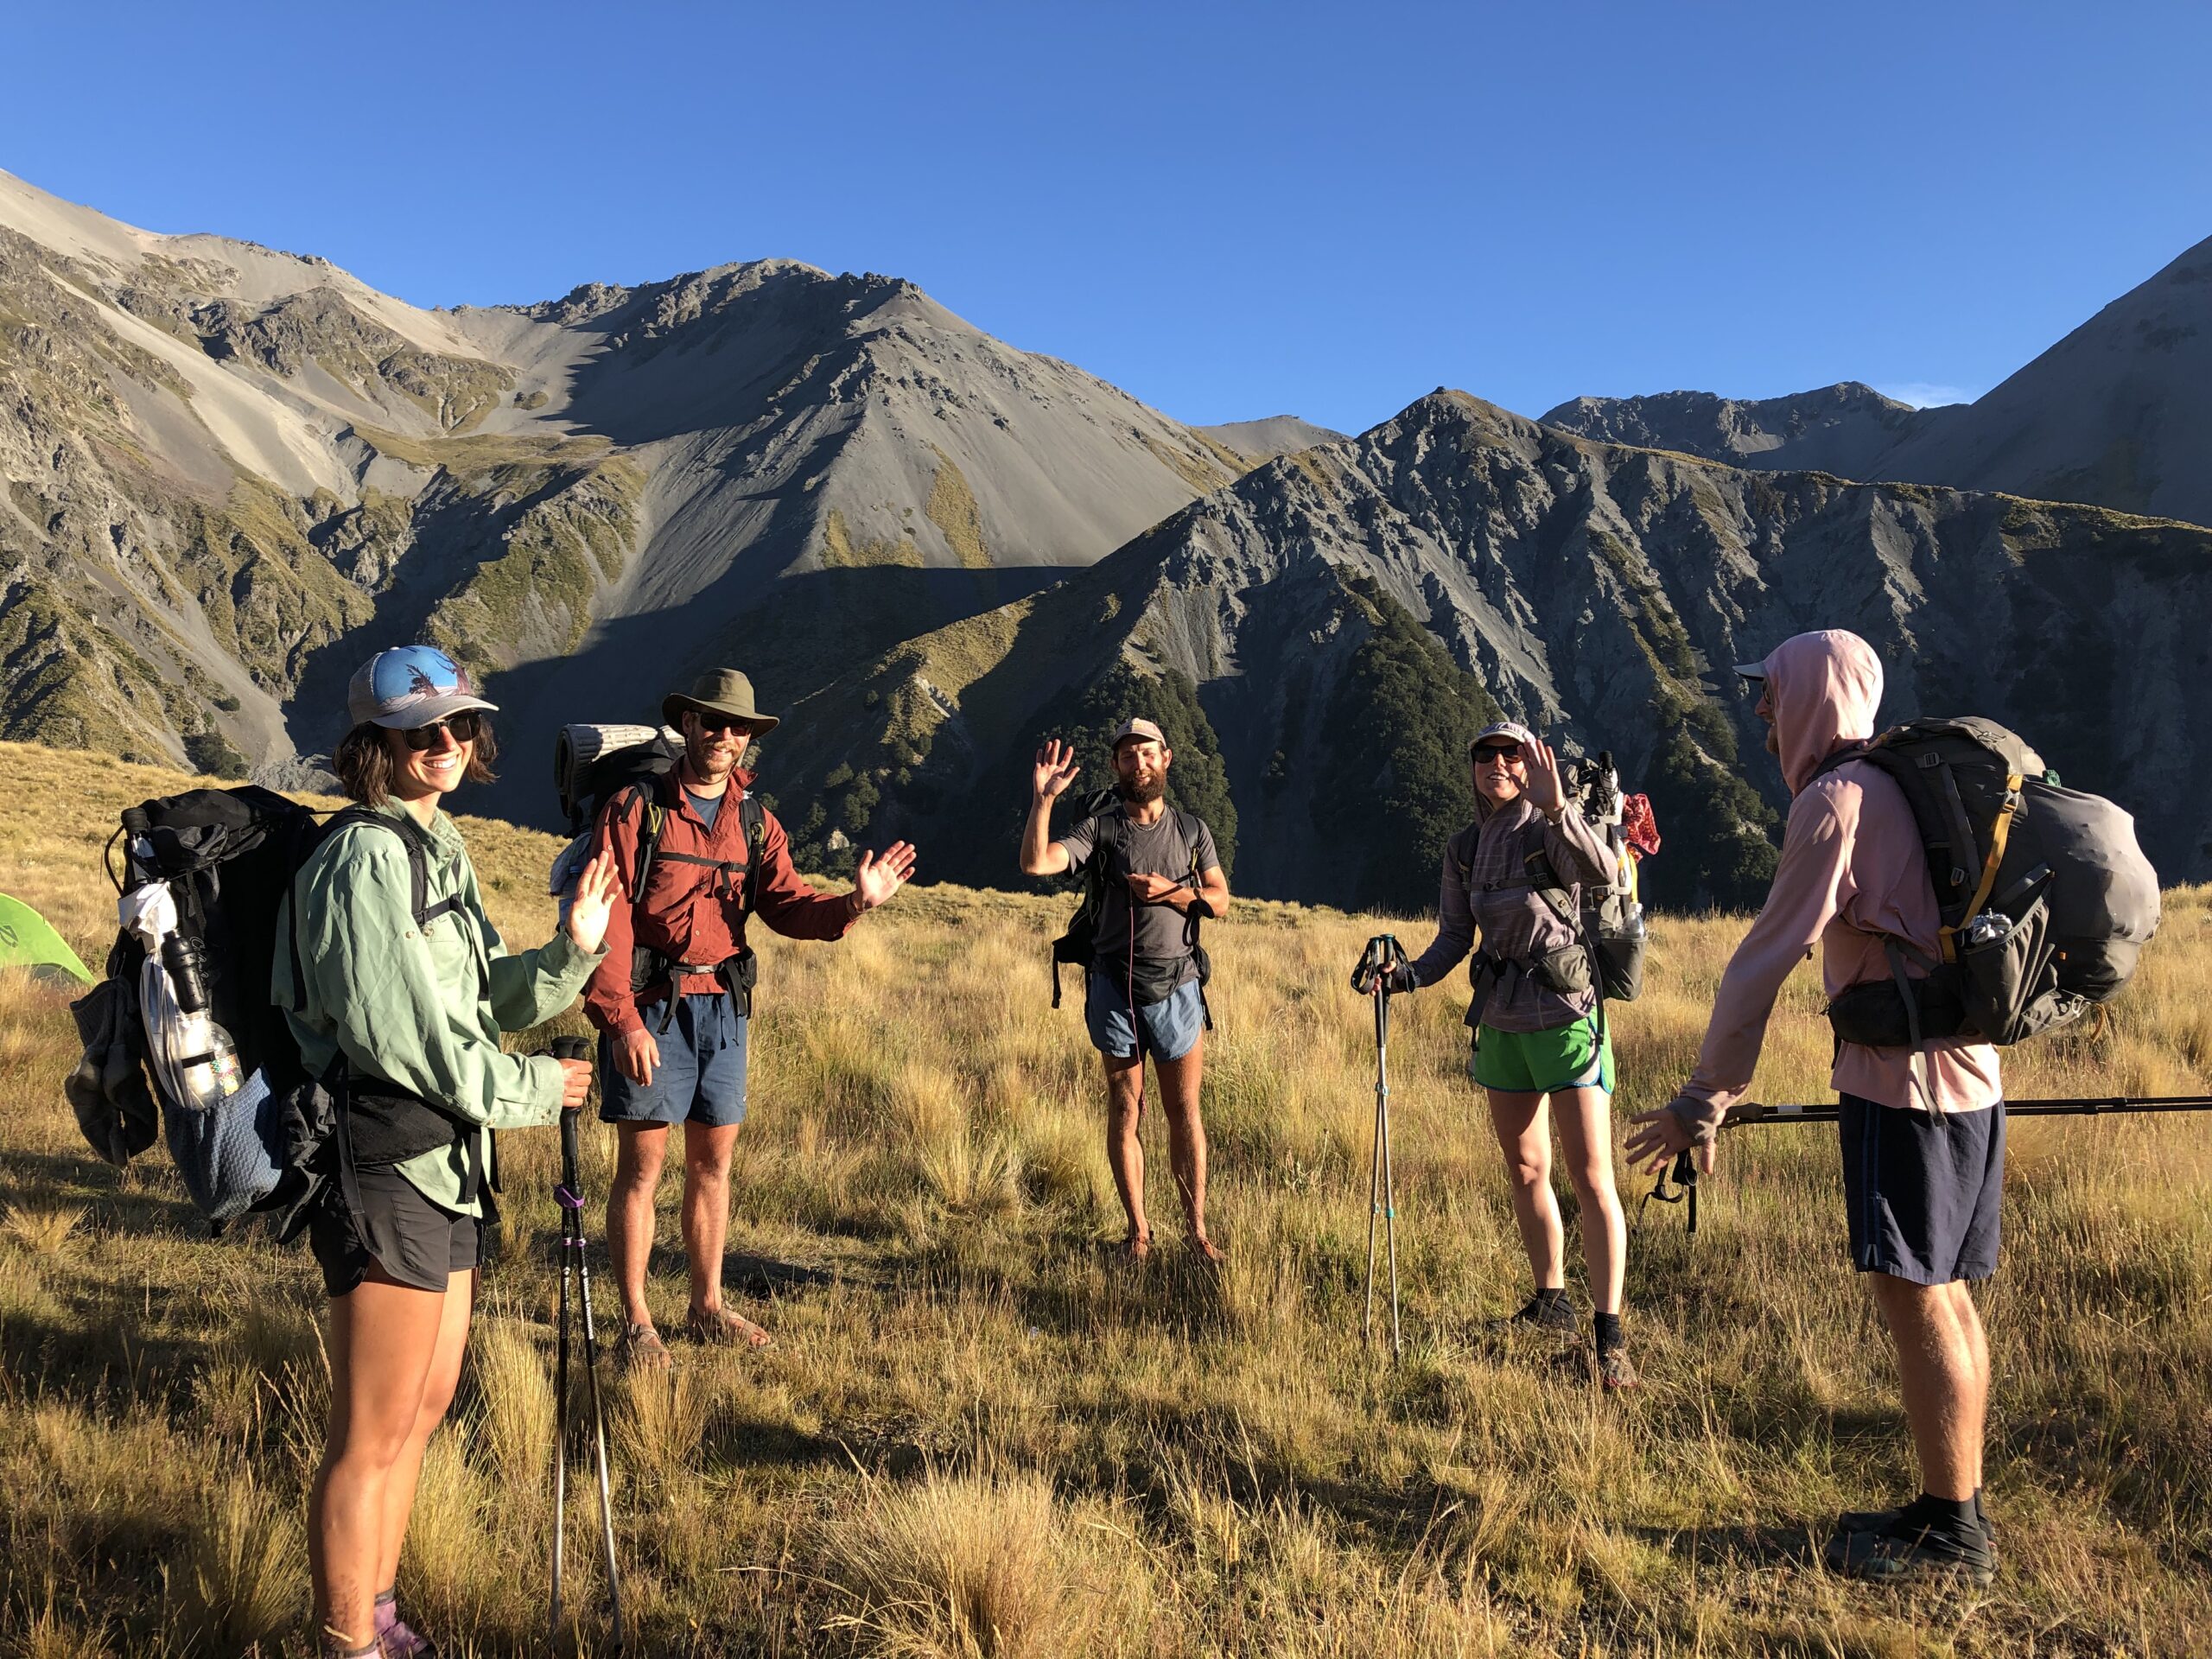
Experience
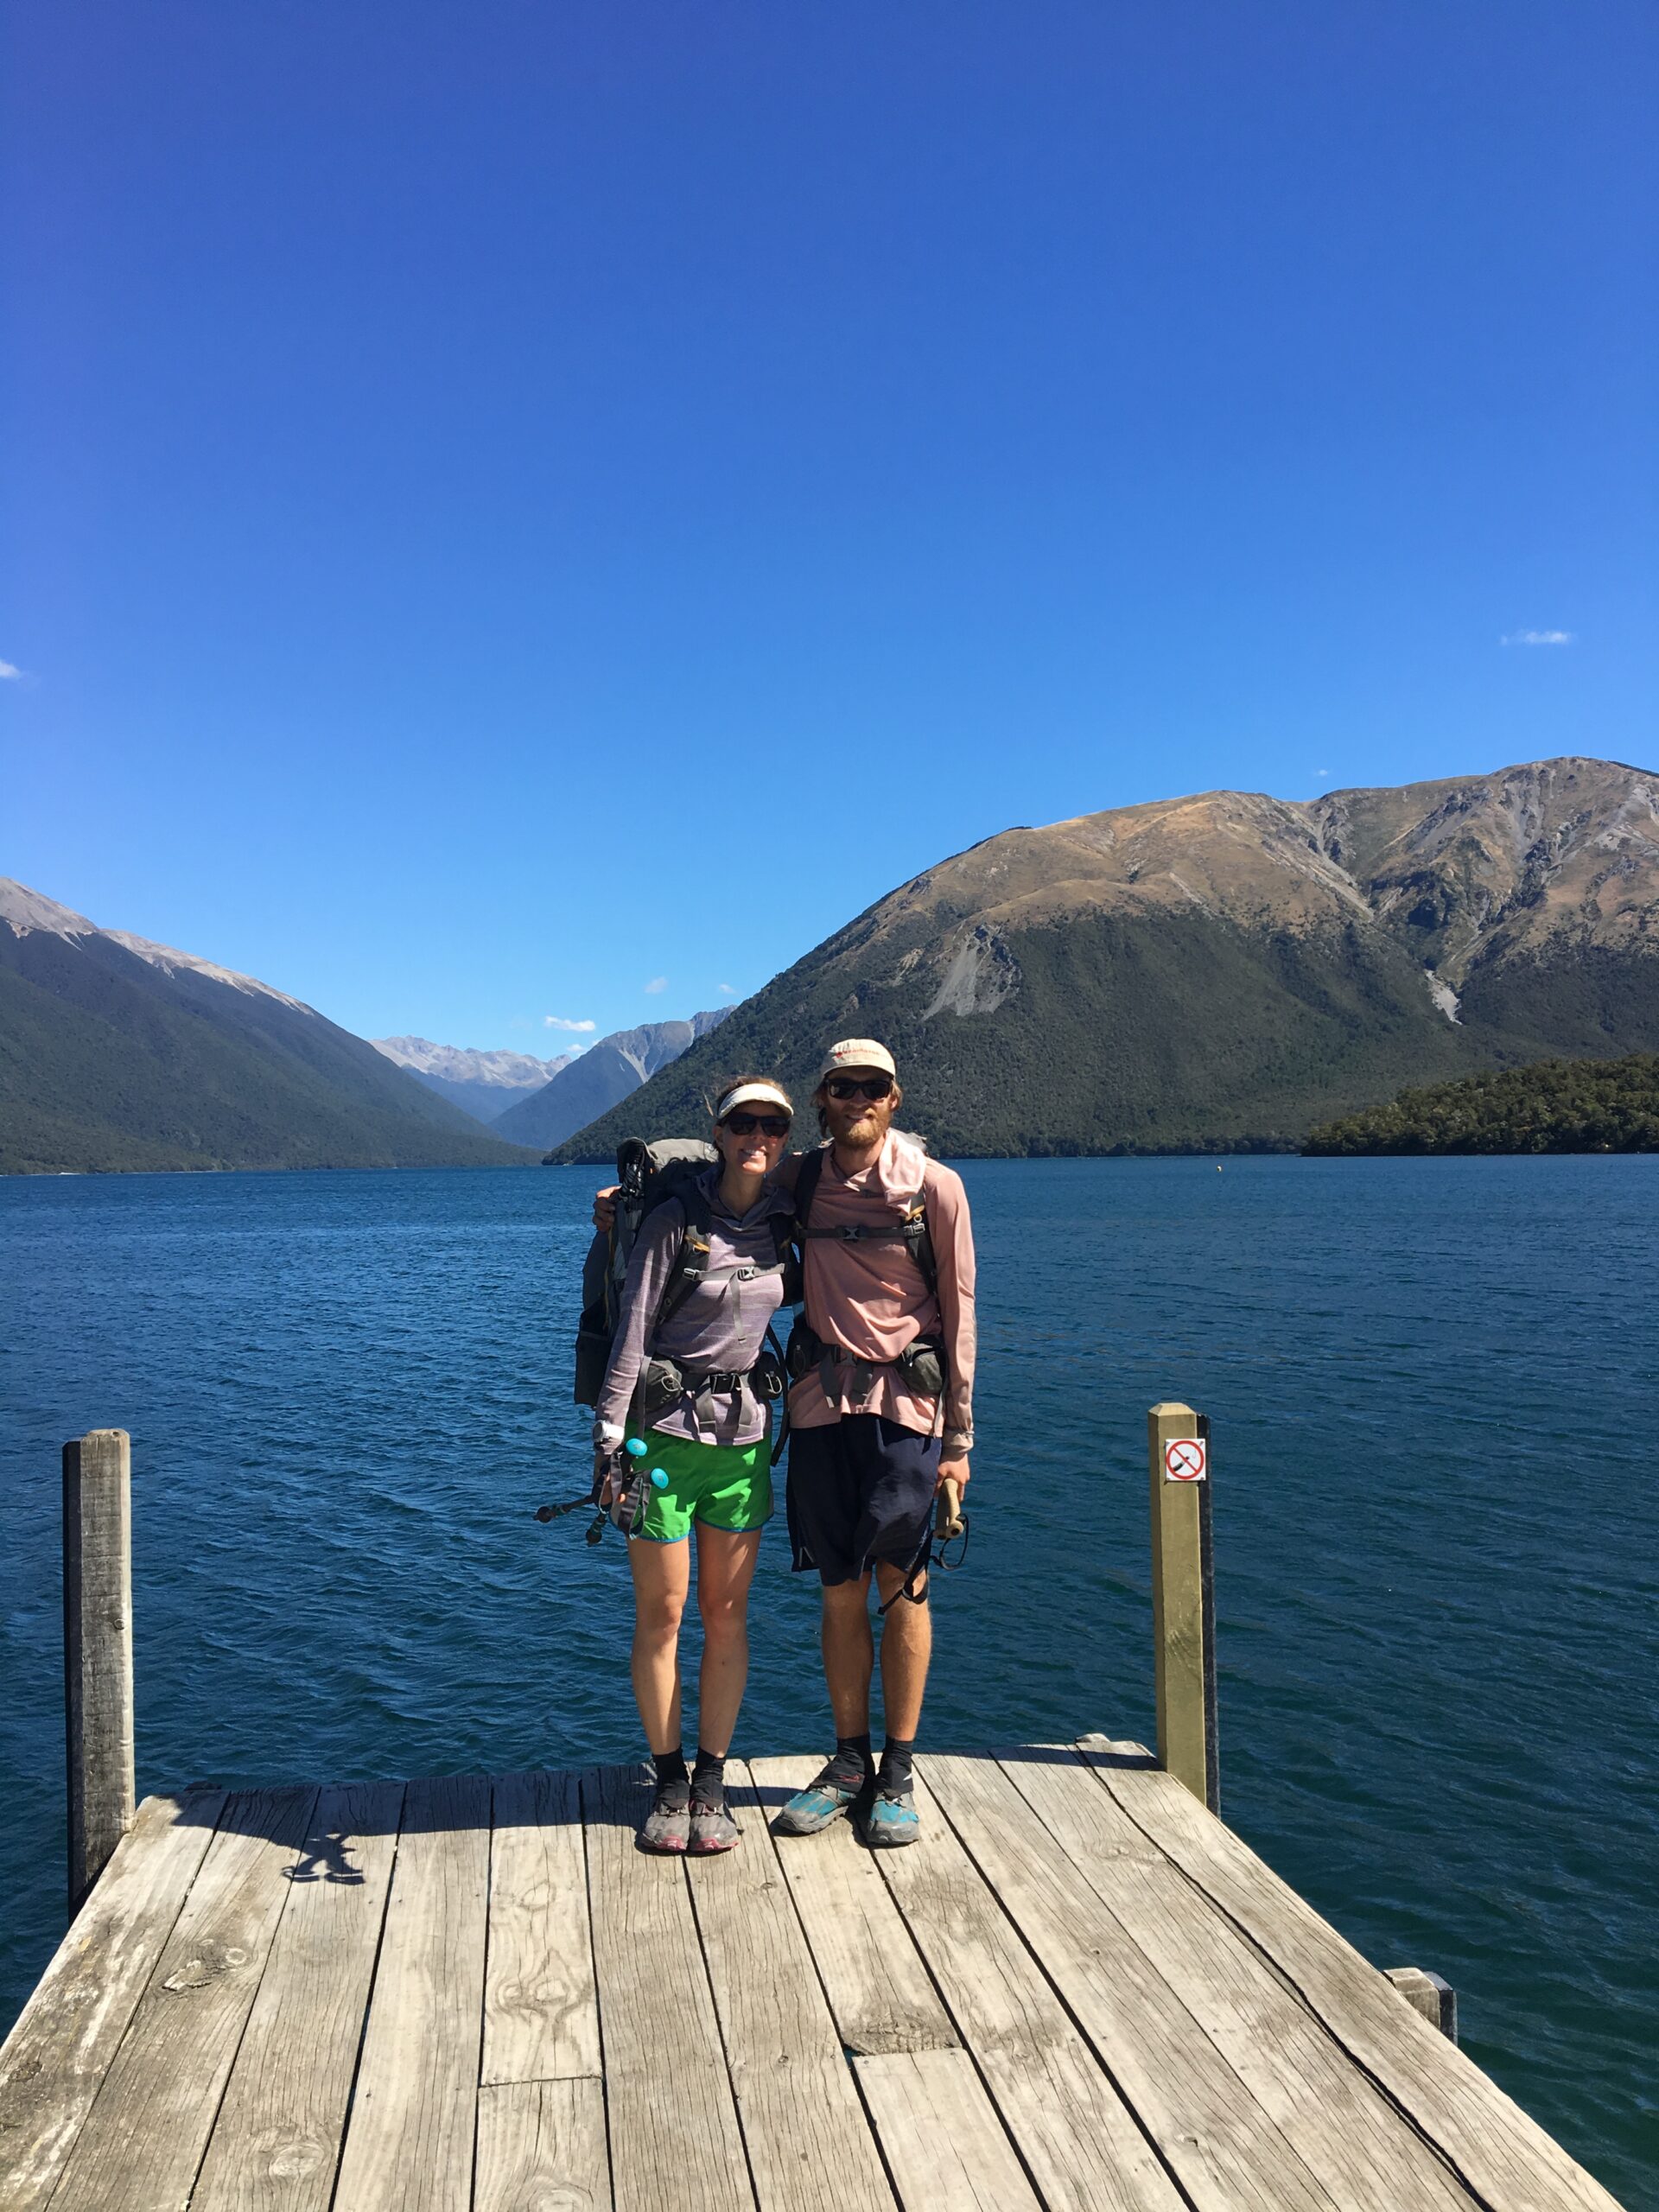
We walked the entire length of the Te Araroa trail (both South and North Islands) Northbound in 2019, and did not meet many other people doing the same. In fact, we only actually met about 5 people on that same Northbound journey. We did, however, meet a ton of people who were walking our direction, and just doing the South Island. It seems like many folks were deterred by the amount of roadwalking the TA has on the North Island. Below you will find a little bit about our journey walking Northbound.
Northbound or Southbound?
The Te Araroa can be walked in either direction. The majority of people tend to walk it Southbound, starting at Cape Reinga in October or November. This gives folks the opportunity to travel through the South Island in prime Summer conditions. Also, most of the Te Araroa resources are written for Southbounders. As for walking Northbound, most people start in late December/early January. This gives these walkers prime conditions for the South Island, and the experience of walking towards the warmer northern climate while Winter is on its way.
There is also a section of the Te Araroa Trail that can be paddled down the Whanganui River. Read about this section and other side trips on the post on Alternates and Side Trips Along the Te Ararao Trail (need to write!).
Why We Walked Northbound
The main reason we decided to walk Northbound on the Te Araroa Trail was that it worked with our schedules. We had work planned through November and wanted to spend some quality time with family and friends in December. We did not realize before we went walking that going the “wrong direction” was going to be such a big deal on the trail to those we passed.
Advantages
As a Northbounder one of the biggest advantages is that you mostly walk the Te Araroa Trail when its empty. For us, this was beneficial. We weren’t really part of the bigger social world of the trail, which for us felt okay. This may or may not be an advantage for other people. We did hit one big Southbounder crowd at the end of the South Island in the Richmond Range, and it was great to chat about the trail with other walkers. One of the coolest things was to walk the majority of the North Island and not see another walker for about 50 days. We only ran into two other Southbounders while we were on the North Island.
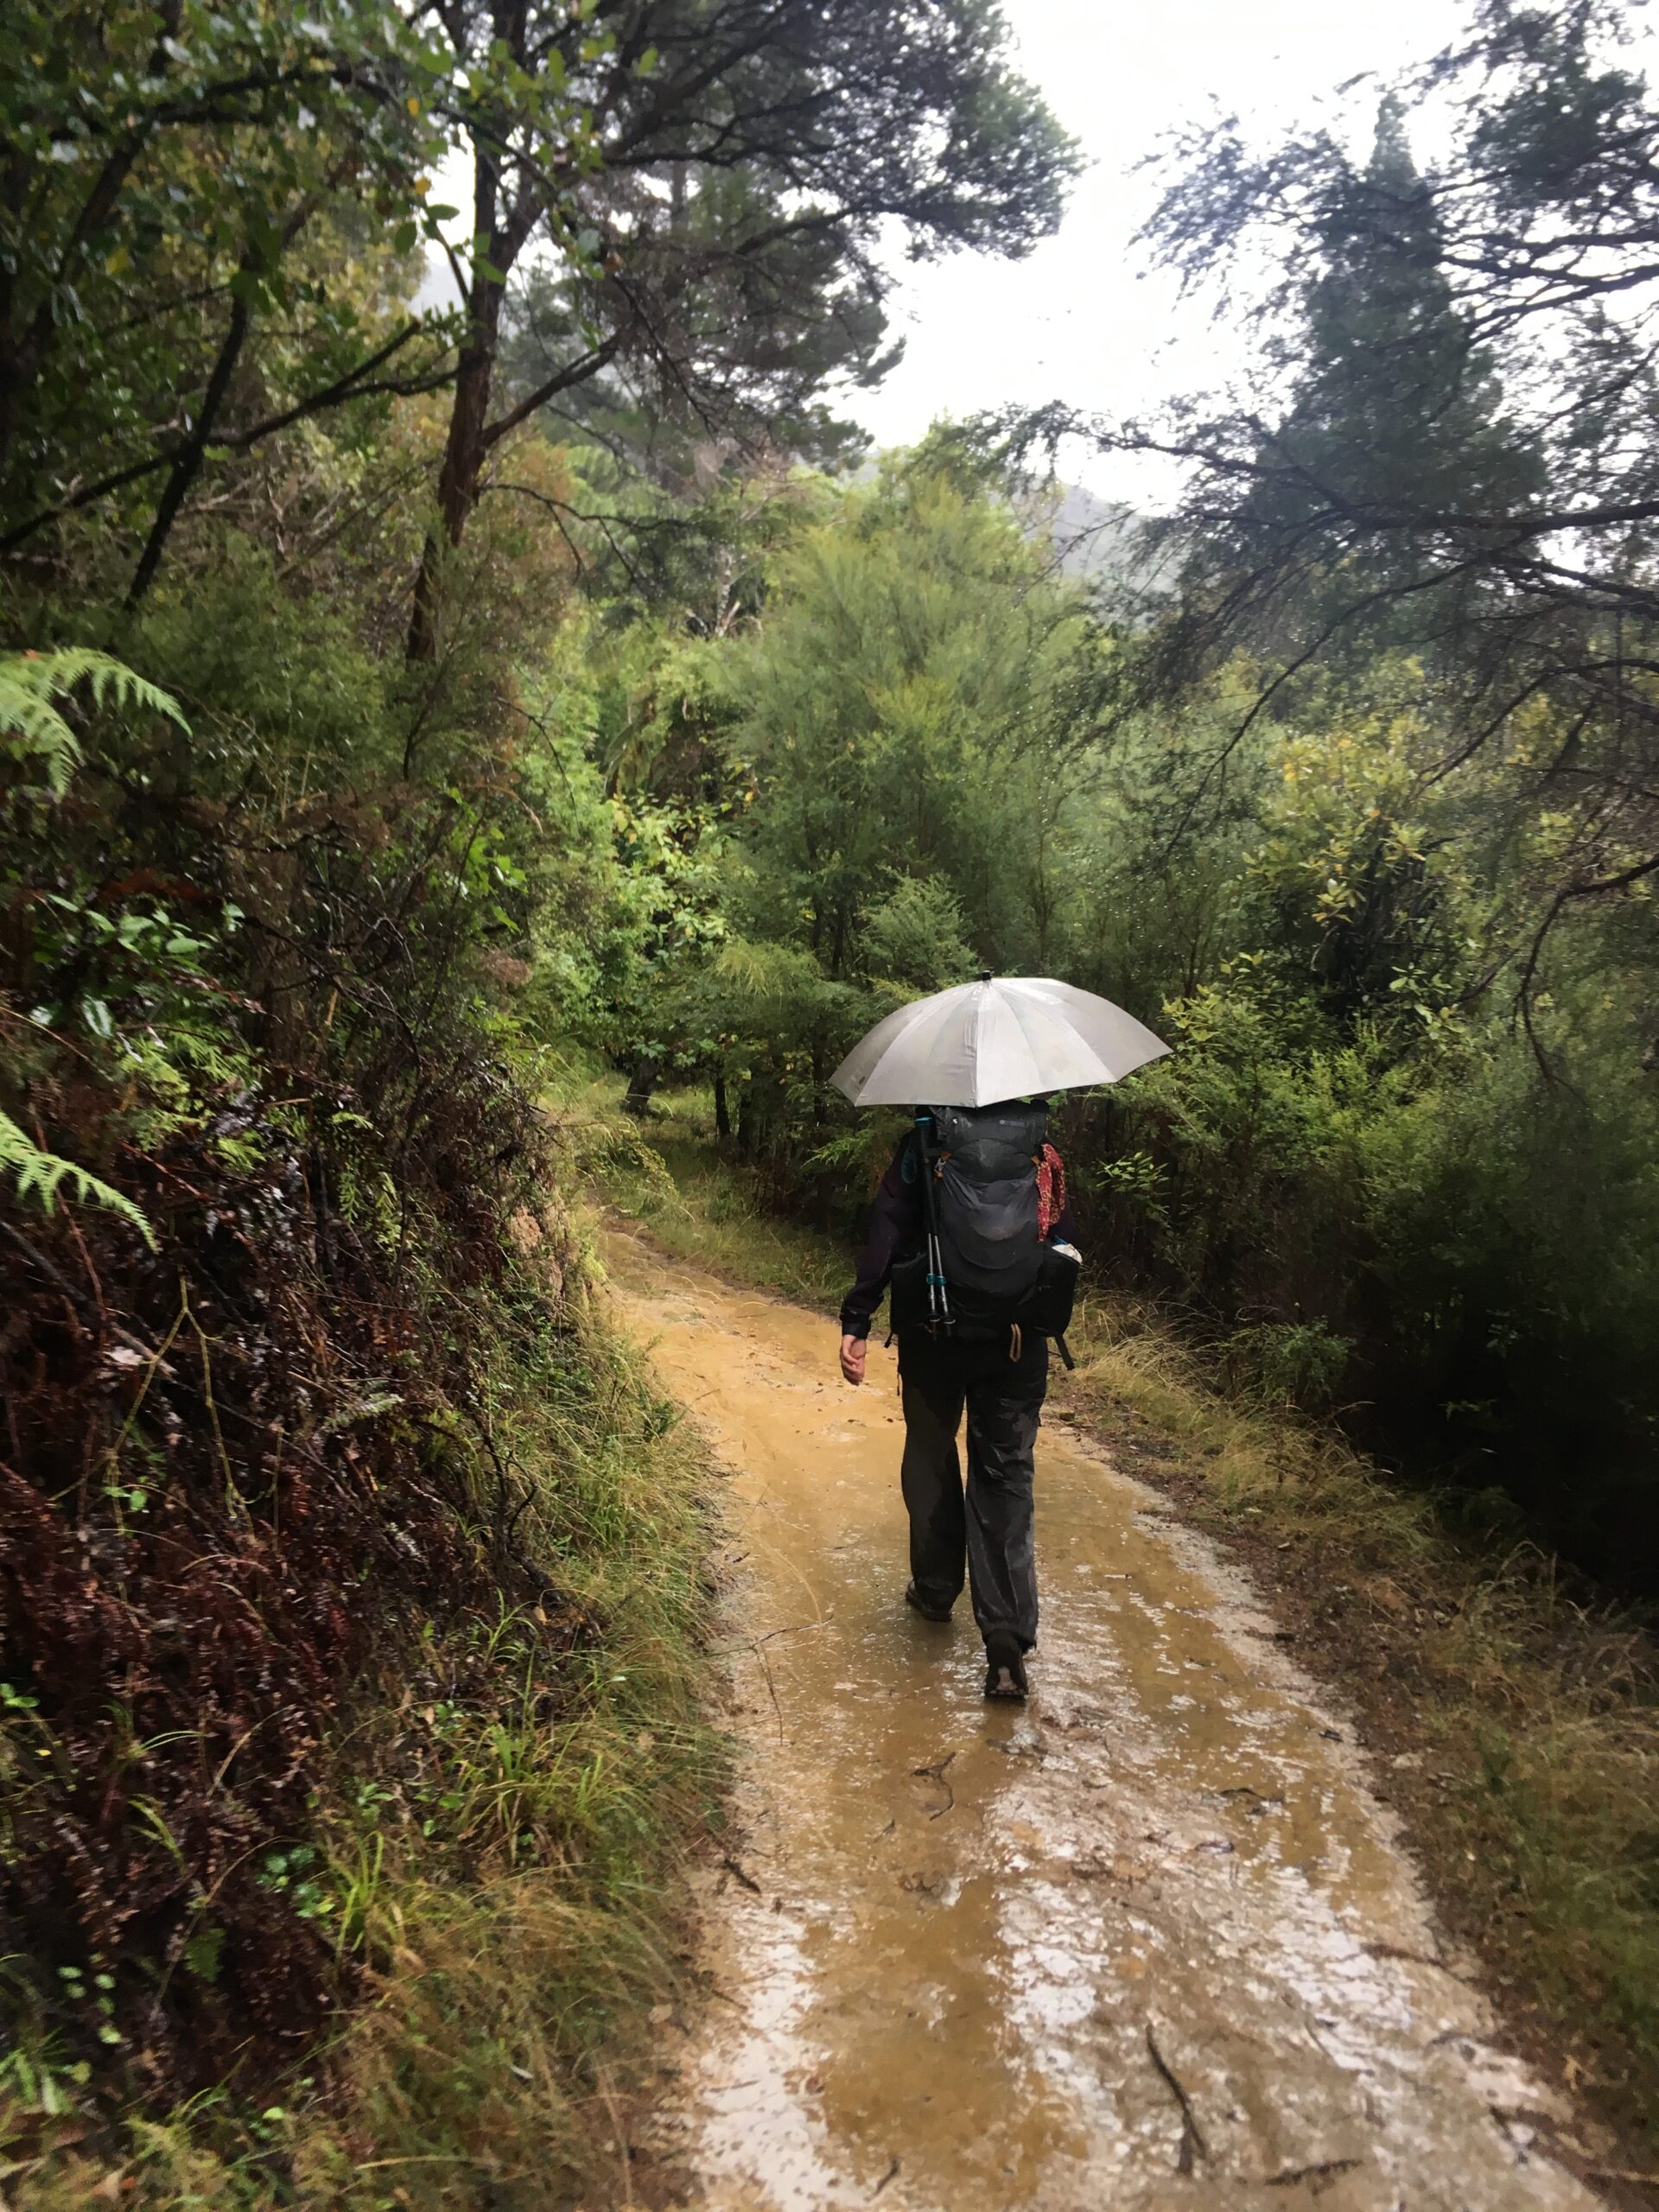
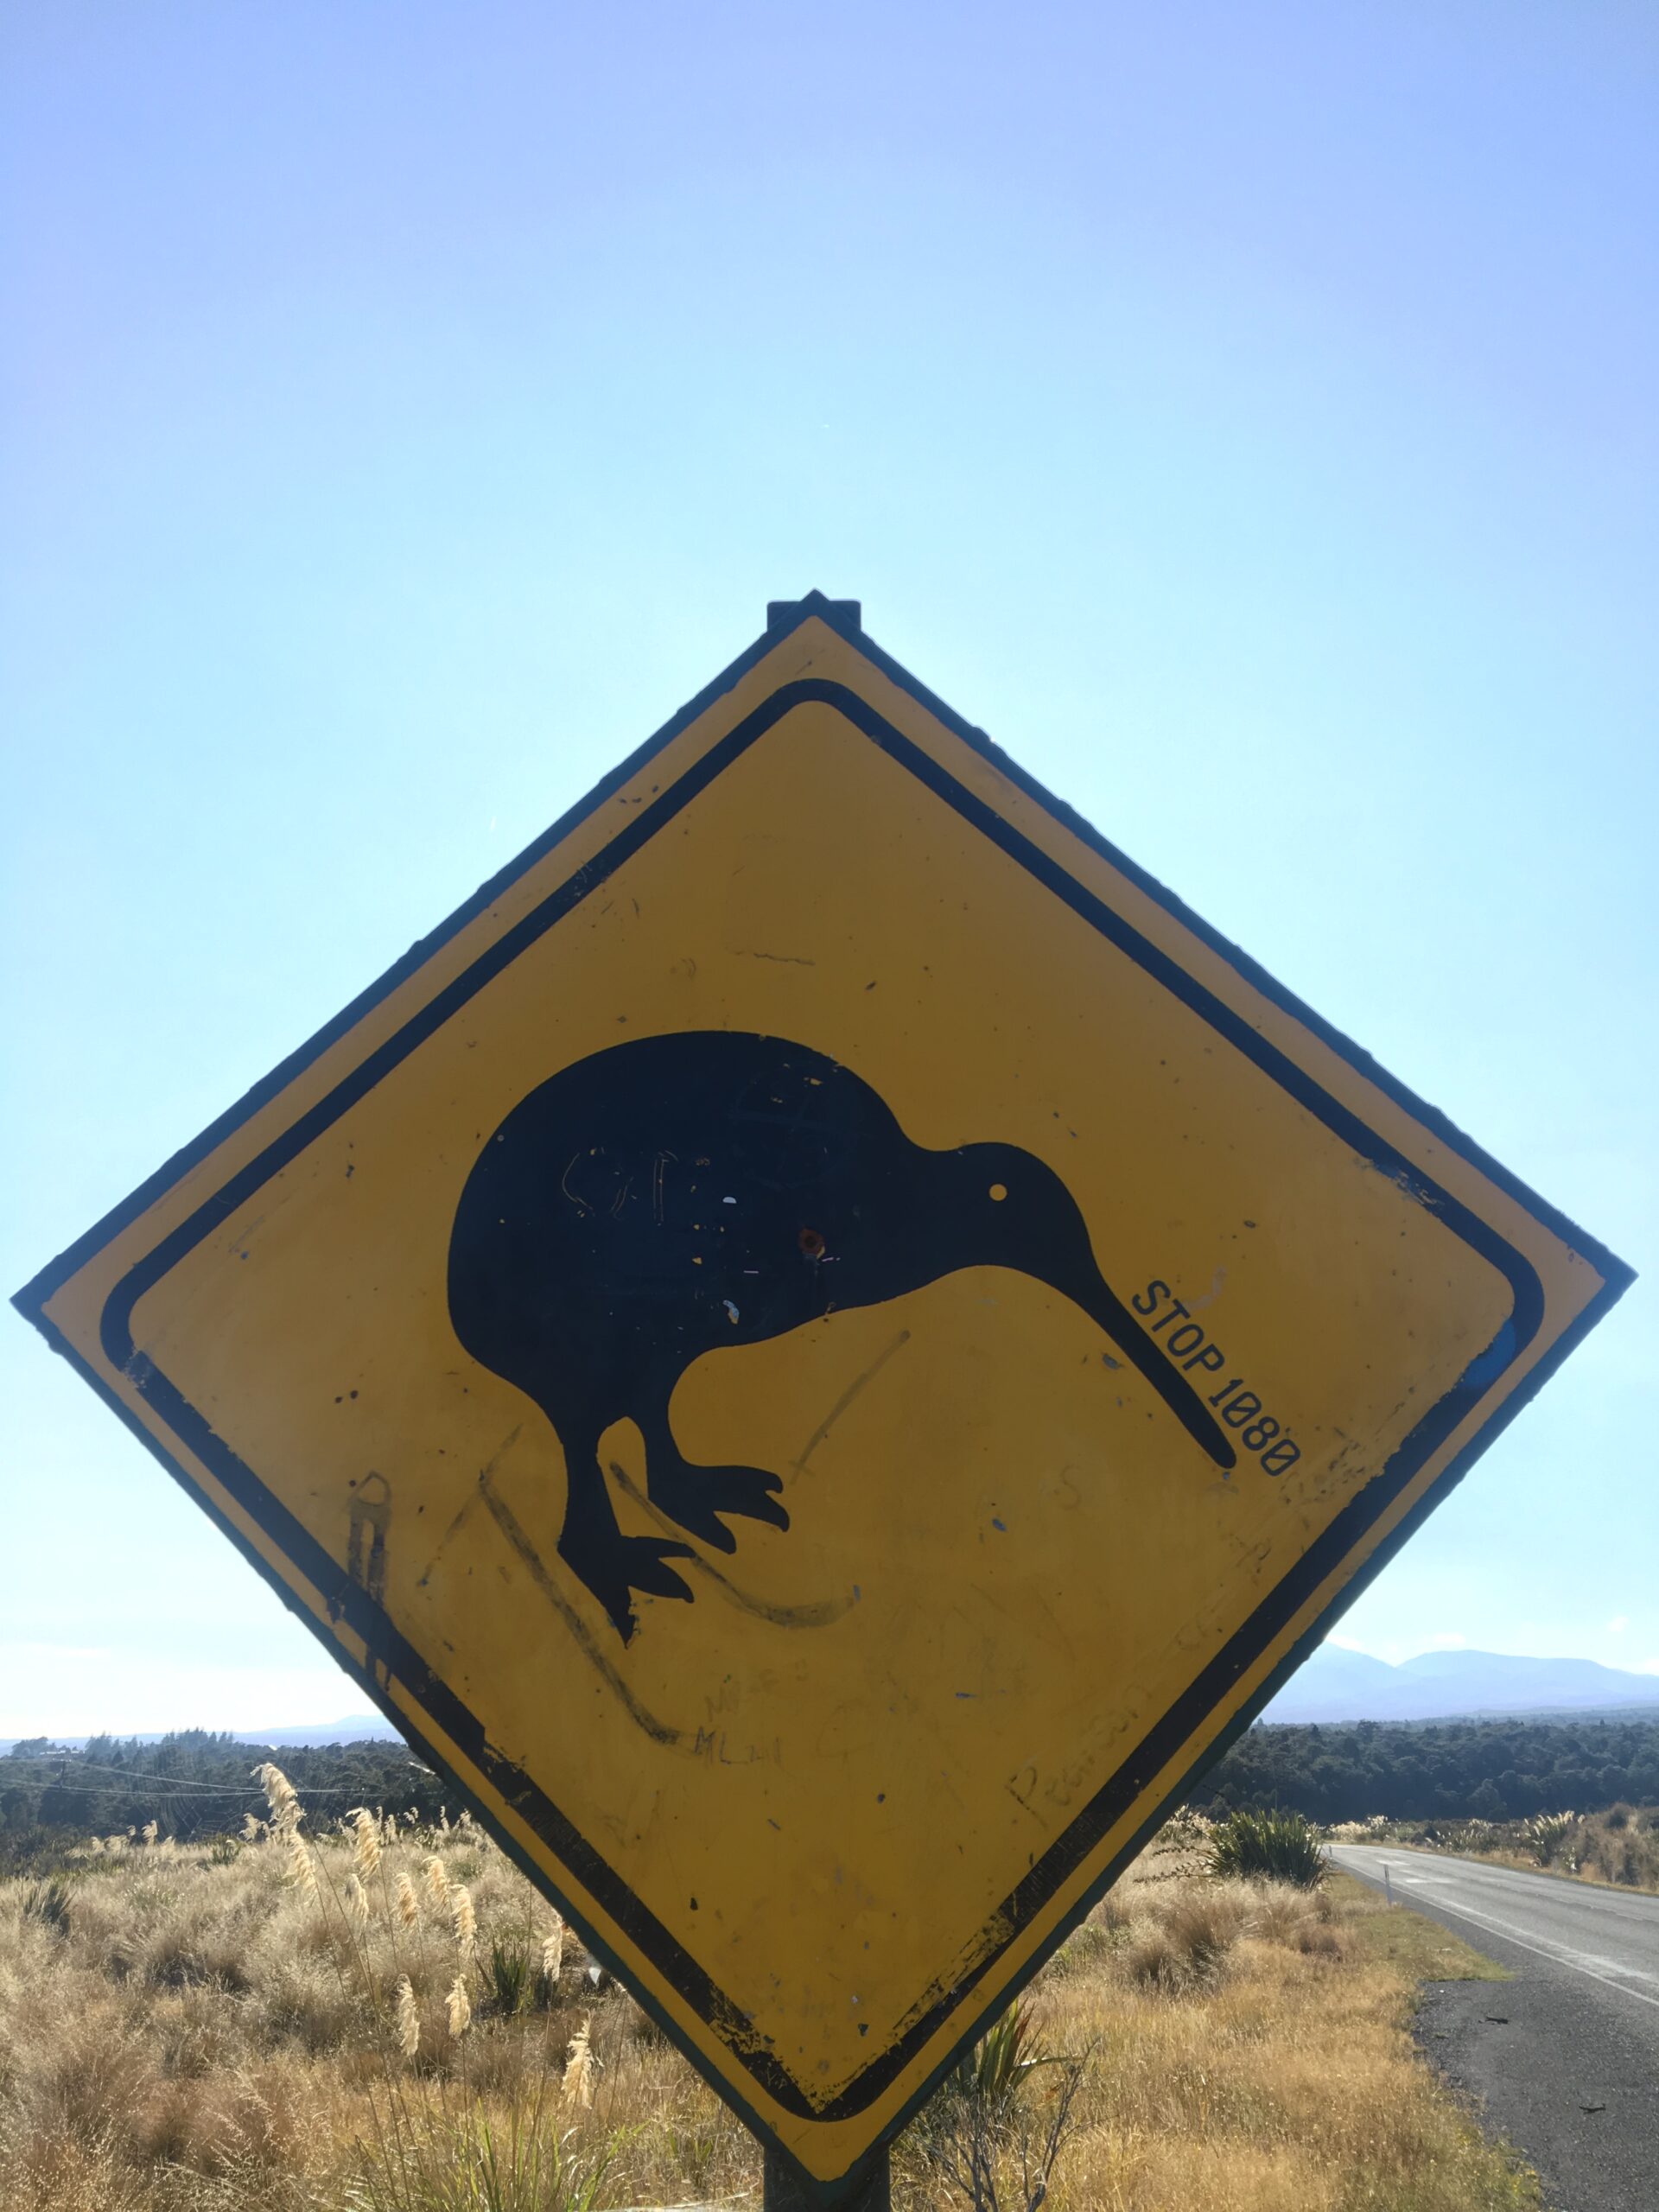
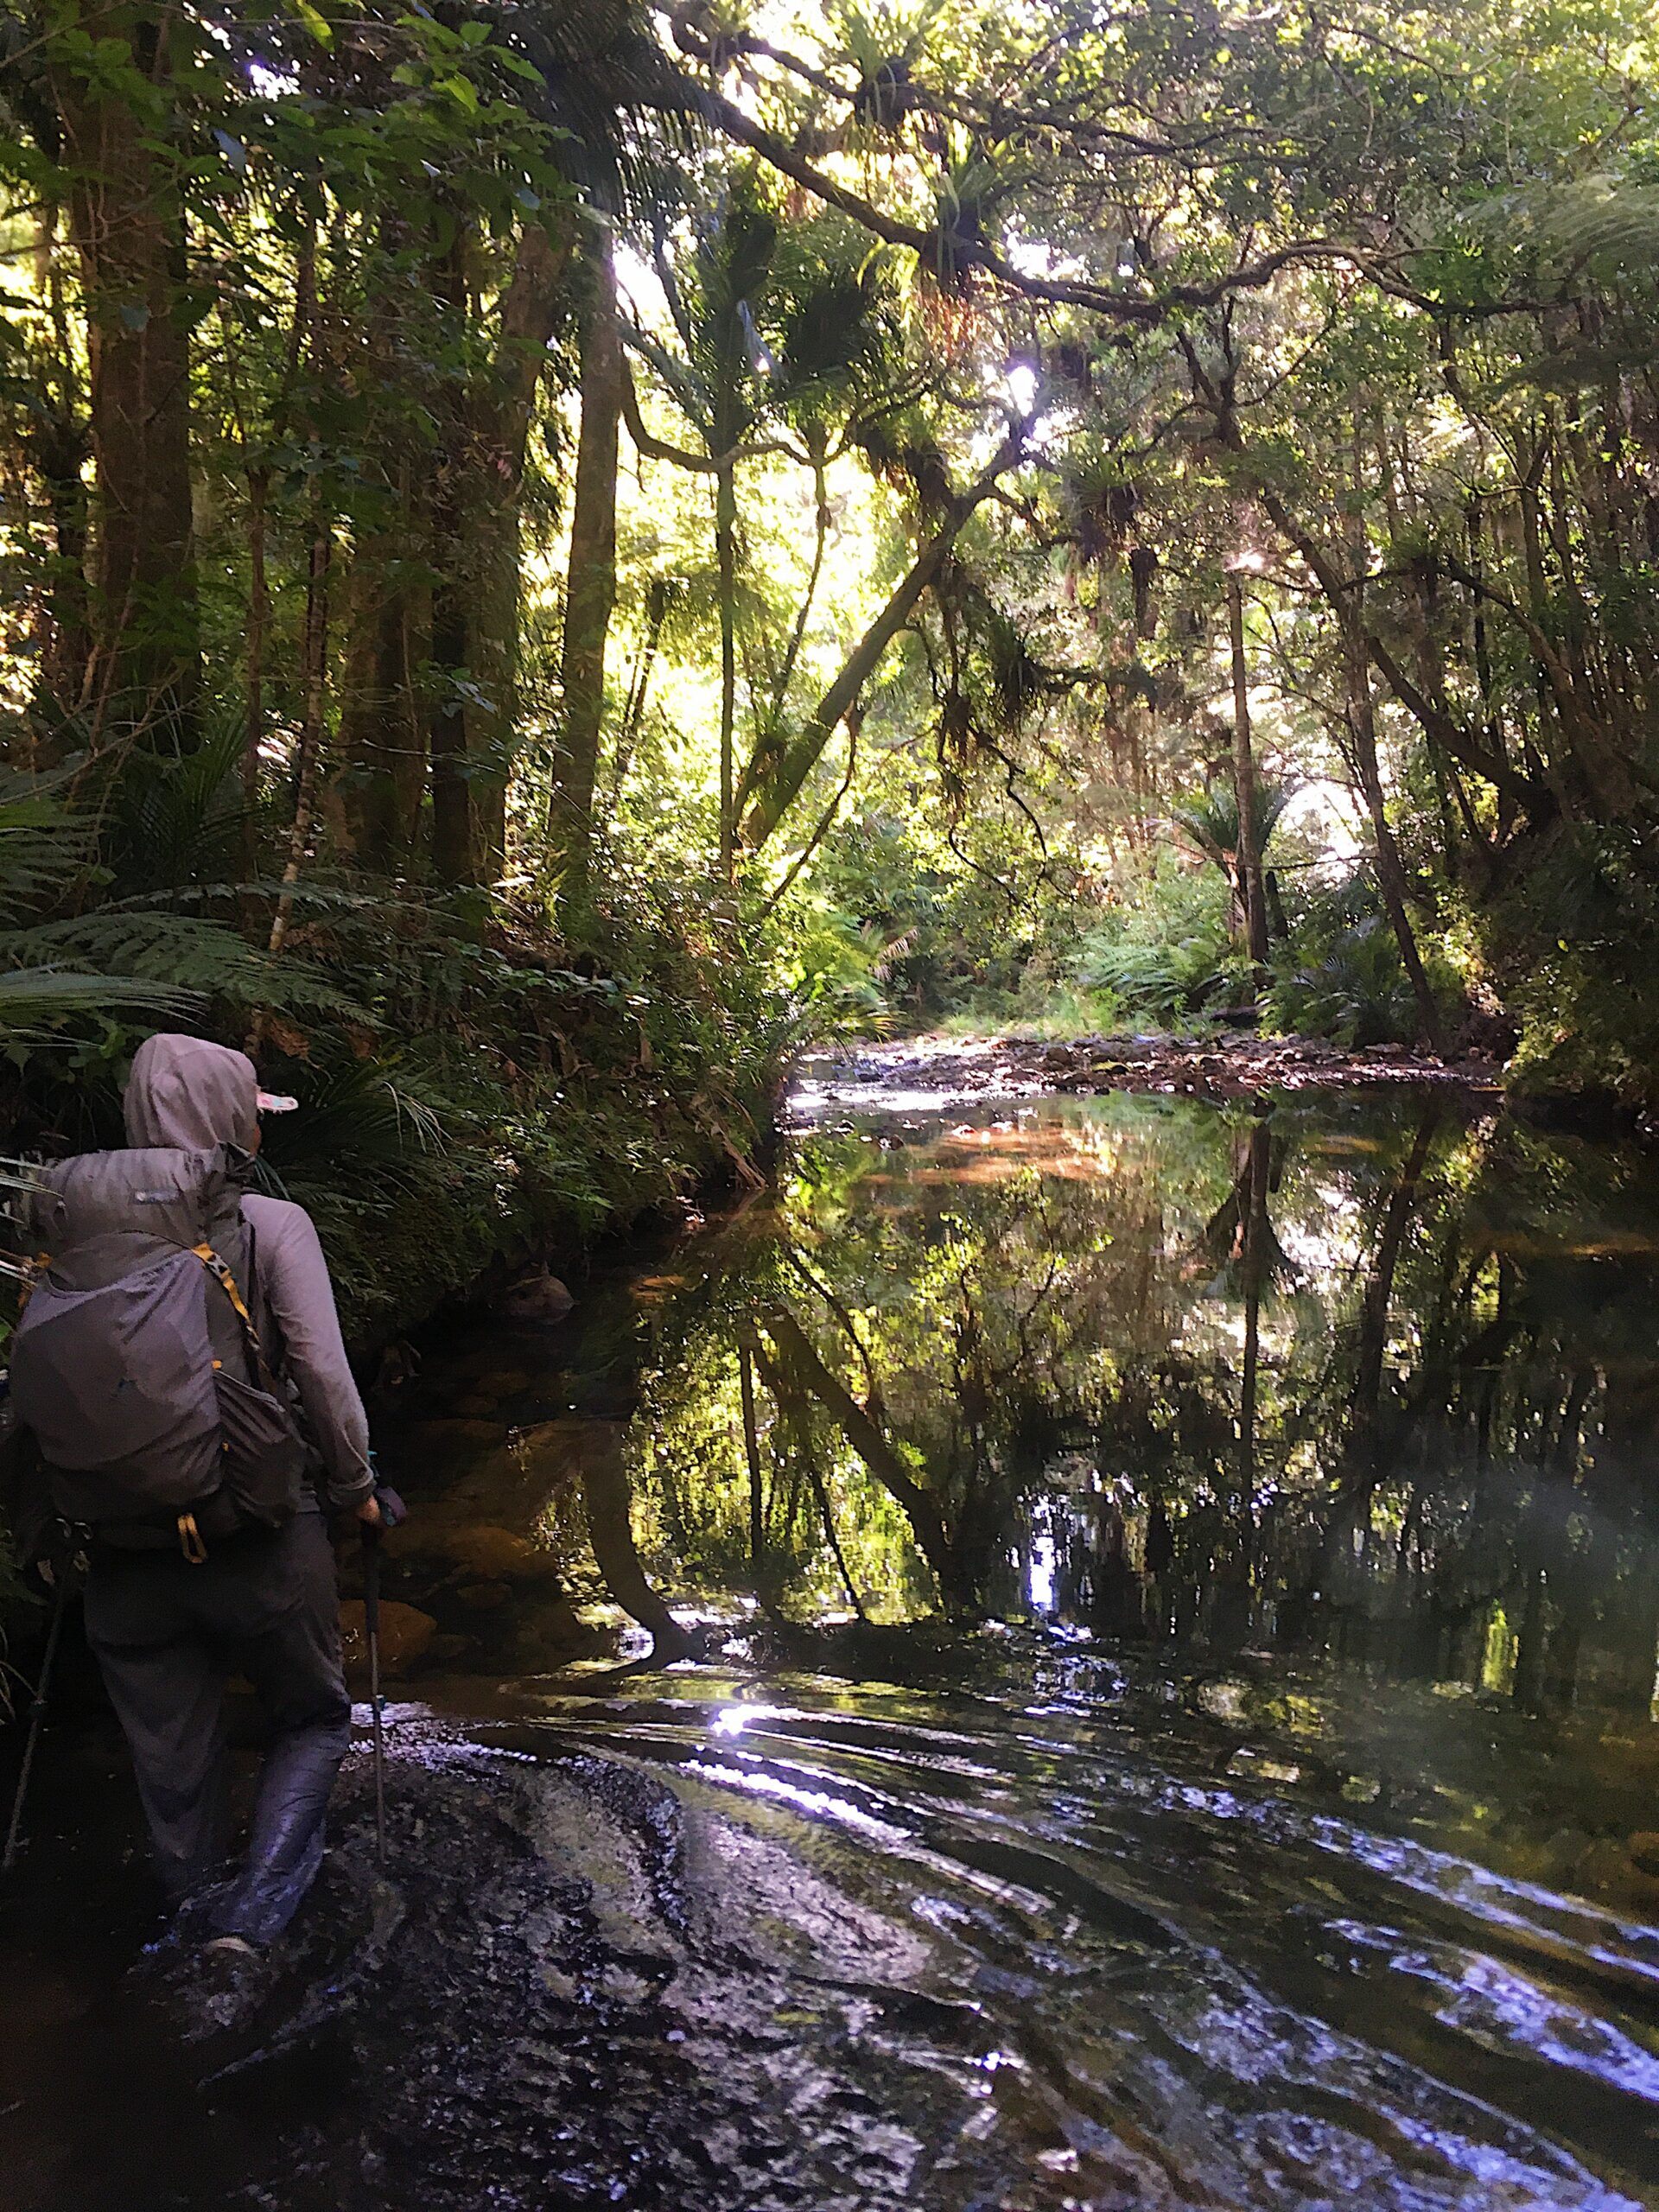
Another advantage is that we were walking towards the warmer climate in the Northland province of the North Island. This made a difference because we were not worried that Winter would come bringing cold or inclement weather with it. Also, we couldn’t believe this was true, but the notoriously muddy Northland Forests were not as muddy because they had enough time over summer to dry up and be slightly less wet than normal. Many kiwis on the North Island told us that we were in fact walking the “right way” because we were walking towards warmer weather.
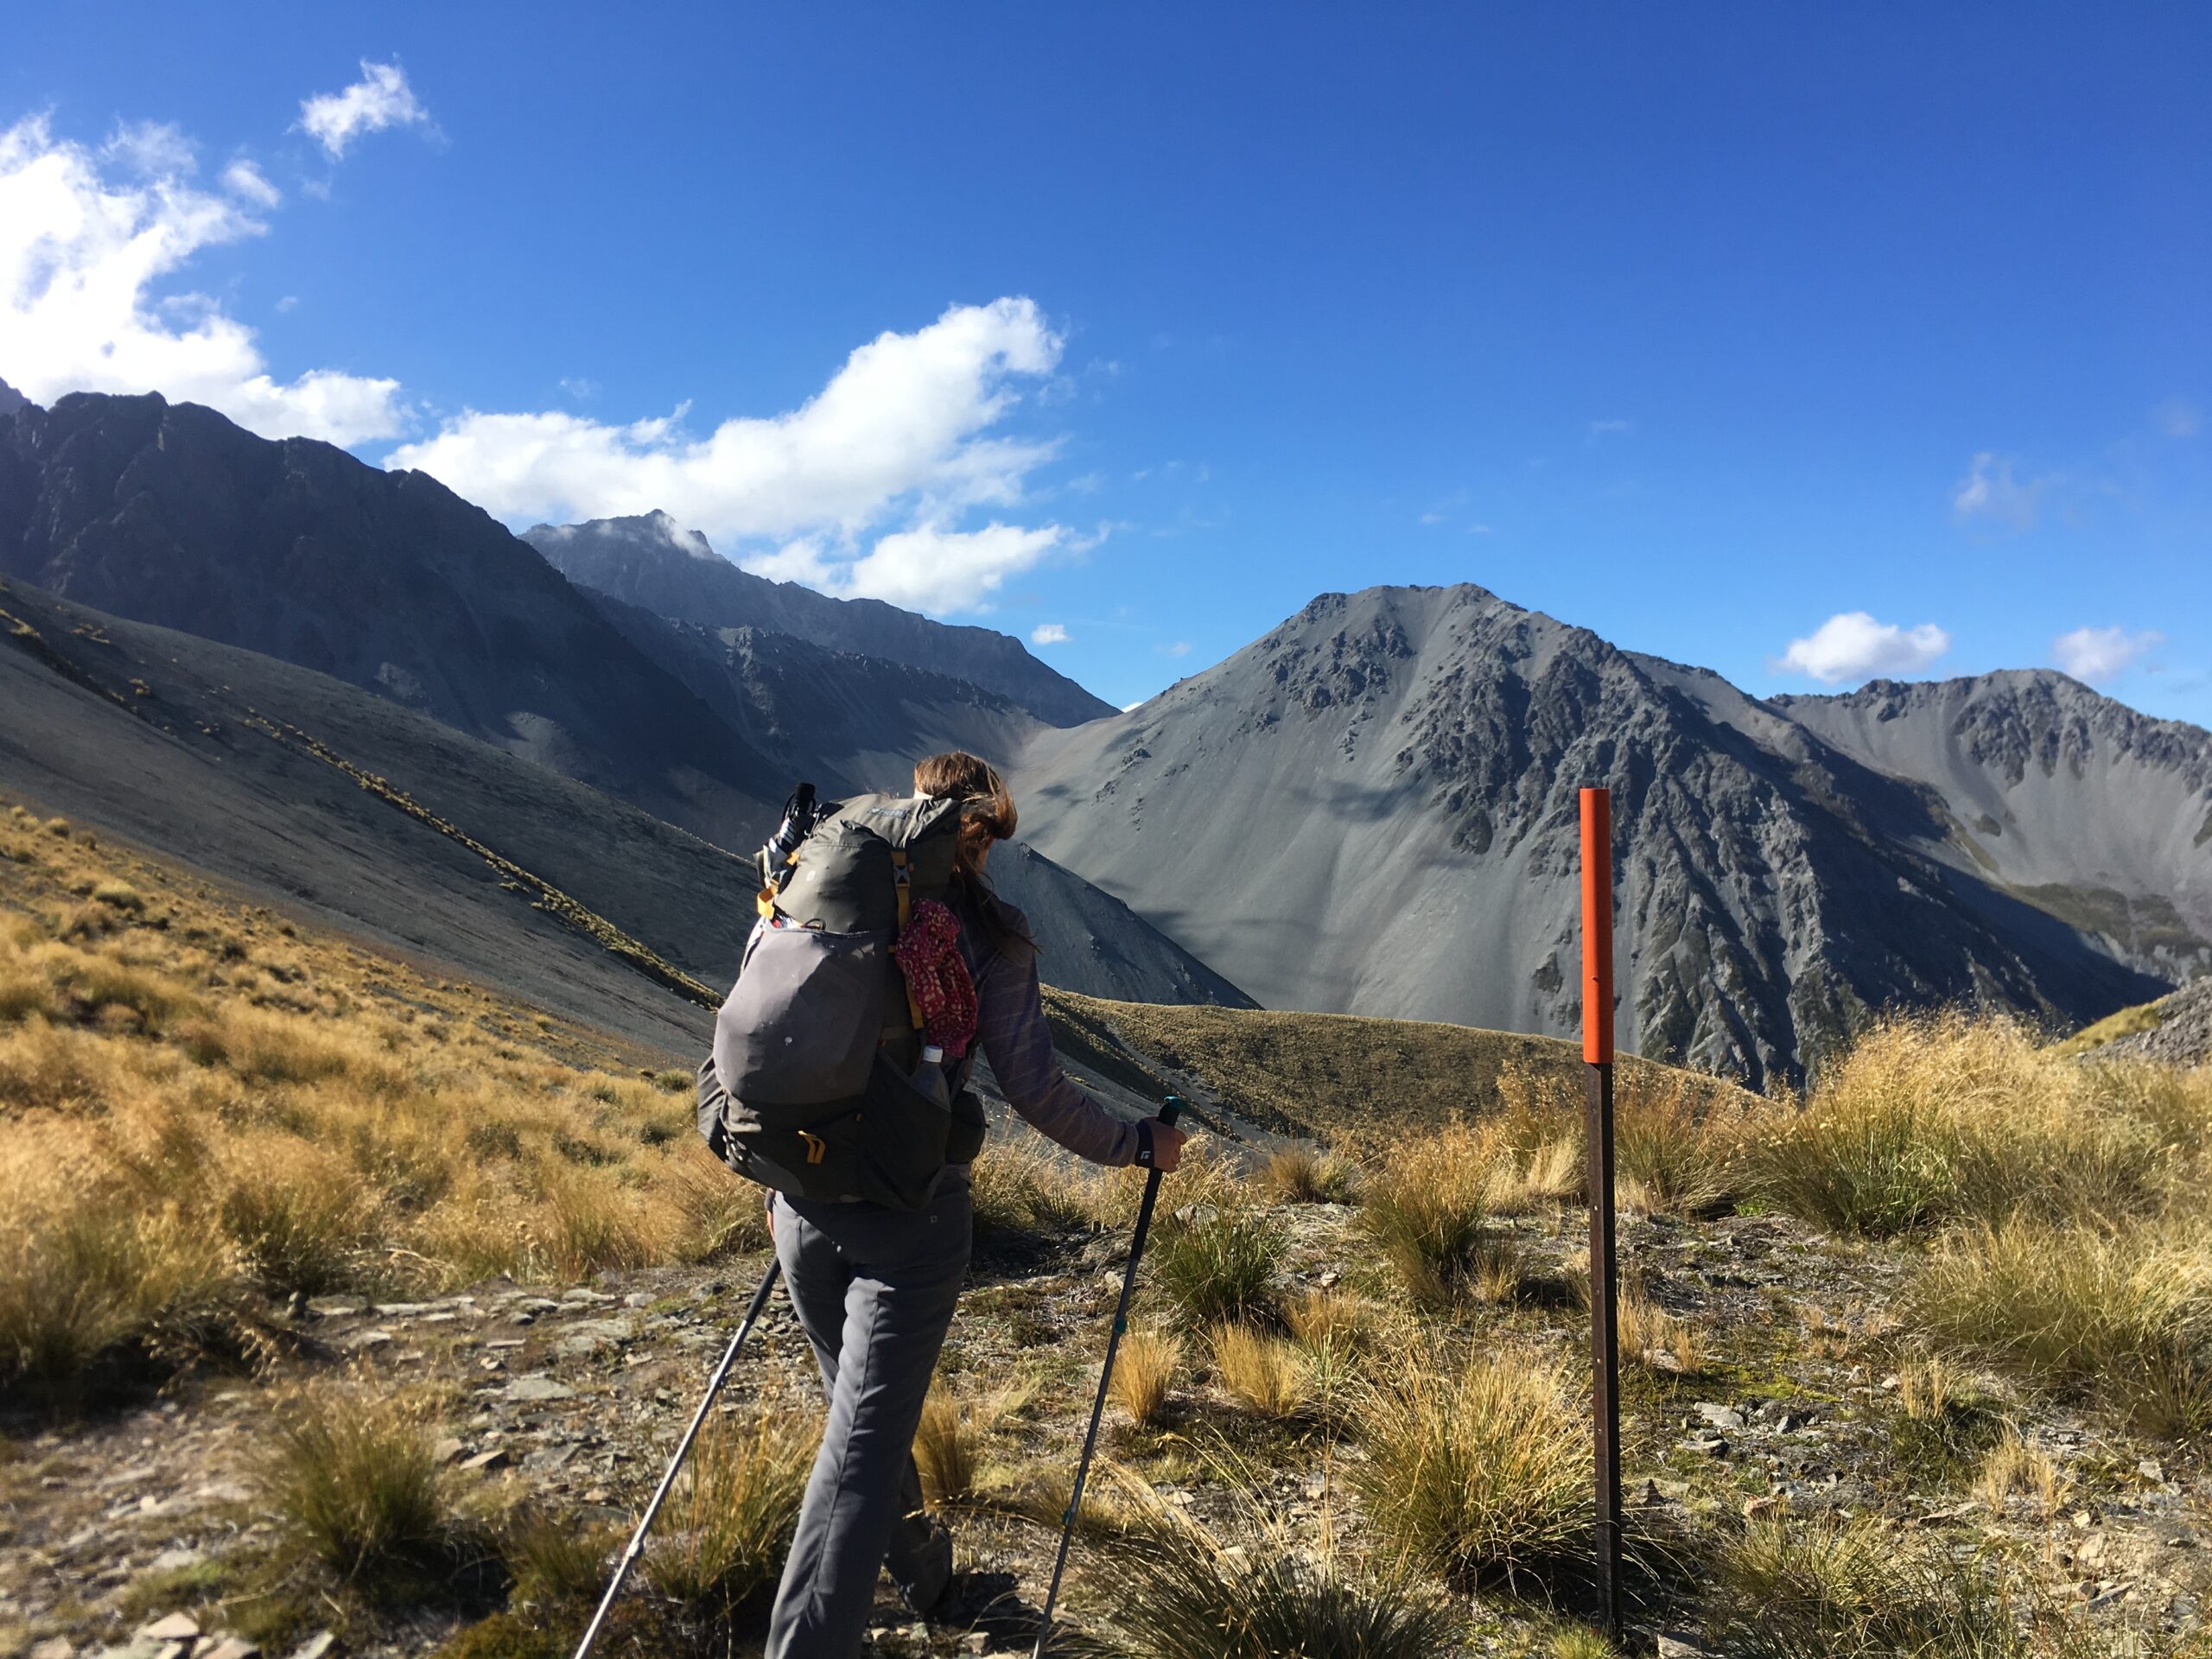
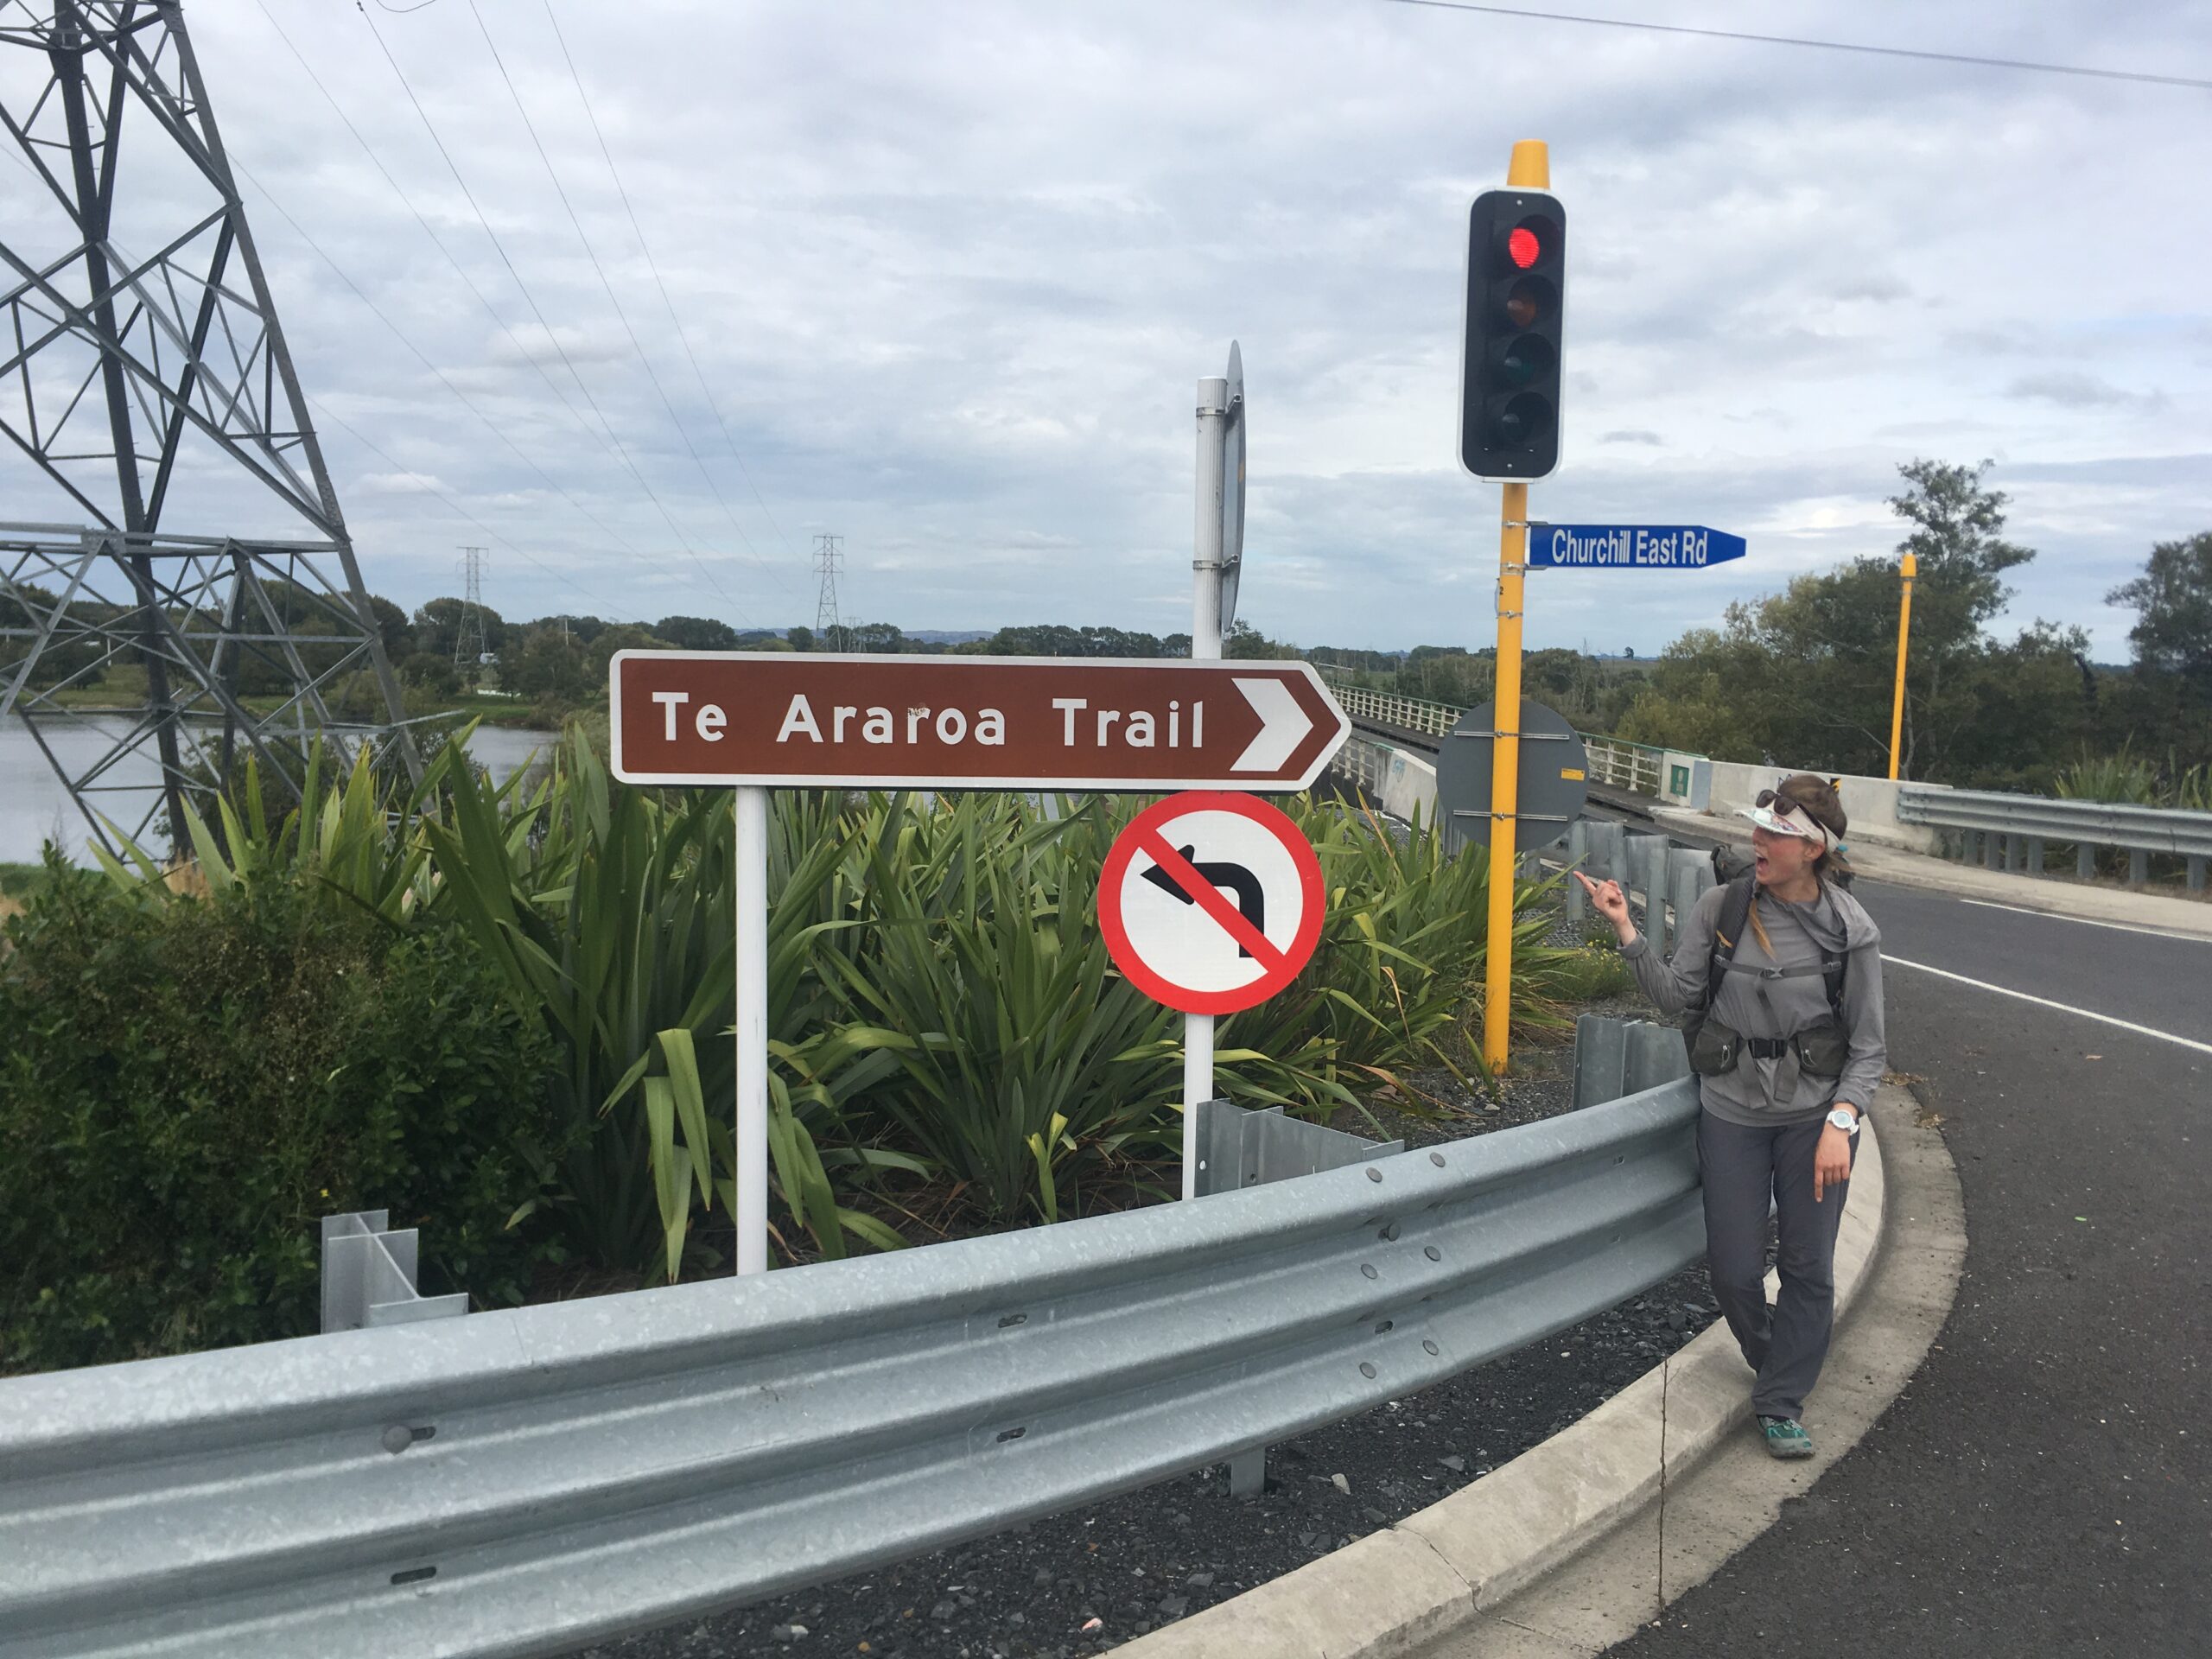
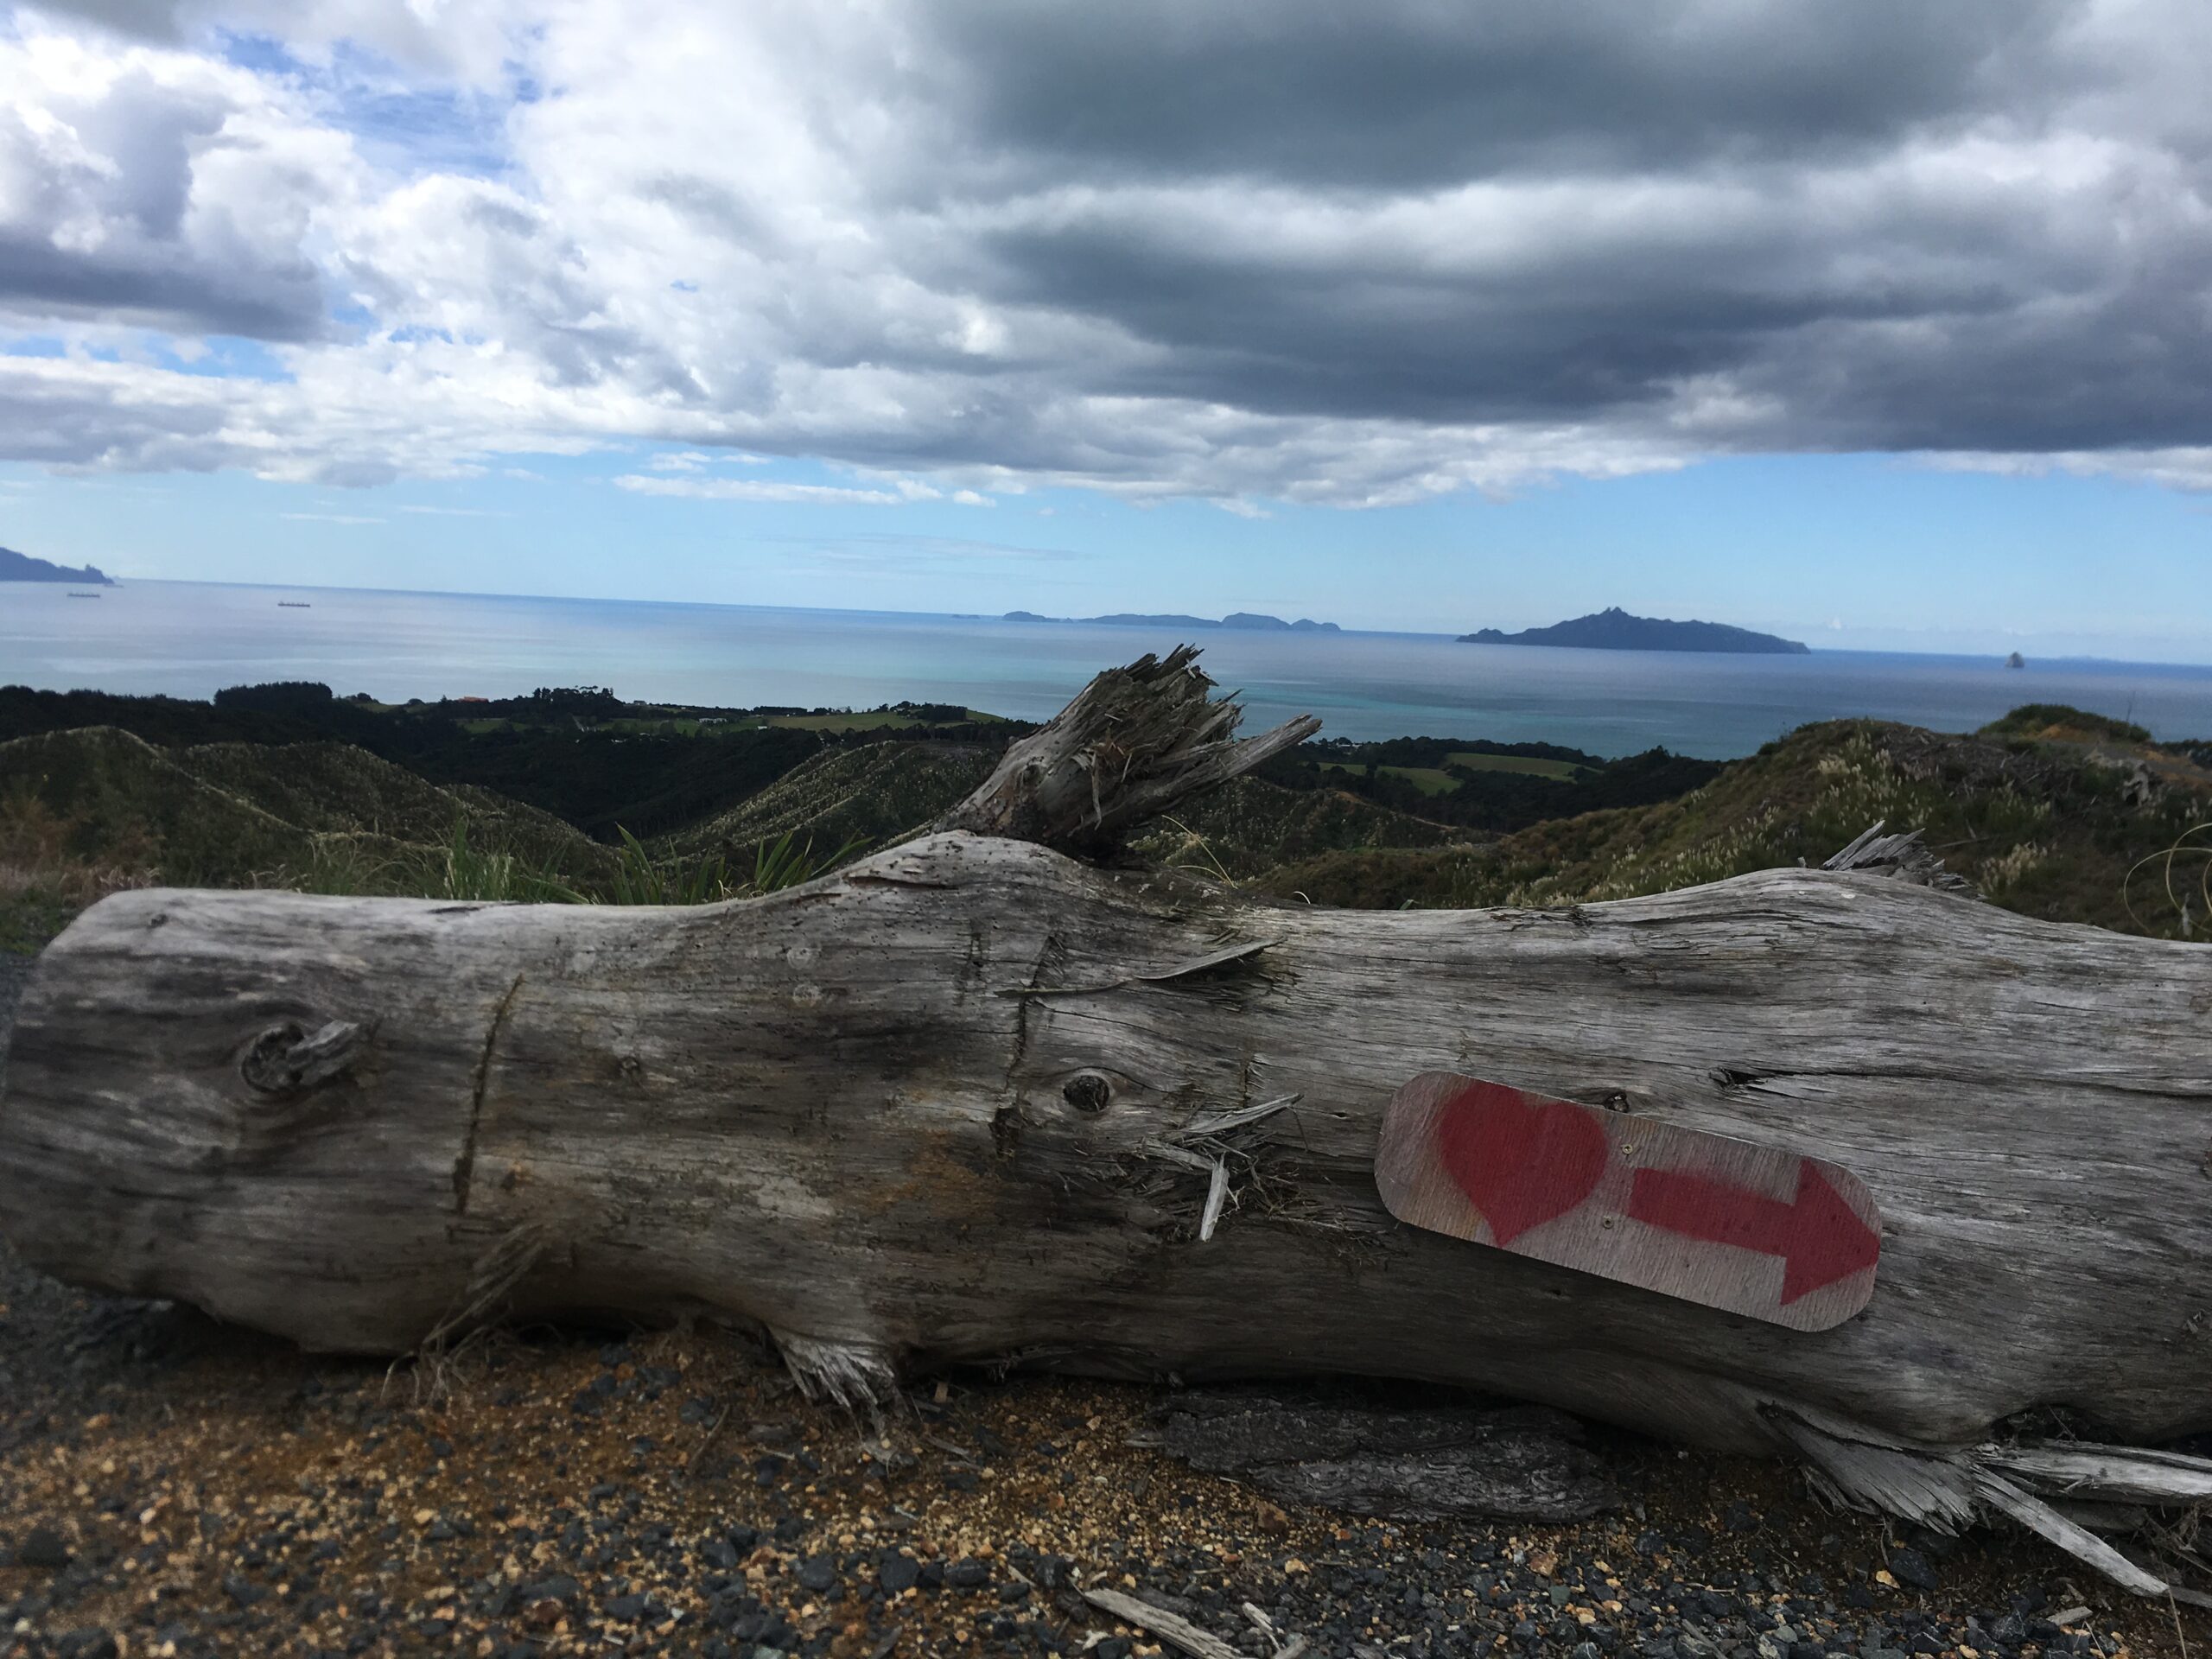
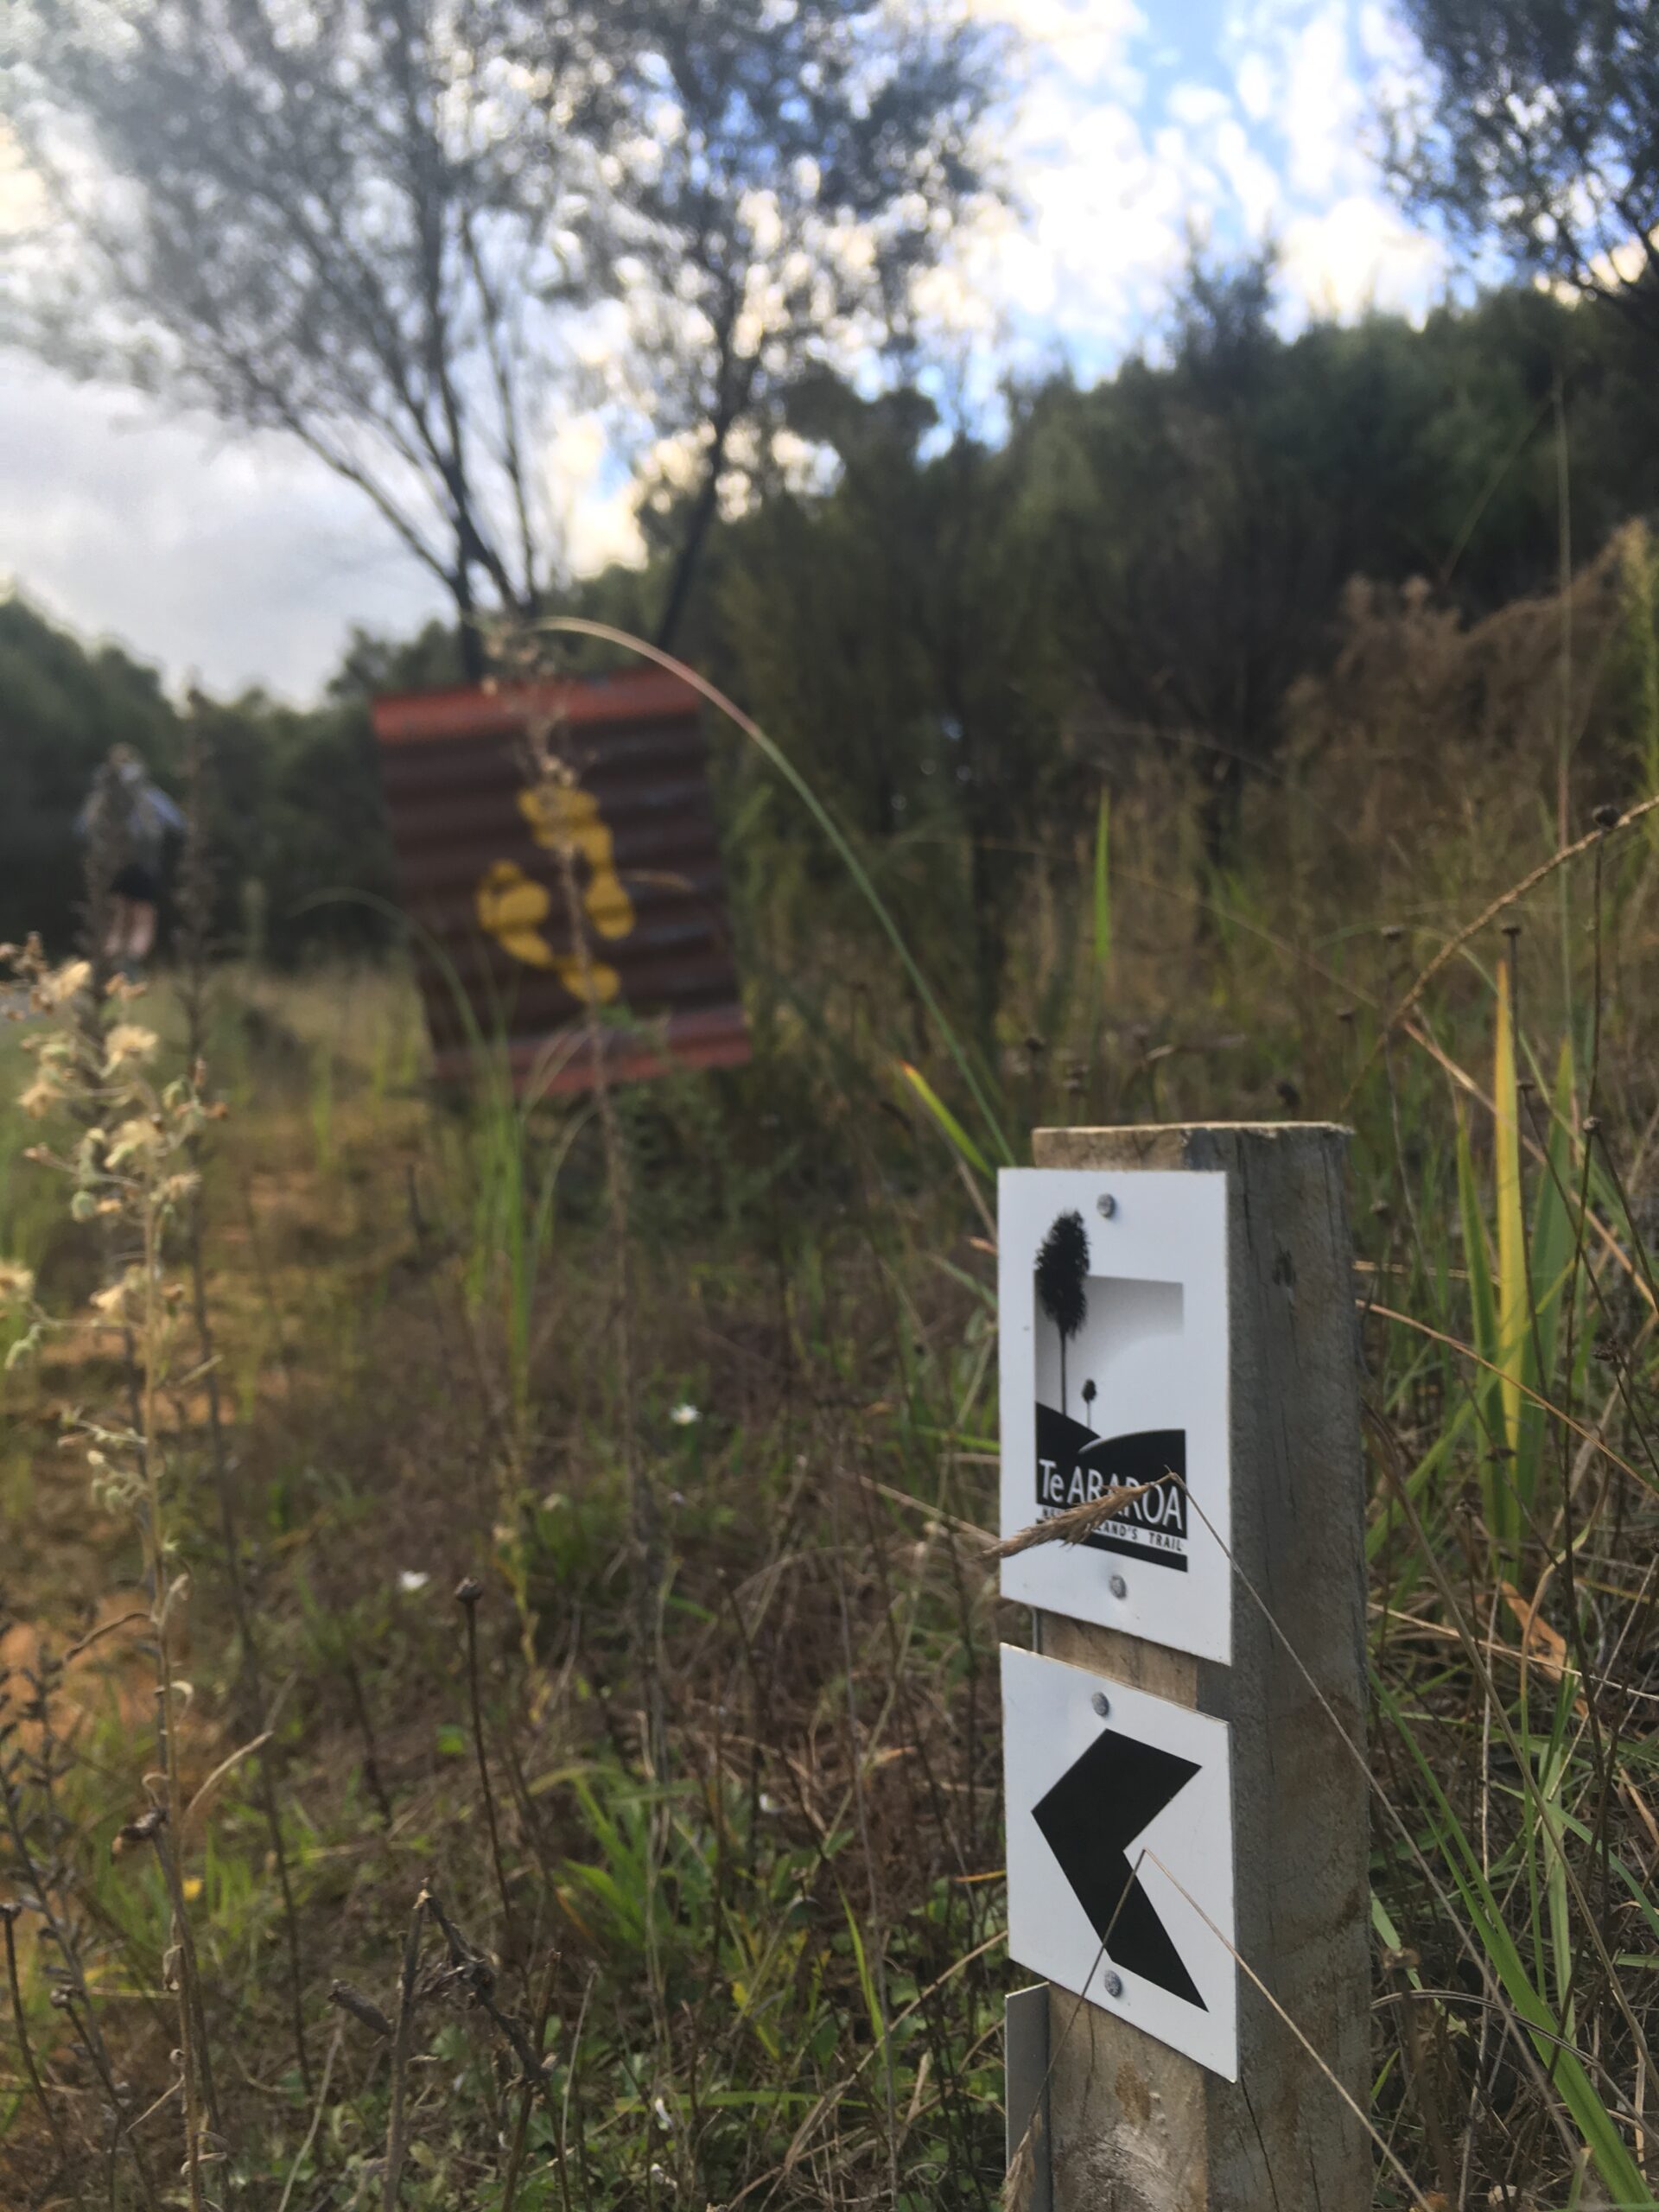
Some of the disadvantages of walking Northbound are the lack of trail resources, poorer trail signage for Northbounders, and hitting the Southbounders all at onces. There are fewer resources out there for Northbound walkers. The official trail notes going Northbound only exist for the South Island. There are few resources for notes other than the Northbound Guide that was mentioned in the Planning Section. We often had to adopt the “think like a Southbounder” mentality when walking and looking for orange triangles, signs, and other trail markers. We looked over our shoulder at least a few times each day to make sure that we were headed the right way.
Disadvantages
Another interesting disadvantage that we found walking Northbound was getting a lot of unsolicited advice from Southbounders. It seemed like many of the people we passed wanted to make it known that we should hitchhike the roads on the North Island, climb this one peak, or stay at a particular place. We can imagine that other long trails also have this phenomenon if you are walking in the non-traditional direction. Since this was our first long thru-hike, we were caught off guard experiencing this sort of conversation over and over. We eventually learned to practice creative ways to steer conversations in a new direction.
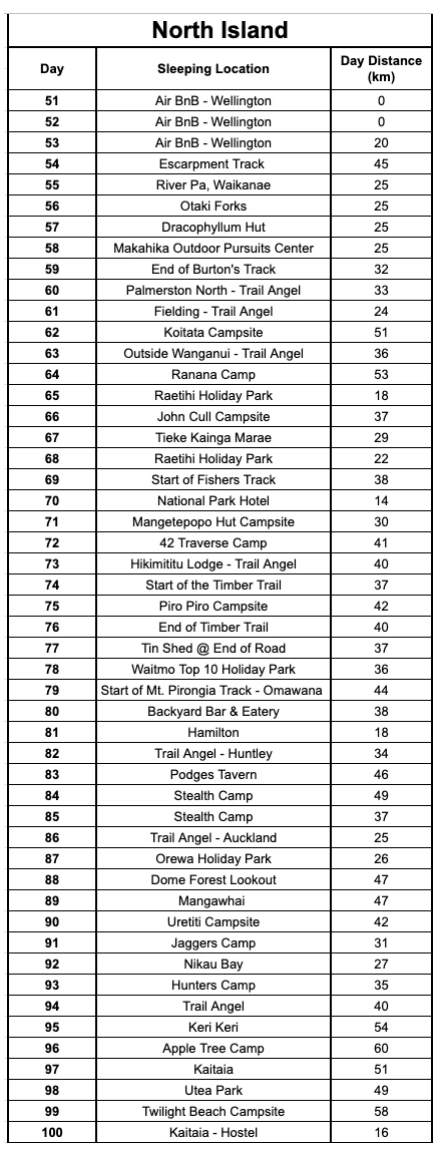
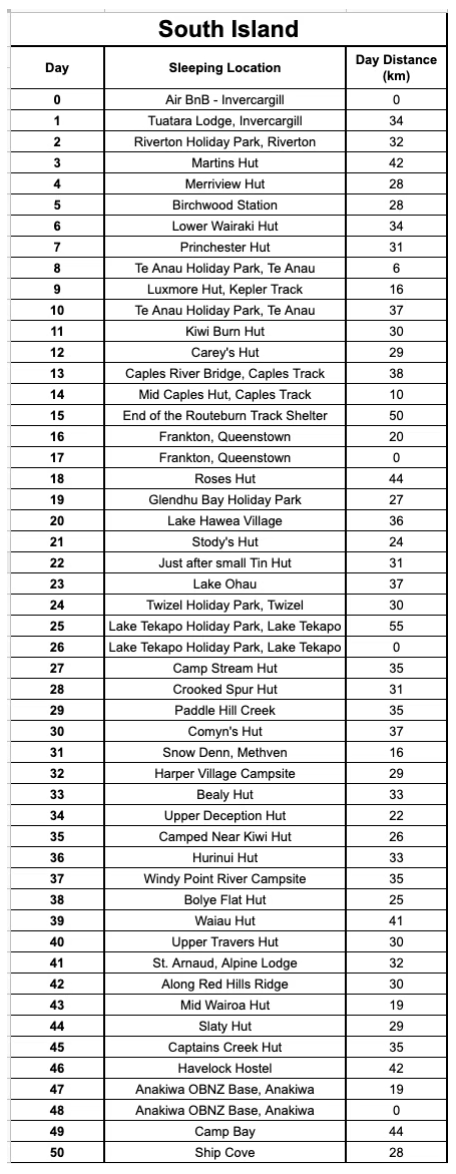
Our Day to Day Breakdown
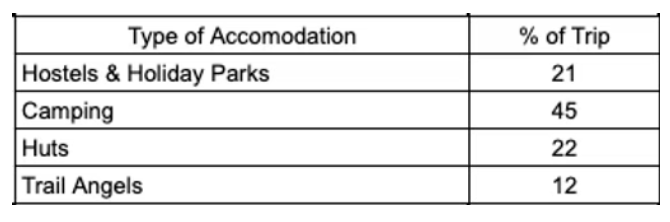
Here is a day to day breakdown of the trip. It starts with a percentage breakdown of the type of accommodation we stayed at, followed by a list of where we stayed each night with our daily kilometers. We have kept it fairly vague in some spots because we do not want to give too much information depending on the situation — it seems important that much of the trail will be up to individual walkers to make the right choices in the moment!
Logistics
Before we jump into how we did our walk of the Te Araroa trail and some logistics we would love to point you to a few other sites that we found very helpful in the planning of our trip. Check out Walking with Wireds’: Advice to Future TA Walkers and this blog on Things I Wish I Knew Before Walking the Te Araroa. Both of these pages paint a great picture of what walking the Te Araroa and our resources hope to add to those pages.
Applying for a New Zealand Visa
Overall, we found the Visa application process fairly straightforward and easy. As with most Visas it is beneficial to start the process early. New Zealand has an immigration website that asks you to create an account and then go through an application process. Because we were both under the age of 30, we were able to apply for a Working Holiday Visa, allowing us to stay in the country for up to 12 months. For some countries, including the U.S., citizens are able to visit New Zealand for up to 90 days without a Visa. It would be ambitious to arrive, setup, walk the Te Araroa, and leave the country, all within 90 days – but I wouldn’t put it past some folks out there. Either way, make sure to do your research and choose the correct Visa for your age and intended trip. Both of our Visas seemed to get approved fairly quickly and we were glad to have finished that process when it was over.
Buying a Flight
Getting There:
Buying your flight to and from New Zealand may be one of the biggest single expenses to walk the Te Araroa Trail (TA). We started tracking flight costs early – at least several months before departure. We used multiple sites that compare prices such as Google Flights, SkyScanner, and Kayak. We ultimately found that SkyScanner offered the best searching ability and prices in comparison with other sites. It is also very helpful if your dates are flexible, because prices from the U.S. to New Zealand varied a lot in our searches.
Getting Back:
We initially bought a one way ticket and hoped that when we went through customs it wouldn’t be an issue. That worked for us and they didn’t seem to be worried because we were on a 12 month working Holiday Visa and they recognized that we wouldn’t have one yet. When we did purchase our return ticket we did it on the one phone we had with a New Zealand SIM card (see Cell Phones & WiFi below). We were able to access cheaper flights in New Zealand Dollars because of the beneficial exchange rate from NZD to USD at the time of our travels. We ended up finding cheaper flights on the way back than on the way there.
Walking Northbound or Southbound?
The popular direction to walk is Southbound, starting in Cape Reinga and walking to Bluff. This past walking season (2018/19) we heard rumors that it was the biggest year in terms of numbers of people attempting to walk the trail. Most people who walked Southbound seemed to start in November and finish in March or so. The first Southbounder we saw did start in October, but said he hit a serious amount of mud up in the Northland forests (that seemed common for that area according to the Southbounders we met).
We walked Northbound, starting at the beginning of January and finishing in early April. We decided to walk Northbound almost solely based on work schedules and I am not sure we realized that it would be as big of a deal to walk in the “wrong direction” as it was. We only knew of about 10-15 other people who were walking both the South Island and the North Island all the way through going Northbound, and we only spent a few days at the beginning with those folks before we started spreading out due to different paces. We did meet a good amount of people who were just walking the South Island Northbound. As Northbounders, we noticed that we hit the Southbound “bubble” in the northern part of the South Island.
The Te Araroa Trust
The Te Araroa Trust is the main entity that cares for, updates, and manages the folks that are walking on the Te Araroa. Many hours of work have been put in, all by volunteers, to put up signage, build relationships with landowners and cities, and tirelessly update the trail notes and maps. When we were walking the TA it seemed like the folks who were managing the TA Trust lines of communication were always quick to respond and update people on weather, trail status, and other important information walkers should know about.
Maps & Other Resources
There are a good amount of Te Araroa Resources out there. It seems as if the unanimous decision is the book, The Te Araroa: A Walking Guide to New Zealand is NOT A GOOD guide to actually walking the trail. We considered purchasing the book post trail so we could look back at the trip and remember certain sections with the help of the book.
Te Araroa Trust Page – Trail Notes & Maps
The TA Trust has a website where they keep most of the information that you would need to plan a thru – walk of the TA. The maps of the trail and corresponding trail notes can be downloaded for free and printed out. The Trust has developed full trail notes for Southbound walkers across both the North and the South Island. Unfortunately, the last time we checked, there were only Northbound walking notes for the South Island. We printed out the notes by shrinking pages 4 to 1 and printing double sided. We stapled it together into a small booklet so we could rip out/read along throughout the day.
We tend to shy away from technology for navigation on our trips. Because of our line of work and other trips we have done, we find navigating with a map, compass, and instinct to be an important part of any hiking experience for us. We did not use a phone or GPS to navigate on the South Island and we found the Northbound walking trail notes the Trust provided for the South Island to be accurate and helpful.
The maps for both the North & South Island were very hard to use. They were created very zoomed out and it was often tough to see details. Additionally, the key and other symbols on the map didn’t quite match up. At many points along the way the maps served as a general guide, and we really needed to use all our other resources to find the path (i.e. follow trail markers, look for people, stumble through tussock, guess what direction). We found the maps to be lacking and at times only helpful in guiding us towards the correct general direction. We printed out the maps on basic 8.5 by 11 paper double sided and they worked just fine.
We sent any maps and notes ahead in our resupply boxes to split up the weight. Eventually, when we started walking the North Island, we decided we needed to download one of the Trail Apps (see below) to make sure we would not keep getting lost.
Northbound Resources
We walked the TA Northbound. As stated above, the TA Trust provides trail notes to walk the South Island Northbound, but not the North Island. We used the official TA Notes for the entire South Island. During our research, we stumbled across a person who rewrote the TA Trust Trail notes in reverse for the North Island – their website is called Te Araroa Trail – Northbound Guide. Their notes worked pretty well overall. The person who rewrote the notes has walked the majority of the North Island, but not all of it, so there were a few sections where the notes were not as accurate as they could have been because the person who wrote them was never actually there. Sometimes when things get reversed in writing they don’t make complete sense in real life. Regardless, the task of rewriting all those trail notes seems like a huge undertaking and we are extremely grateful to this person for their efforts.
Trail Apps
There are a few Trail Apps that work on various devices out there for the Te Araroa Trail. The most common one, and the one seems to be most popular among hikers, is Guthook Guides (Atlas Guides). There is also the Te Araroa Trail App that is an app with the trail notes, trail status updates, and a GPS map showing the direction of the trail. We came across many people using Guthooks who said, at times, the App was inaccurate and got them lost in some spots. We eventually downloaded the TA Trail App (as previously mentioned) to help us in places where the notes were inaccurate or the maps were lacking in detail. Guthooks is perhaps the superior Application for your phone – with the most overall information – but any of them could be preferred or helpful depending on the person.
Facebook Page
There is a TA walkers Facebook page that is opened every walking season and will eventually get archived before the next walking season starts. We were on it and found it somewhat useful for trail updates and general communication.
The Facebook Page that we found most helpful was the Te Araroa Trail Angles page. For how new the Te Araroa is, there are quite a few people who open their homes, gardens, and do other helpful thing for TA walkers. We would often reach out to people a few days ahead of time and check in to see if it was okay to stay at their place when we were passing through. Check out more on Trail Angels below.
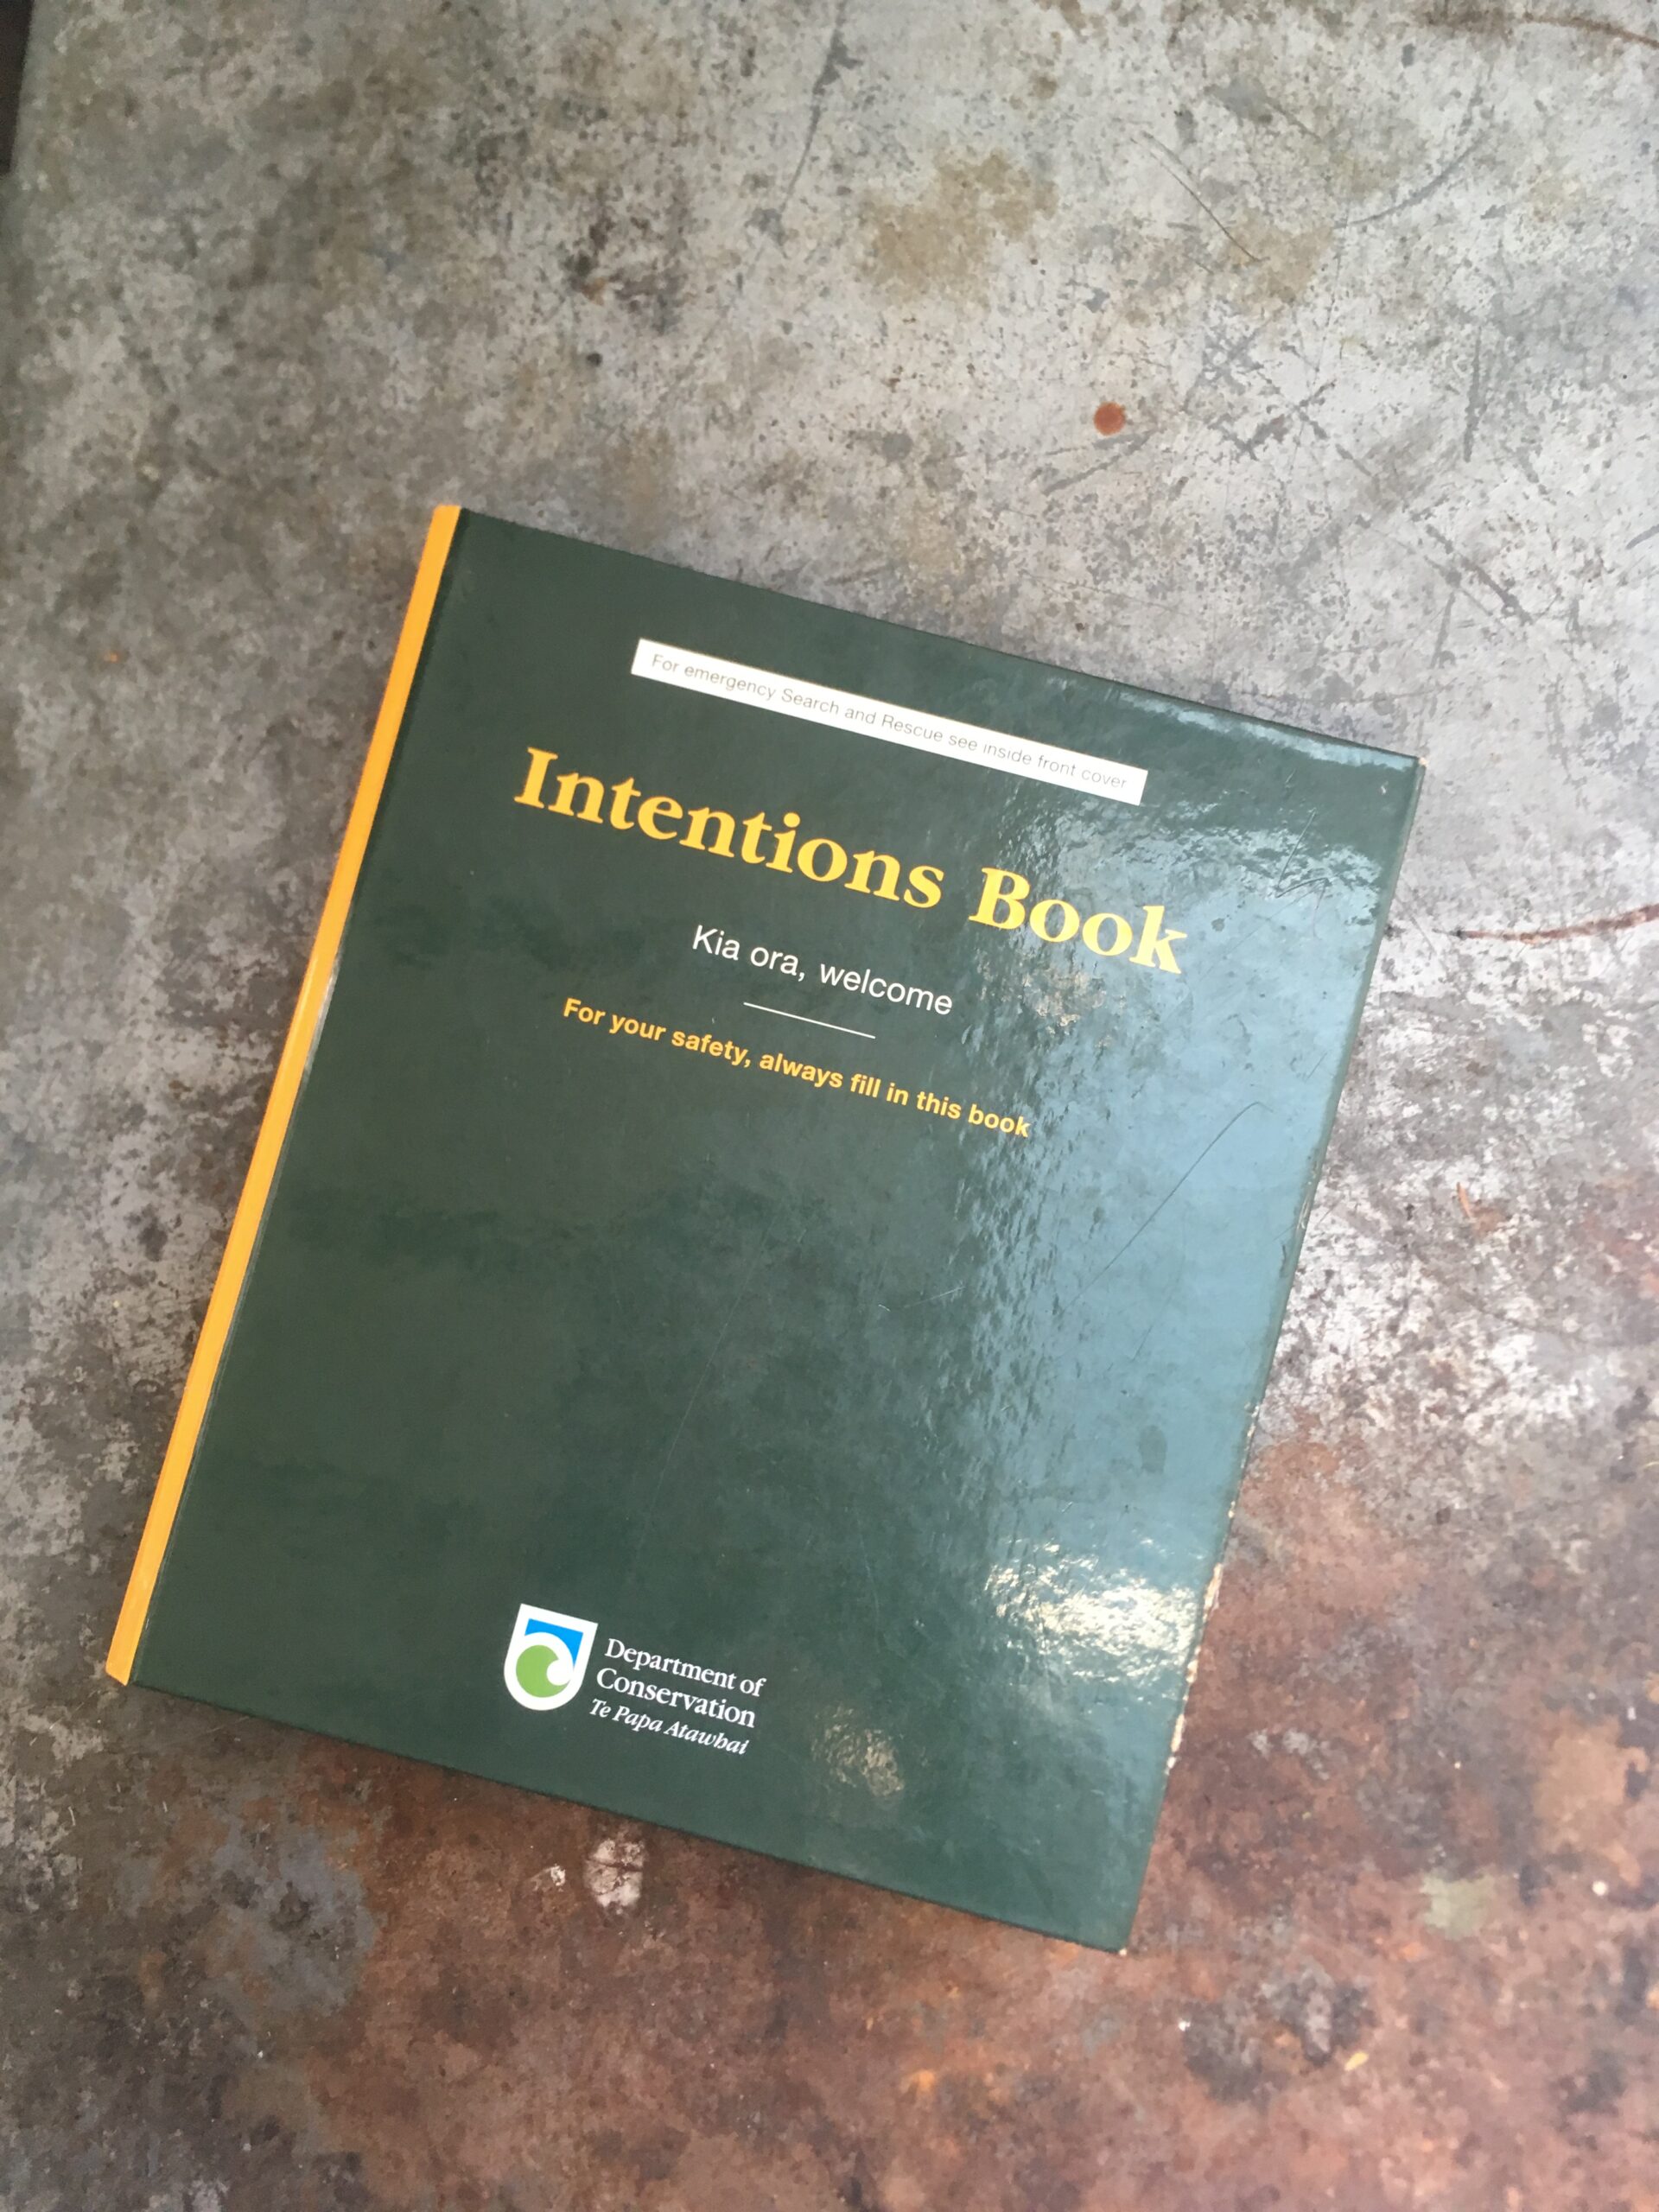
Finding Information While in New Zealand
Finding information while in New Zealand is pretty straightforward. There are i-Sites located in many towns along the way. We also found the DOC Offices and Centers to be extremely useful for other information, maps, and just good conversation with knowledgeable locals. In our experience, kiwis are very welcoming and friendly to tourists, and we never hesitated to ask around for anything from directions to the best place to get fish & chips in town.
Cell Phones & Wifi
We took one of our cell phones, ensured that it was unlocked for international use, and purchased a New Zealand SIM card to have in-country service. We were a little skeptical if we would need a phone on our journey, but it proved to be very helpful all along the way. We were able to call trail angels and accommodation ahead of time, stay in touch with other walkers throughout our journey, and keep up with social media/contact with friends and family at home.
There are a few different cell phone service providers in New Zealand. The two biggest seem to be Vodafone and Spark. Both carriers offer New Zealand traveler plans. We went with Vodafone which was easy to use and “top-up” when we were running low on data. We found that 2GB of data was plenty to get us through a month on the trail.
We had read a few blogs where people had said WiFi is somewhat hard to come by in New Zealand. We did not find that to be the case and always found WiFi at accomodations, cafes, and other spots along the way.
Finances & Budgeting
Throughout the trip we collectively used one credit card. We used the Capital One Venture card, mostly so we could collect air miles for future trips. We found that credit cards were taken in most locations except the very small takeaway shops. We always made sure to carry some amount of cash on us for koha and other situations. Also, it may be worthwhile to check in with your bank to see if they have a partner bank in New Zealand, so you may be able to save some fees at the ATM’s when you go to withdraw cash.
As far as budgeting, we found that our two biggest expenses were food (obviously!) and accommodation. Due to the nature of the trail pushing you into town centers we spent much more on accommodation than expected.
Food, Resupplies, Bounce Boxes & Fuel
Much of the food we encountered was similar to the U.S. And good news – New Zealand has a ridiculous chocolate selection. The larger grocery stores also had a fairly wide selection of dehydrated/instant meals. We were not that picky with the food we ate and are lucky to not have dietary restrictions, which made grocery shopping a bit easier. In towns we defaulted to fish ‘n’ chips for takeaway meals since it was delicious, cheap for large portions, and fairly consistent at each place we found it. Lots of coast-line made fish more accesible.
Resupplies & Bounce Boxes
It is possible to do the whole Te Araroa without sending any resupply boxes if you are willing to have a few long hitches to resupply and occasionally spend a bit more at smaller, overpriced shops. All of the resupply boxes that would be worth sending are on the South Island. After our trip we thought it would be most logistically intelligent to send resupply boxes to three different locations on the South Island (we only sent two and wished we had sent boxes to all three looking back). These are listed below, South to North since we walked Northbound.
-
-
Arthurs Pass DOC Visitors Center – This is a DOC center that accepts resupply boxes. When we did the TA in 2019 we called ahead to make sure they would accept our box and they seemed overwhelmed with the number of boxes they were storing. In the future, we would mark our box so it was easier to find. Make sure to call ahead and check the address and status of their current hiker box storage. There is also a very small store in Arthurs Pass if you forego sending a box. It may be hard to get more than a day or two of food there however. Even still, you may just be eating candy for the next few days. We did purchase a little bit of cheese from this store to supplement our food box.
-
Boyle River Outdoor Education Center – Boyle Village is a tiny place. The Center is an Outdoor Education Facility that accepts parcel storage and some potential accommodation. It cost us 10NZD paid at the time of pickup to receive our box. The person who manages the TA Walkers also stocks basic supplies and it seems like they would be willing to purchase anything that you may need with some advance notice. The other option here is to hitch into Hanmer Springs to resupply.
-
Alpine Lodge, St. Arnaud Village – We did not send a box to St. Arnaud Village. We did stay at the Alpine Lodge and at the time they also were taking resupply boxes. It is definitely worth an email or phone call to check in on rates and other details. Looking back we wished we had sent a box there. We ended up having to buy some supplemental food at the gas station across the street from the Alpine Lodge. If you don’t send a box to St. Arnaud then your best option would be to get a long hitch hike ride into Nelson to resupply.
-
We sent one halfway box with a pair of shoes and a couple other small things. You can definitely send a Bounce Box along the way for yourself if you’d like. Most New Zealand post locations do a General Delivery option, or Poste Restante as its known locally. Here are the rates for sending a parcel Poste Restante in New Zealand.
Every other part of the South & North Island you are either pushed into a town for resupply or it is a somewhat easy hitch into a nearby town.
Fuel
Overall, canister fuel (propane, butane, & isobutane mix) is easy to come by. We had luck finding the canisters at local hardware stores along the way. It was surprising – even when we could not find it in the big box hardware stores, often the small local hardware stores would carry them.
Getting to the Start & Back From the End
Getting to and from the trail termini can be tricky. It seems the most logistically intensive to get to and from Cape Reinga. Fortunately, Cape Reinga is a big tourist draw, so it is not crazy to think that you could hitchhike from or back to the nearby Kaitaia. Invercargill is the closest town to Bluff and is an easy hitch if you choose that option. Both the southern and northern termini offer shuttle services or tour bus services that you may be able to catch a ride with for a fee.
Because we walked Northbound, we ended up flying all the way to Invercargill and staying in accommodation for a few days there before we started the trail. We were planning on using the shuttle service, Catch a Bus South, but our bed and breakfast hosts were very kind and offered to give us a ride (kiwi hospitality)! The shuttle service was very easy to use (one of those moments where having a NZ cell phone was very helpful). At the end, we hitchhiked all the way back to Kaitaia. We were lucky enough to get picked up by a family in an RV who was headed all the way back, about a 1.5 hour drive. You may be able to setup a ride with a tour guide company that goes down ninety mile beach if you would like to work out the logistics beforehand.
On both the start and finish you will travel directly back to a town you’ve previously walked through, so you could plan around that accordingly.
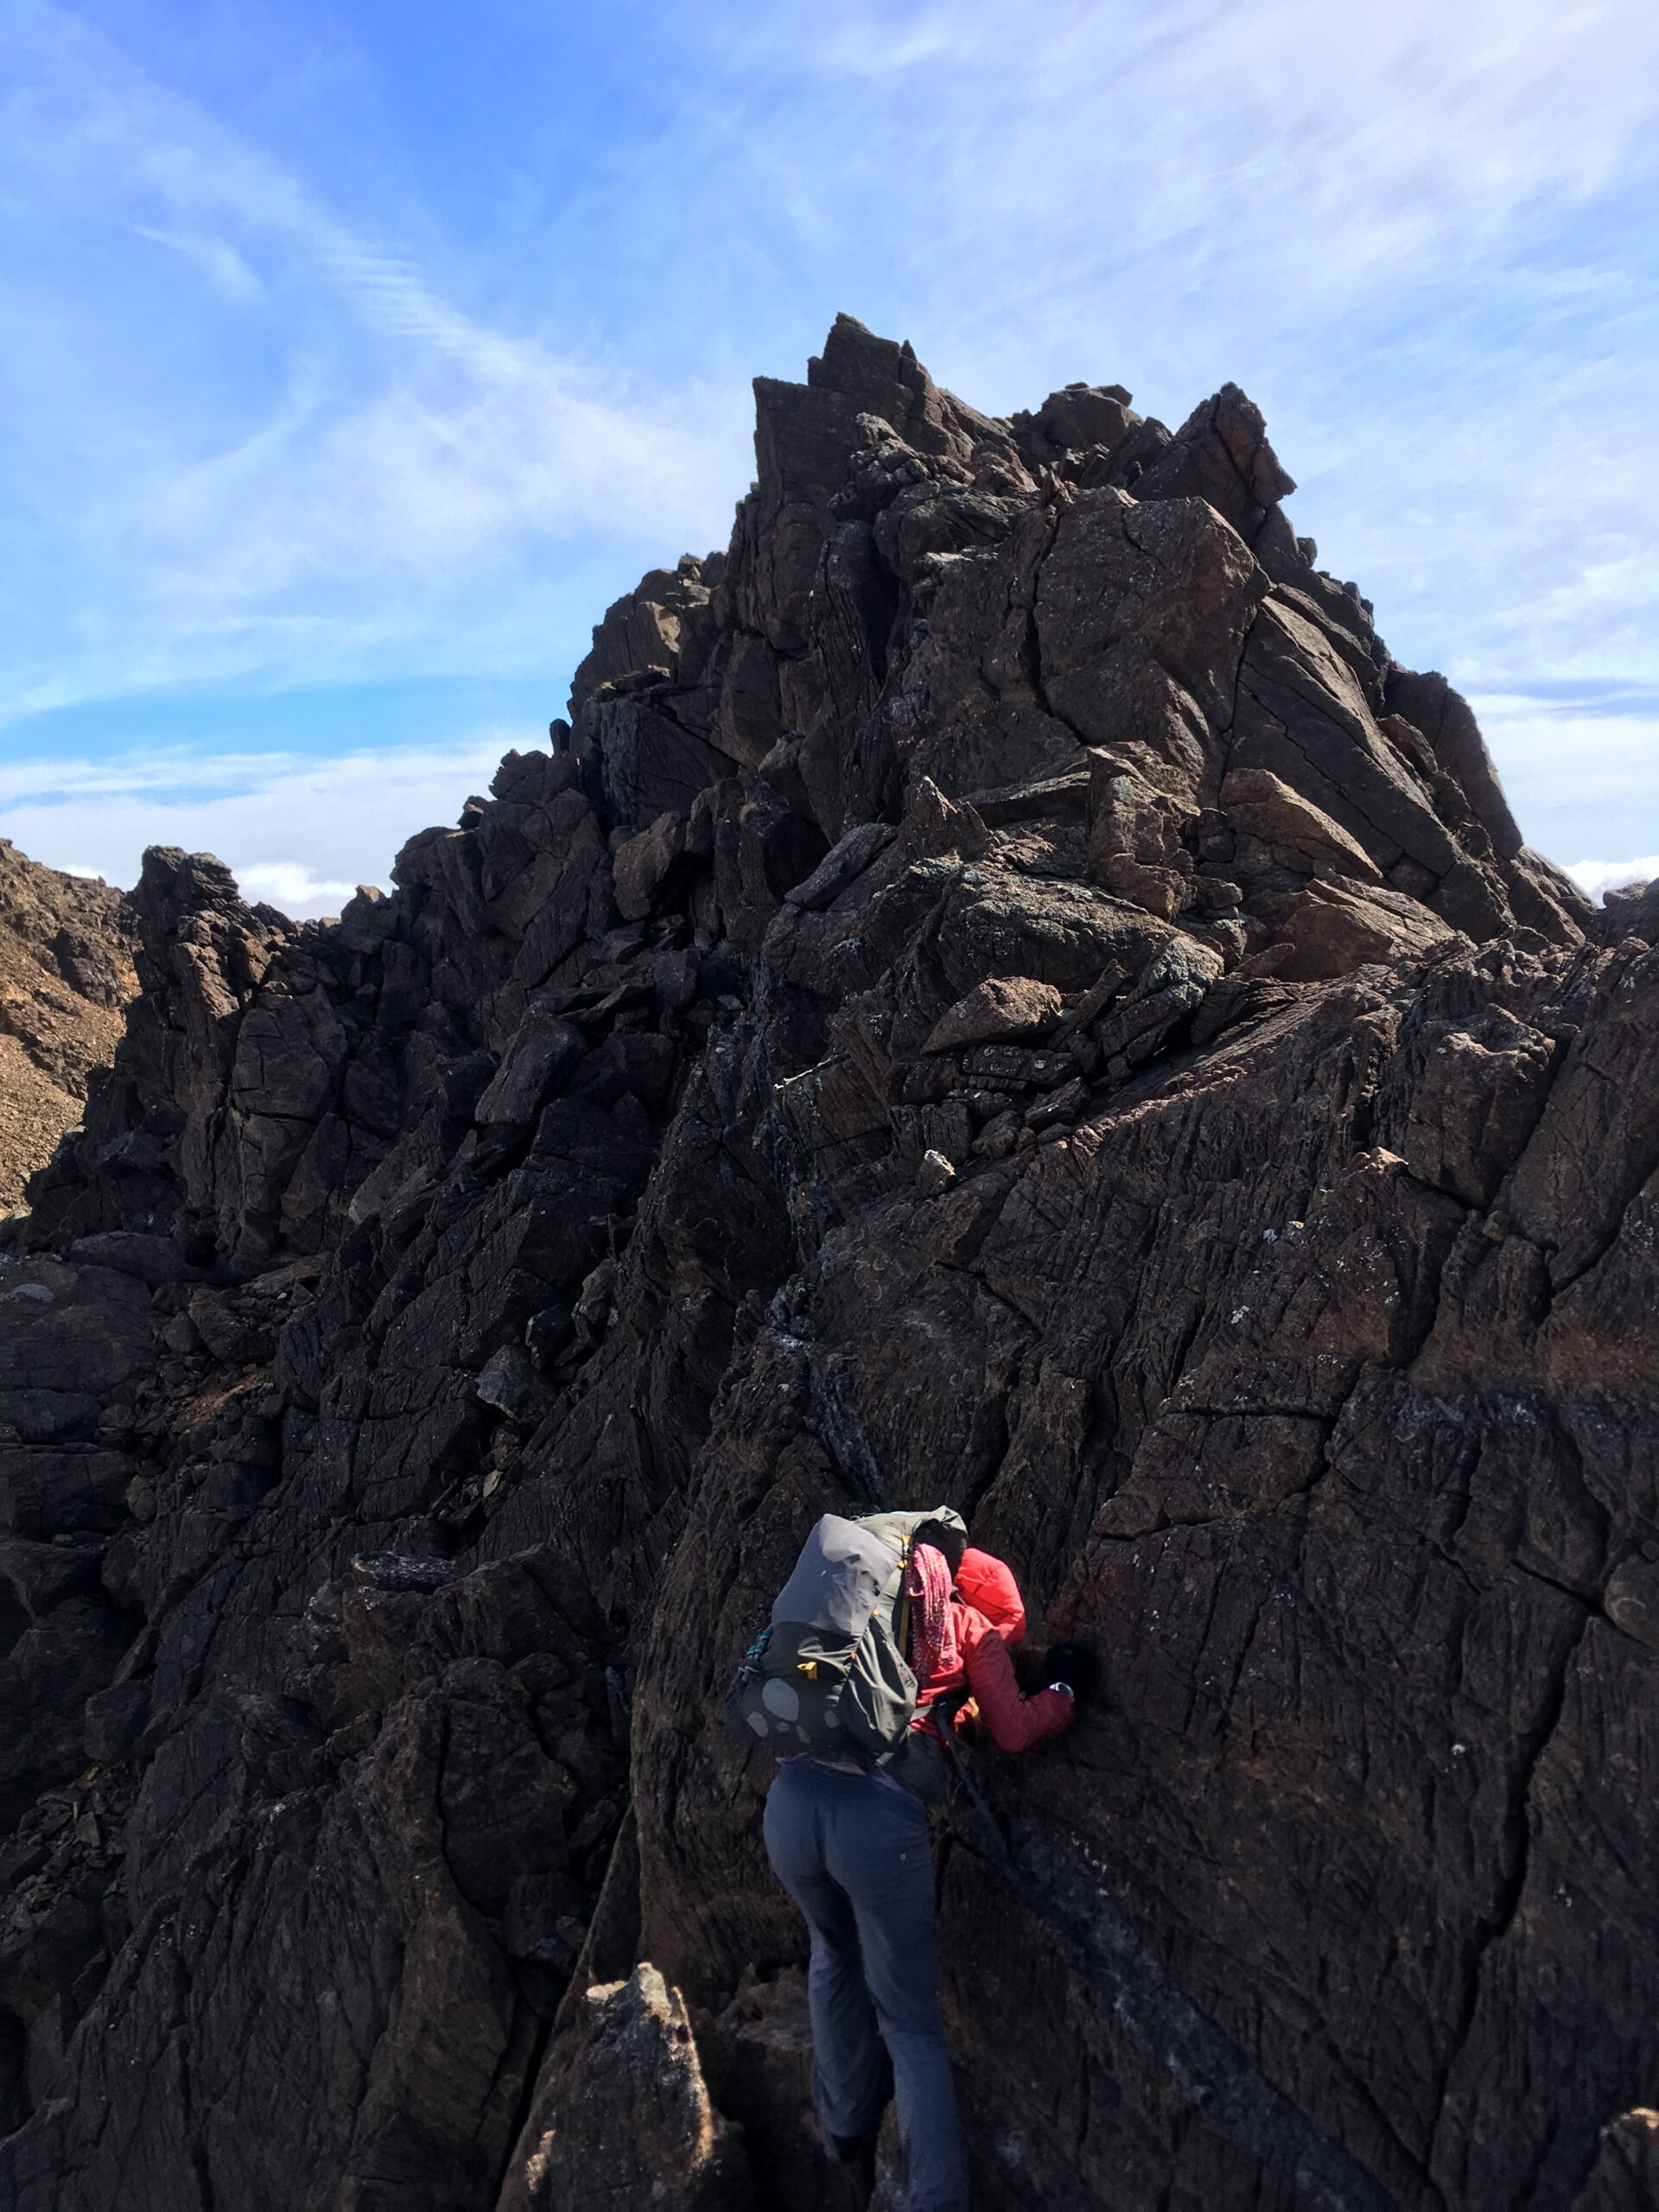
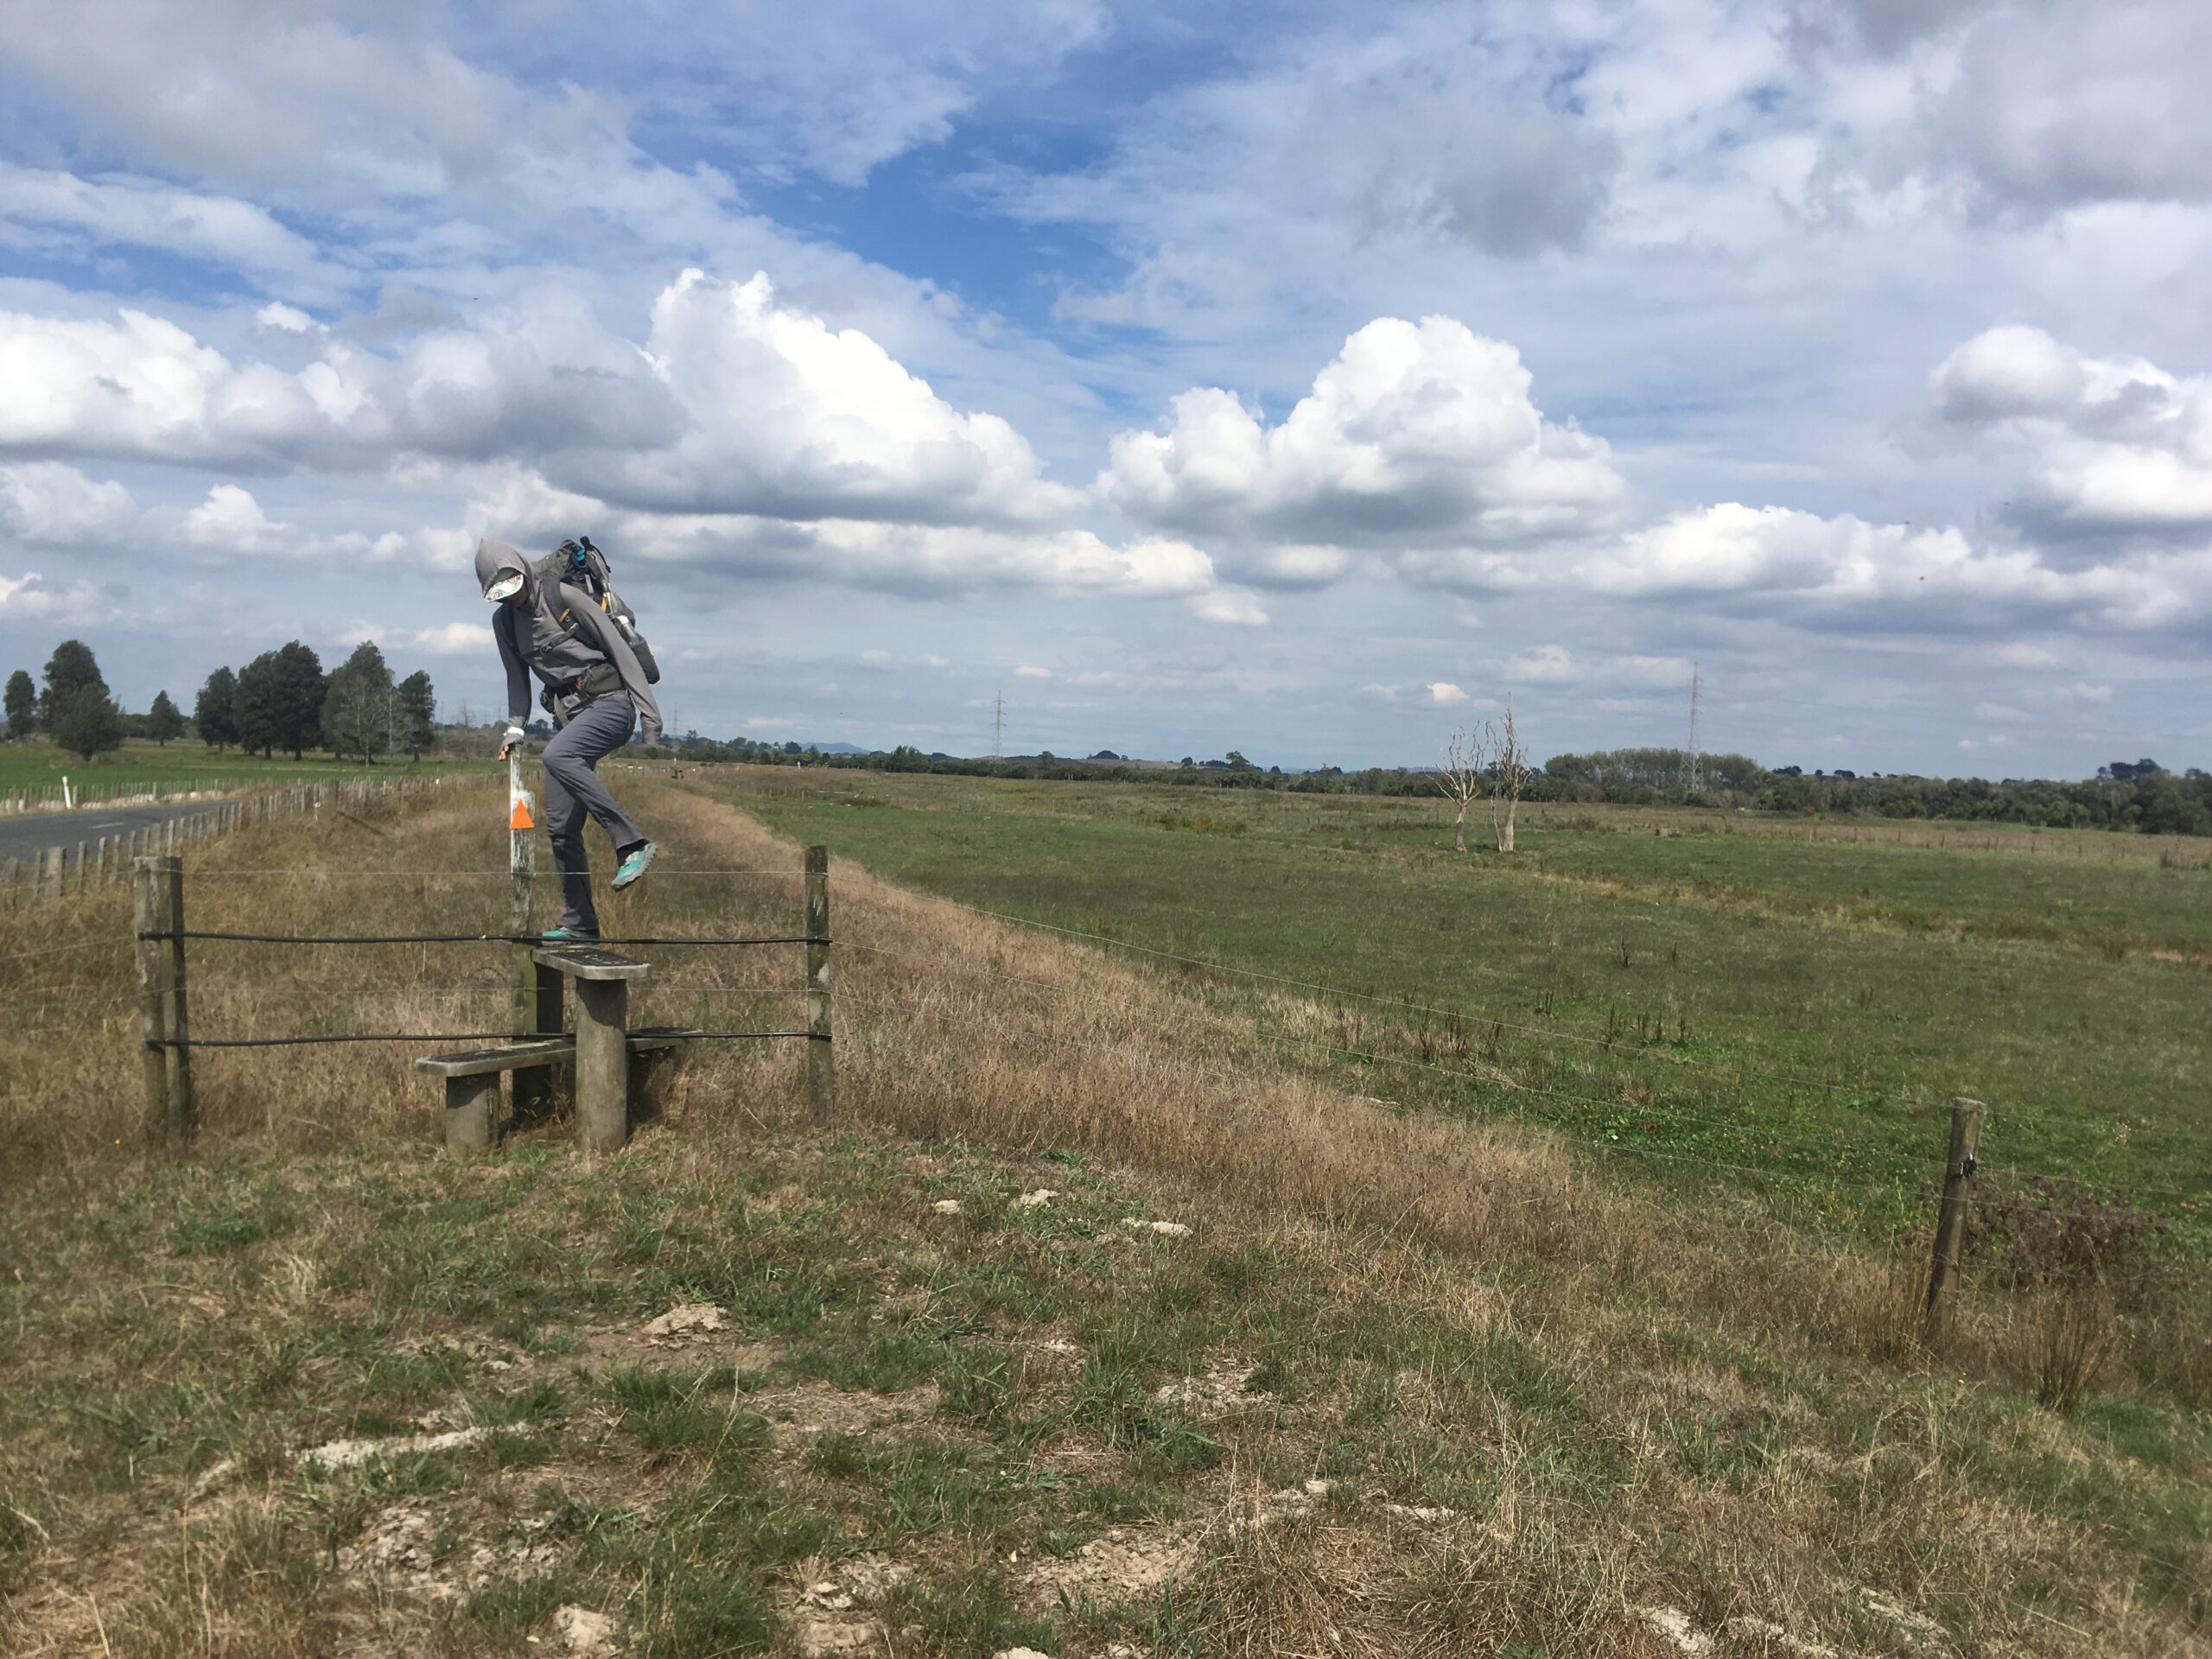
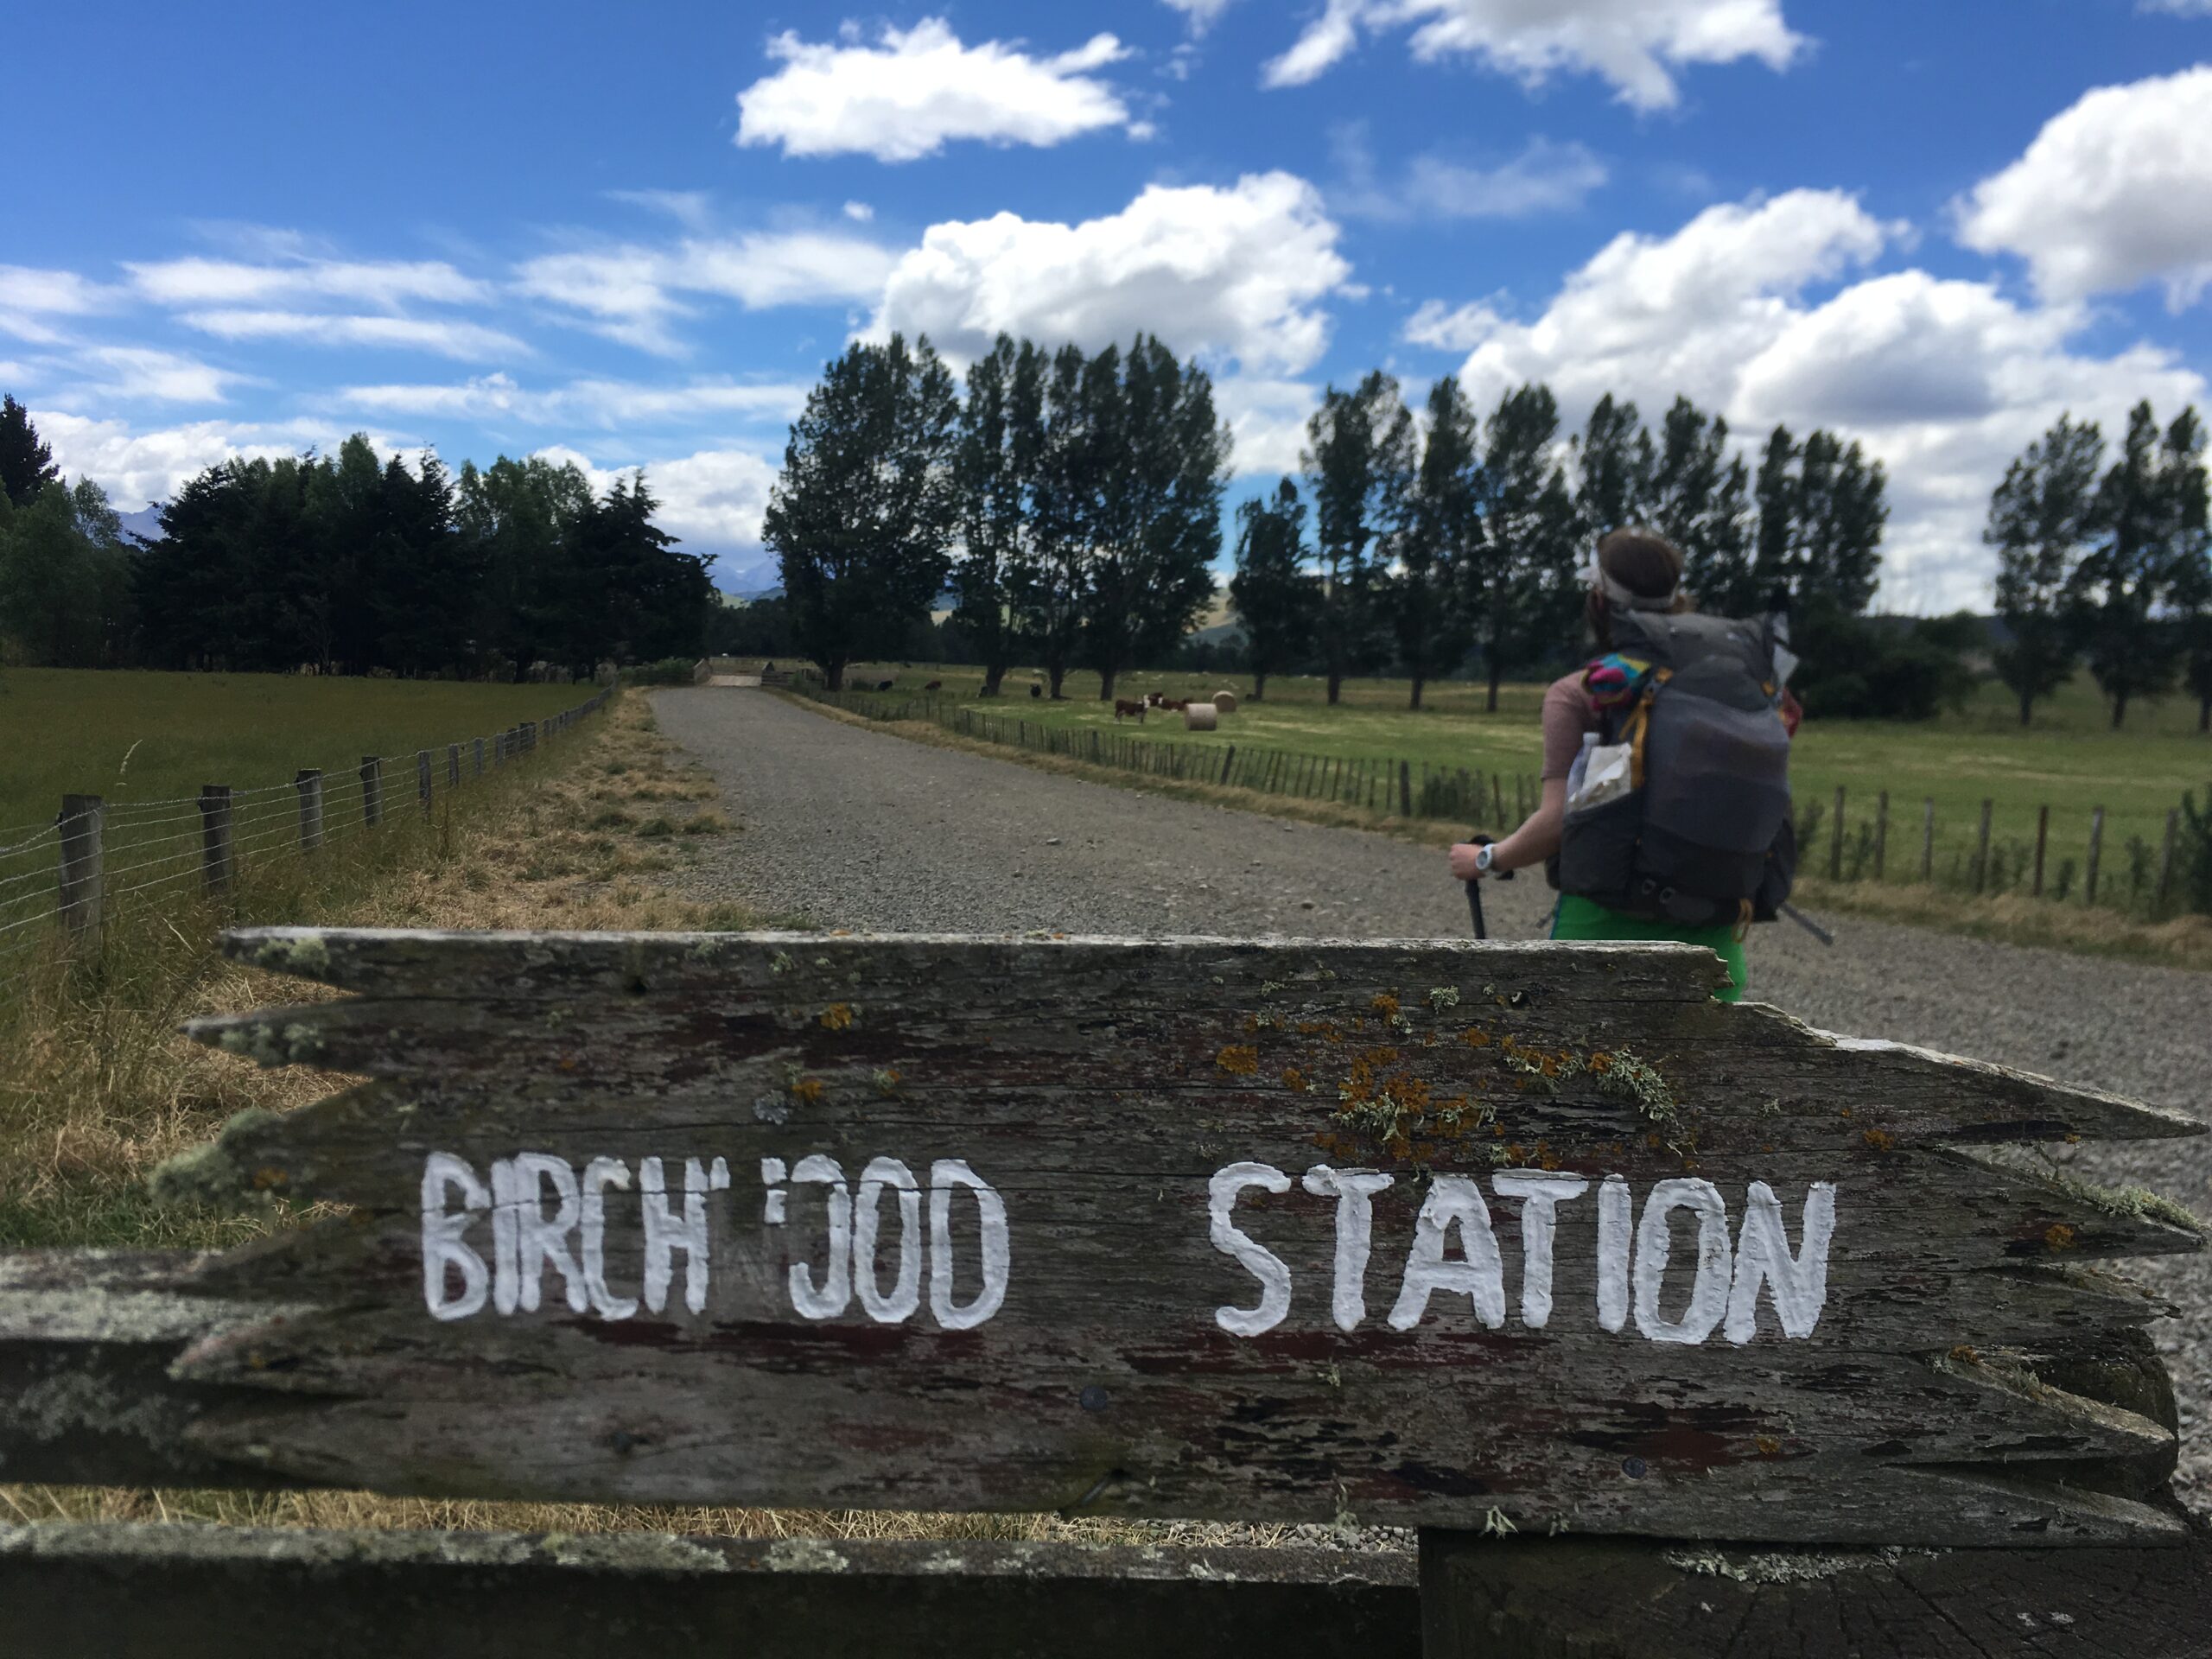
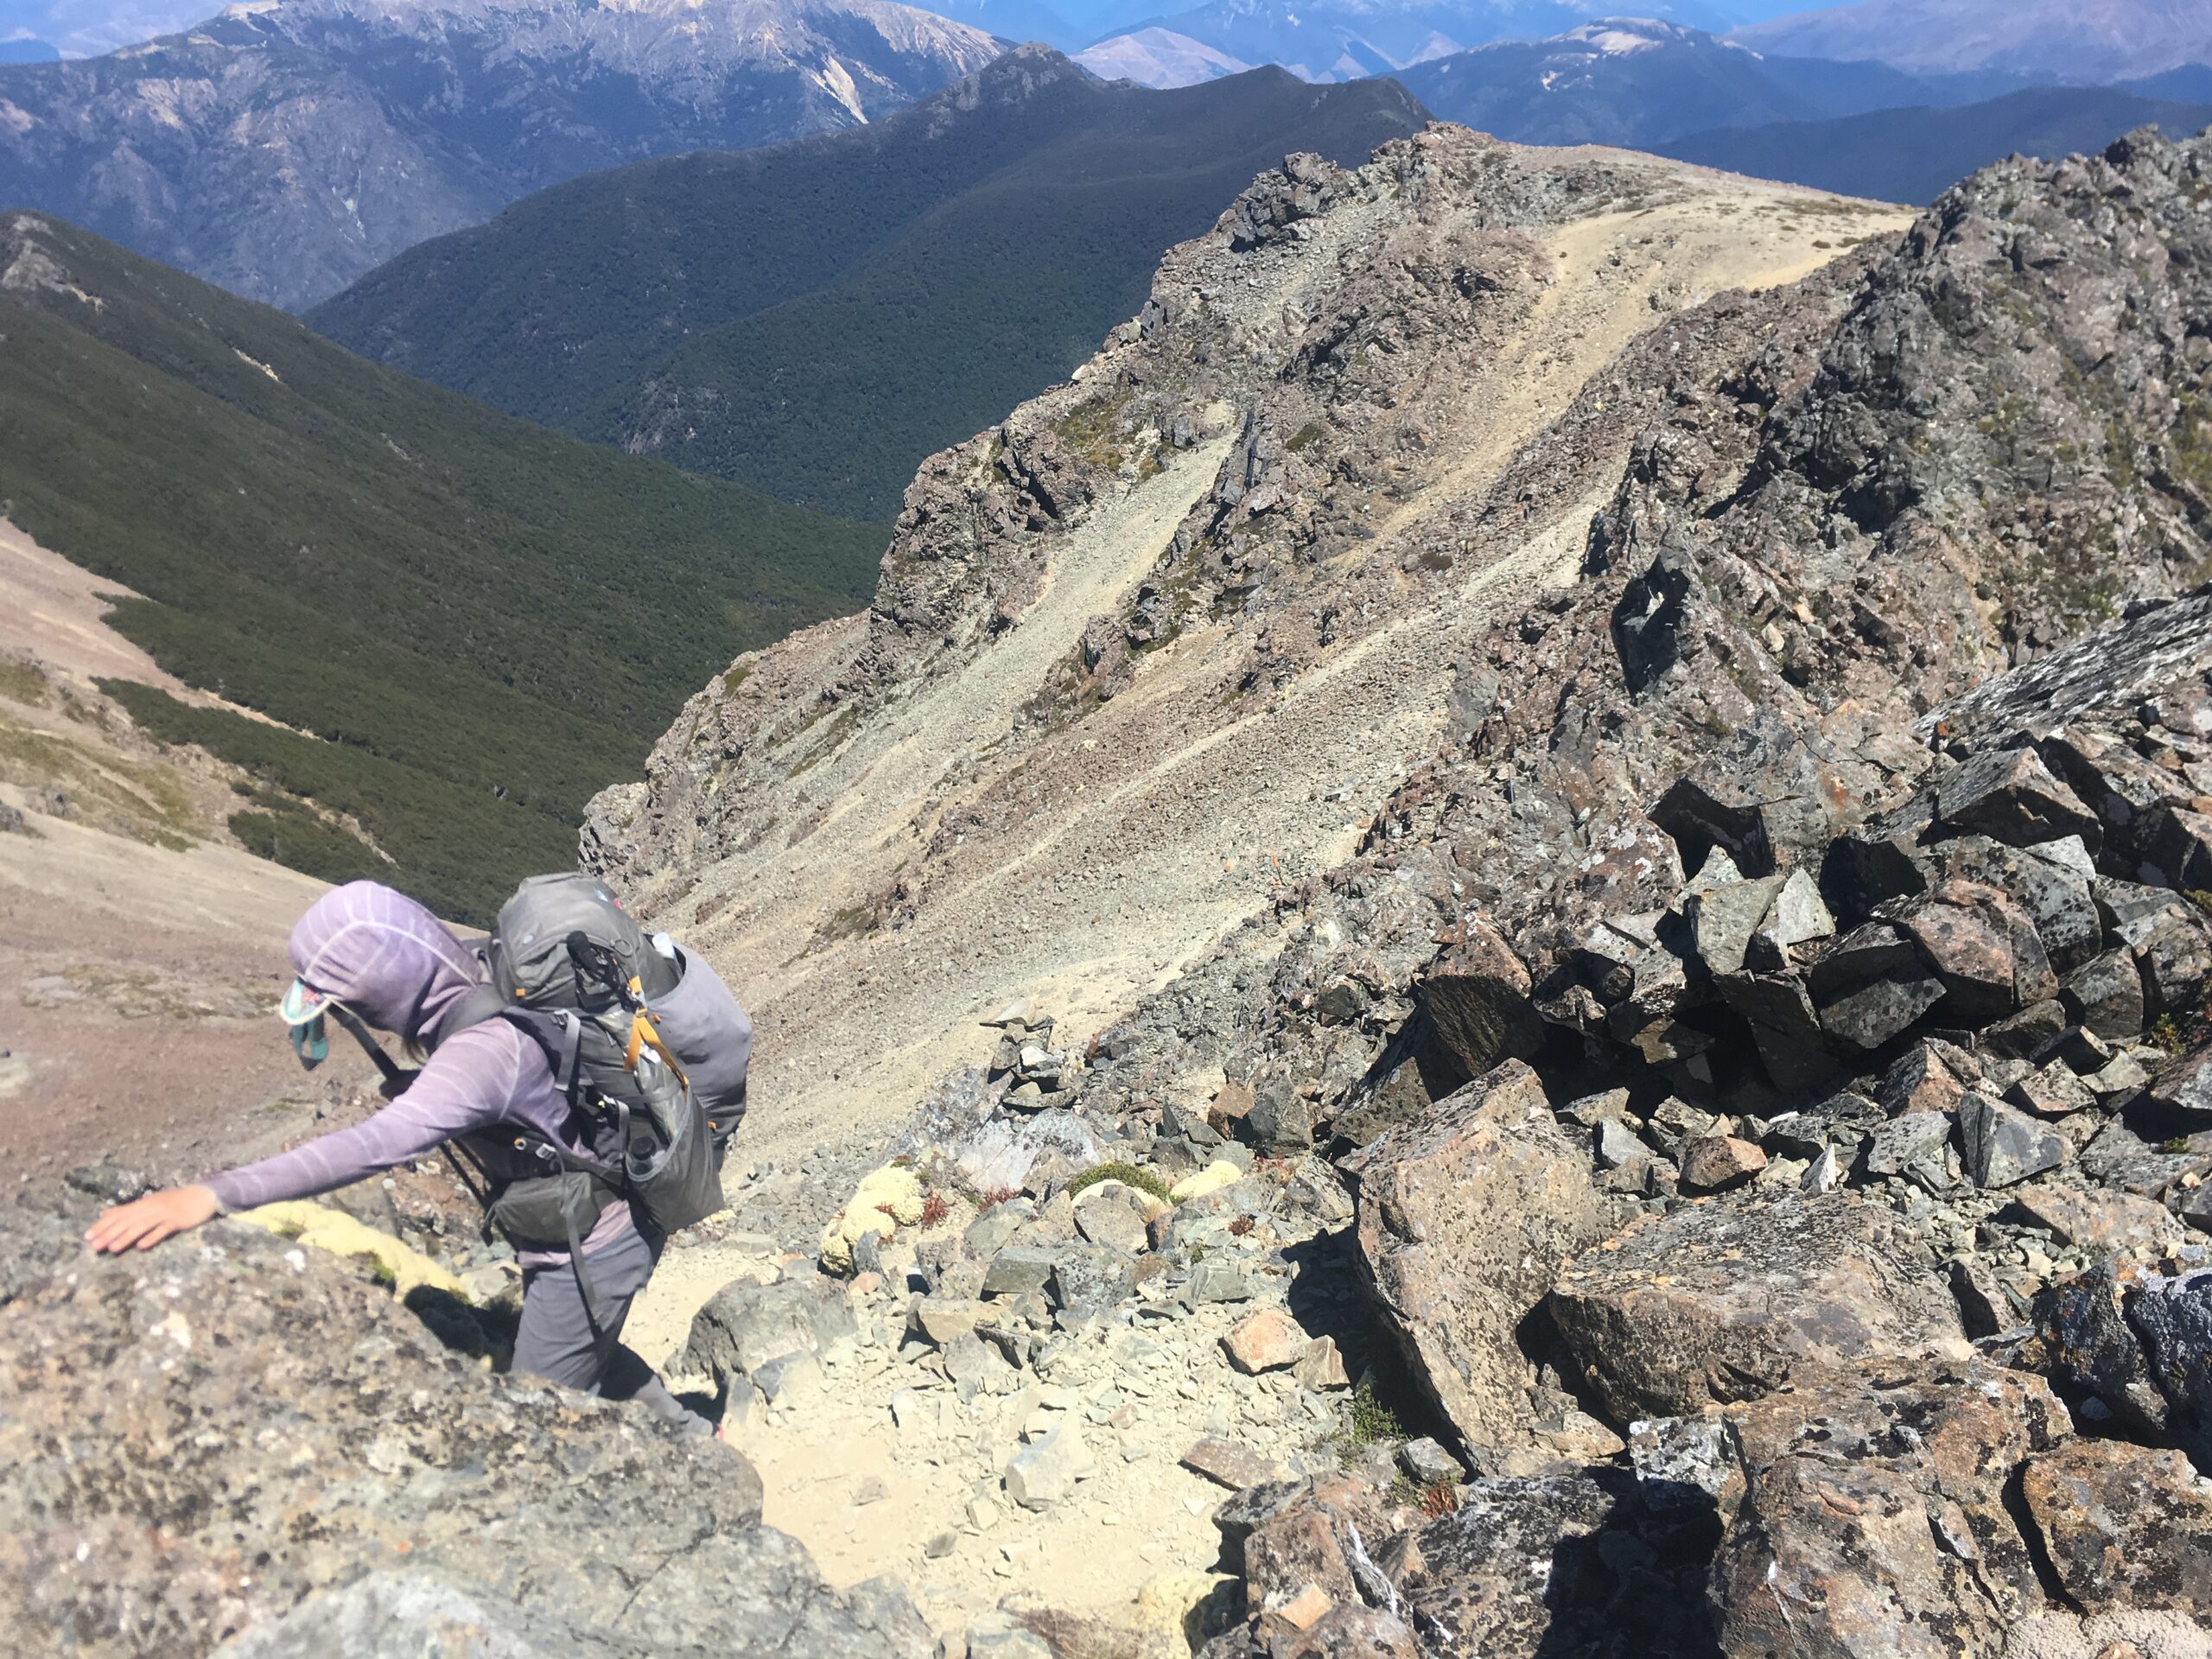
Trail Safety
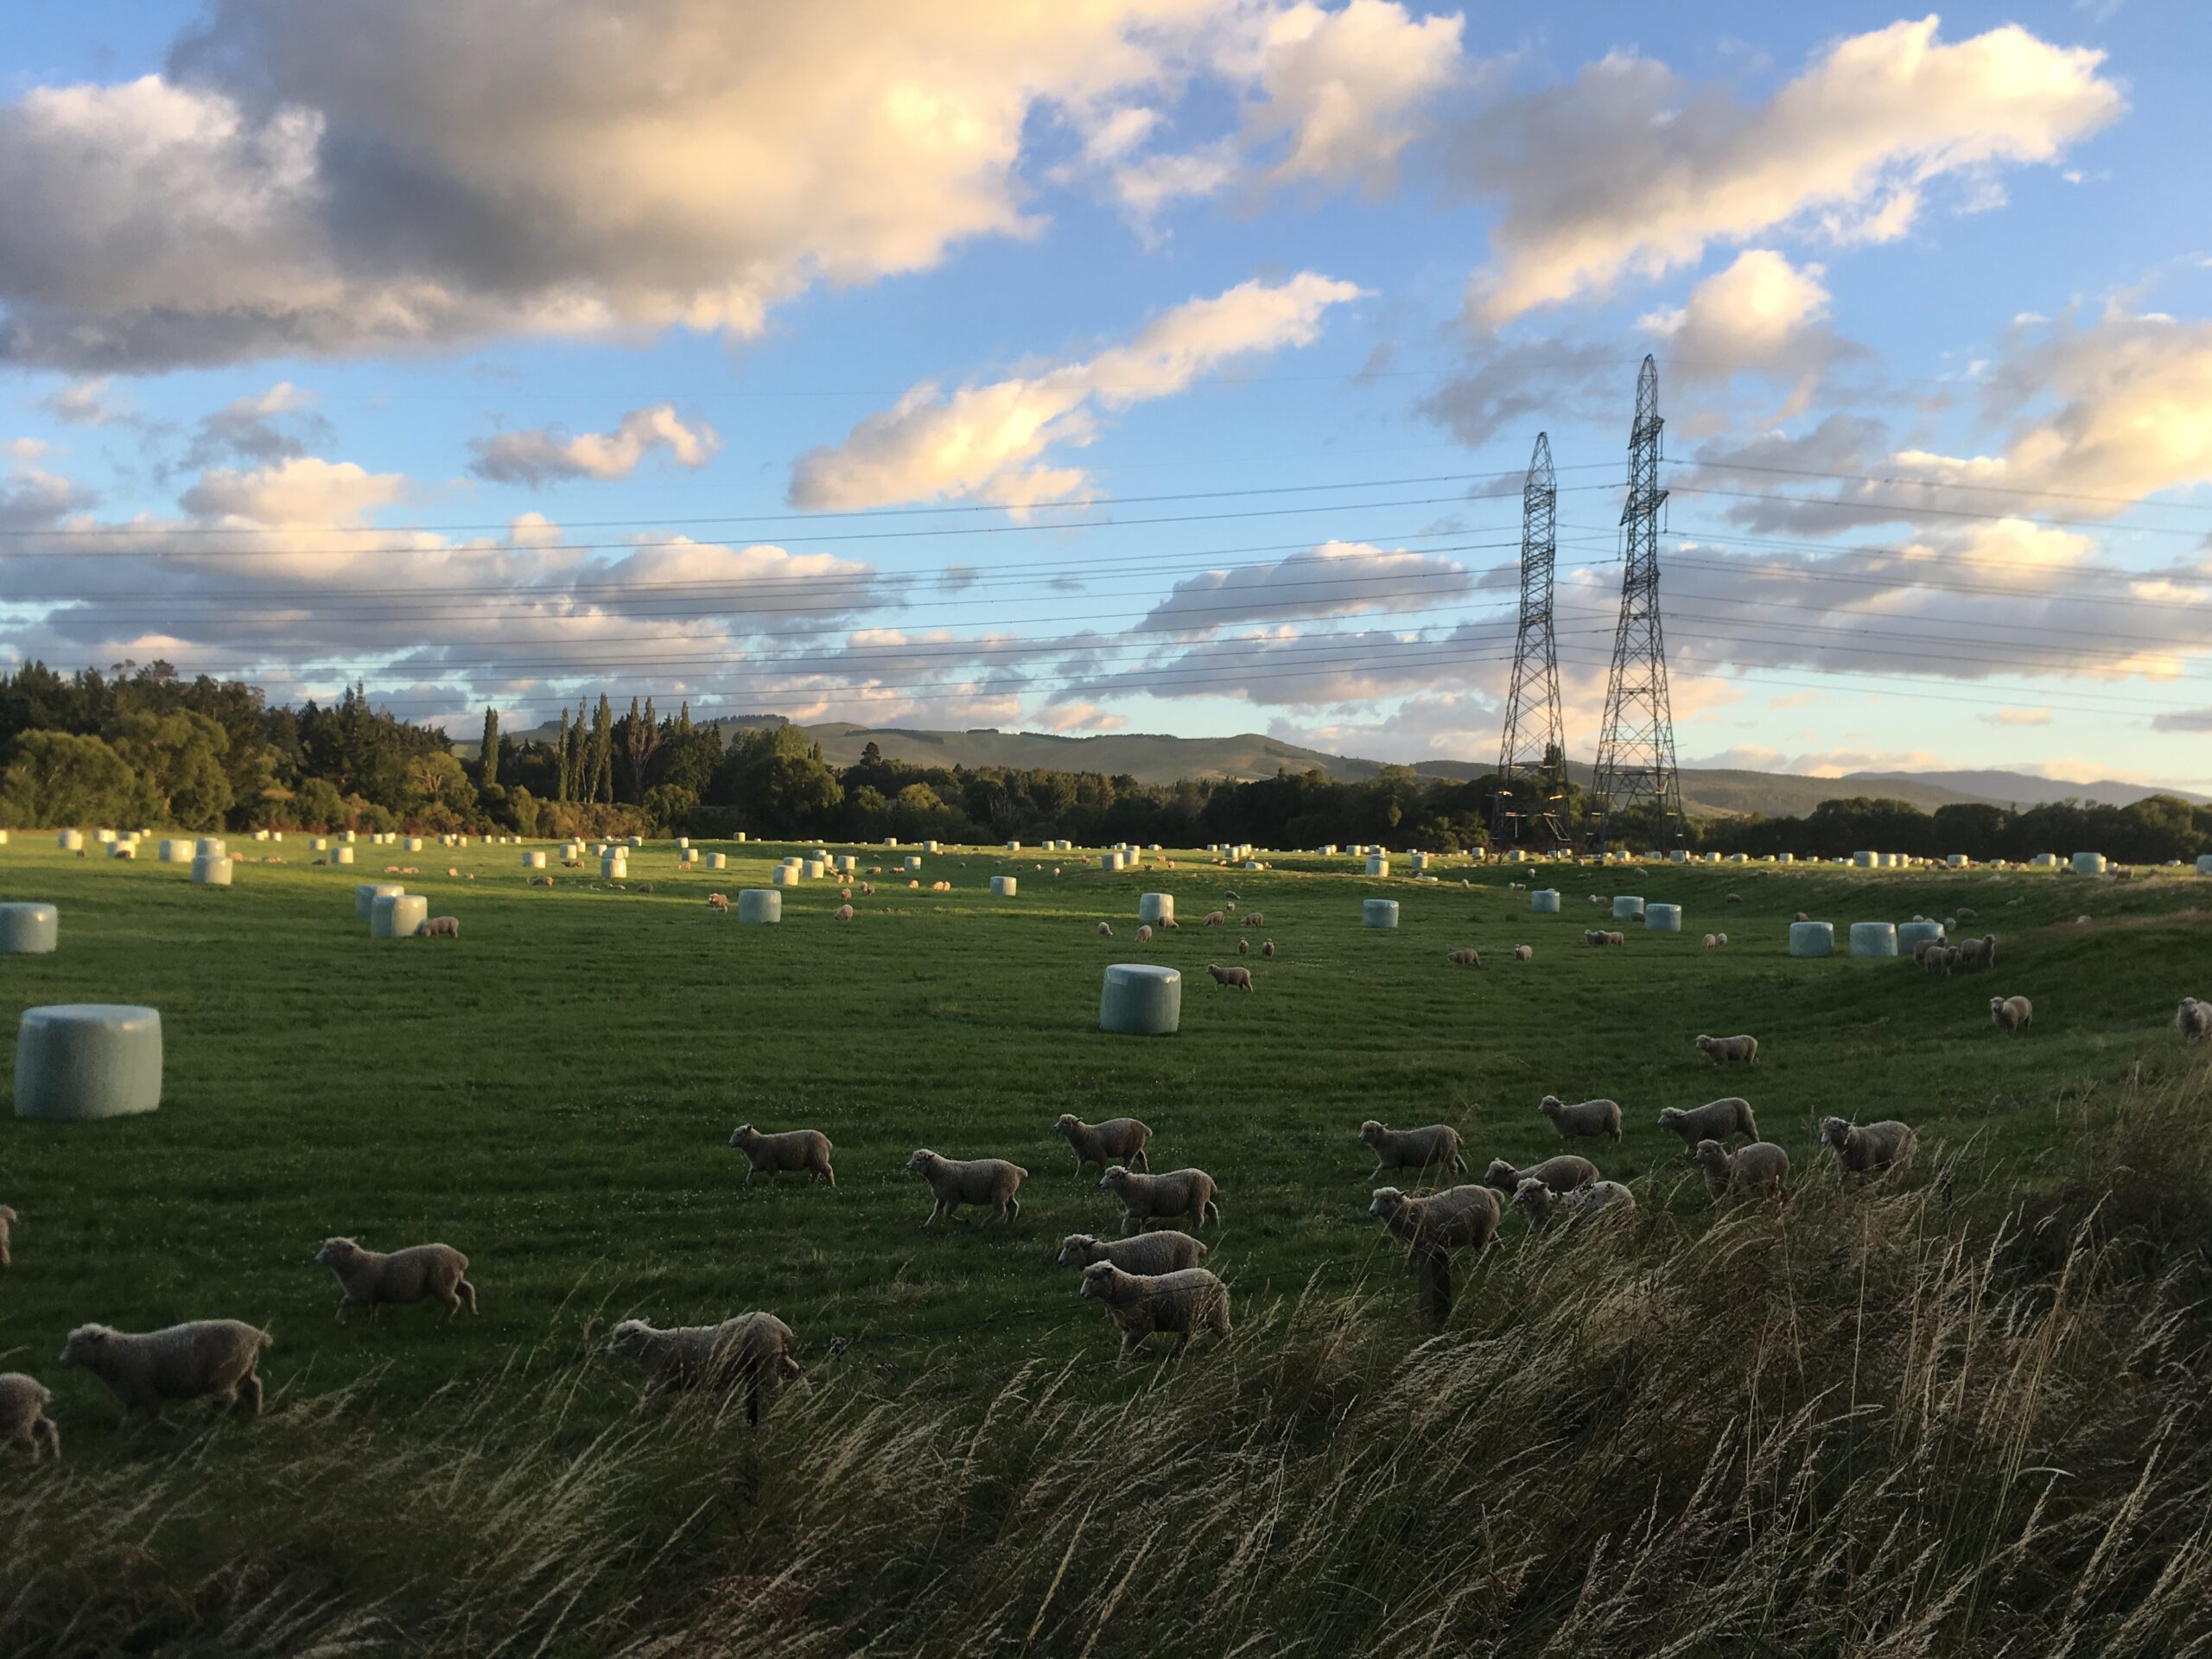
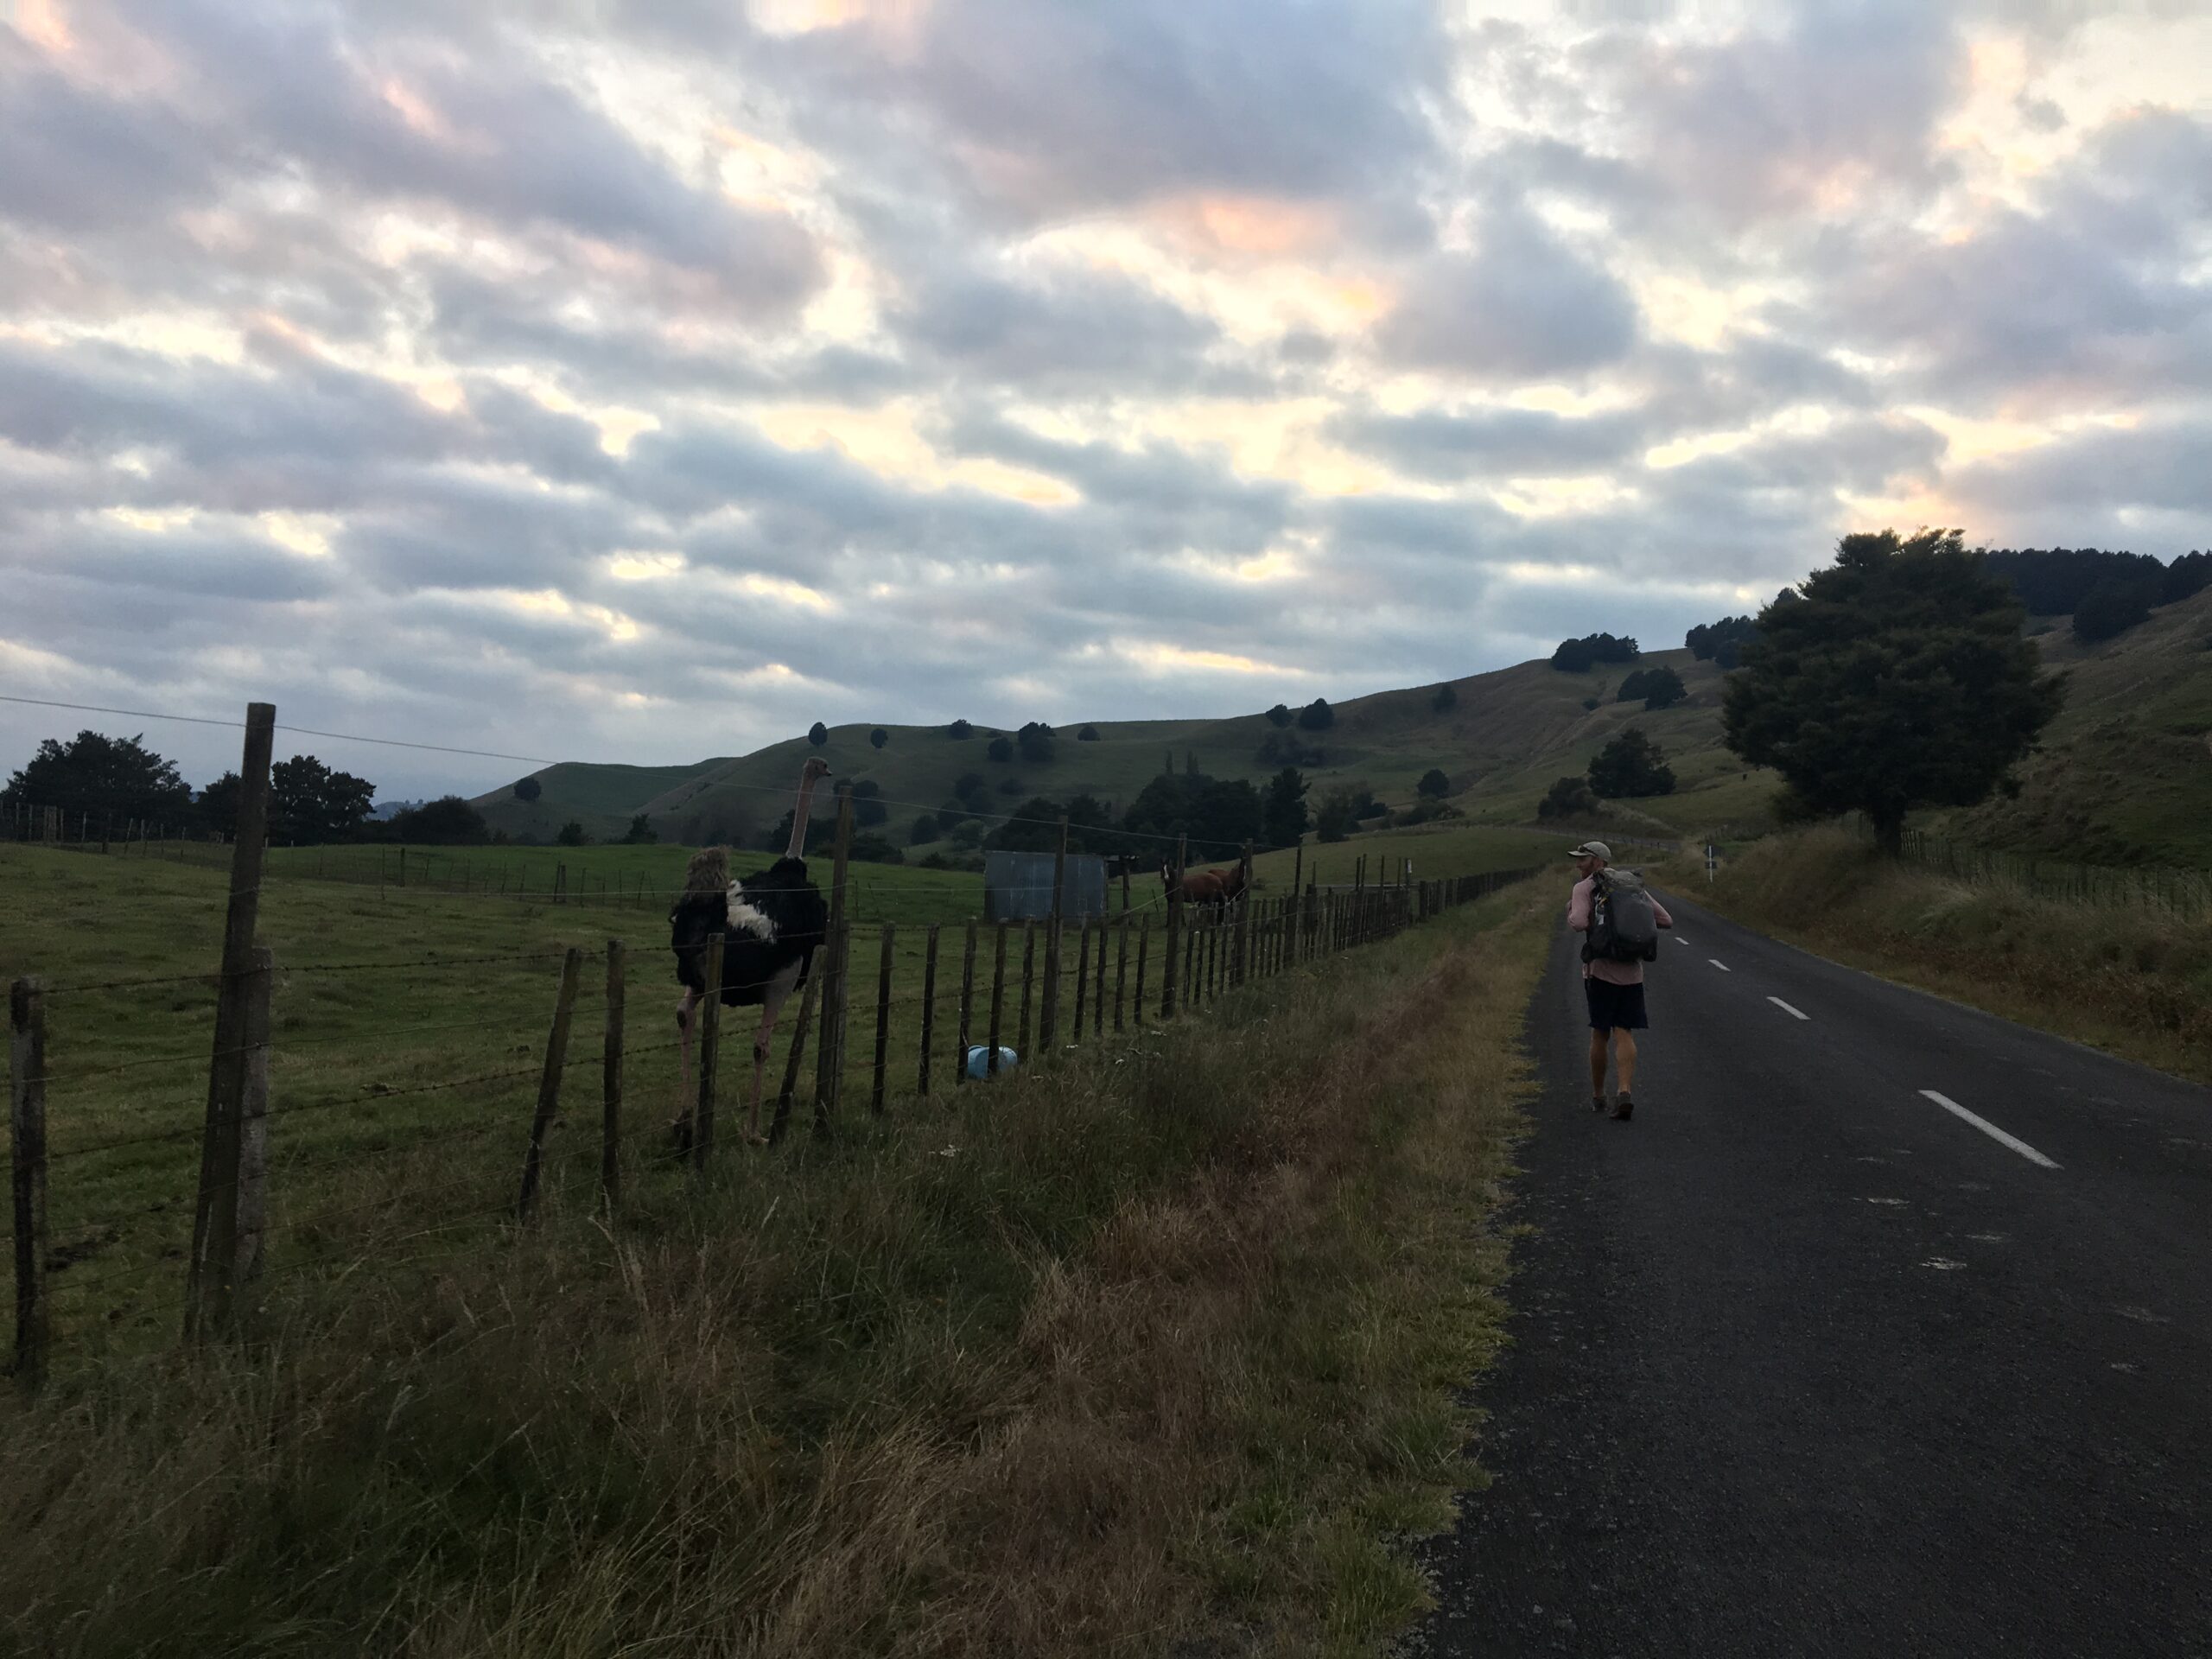
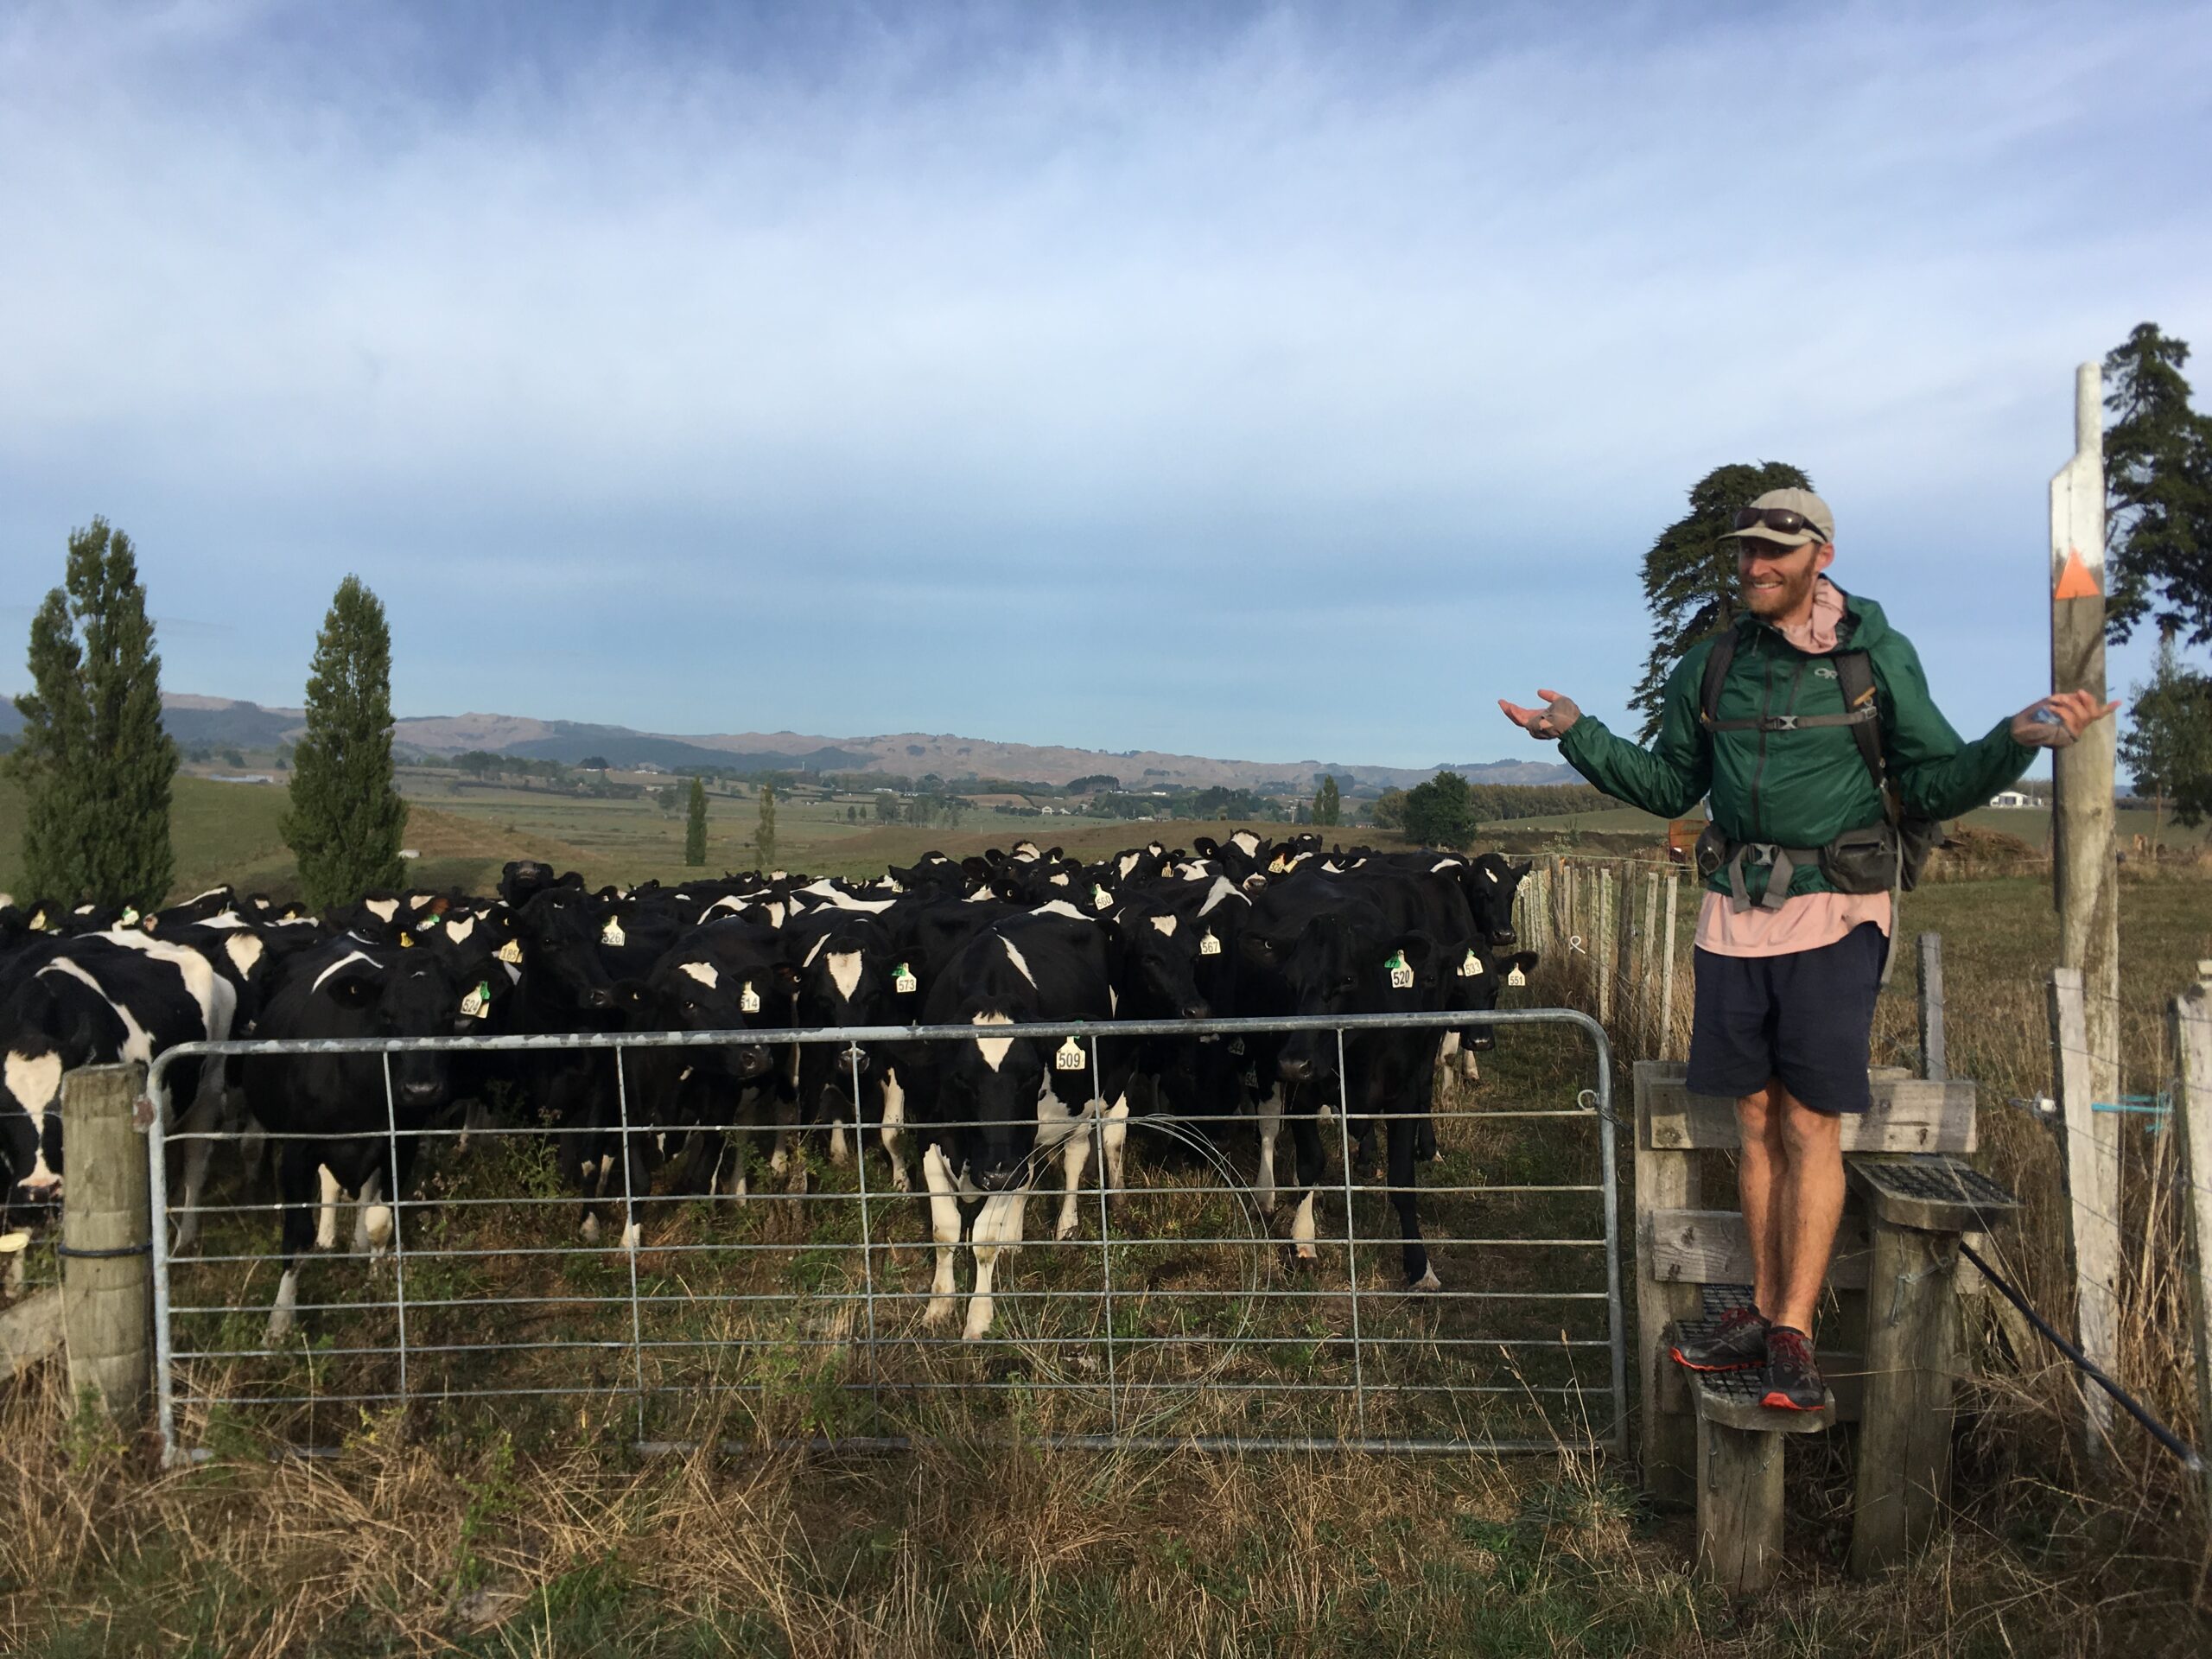
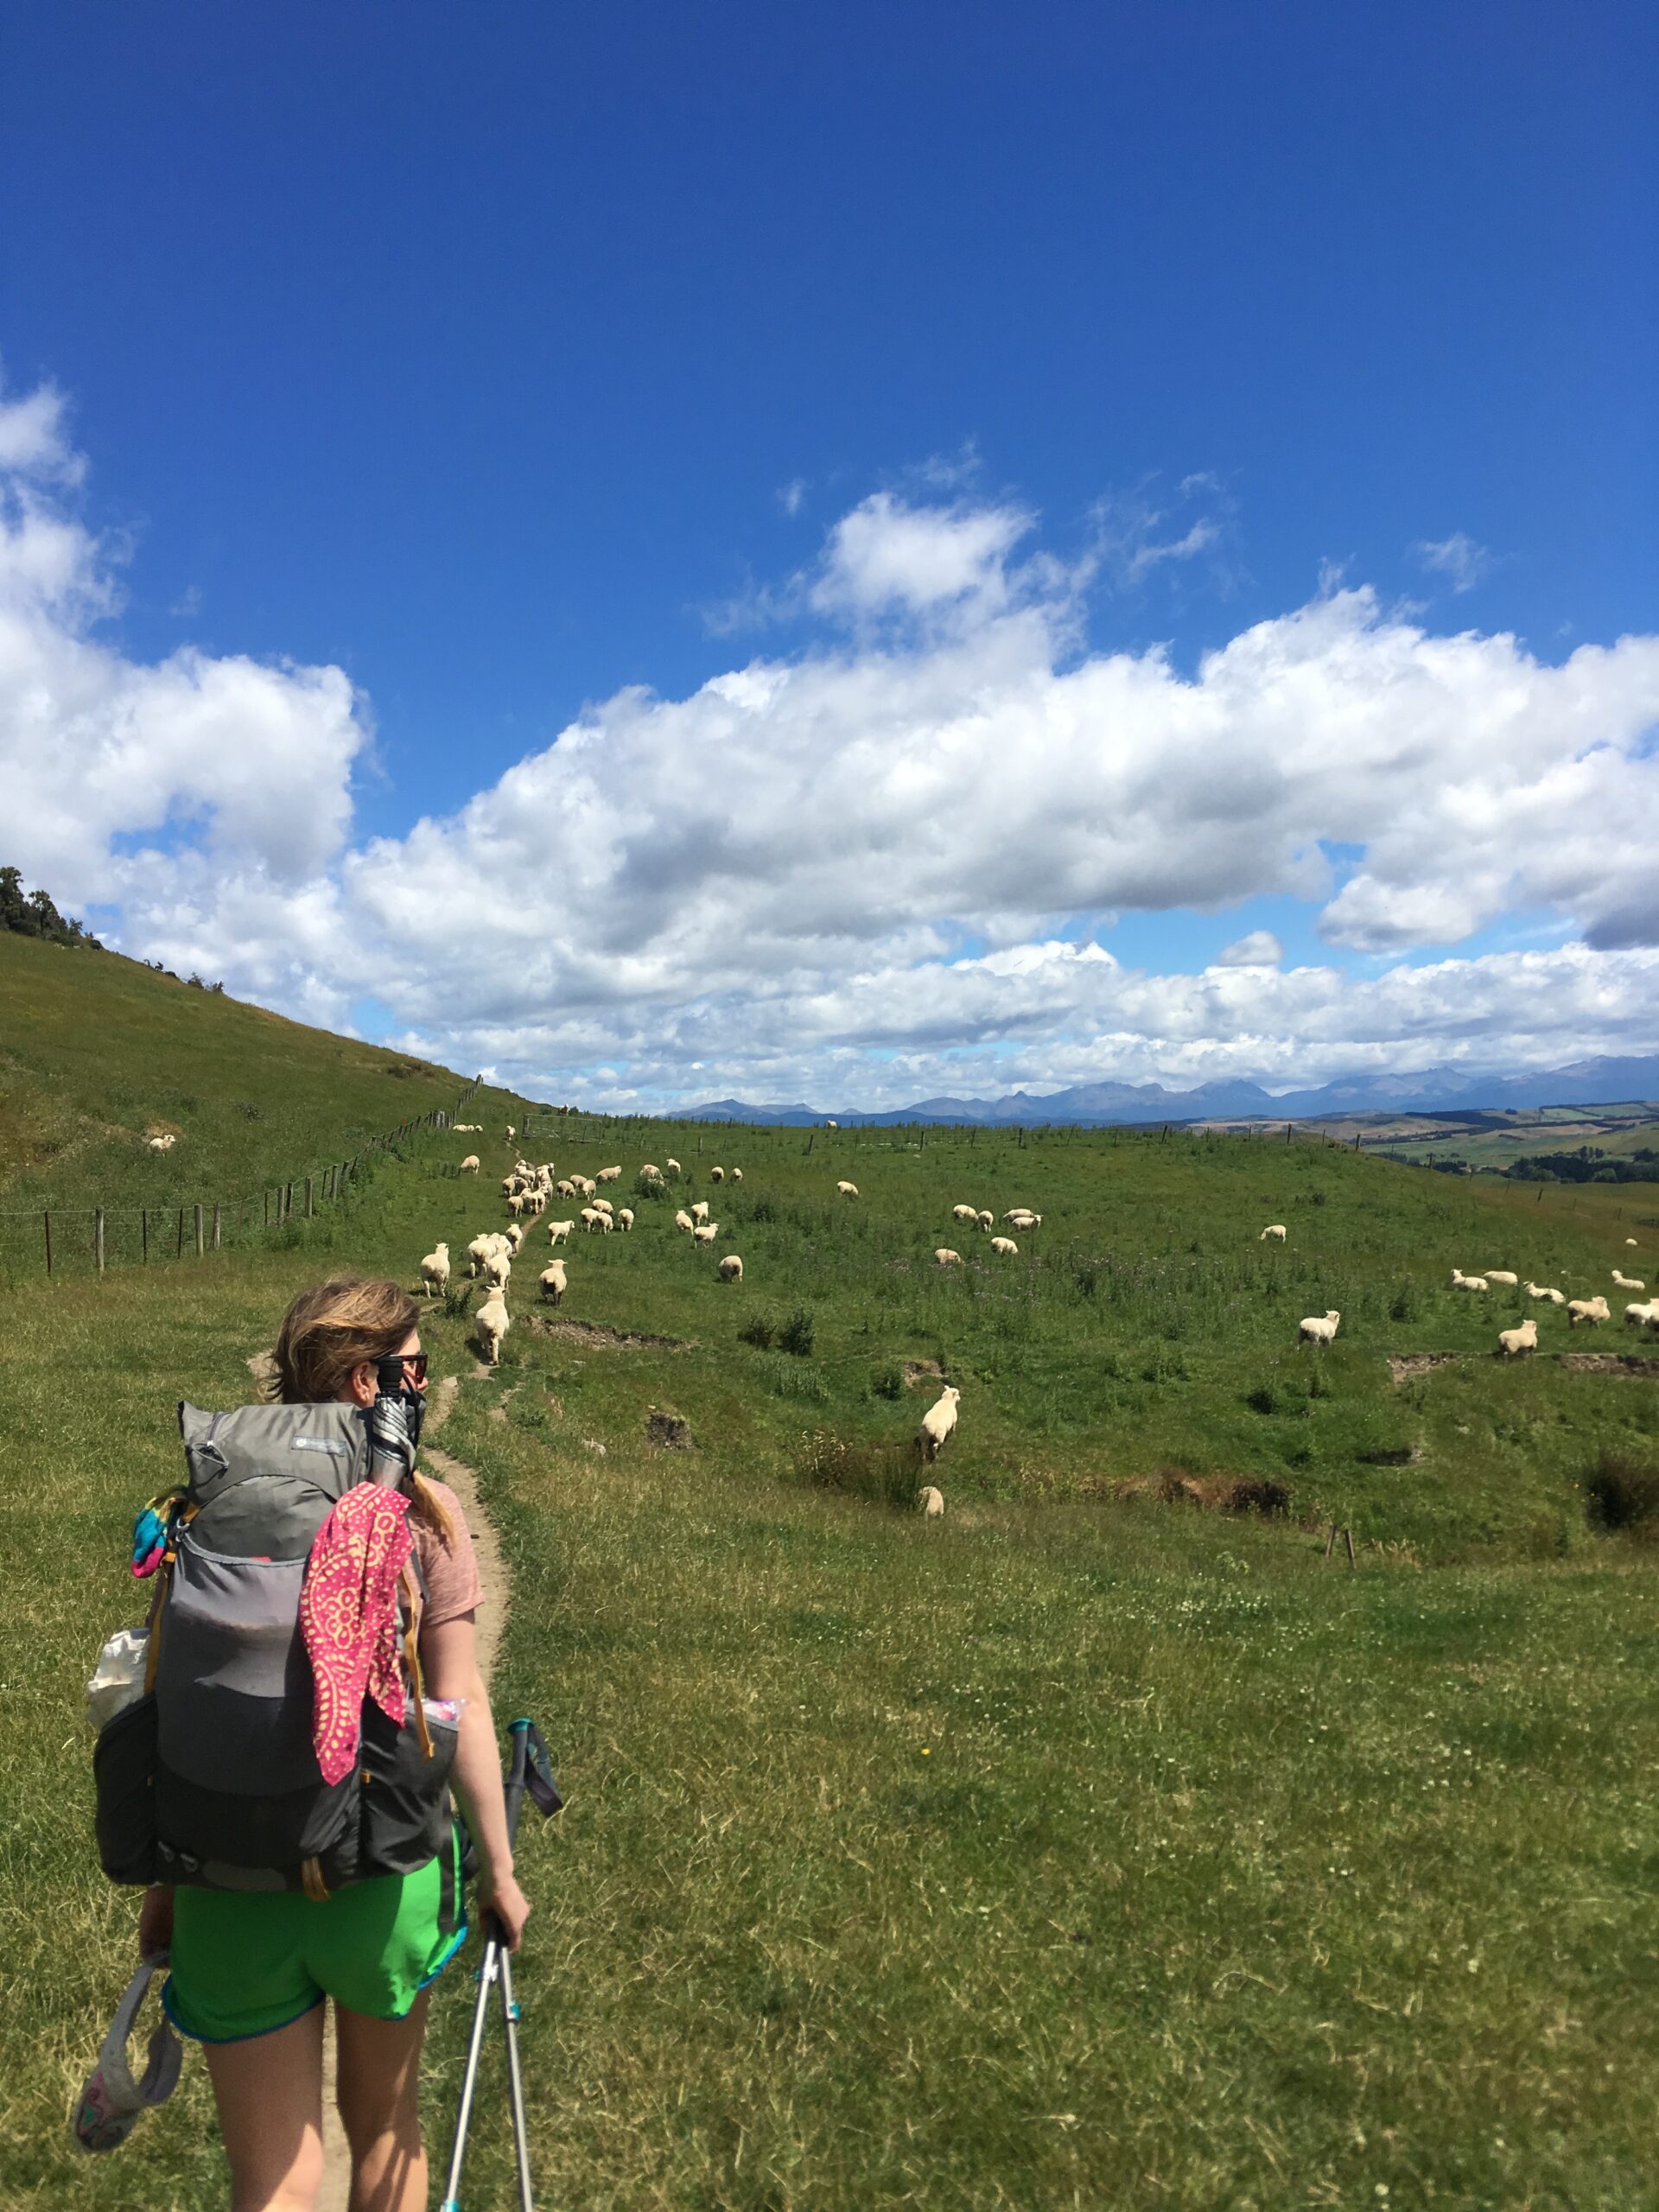
The Te Araroa offers some unique sections of walking, and staying safe on the TA is important. Some parts of the trail walk across open farmland with free roaming animals. You cross over many stiles — here is a link if you’ve never heard of them — that assist in getting over fences from one paddock to the next. Something we learned about walking through a paddock of cows is to stay along the fenceline (if you walk in the middle of the field the cows may feel as if you are trying to corner them and get aggressive). More often than not cows are curious about people rather than agressive in any way. If you happen to see a paddock of bulls that you must walk through we would consider avoiding that. There was only one spot that the trail was purposely re-routed because of young bulls and we appreciated that.
Electric Fences.
Farmers often use electric fences to keep their farm animals in certain paddocks for grazing. You may come across moments where you need to step over electric fences to stay on the trail. This might seem odd if you’ve only walked established U.S. trails, but it’s very common on sections of the TA! Oftentimes, farmers will change the fencing periodically throughout the walking season, so don’t be alarmed if you find yourself jumping over fences. Some strategies that we used to get around the fences were — go under (if possible), step over while holding down the flexible temporary fence post (it tends to be a little flexible), or, at some points, we would use the rubber handle of our trekking poles to hold the fence down while the other person stepped over the electric fence.
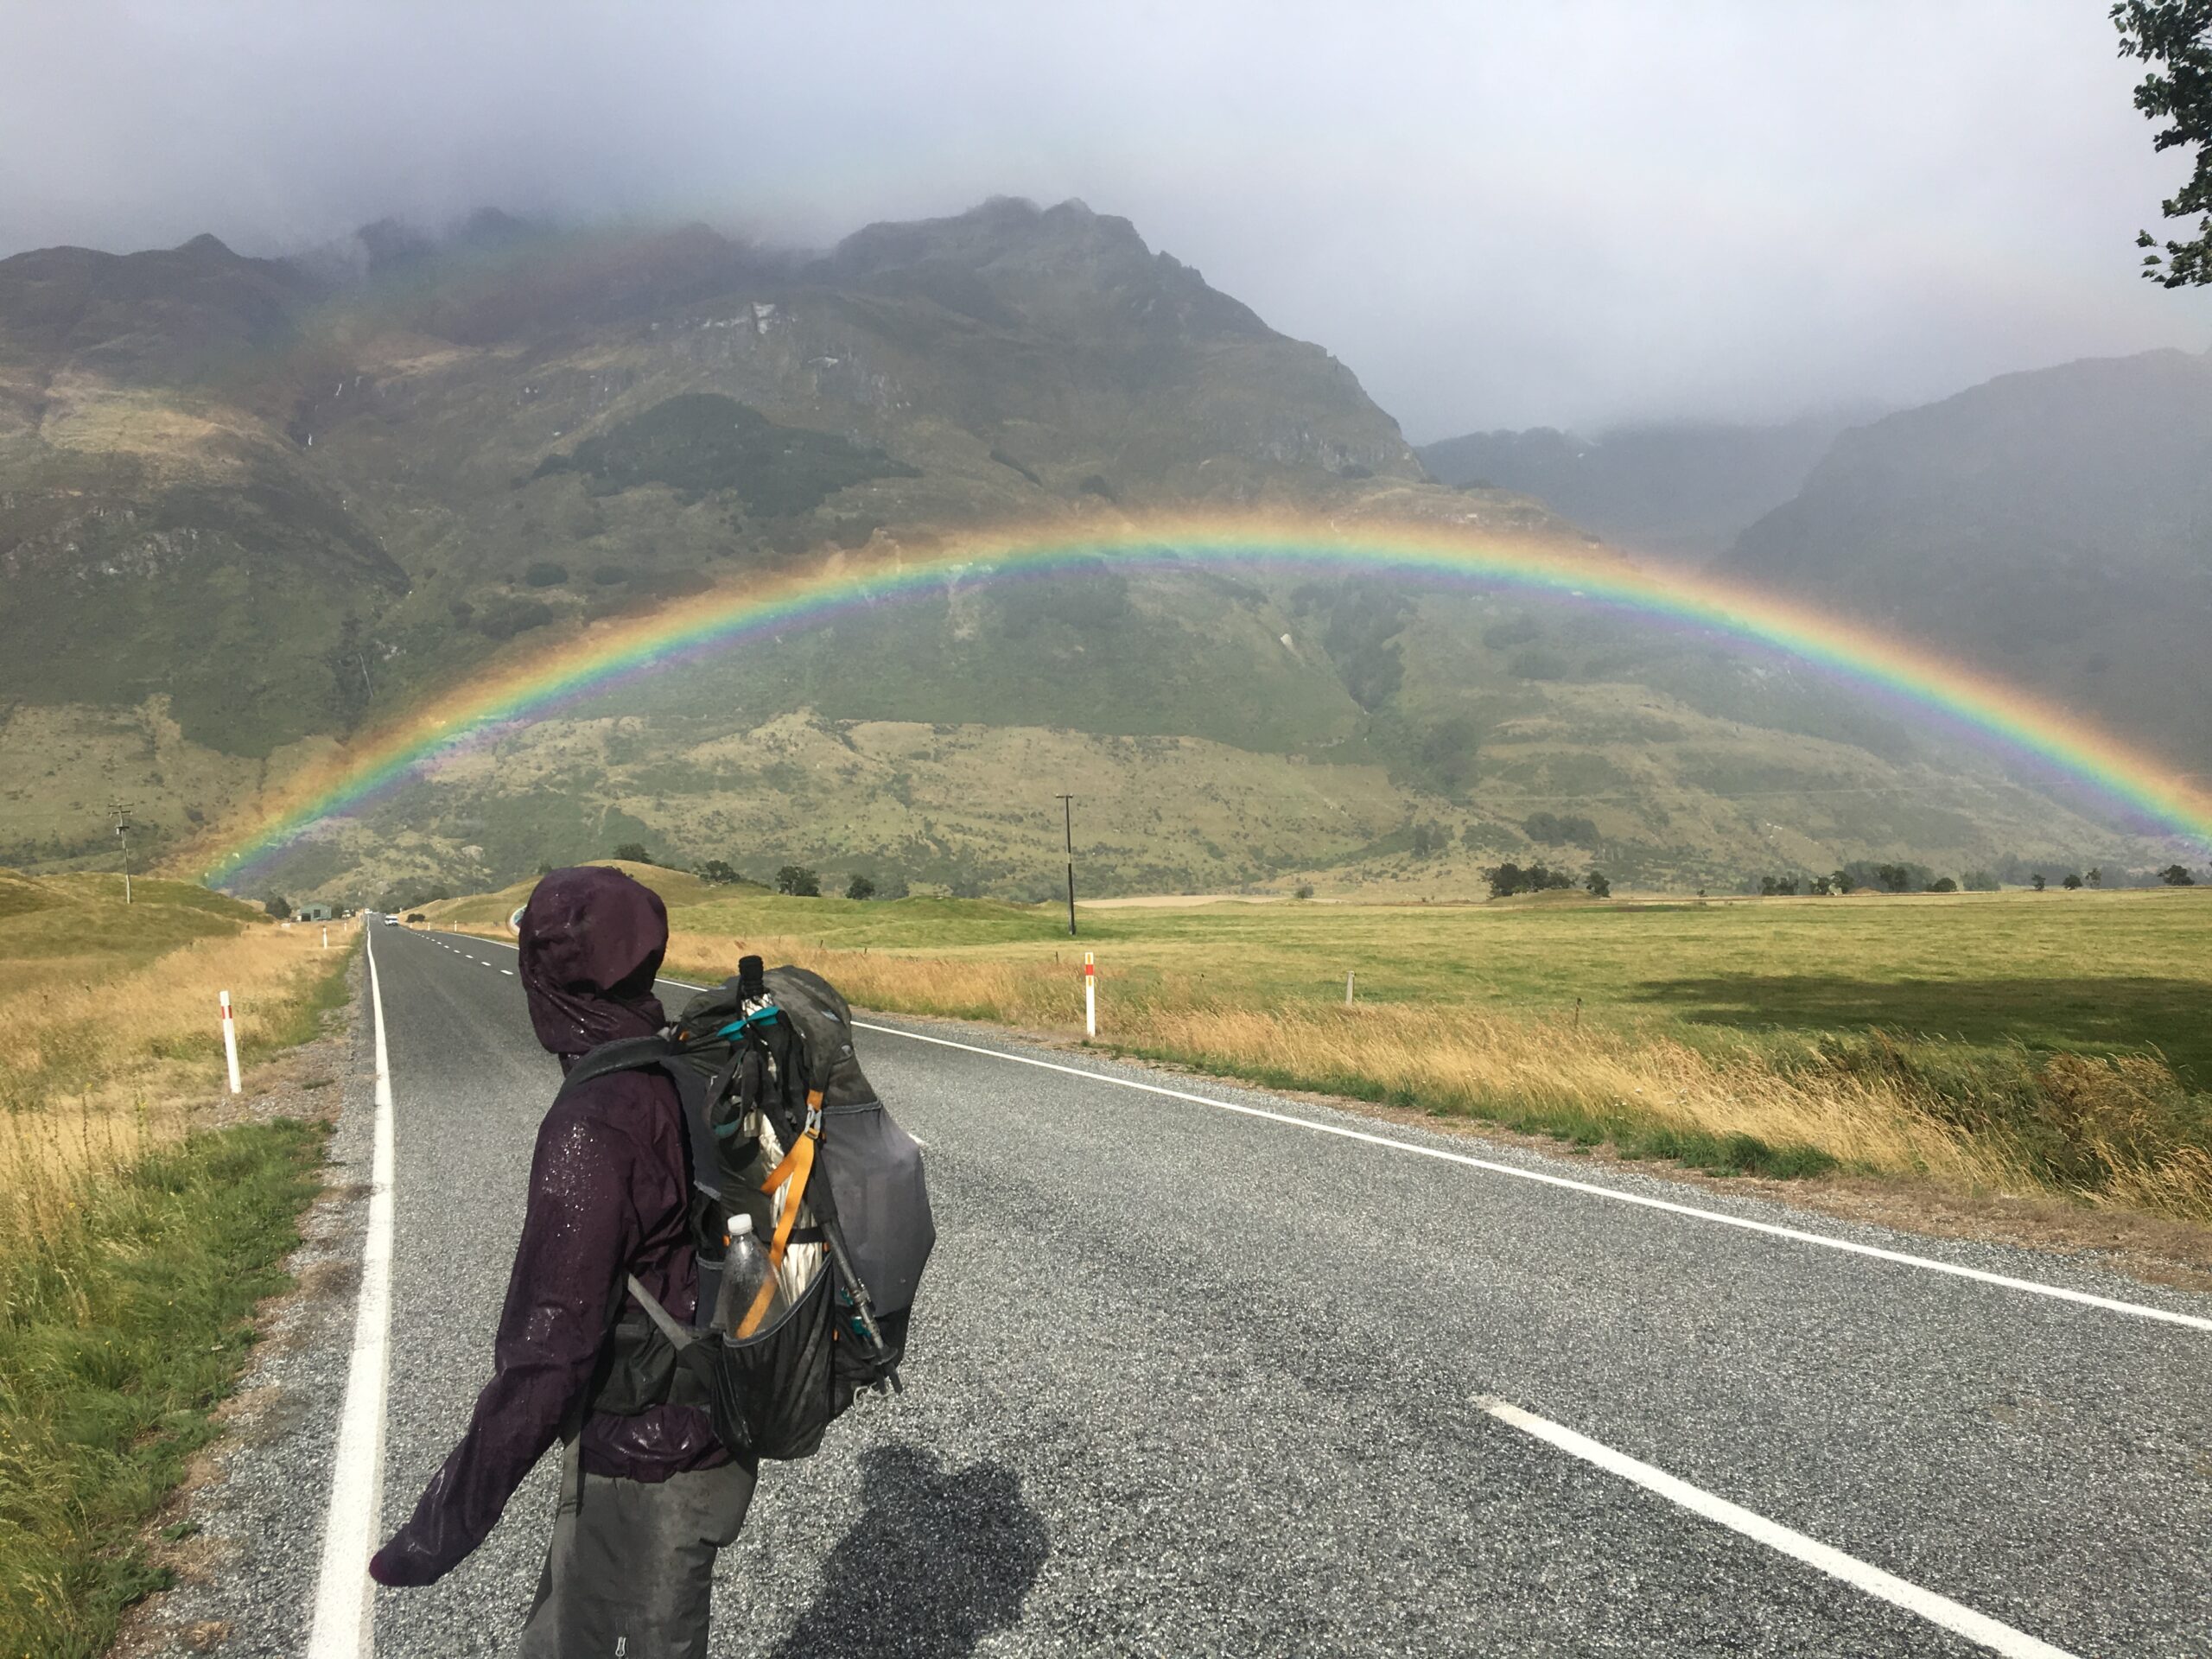
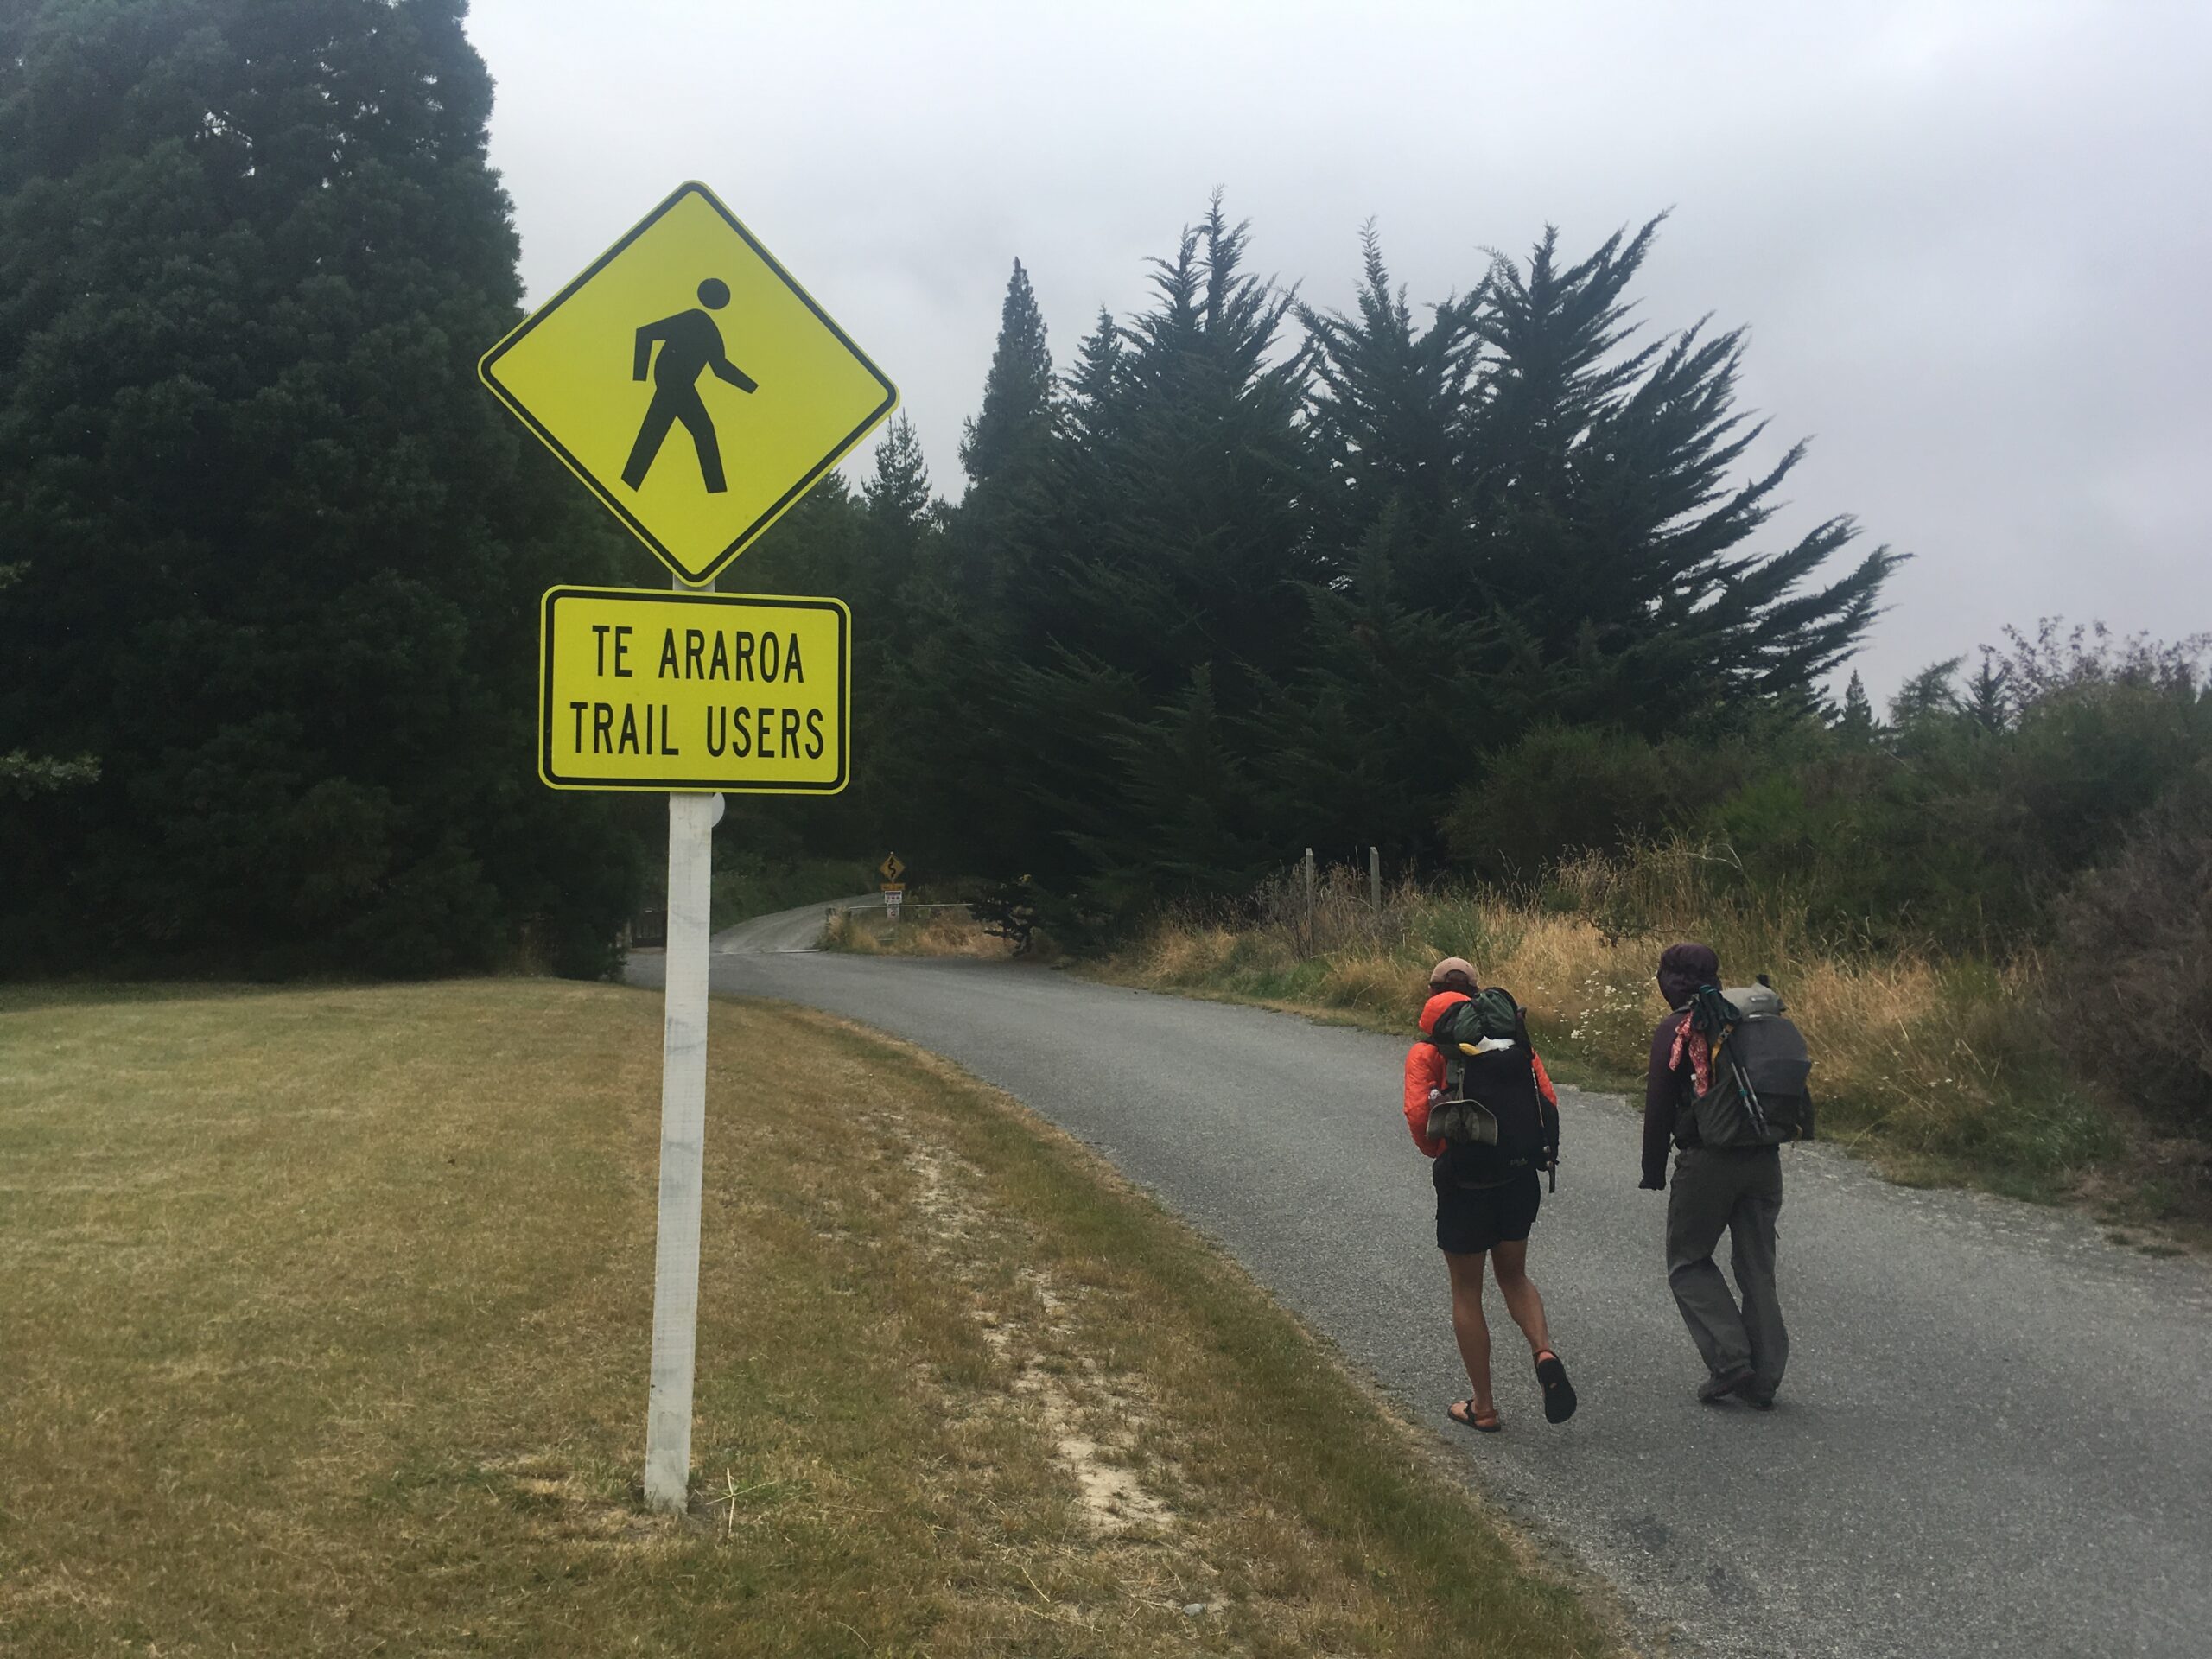
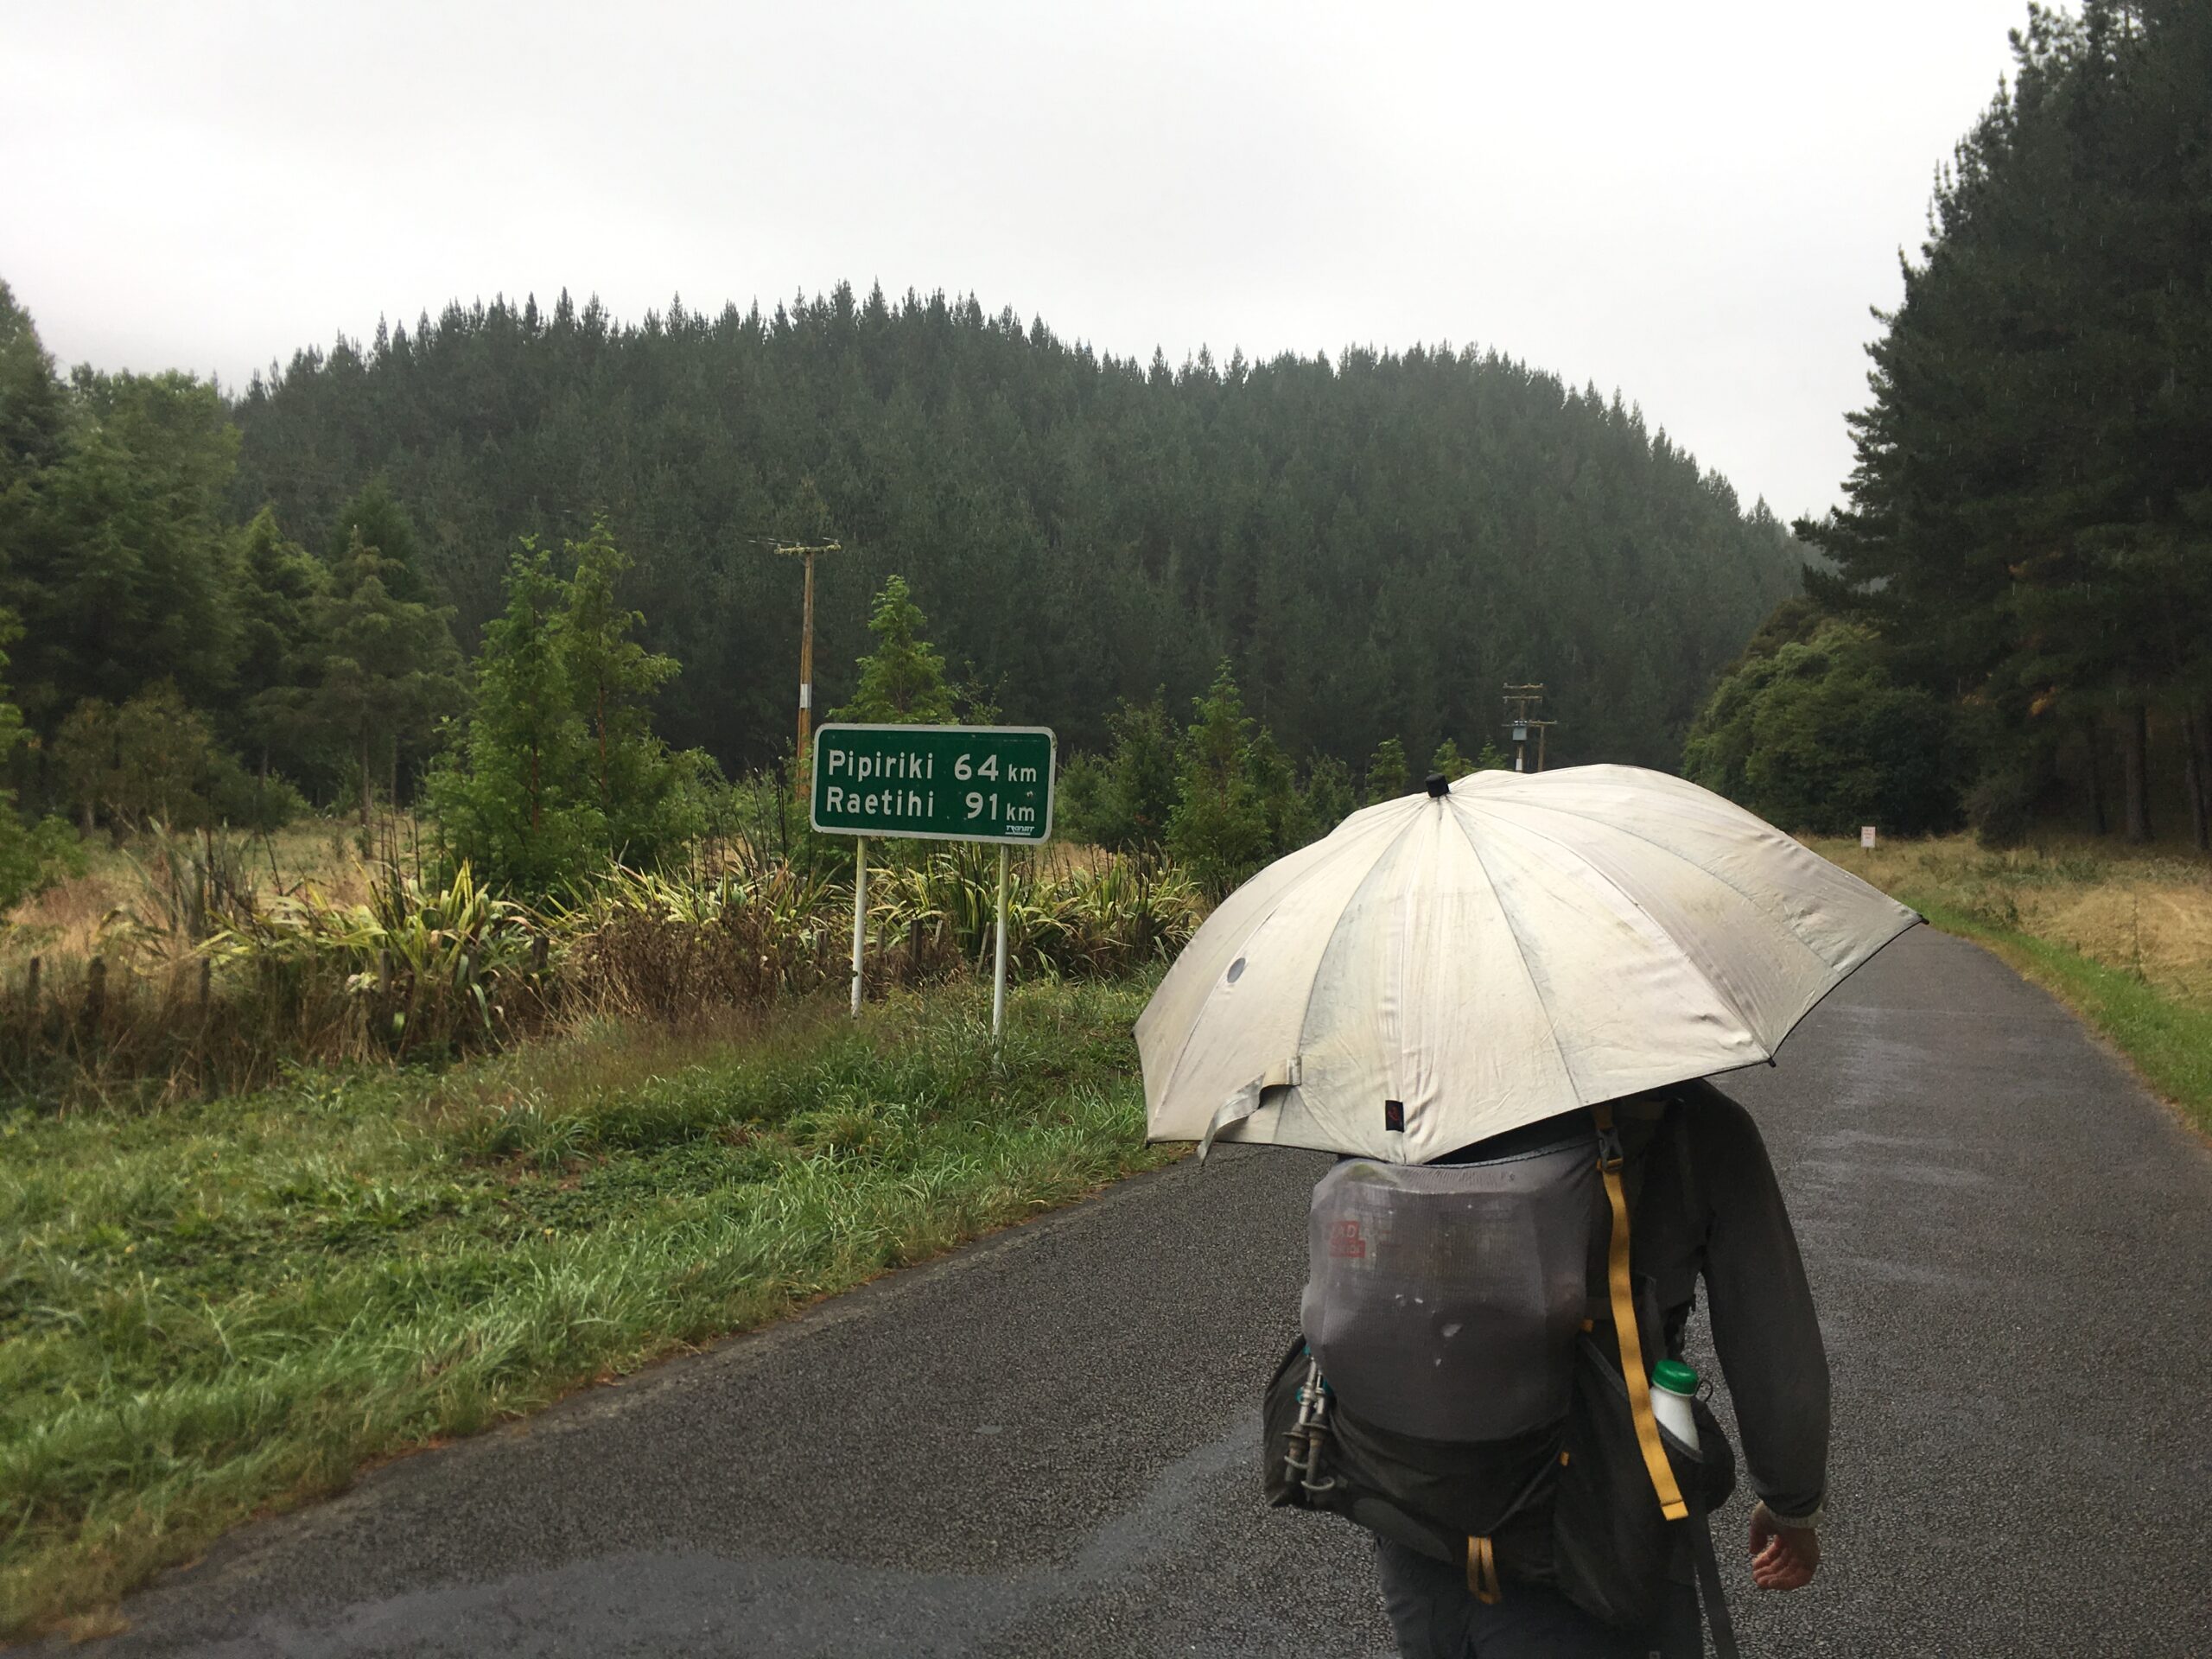
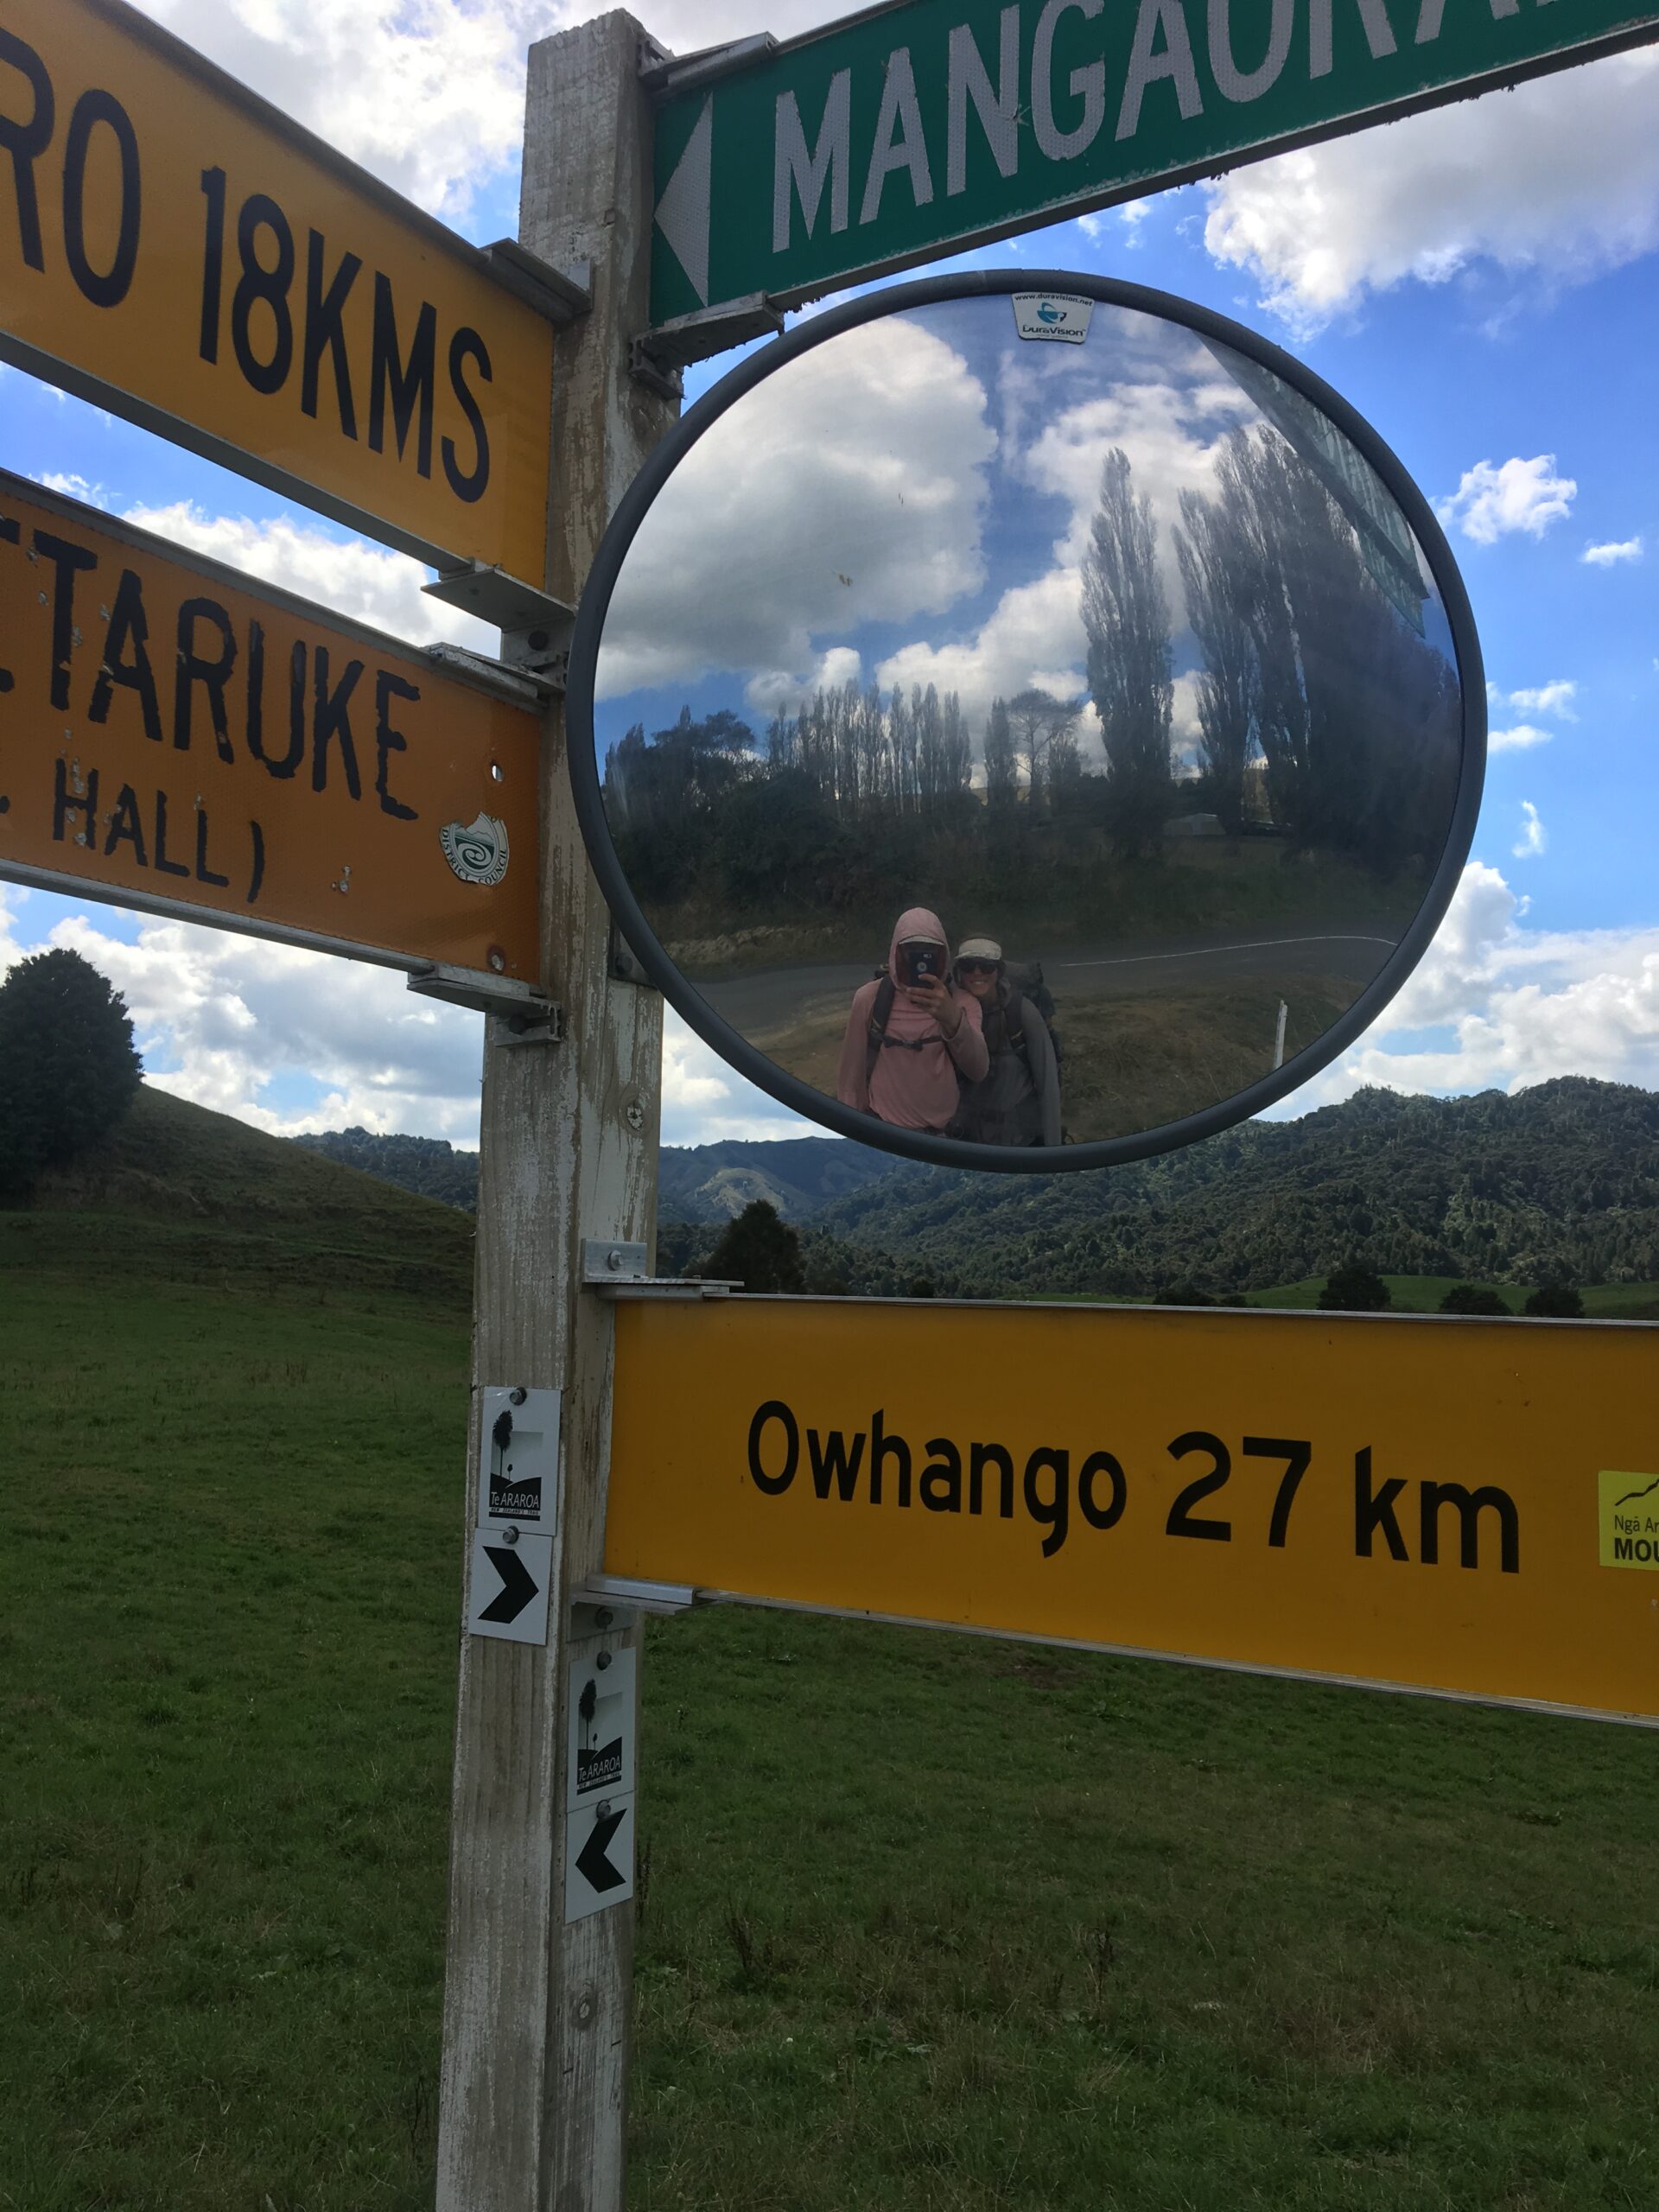
Roadwalking.
As I am sure you have heard throughout the rest of your research, there is a fair bit of road walking on the Te Araroa, especially on the North Island. Roadwalking may have been (or maybe just felt) like the most dangerous part of the Te Araroa for us. Some of the roads you walk on are windy, have blind corners, and don’t really have a shoulder. Safety wise, we would recommend that you use your personal judgment when deciding whether to walk the roads or not. Personally, we felt attached to walking the whole route and did not skip any road sections – but we don’t necessarily advocate that as the best approach for others.
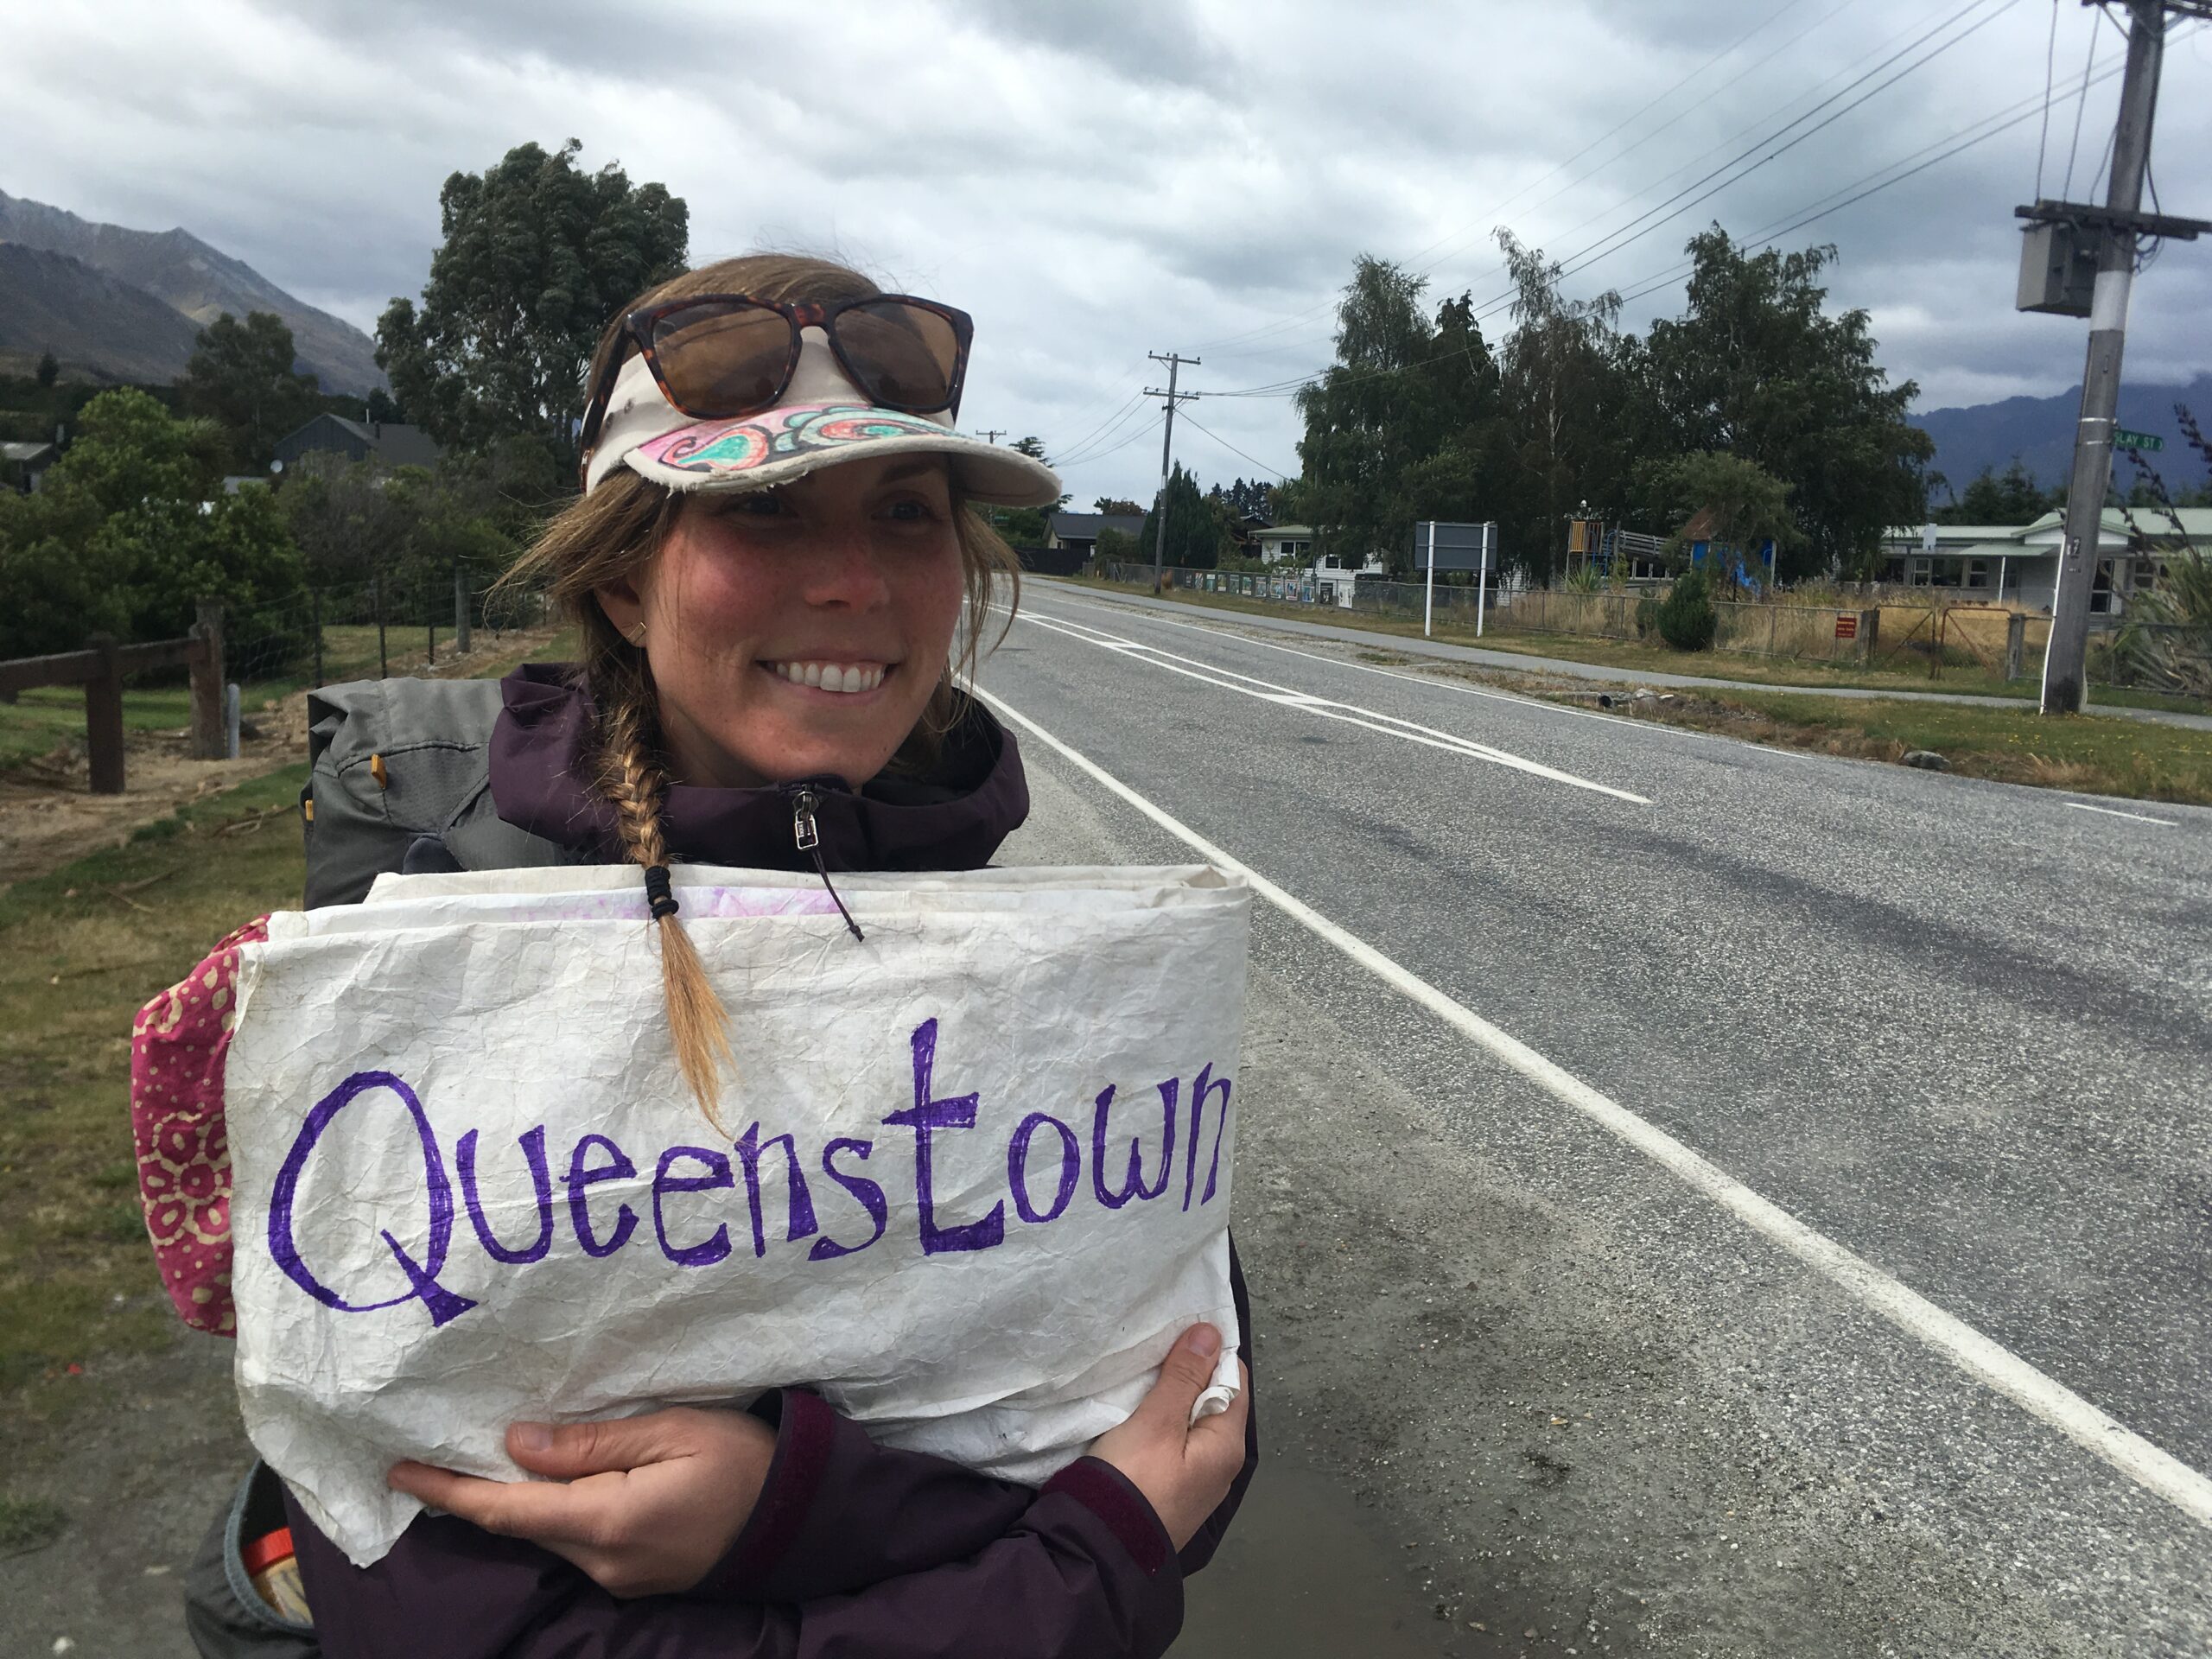
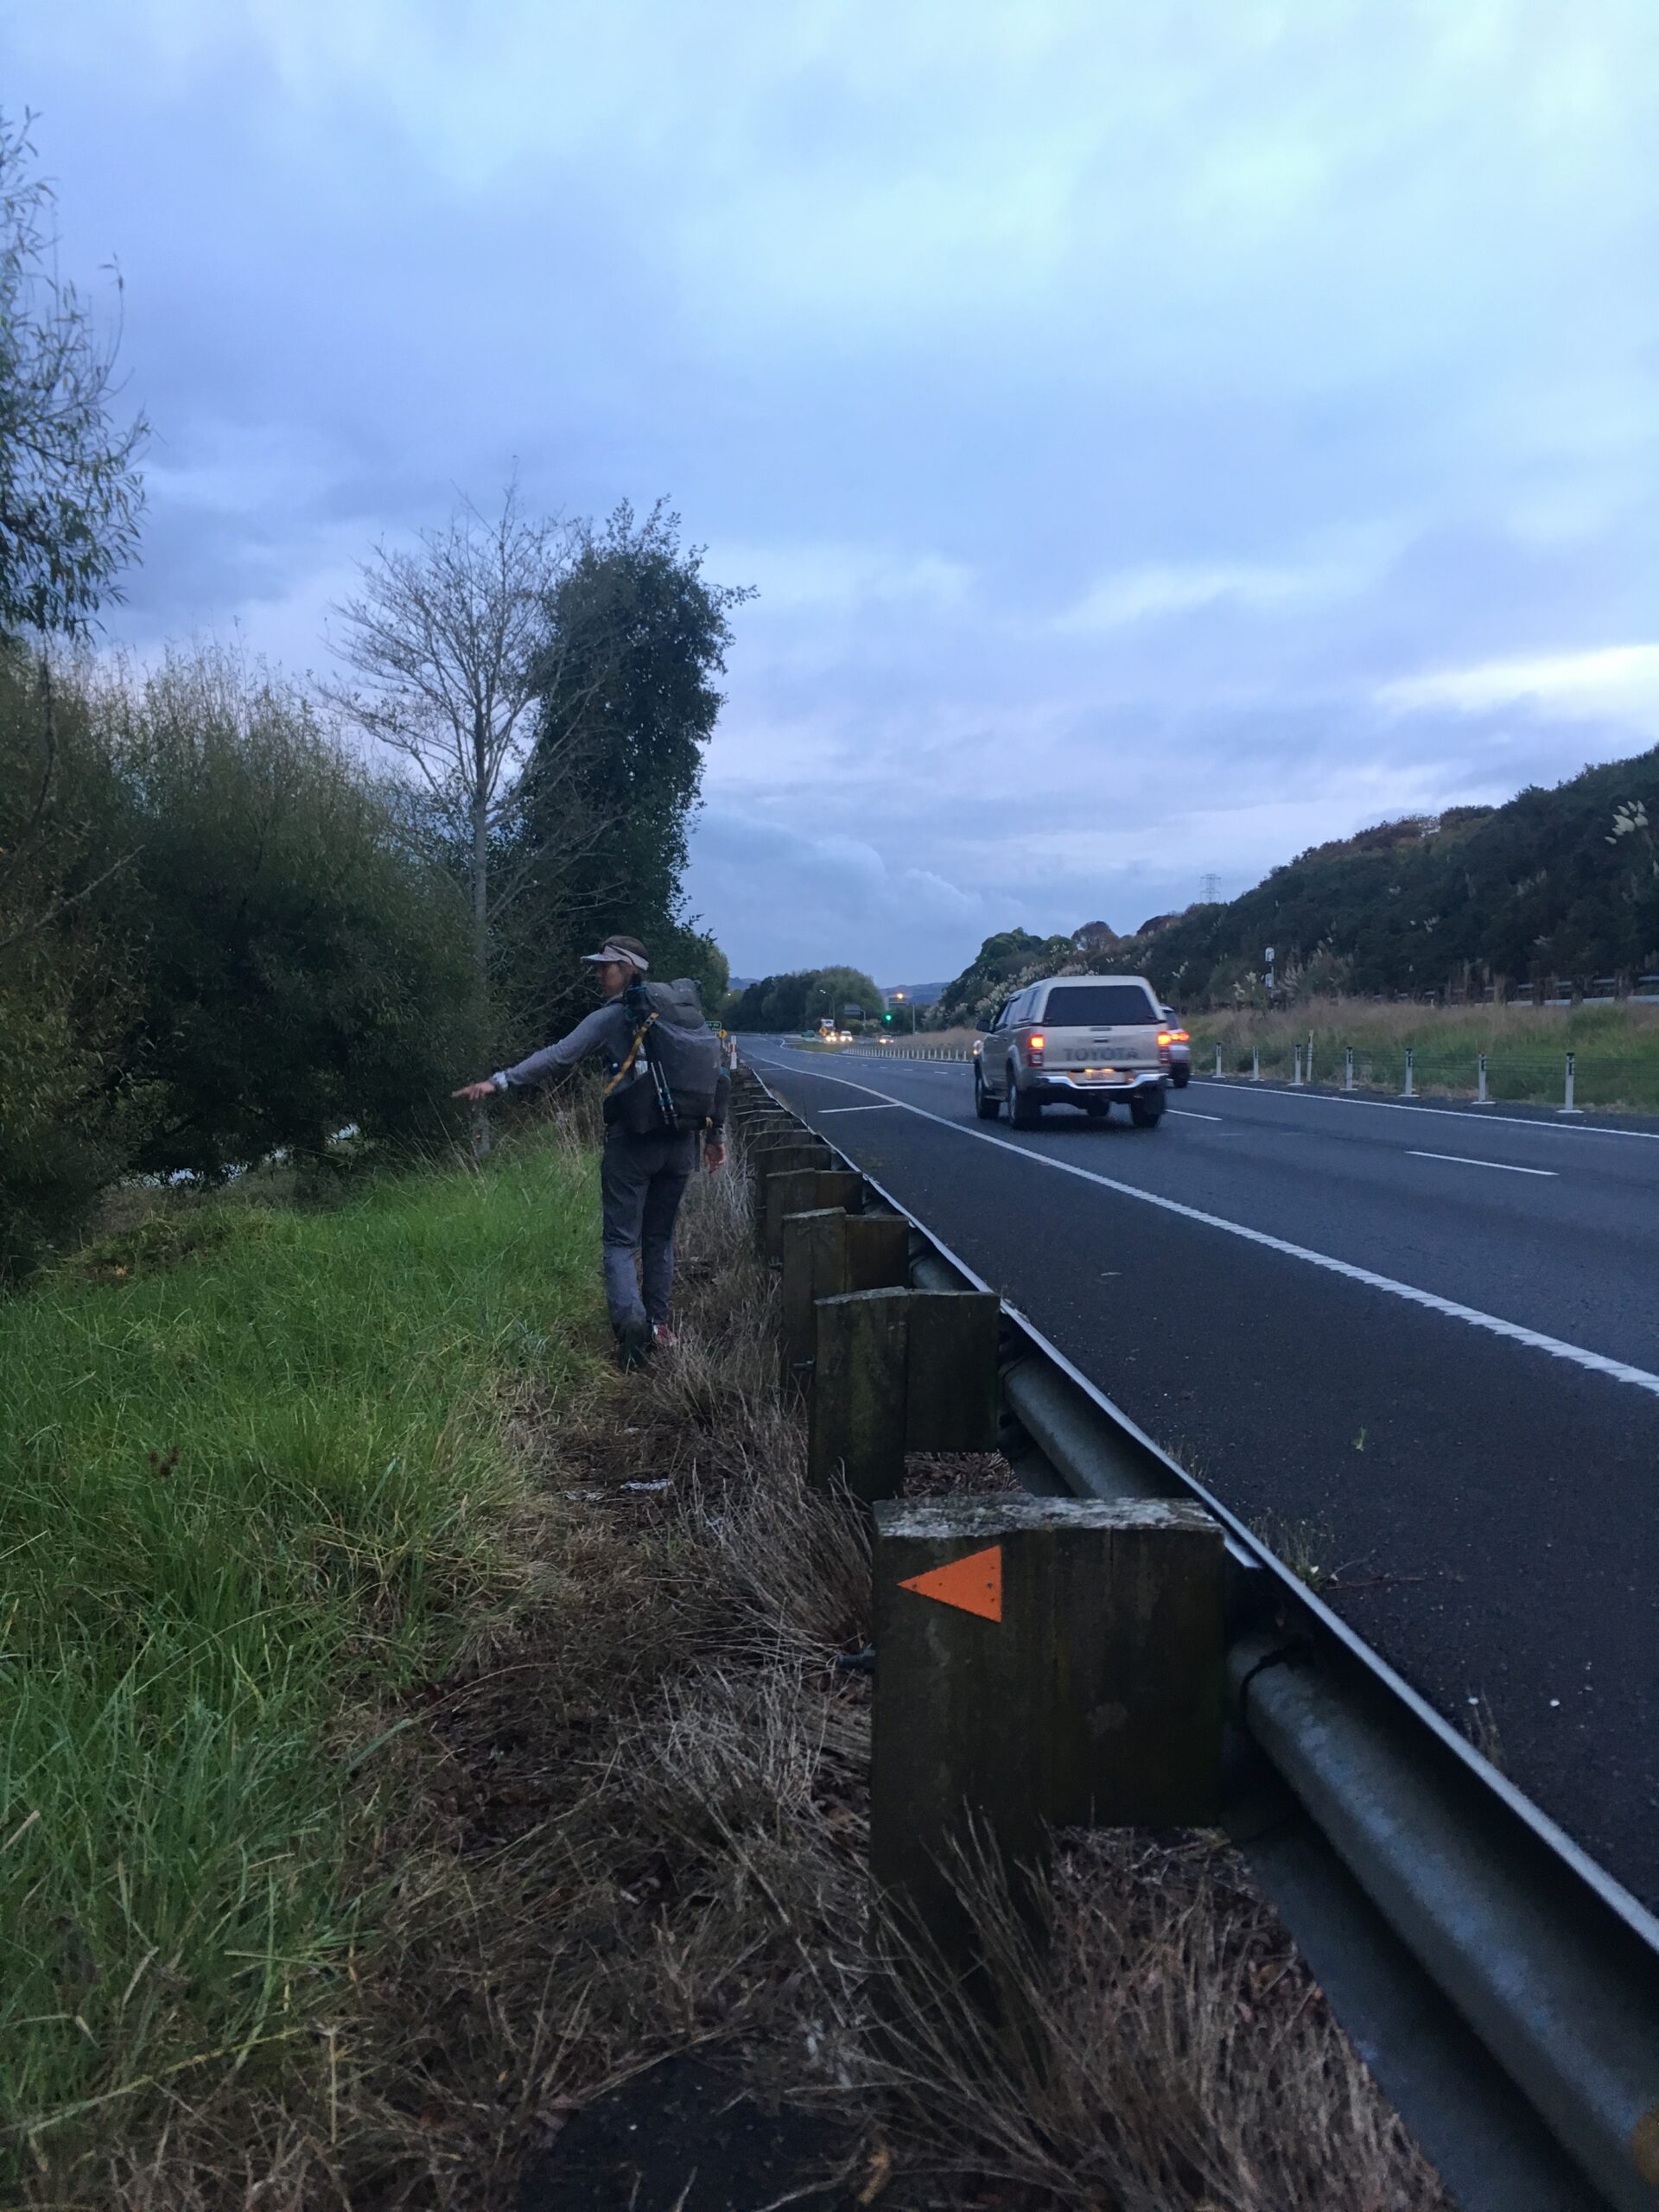
Hitchhiking.
We hitched basically everywhere when we were in New Zealand walking the TA. Everybody that picked us up was especially kind and very helpful. We did read in the Trail Notes to be careful of people driving off with your stuff – leaving you stranded on the side of the road – but this could be true anywhere. Hitchiking is naturally at your own risk. Because we were two, we were always able to stay with our stuff. Either way, just use your best judgement.
Trail Updates & Closures
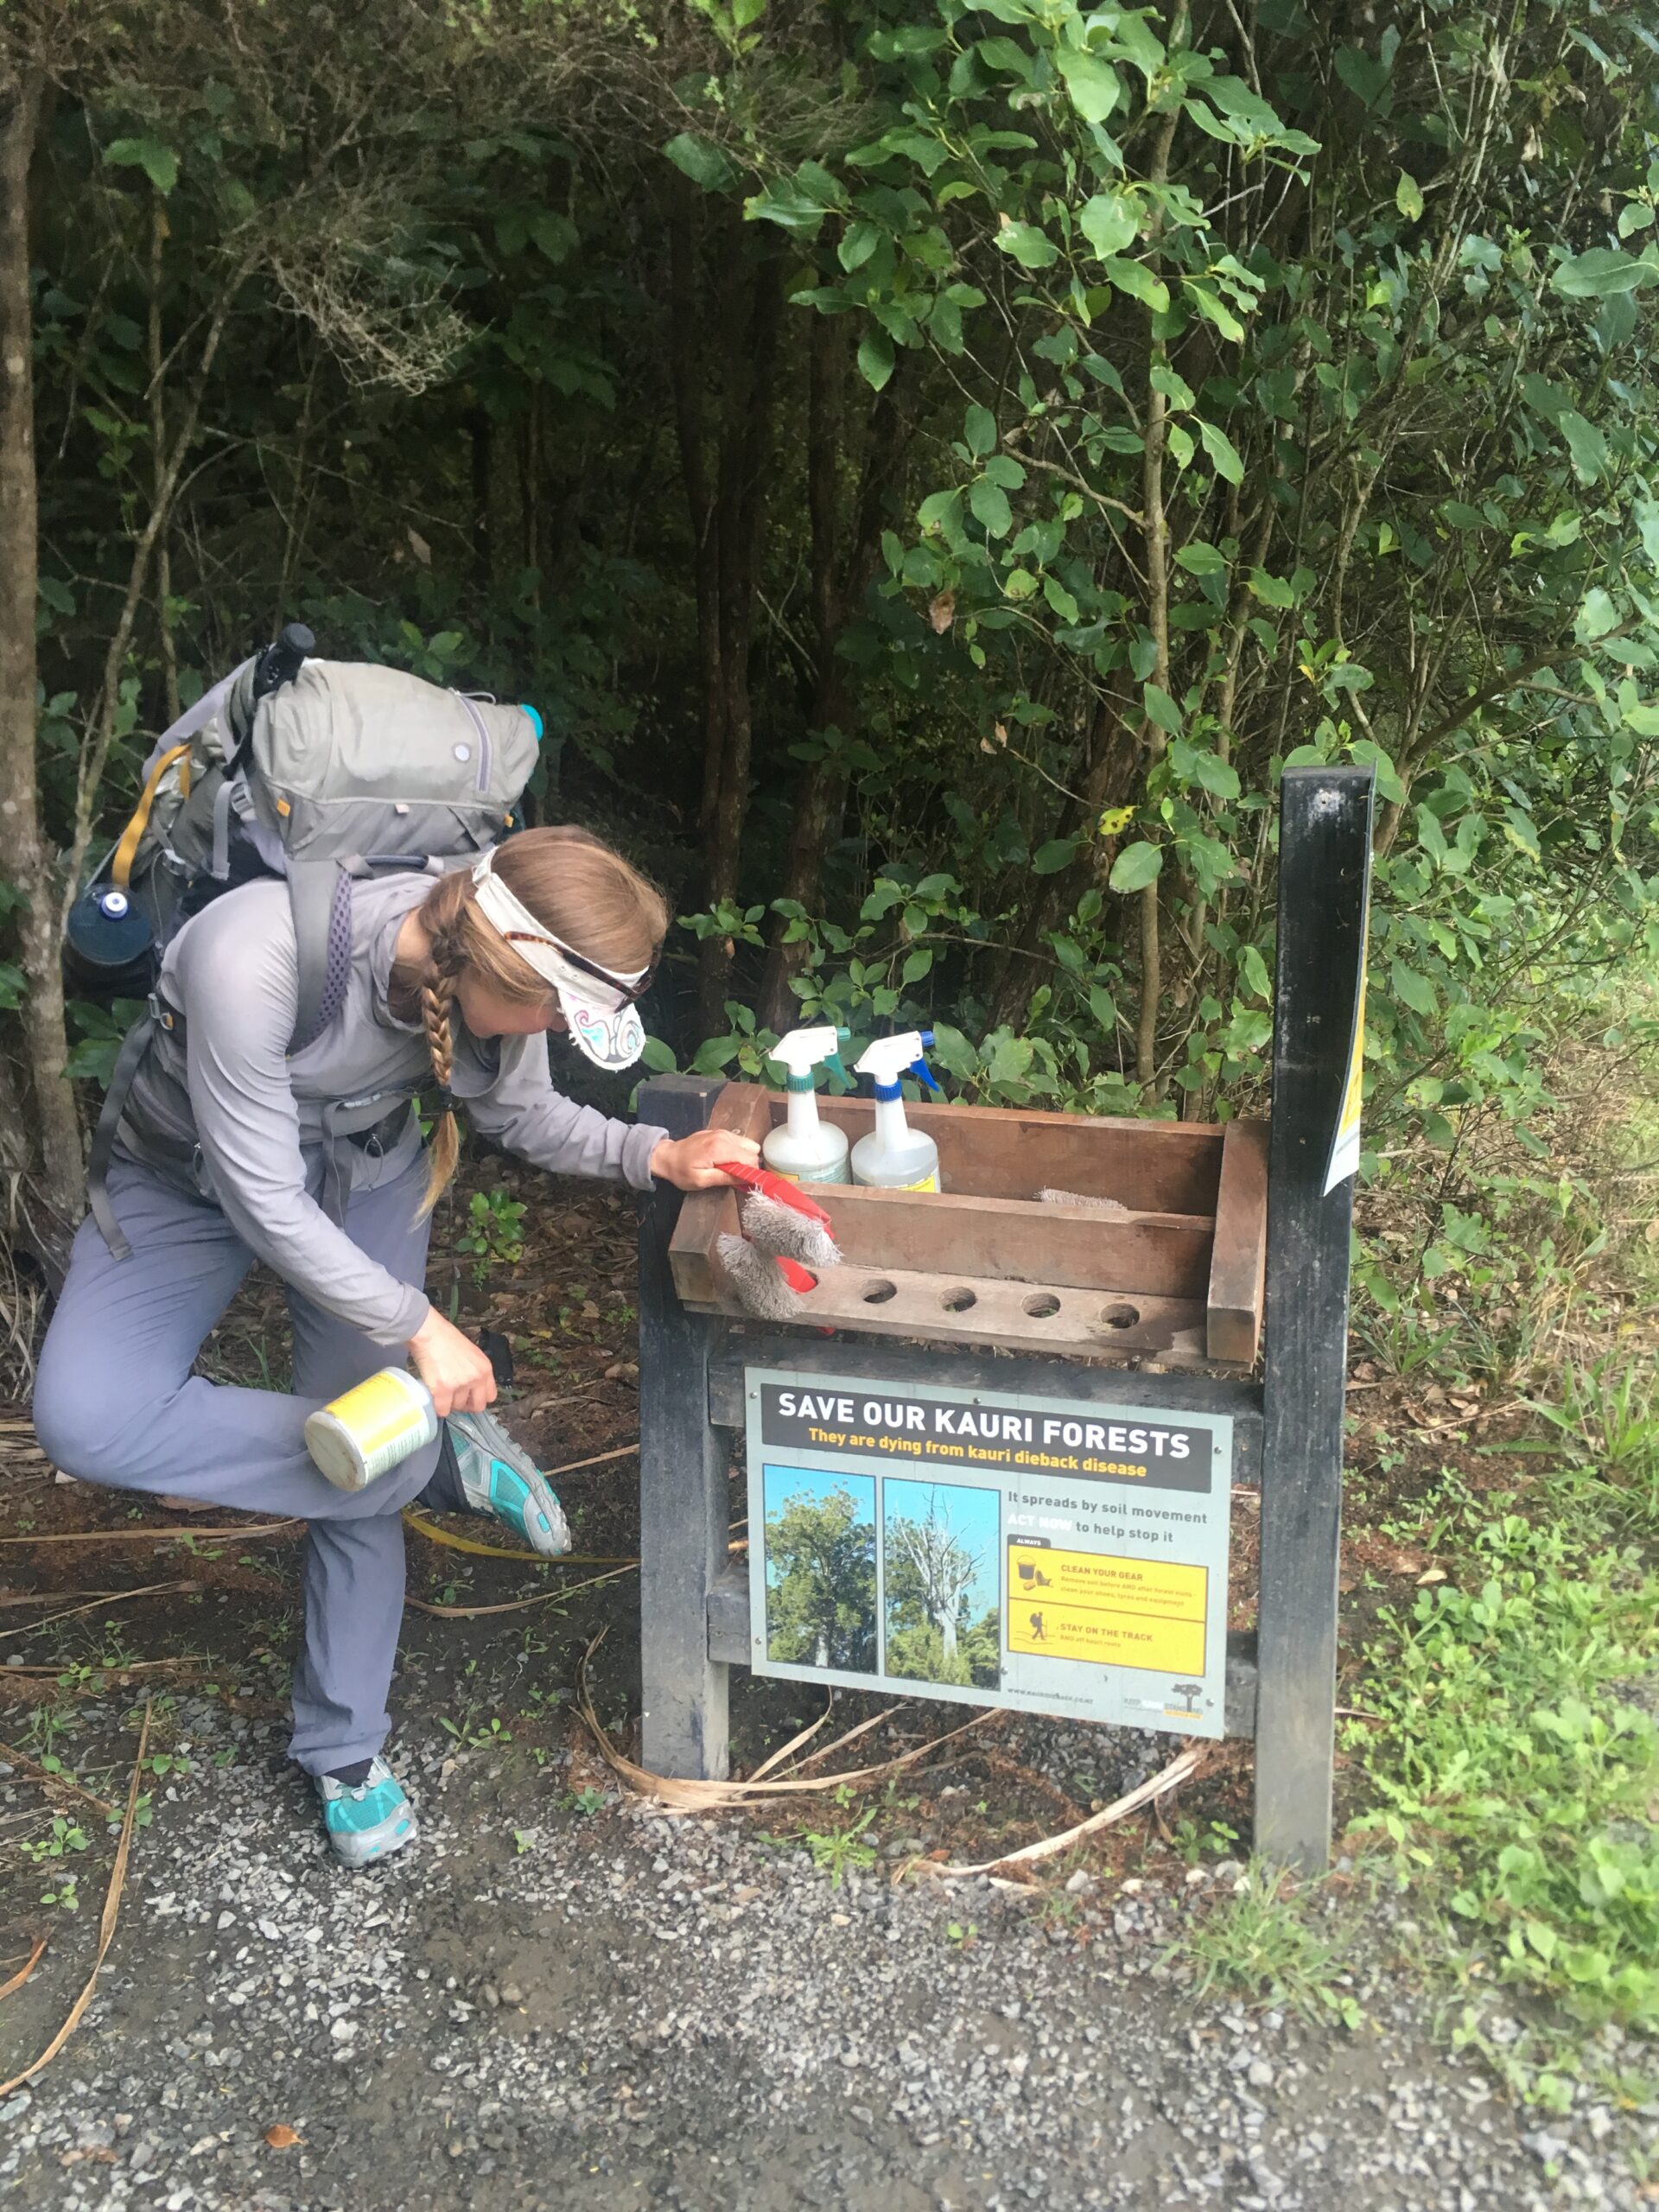
The TA Trust keeps the walking community up to date with the trail closures and reroutes through the Trail Status part of their website. We checked the website periodically, and we were also able to gather information from other people who were walking. The year we walked there were a few significant forest closures because of Kauri-die-back disease that required a long road walk around.
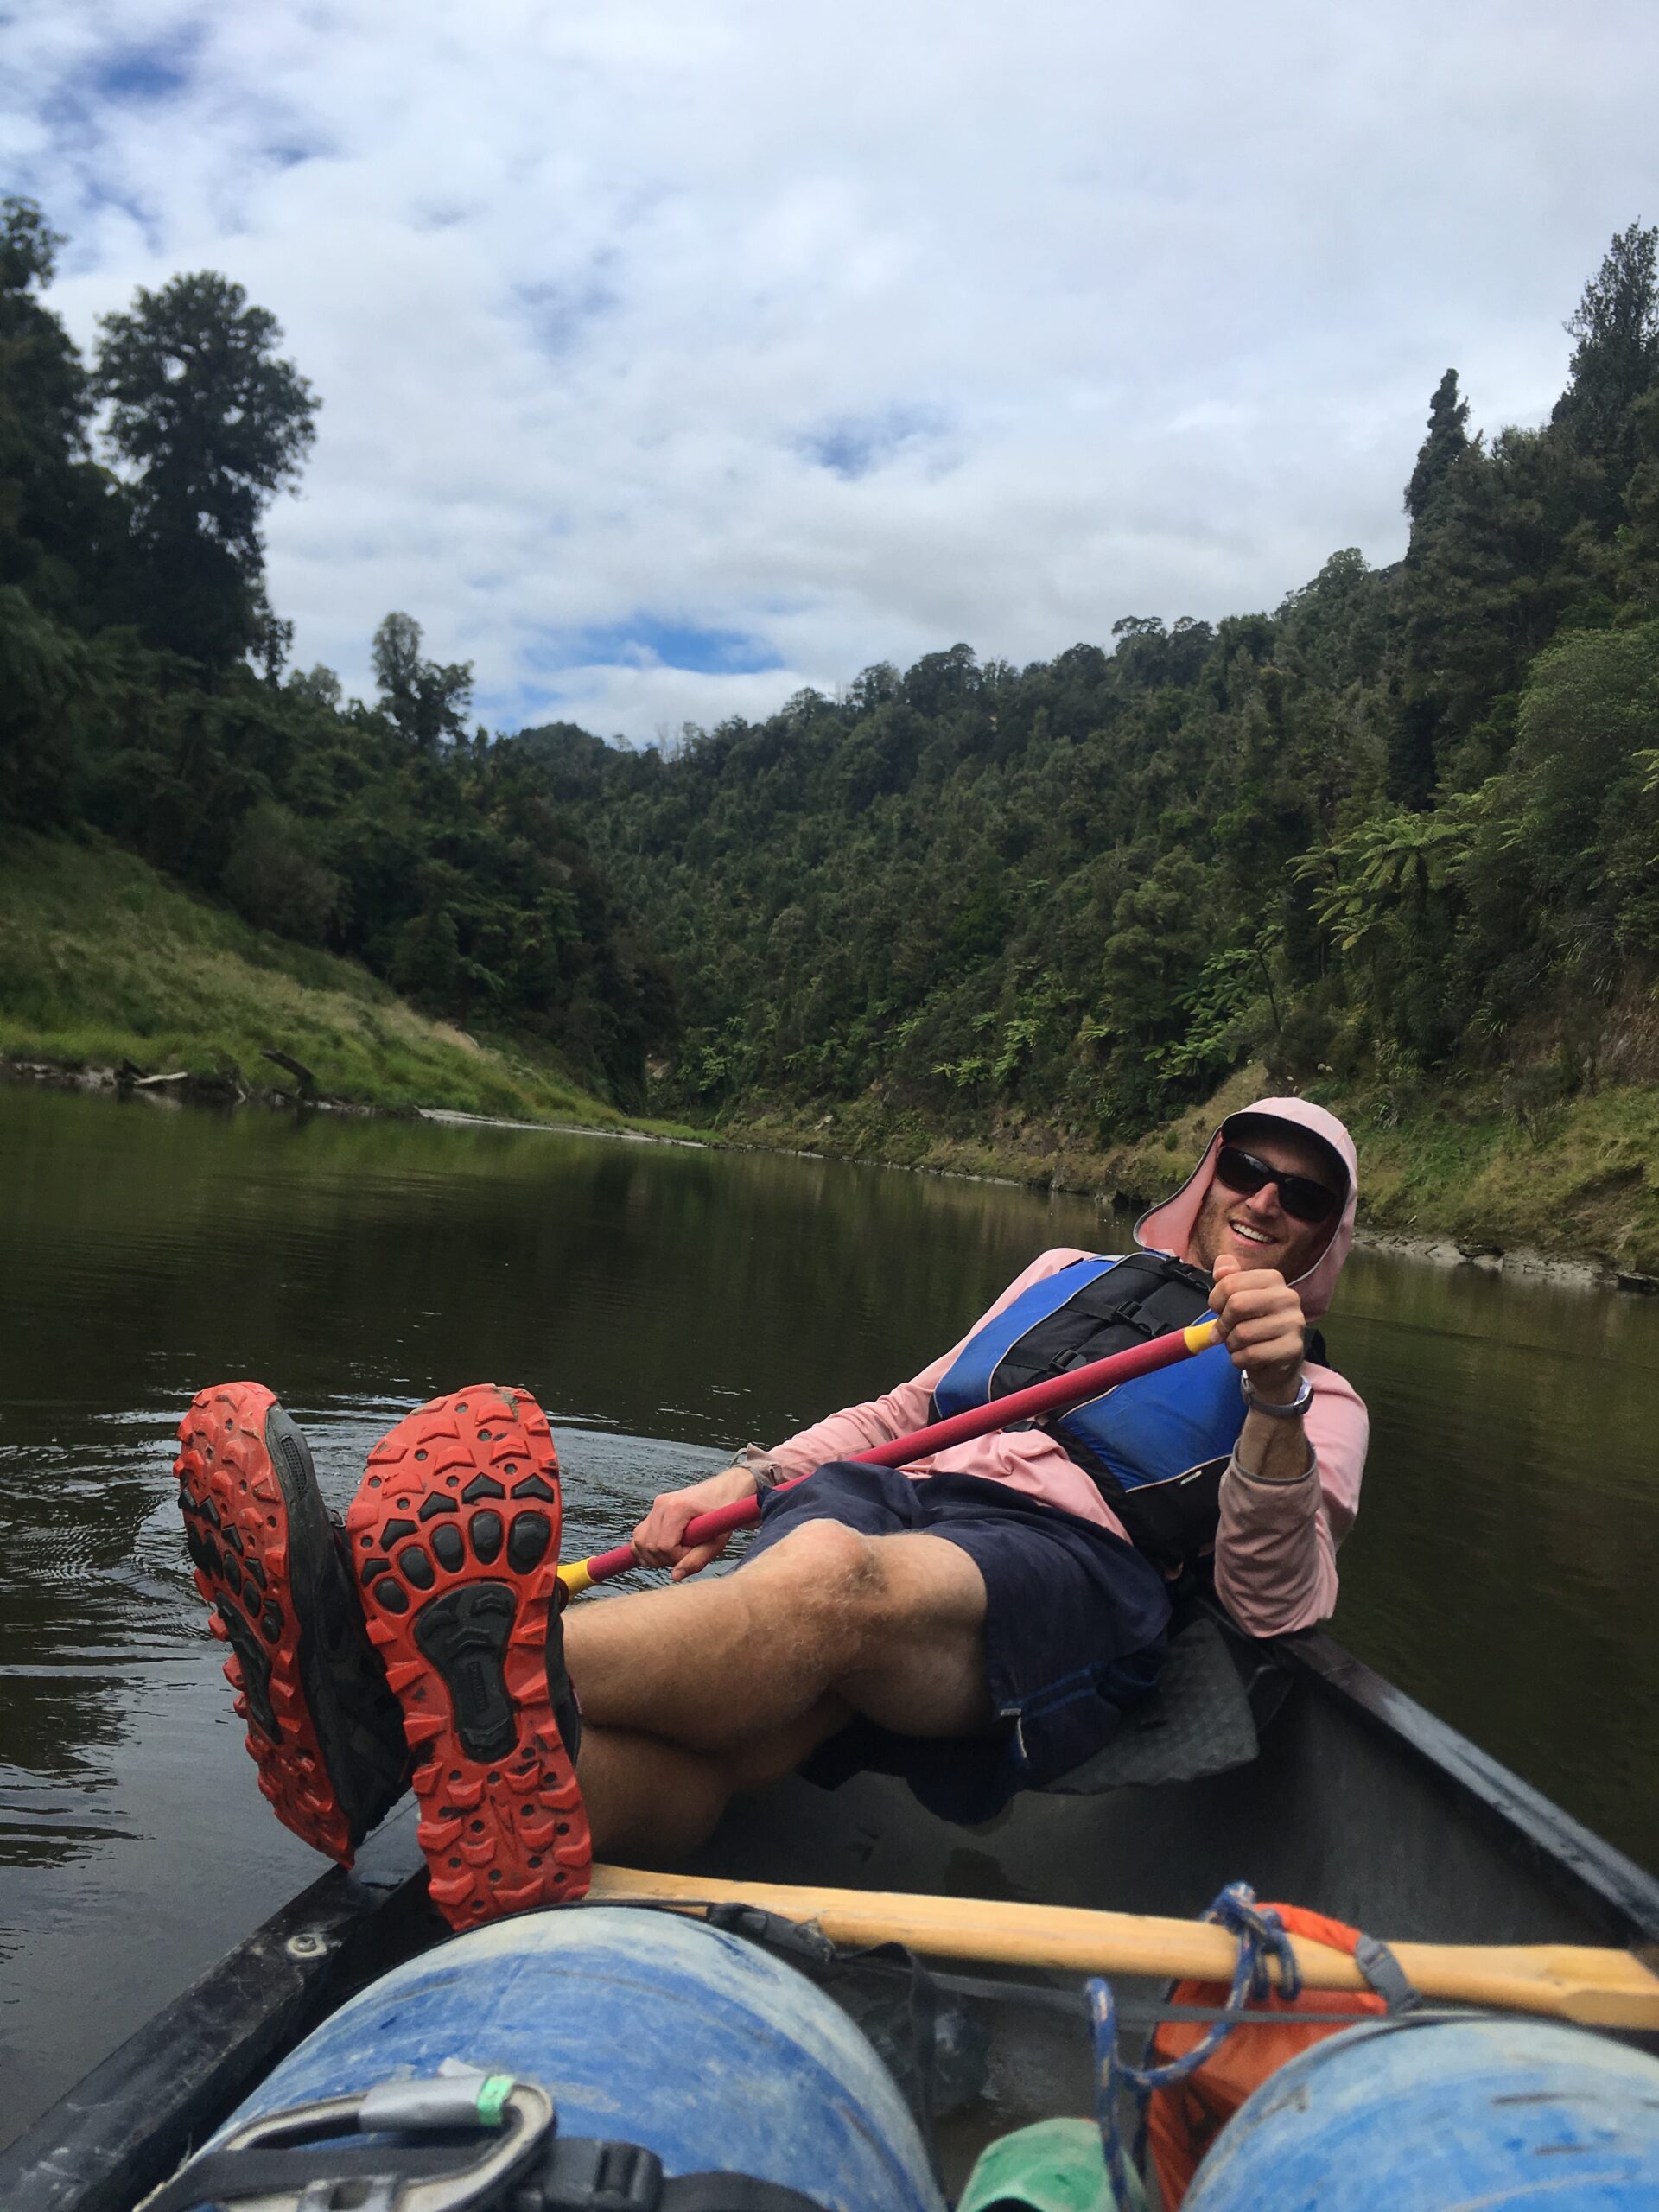
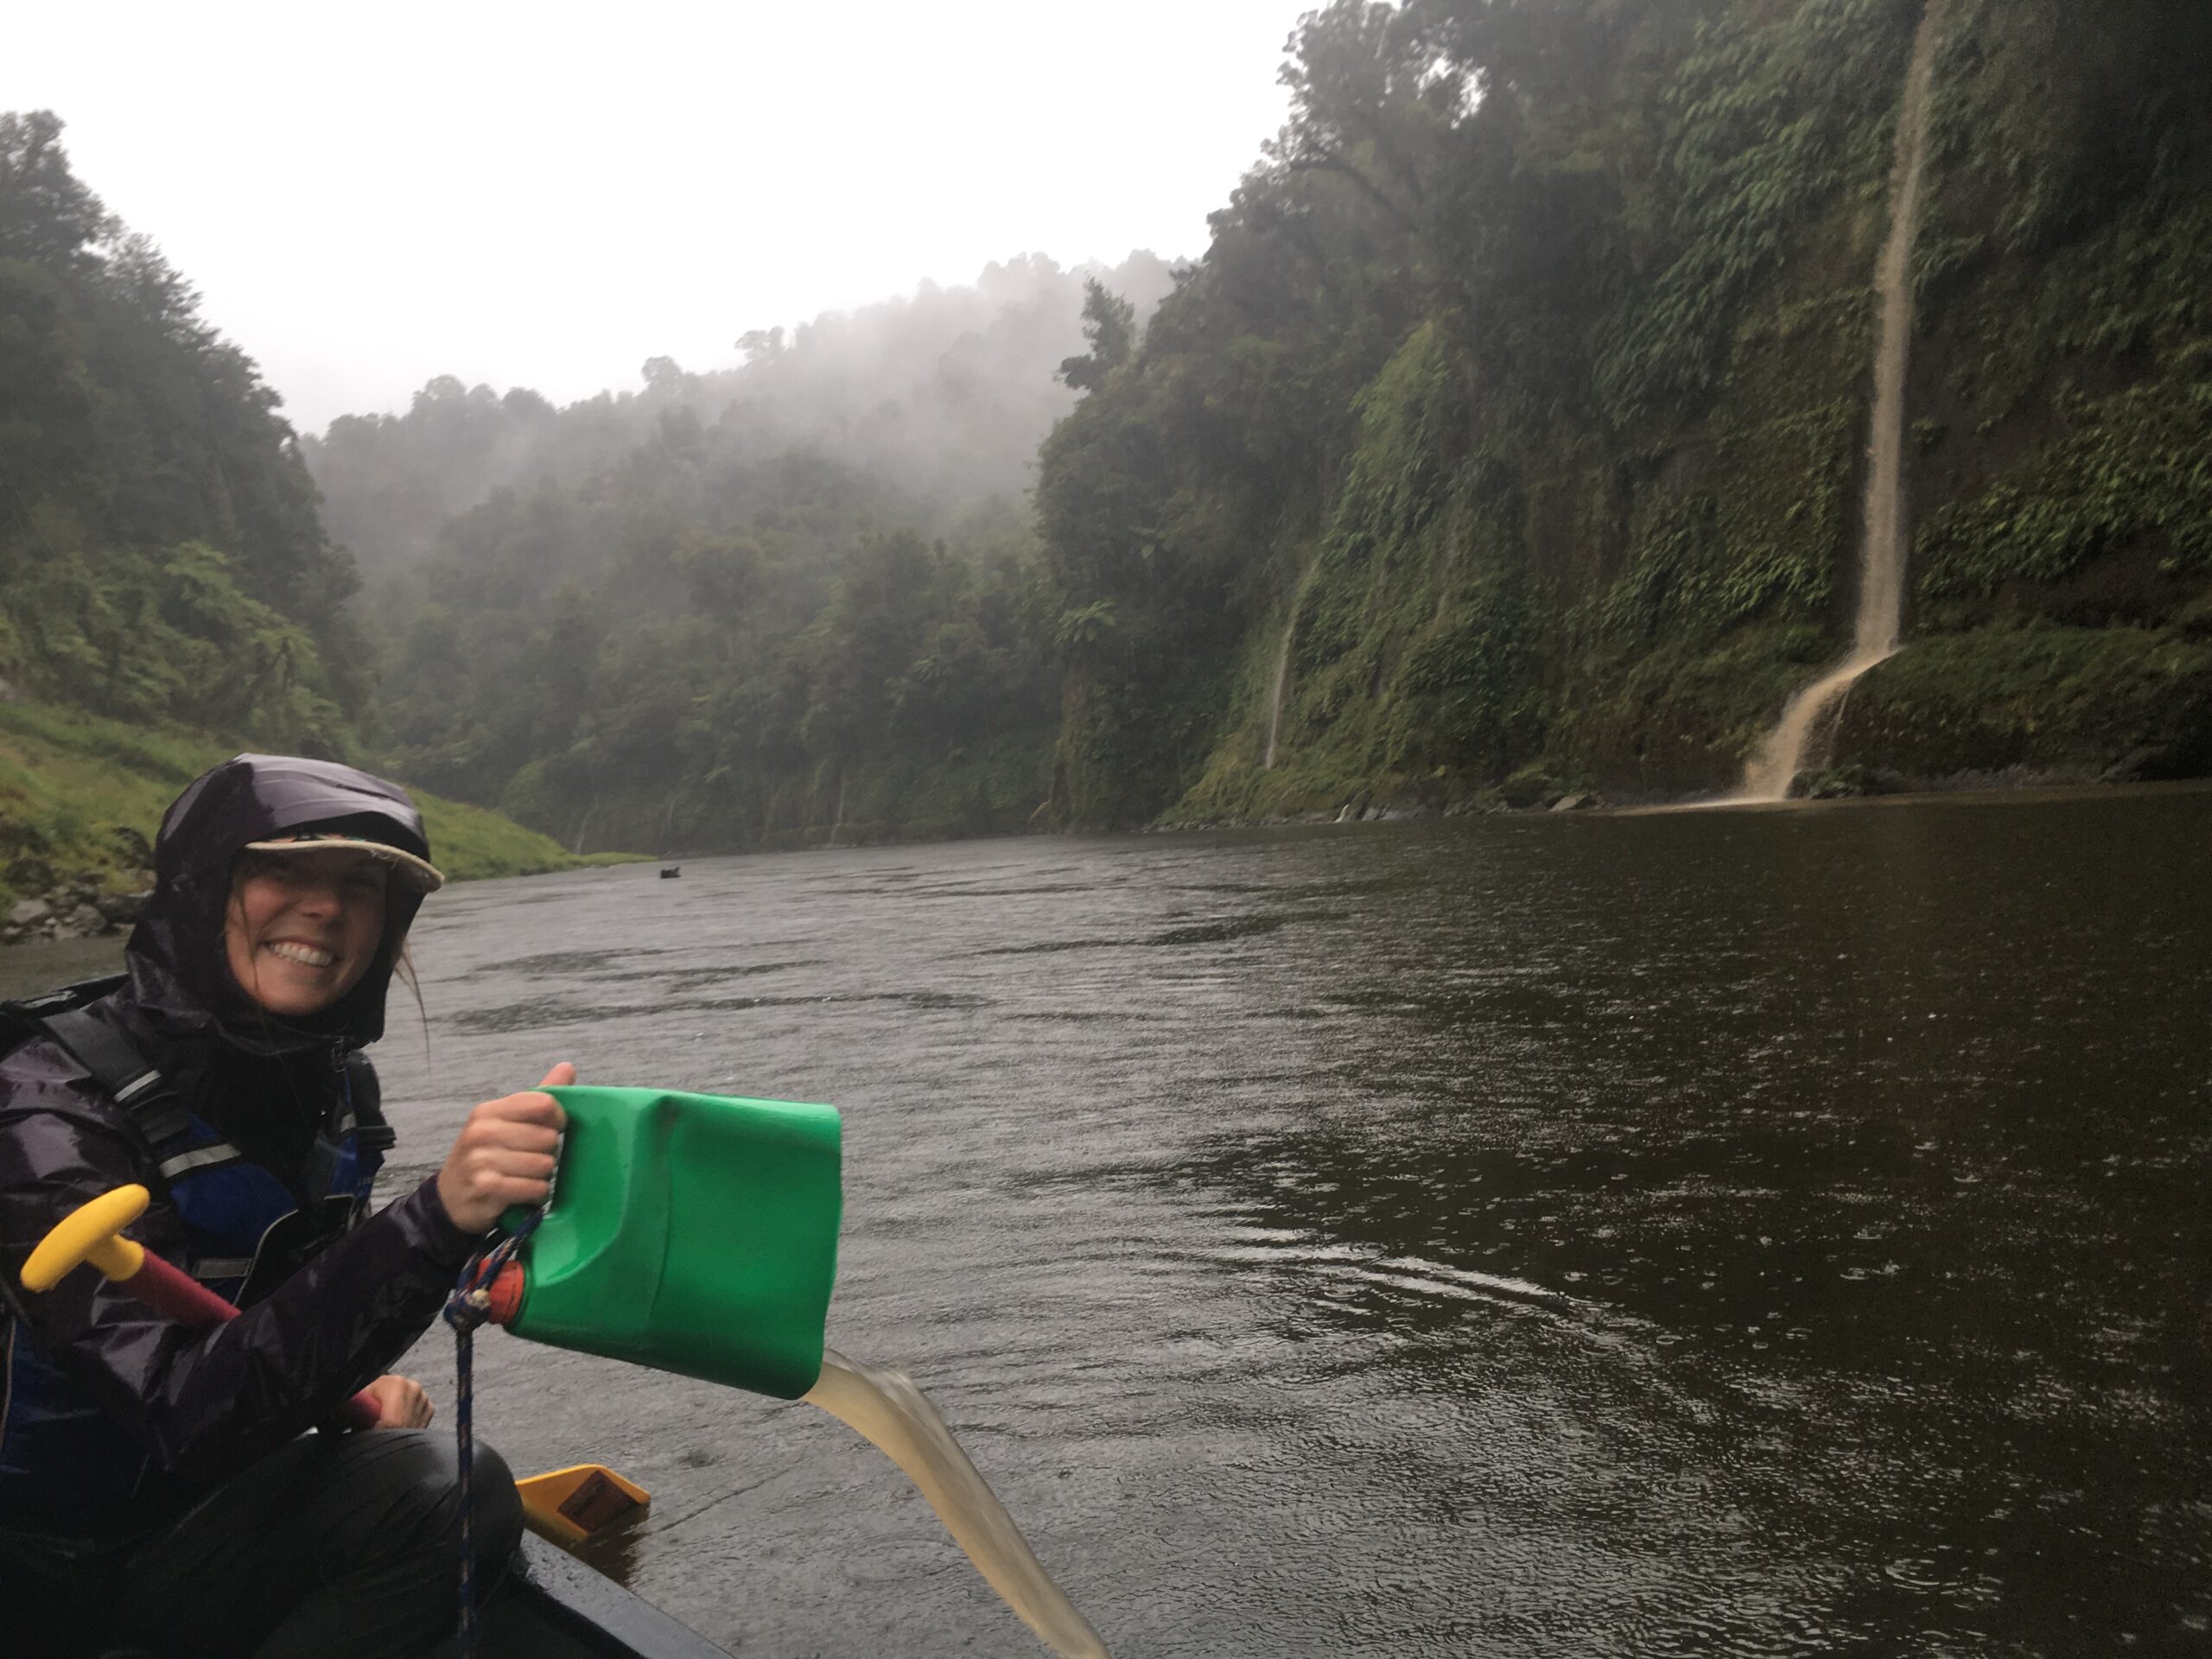
Paddling the Whanganui River
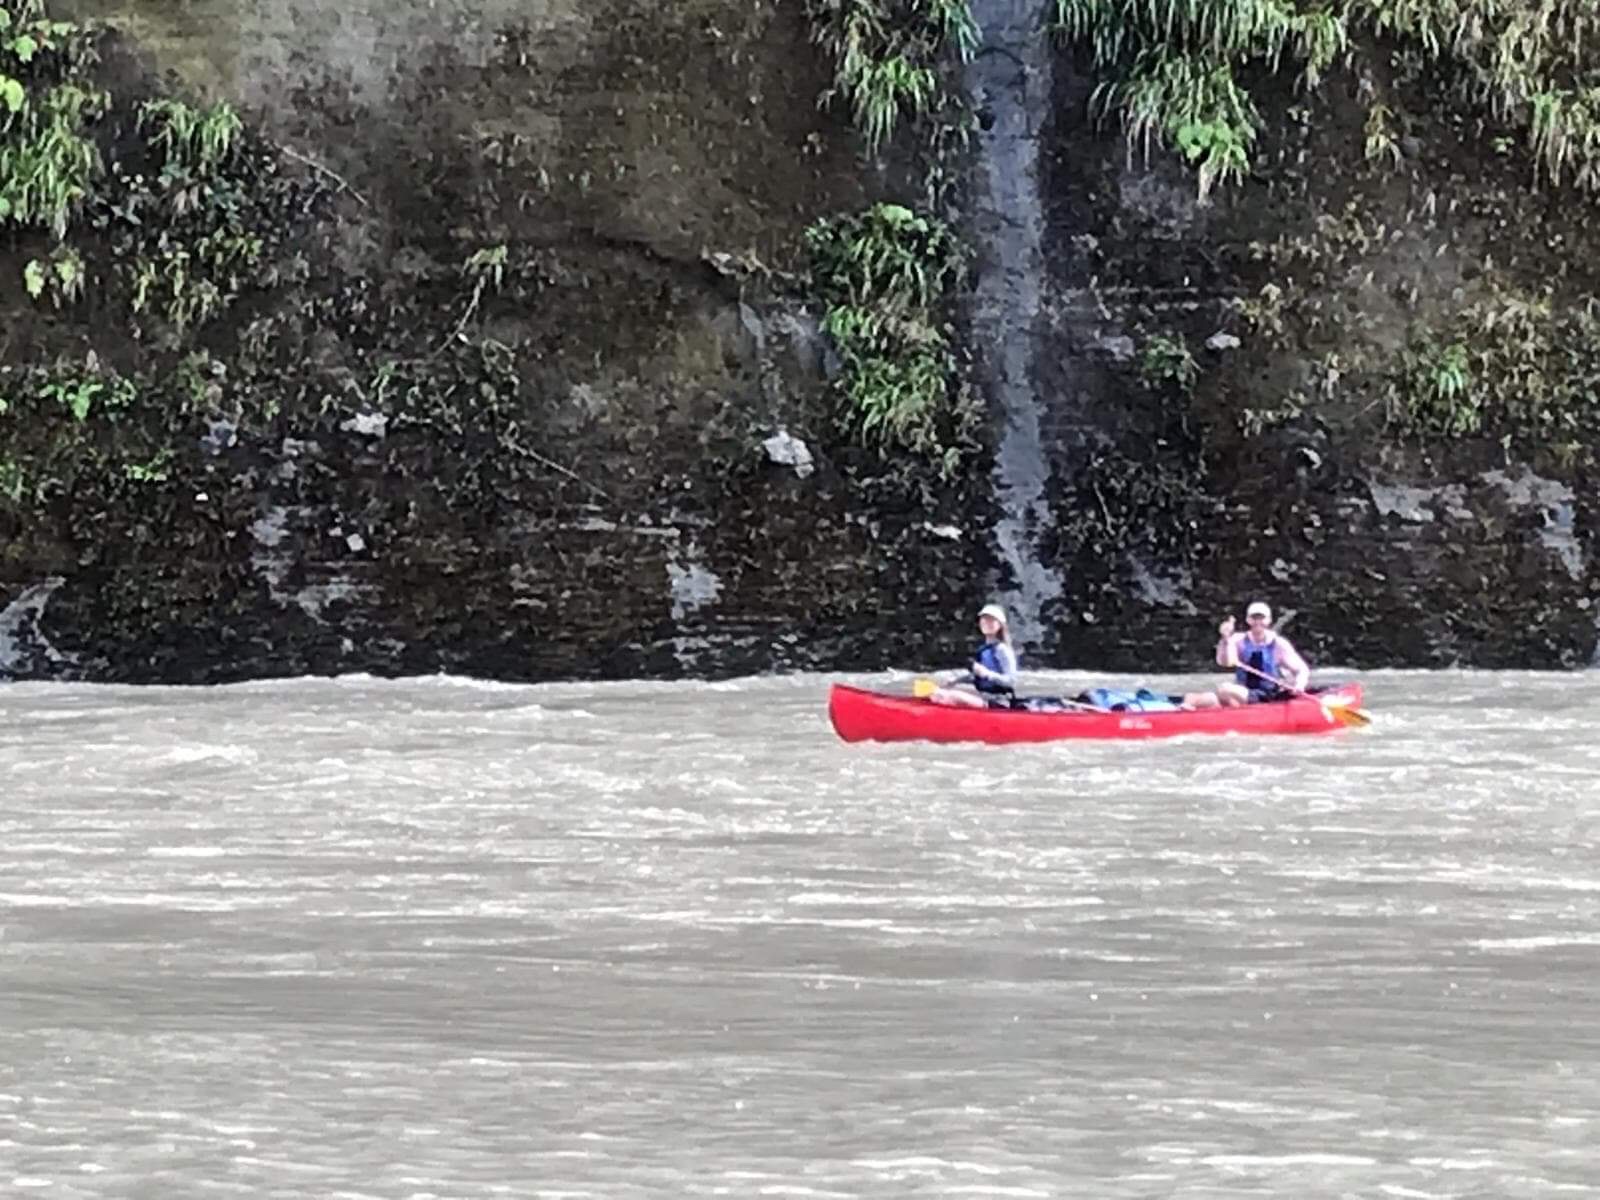
There is a part of the Te Araroa where you have the option of paddling down the Whanganui River or walking a trail through Whanganui National Park. If you opt to walk the section through Whanganui National Park it will still require that you get a jet boat ride to the start of the trail at the Bridge To Nowhere landing from Pipiriki. It seemed helpful to have two people to paddle the Whanganui and it gets cheaper the more people you have. It may be worthwhile to connect with other walkers who are planning on a Whanganui River Journey if you also decide to paddle this section.
We paddled the Whanganui River as Northbound walkers and used the company Whanganui River Canoes. They are a small family owned operation and were extremely helpful. To read more about our experience paddling the Whanganui River, how we did it as Northbounders read our Side Trips and Alternates post (need to write).
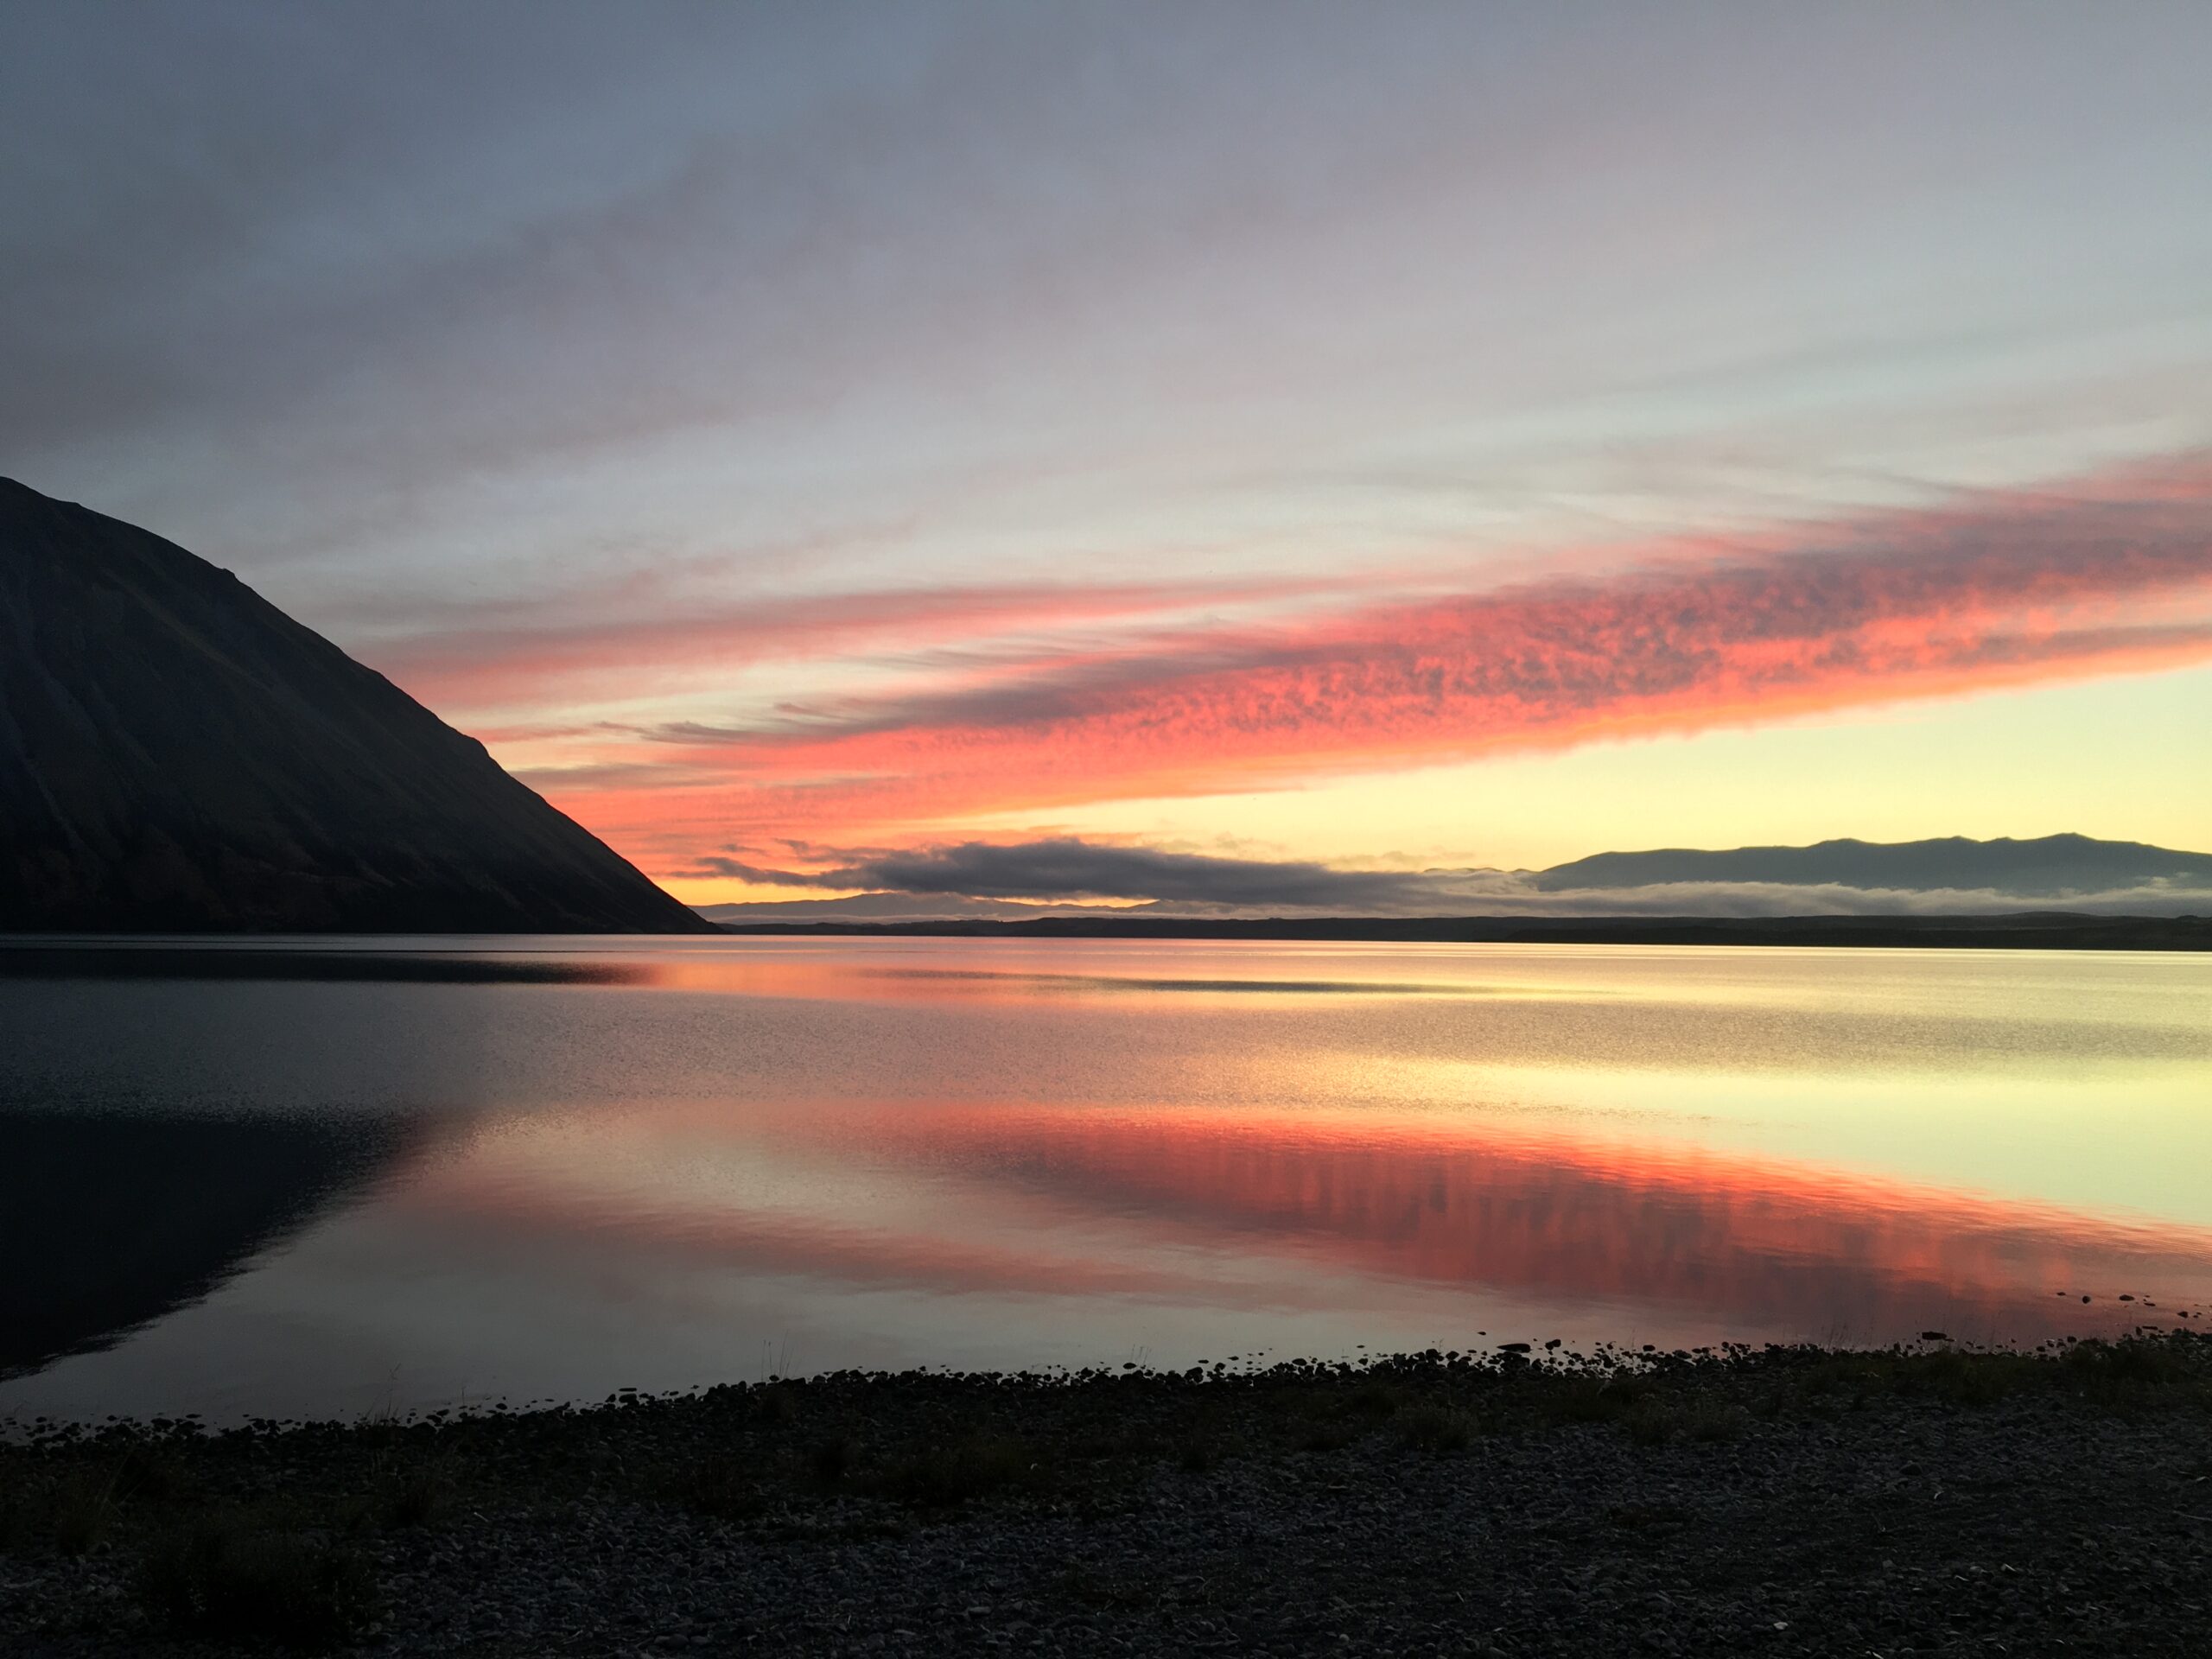
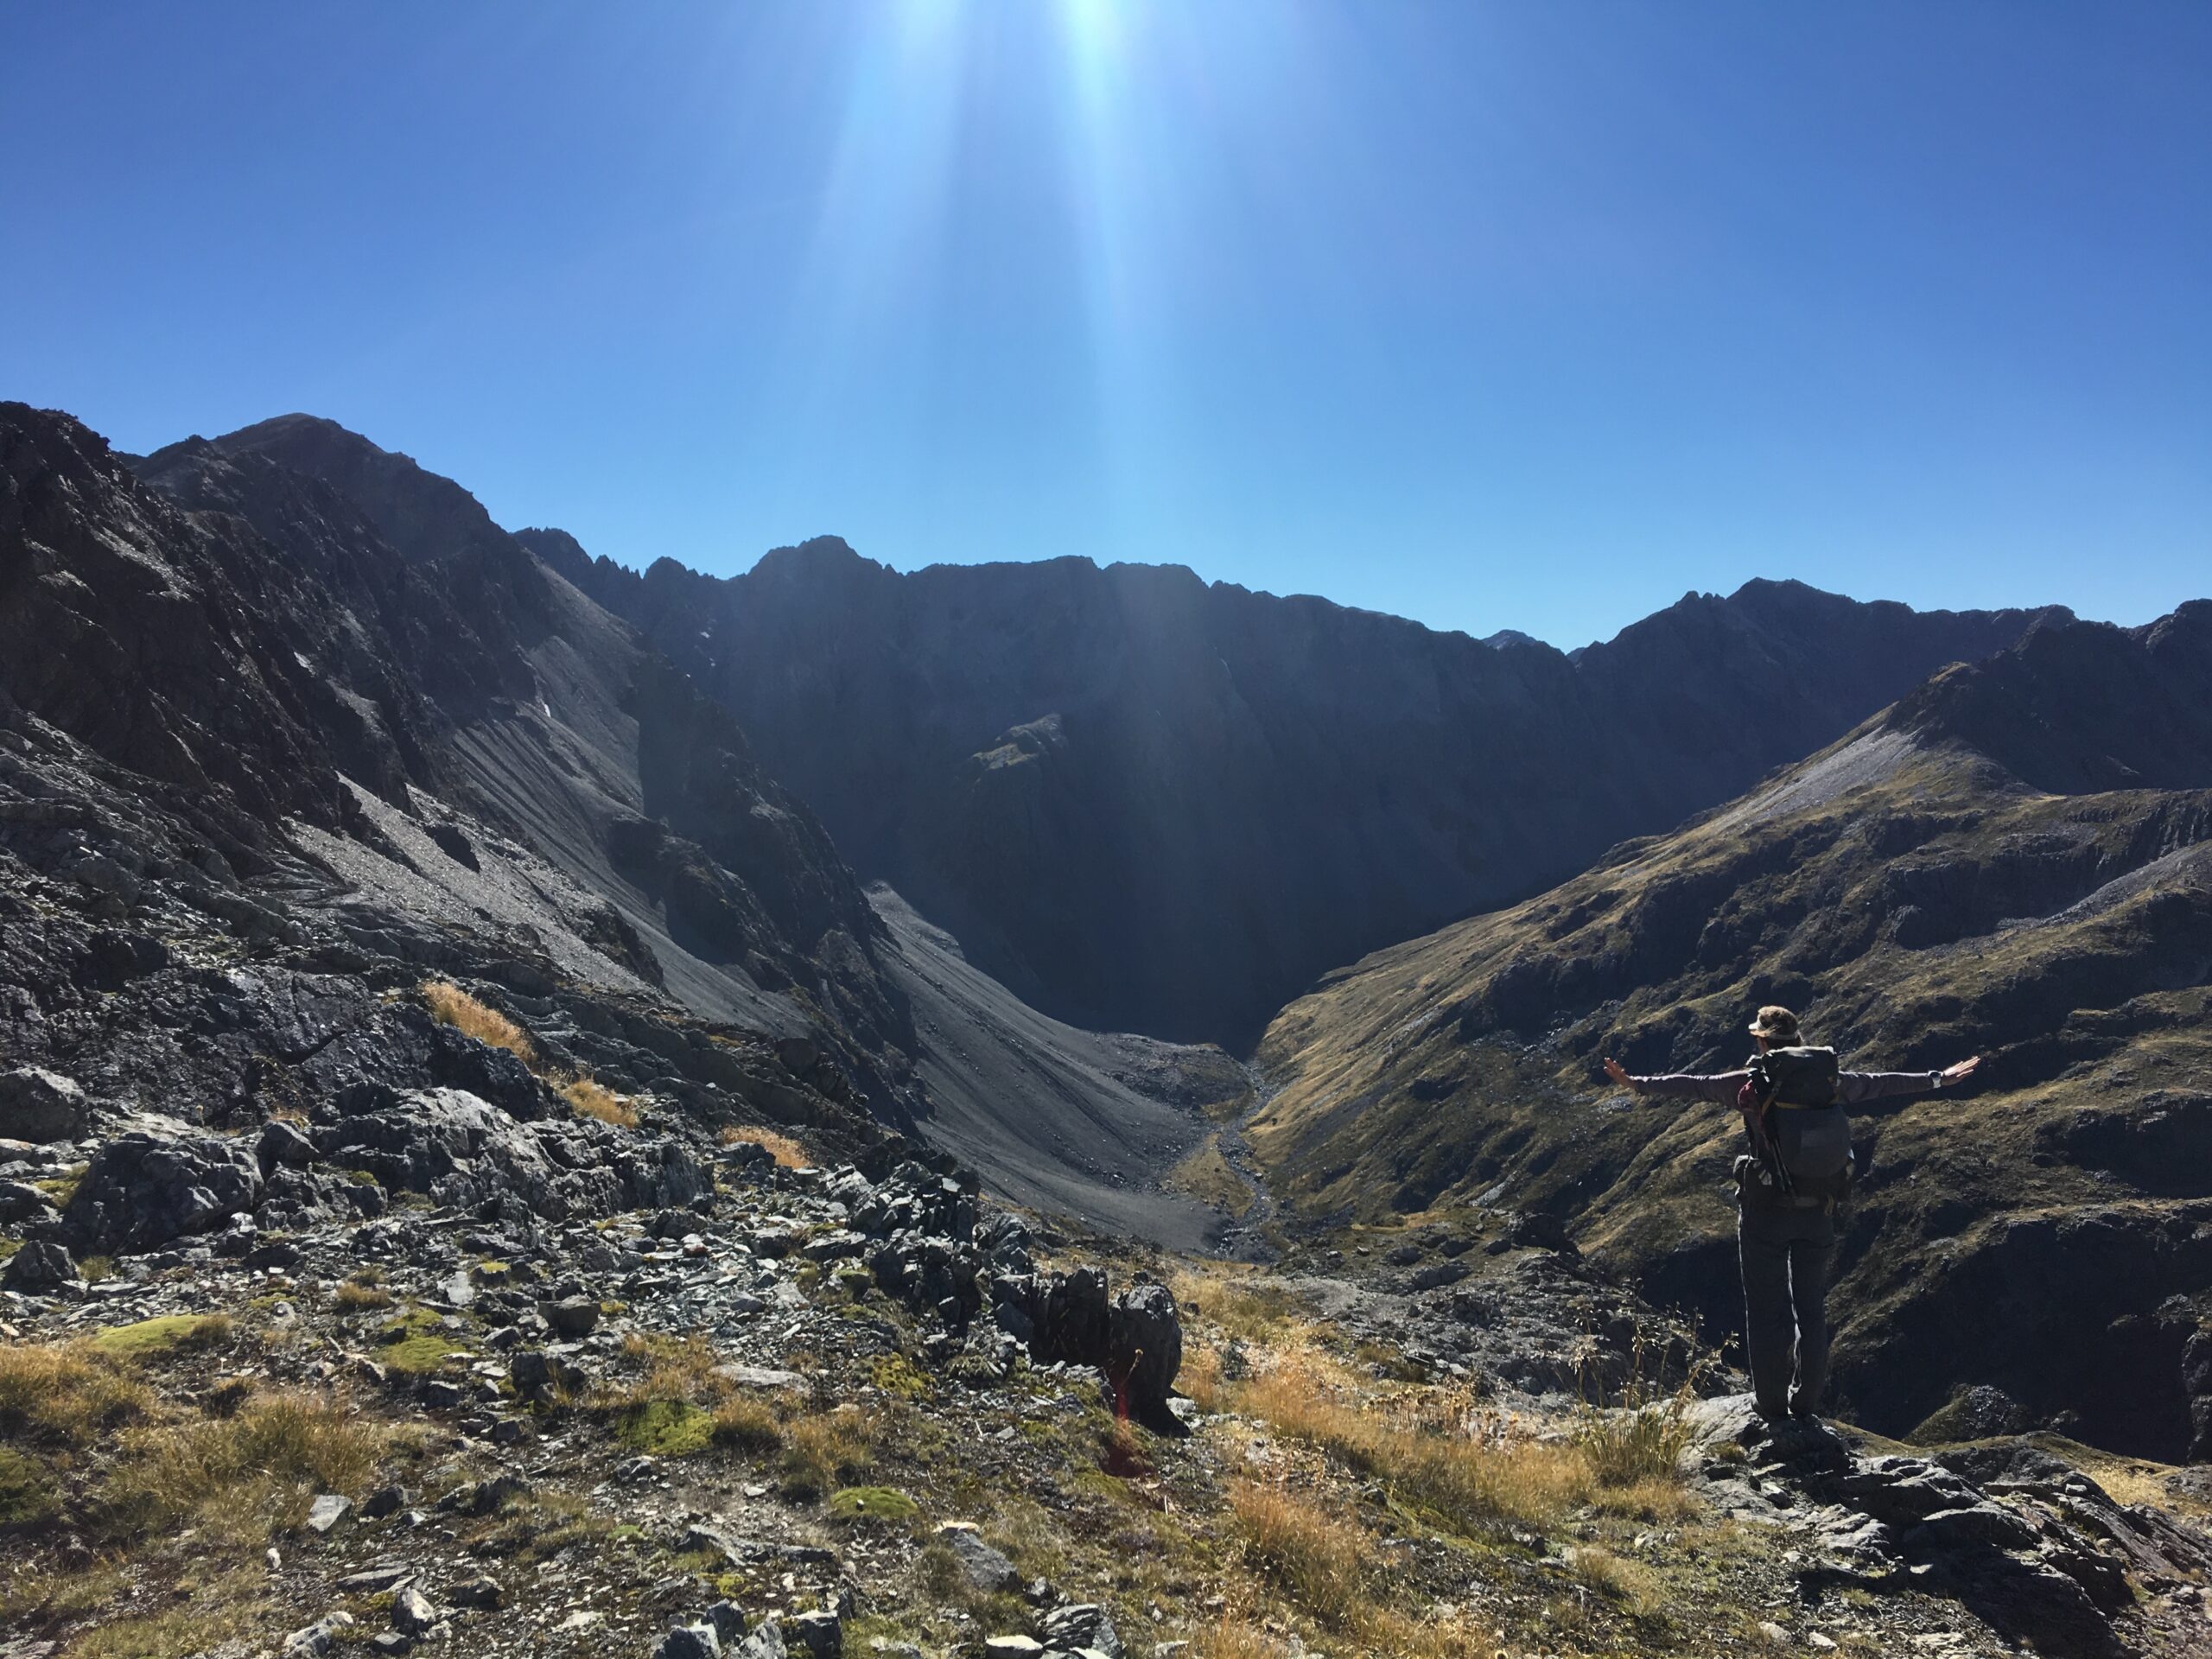
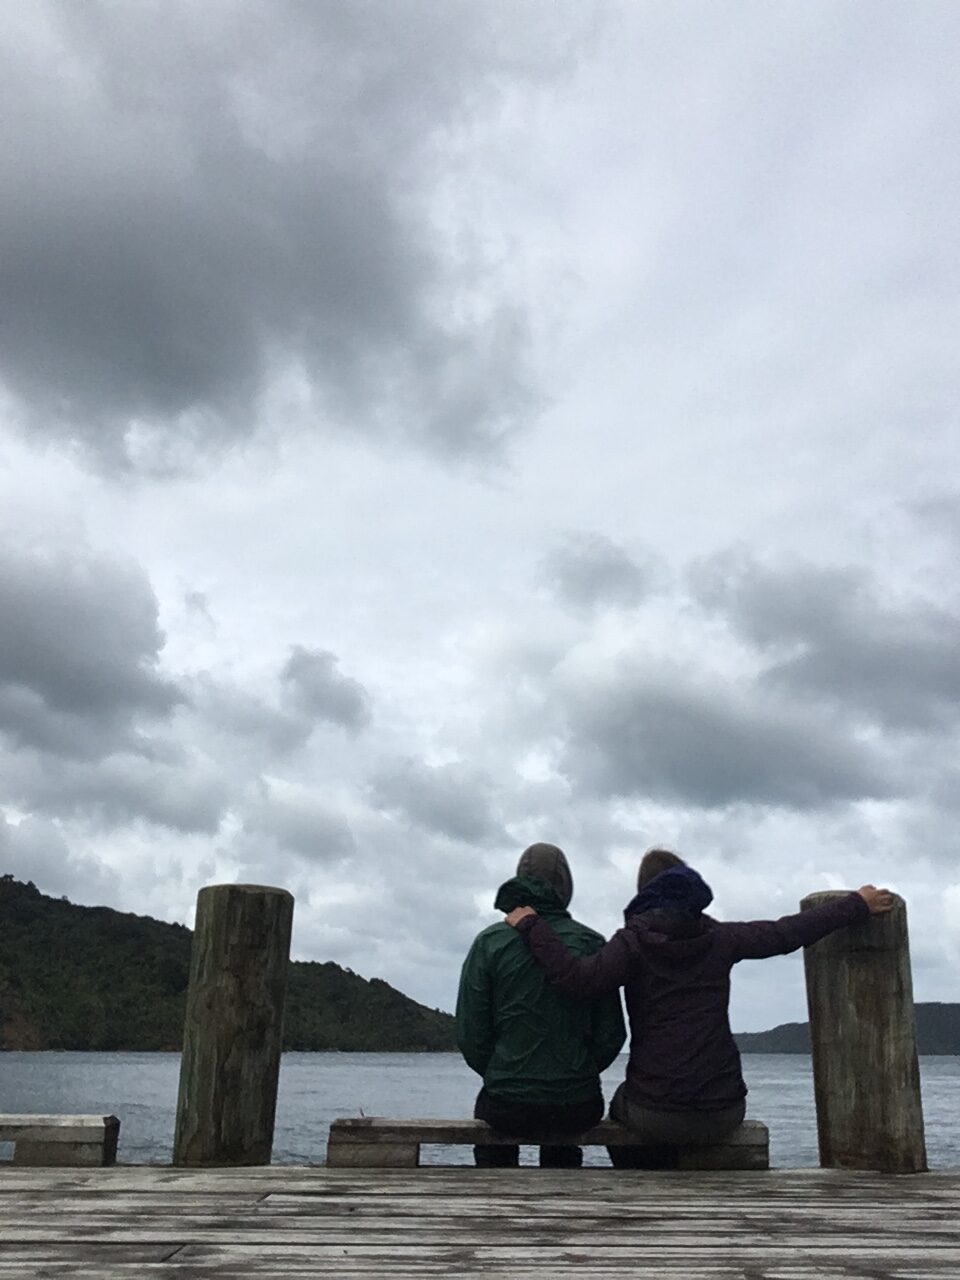
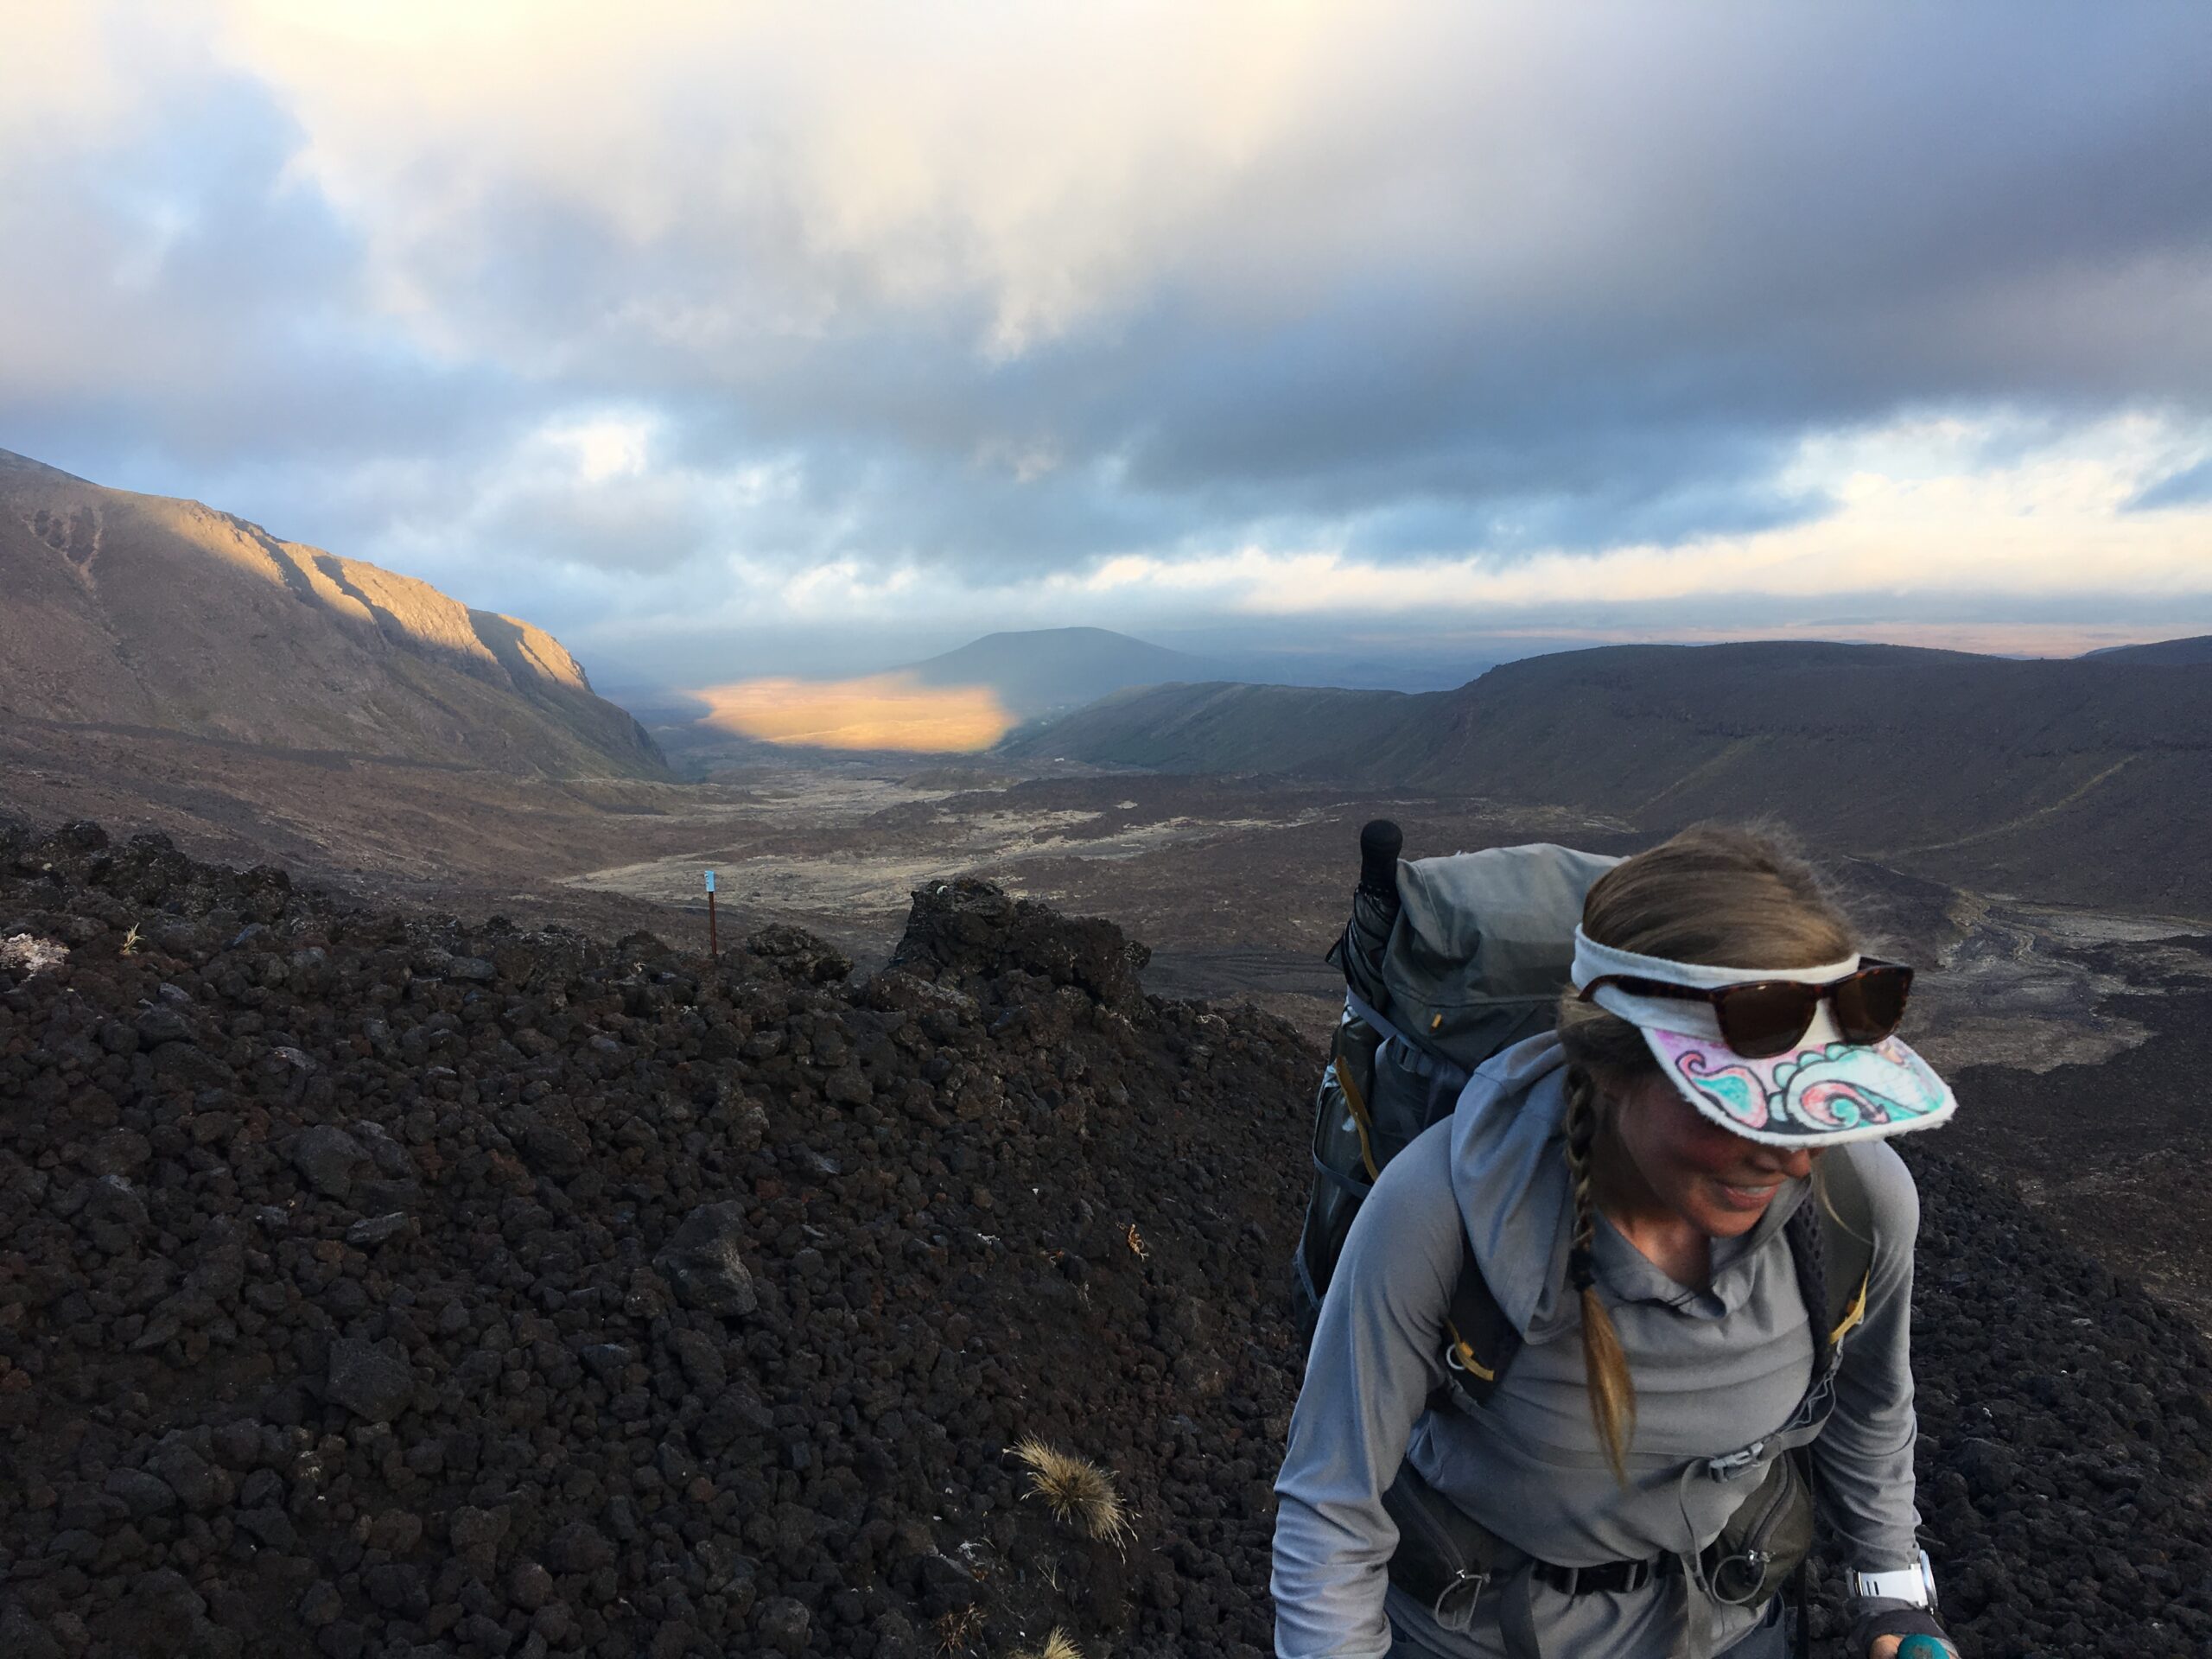
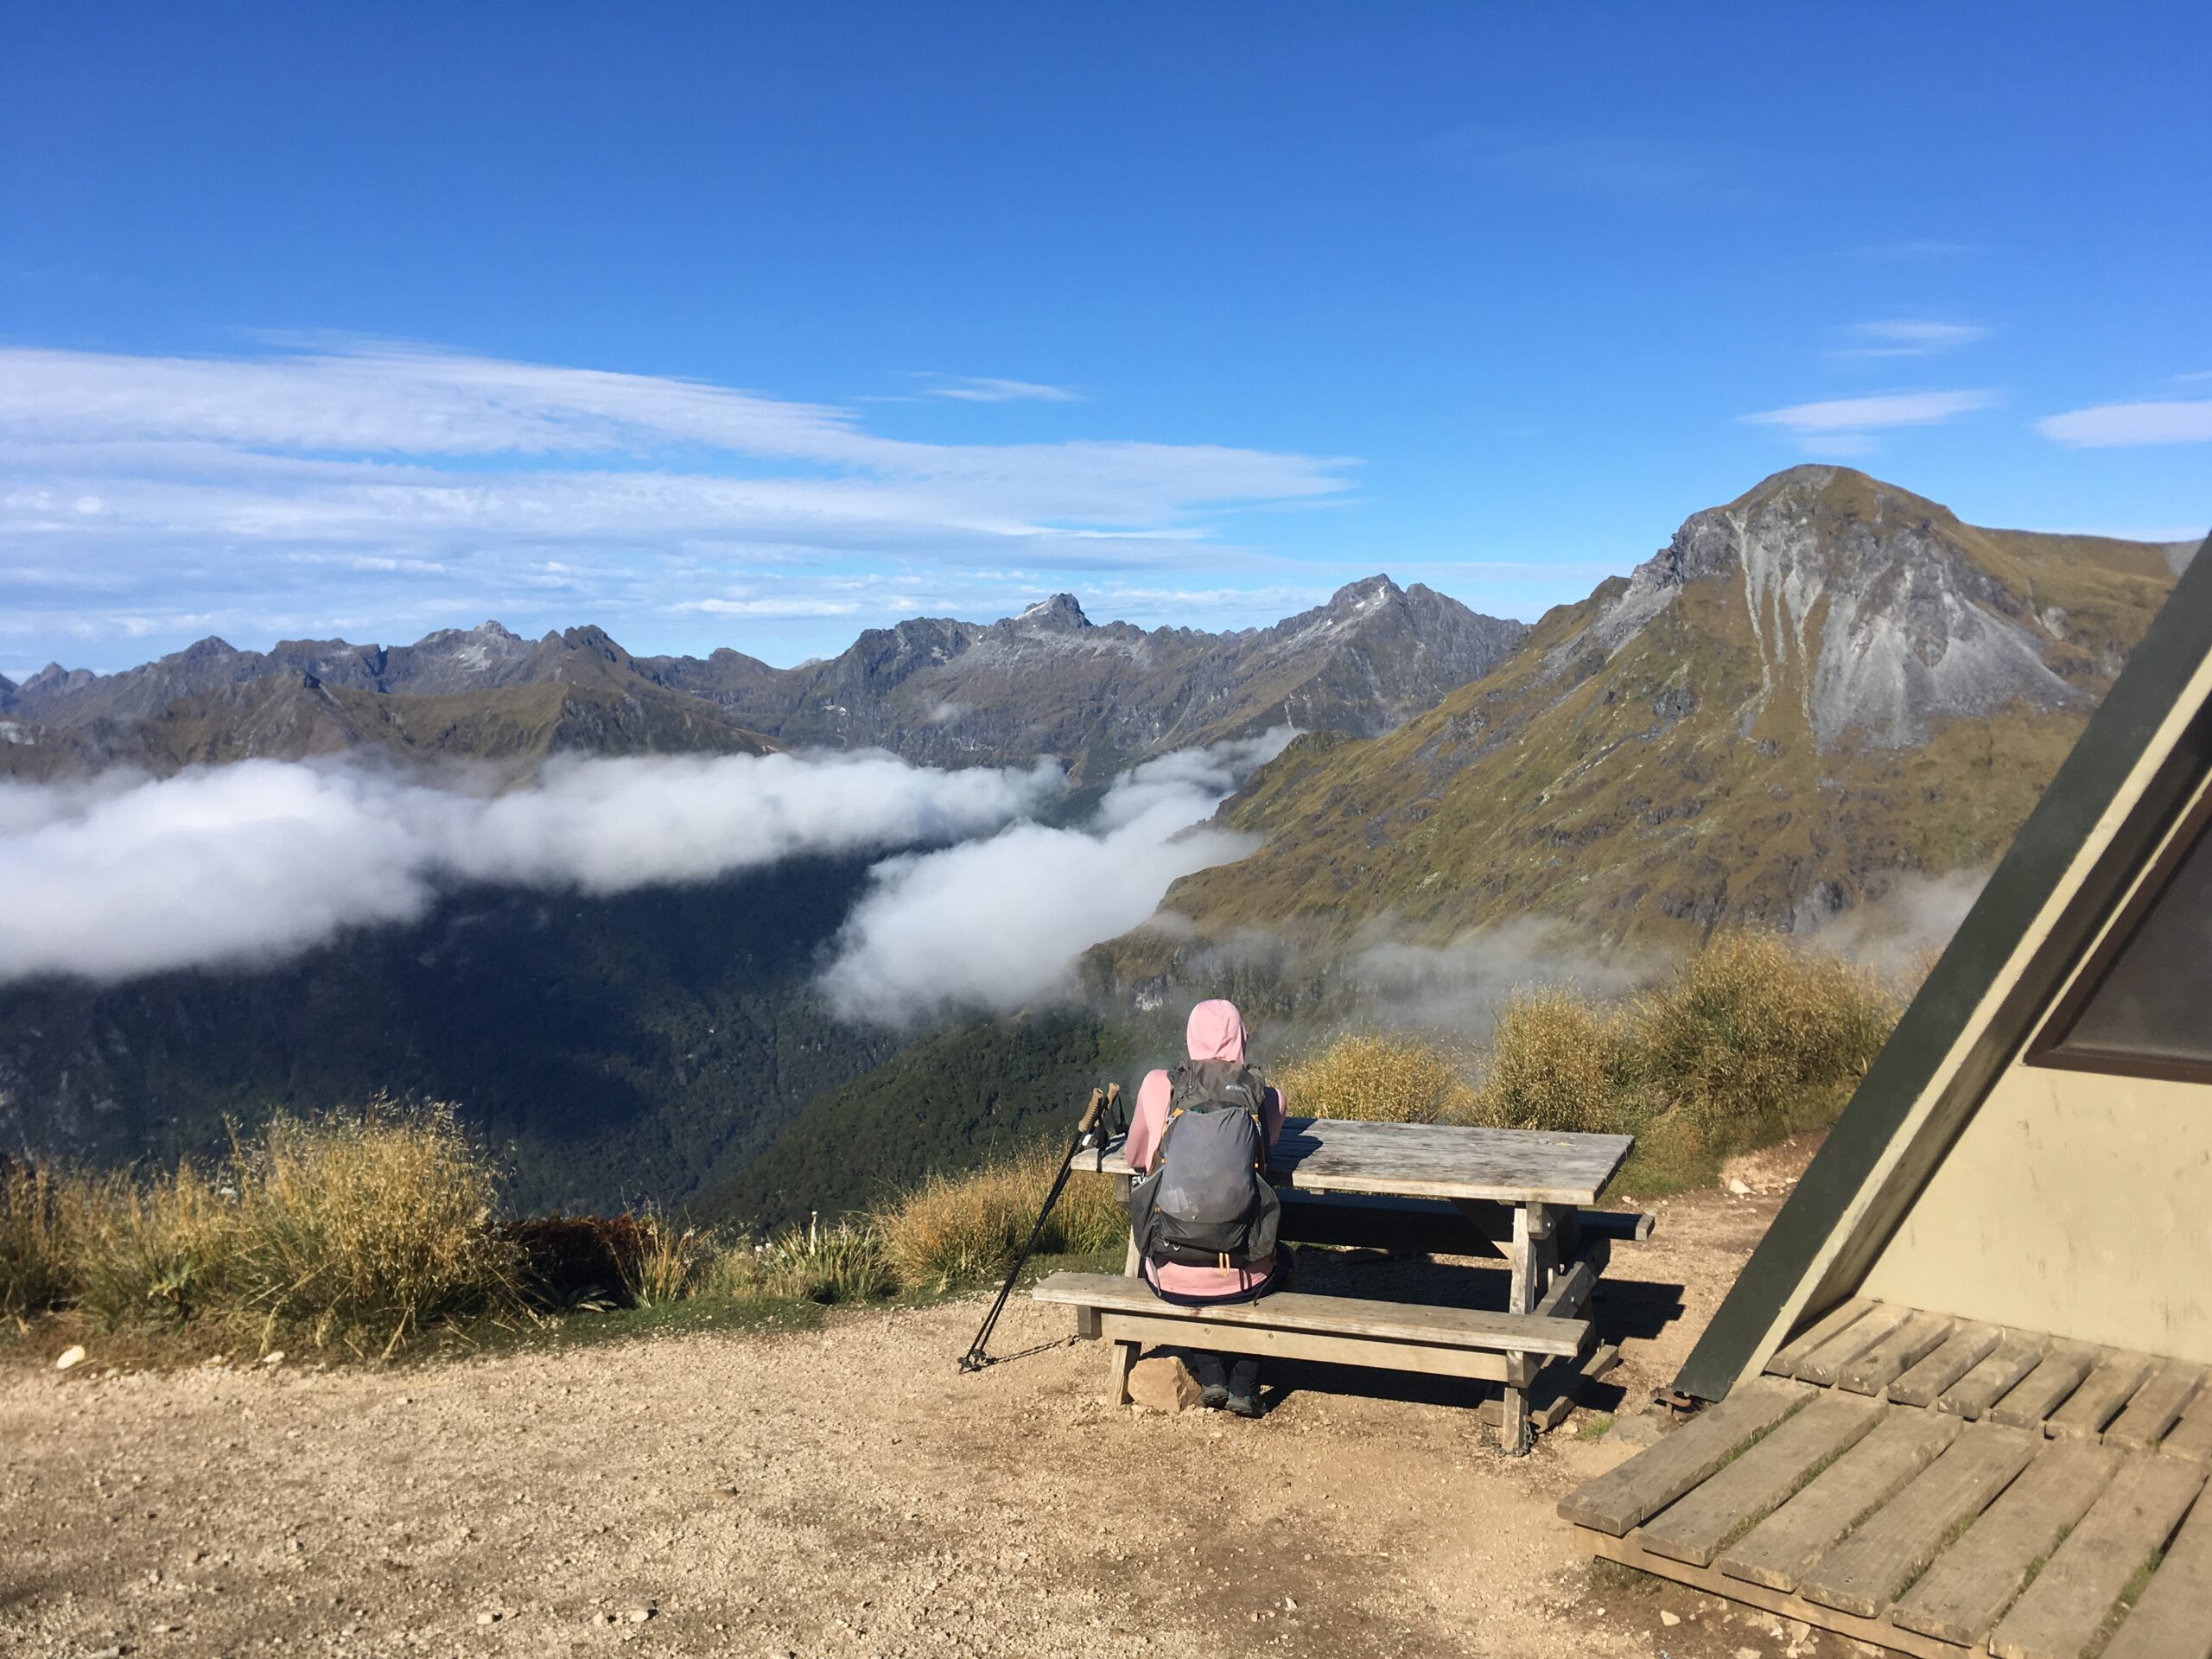
Weather
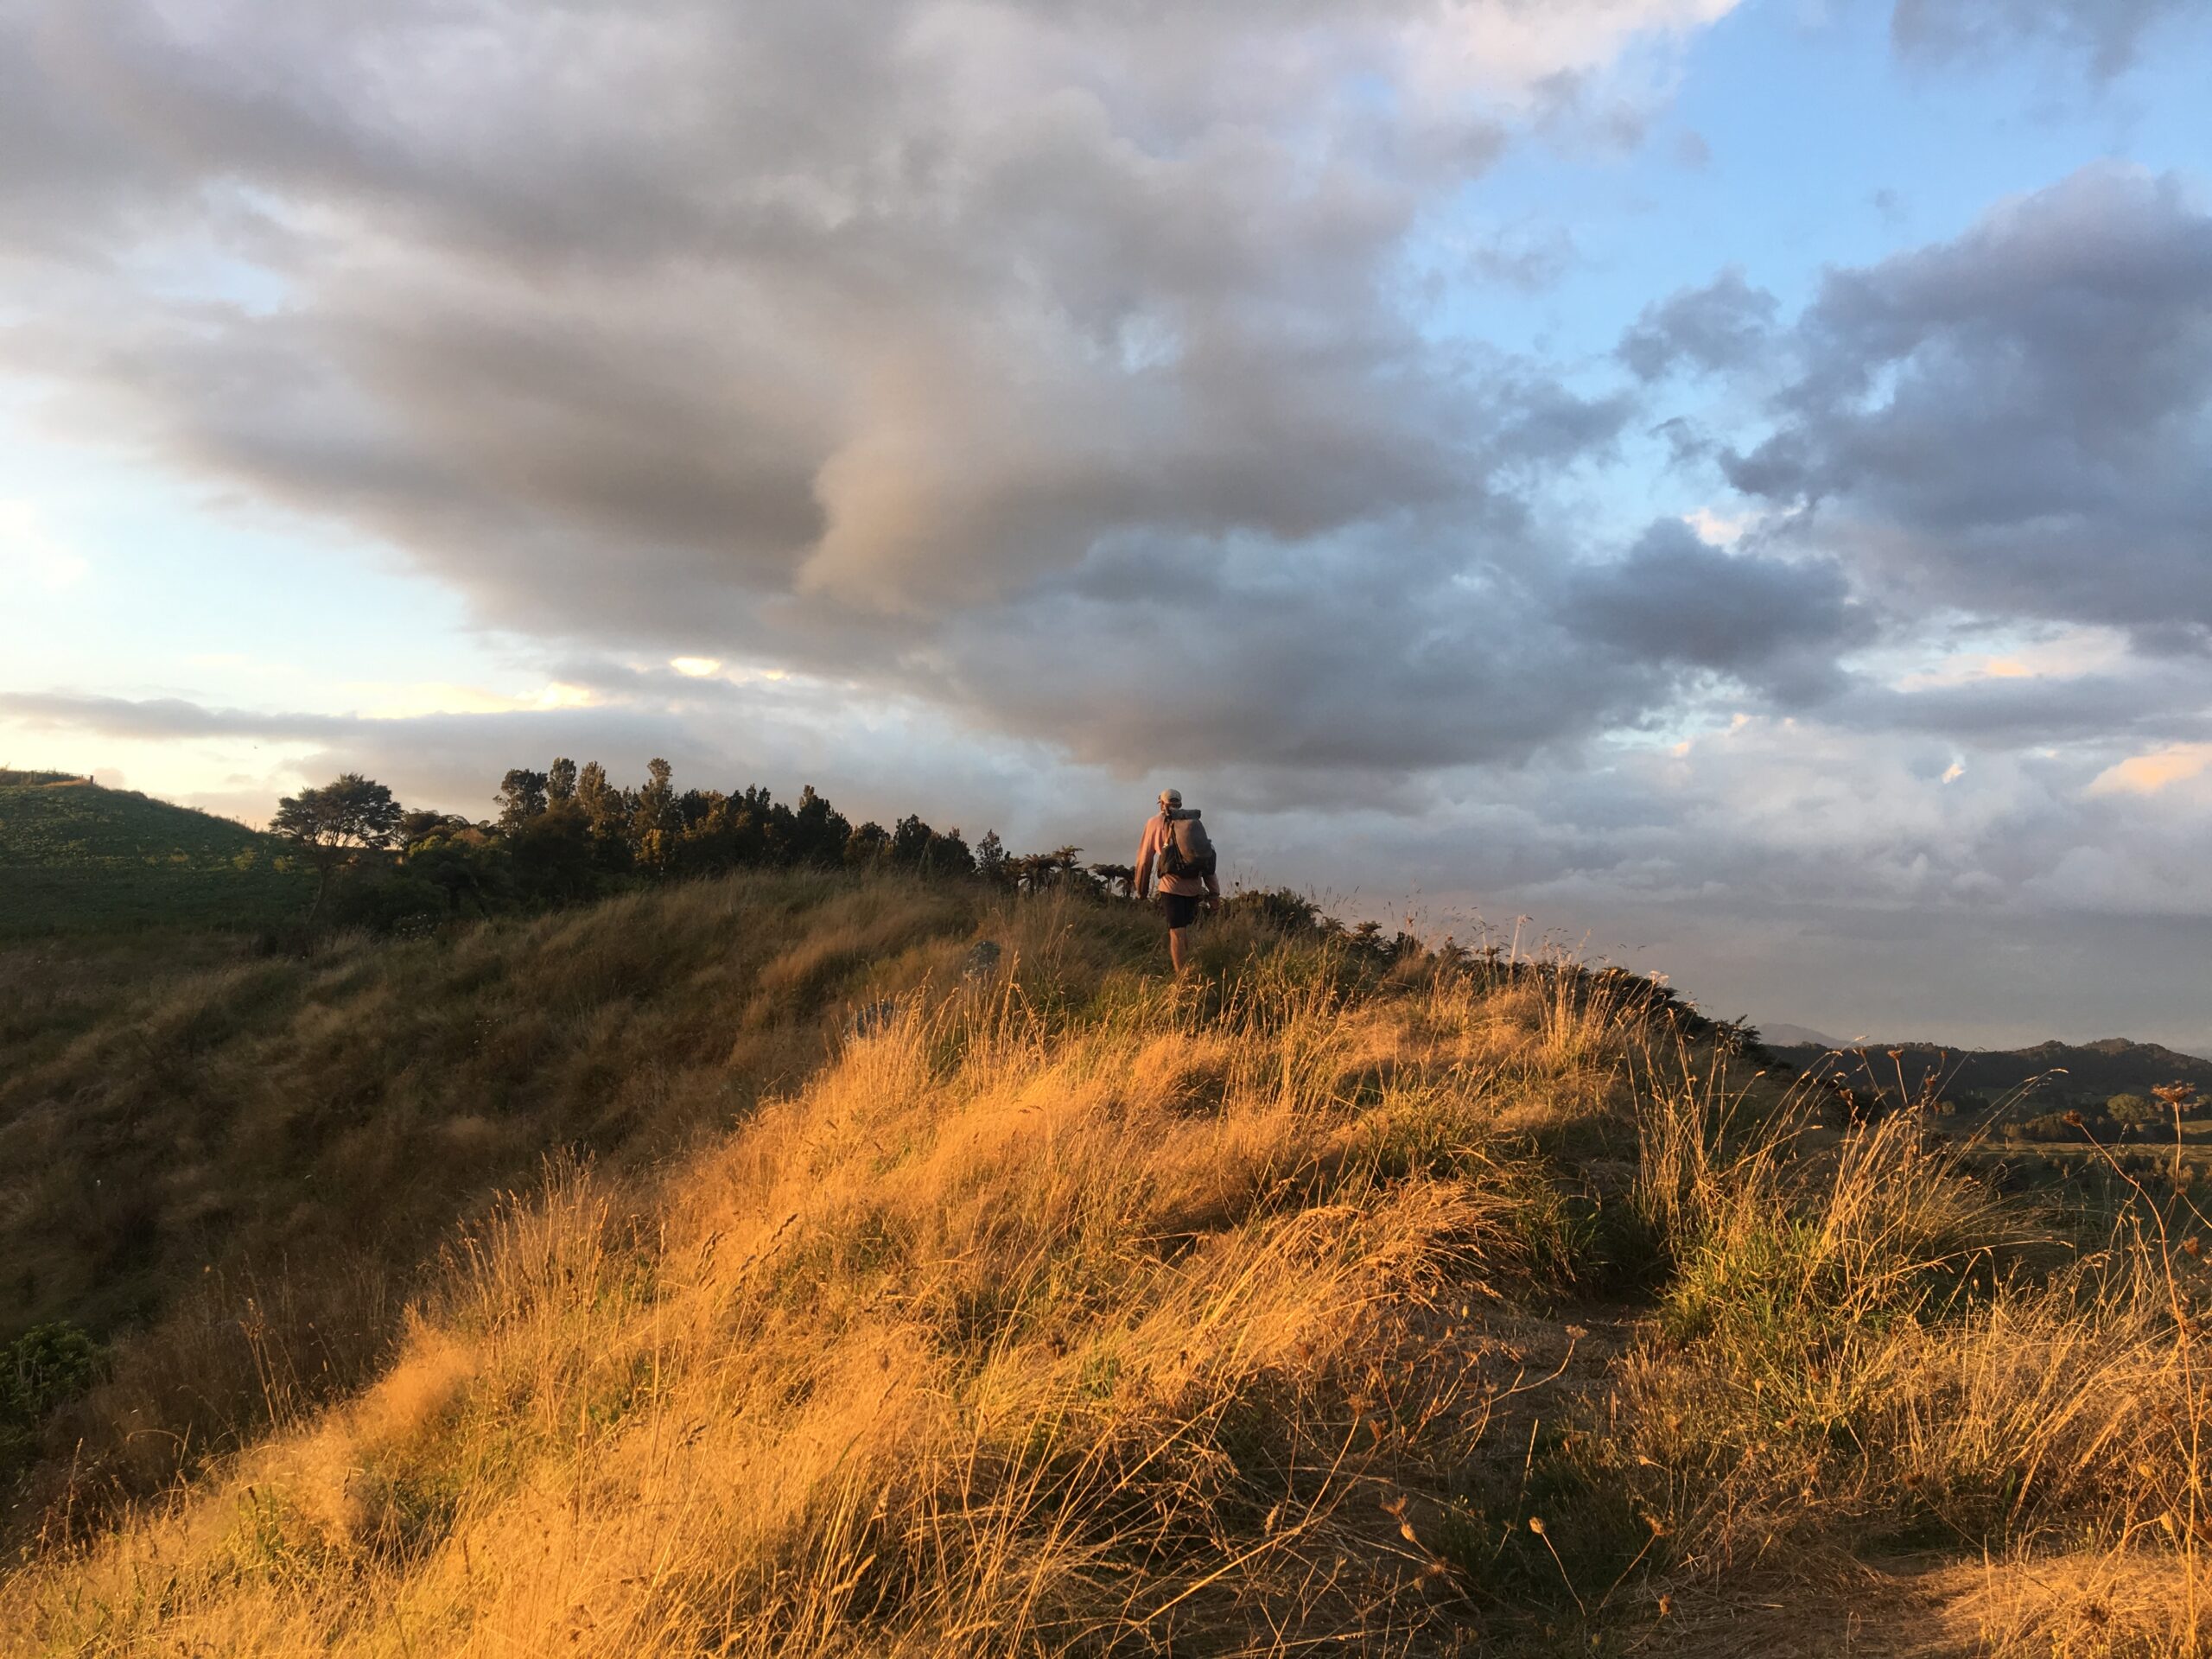
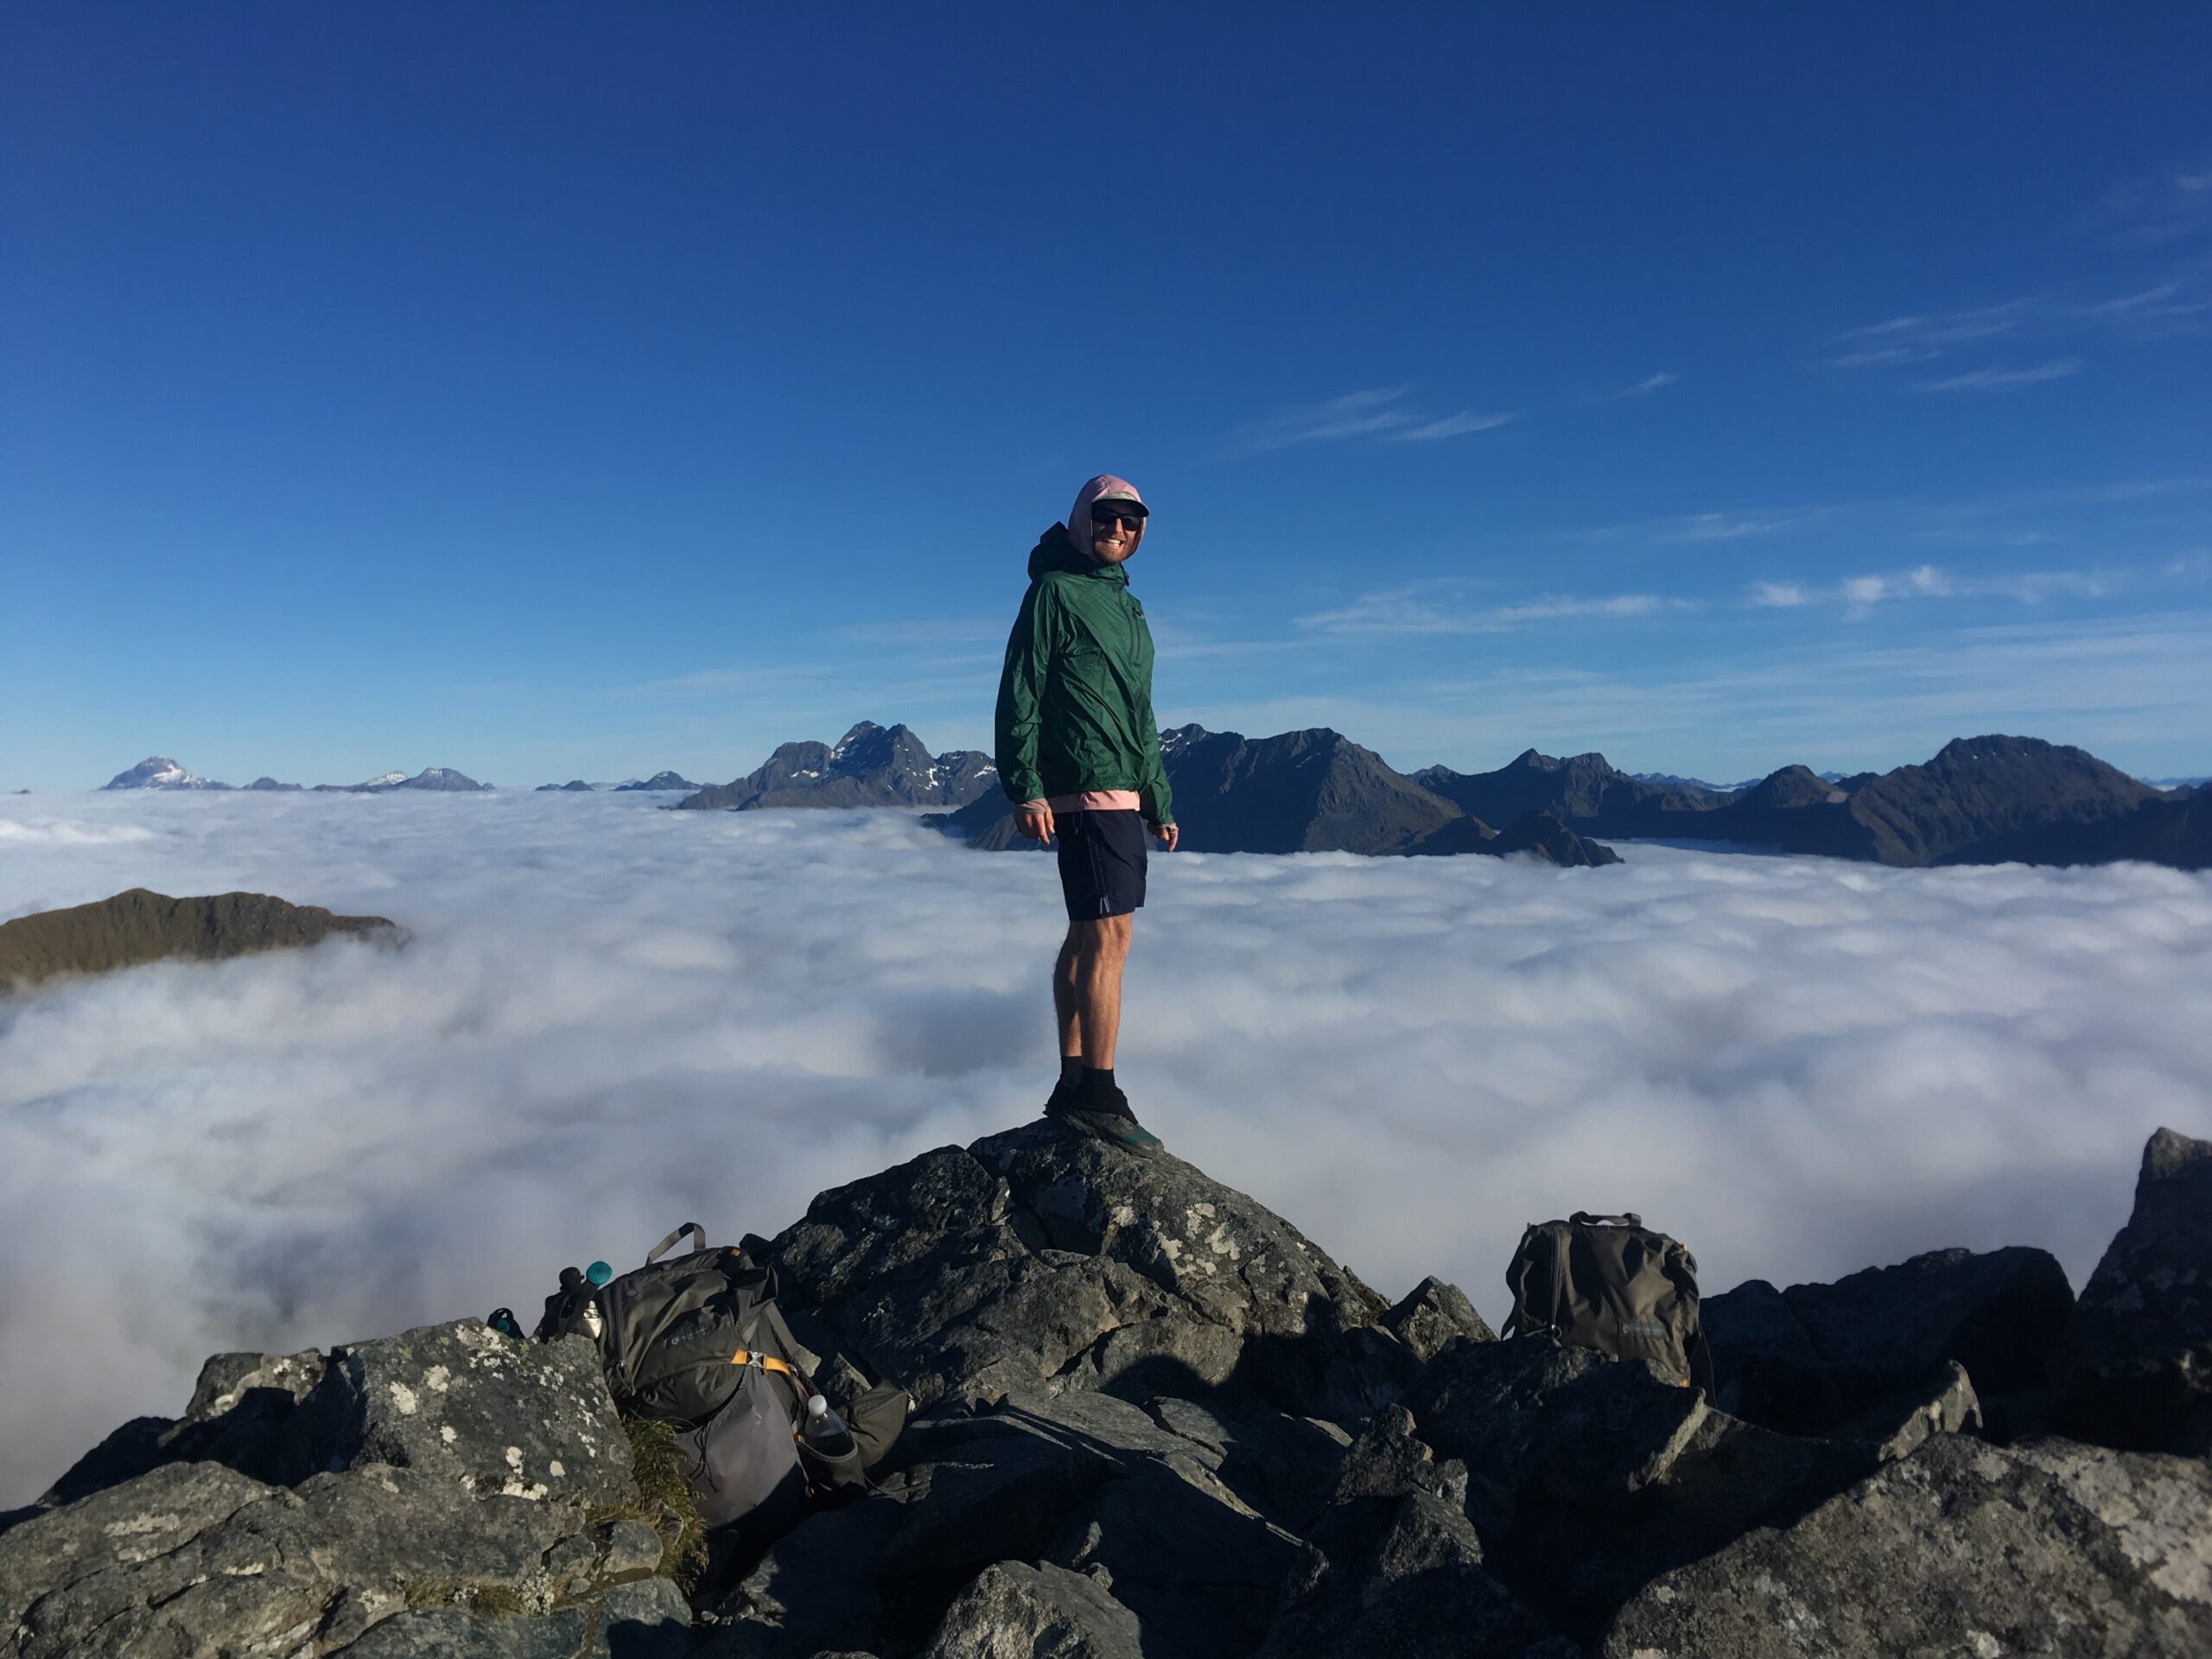
The weather in New Zealand is variable. We had it all on our trip – super hot days in open plains, long rainy walks in the deep forest, windy cities, hail on higher mountain ridges, and beautiful ocean beach walks. We noticed that as we travelled, each area we walked into had its own weather patterns (i.e. Tararuas are notorious for rain, Northland forests are wet and muddy). The bottomline was that because New Zealand is an island, the weather is inherently unpredictable and can be intense. Here is some more information on New Zealand weather.
One thing that we did notice was that because we were Northbound, we were walking towards the warmer climate in Autumn on the North Island, whereas Southbounders were walking towards the cold Autumn/ Winter on the South Island.
Lodging & Accommodation
There are many options for lodging and accommodation along the route. But finding a place to sleep each night was a bigger challenge than we expected. As a walker, it was often hard to find spots where we were allowed to camp unless we were paying for it. This was especially true on the North Island where backcountry huts and campsites were few and far between and you are frequently funneled into towns or city centers. We did our best to keep our spending to a minimum.
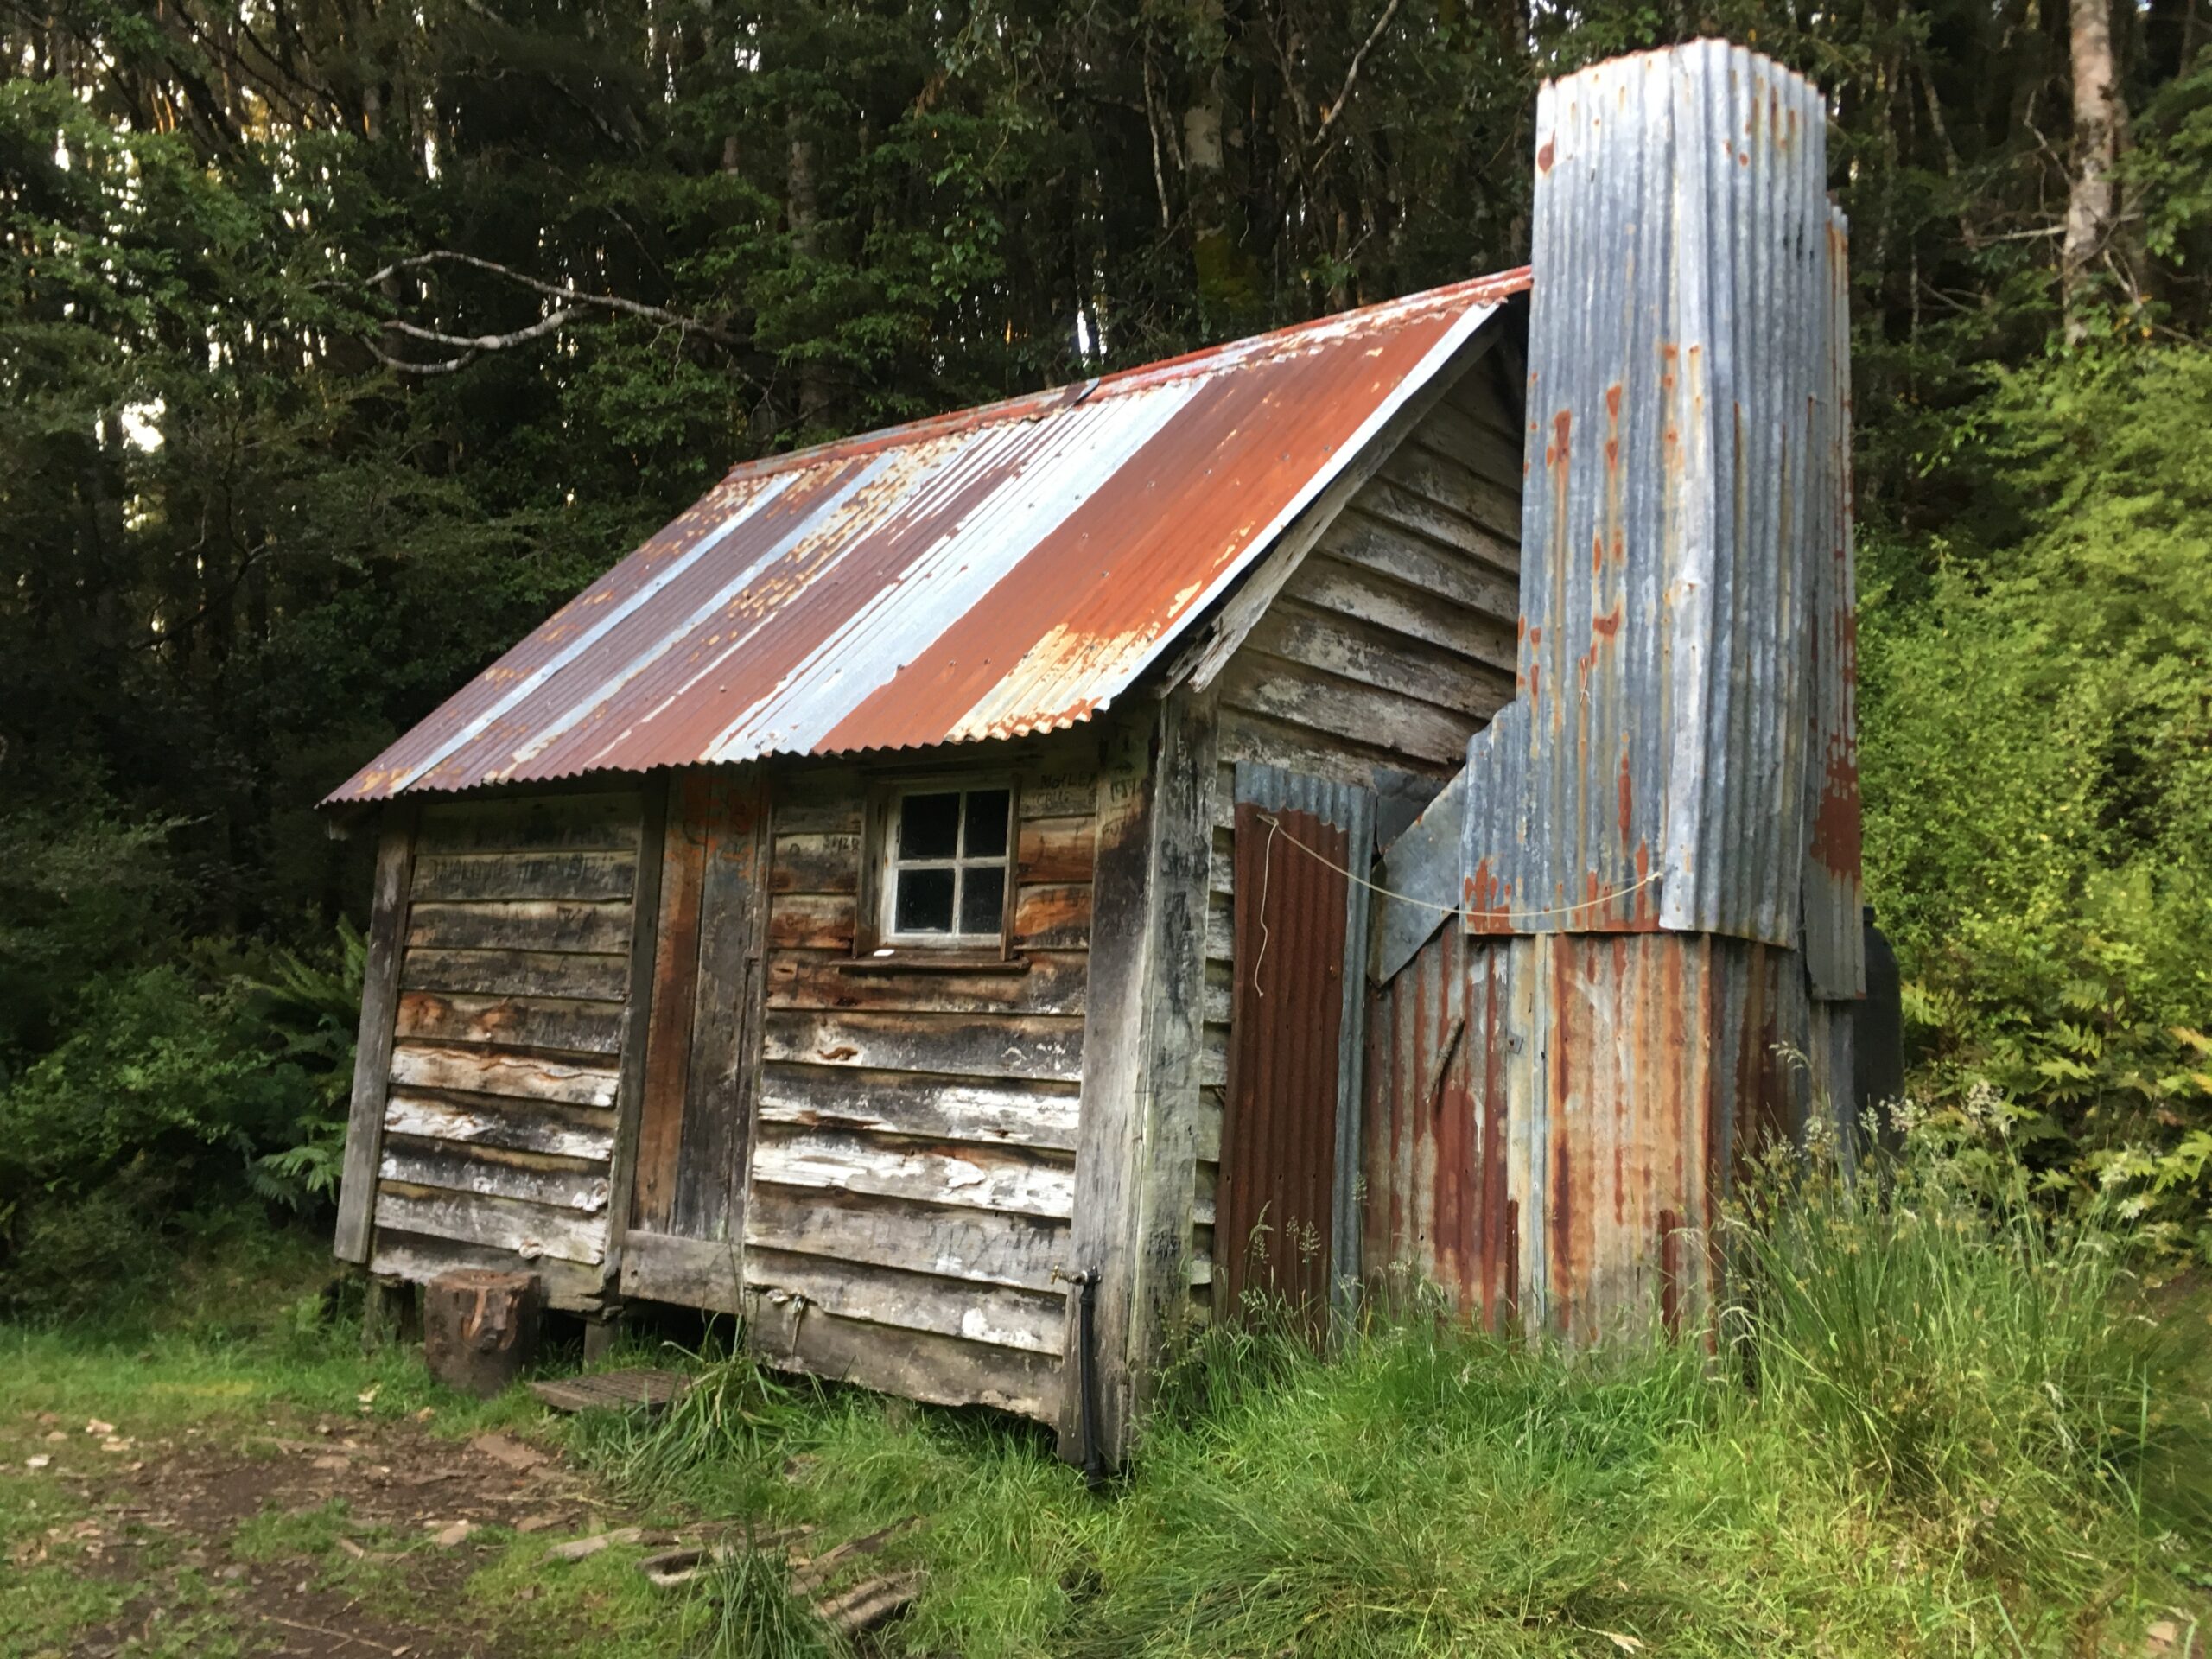
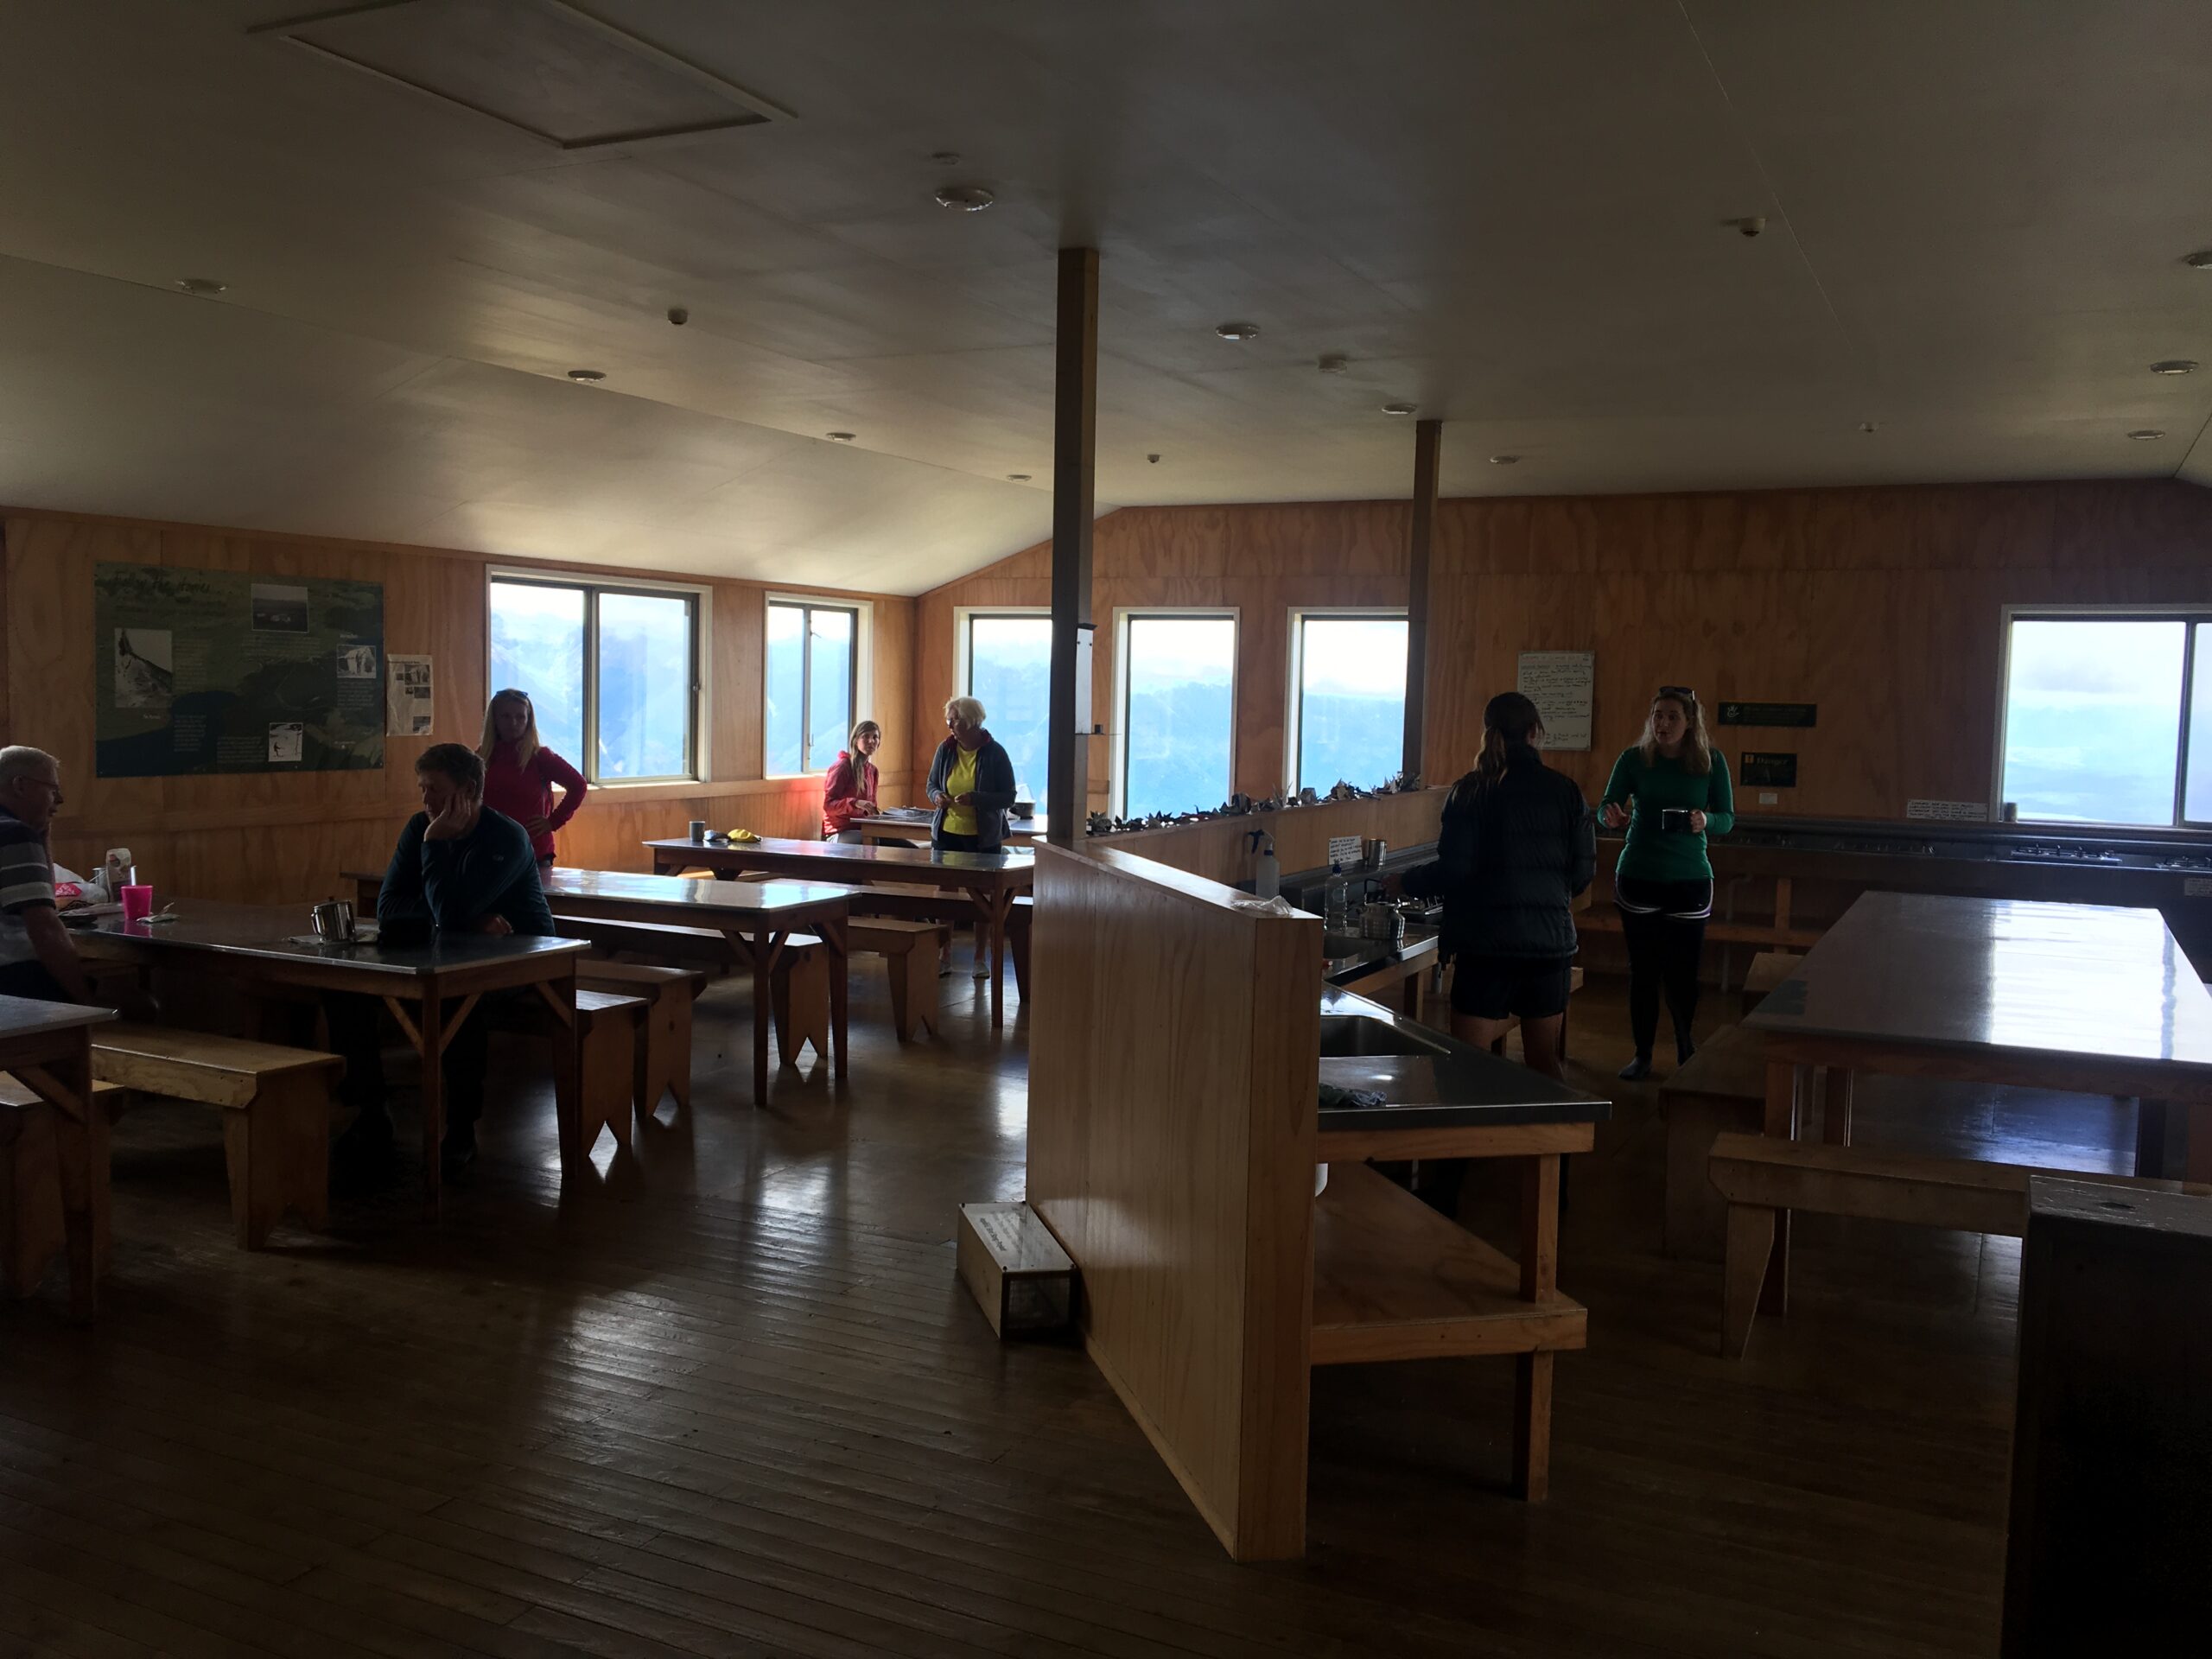
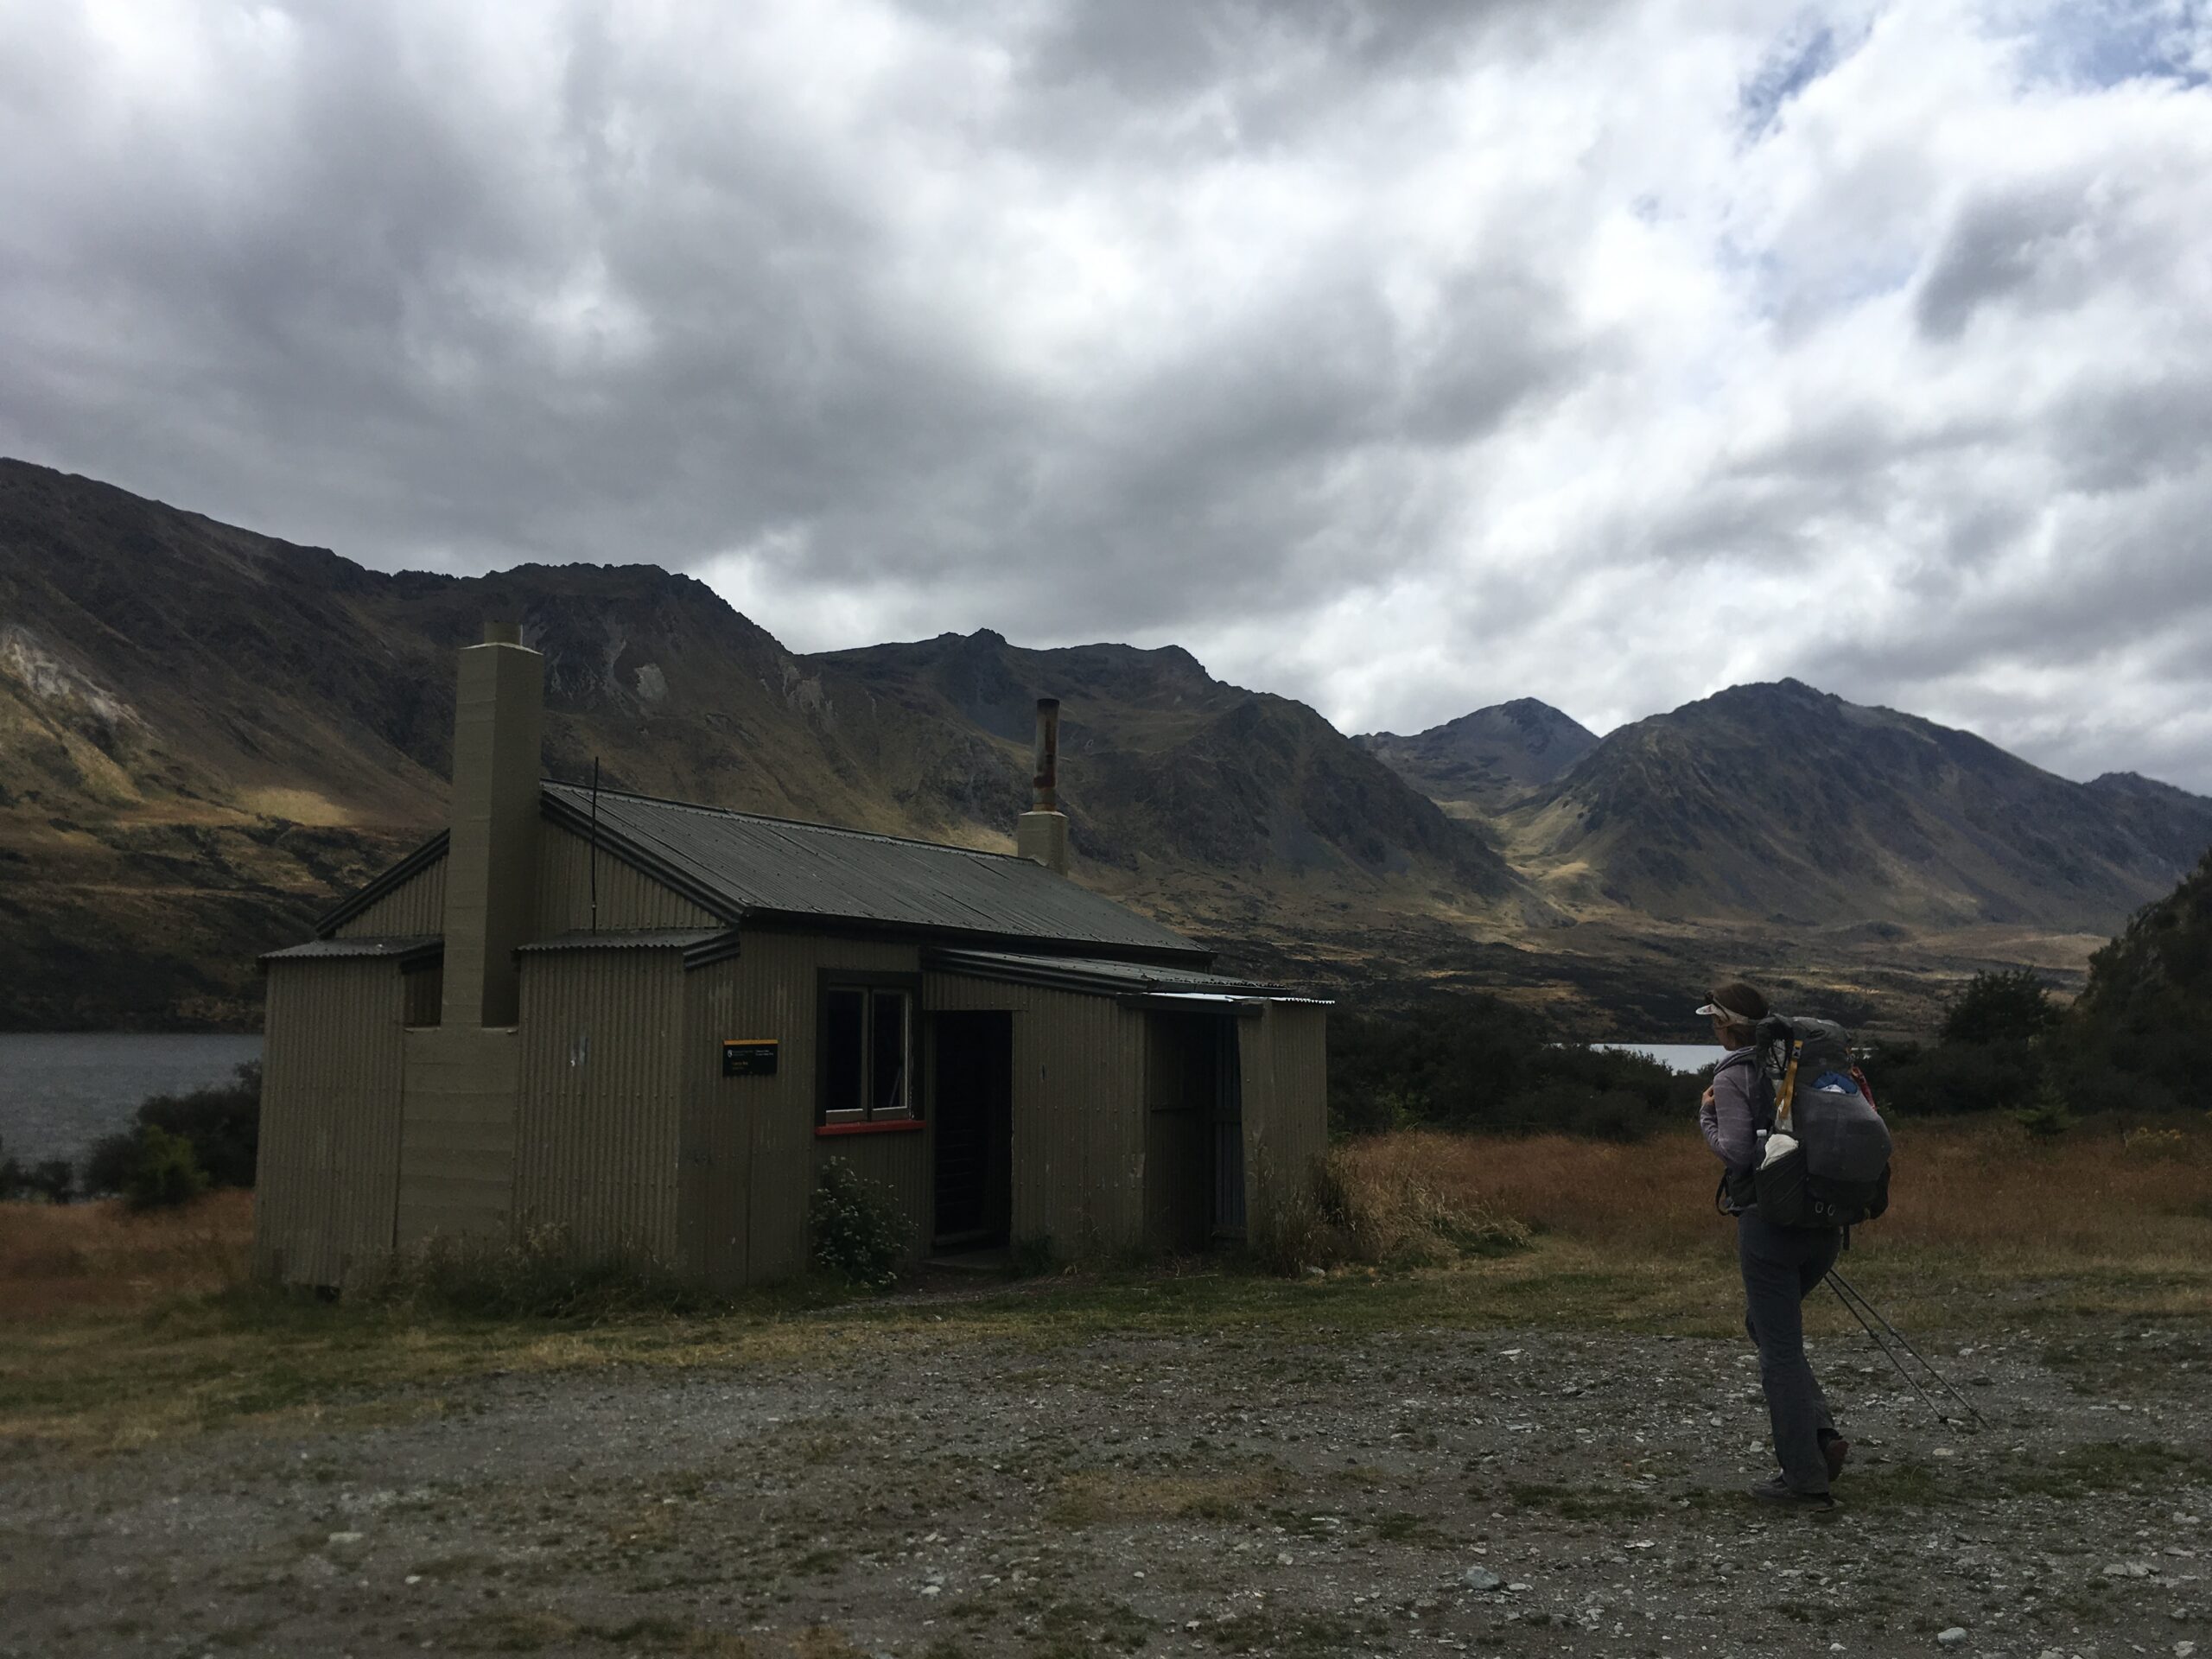
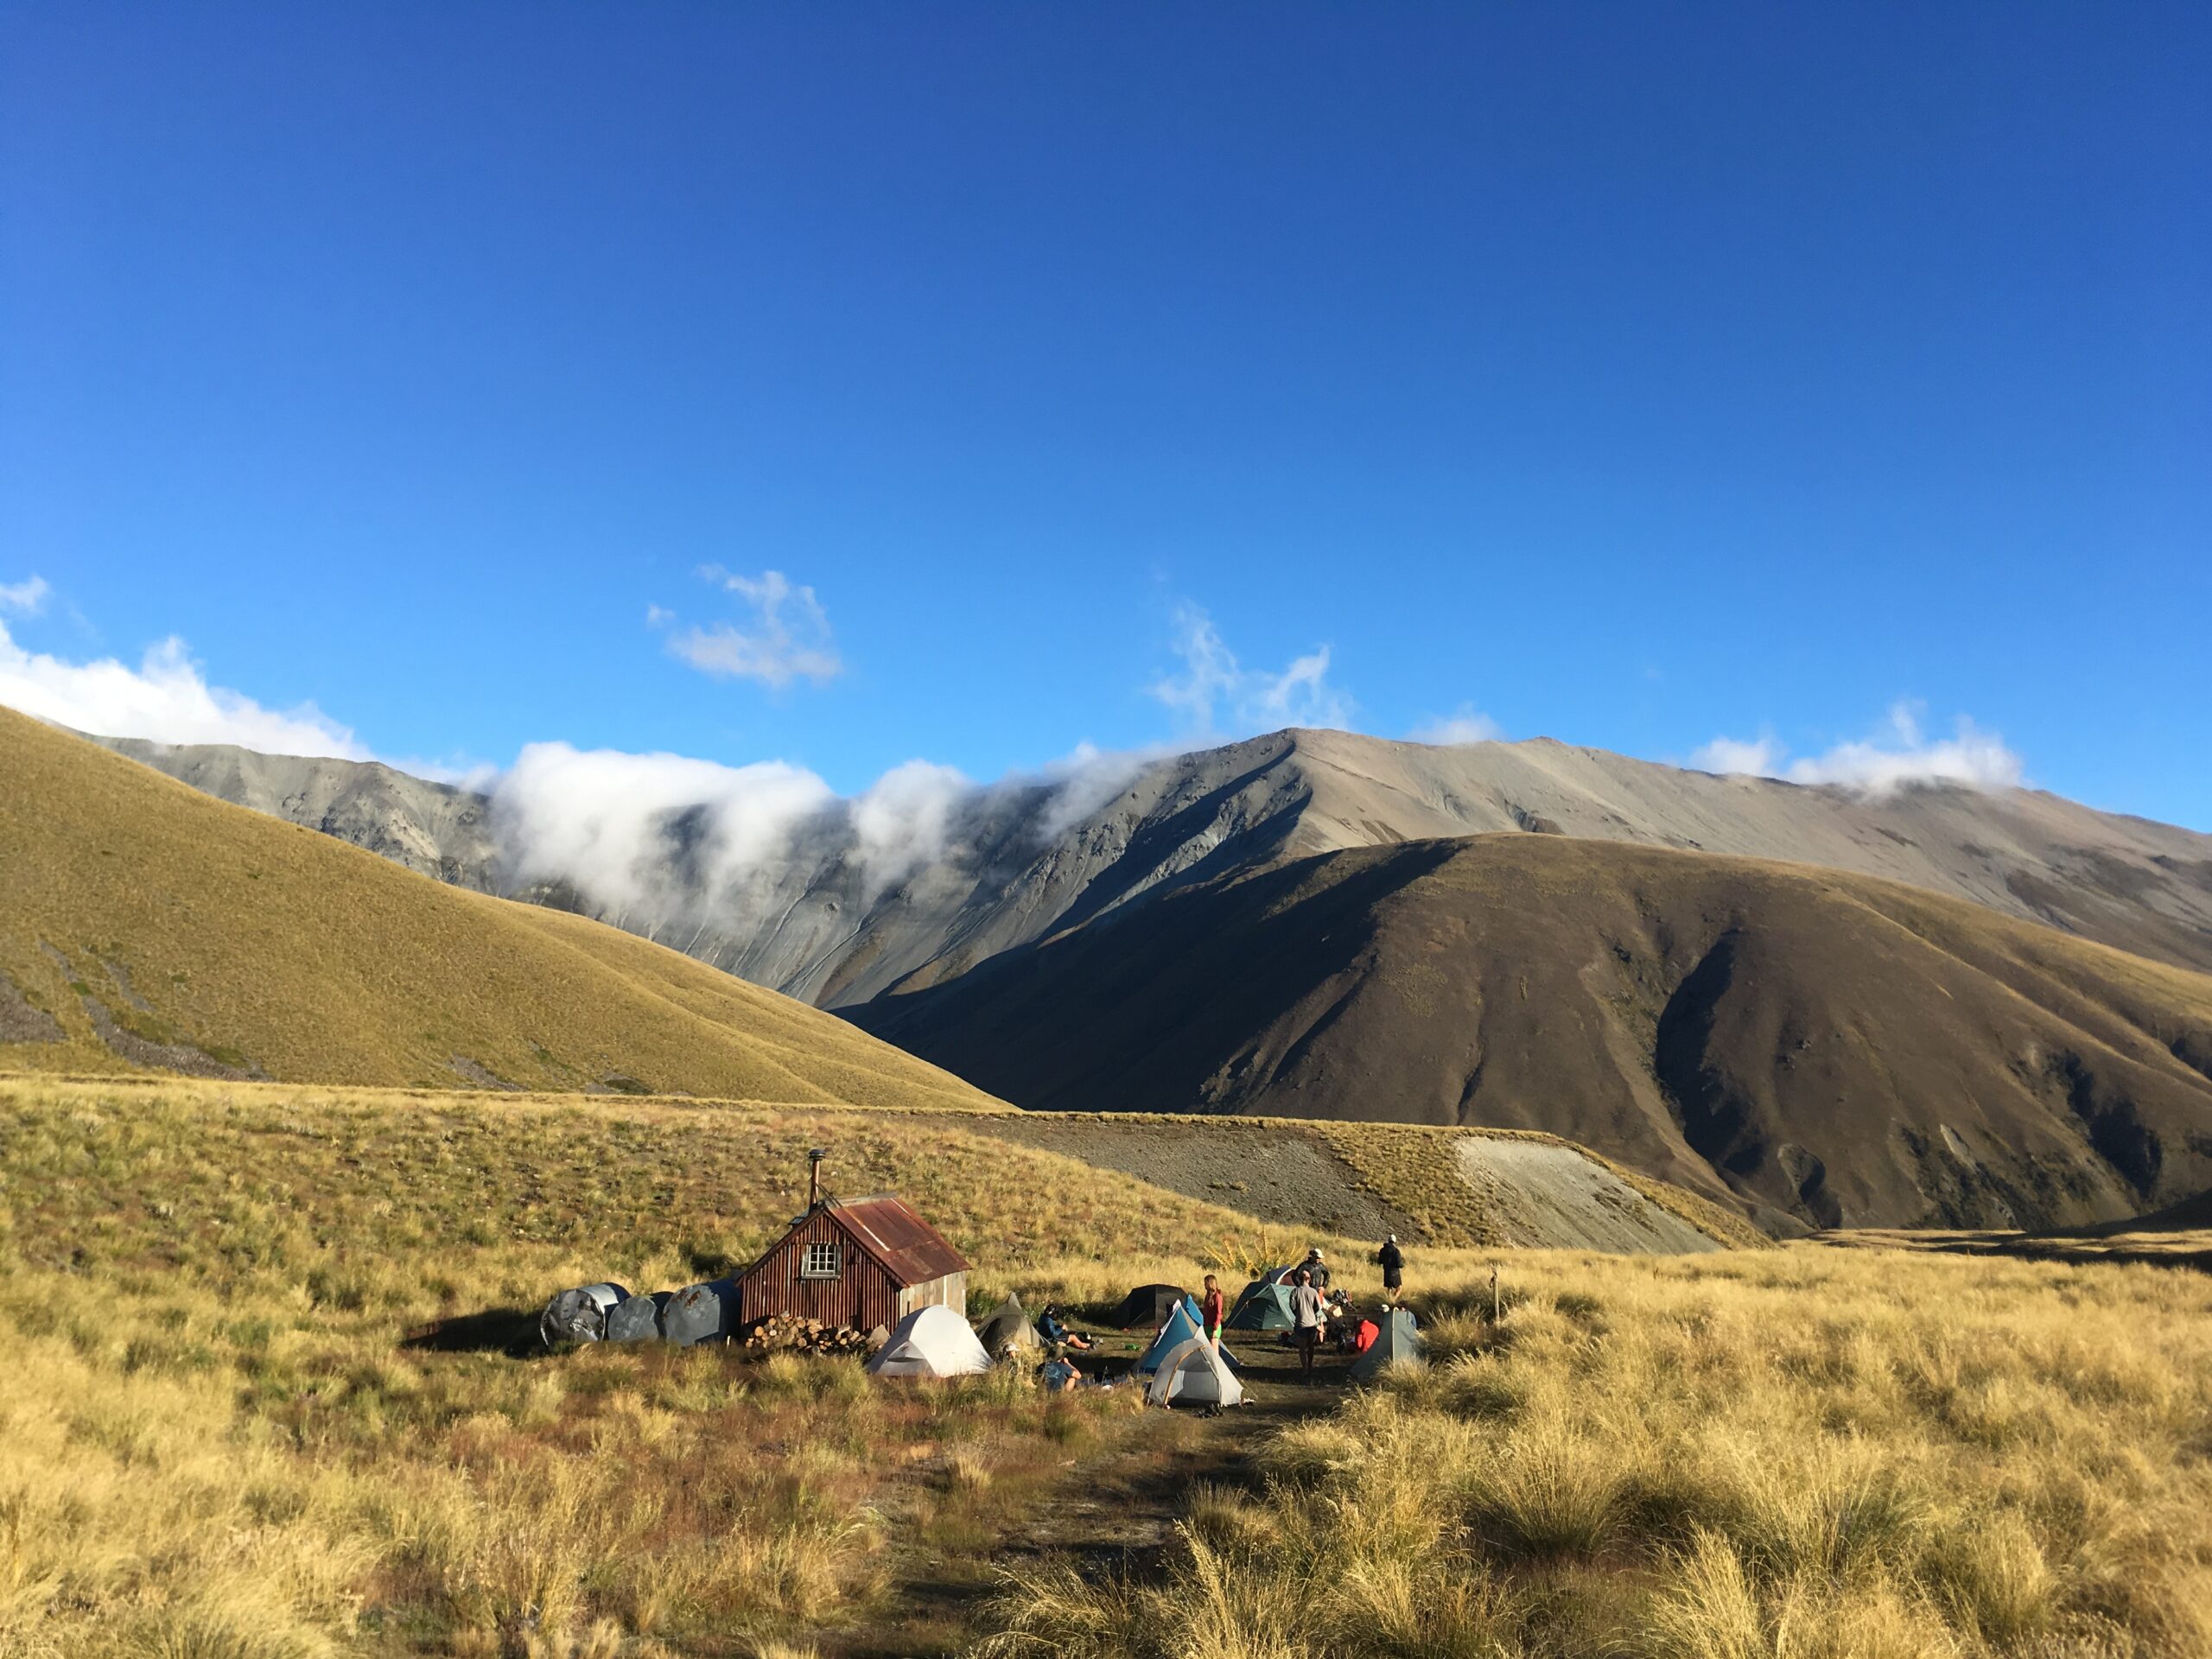
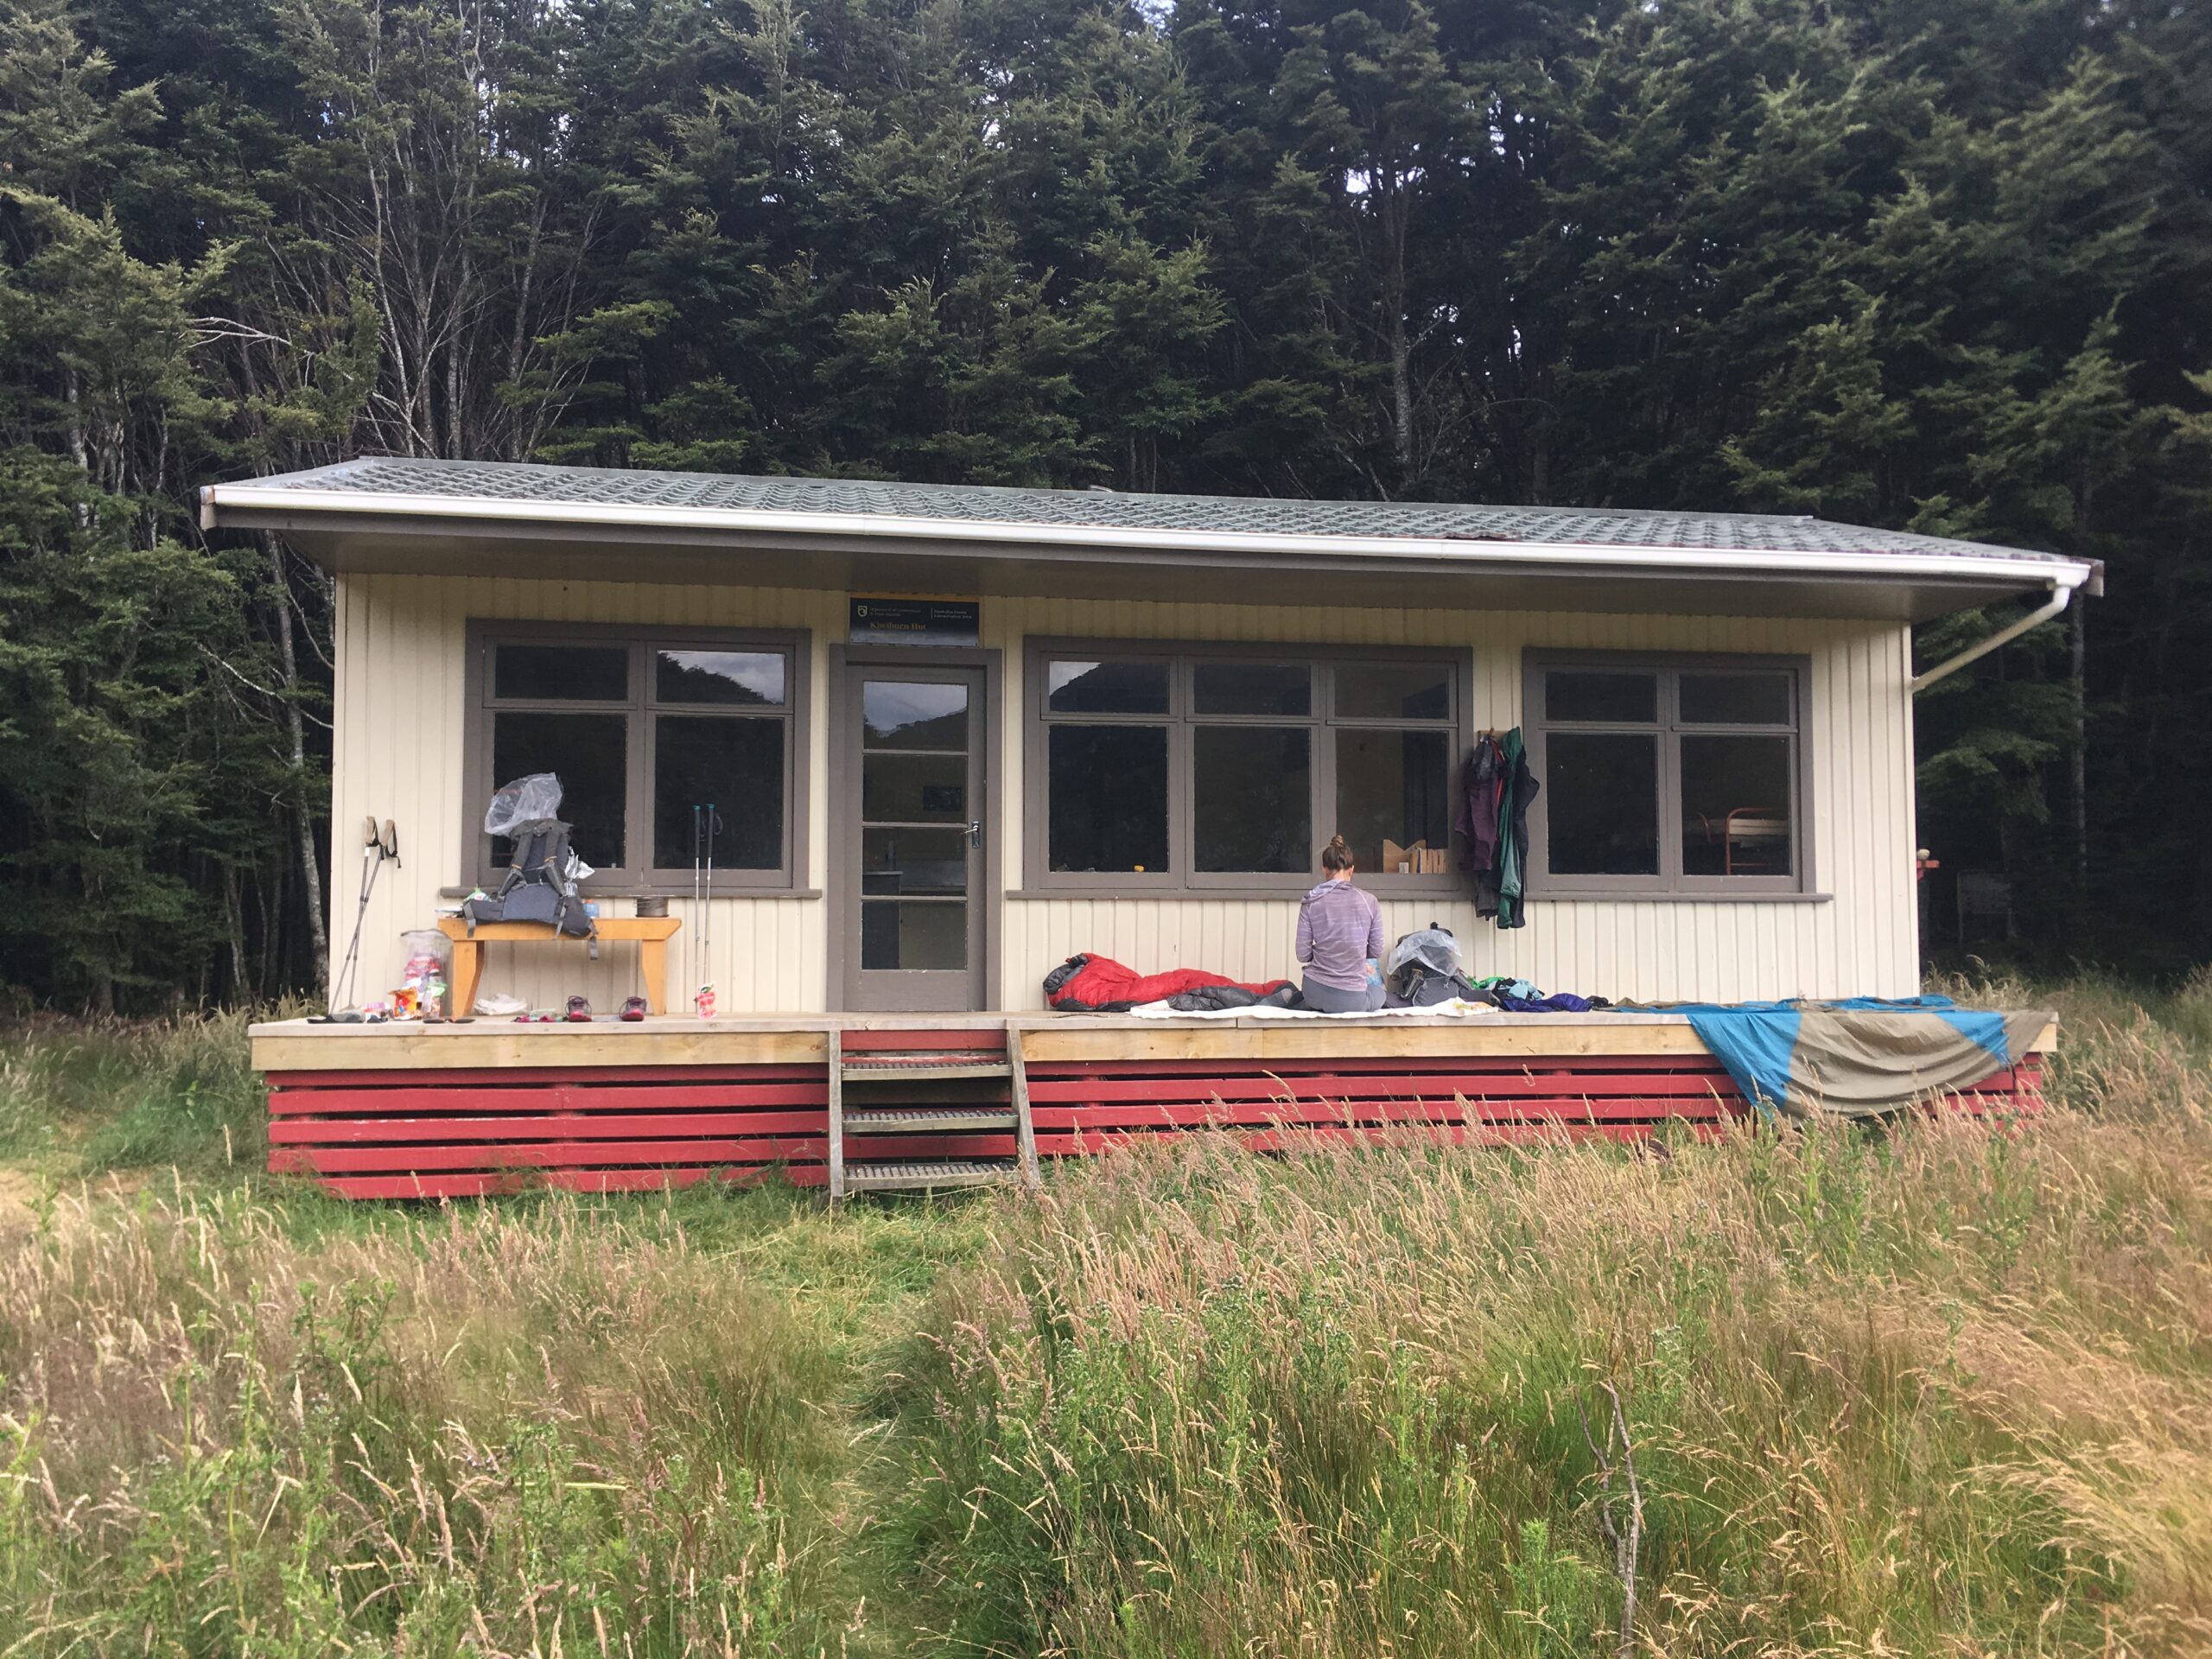
Huts
The hut system in New Zealand is stellar. There has obviously been a ton of work done building and maintaining the huts. We bought a backcountry hut pass which was cheap enough and proved to be invaluable. The huts do see a lot of usage from TA walkers which seems to bring mixed reviews from locals. When we hit the Southbound walkers on the Northern part of the South Island huts were often full when we arrived. It is especially important to be aware of your impact as a TA walker and know that huts and these use areas are not only for you! There is a lot to learn about land use and its history as you go. We encourage you to do the research.
Hostels & Holiday Parks
Because New Zealand has large a tourism industry, the hostels and holiday parks often were the cheapest option when walking the Te Araroa. We tried to only get a private room in these places every once in a while for a shower and to sleep in a bed. We found the most expensive holiday parks and hostels to be on the South Island in the major tourist towns such as Te Anau and Lake Tekapo.
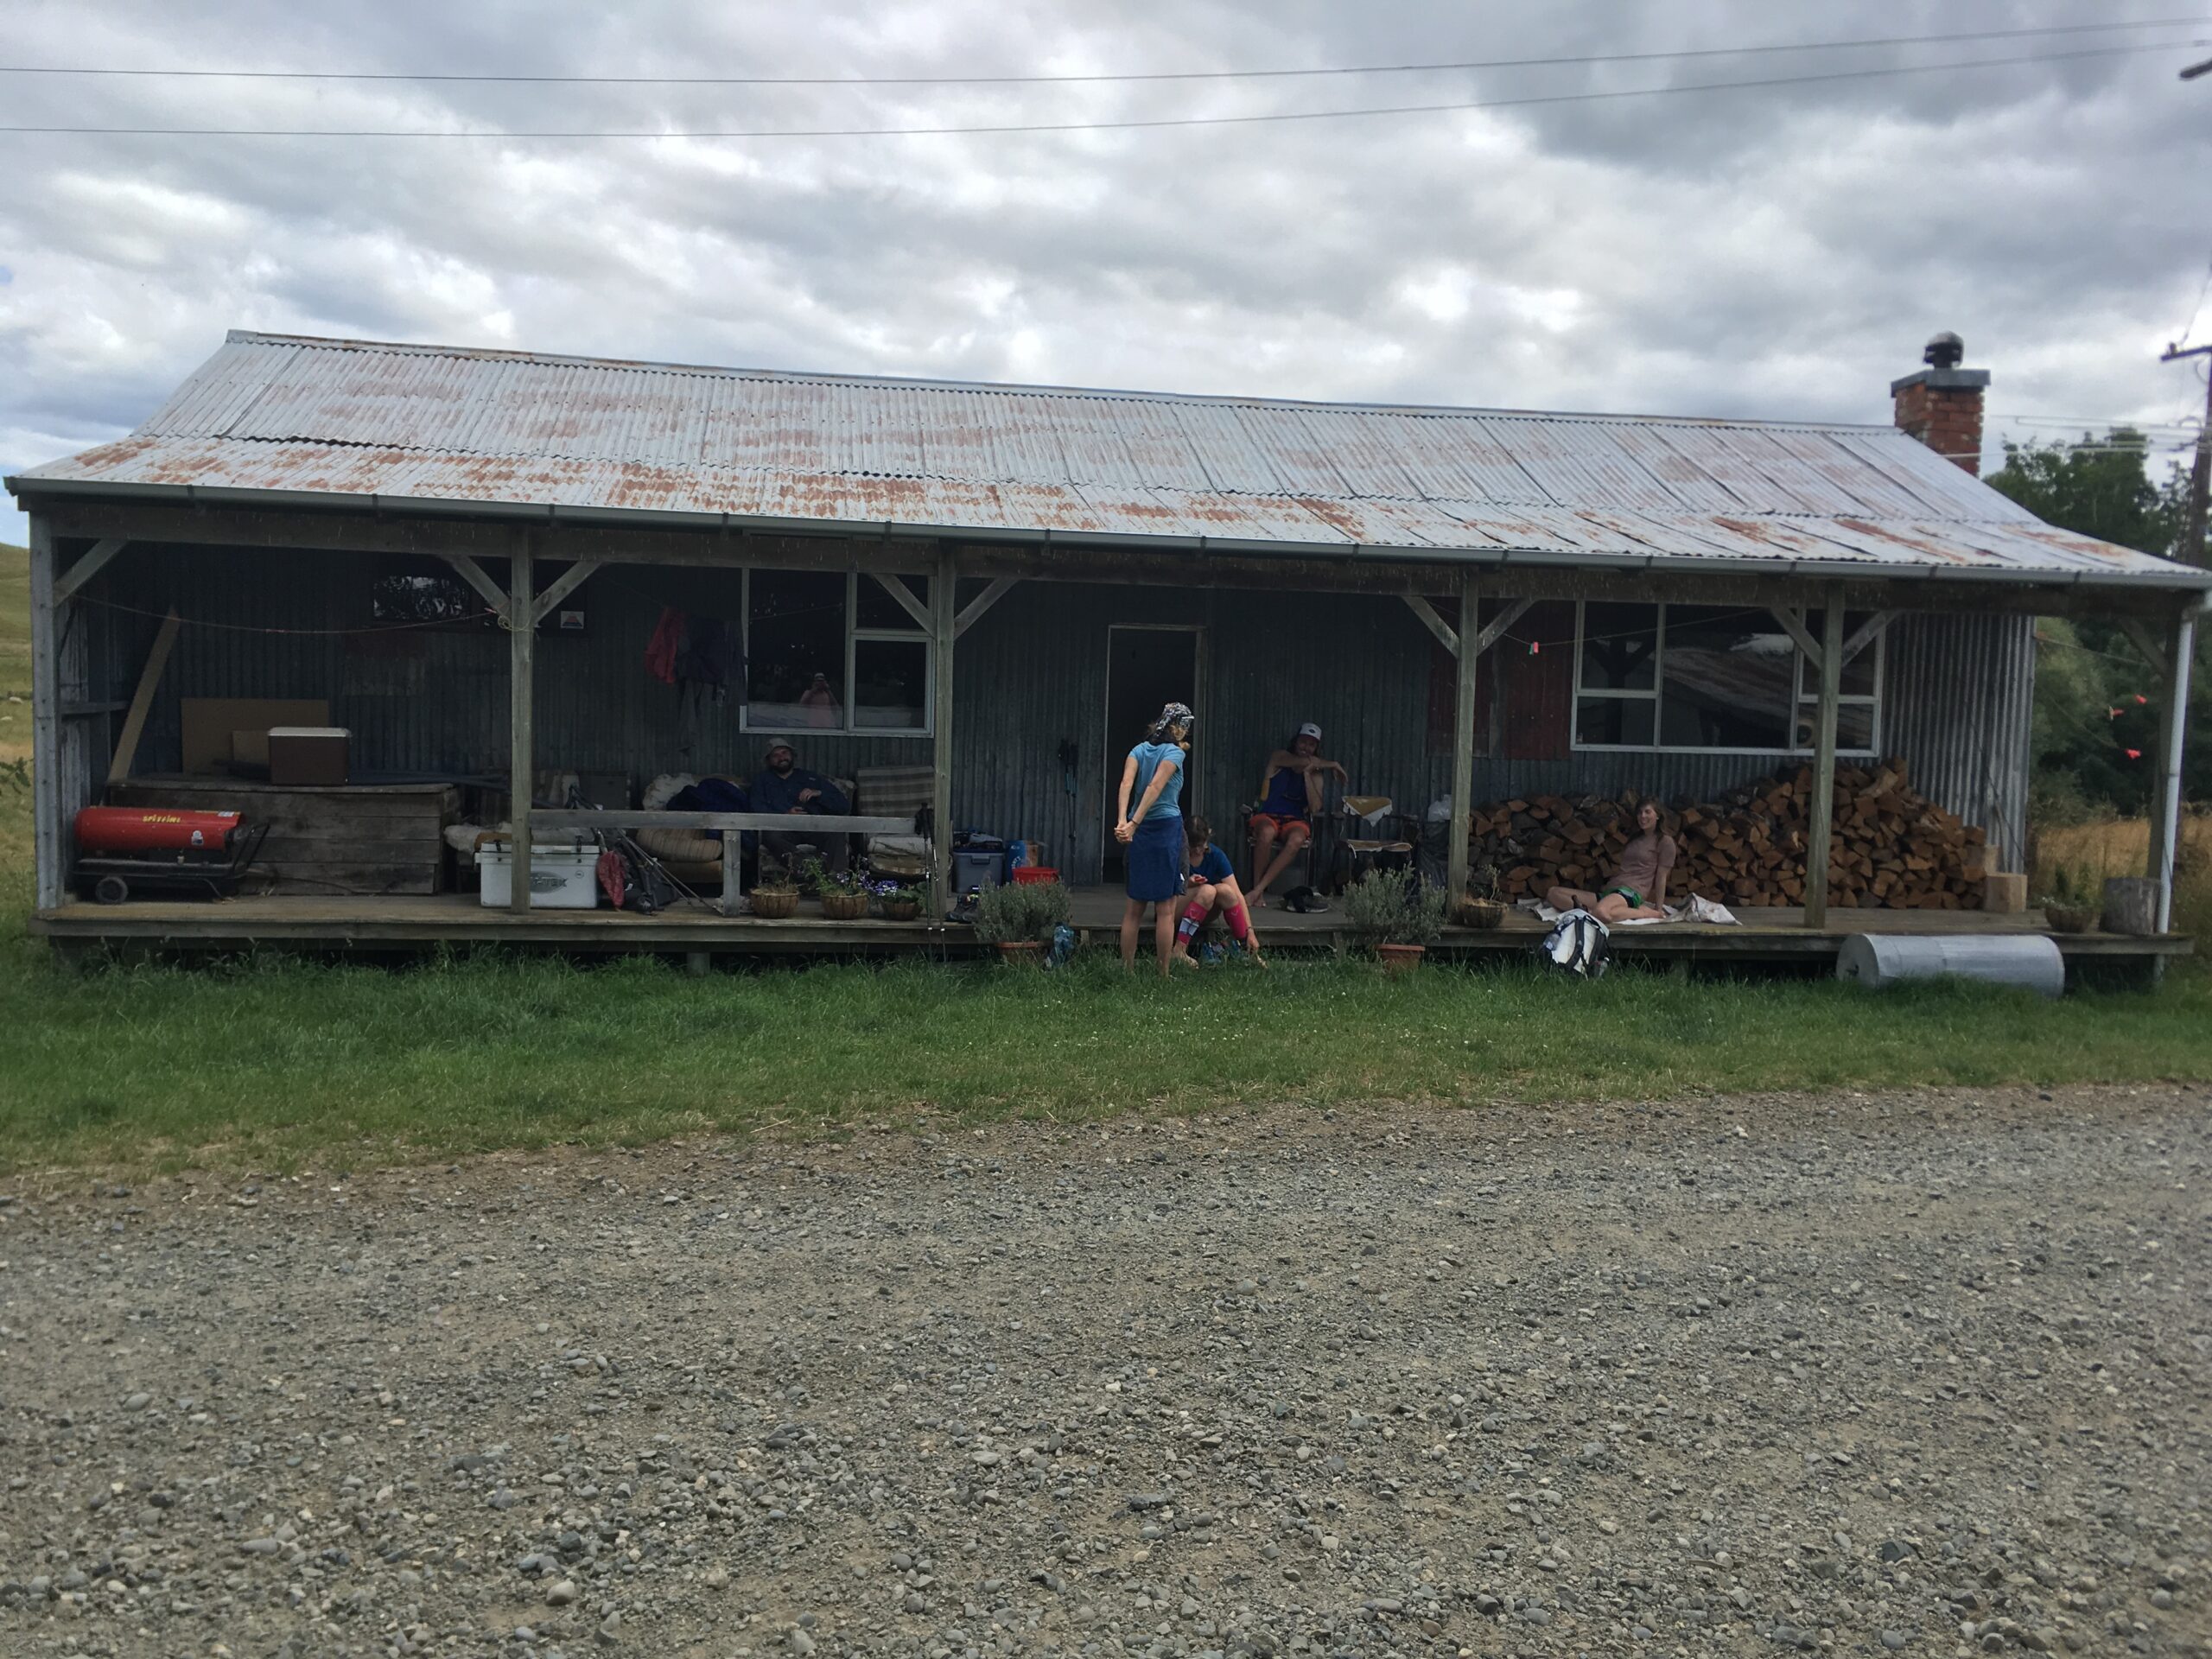
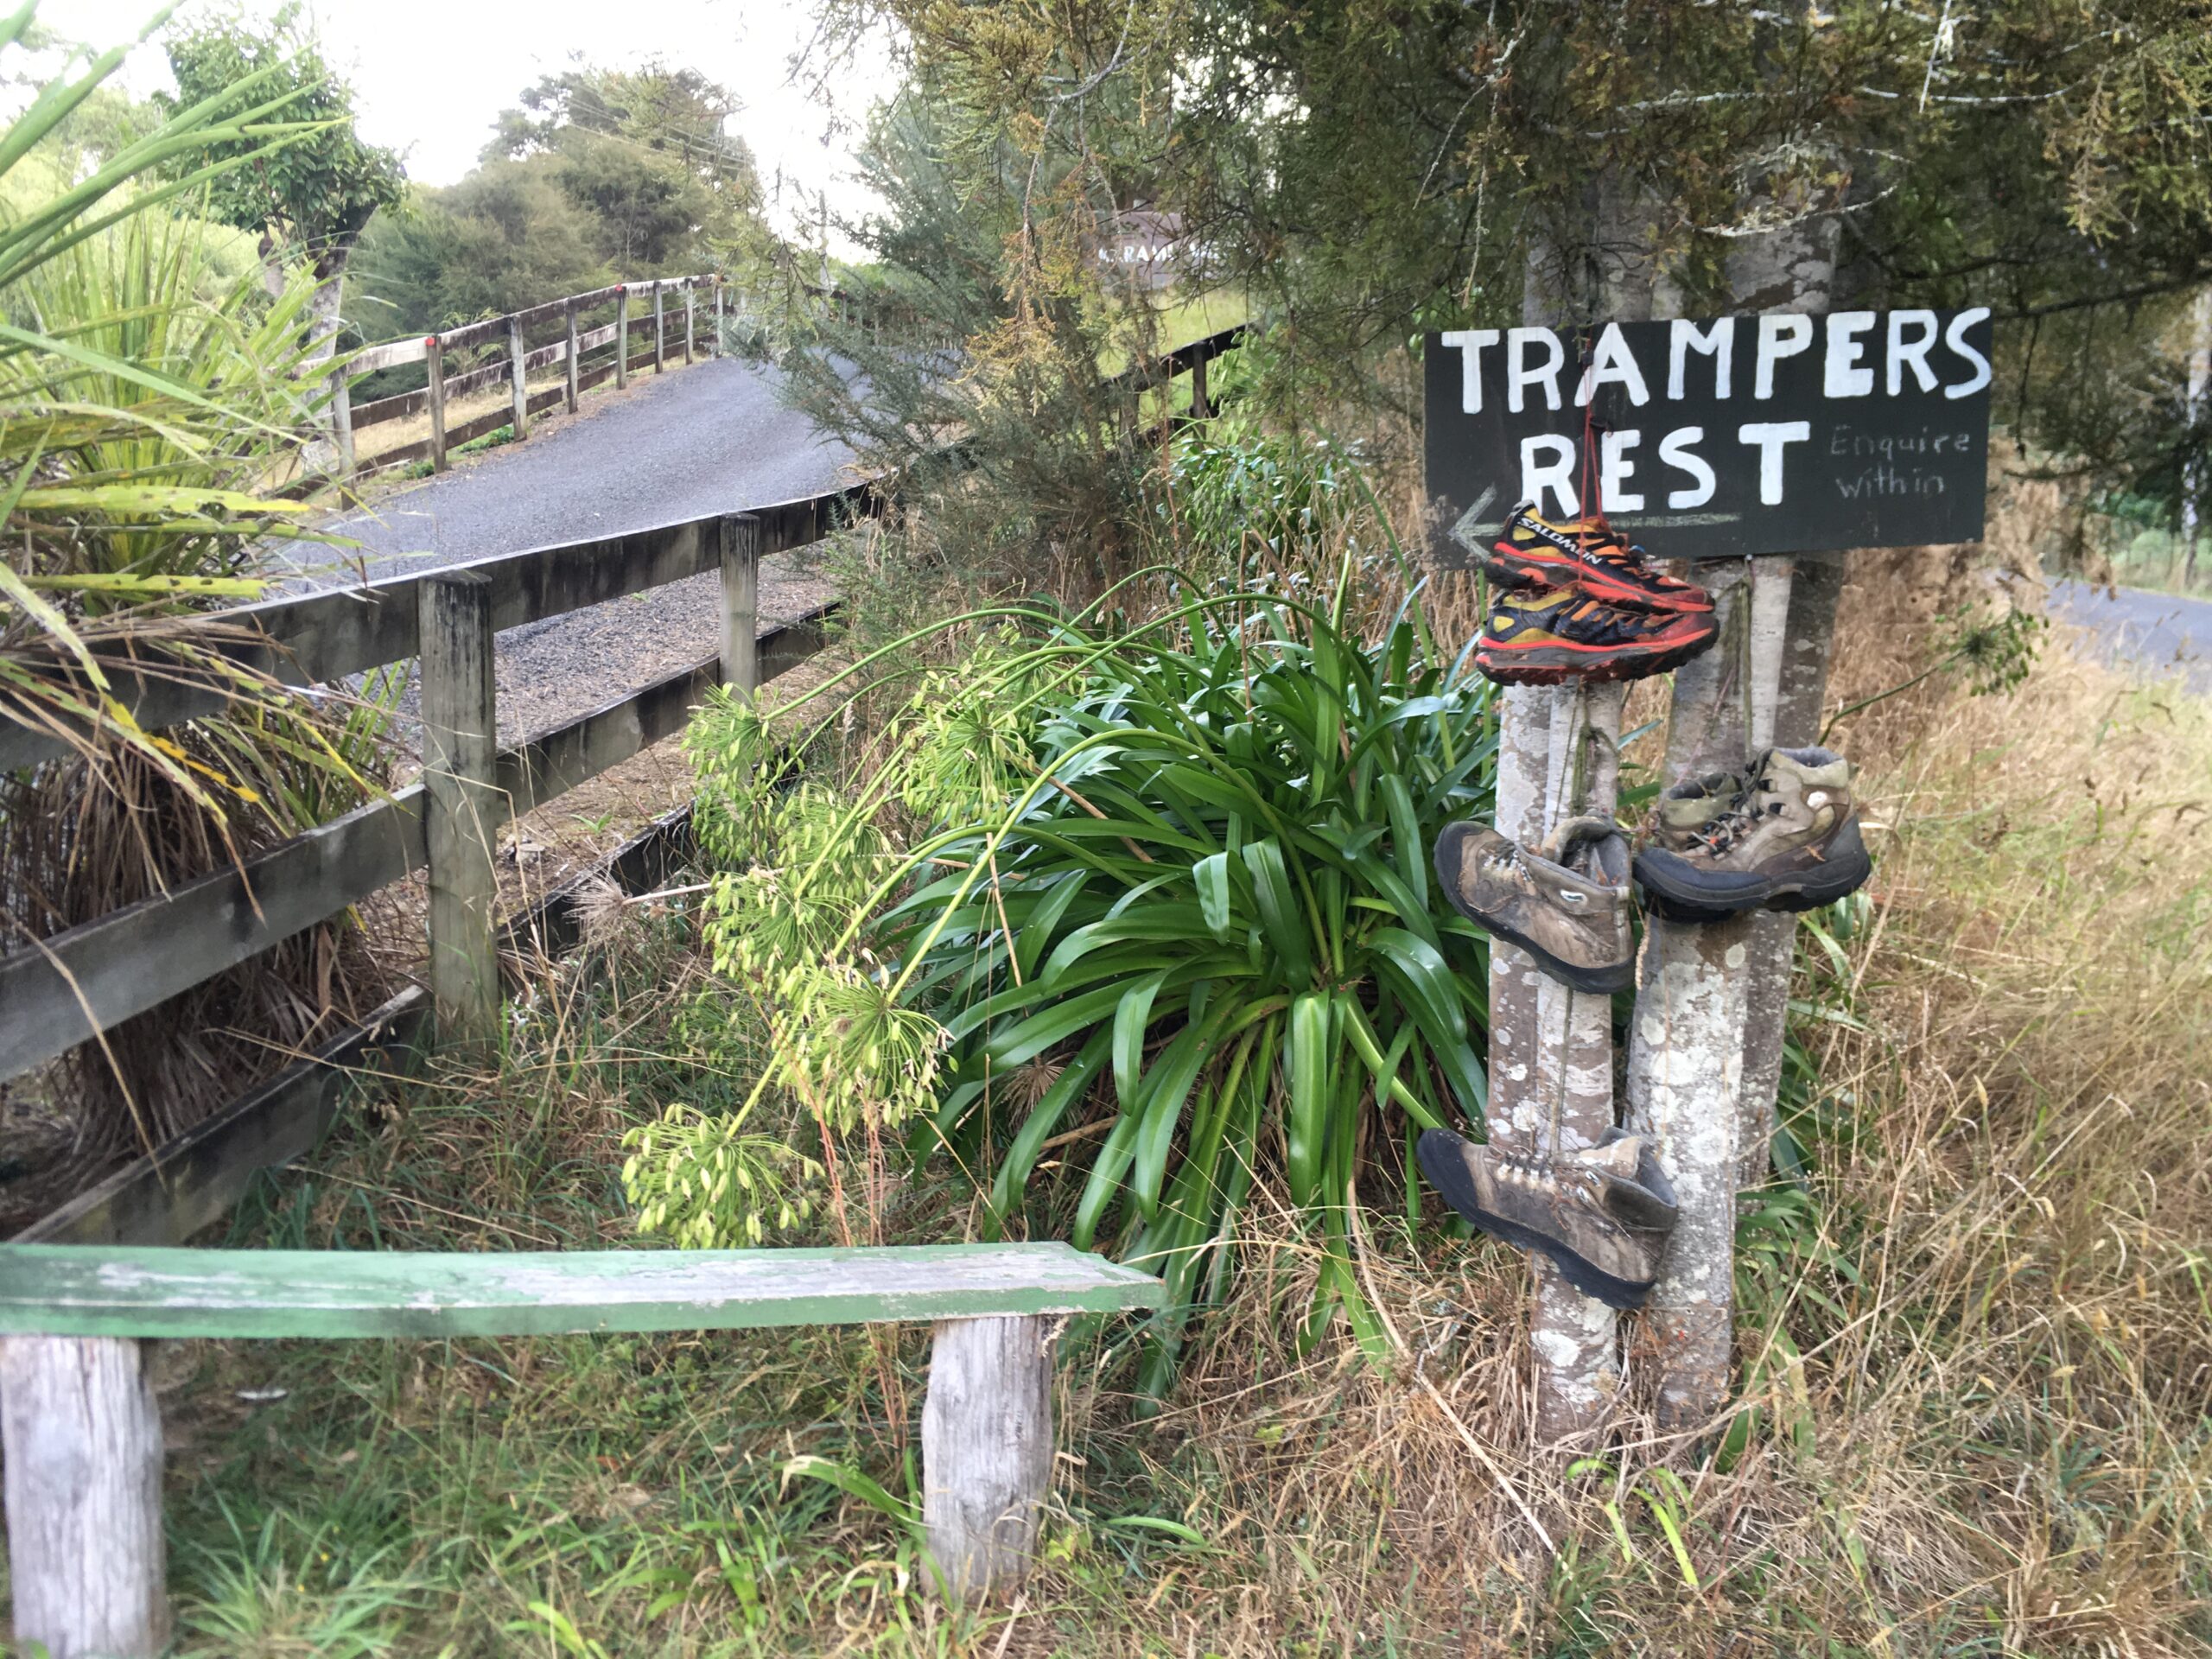
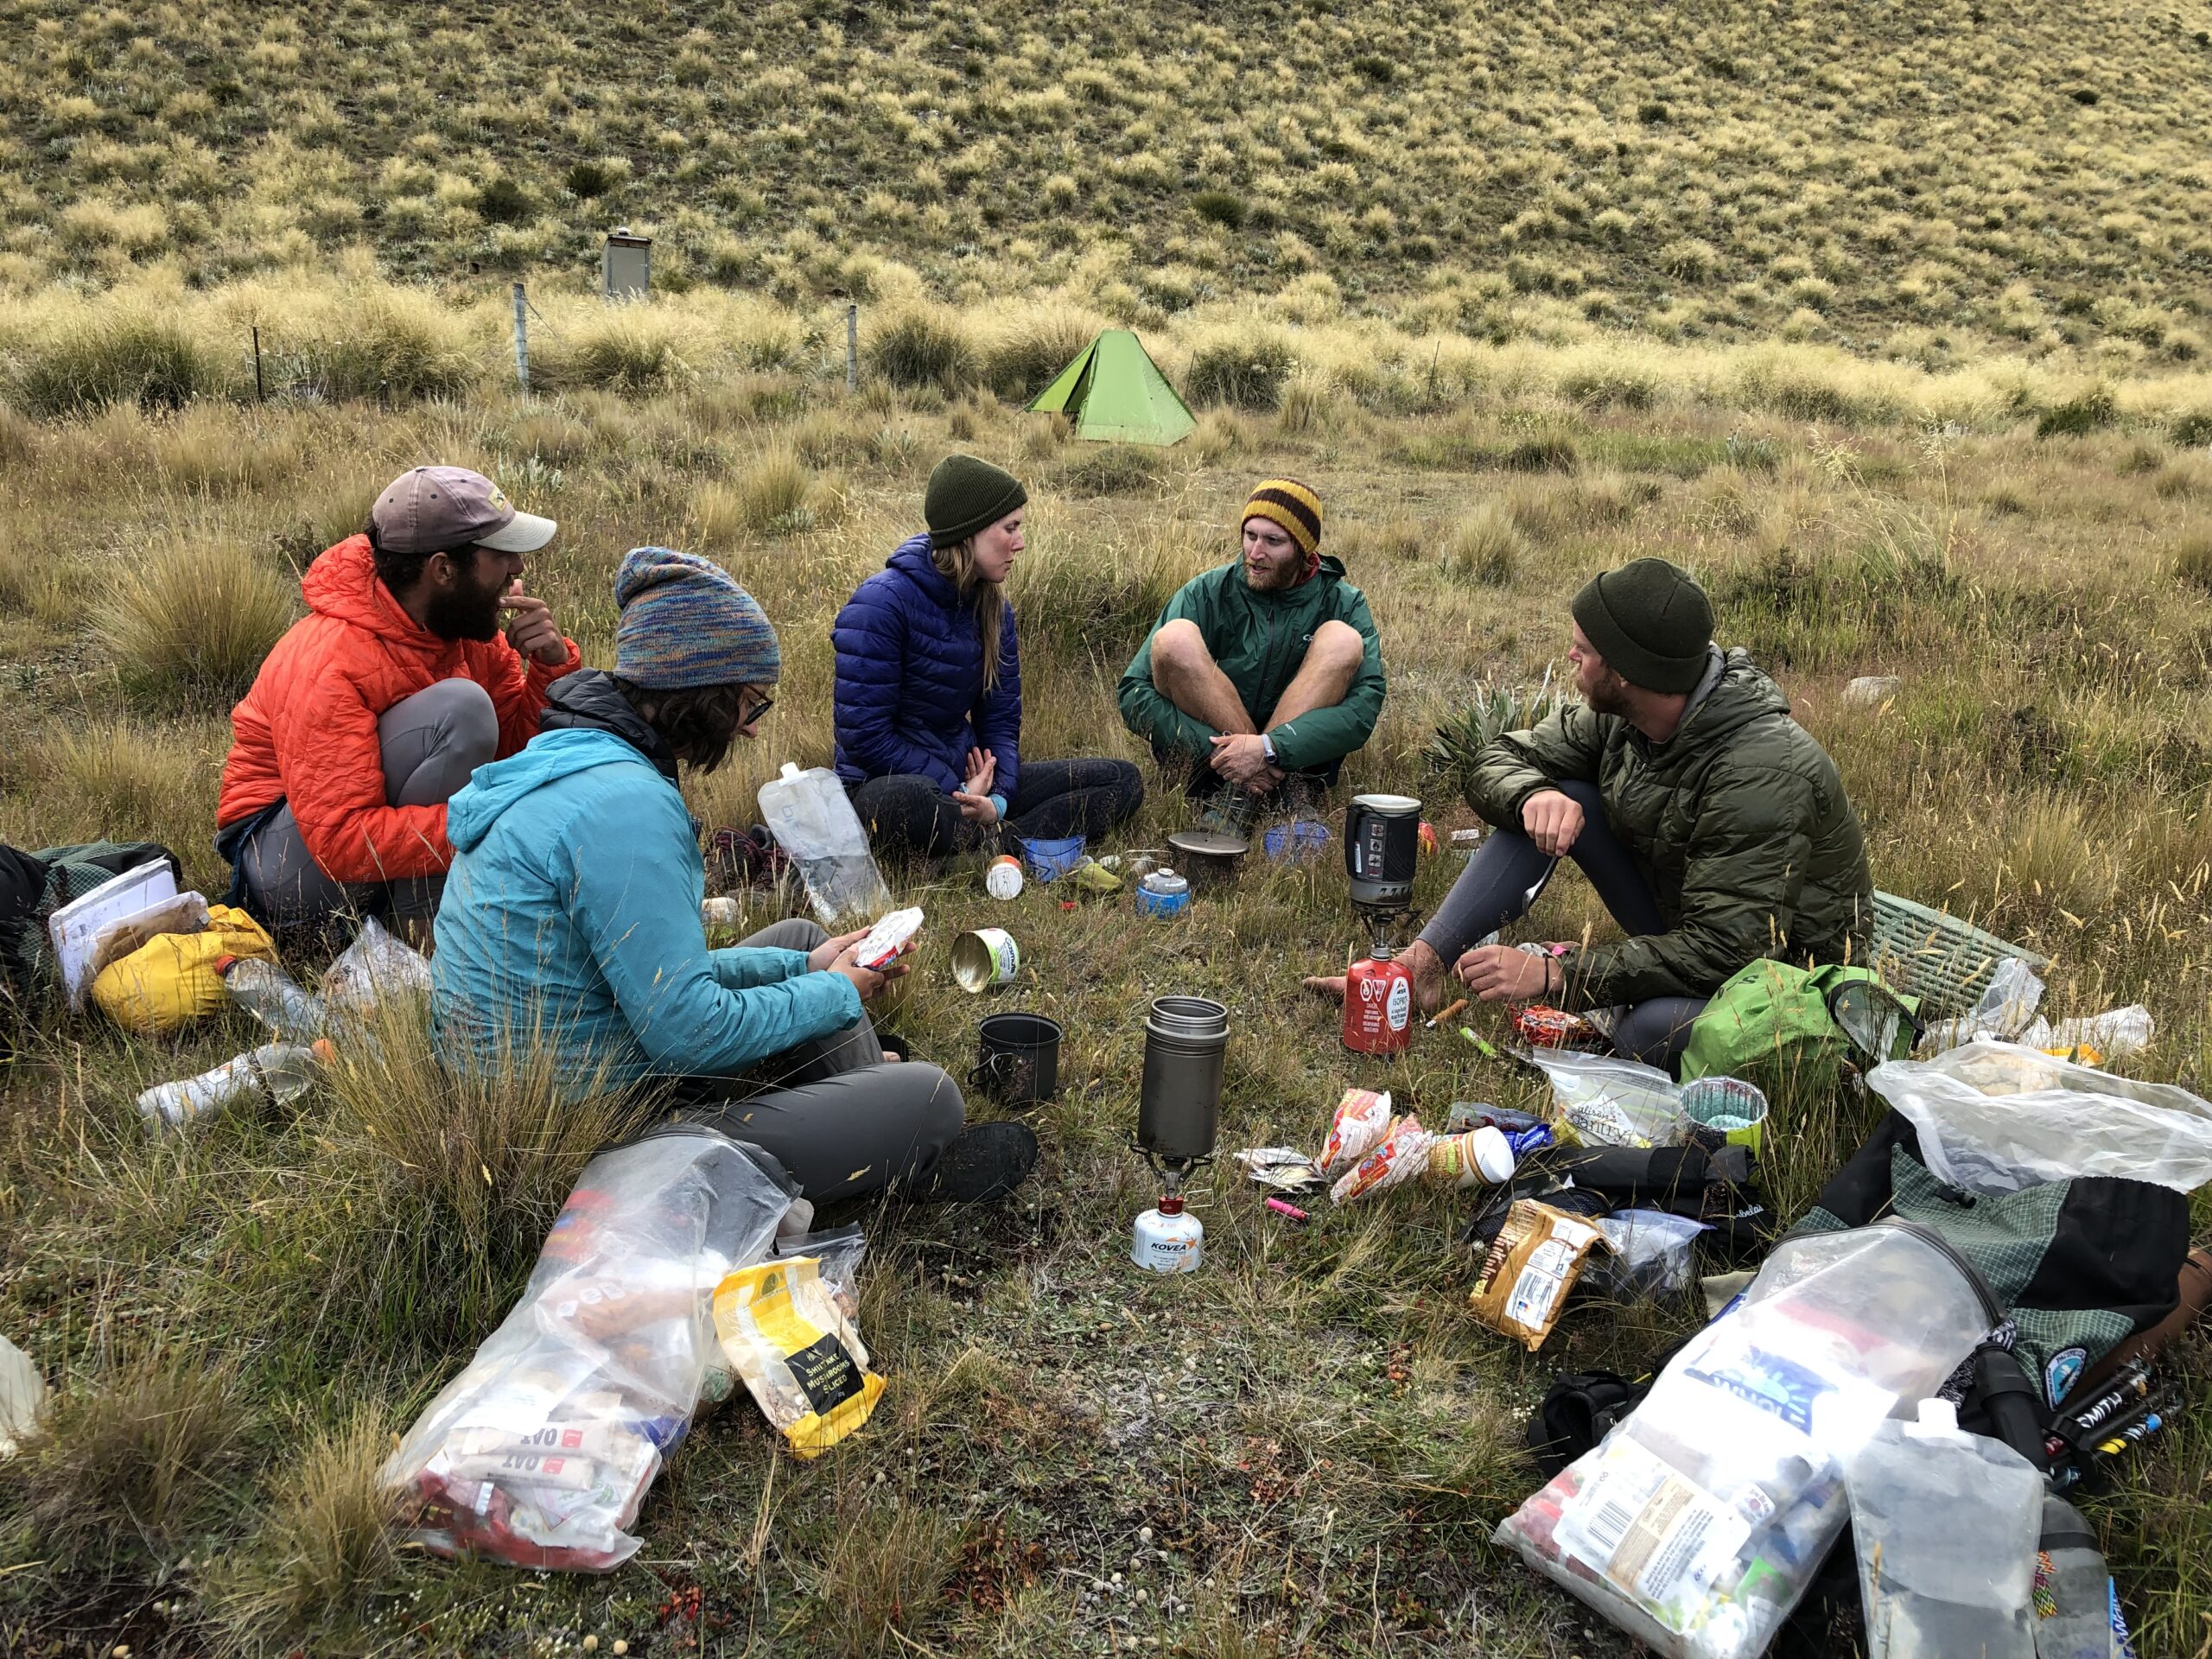
Trail Angels & Koha
Trail Angels were an amazing part of the TA. It is humbling that people so often open their homes and welcome in strangers. Trail Angels came in many forms on the route — opening up housing for walkers through the Facebook page, or folks that will just pick you up on the side of the road and invite you in. It is recommended that walkers leave Koha for any people who assist them. Koha can be in the form of money, service, or any type of offering to say thank you.
Camping & Stealth Camping
Yes. You can camp while walking the TA. As stated above, it sometimes is hard to find free camping unless you are at a backcountry hut or on DOC land. Stealth camping on other public land or in parks is possible and we occasionally did this. Remember, stealth camping is done at your own risk and we are not endorsing stealth camping on the TA. Please be respectful and do the research too.

Gear
The gear that you use on Te Araroa Trail is all about personal preference. We ran into people who had all sorts of setups – from tiny packs to the monster backpack. We tried to keep our walking setup fairly light and simple because we didn’t want our bodies to take a huge hit from walking so much. From all of the other research we did pre-trip and from our personal experience, the Te Araroa seems to be a great fit for keeping your backpacking (or tramping, as kiwis would call it) setup lightweight.
What We Would Change & Future Considerations
Overall, we were pretty happy with all of the gear we brought. We feel as if we brought the right amount of layers, correct sleeping pad, and other pieces of equipment. Below we will highlight a few items of gear we wished we’d done differently, and will likely change for any future thru-hikes attempts.
Our Shelter
Our shelter may have been the biggest part of our gear breakdown that we were disappointed about. We normally use a mid, the Black Diamond Beta Light, and we were excited to continue the trend. We like using a mid because it is lightweight, enclosed on all sides, and stands up to all types of weather very well.
The one downfall of our shelter was that we did not bring the bug insert along with it. In our naivety we figured there was likely nothing too much worse than some of the other bugs and mosquitoes that we have experienced in the past (in various parts of the U.S. and in other countries as well). We were wrong. The New Zealand blackfly, more commonly called sandflies, are ridiculous and extreme. The bites lasted much longer than mosquitoes, and the daily bug hours lasted until full dark most nights (well past 10PM). Not having a bug net cost us more than a few nights of sleep.
If we were to go back again we would either get a bug insert for our mid or a fully enclosed shelter with a bug net. Dealing with sandflies was, by far, one of the biggest learning experiences that we had on our trip.
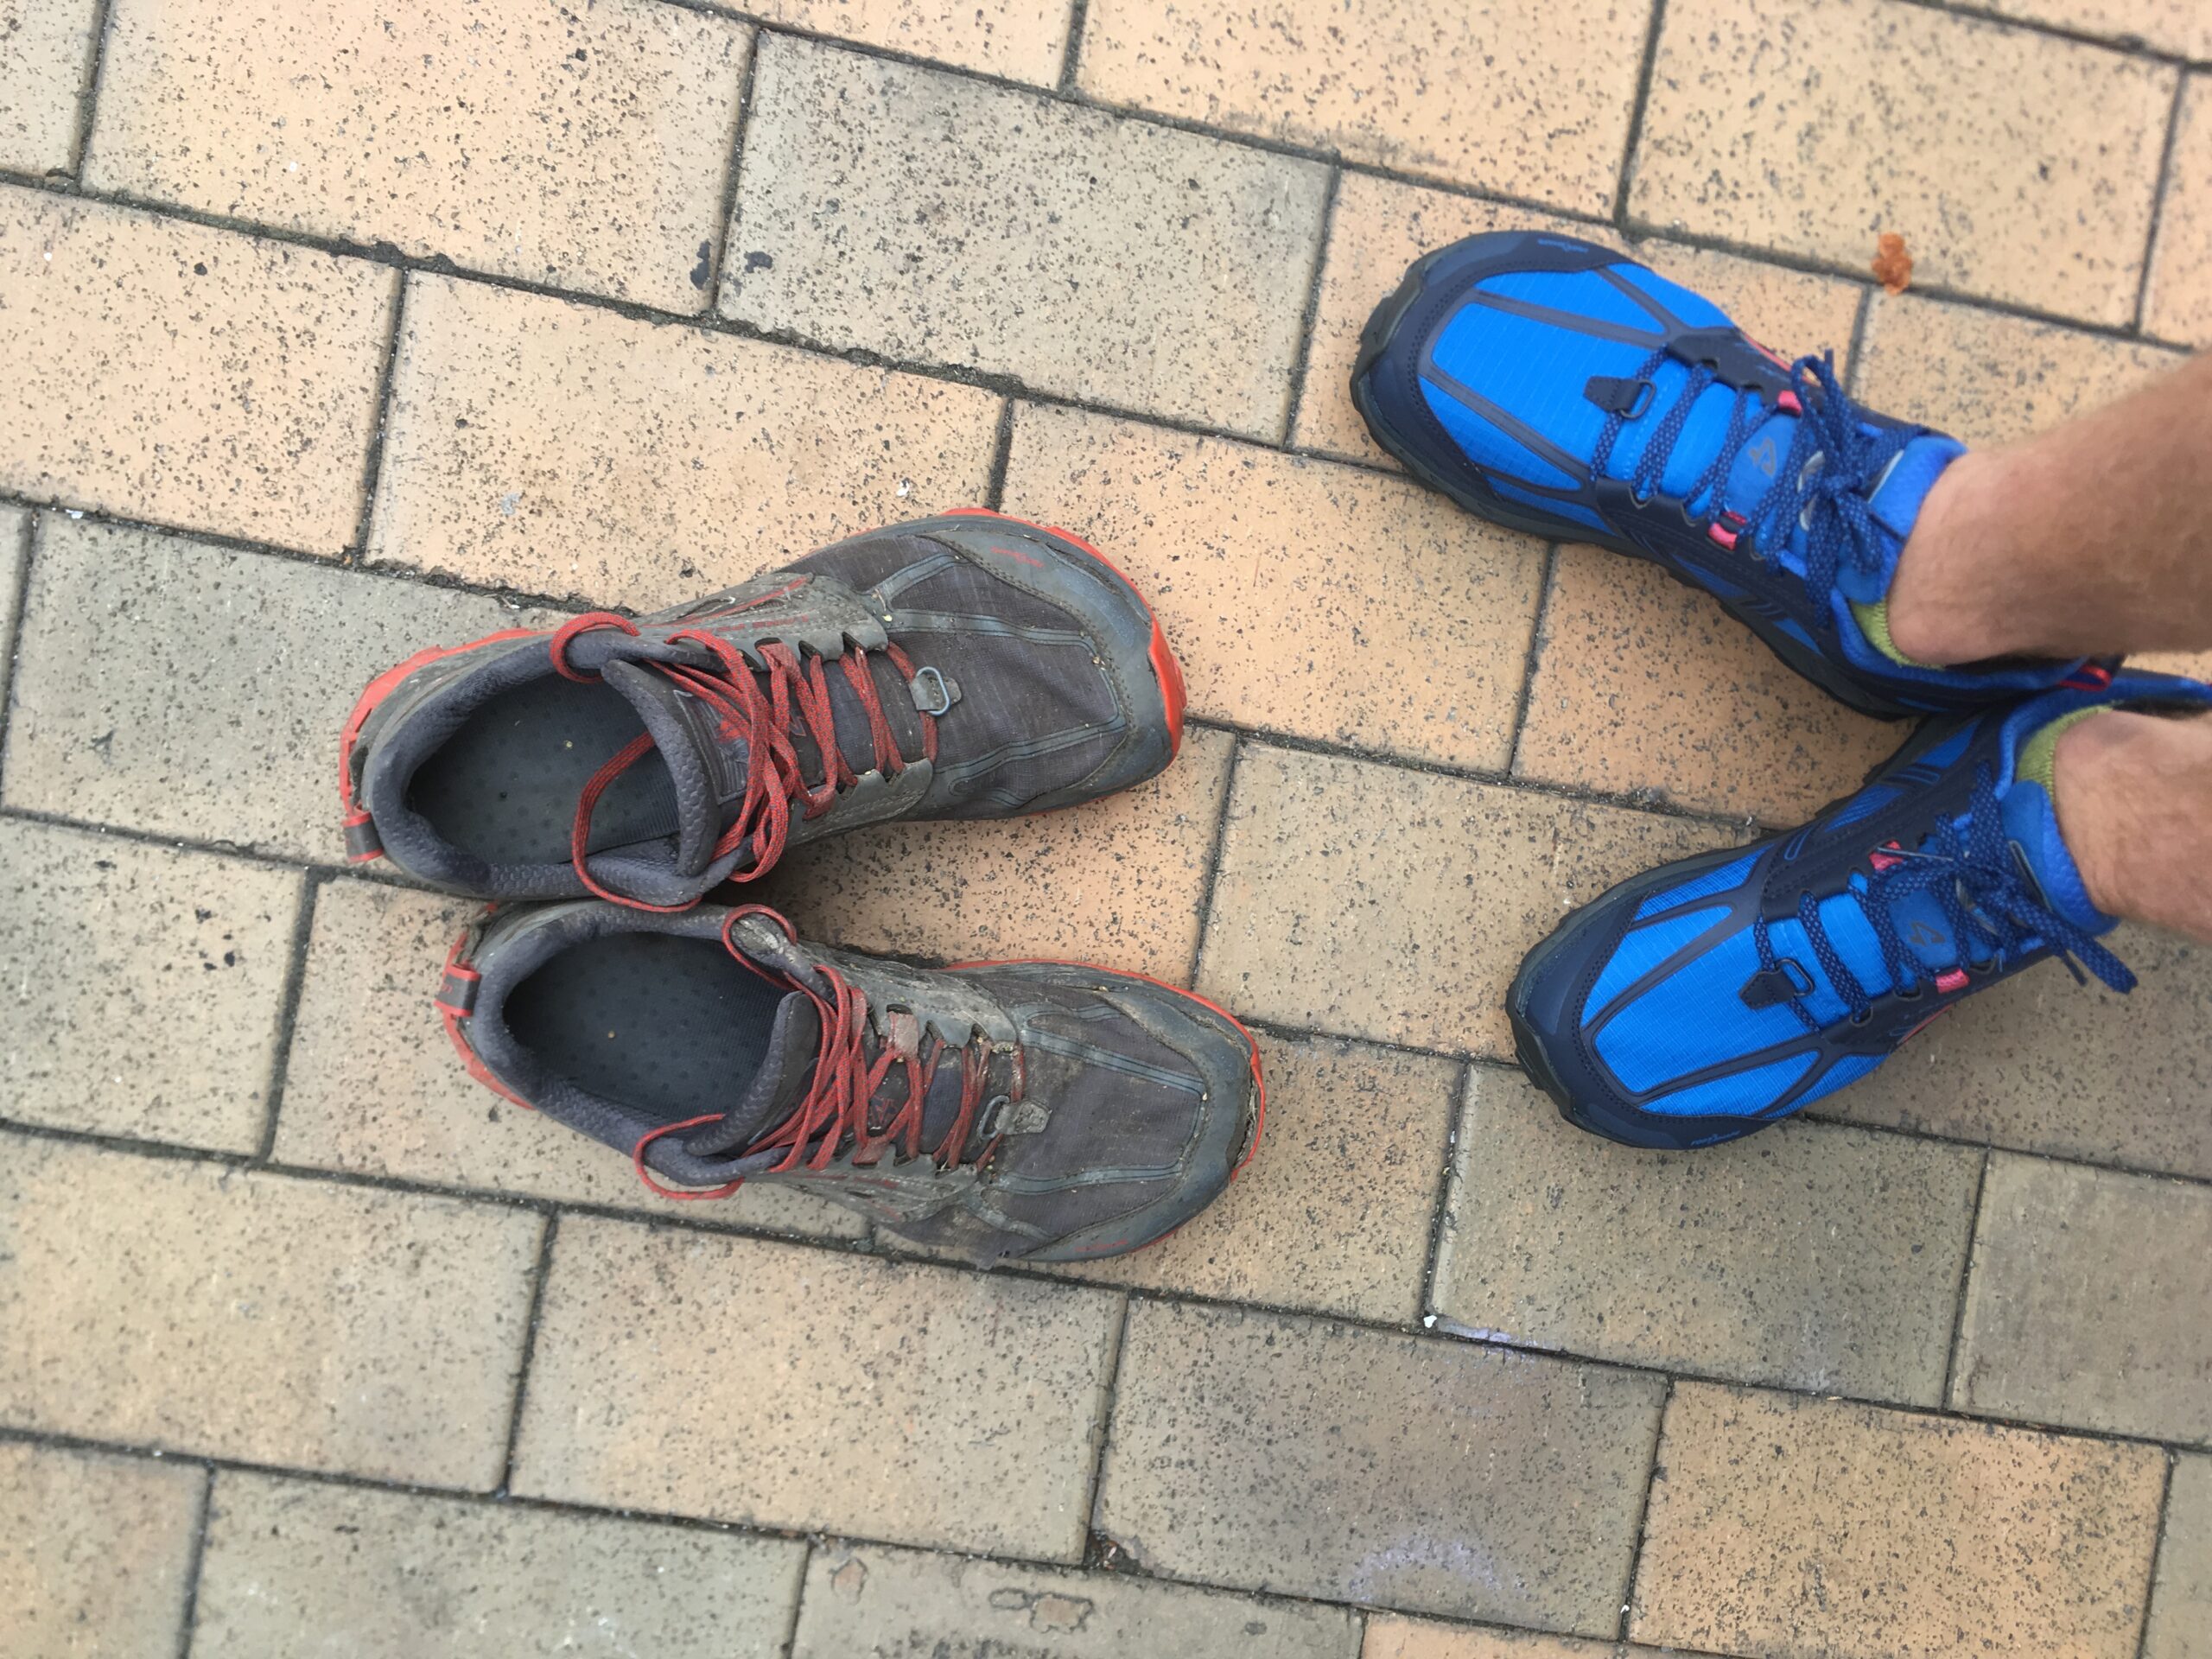
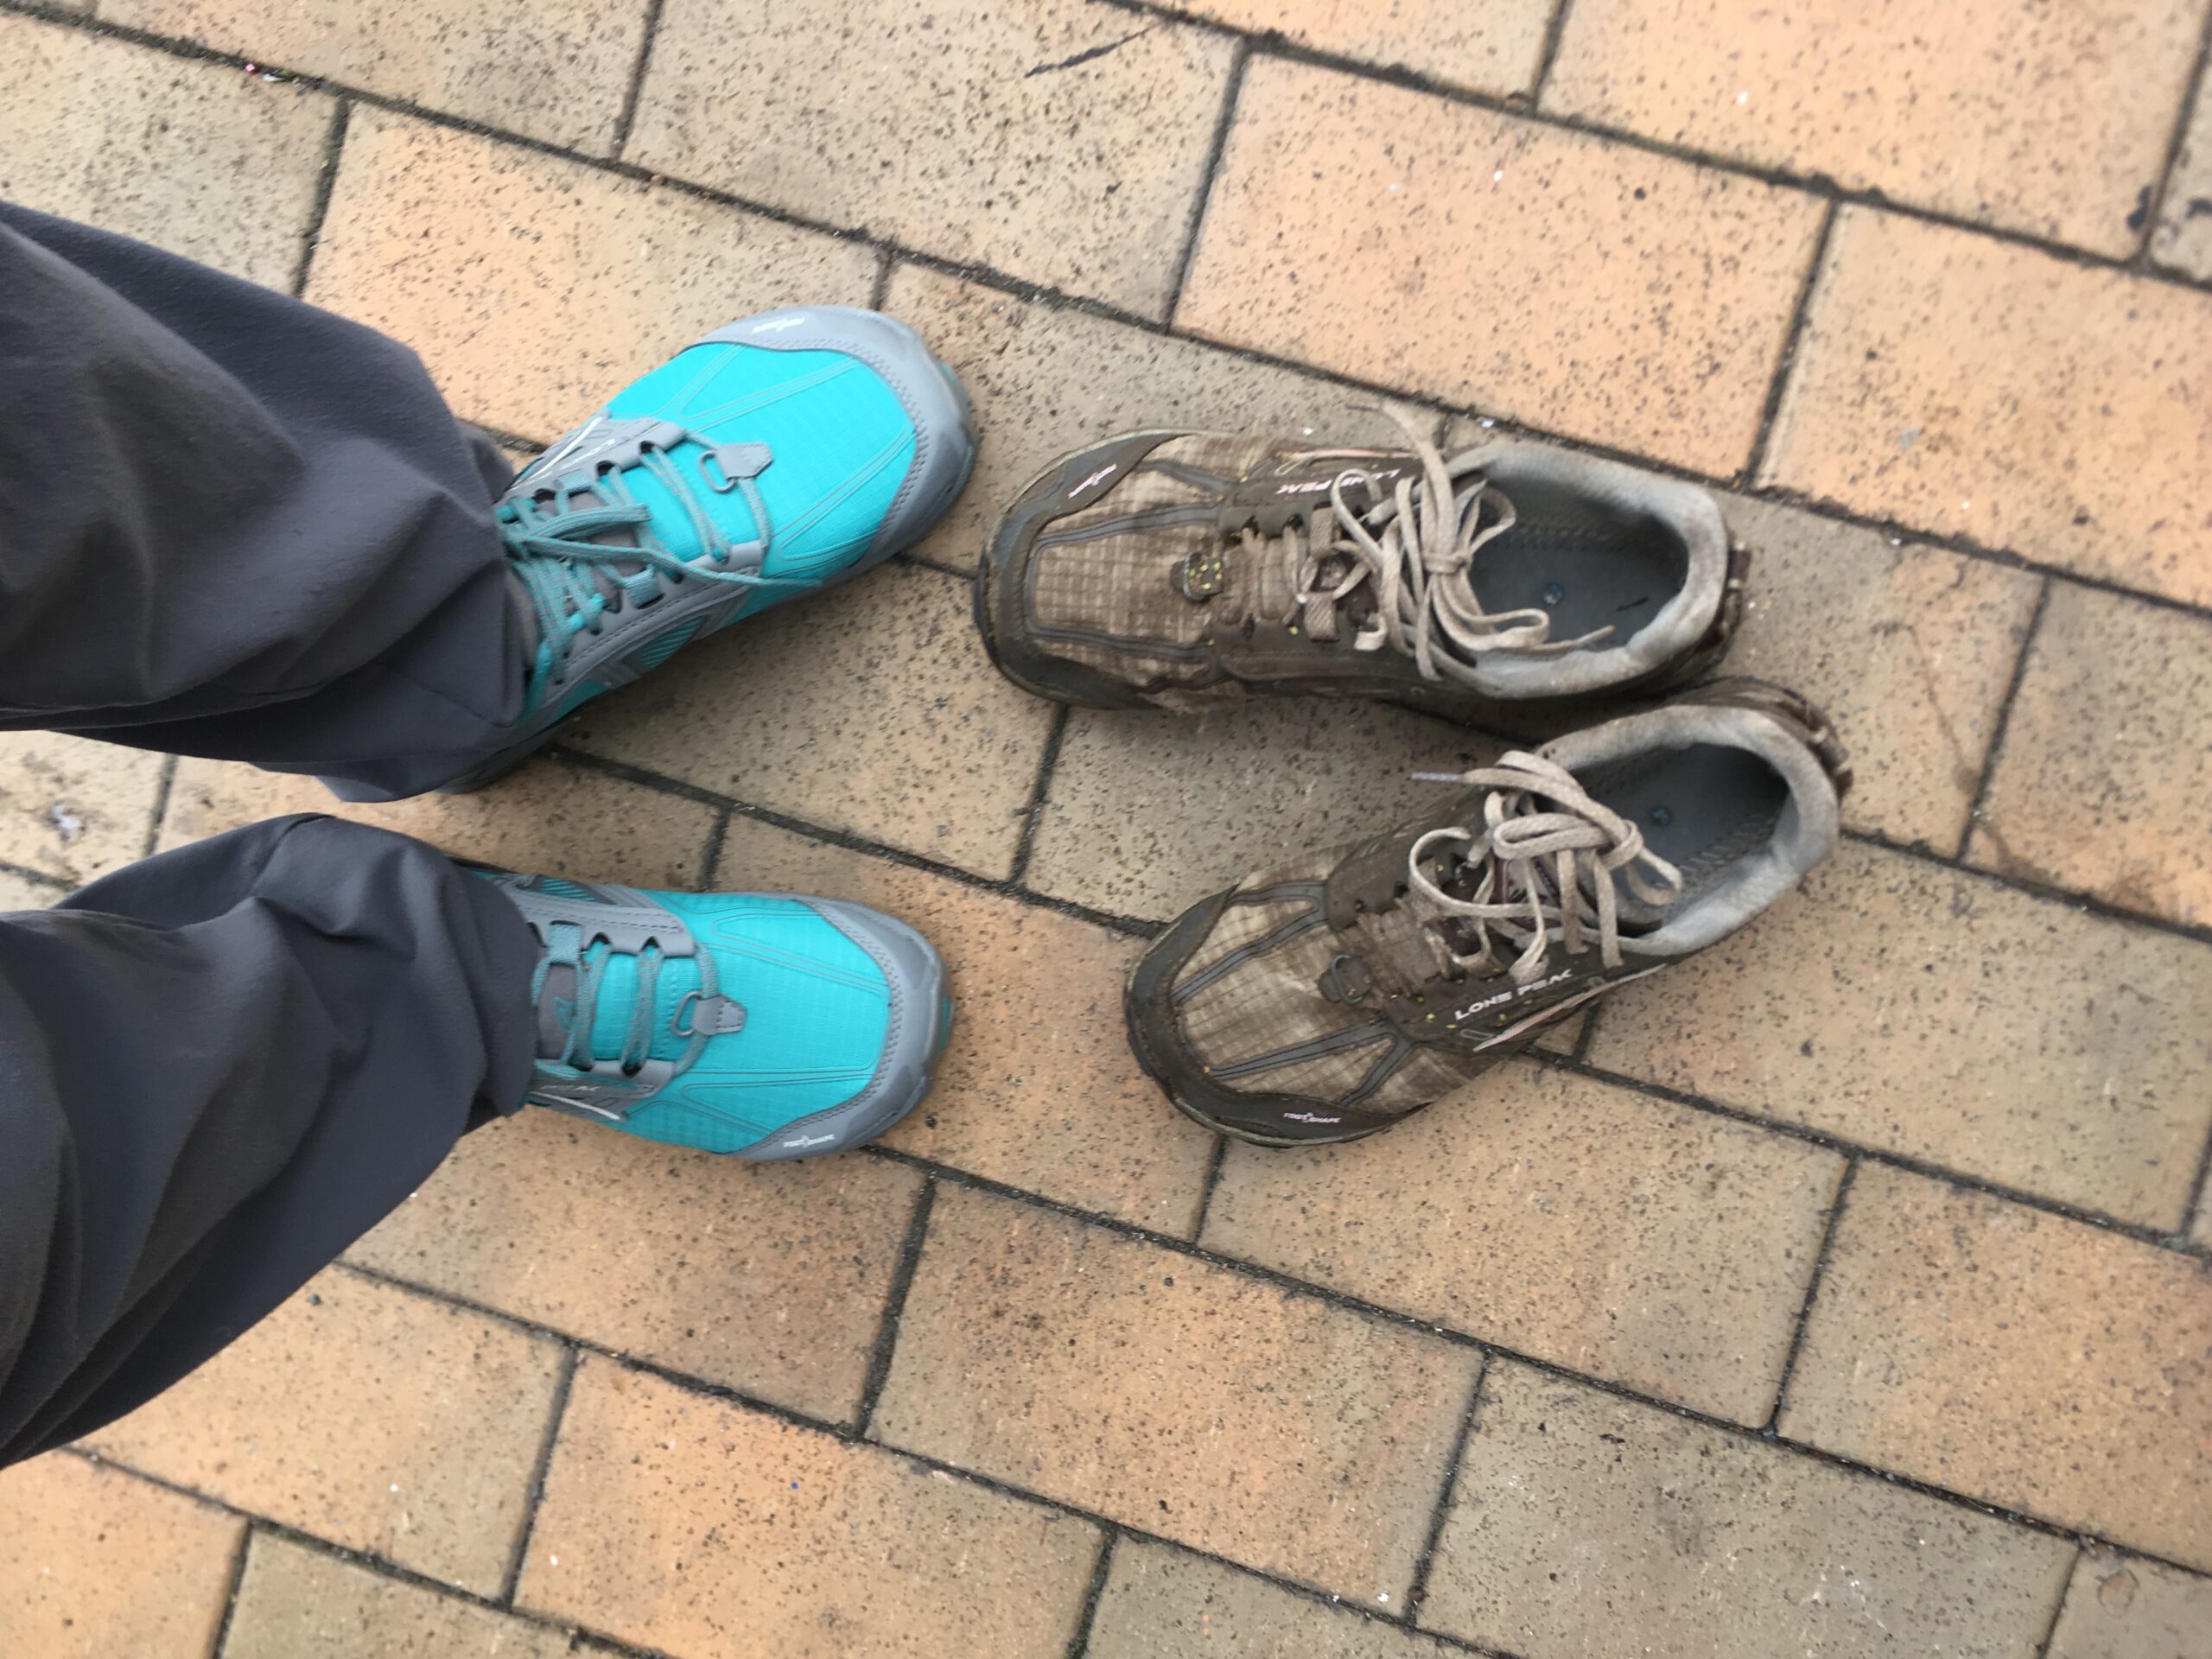
Footwear
We started off planning that we would use one pair of Altra Lone Peak 4 trailrunners per island, but with the caveat that we may need to buy a third or a fourth pair. We did make it through the whole South Island with just one pair of shoes. We picked up our second pair from our planned shipment at the end of this Island, and ended up purchasing a third pair for the end of the North Island in Hamilton. We used Altra Lone Peak 4 trailrunners every time. Looking back, we should have been more willing to buy another pair of shoes before the end of the South Island. We think that maybe 4-5 pairs of shoes would have made our feet feel much better throughout the whole hike. Because we didn’t replace our shoes often enough the bottoms of our feet hurt most of the trip. More shoes may not have changed this, but likely would have benefited the overall health of our feet.
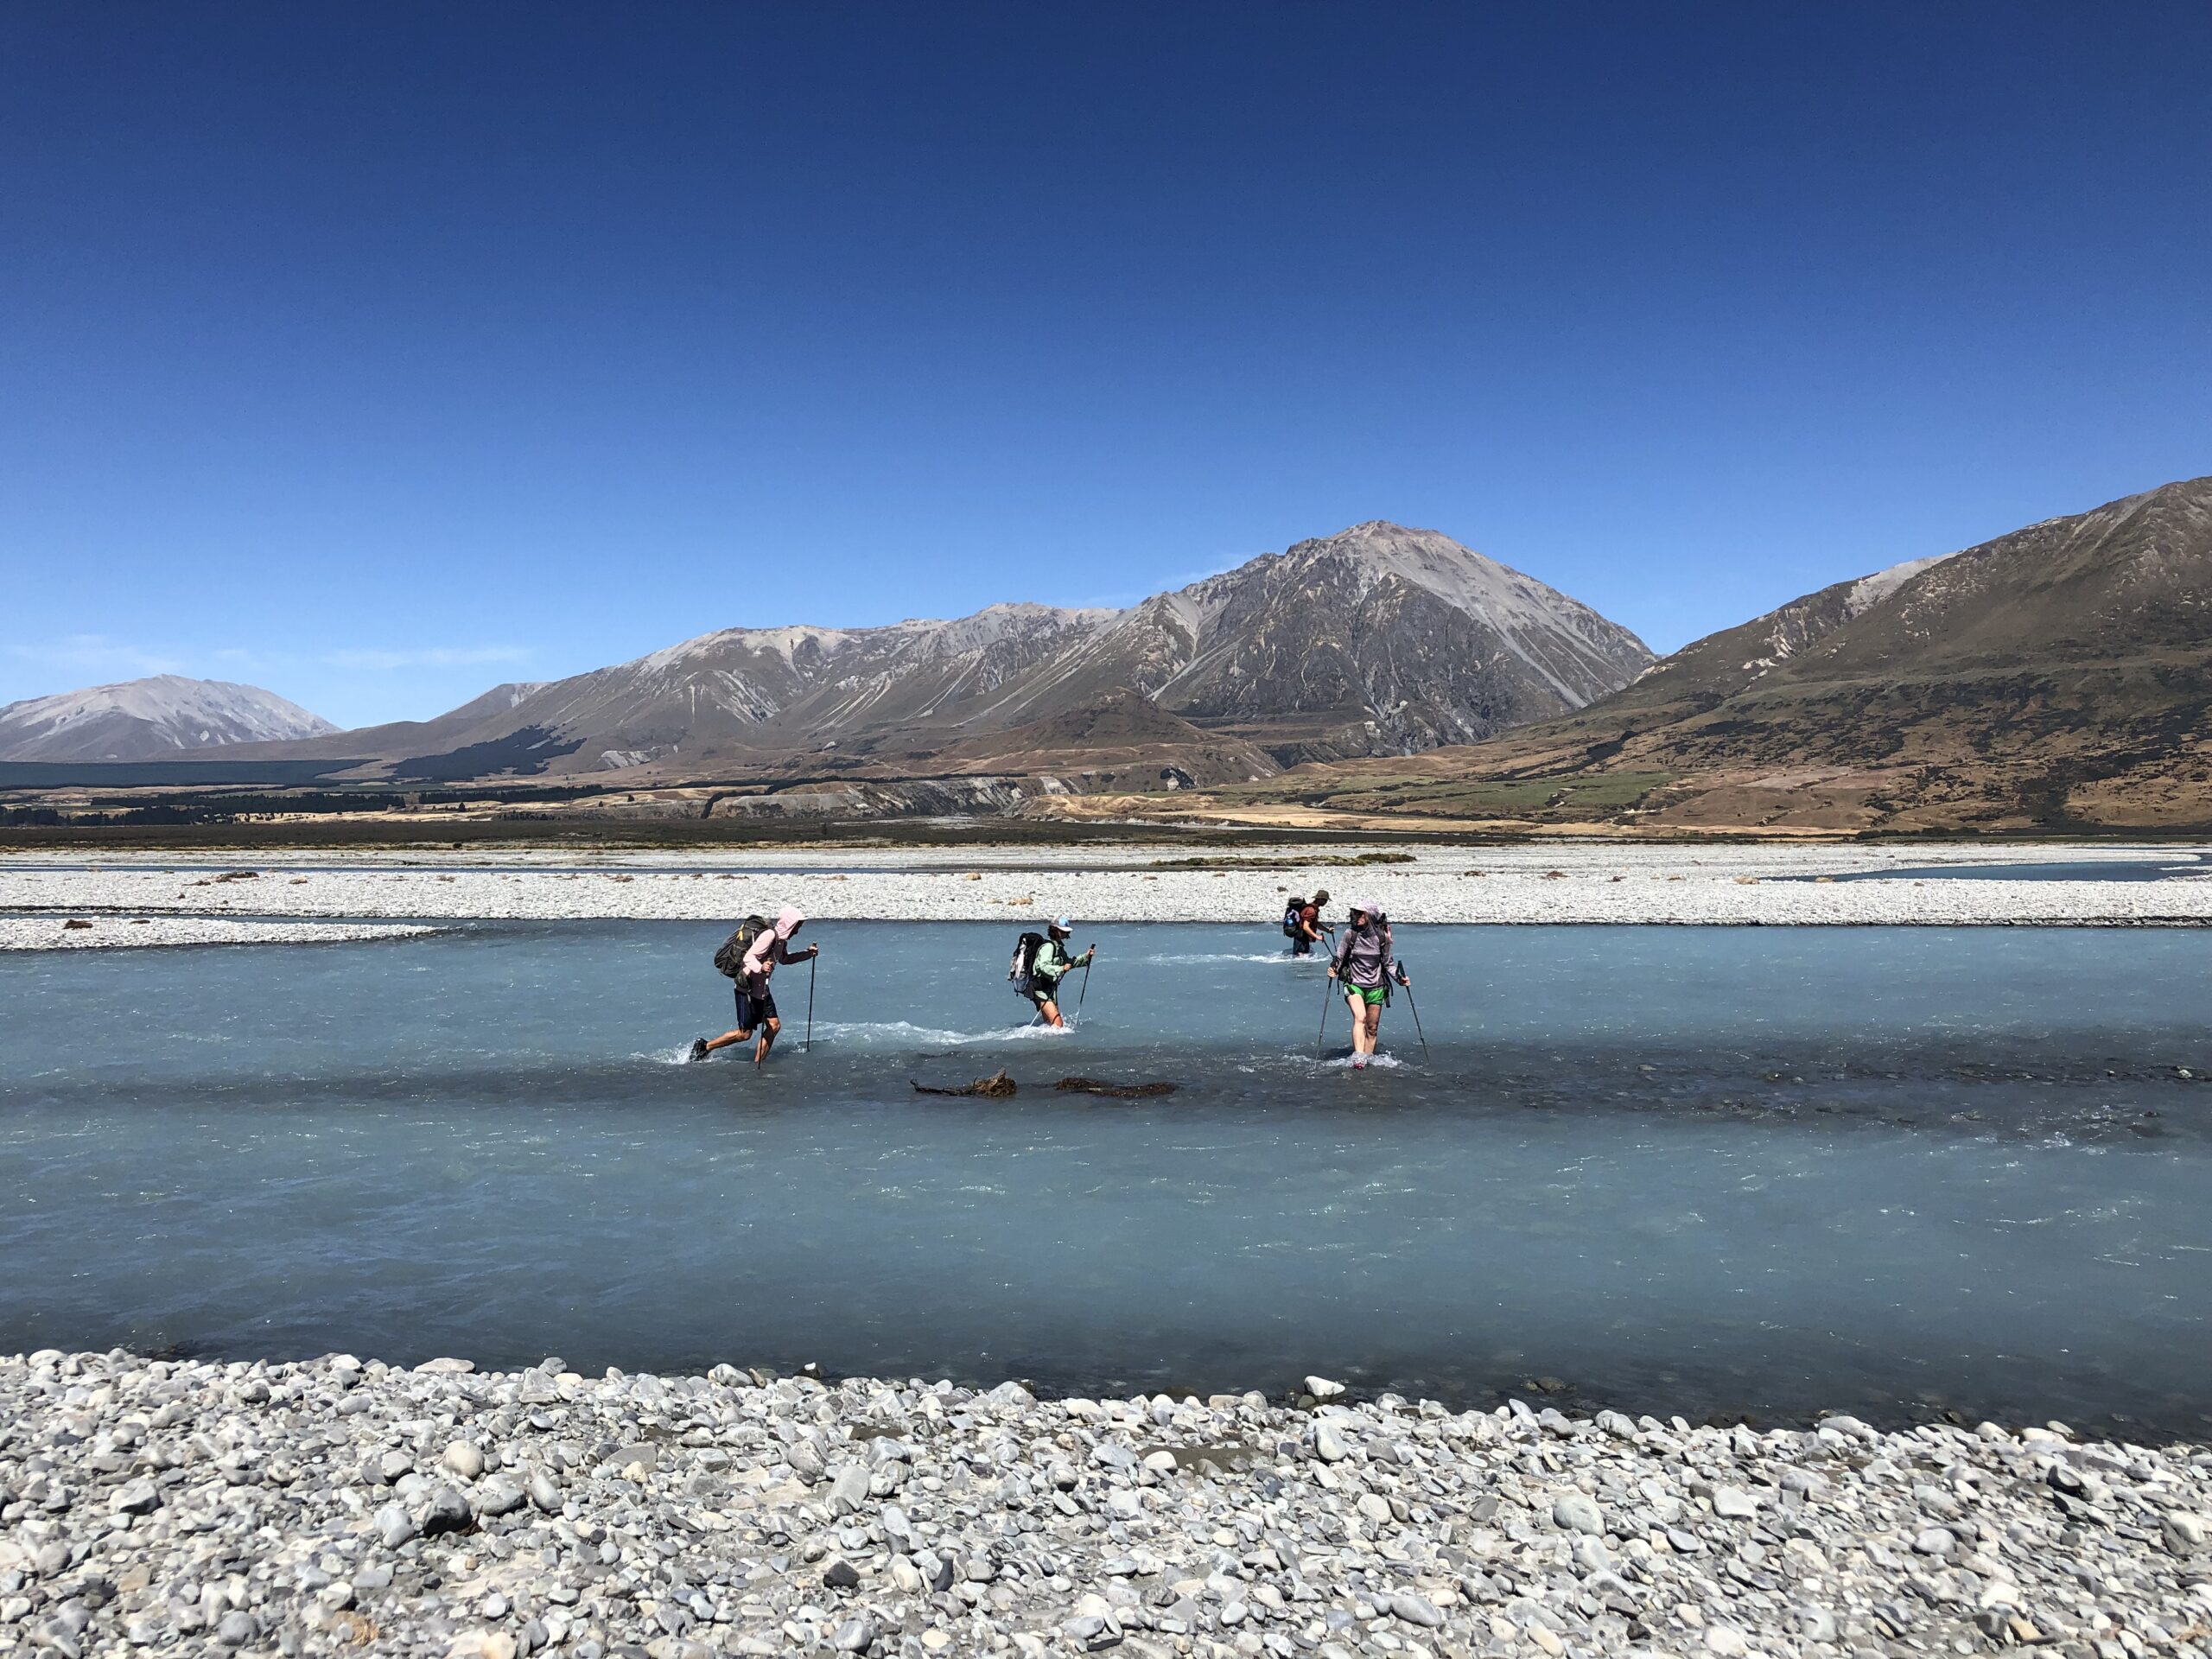
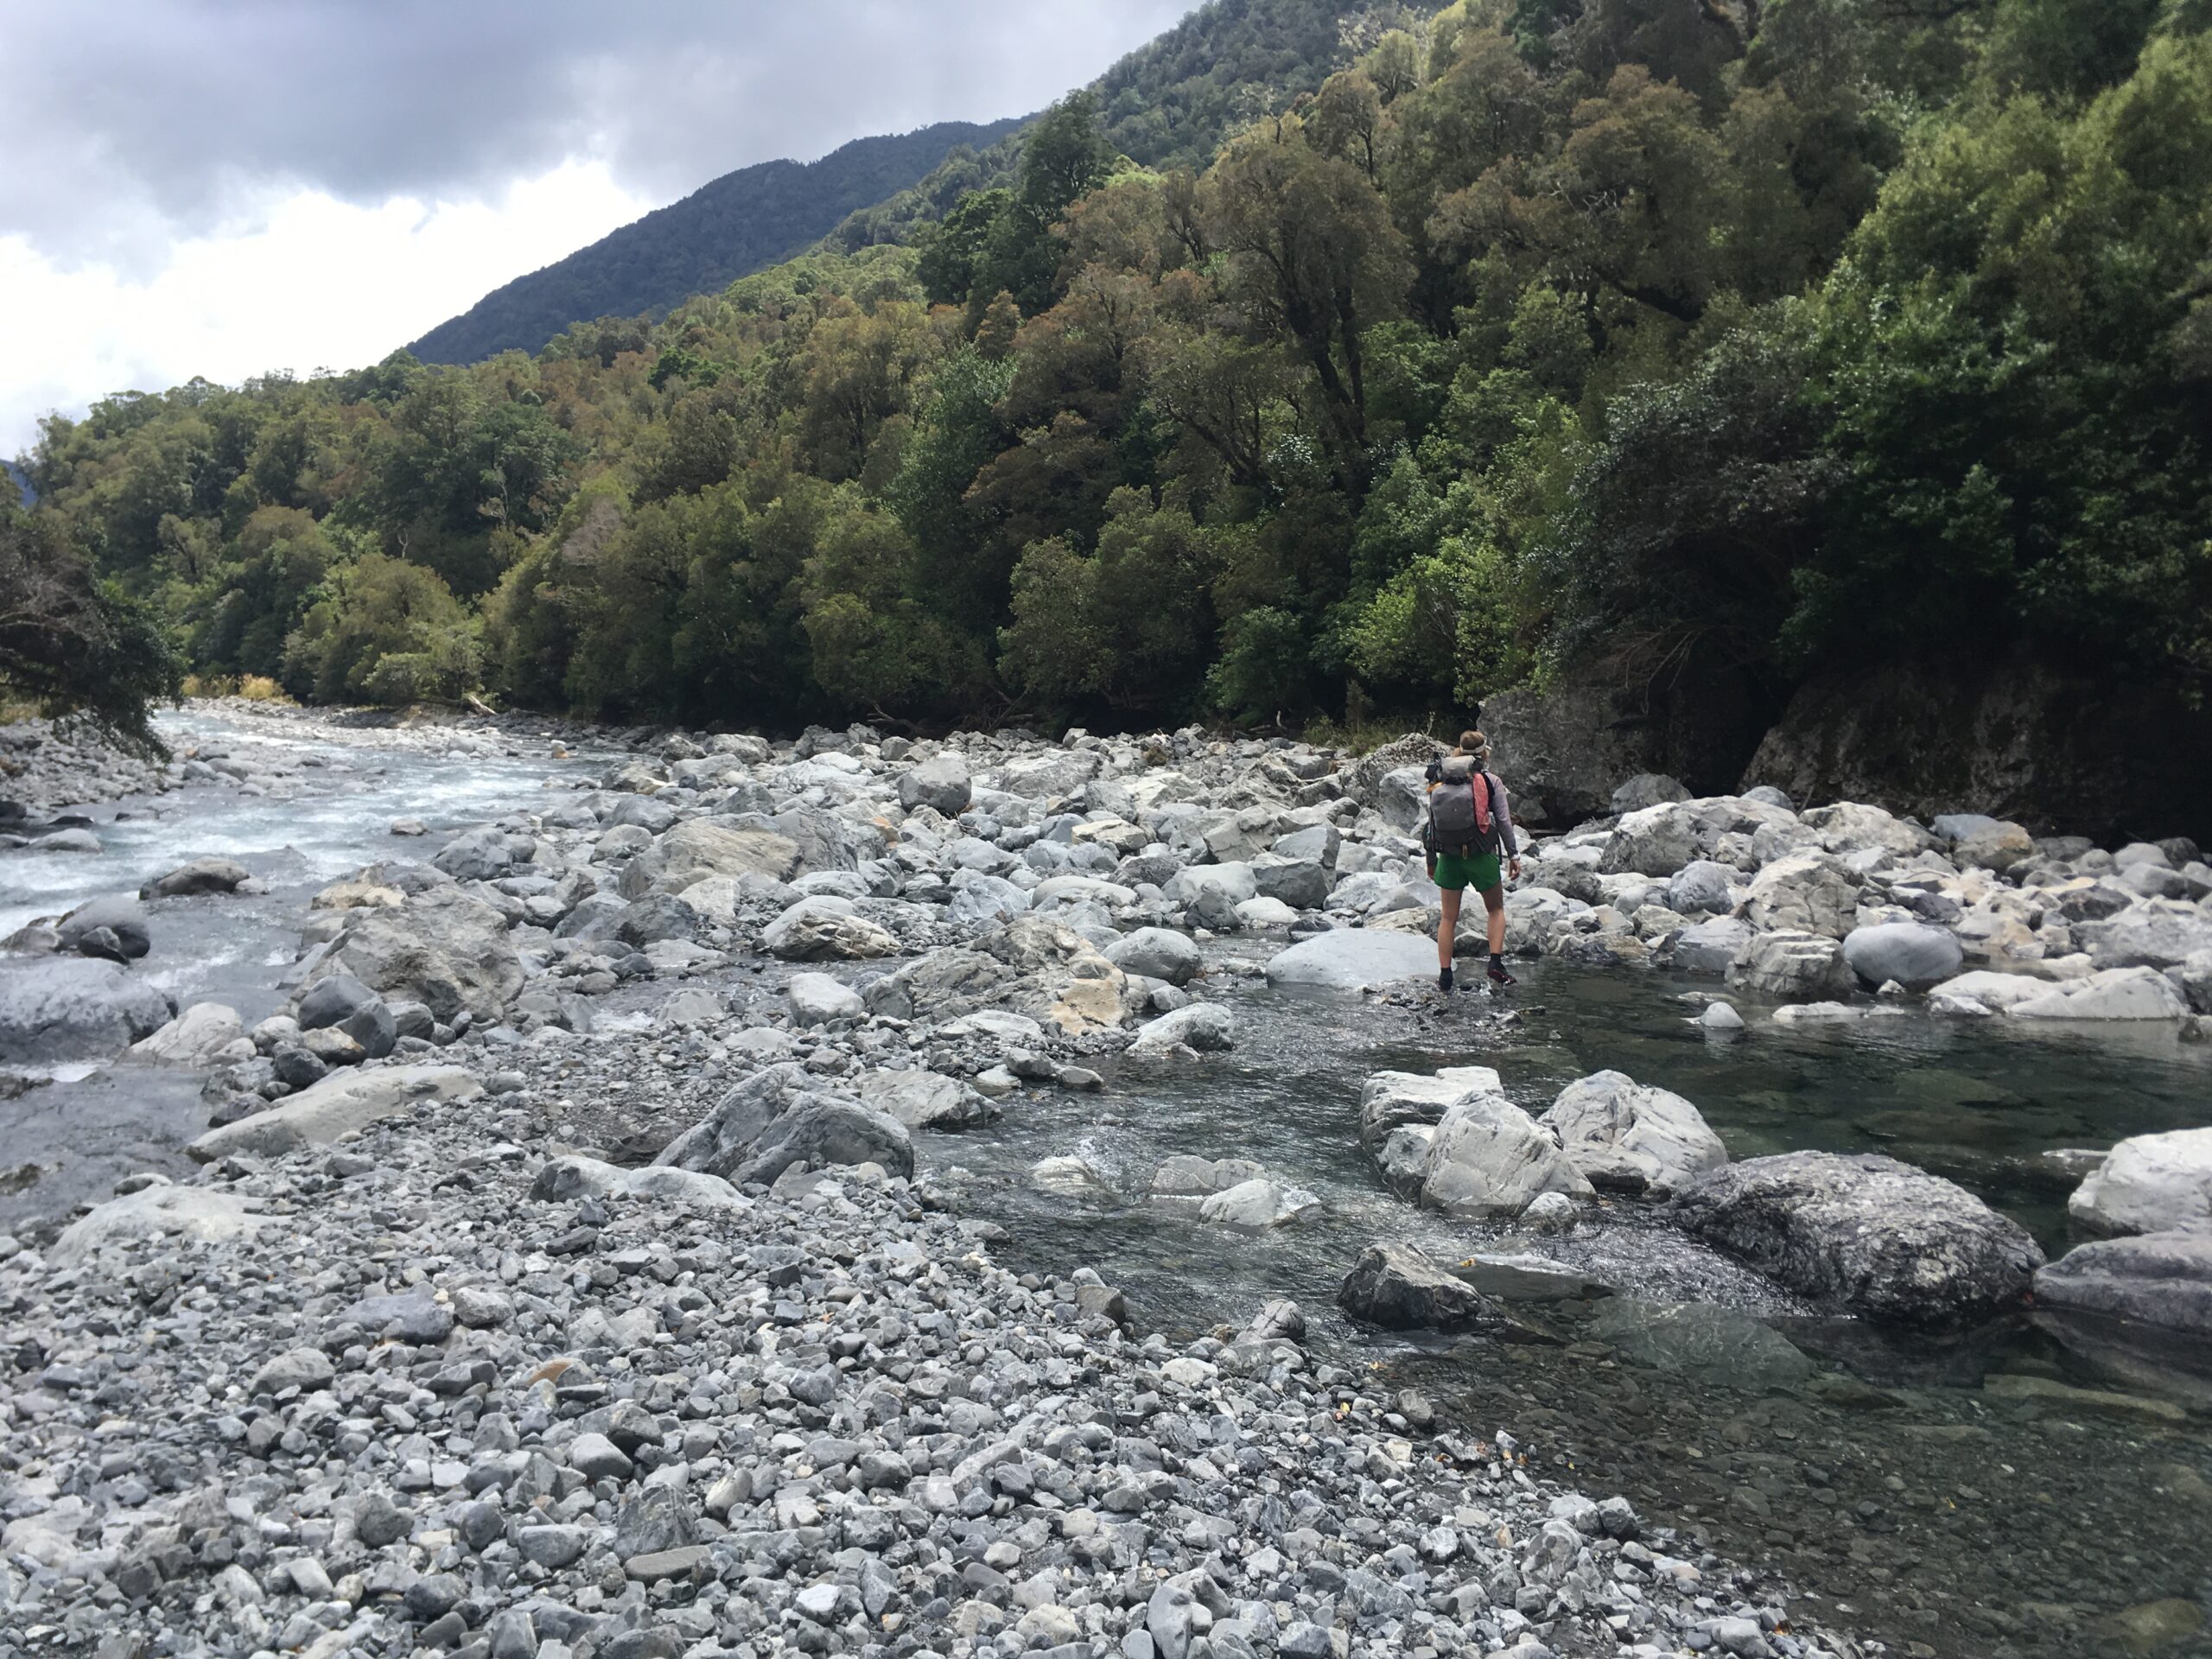
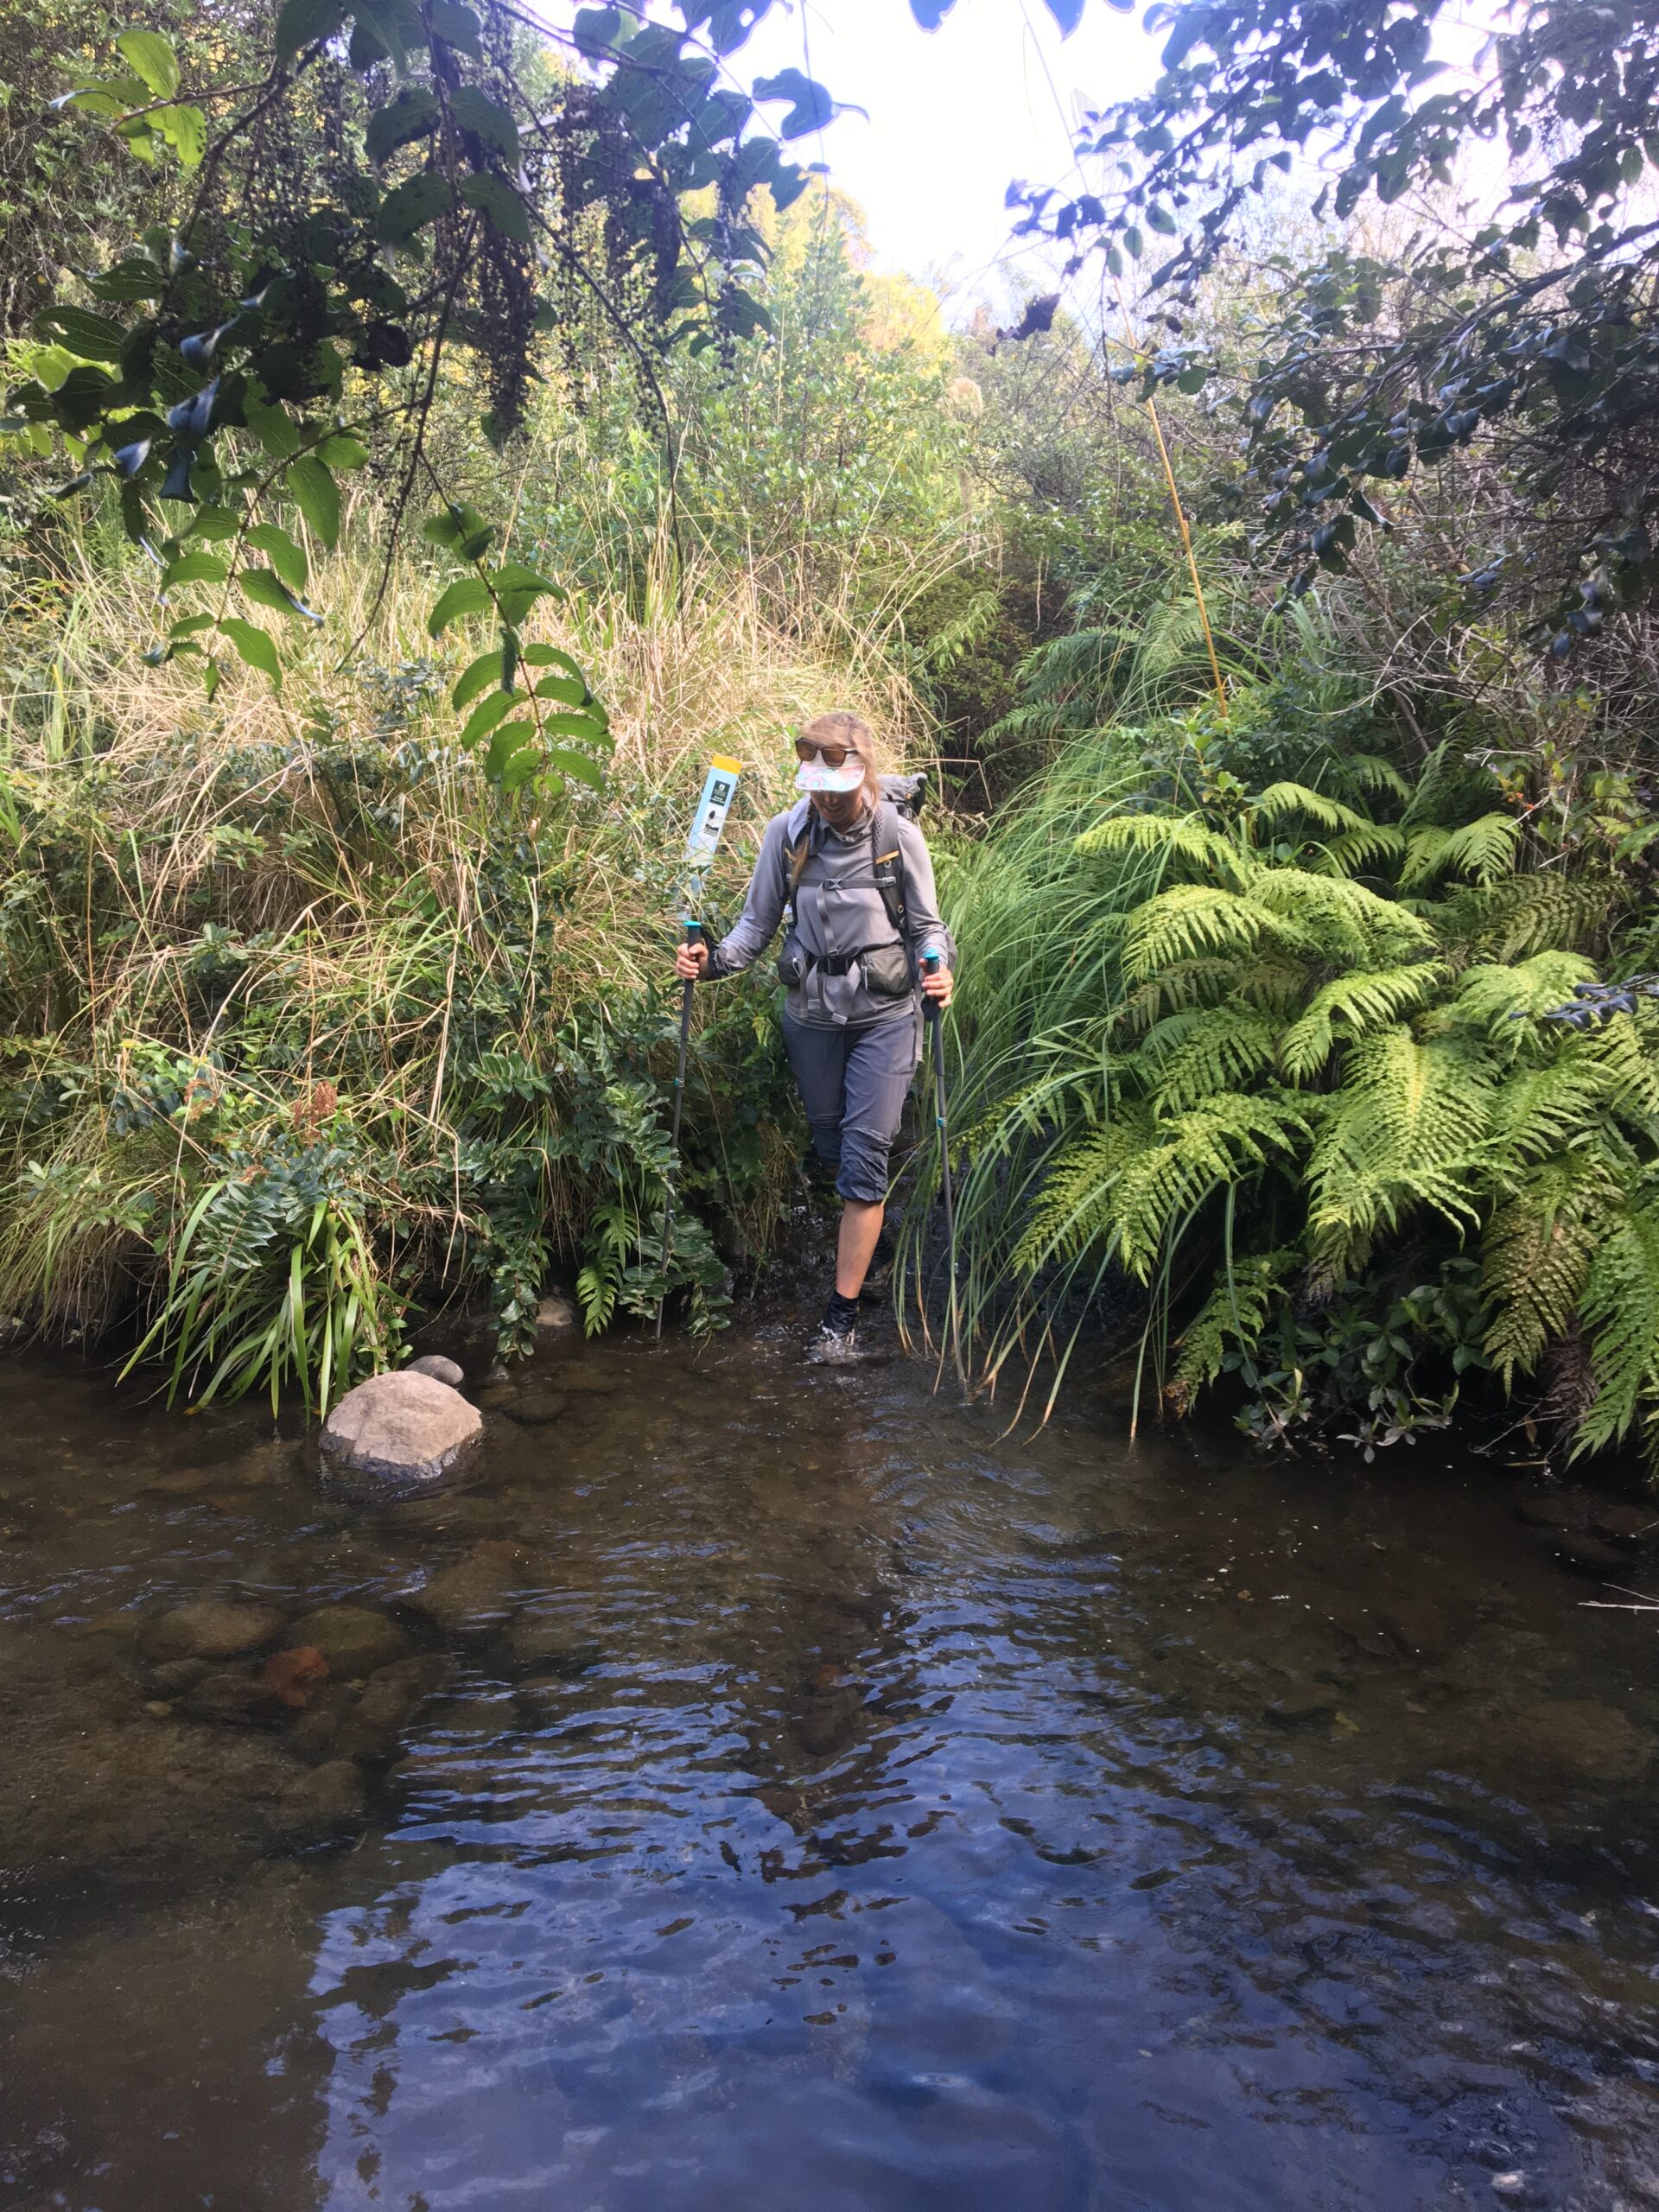
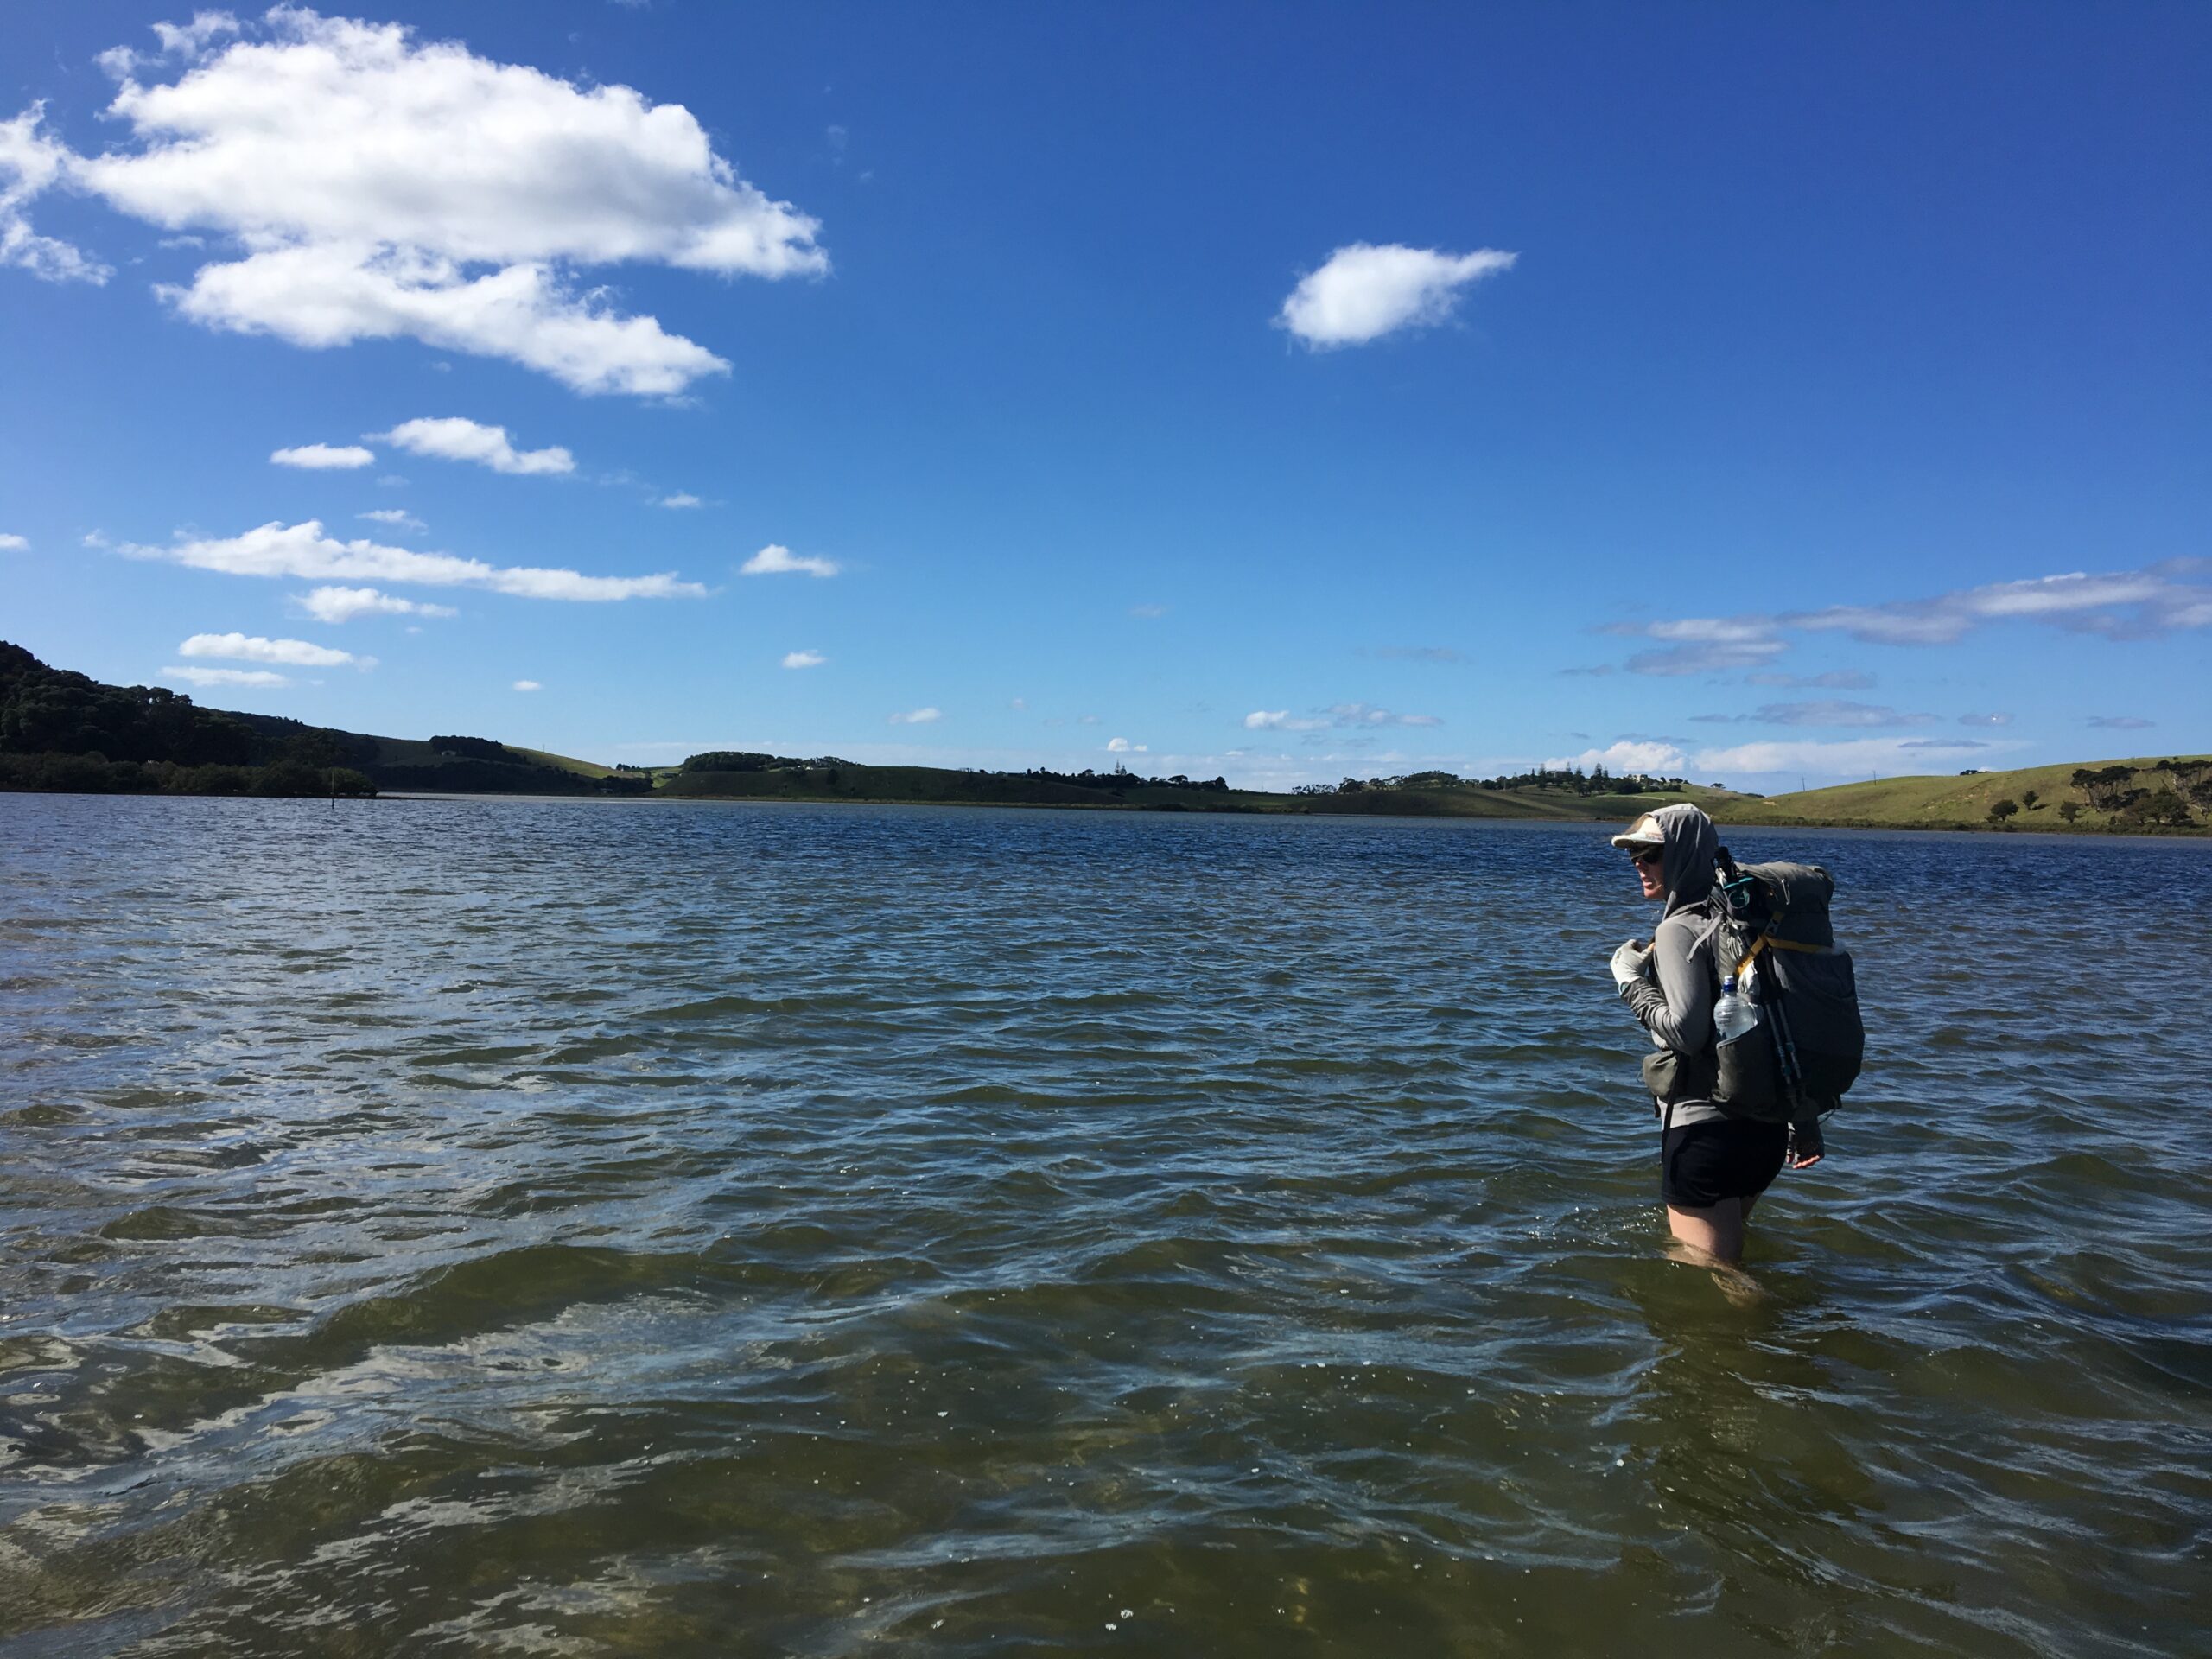
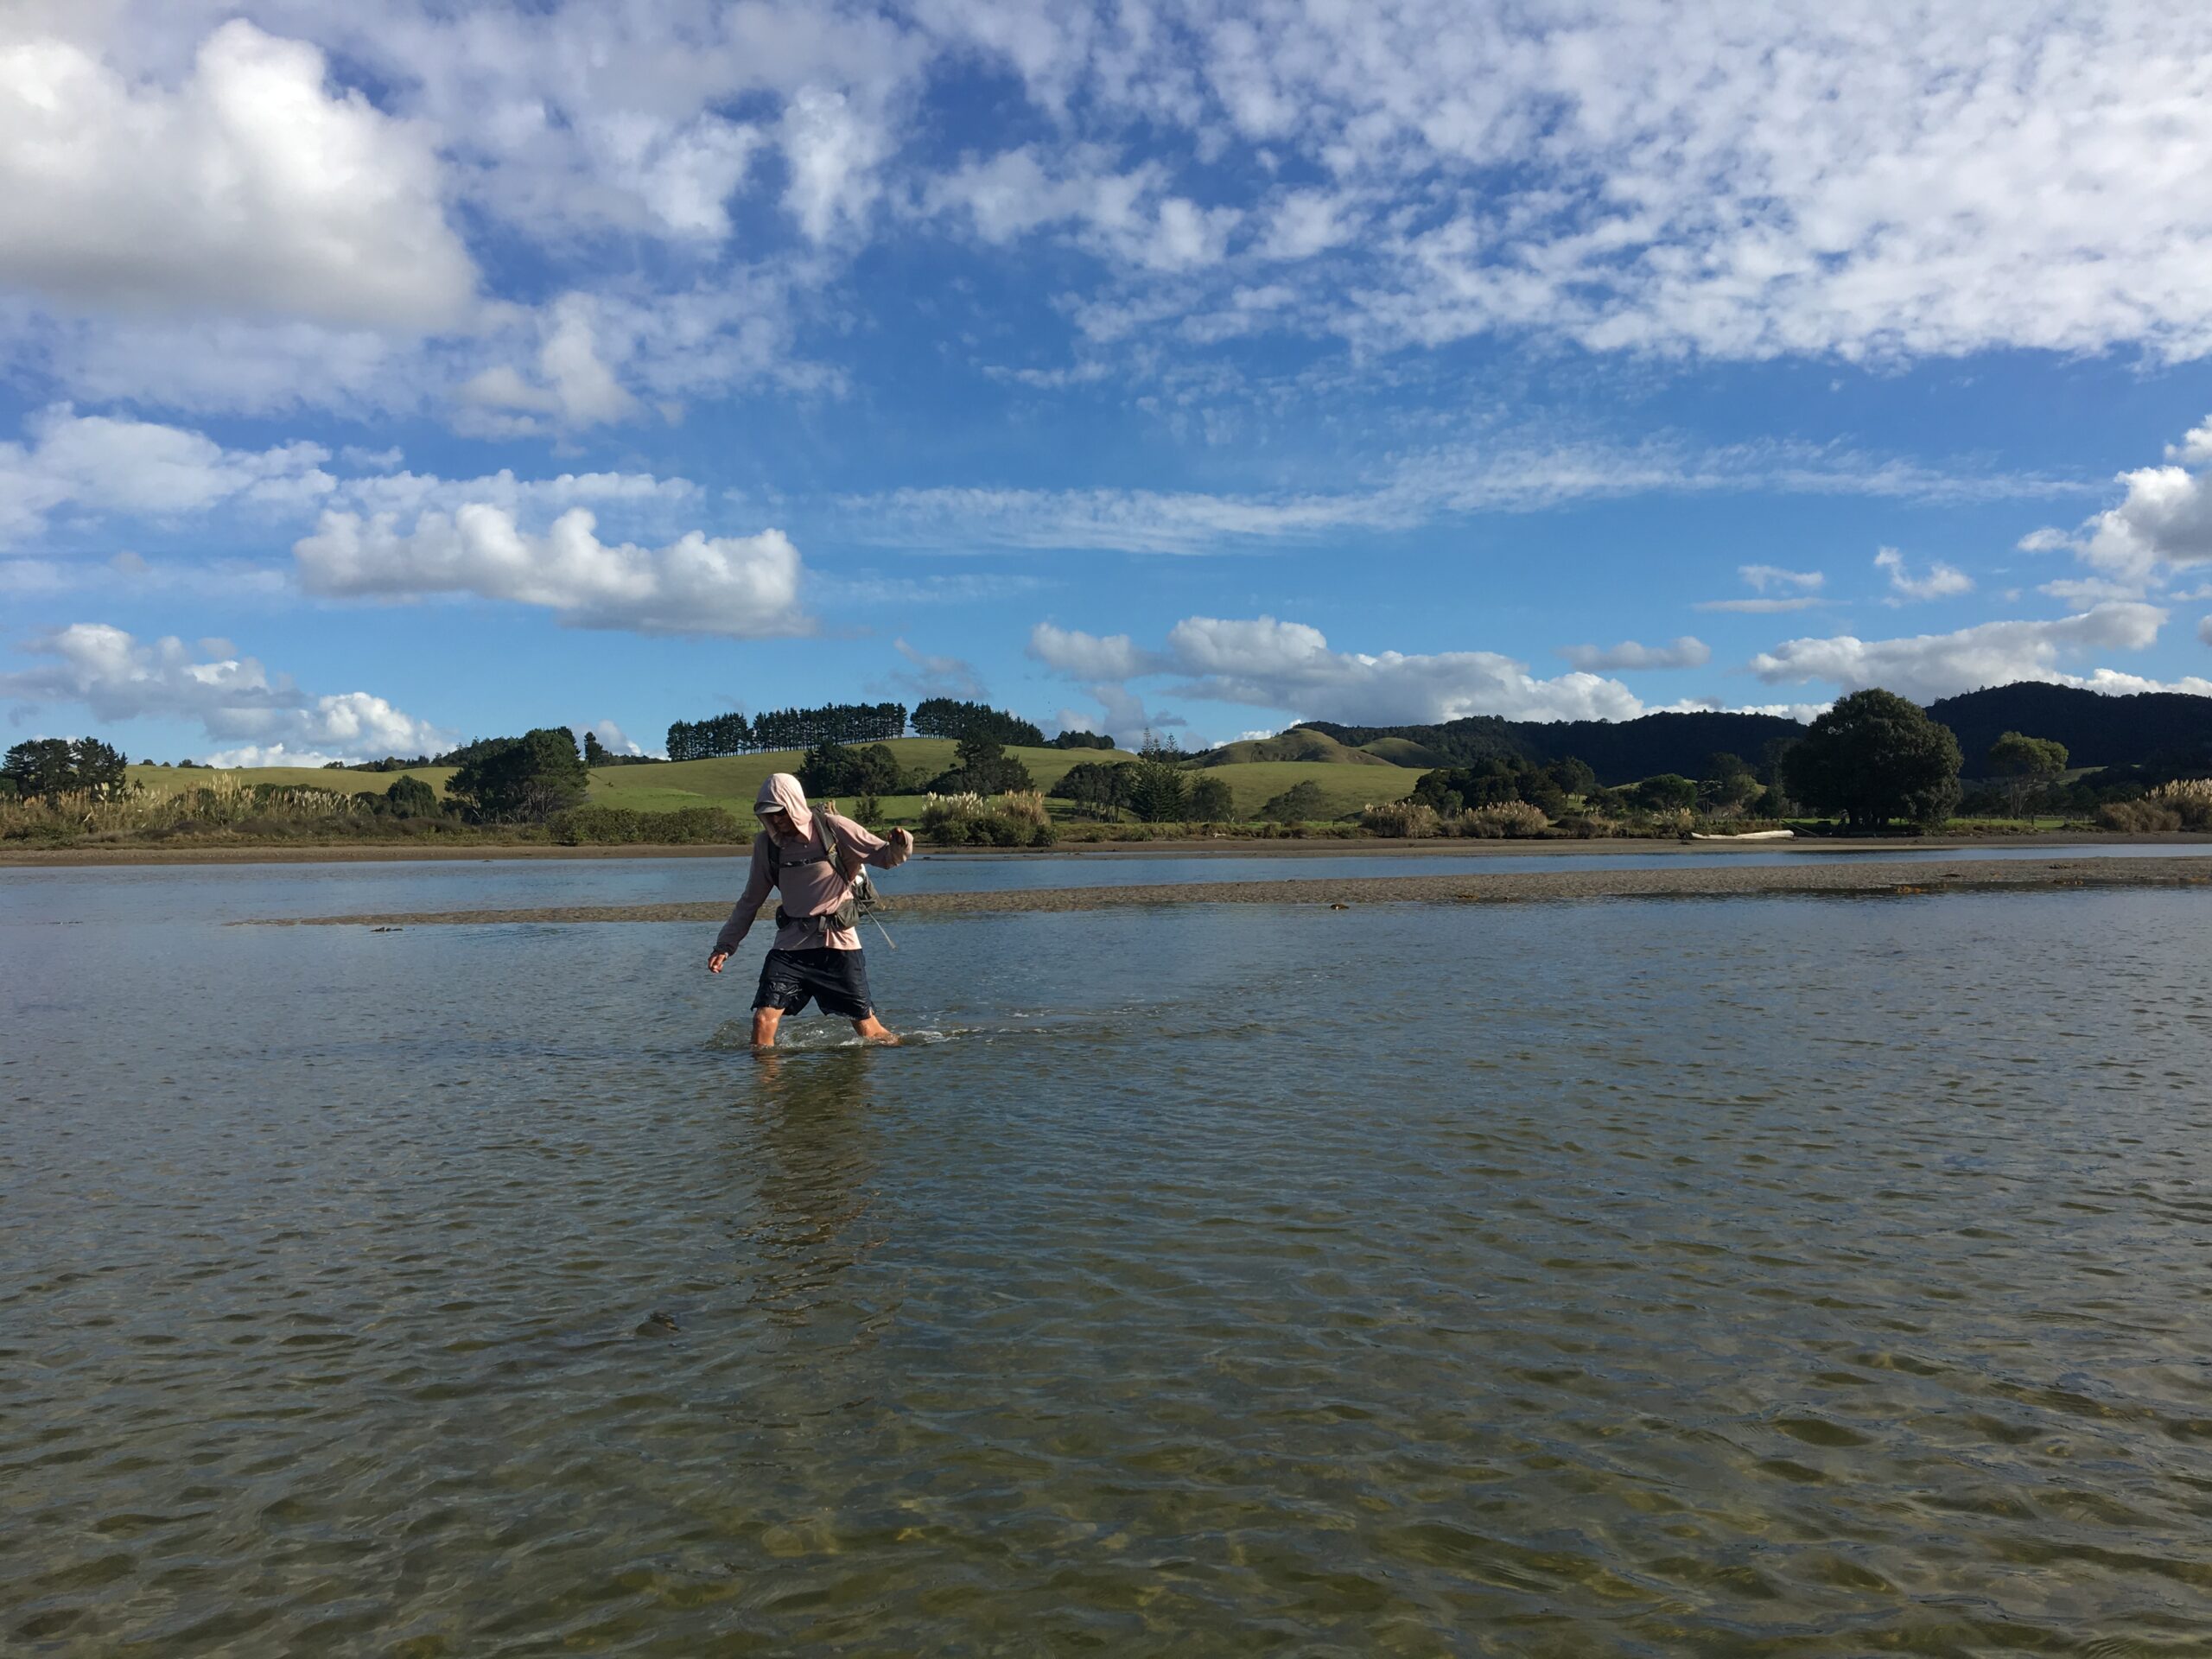
You may have read on other blogs and sites that Te Araroa is known for wet feet. It’s true. Your feet will most likely be wet the majority of the time. We stand by our choice to not bring camp shoes on the trail. Our lightweight trail runners dried very quickly and we had no trouble wearing them around once we got to camp and changed socks — still keeping all of our gear and feet dry.
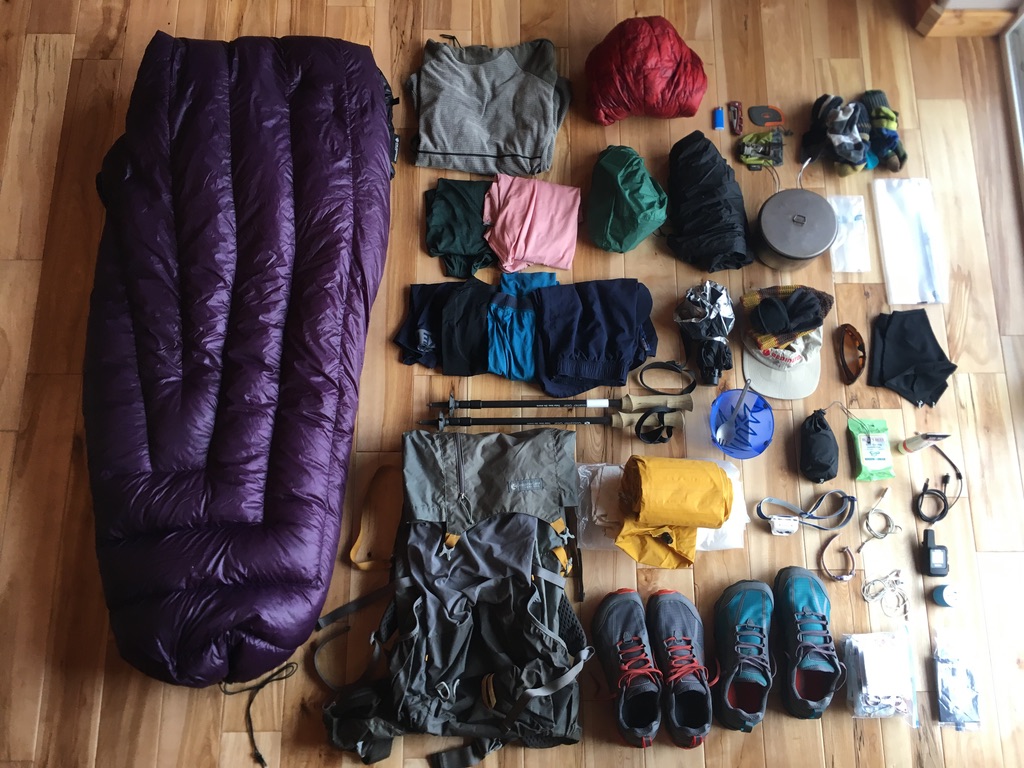
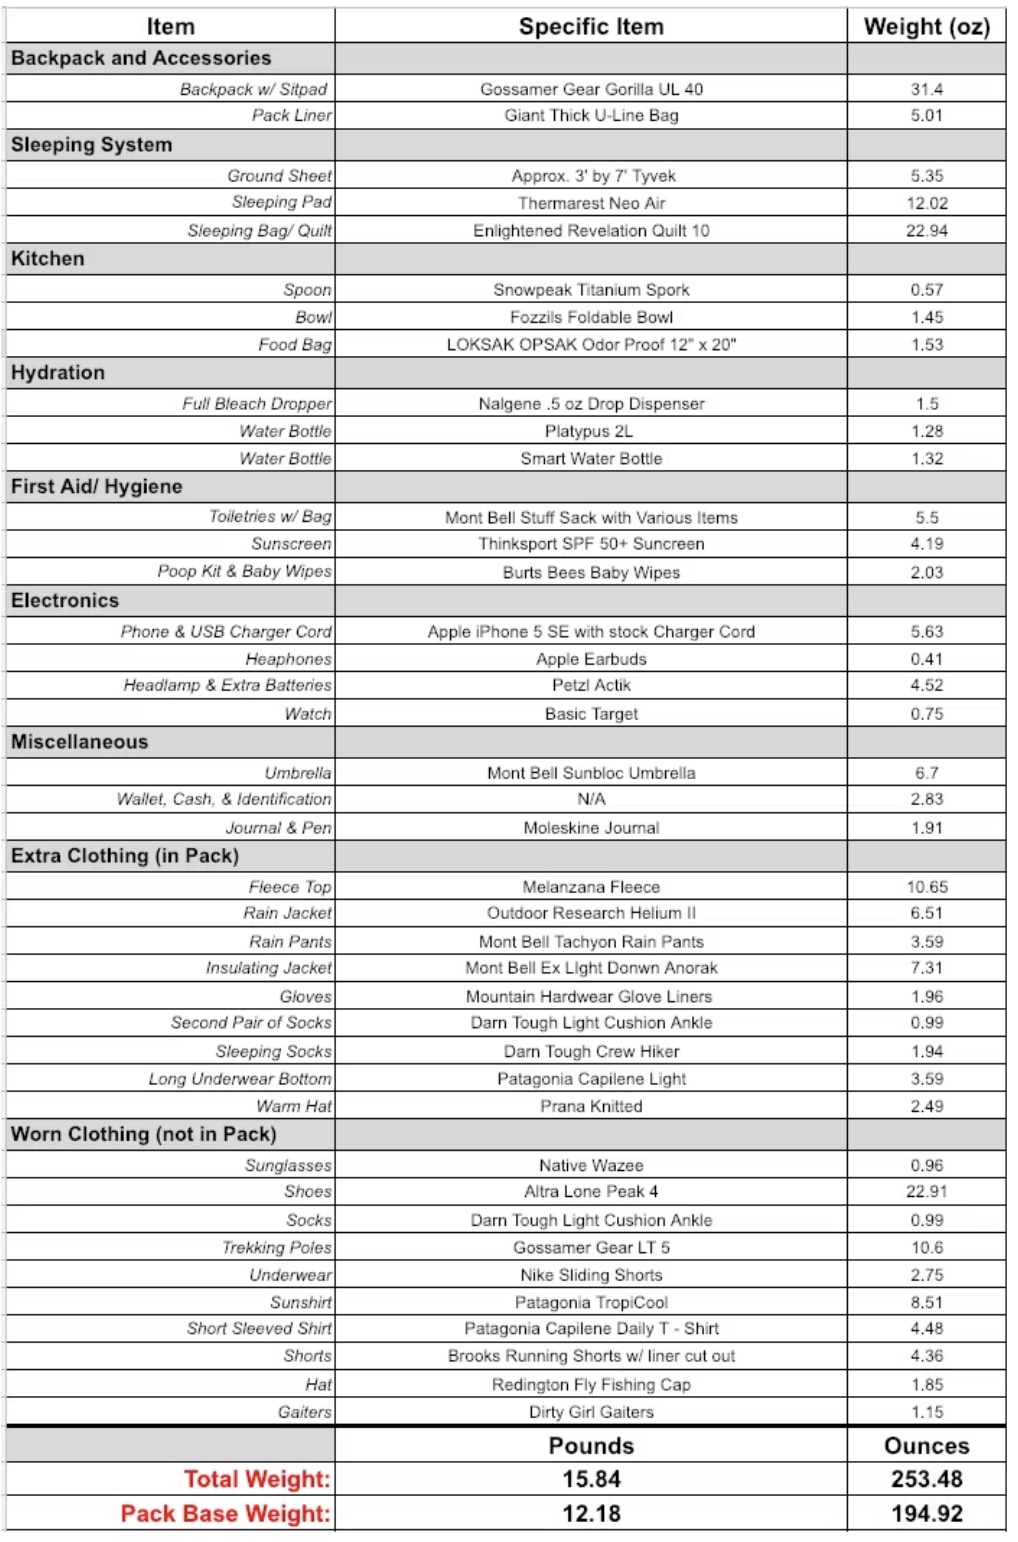
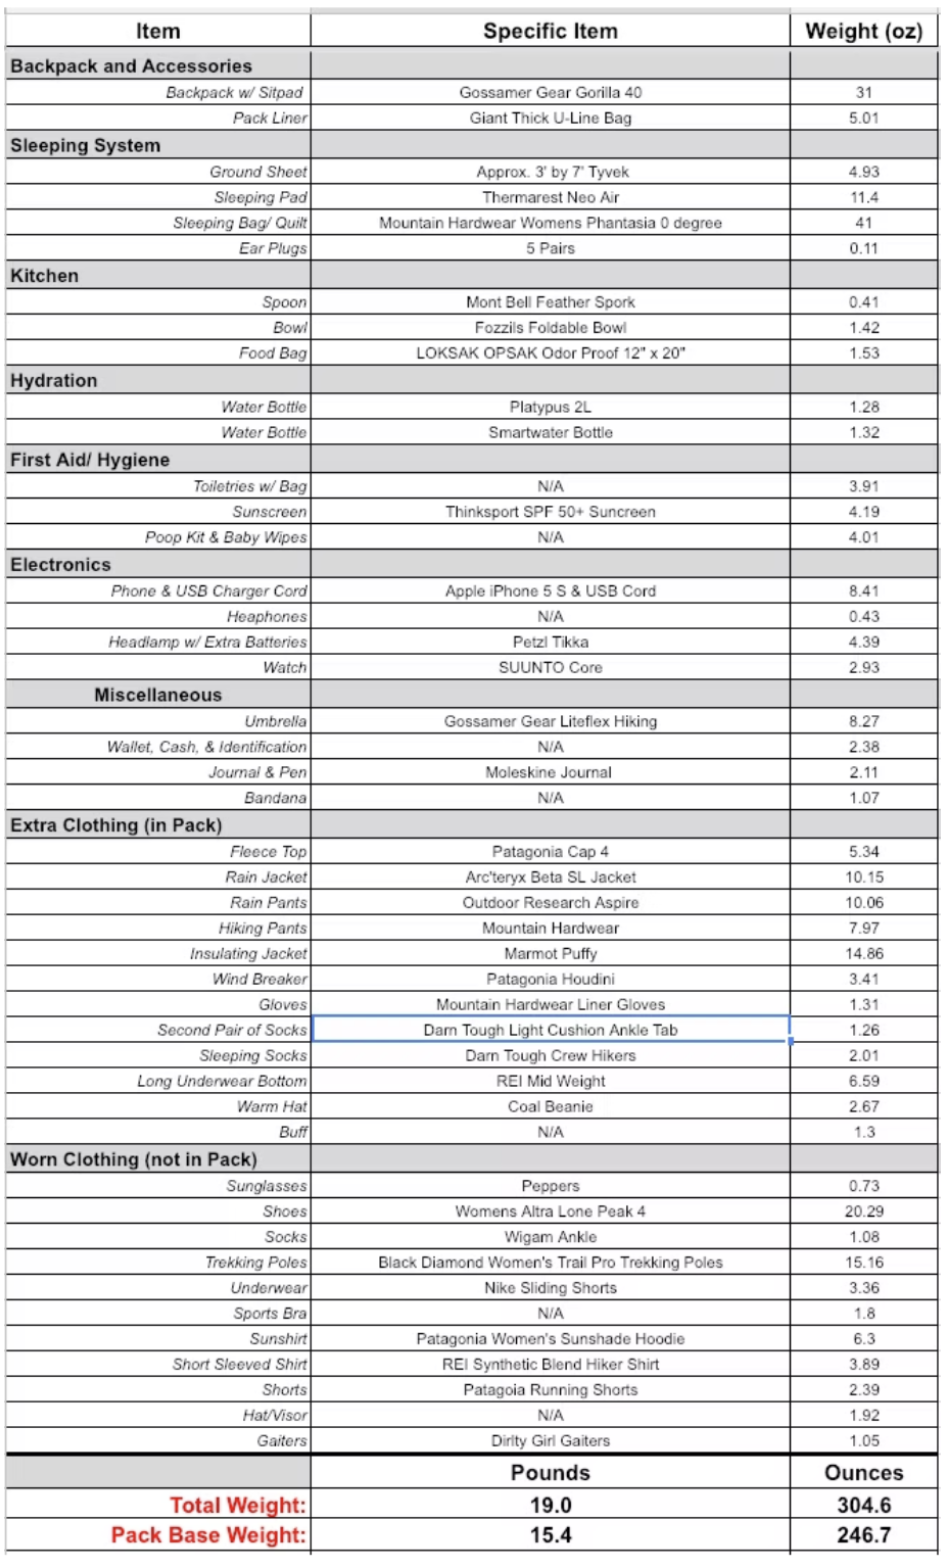
What We Brought
In the first few pictures below you will find a breakdown of what we carried on our thru-hike of the Te Araroa. This was the first time we really weighed out all of the gear that we carry on our trips, so we were excited to find the numbers below as well. ** To note: The “Total Weights” and the “Pack Base Weight” numbers include the addition of each of our individual Group Gear weights.
Group Gear
The table below breaks down all the gear that we will collectively used on the trip. We did our best to divide the weight evenly. Some items that are not on here are the fuel canisters, and obviously all of the food that we needed to carry along our journey.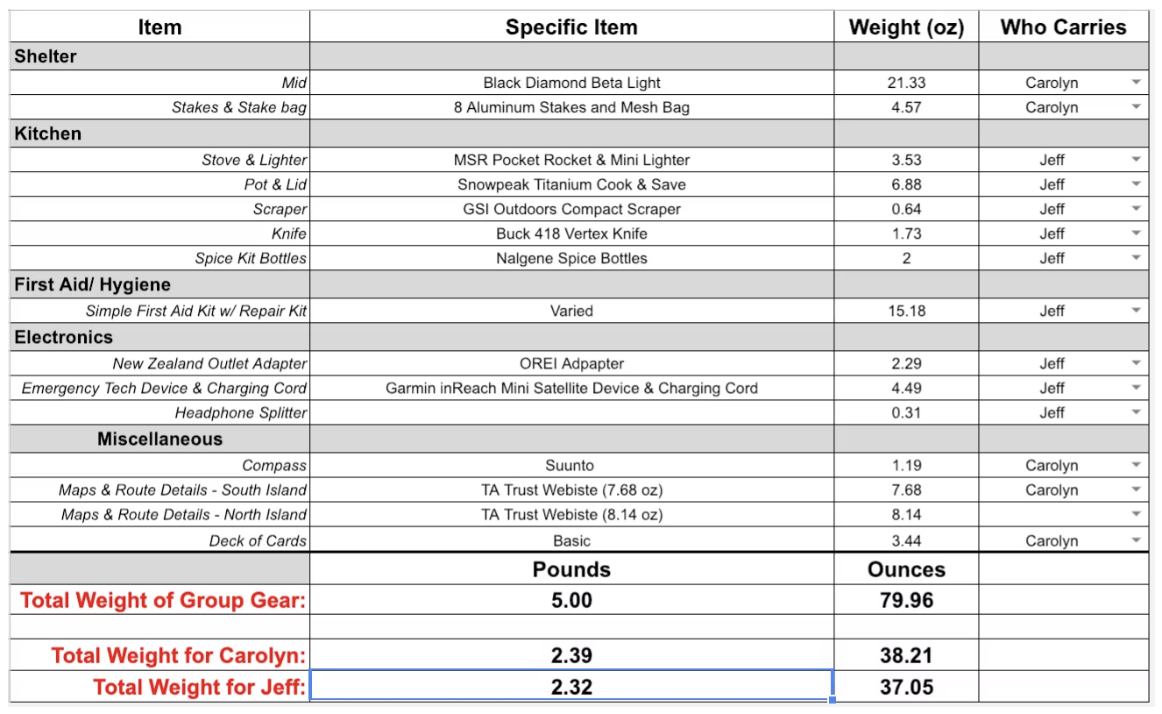
Resources & Links
Photo Gallery