Hayduke Trail
↓
Nov 23, 2020
Quick Links
Map
Trail Overview
The Hayduke isn’t really a trail — it’s more of a route. The route takes you across the Colorado Plateau starting in Arches National Park, UT and ending in Zion National Park, UT. For a brief moment, the Hayduke drops into the Grand Canyon, adding a unique loop with much beauty to the overall design of the route. From what we’ve understood, the folks who put the Hayduke together wanted to give hikers the most remote experience possible. Because of this design, the route poses many challenges, including navigation and access to food and water along the way. What we’d read felt true — the Hayduke isn’t a route designed for the first time backpacker.
Experience
High Moments
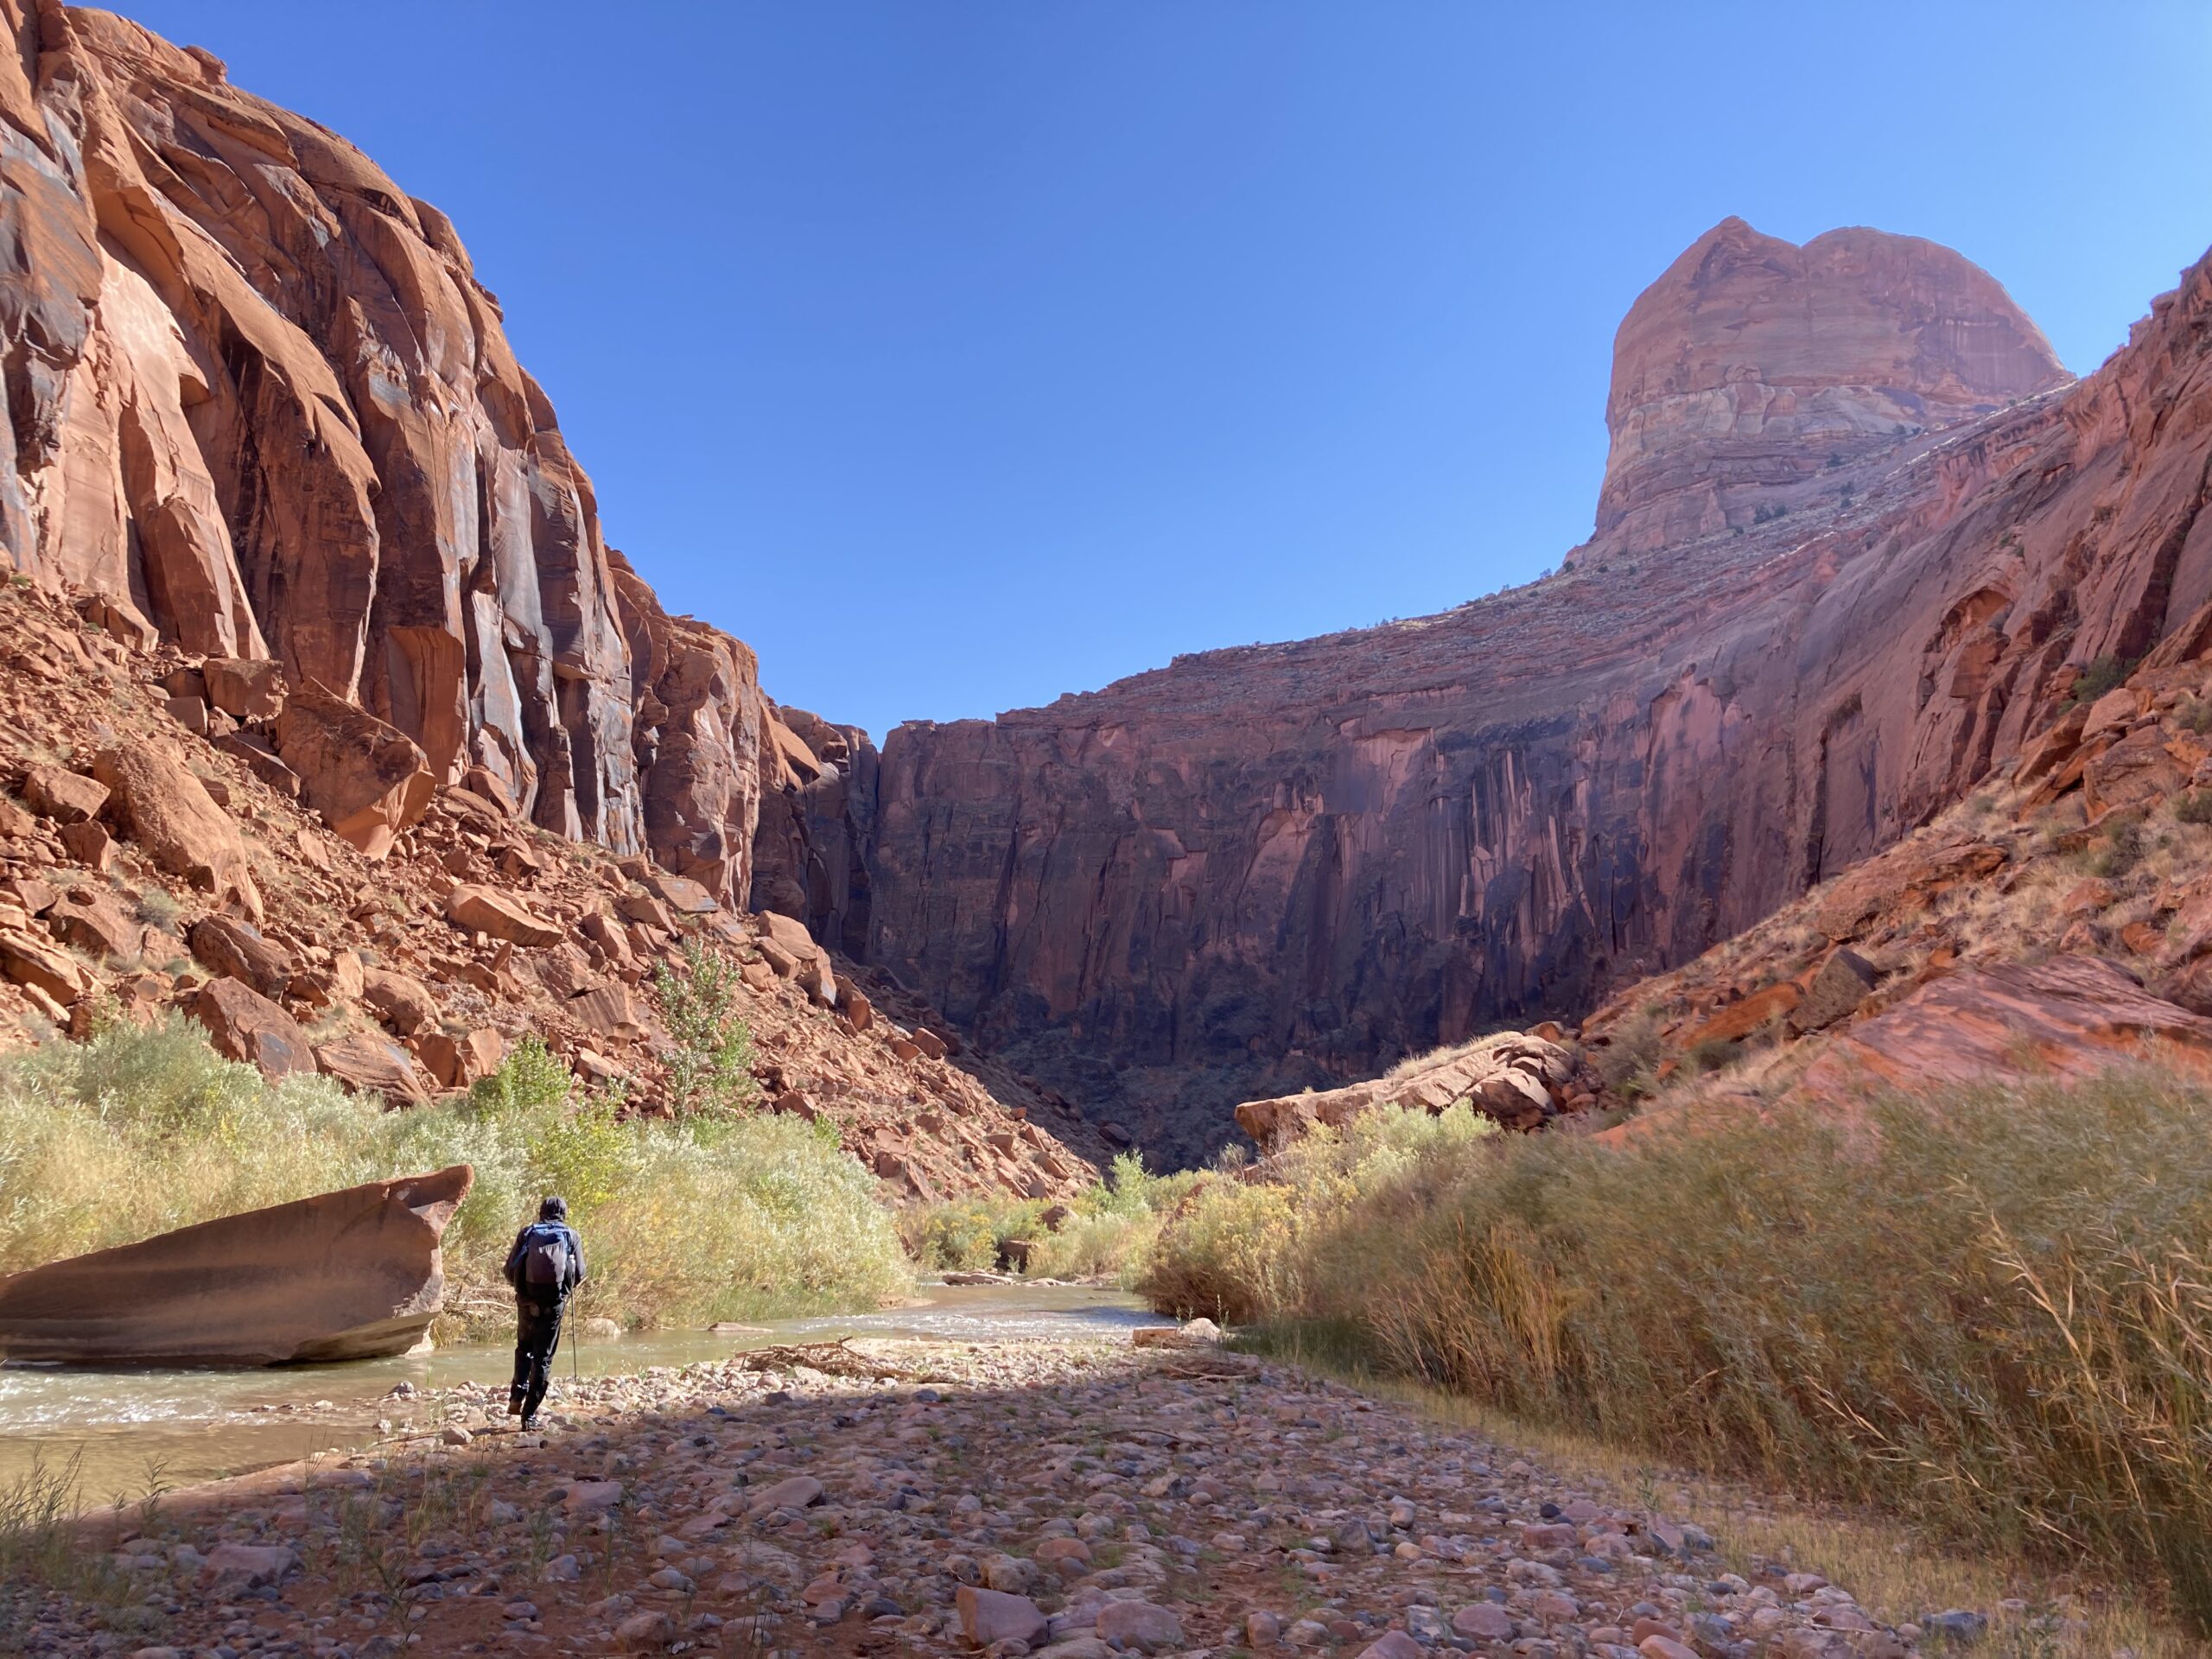
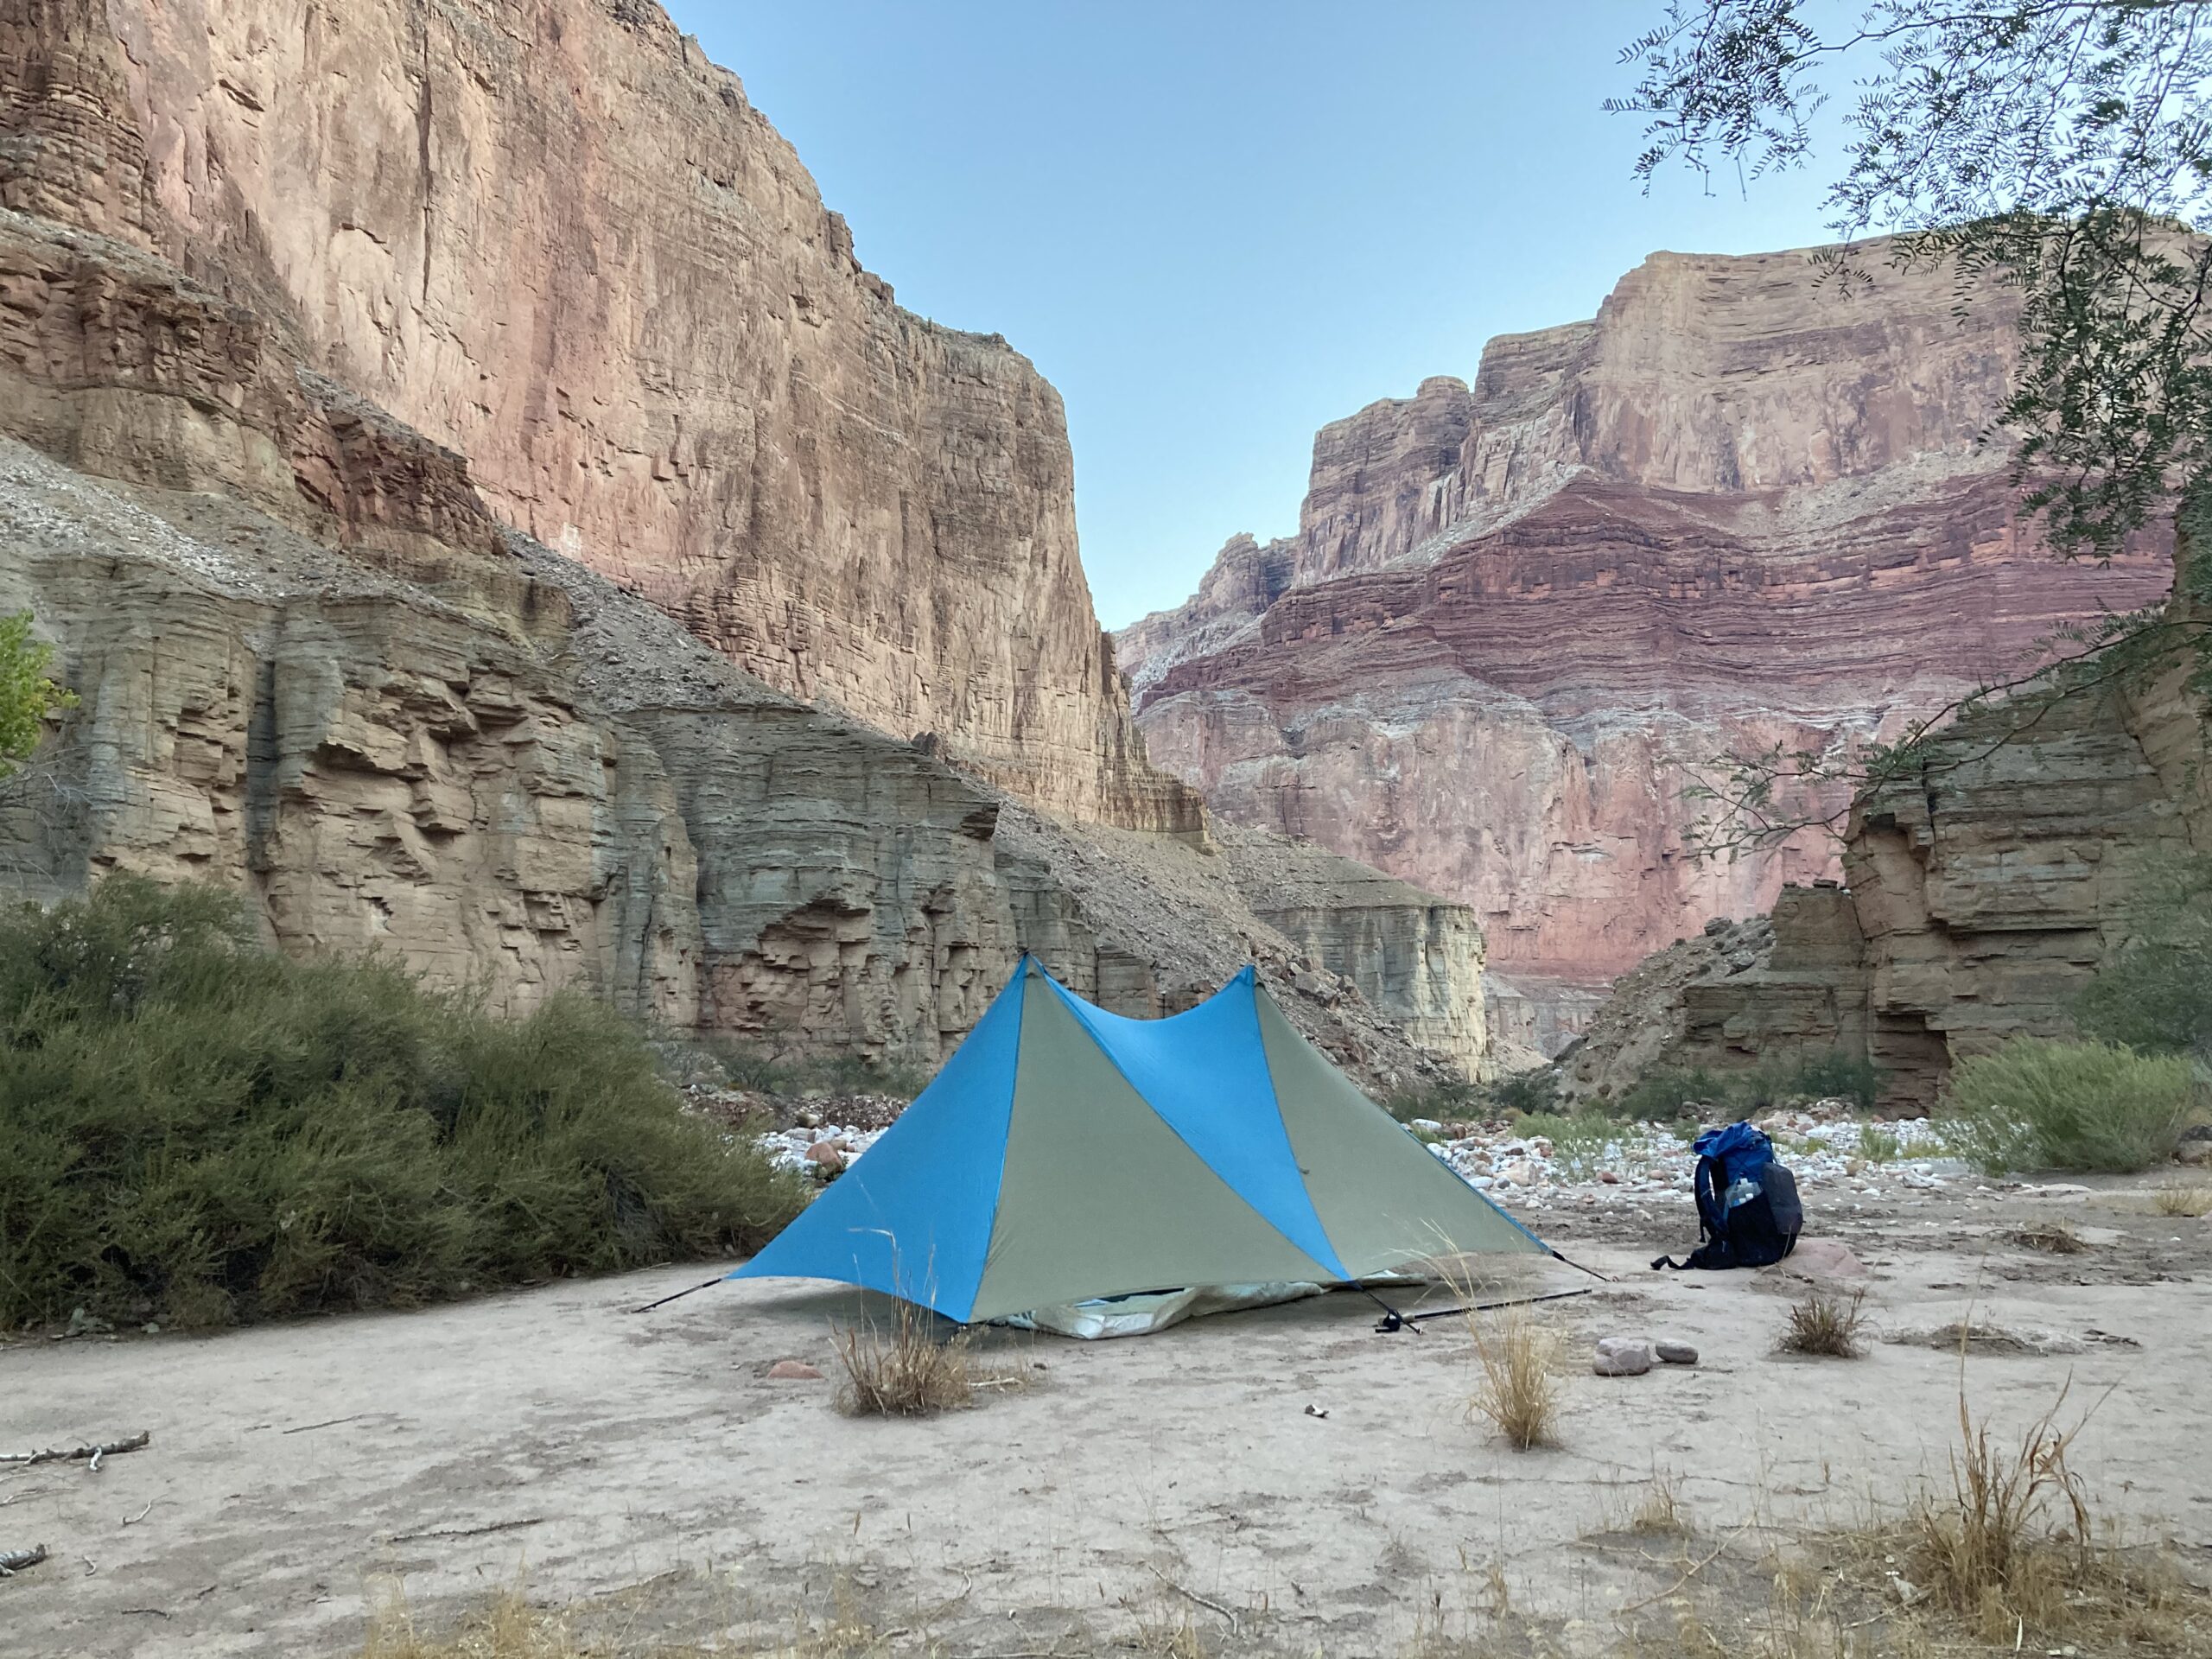
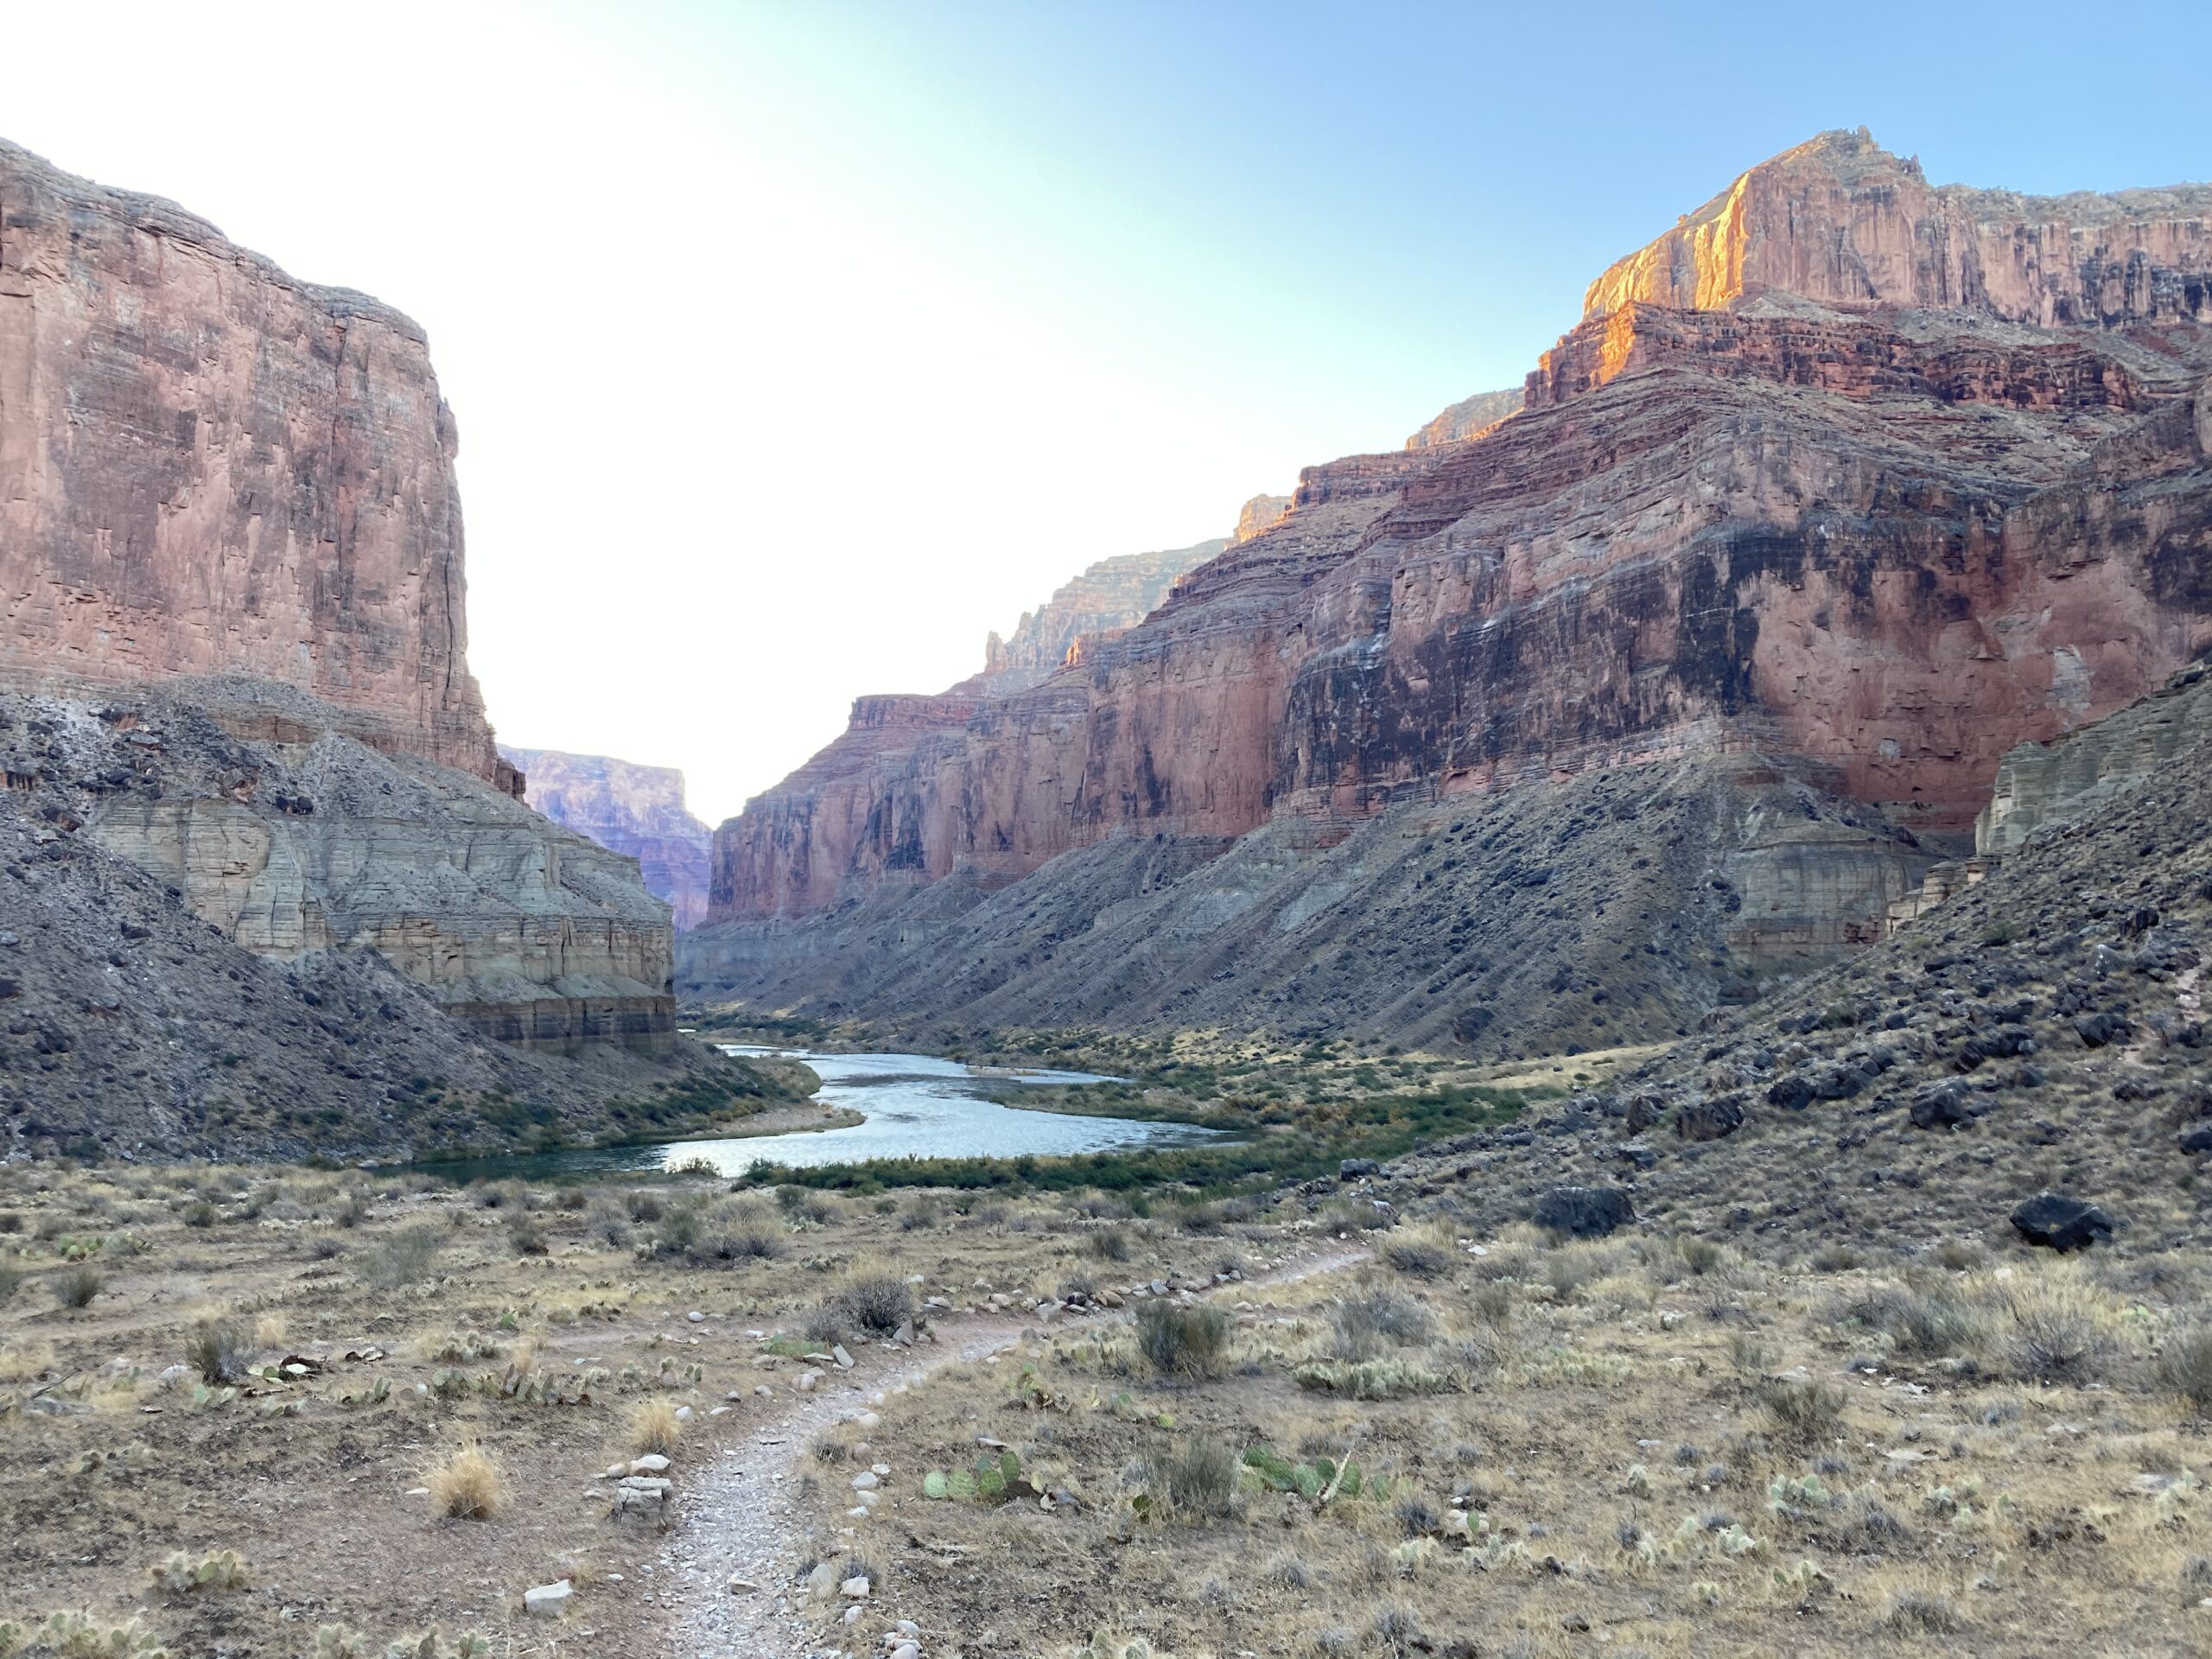
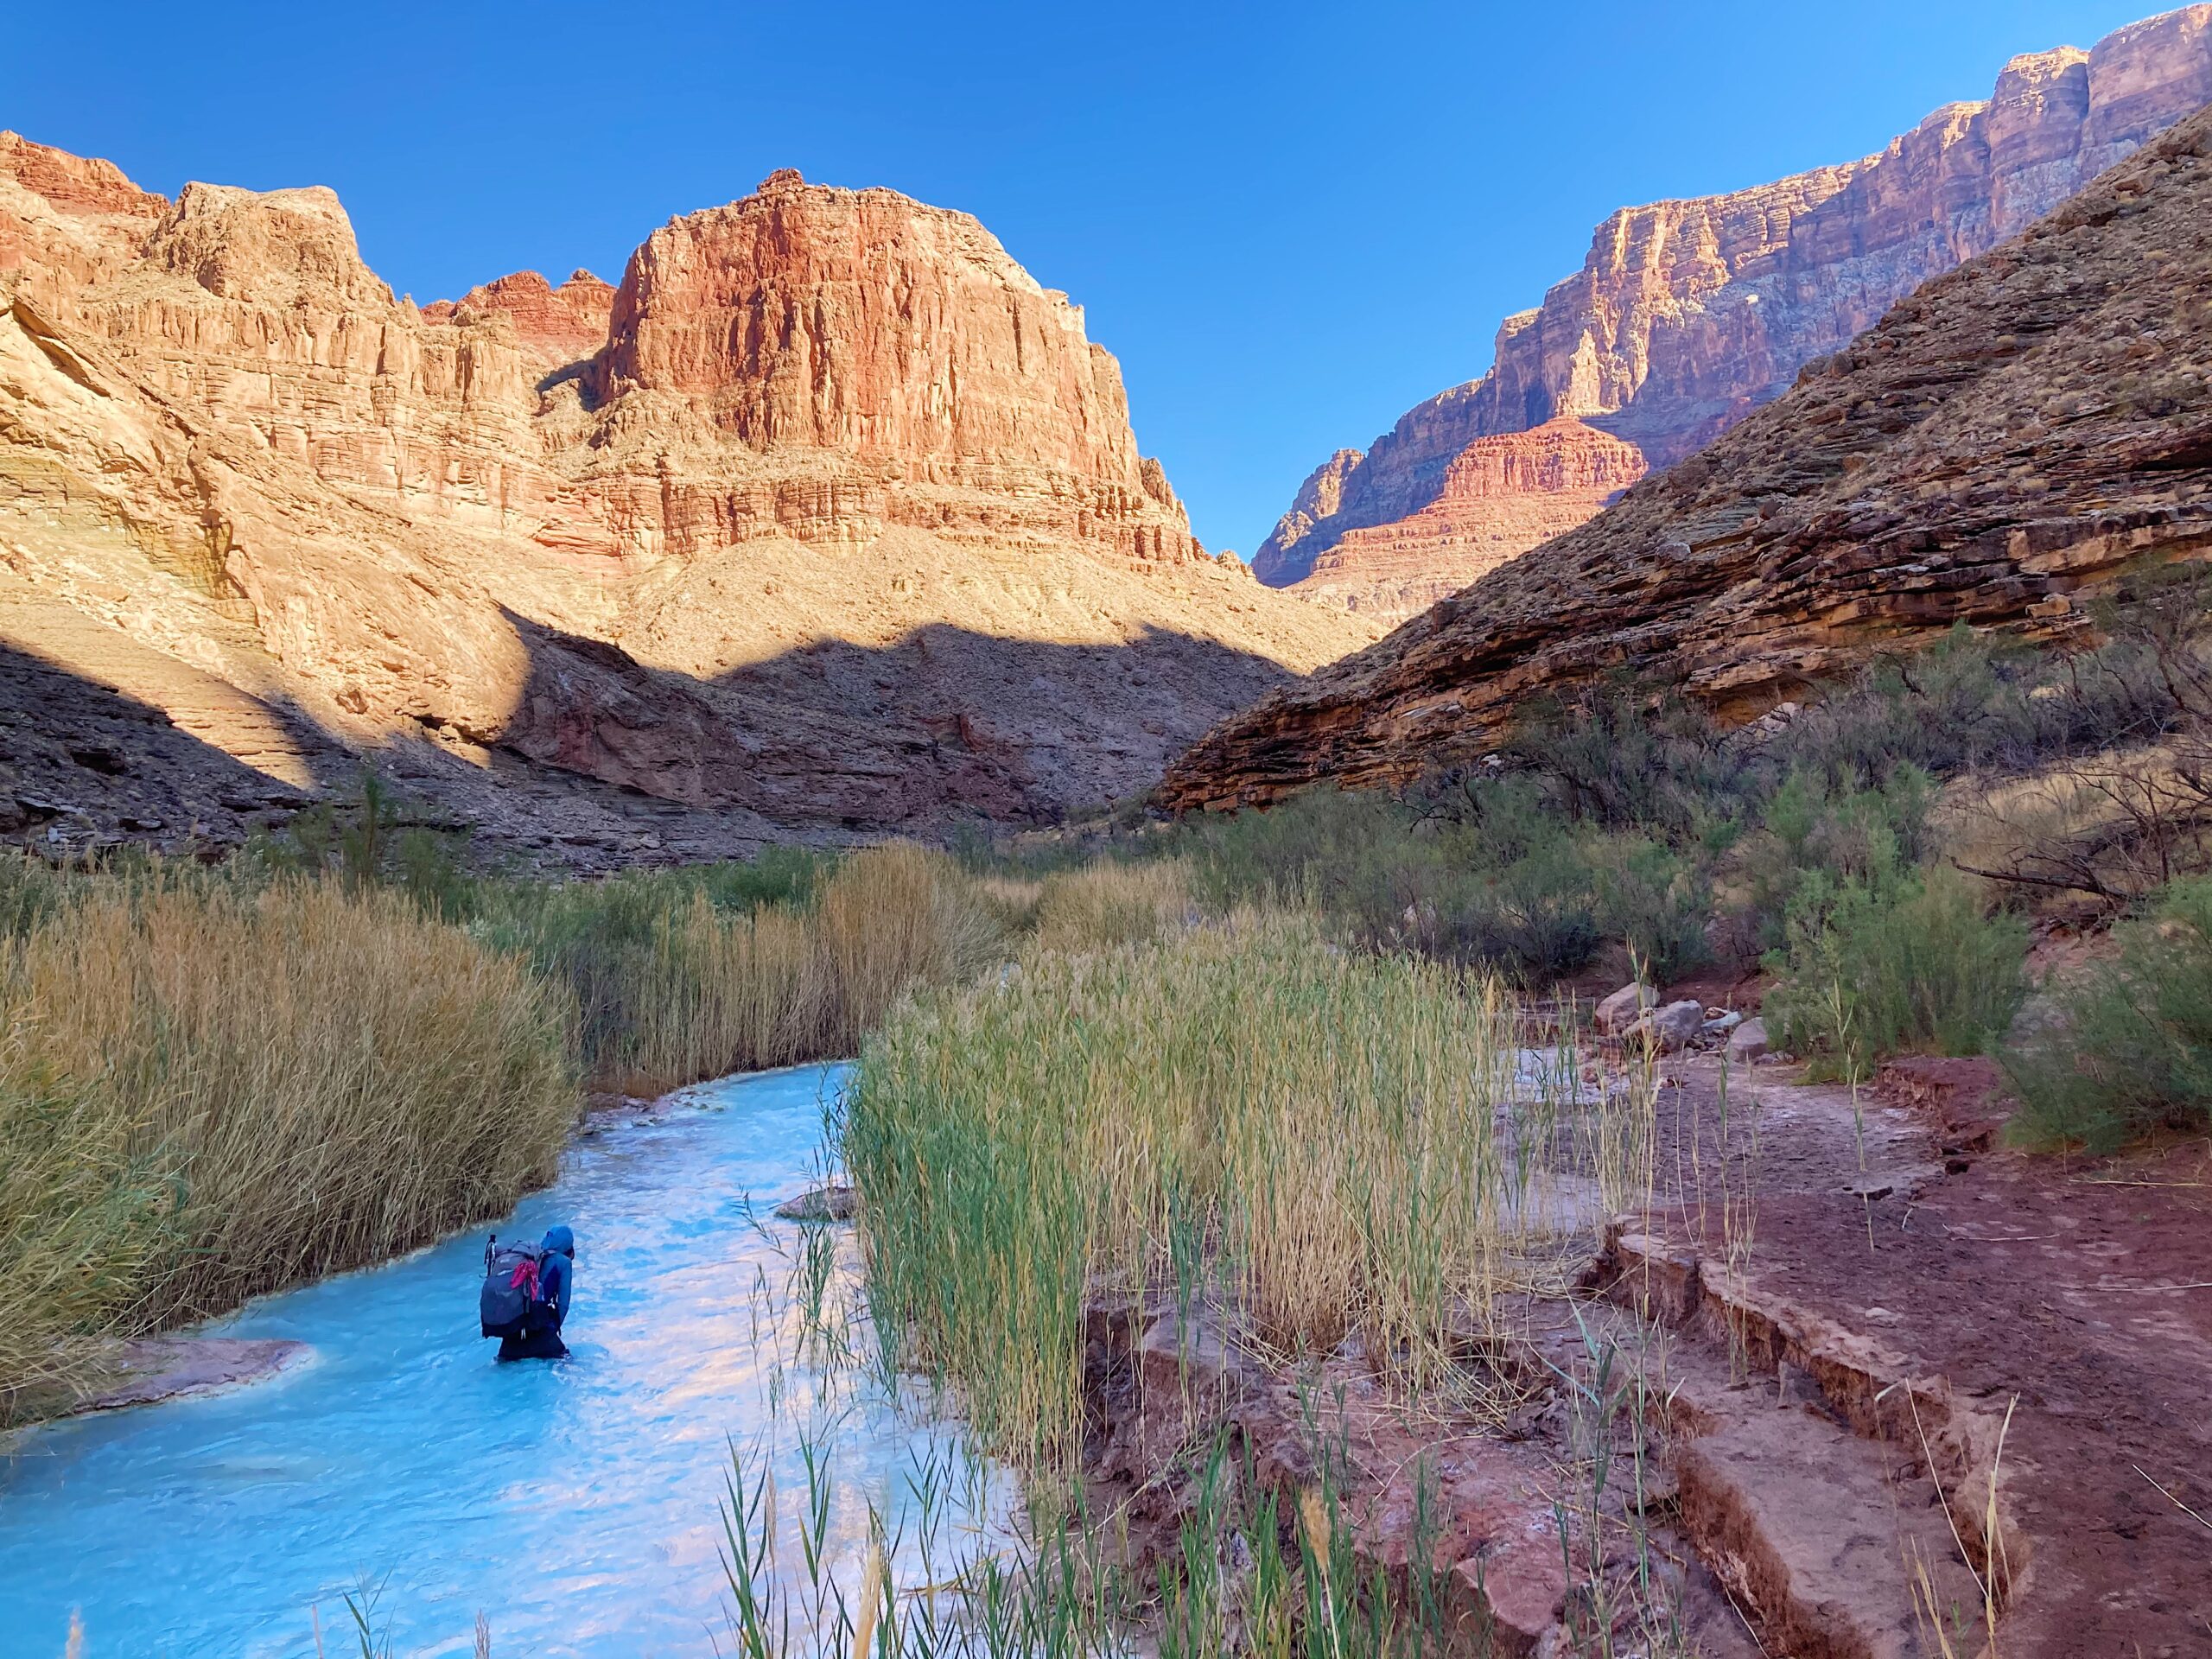
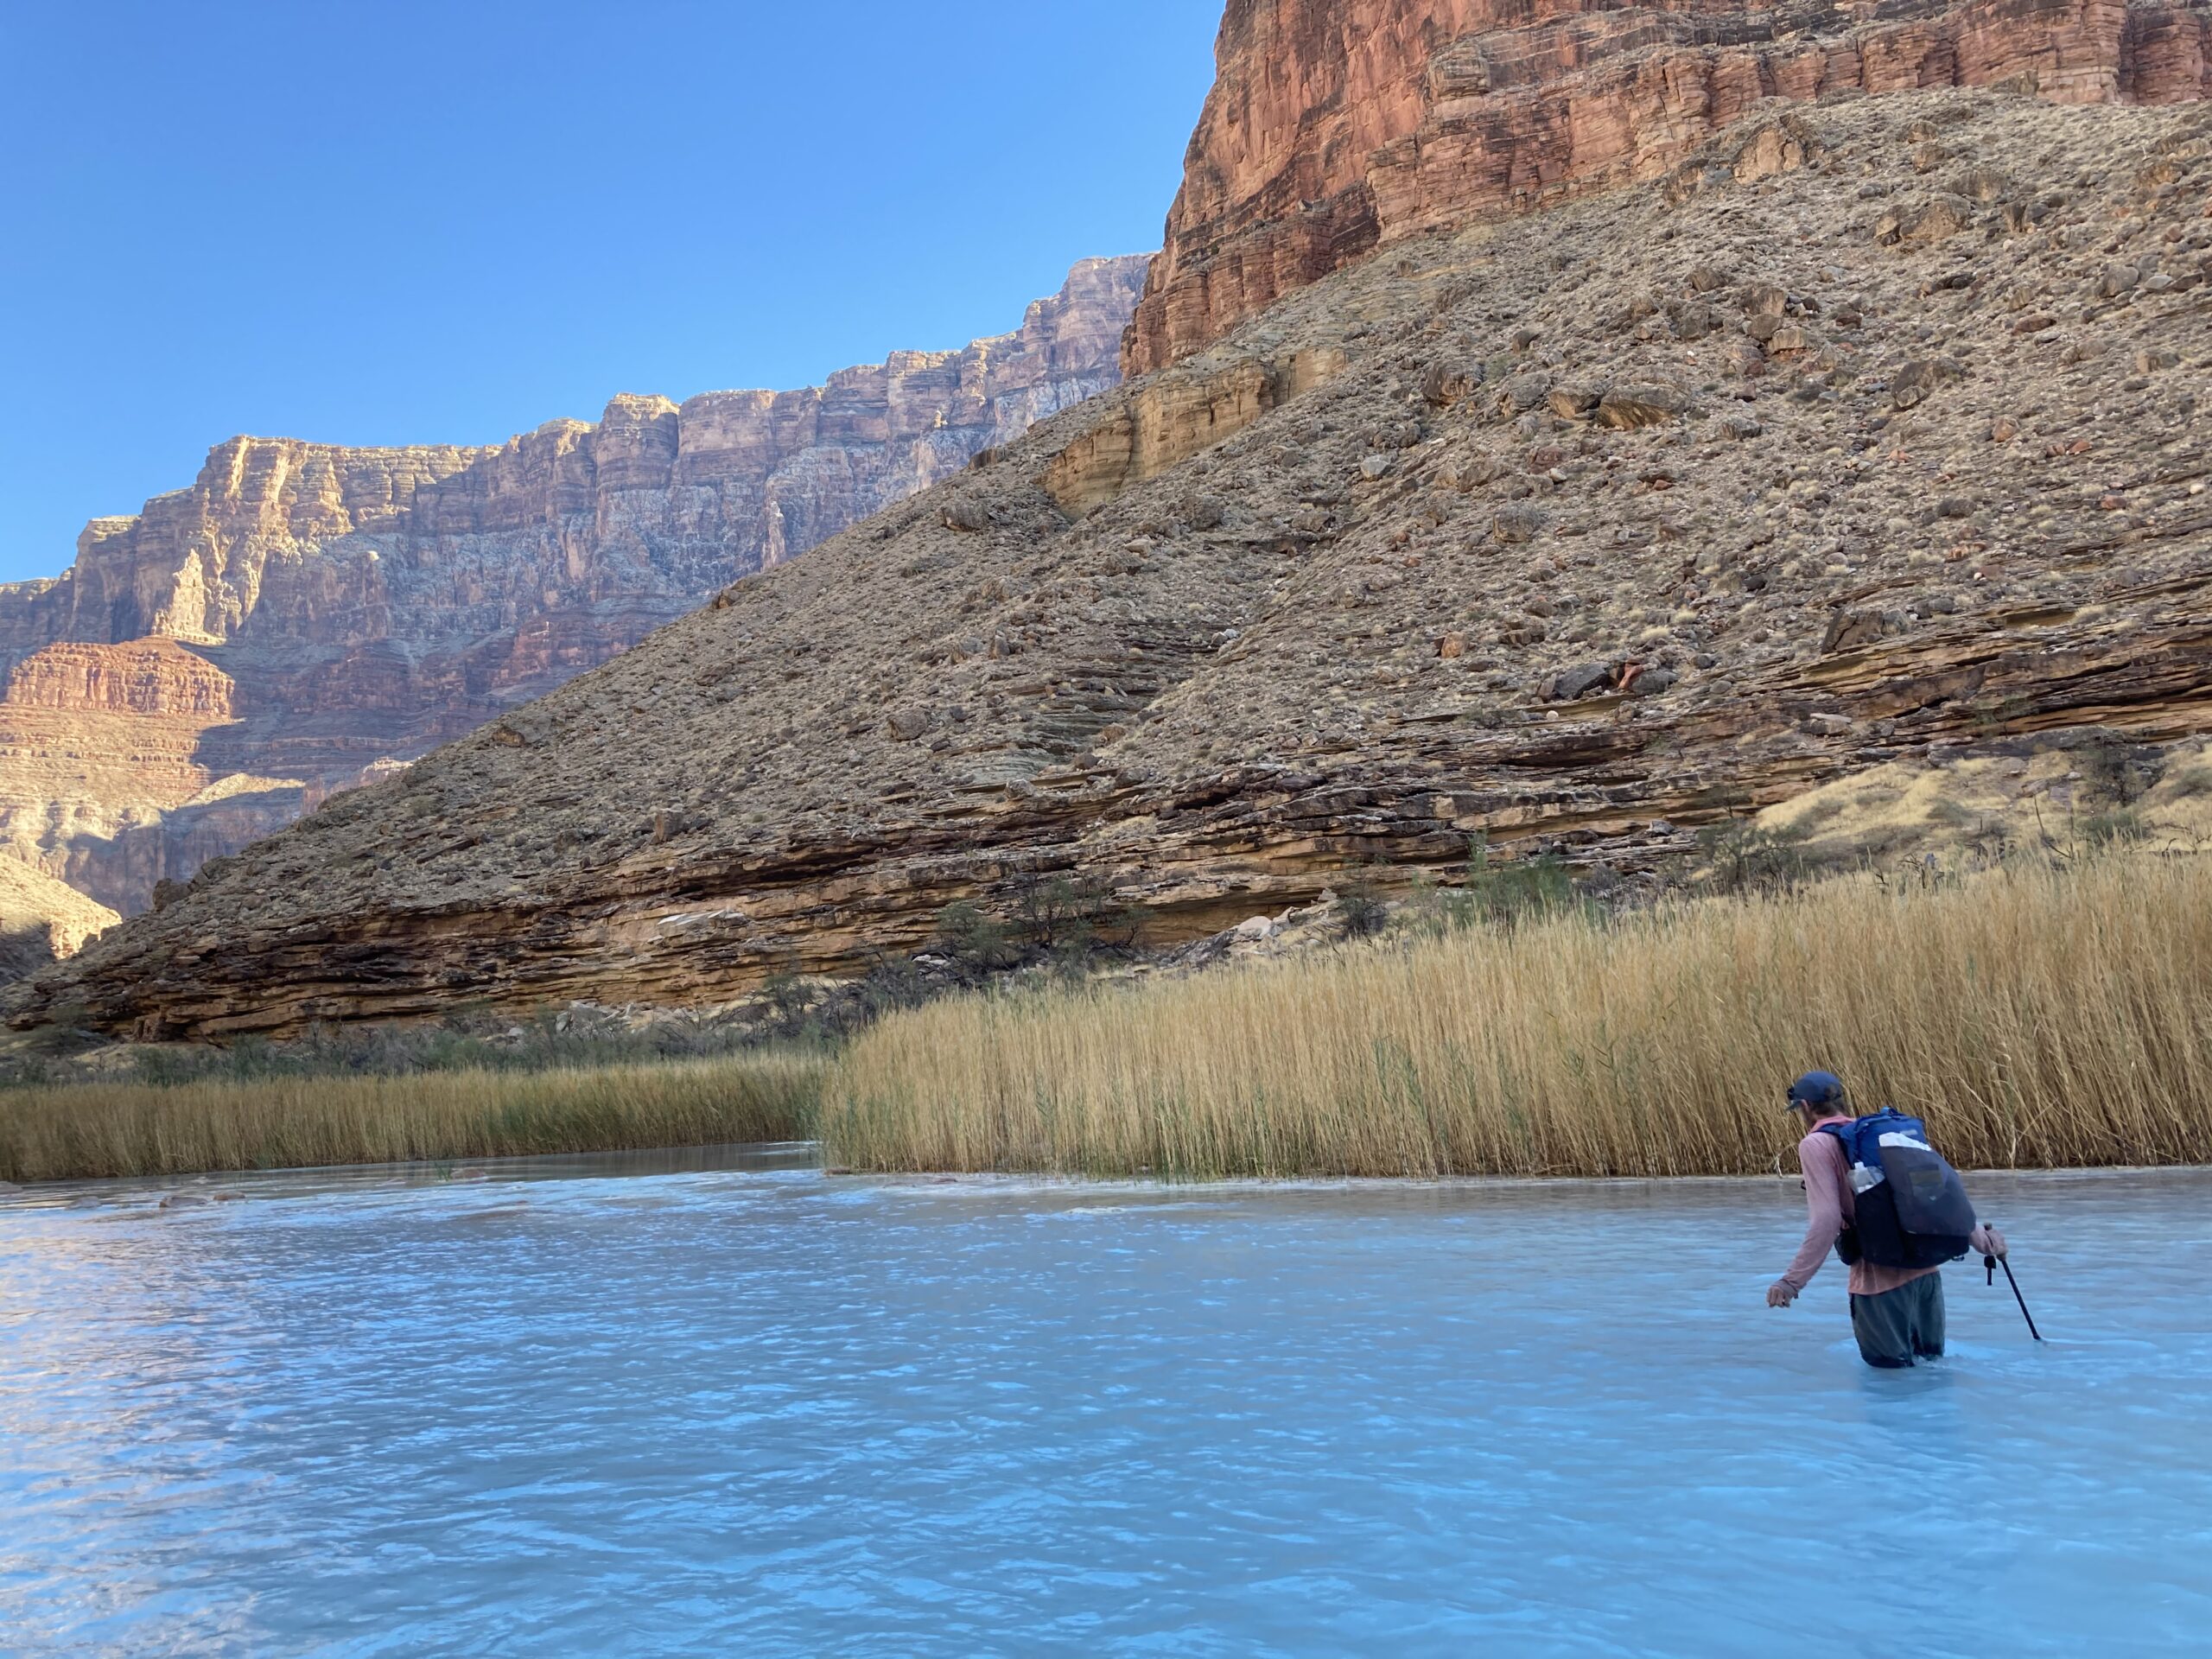
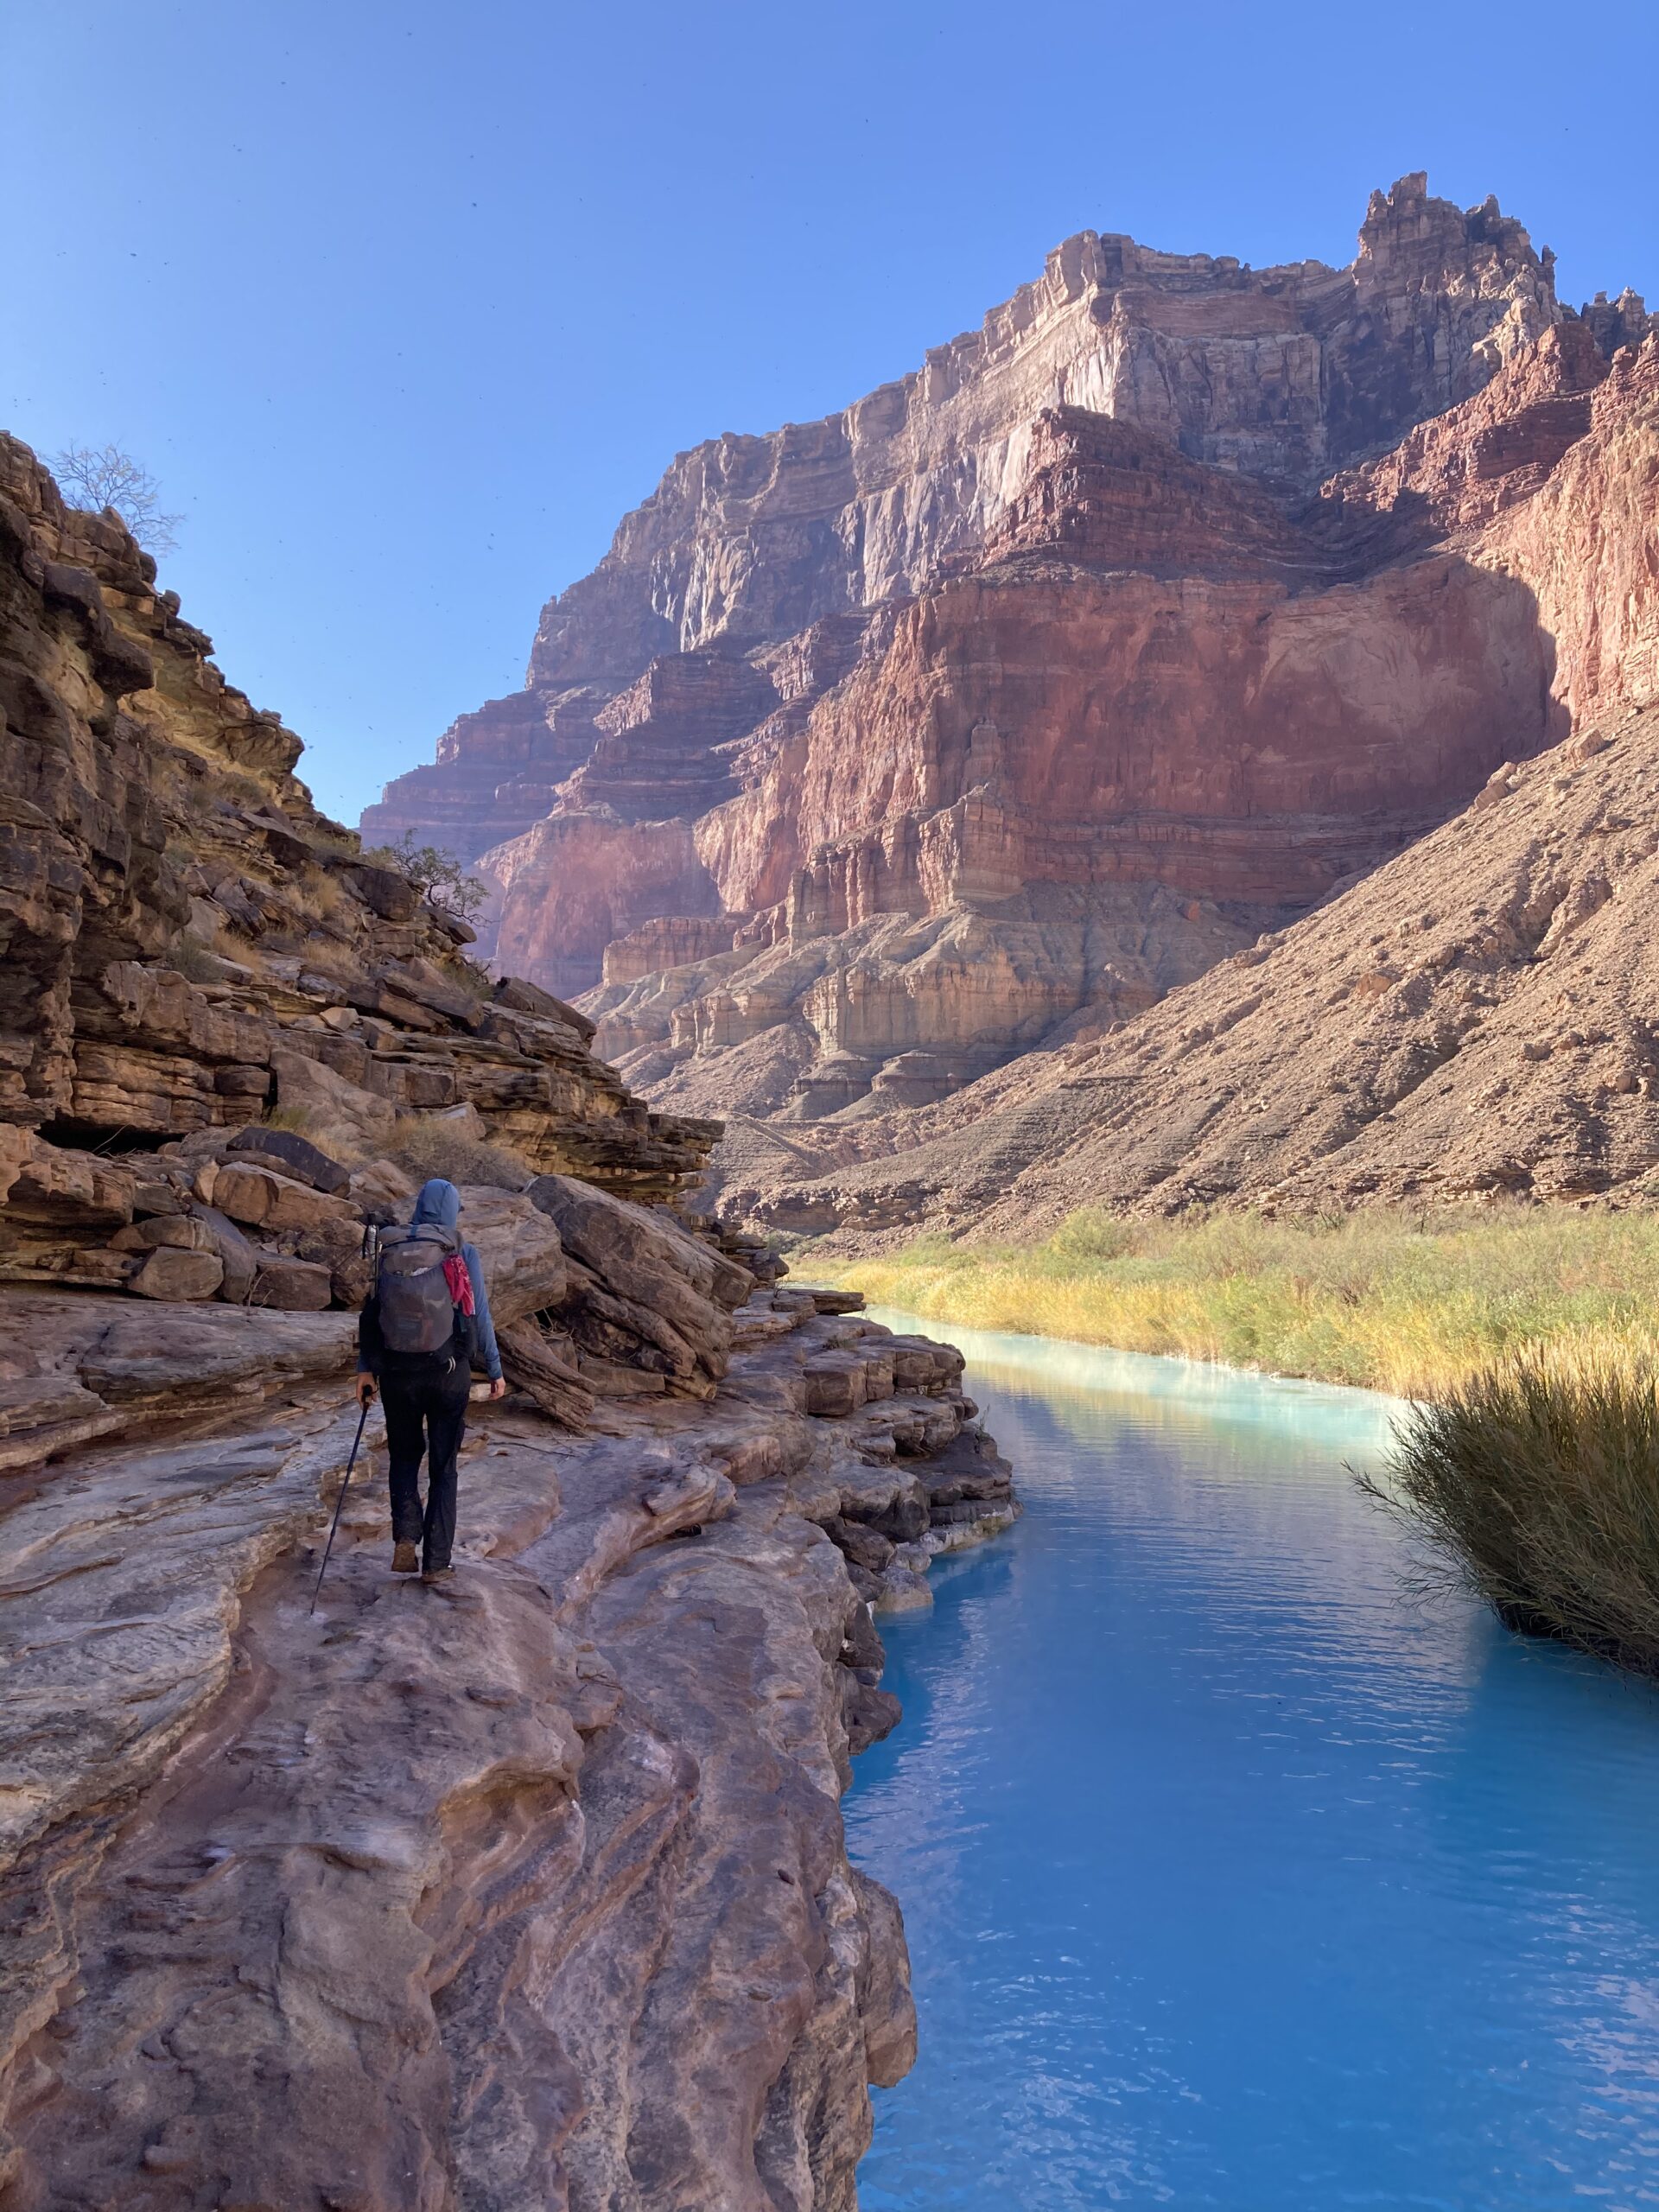
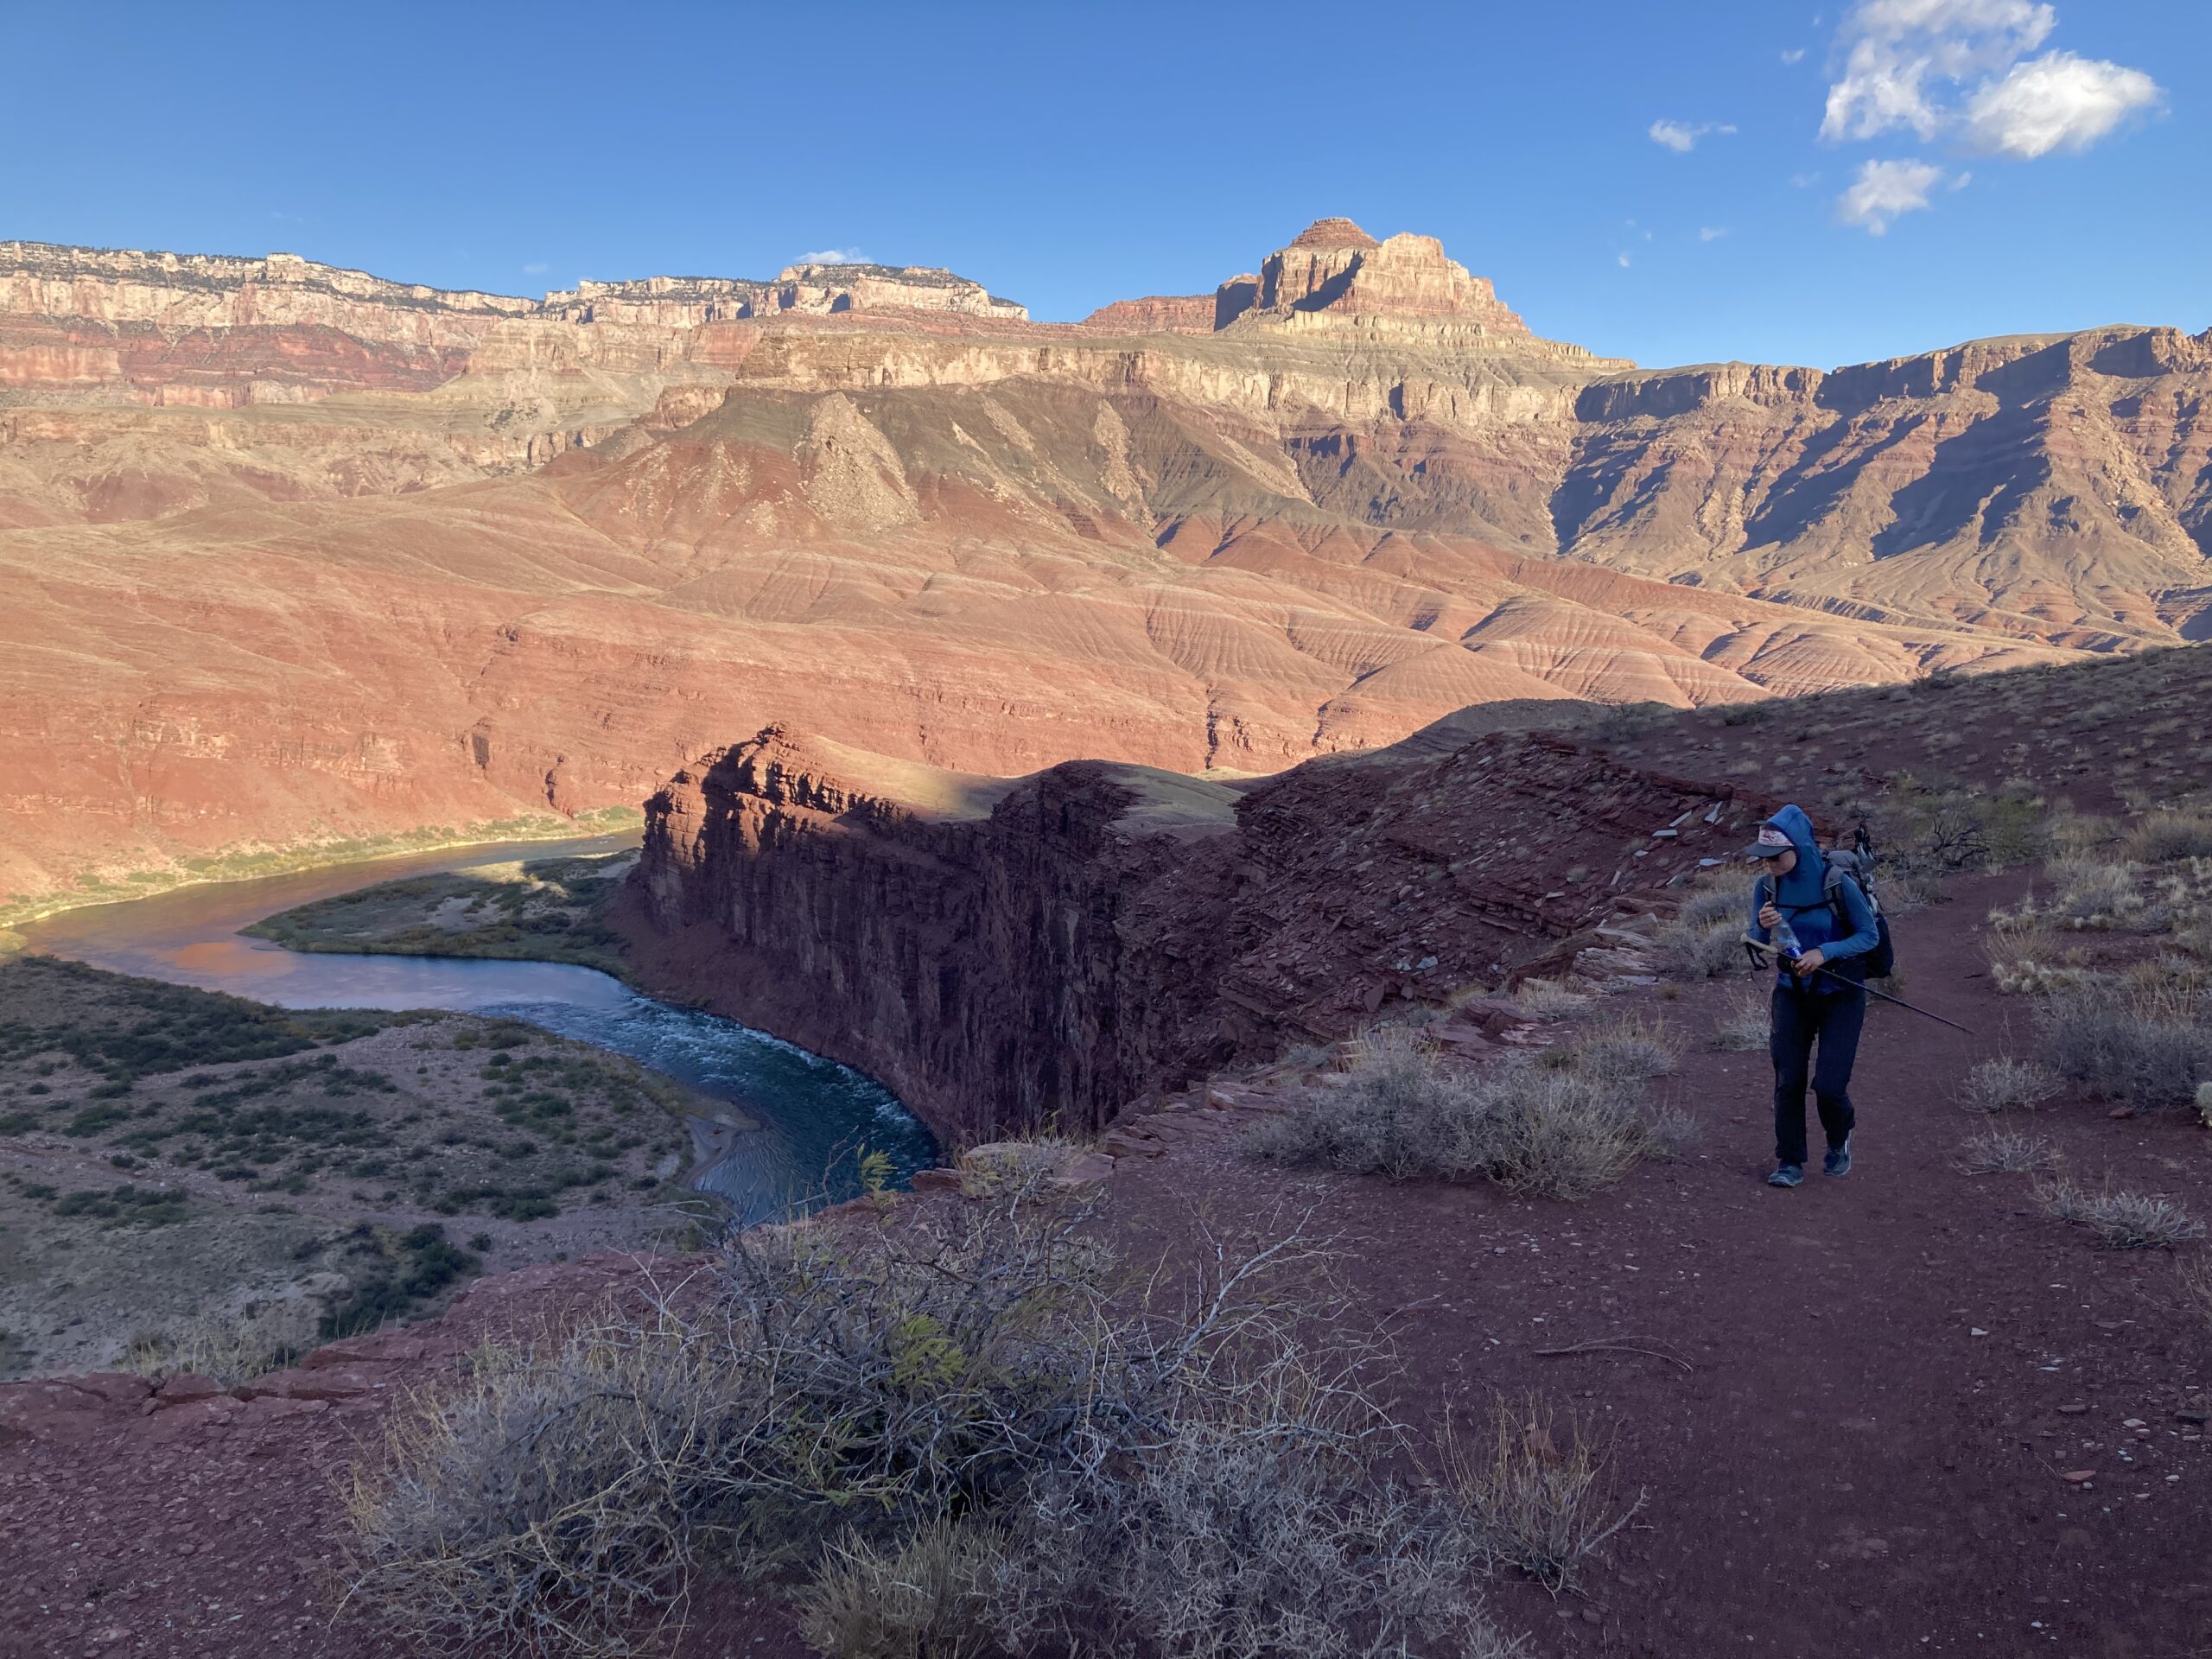
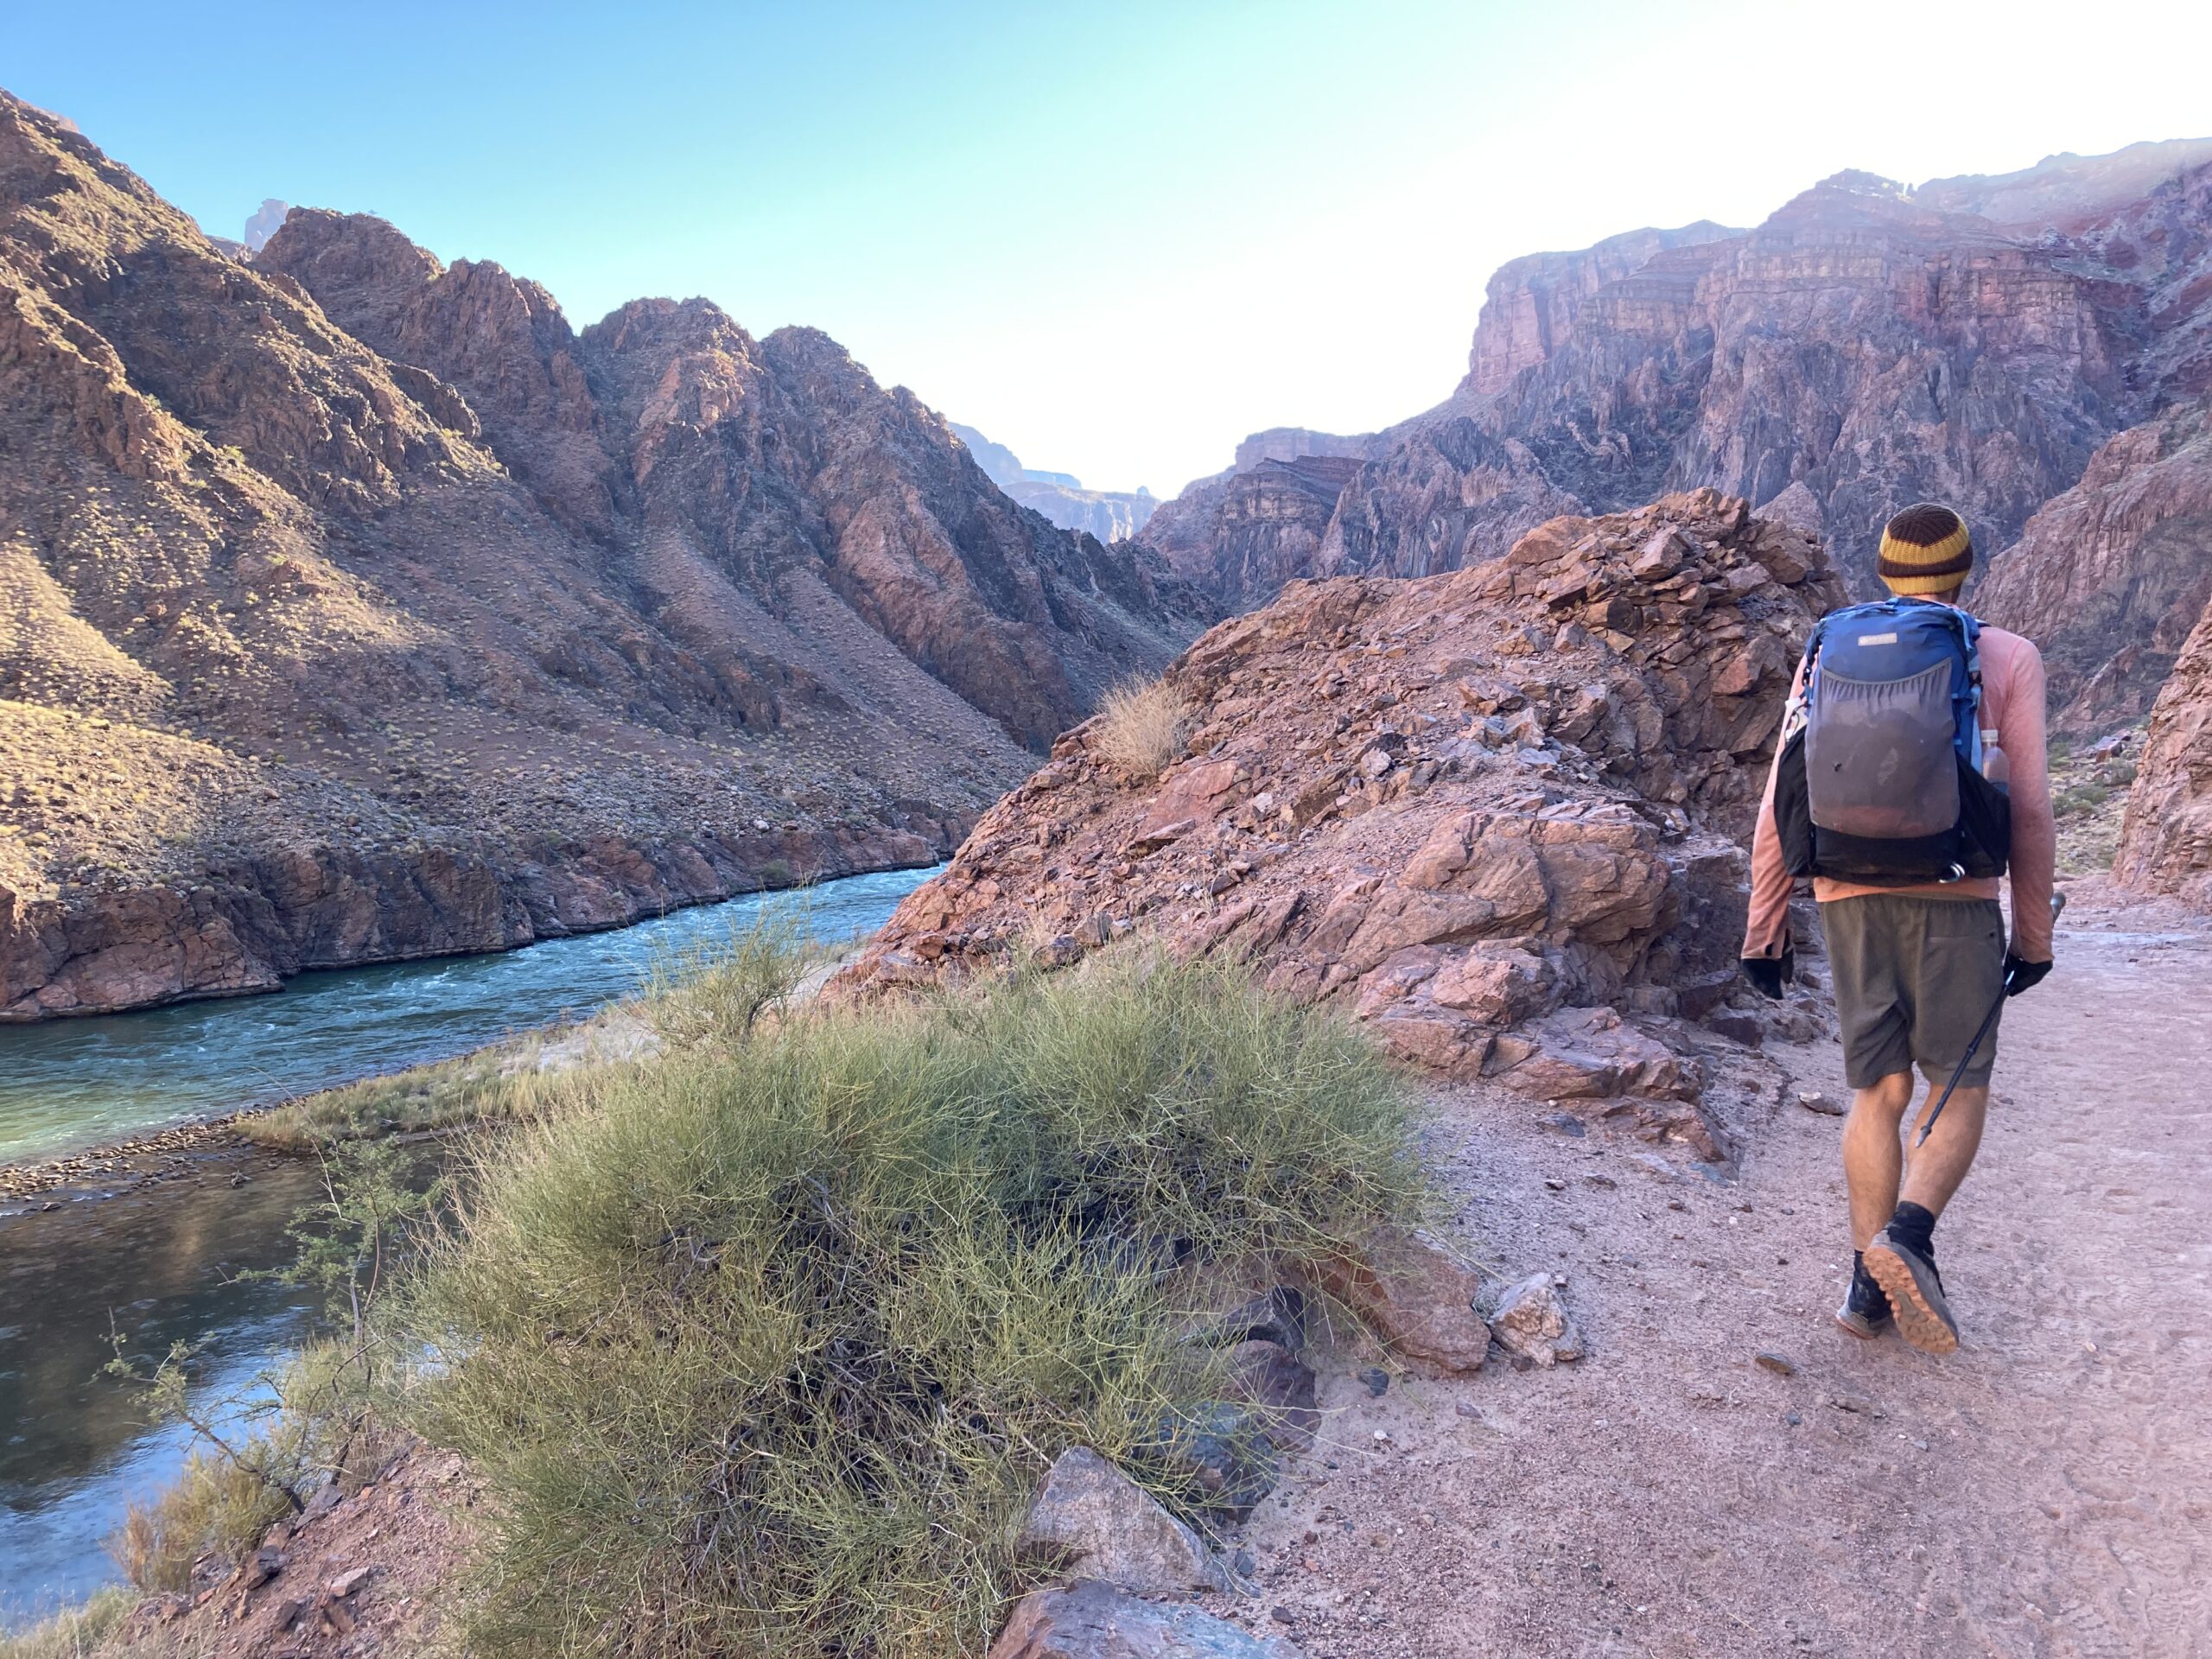
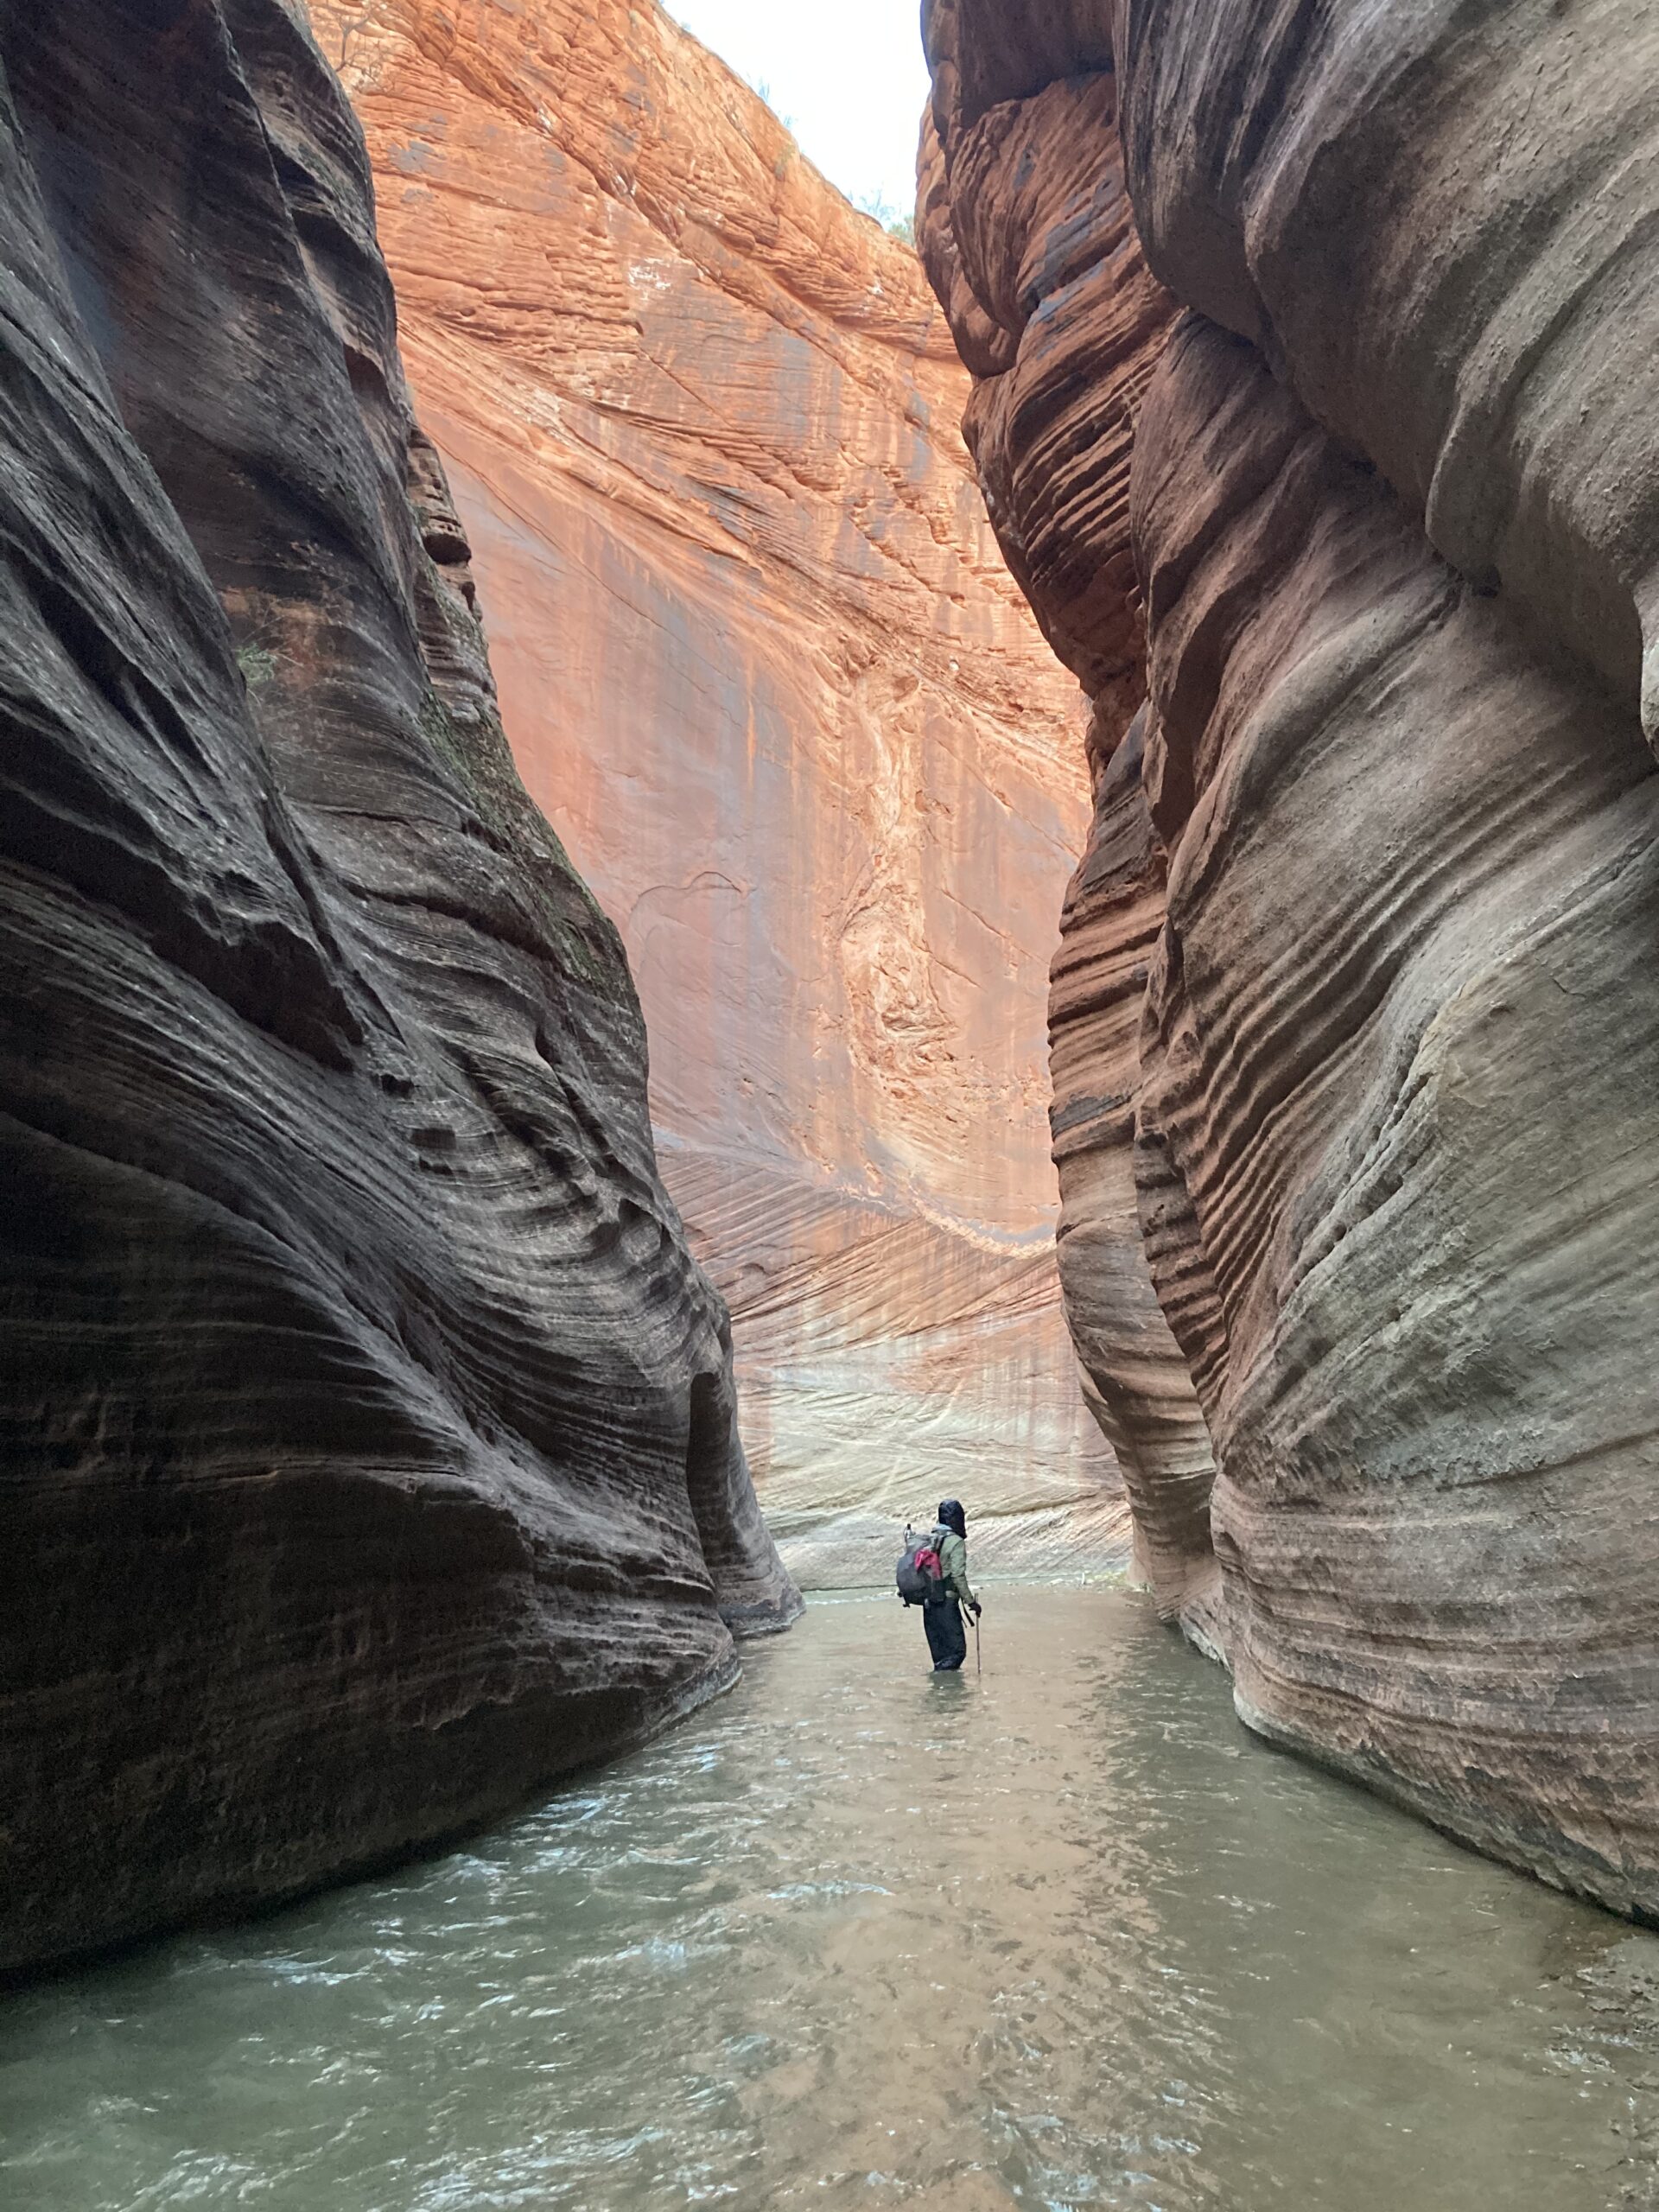
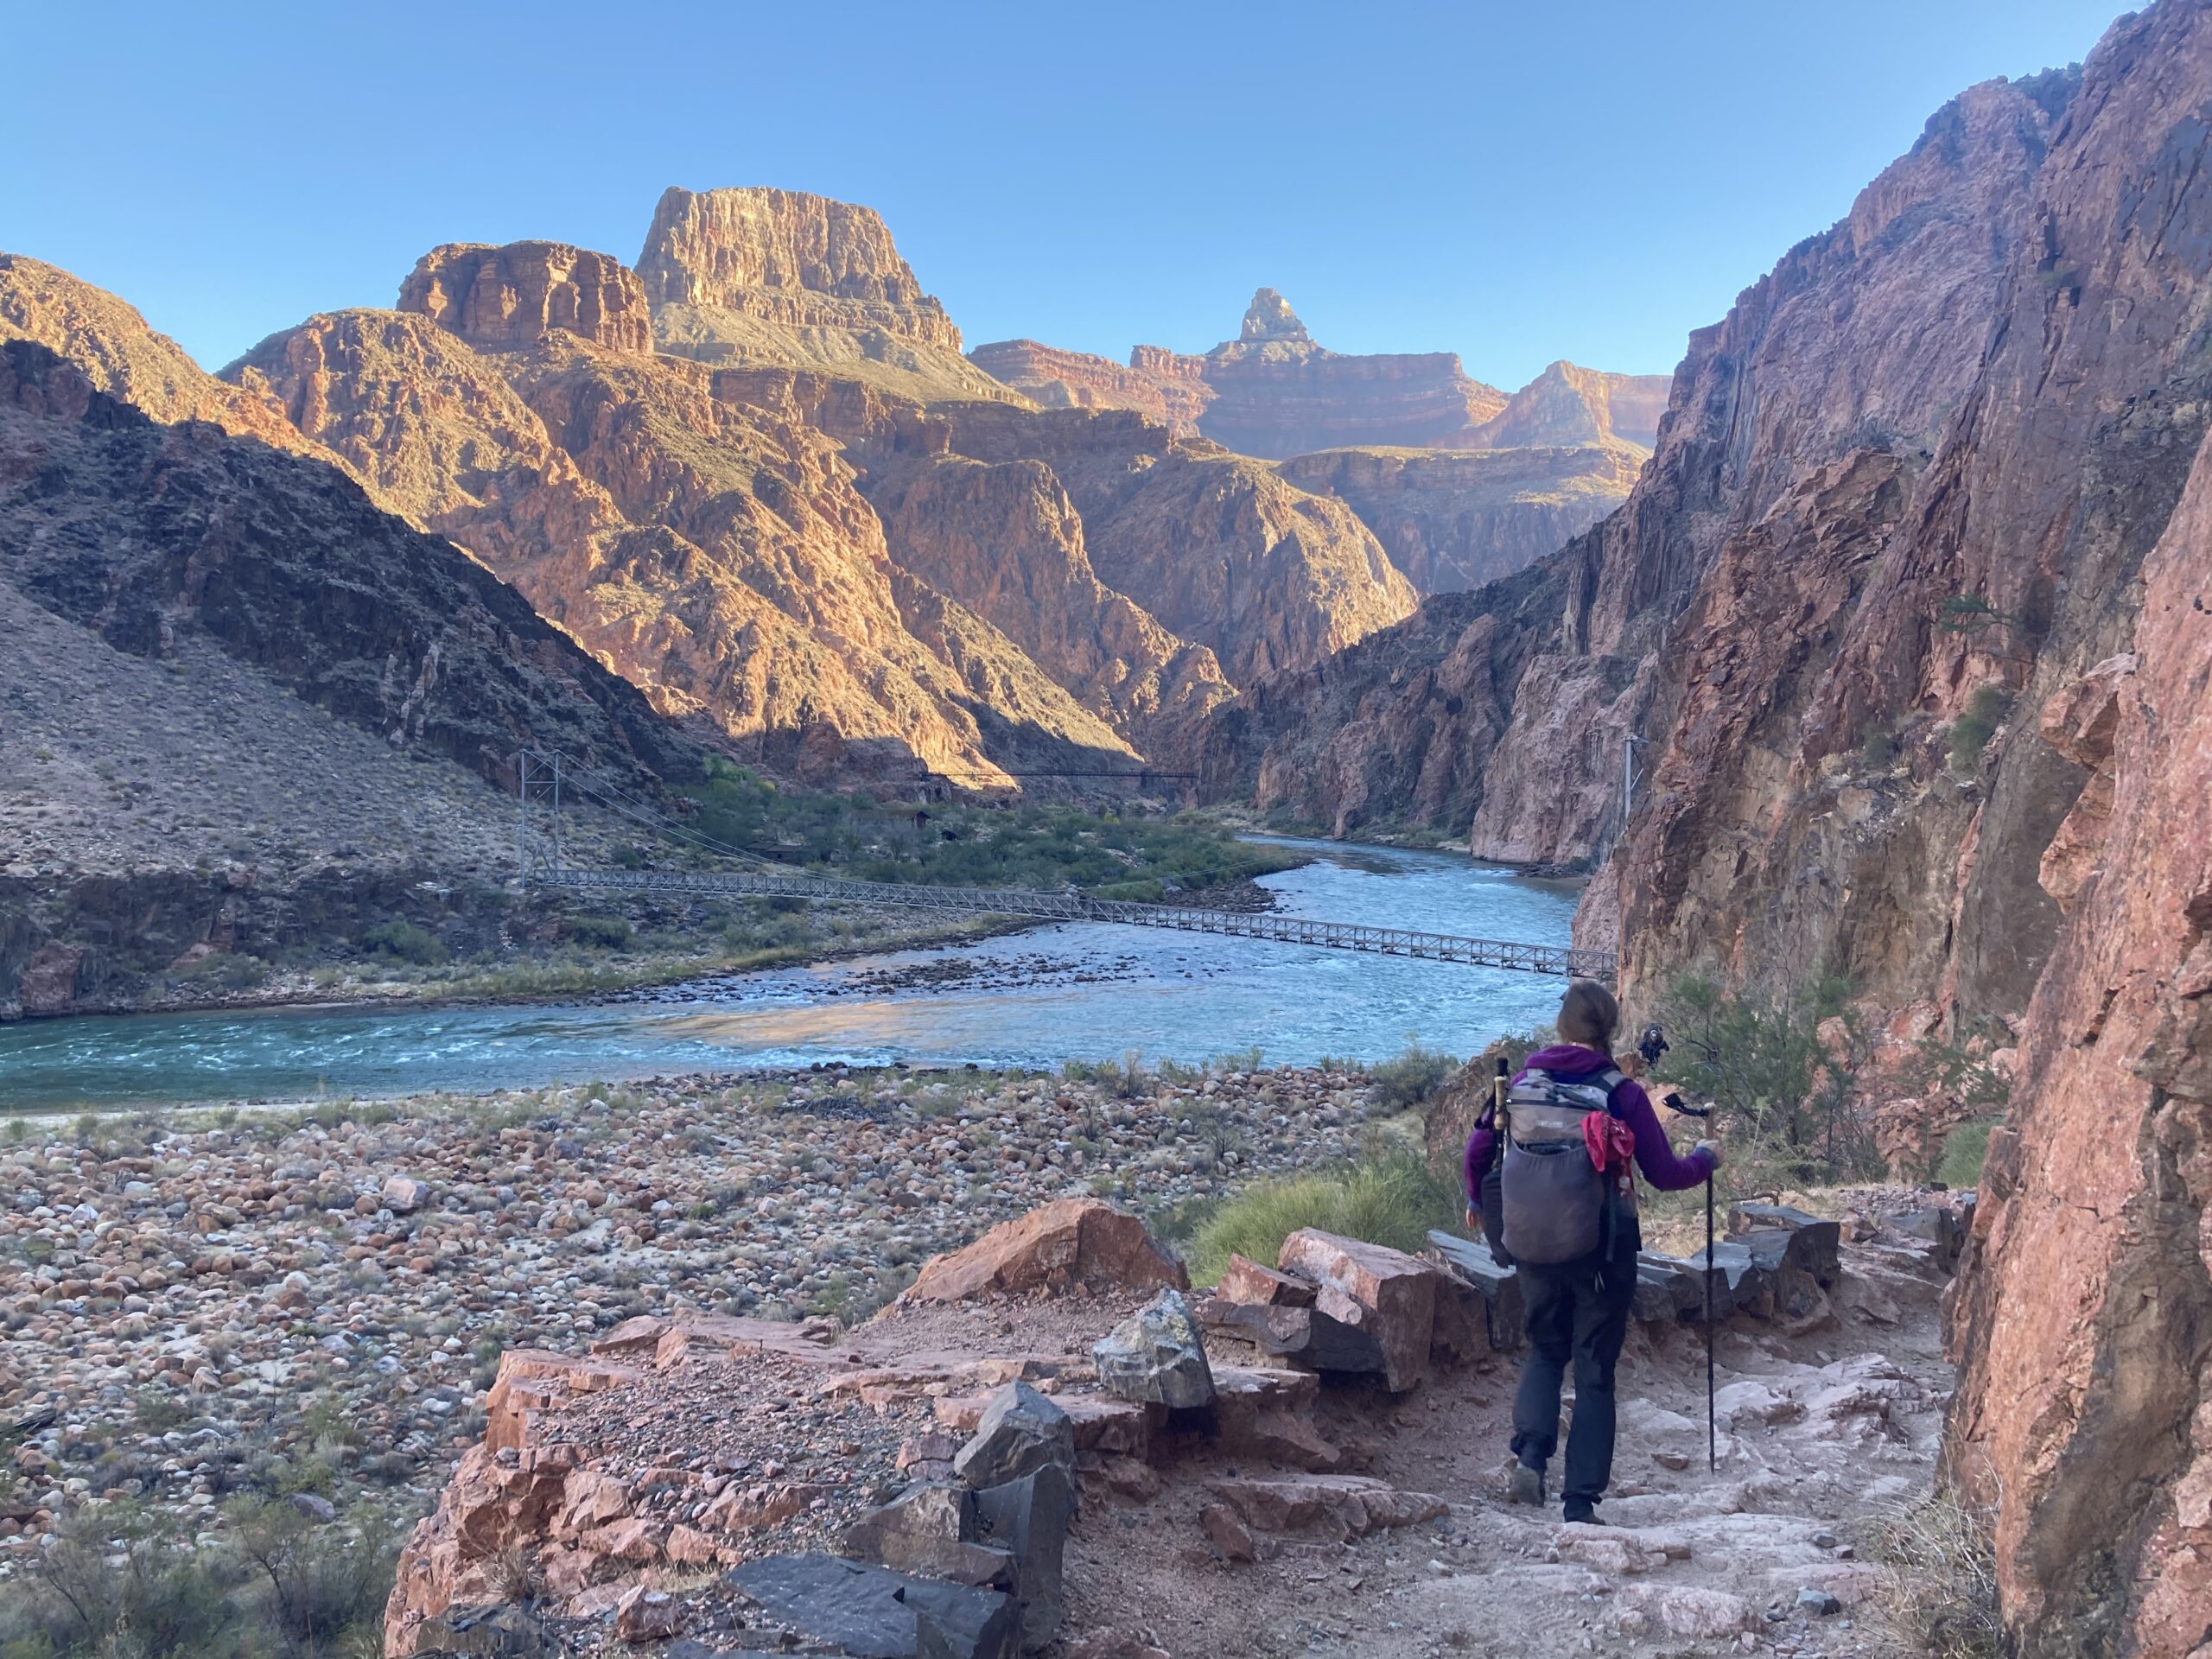
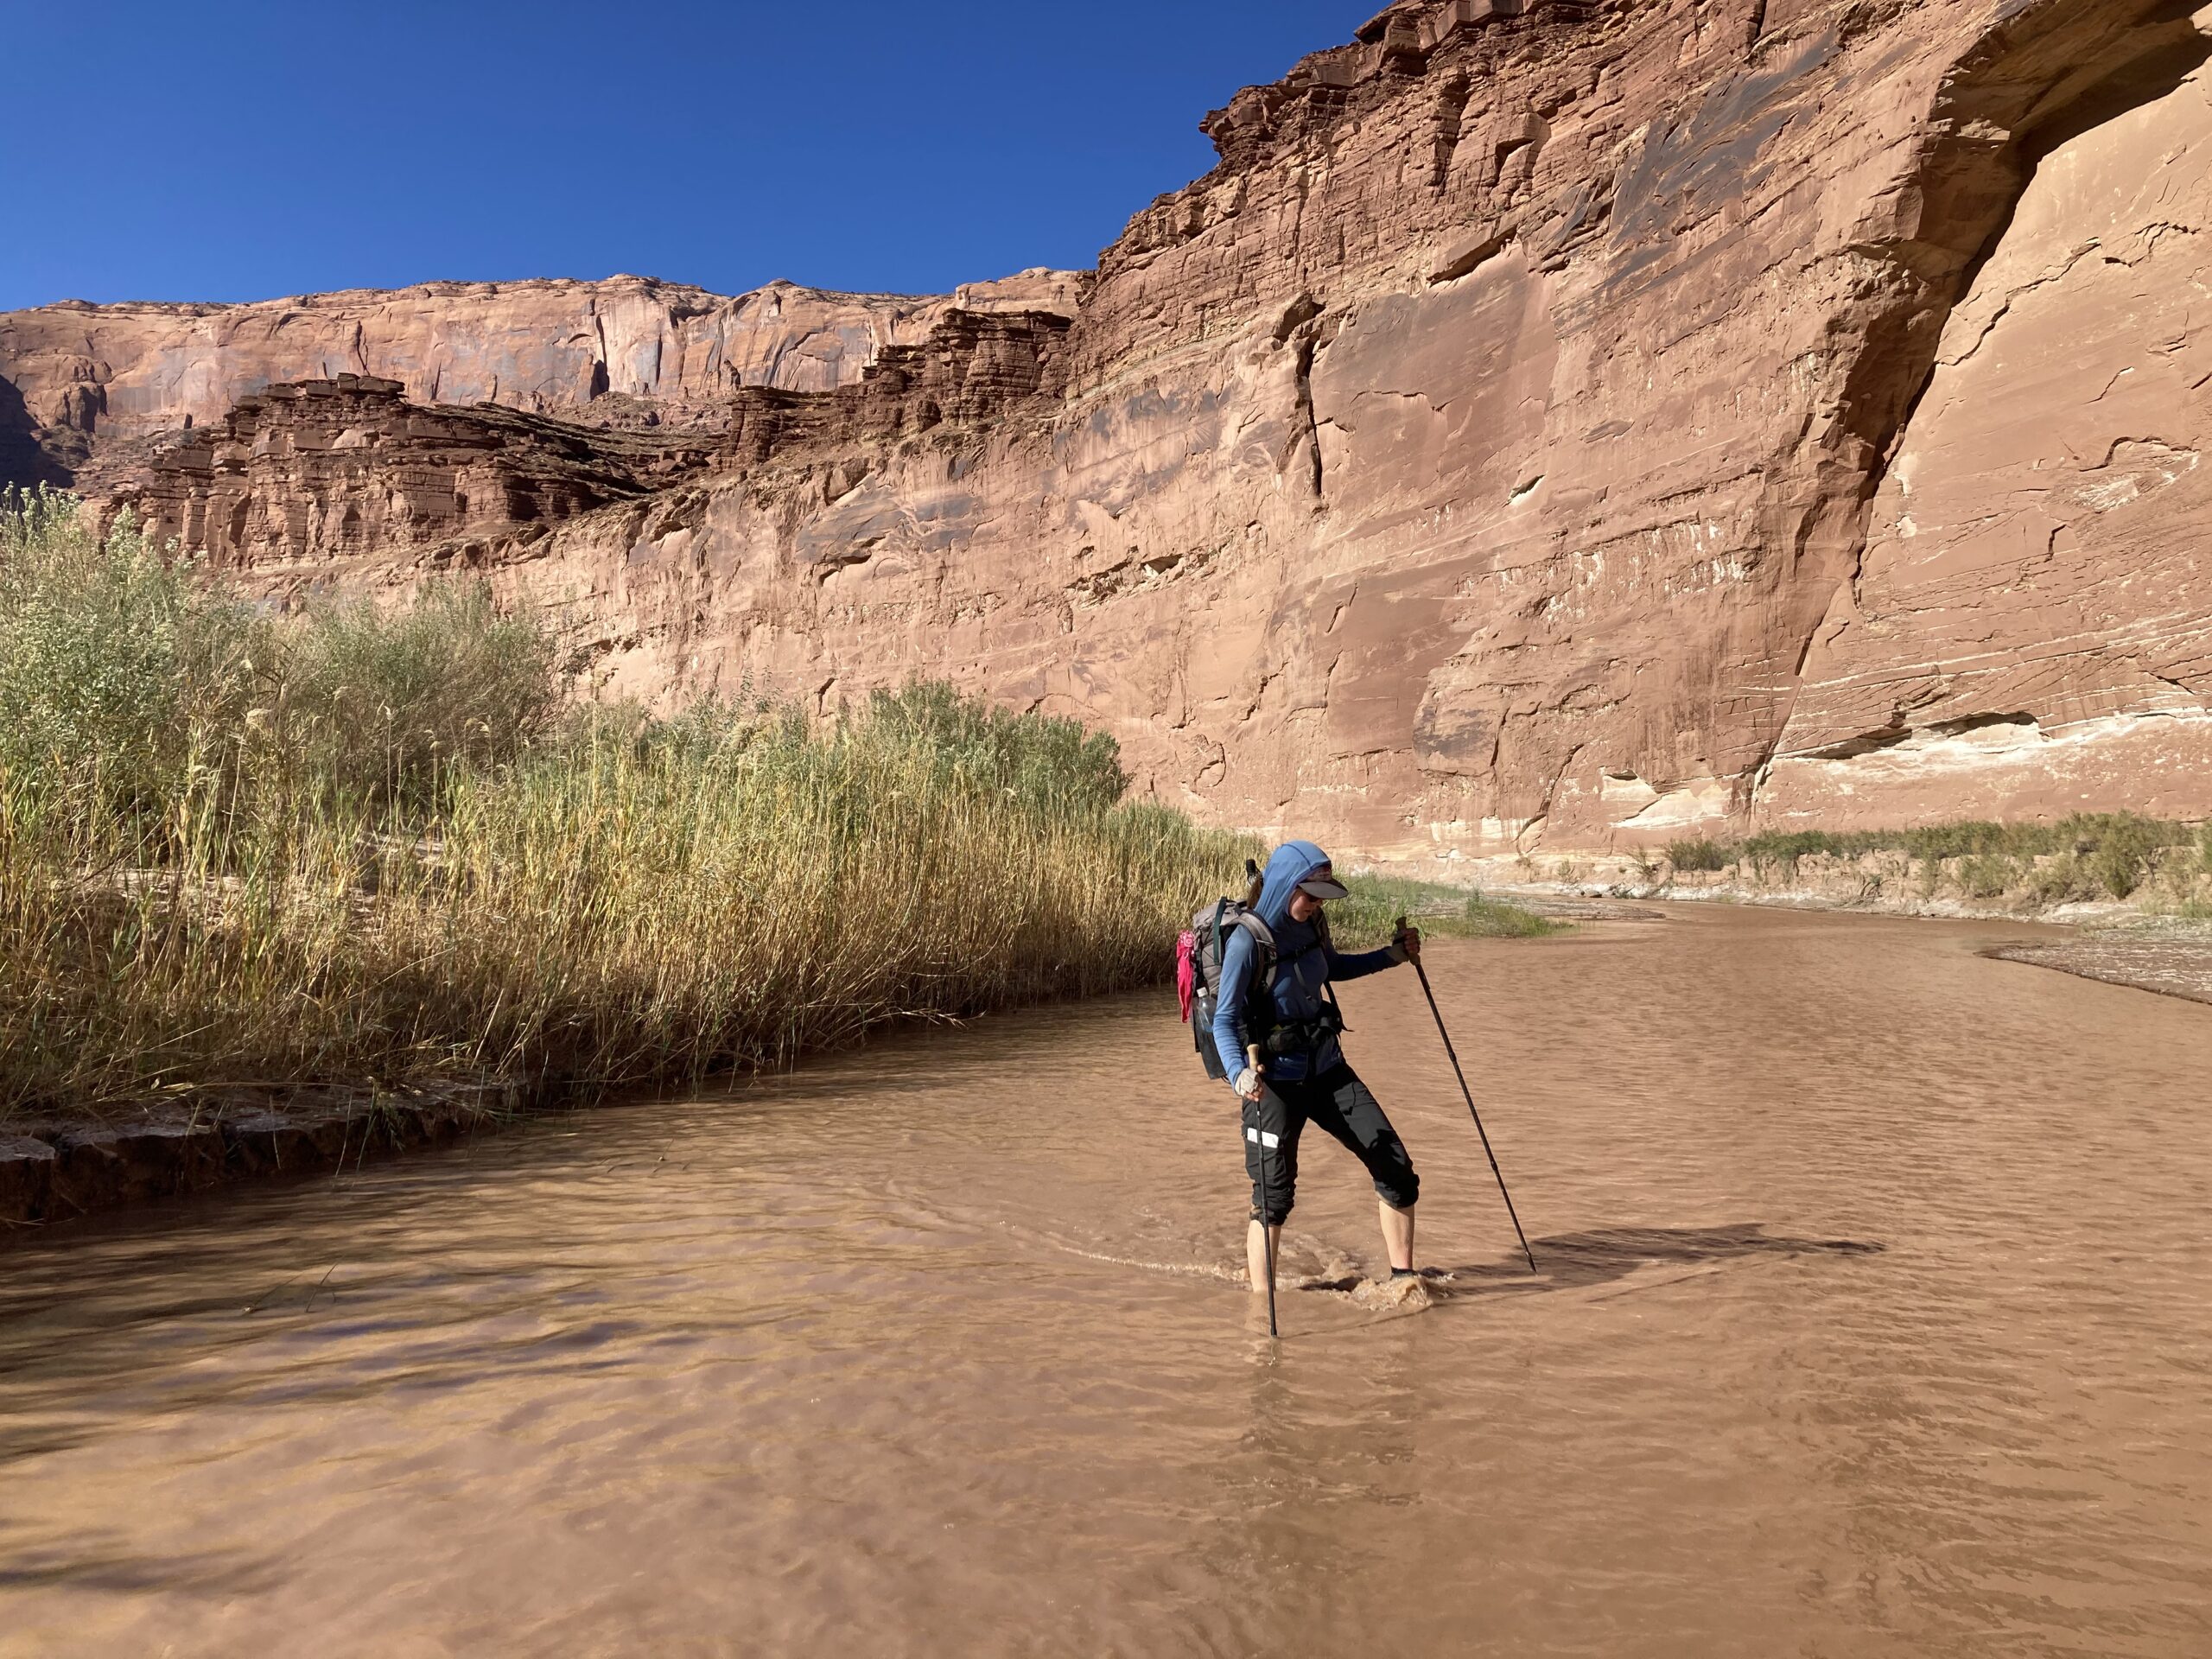
The Grand Canyon
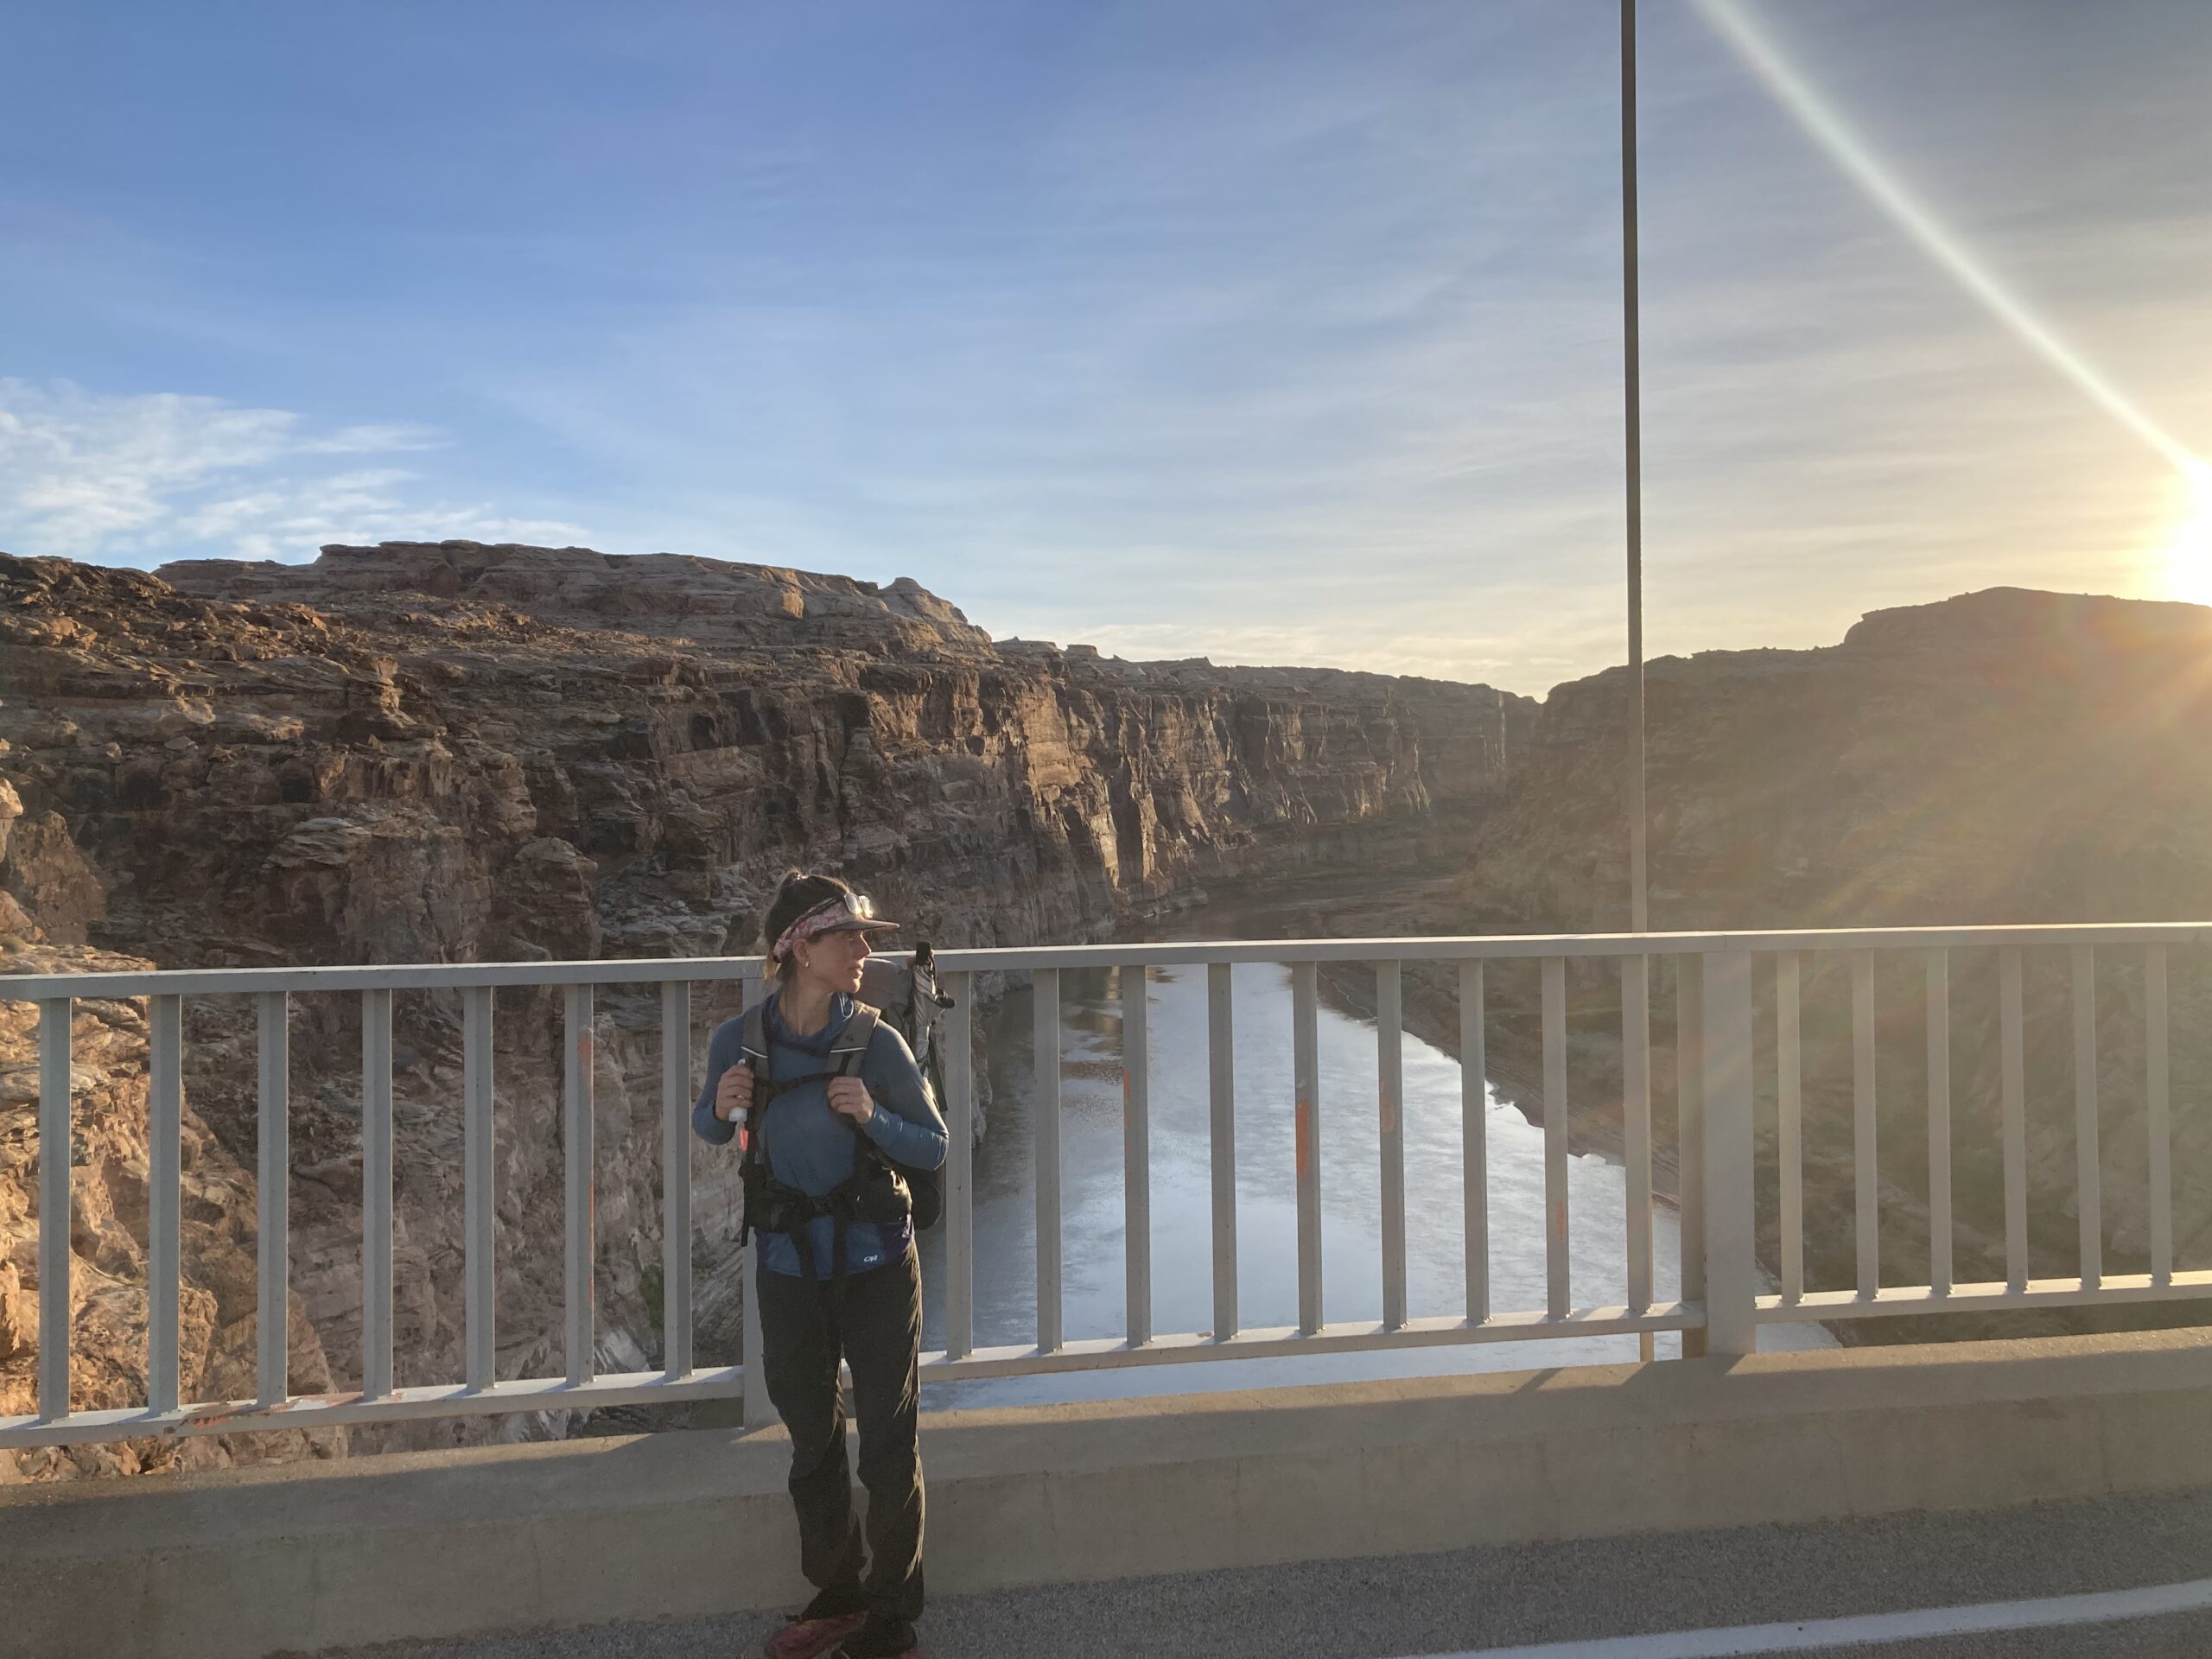
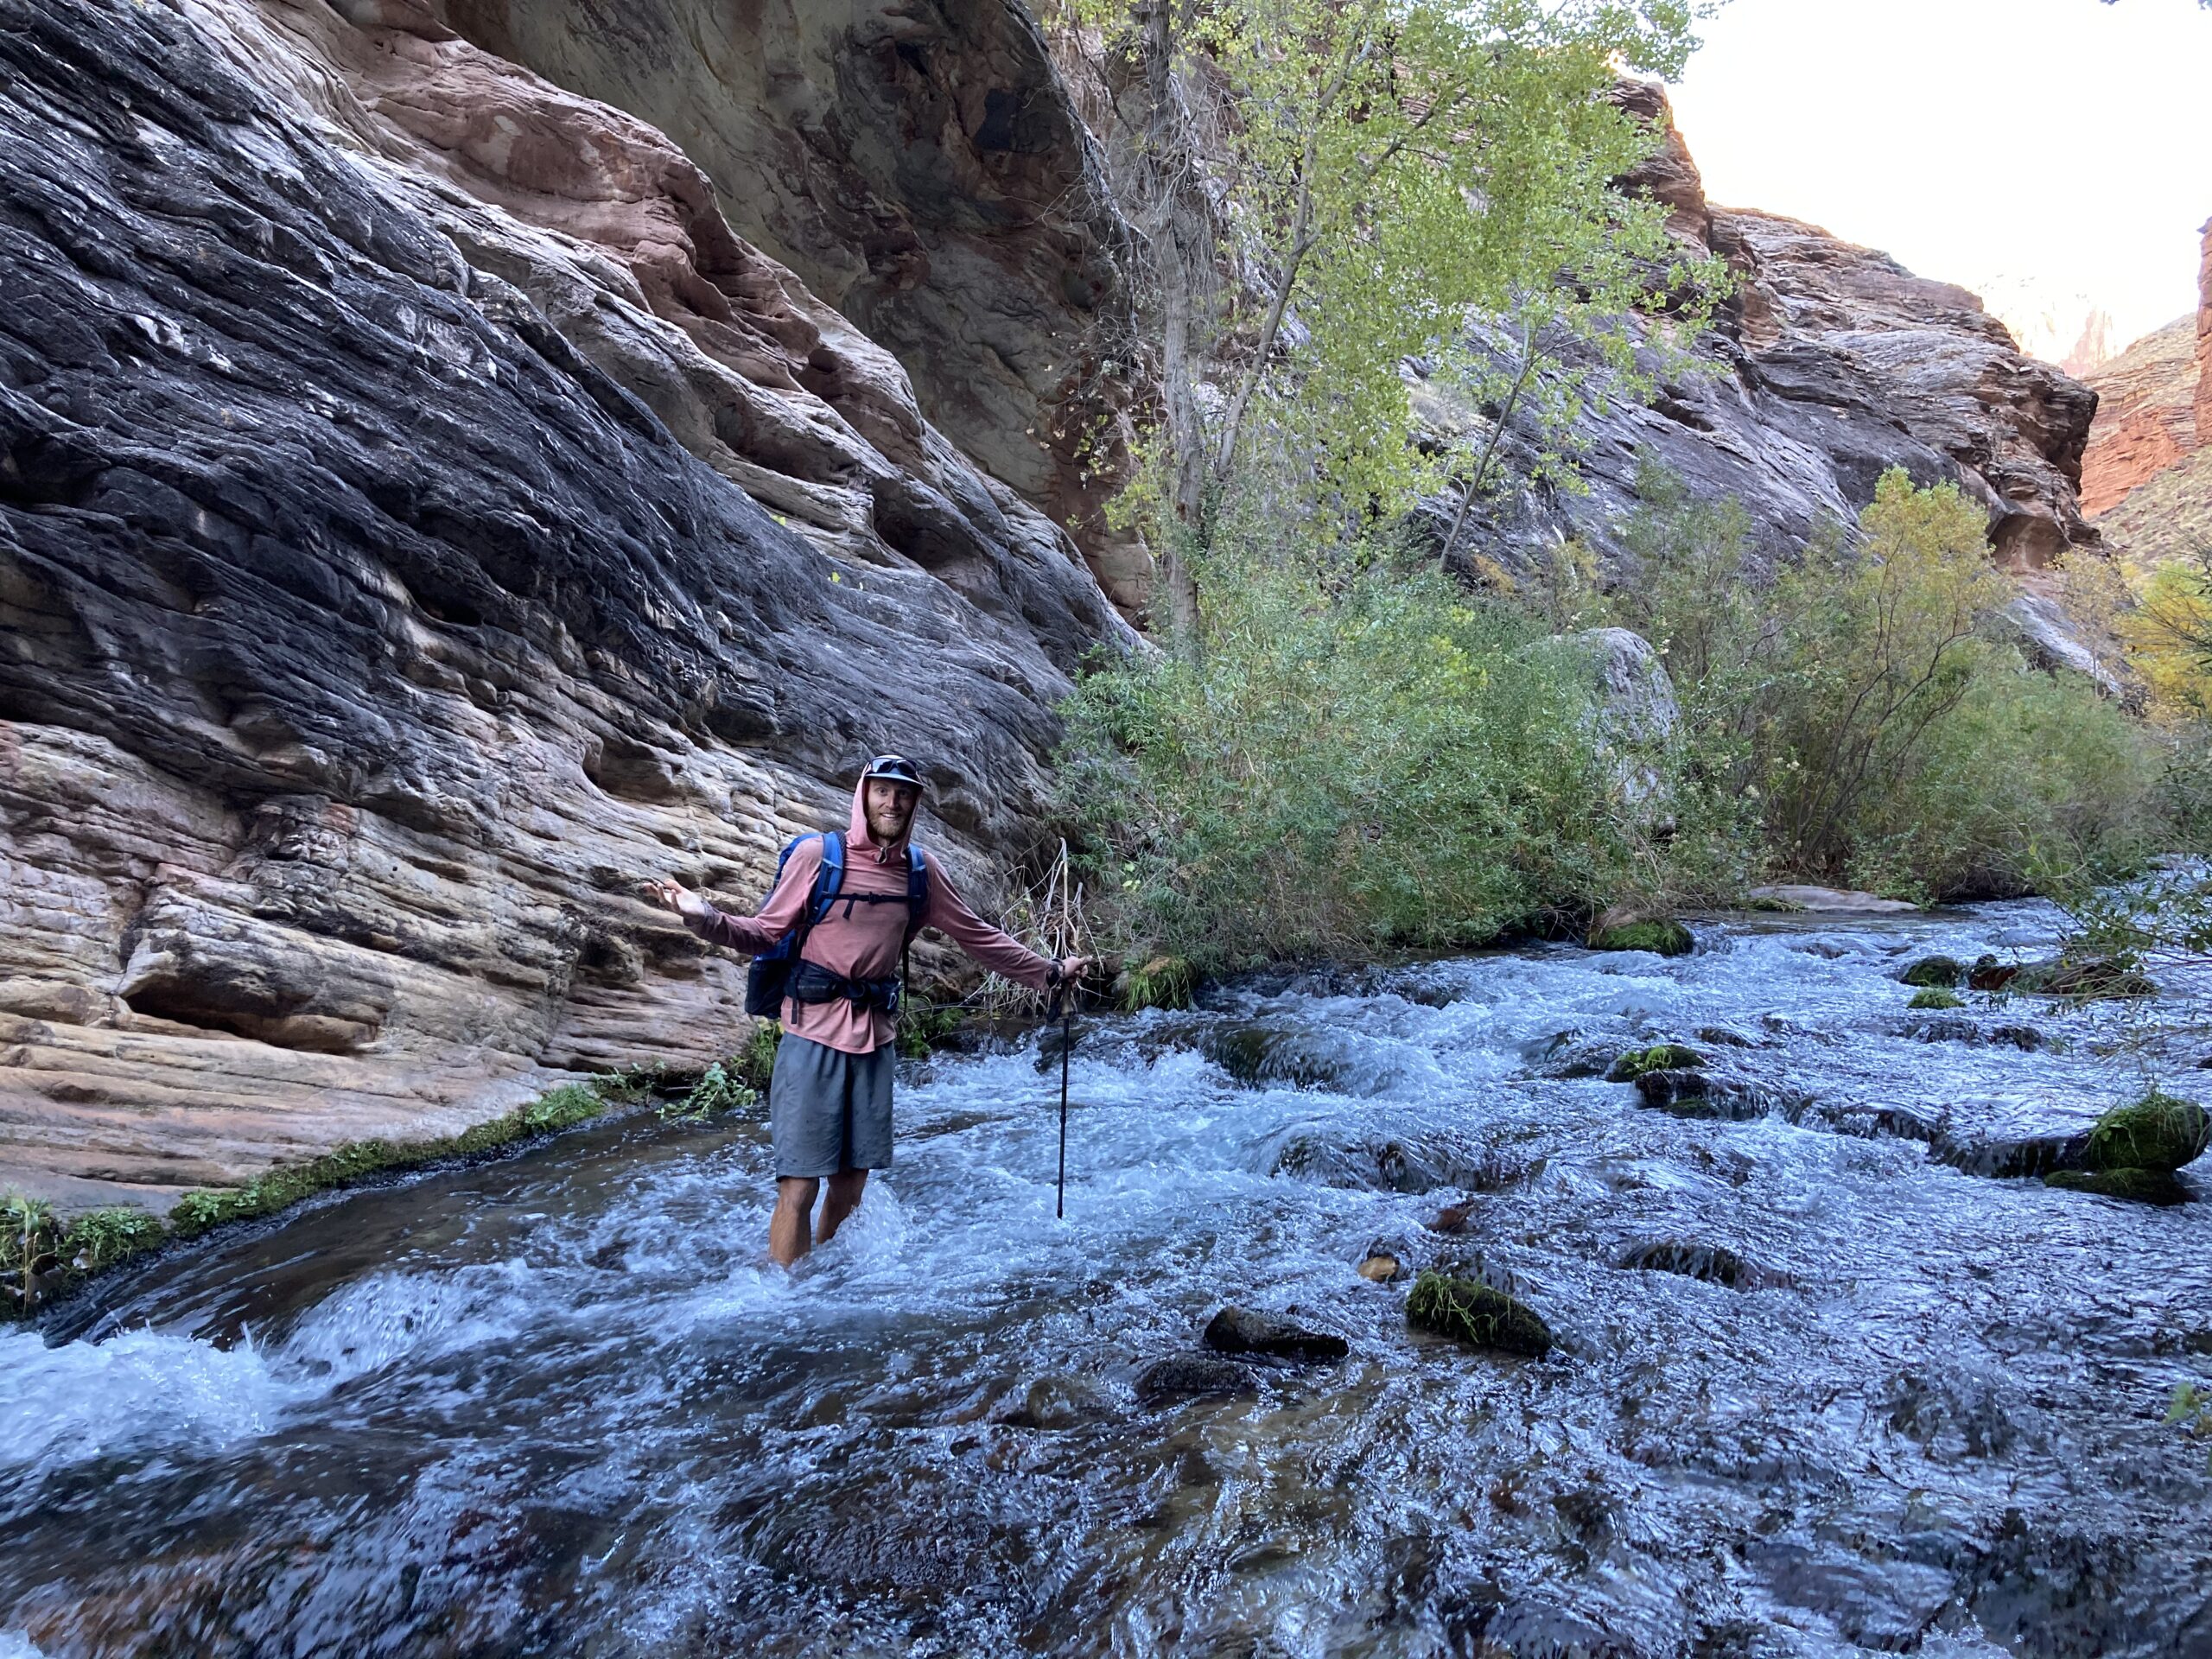
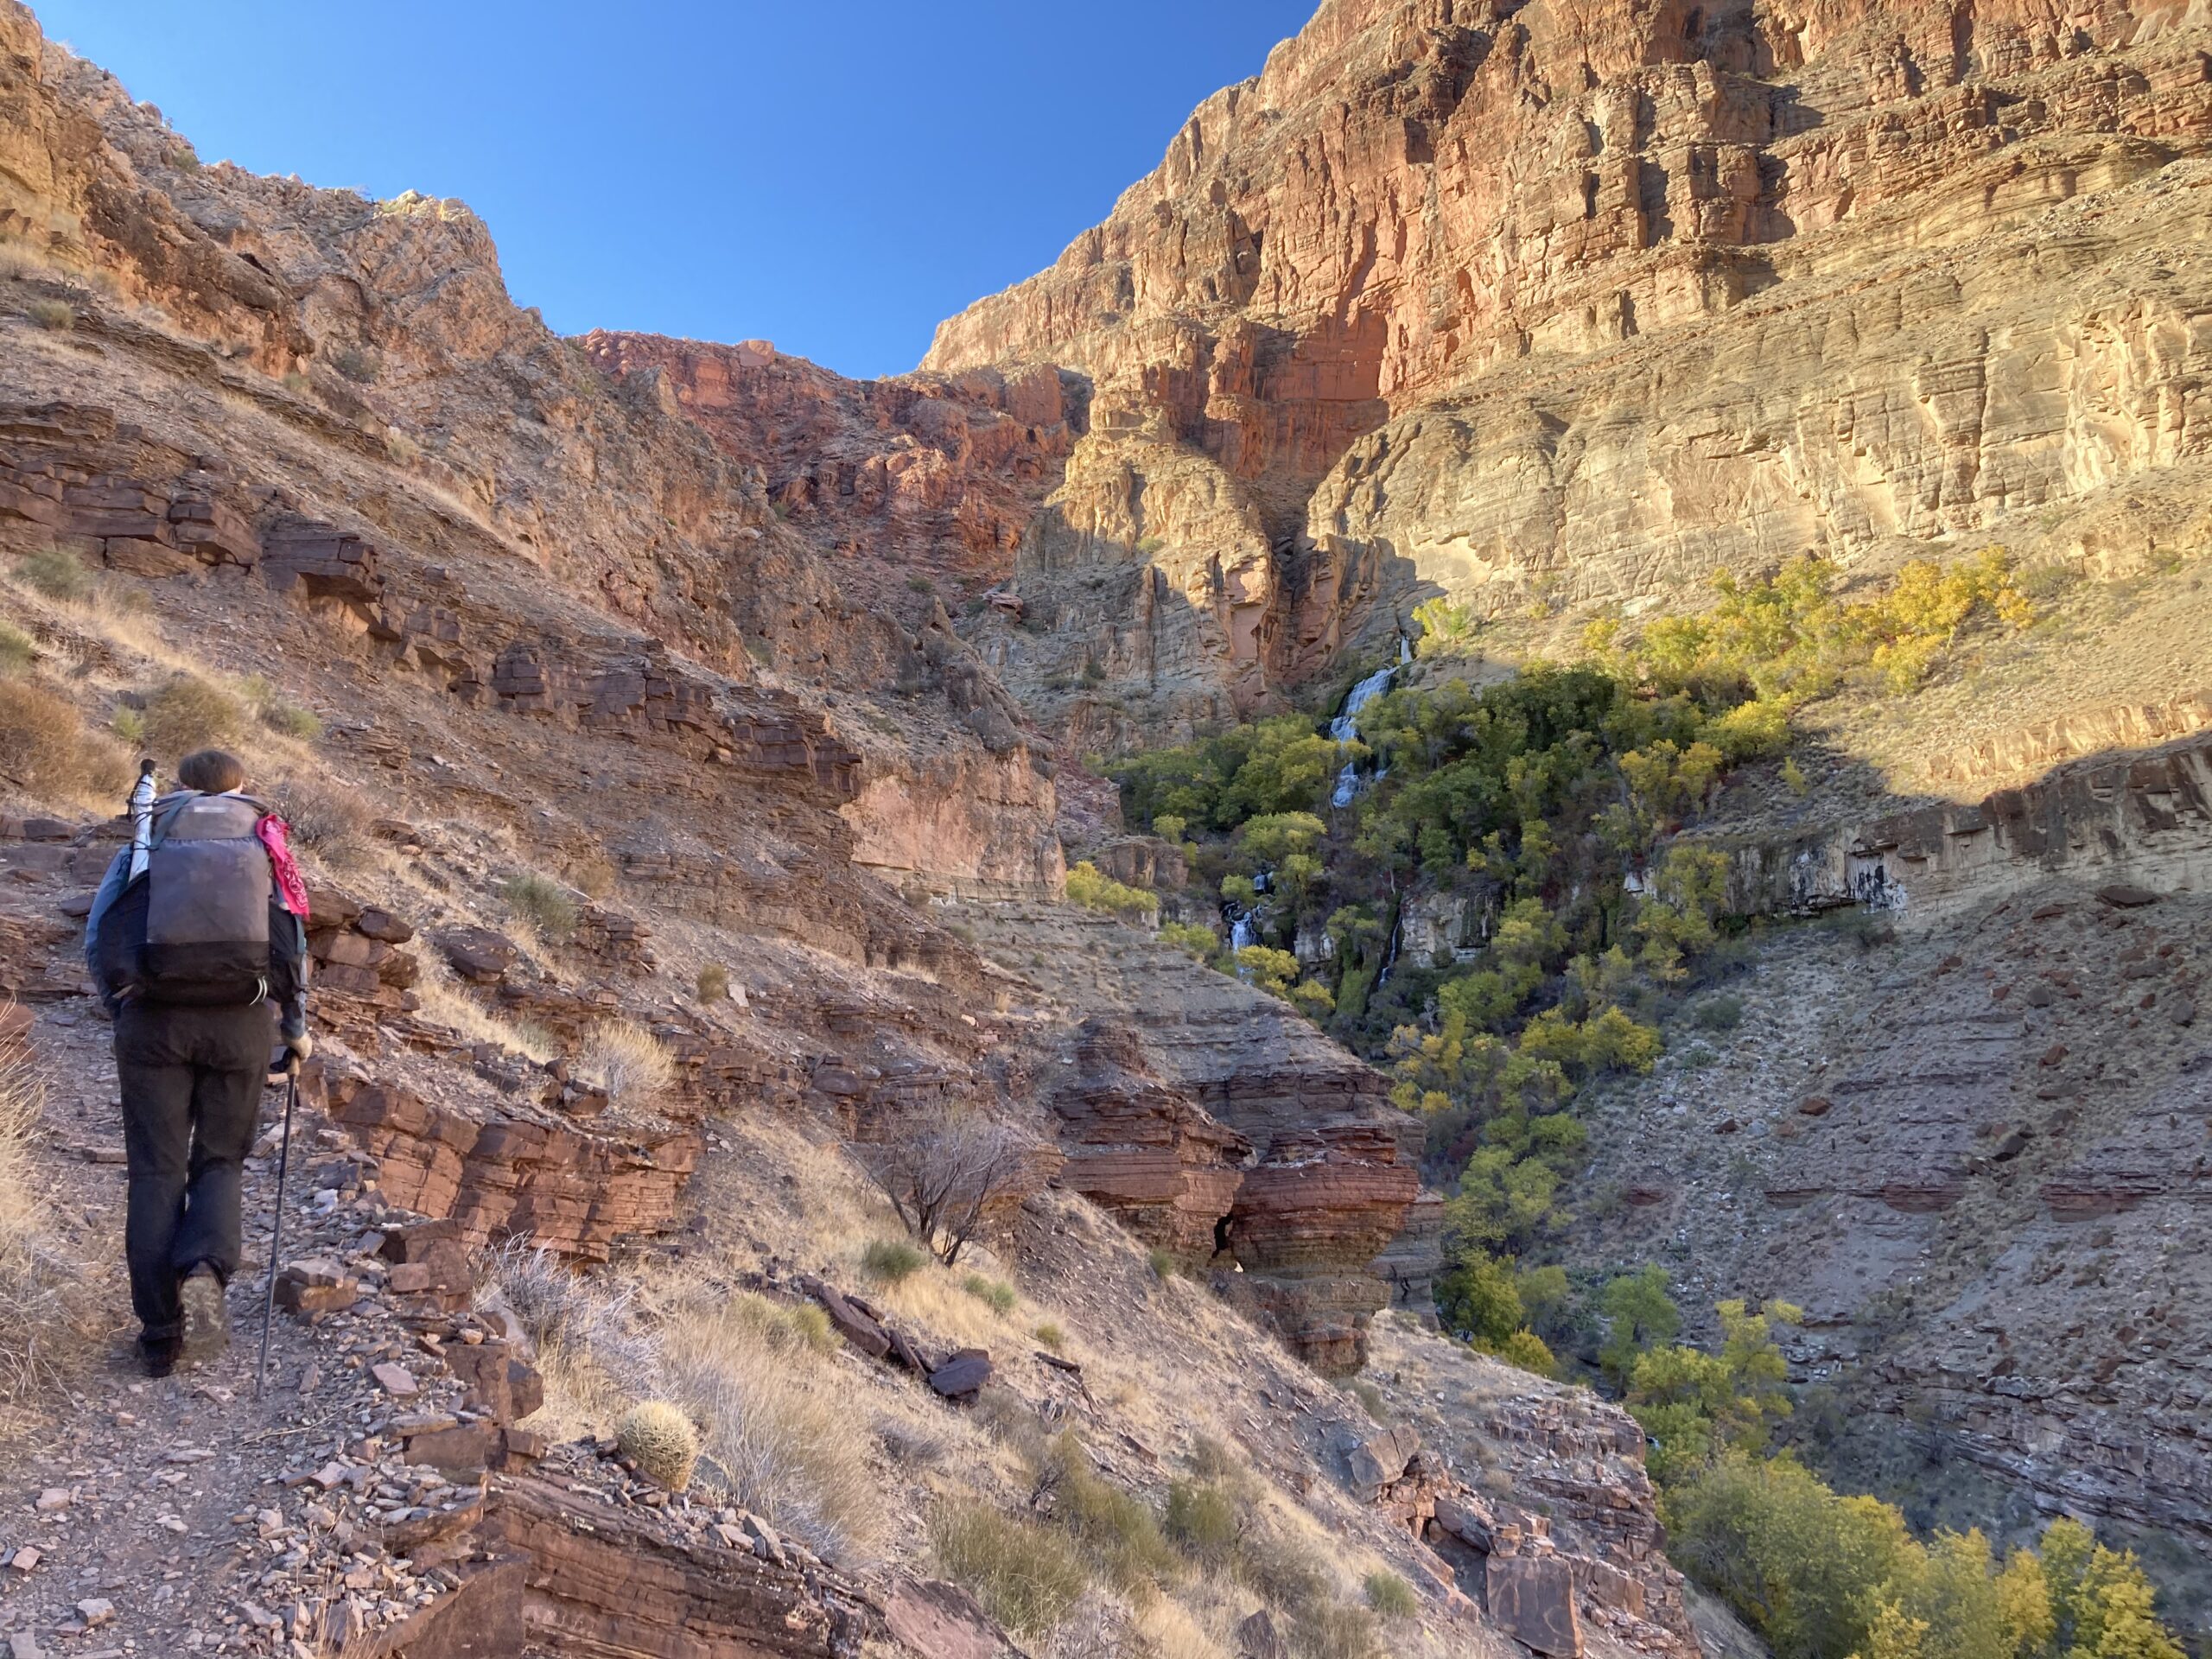
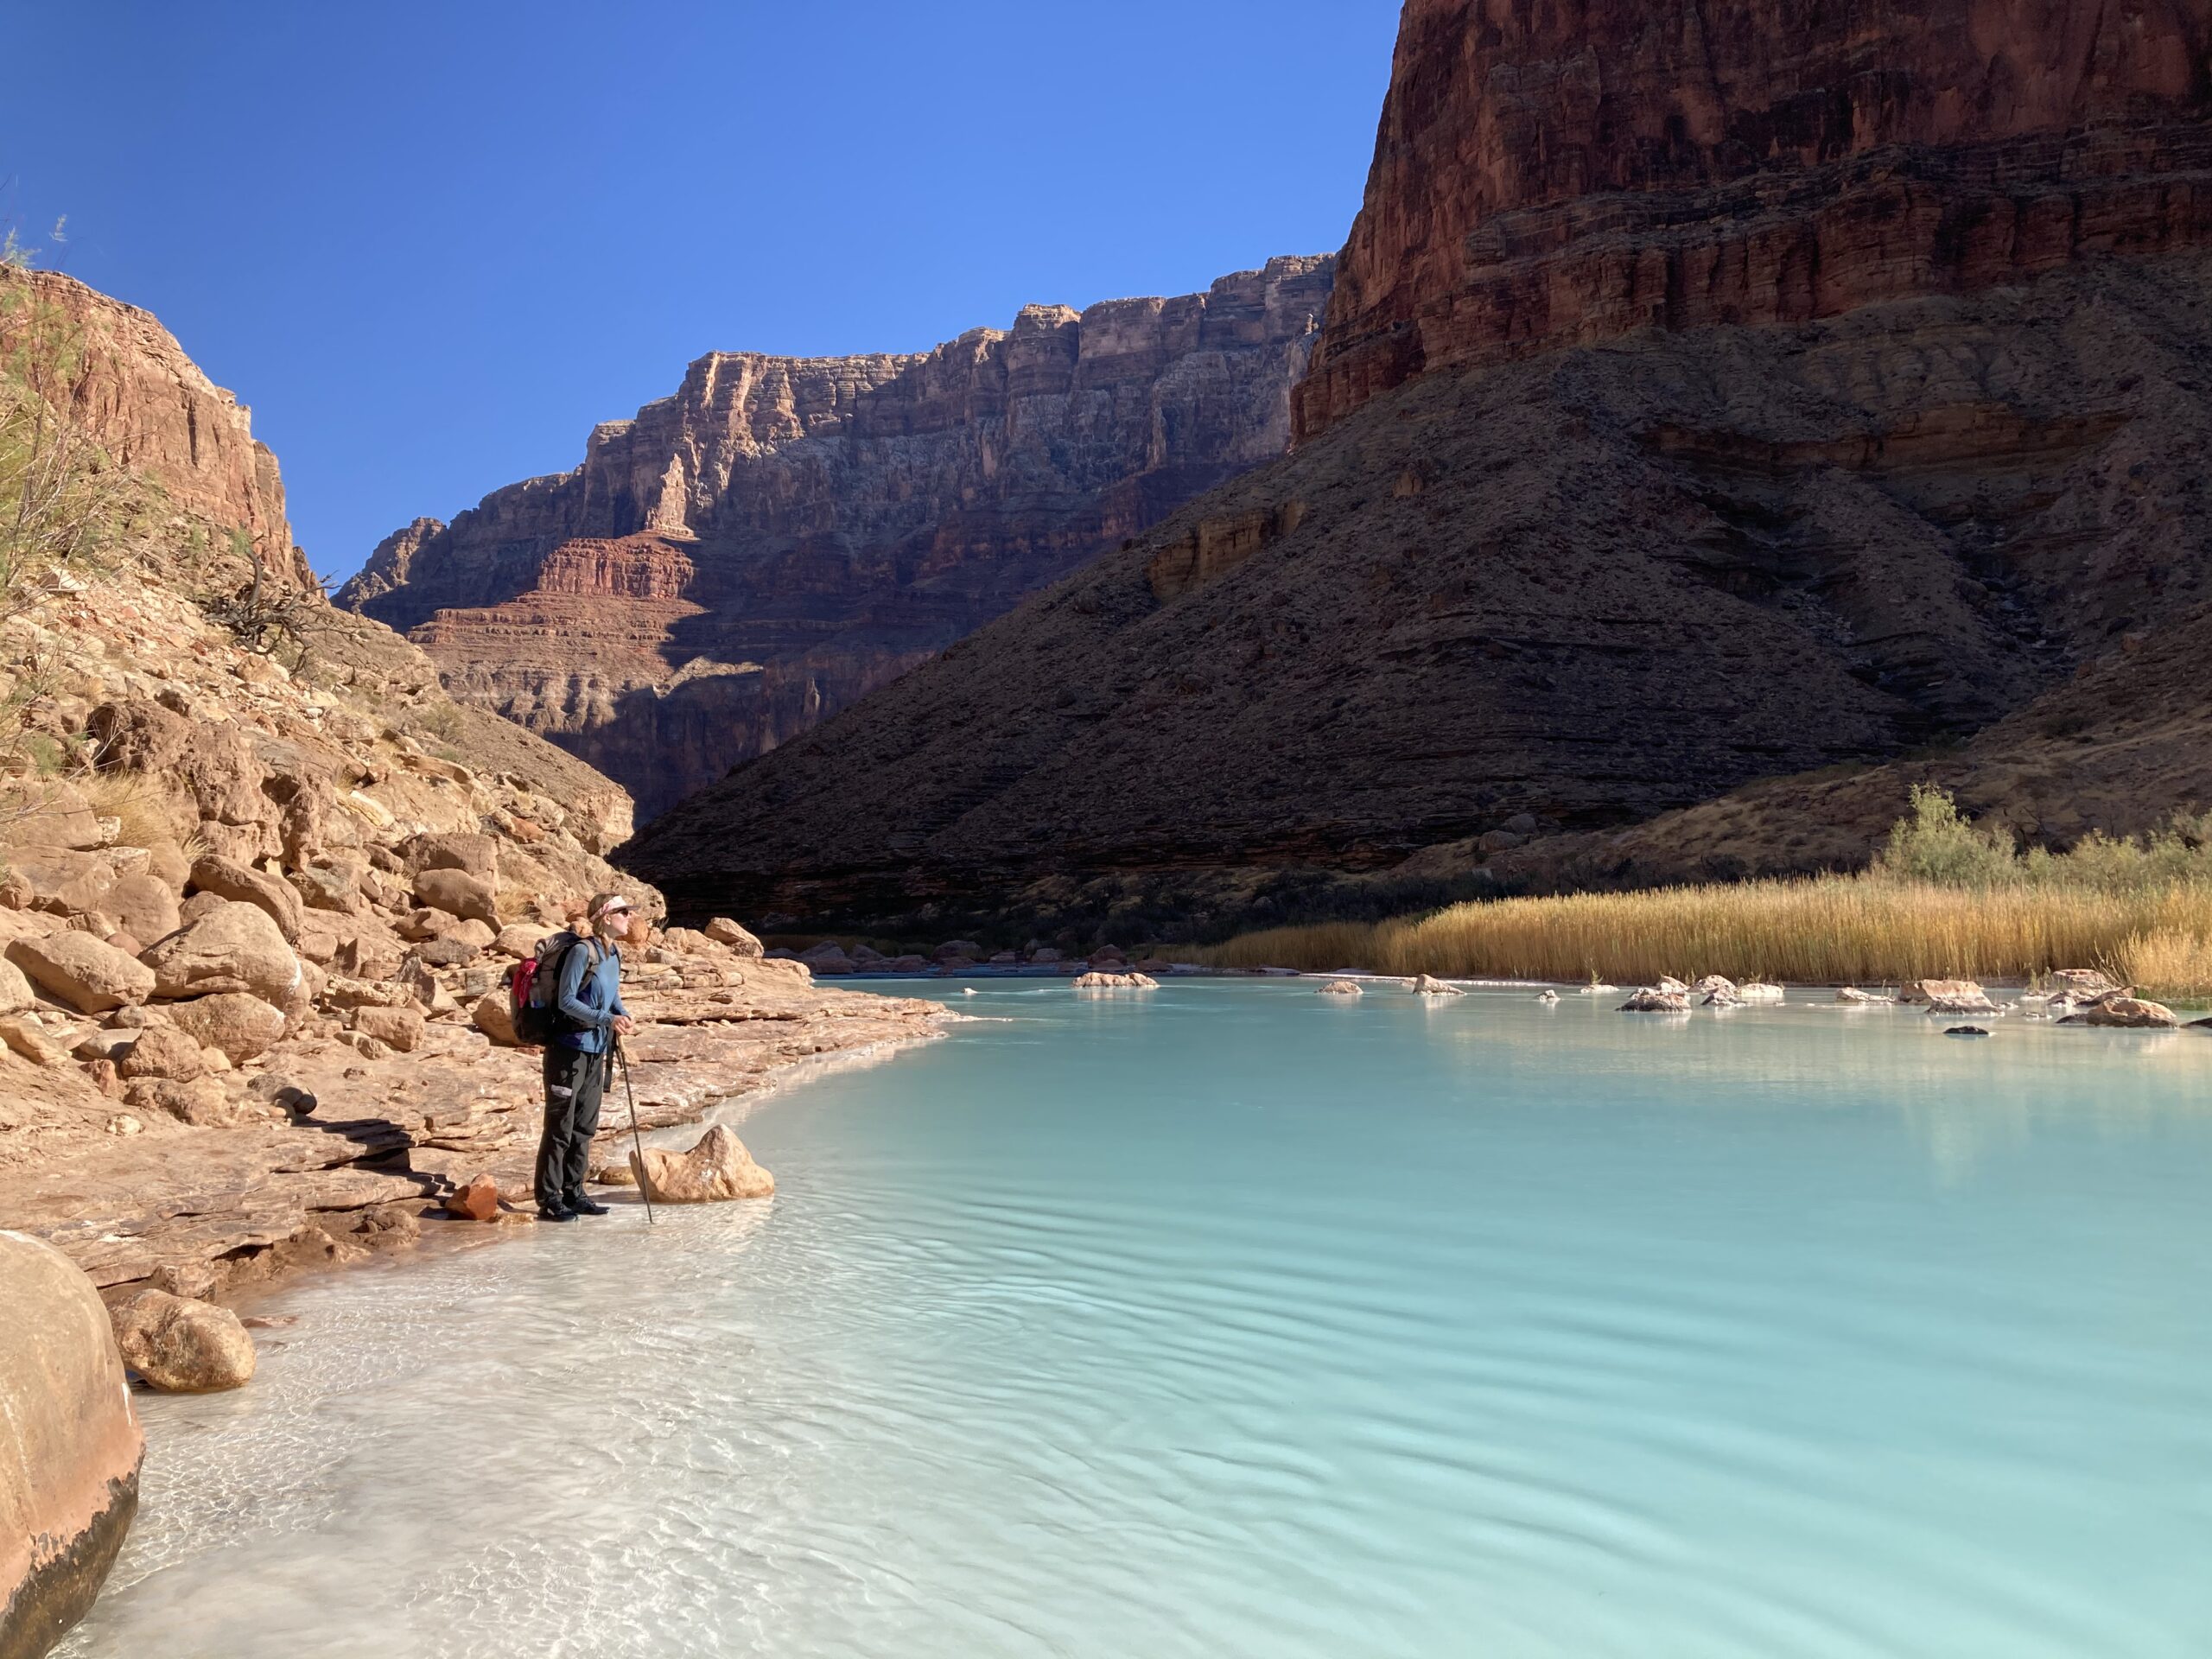
The Grand Canyon was a huge highlight for us. The Hayduke Trail sent us rim to rim three times. Sometimes the route took us on amazing trails like the Beamer Trail, and other times into canyons where we literally walked in the river. At one point we had to hitchhike a ride across the Colorado River with a raft party. We were lucky to hit the crossing right when a private group was floating down the Colorado River. After some yelling back and forth they were willing to ferry us across and we were extremely grateful. The Grand Canyon section was a high for many reasons including beautiful and rugged trails, some luck, and endless amazing scenery.
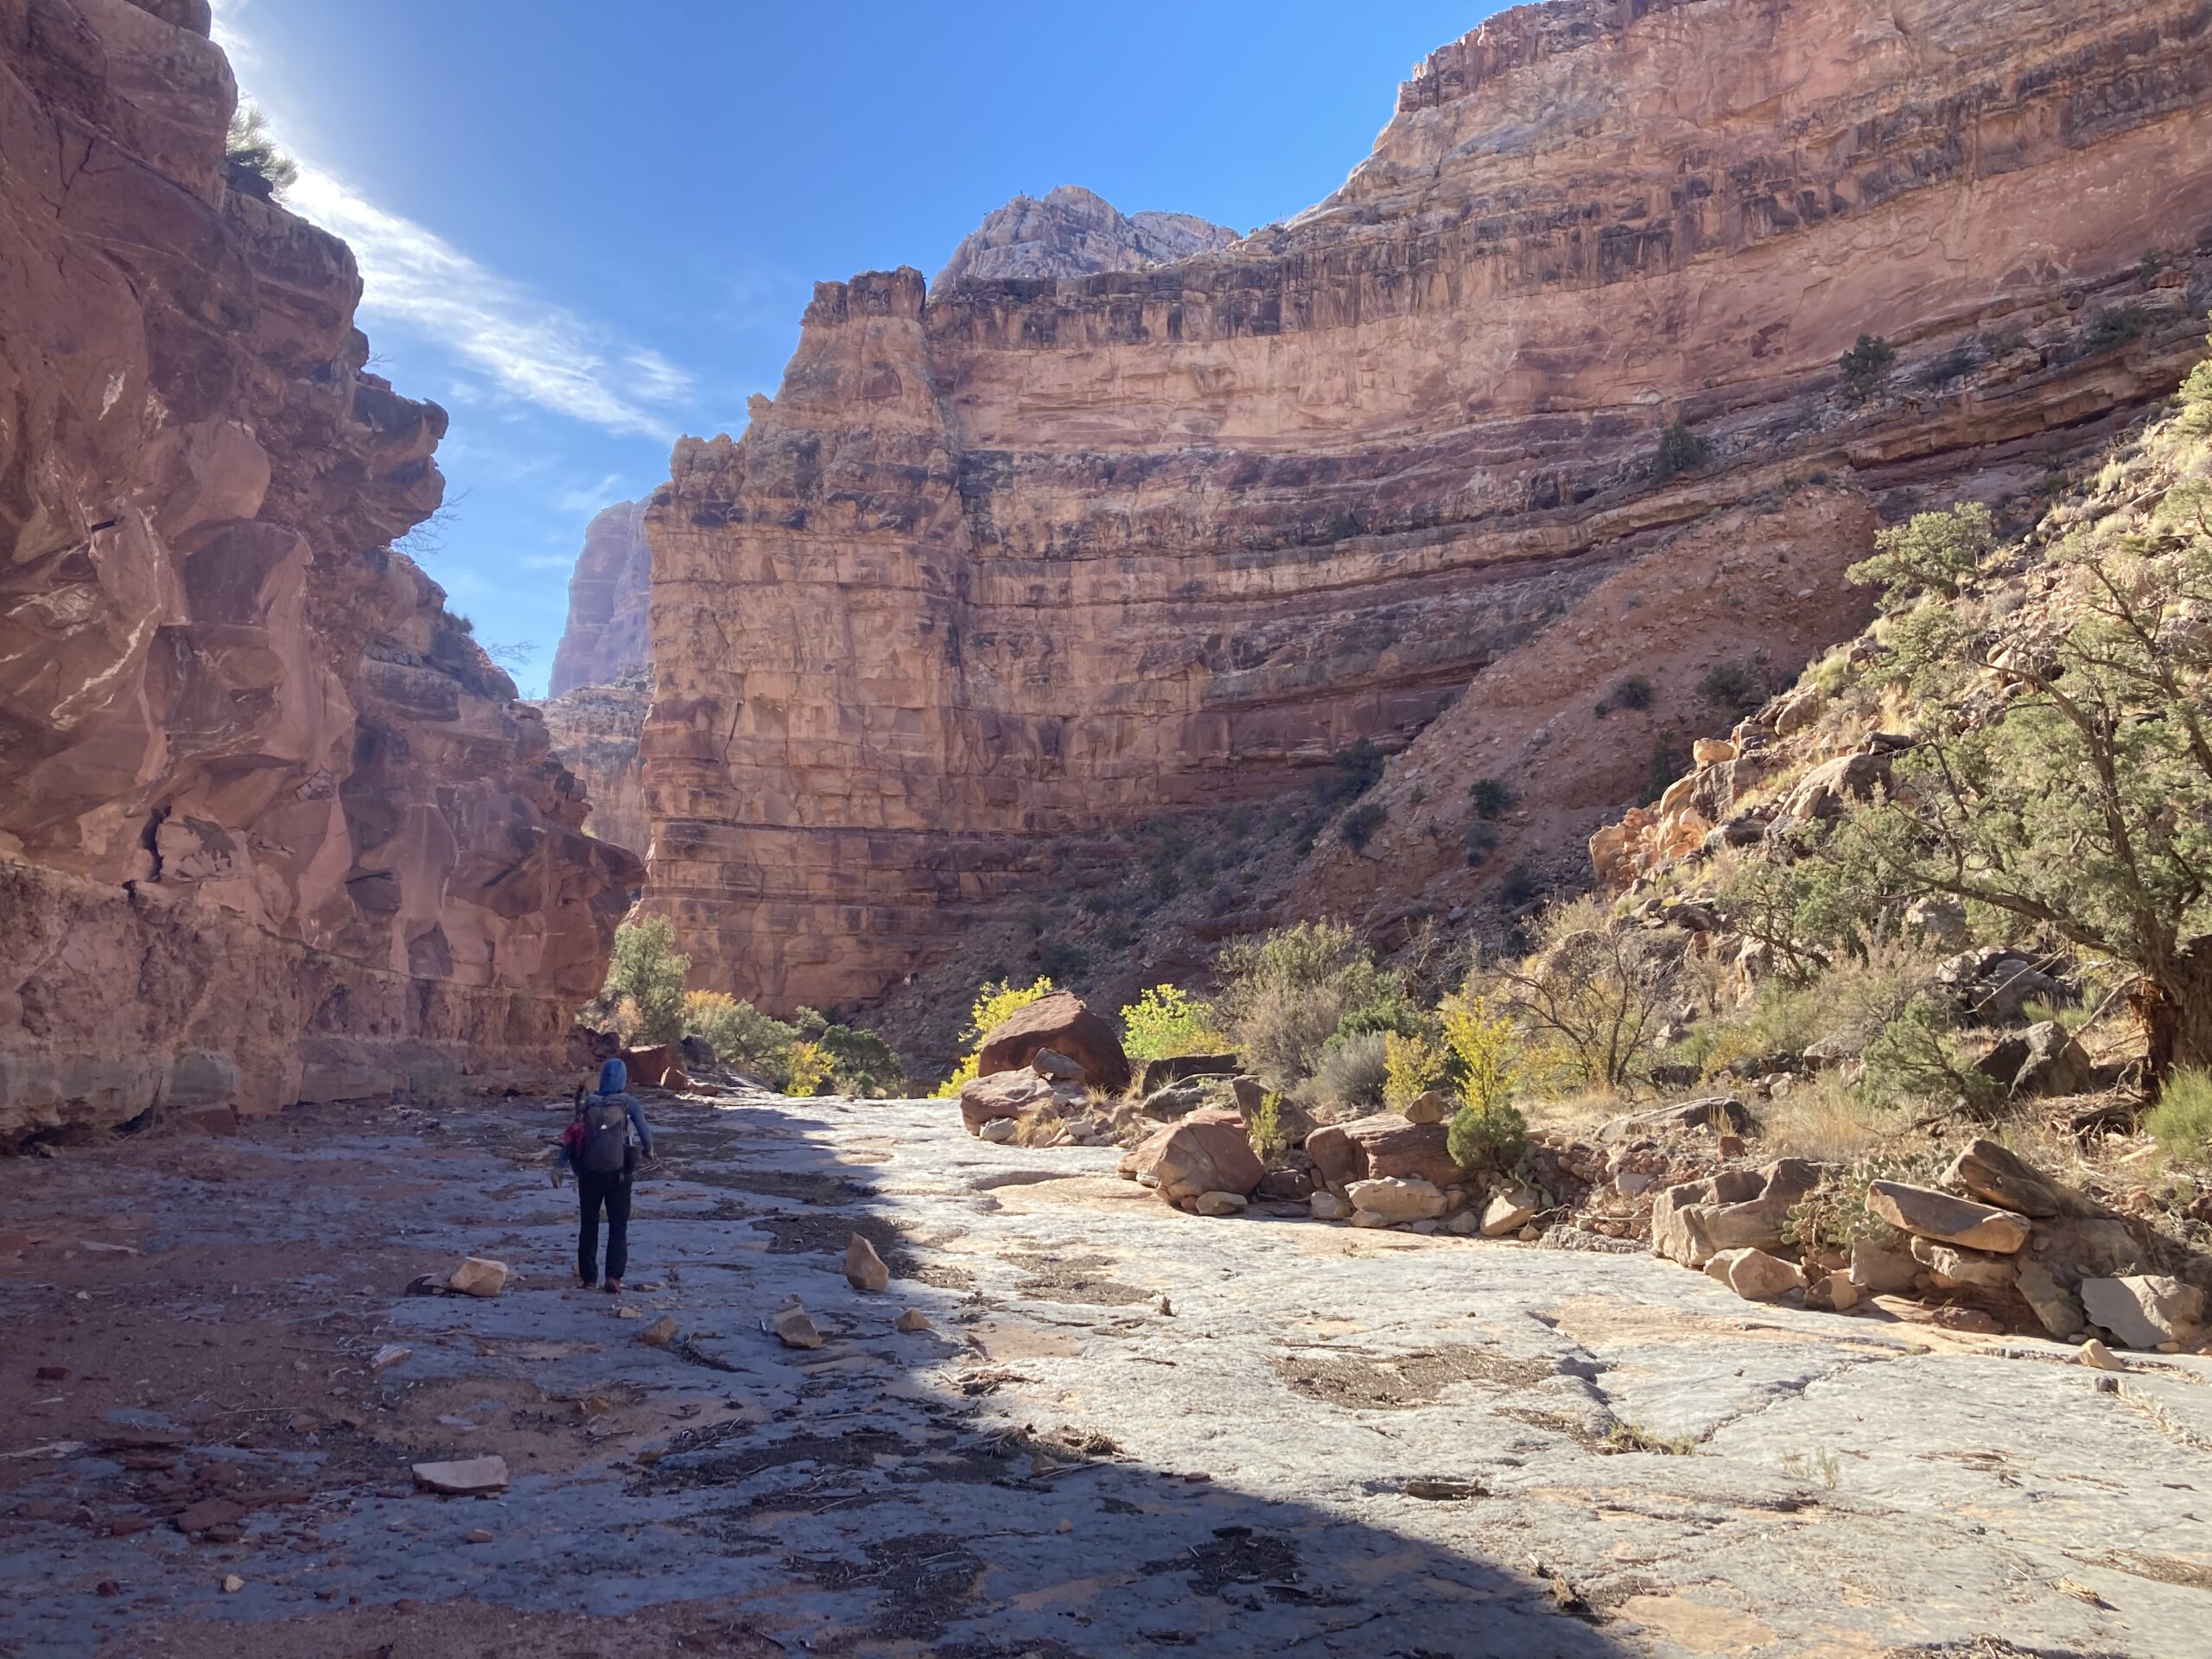
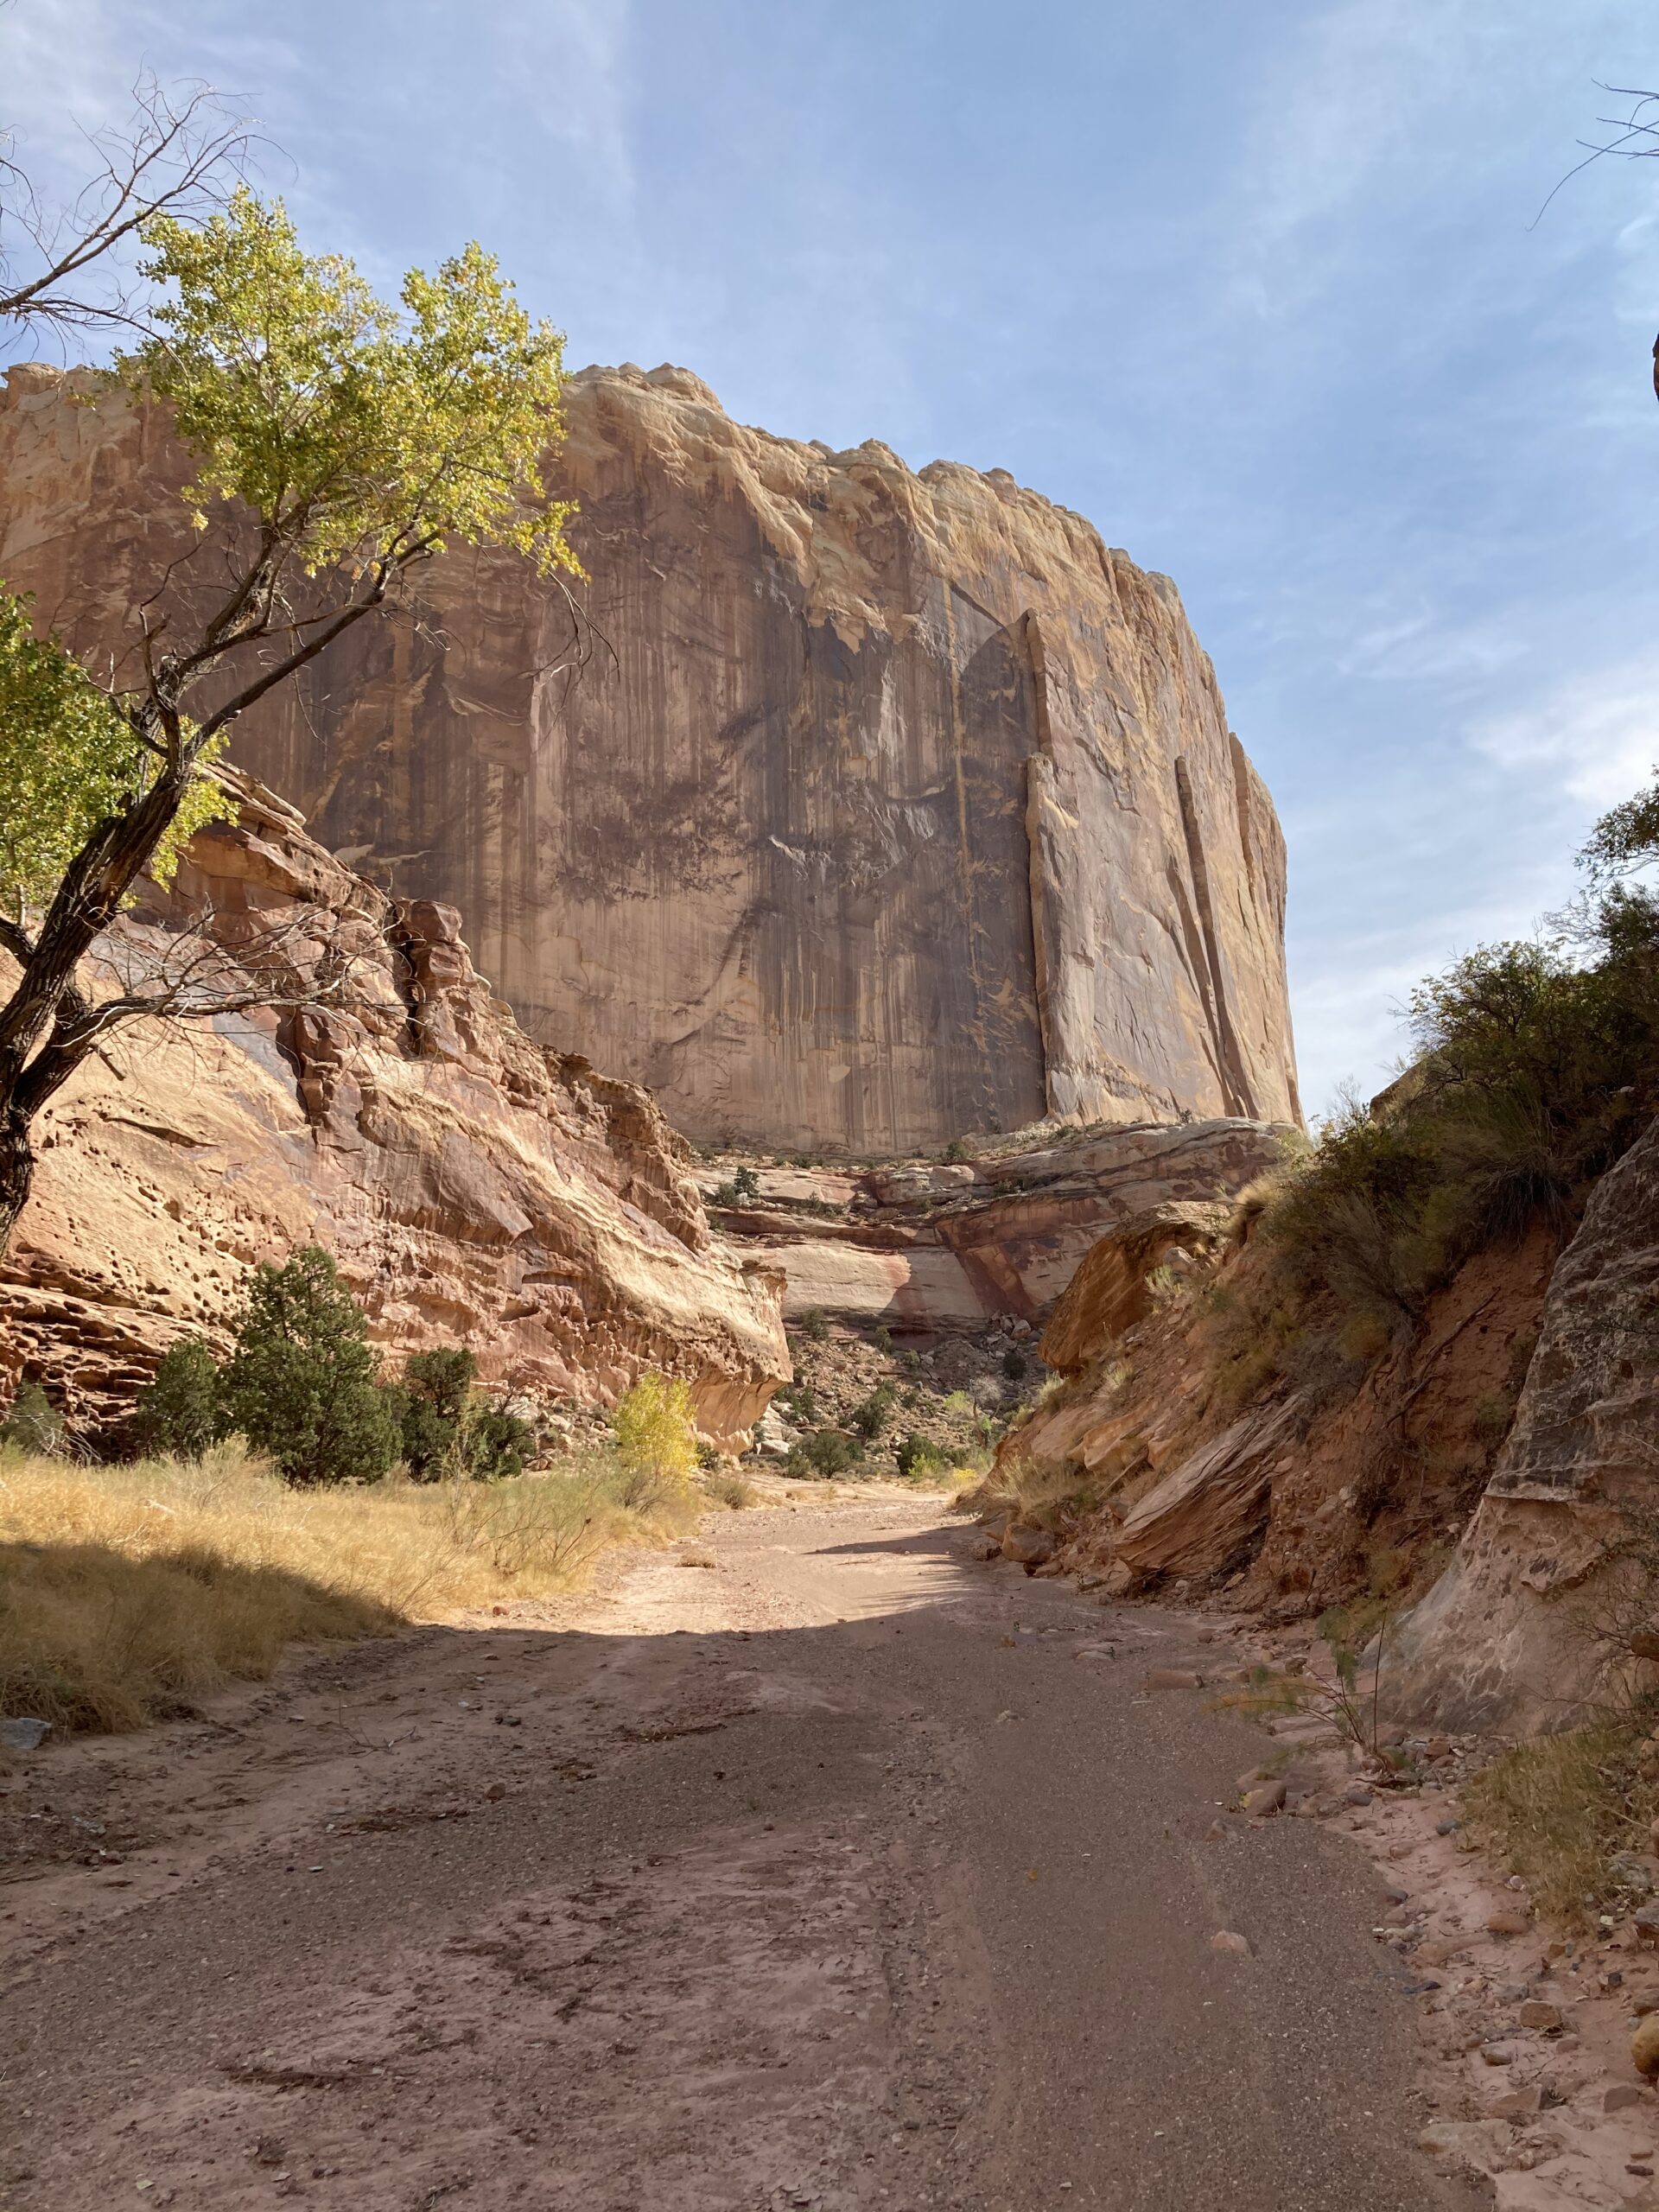
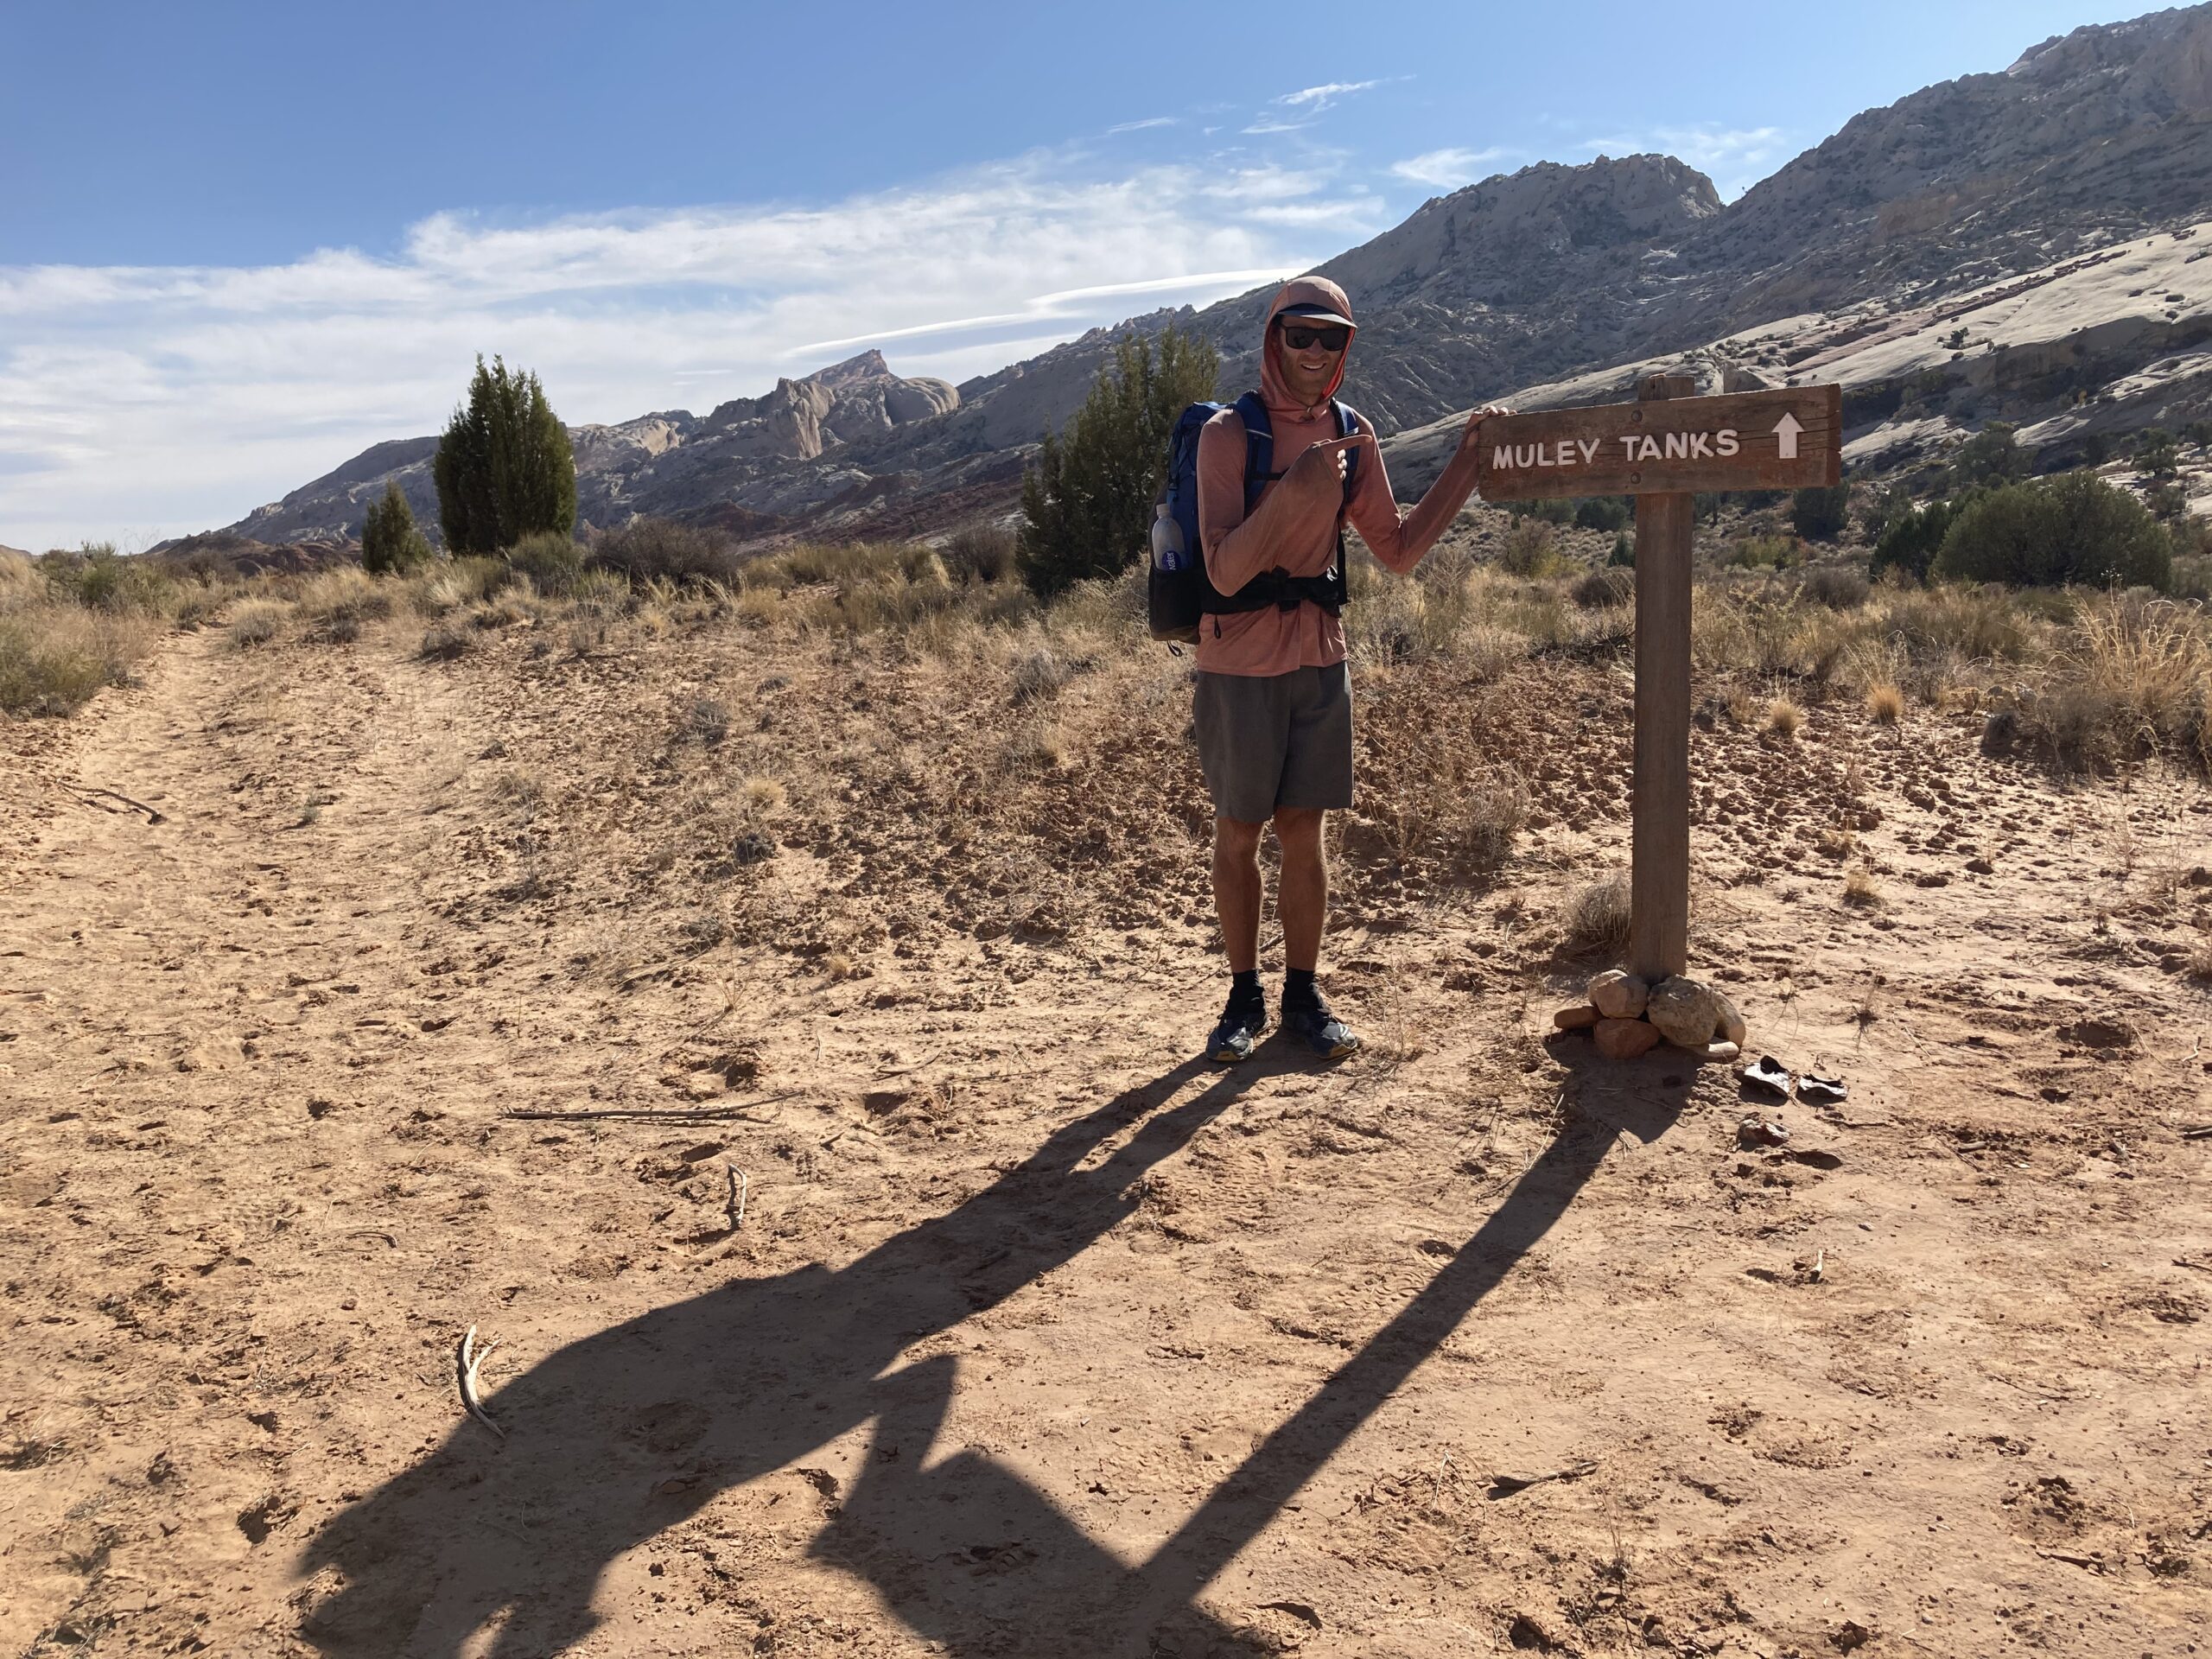
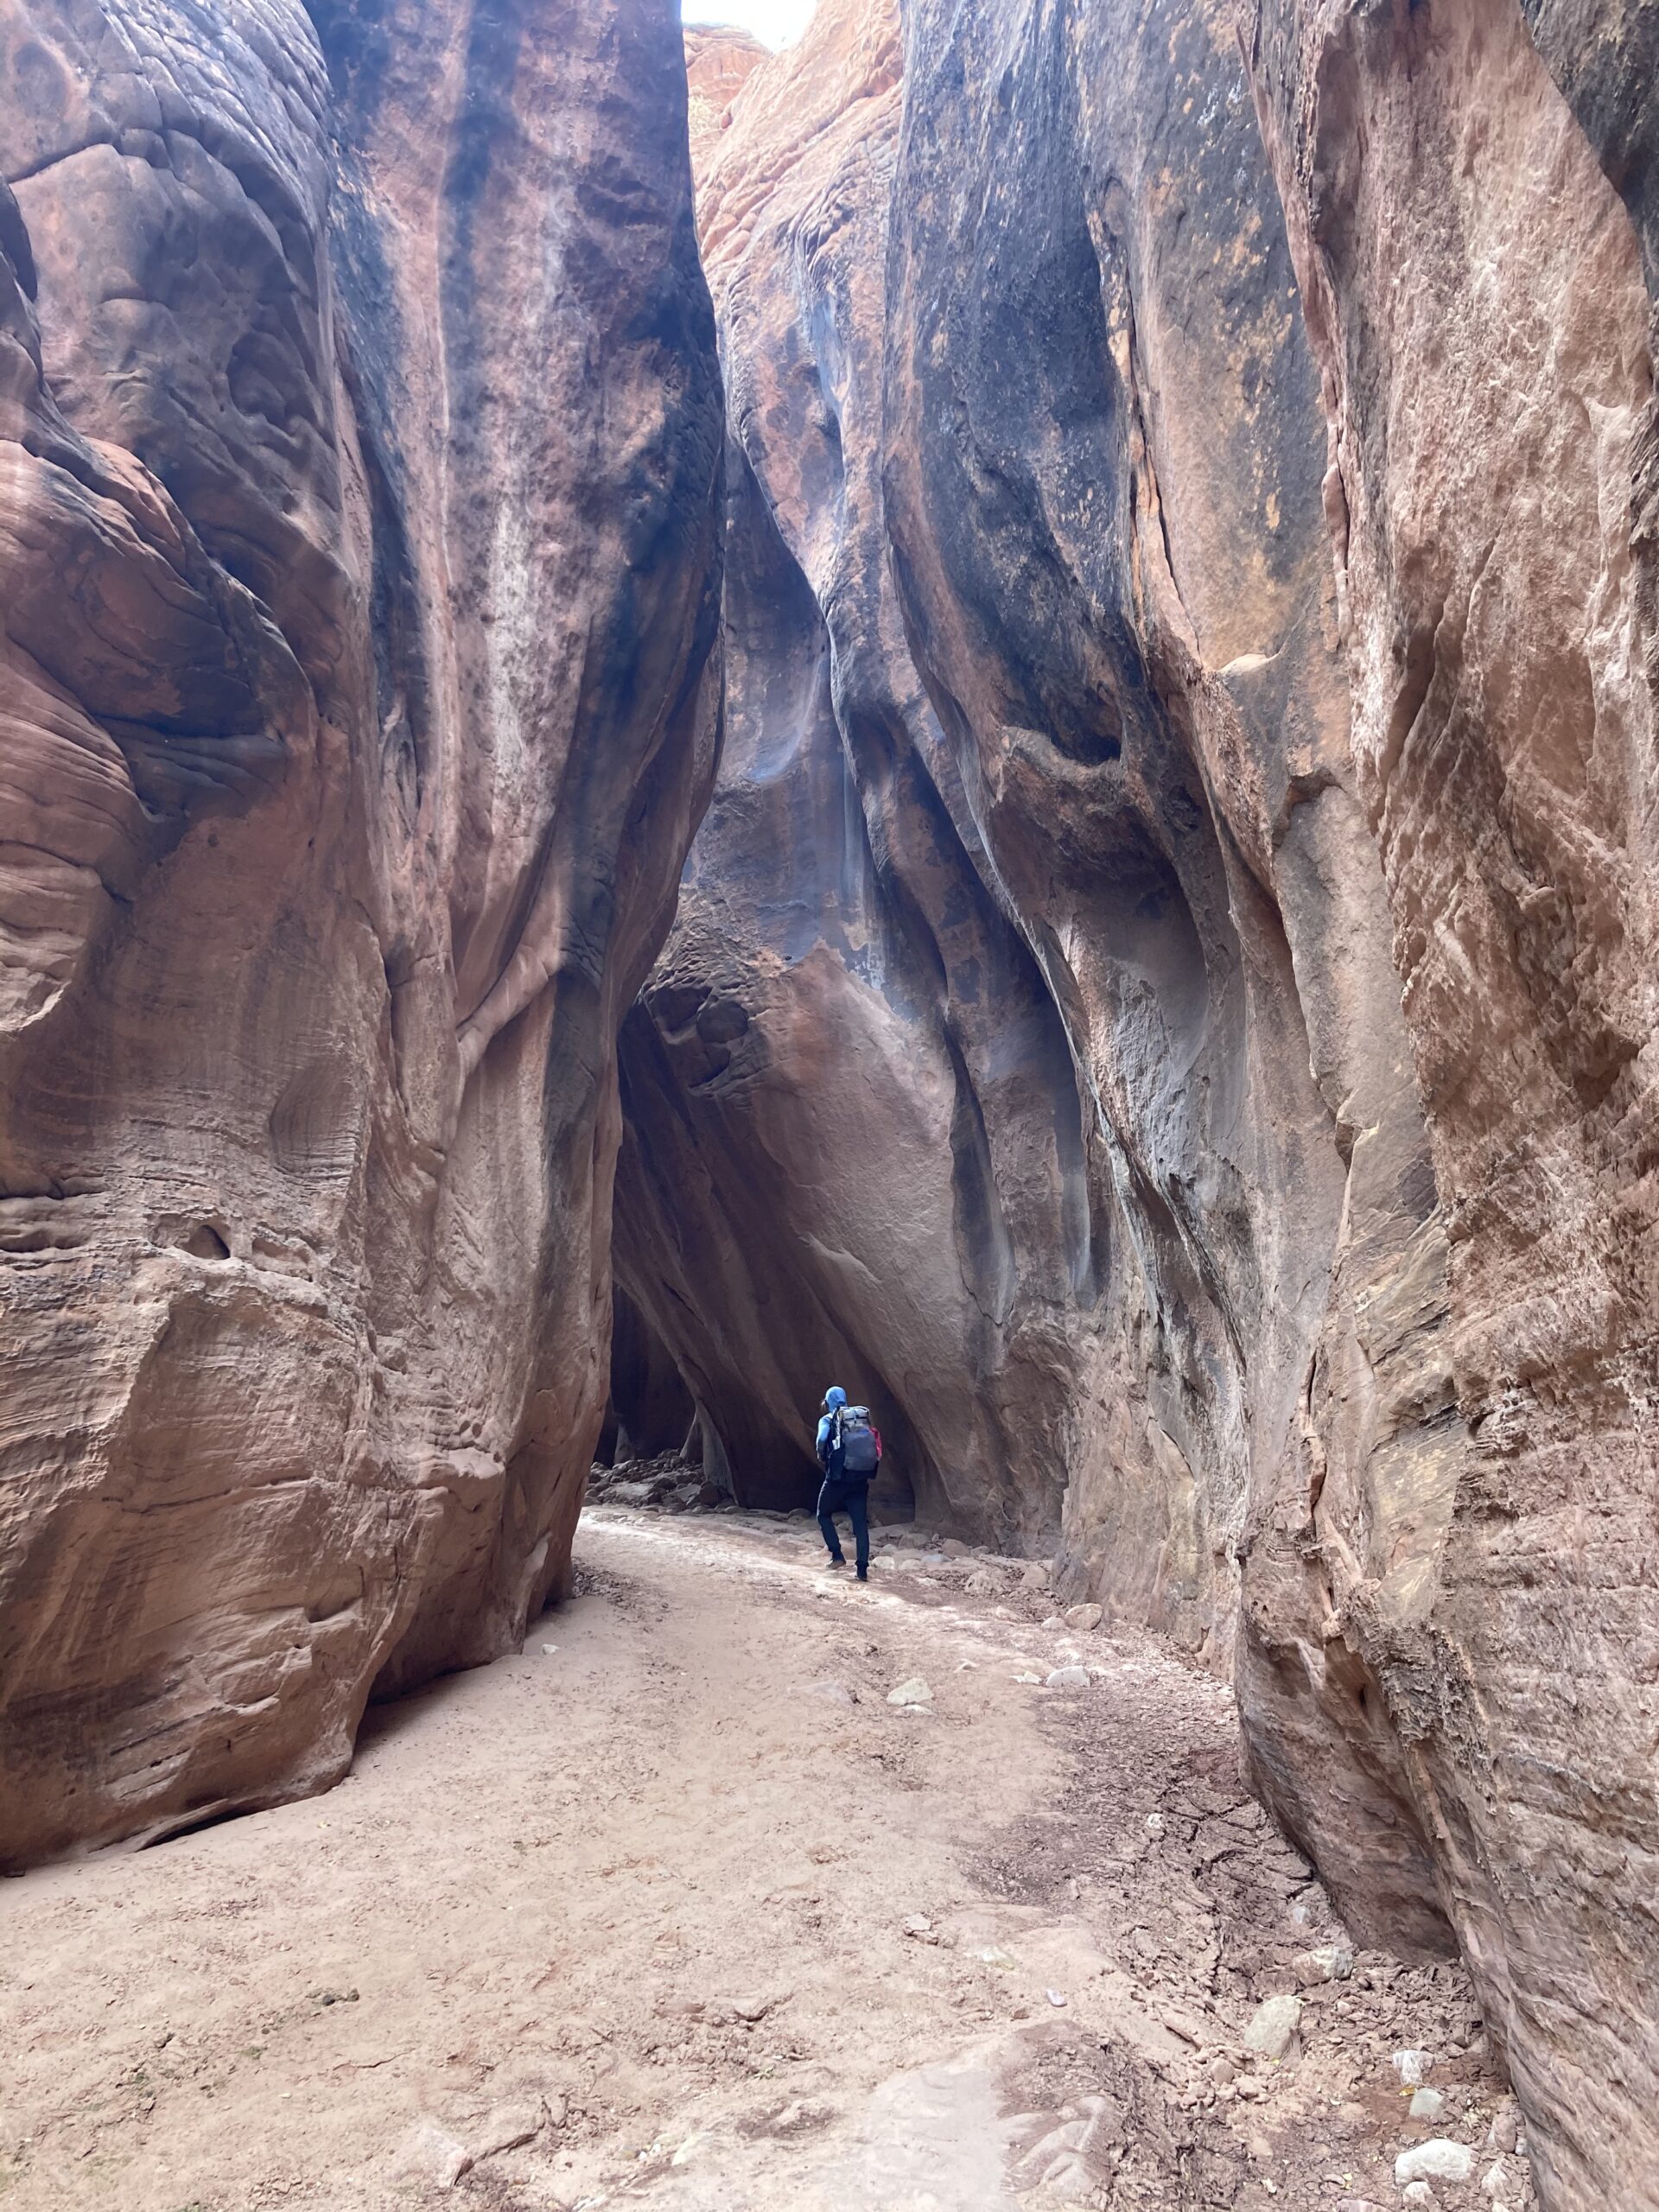
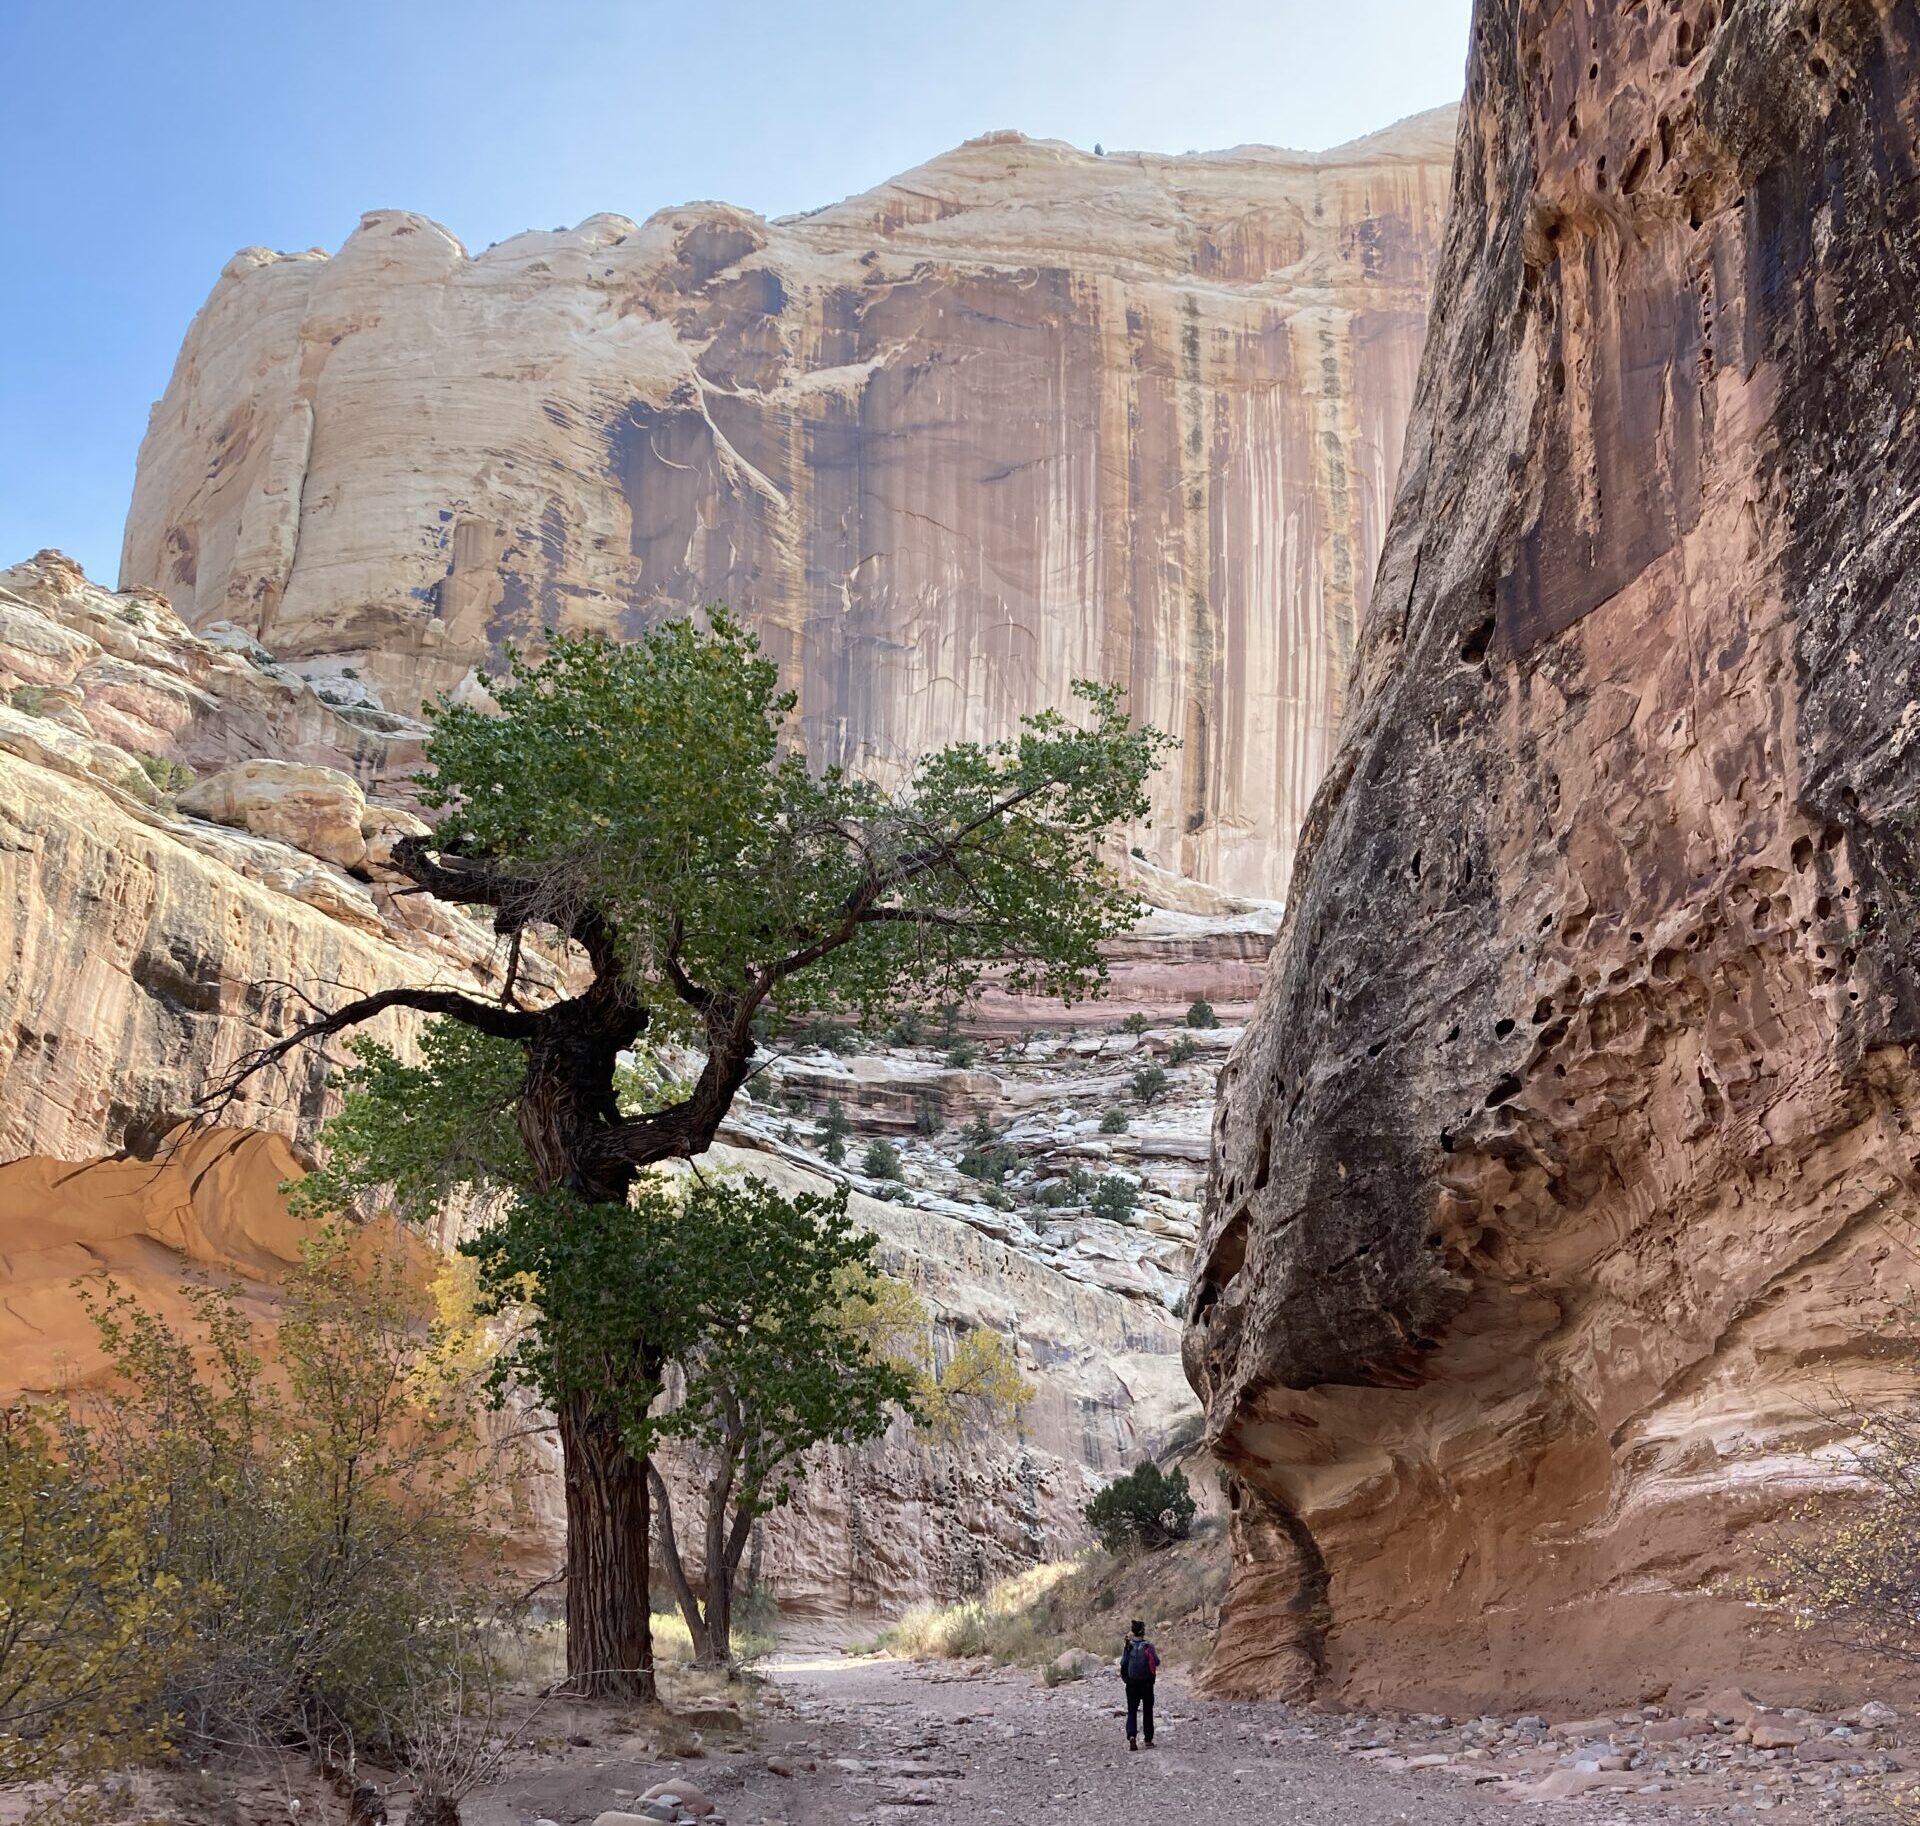
Capitol Reef National Park – Muley Twist Canyon
This section of the Hayduke Trail caught us off guard by how stunning it was. We walked into Capitol Reef and through the Burr Canyon switchbacks (the road is incredible). Then, we entered Muley Twist Canyon, which blew our minds. It was one of the first moments for us when we realized just how extensive and winding the canyons really are. It may also have been a highlight for us because the day prior we had run out of food and water for about 7 hours of walking. When we finally reached our cache in Capitol Reef at 8 PM, it was a big relief to resupply. Another highlight was on our journey down Muley Twist Canyon. At this point in the trip, we knew it was unlikely our next planned water at Muley Tanks would be there. Here, we happned to run into a retired backcountry ranger who was out on a personal trip. He told us not to count on many water sources since that area hadn’t seen significant rain at all in the past two years. He pointed us to a few potential spots to look, even though he wasn’t confident we would find much. We checked the first spot, in the shadow of a pour off in a nearby wash, and we found a small green pool! The scenery and our collision with fate in finding water made Muley Twist Canyon a big highlight for us on our Hayduke journey.
Challenging Moments
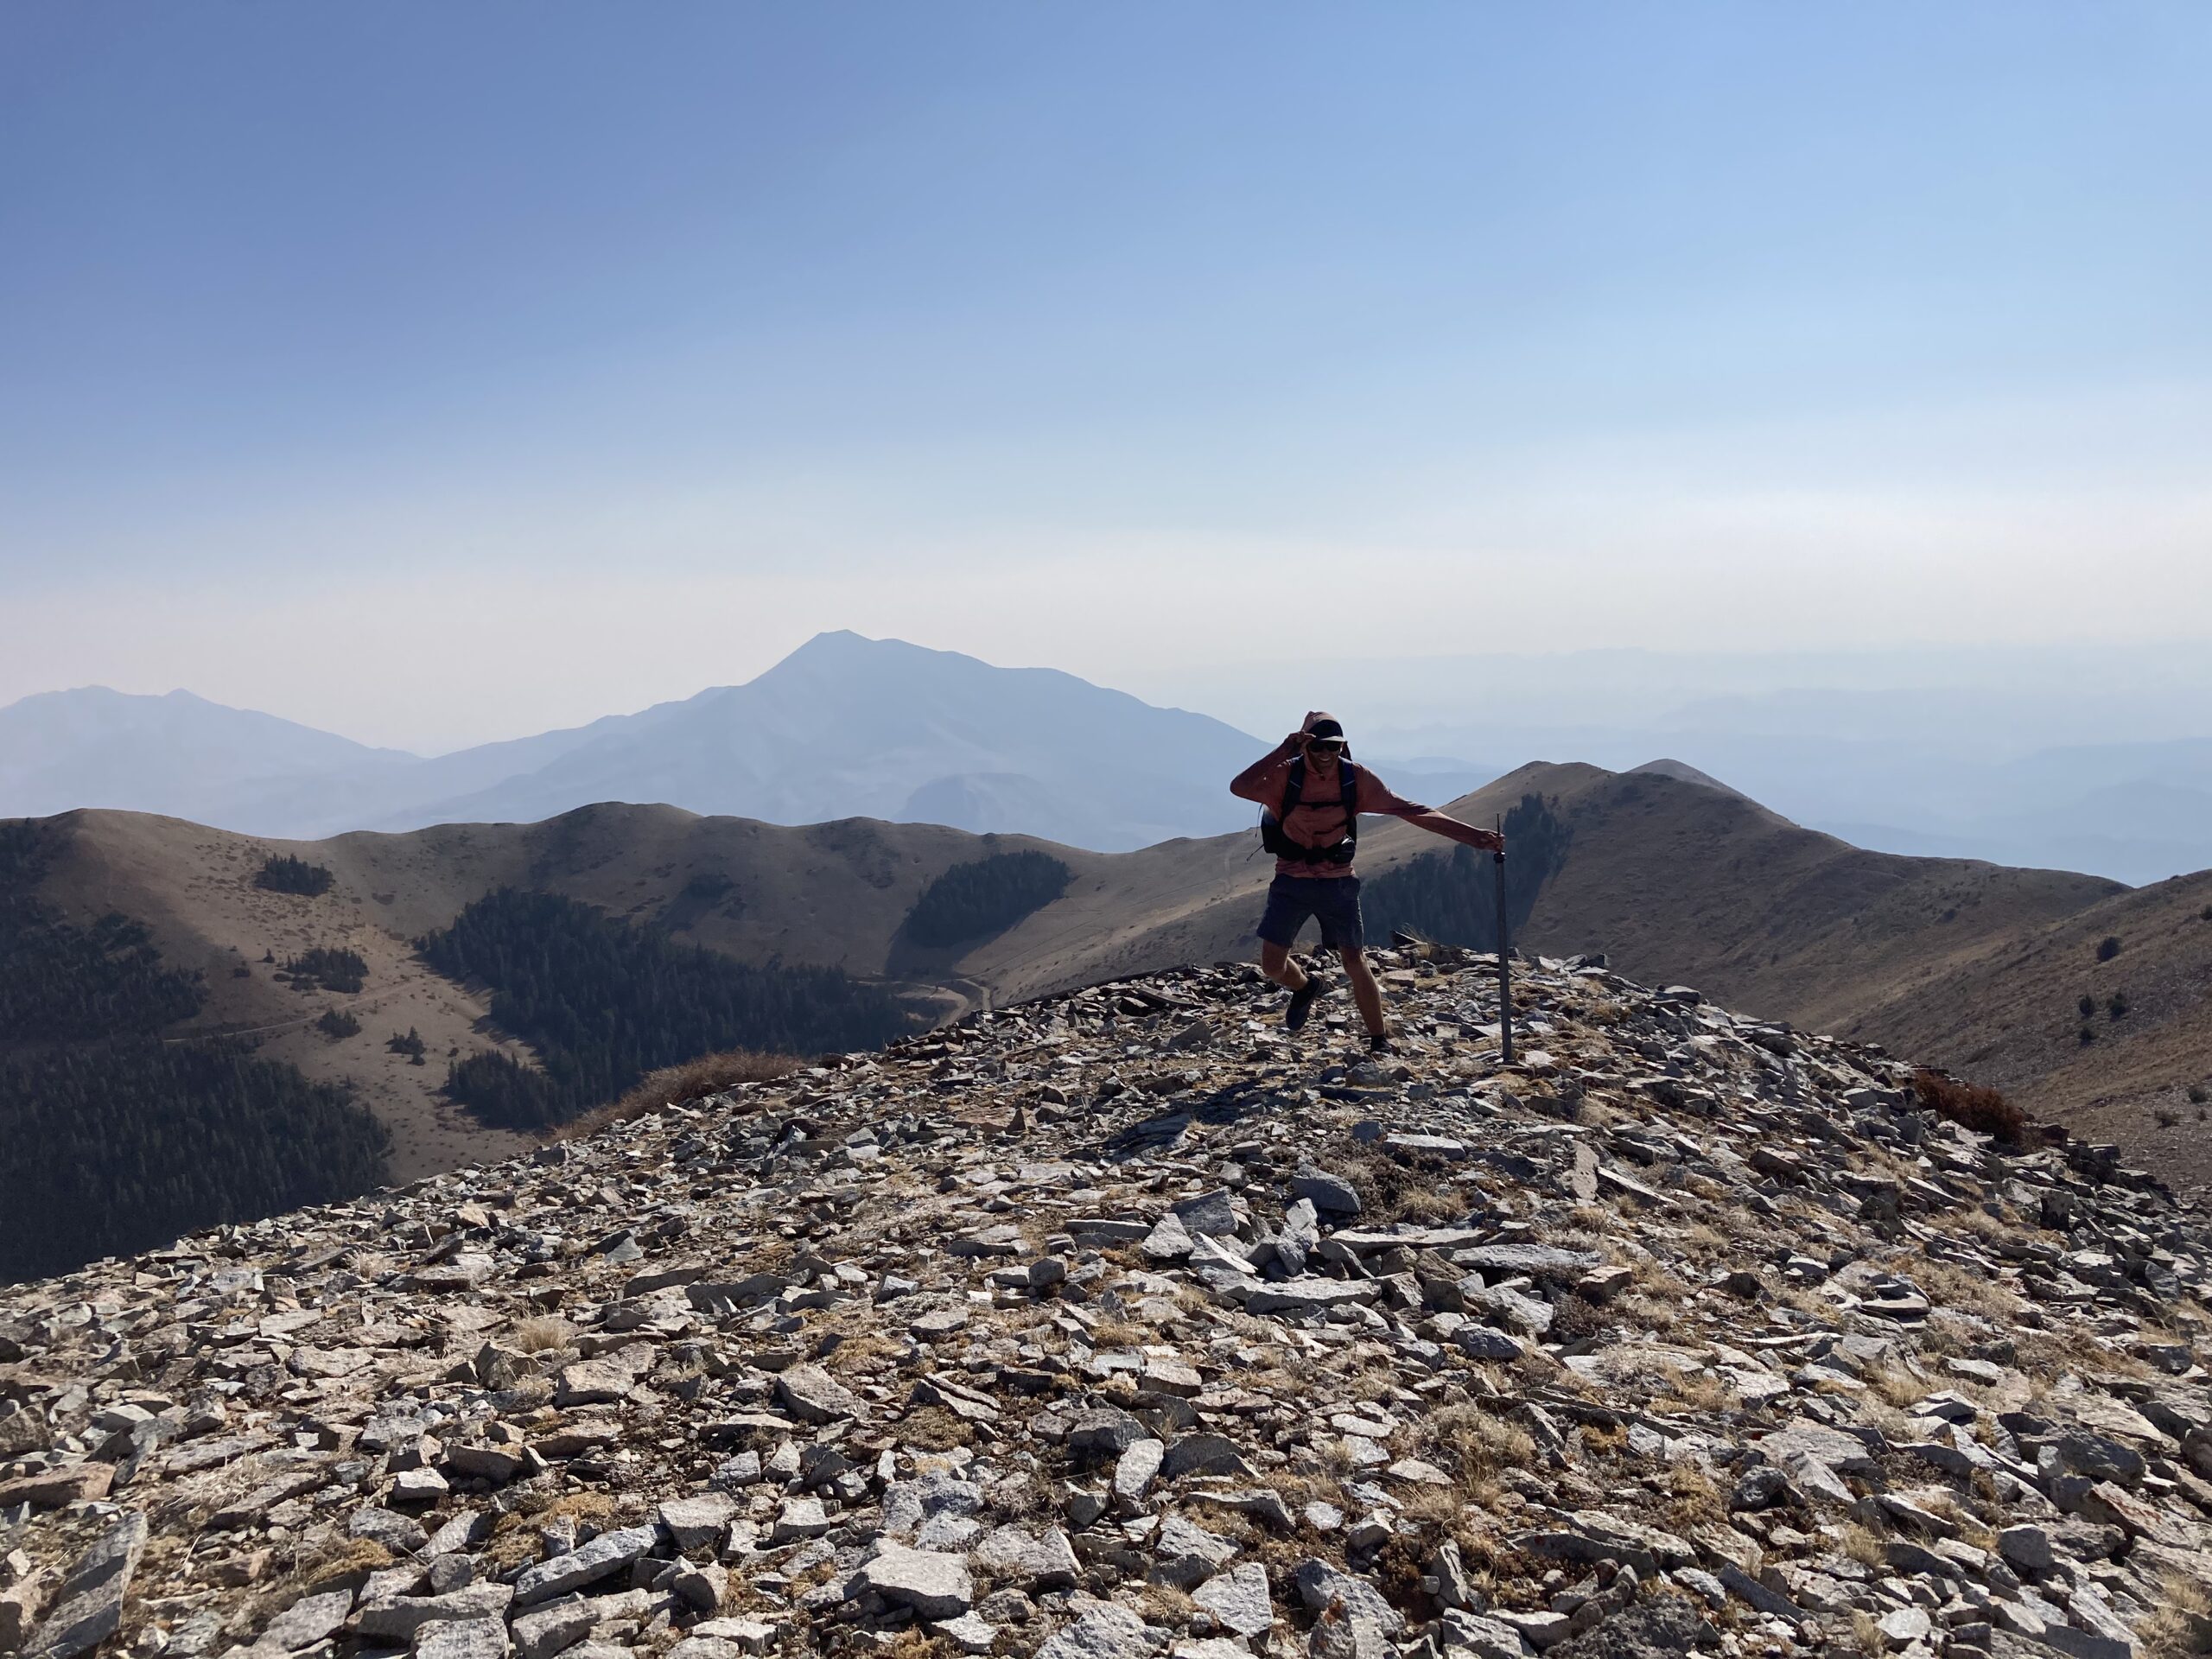
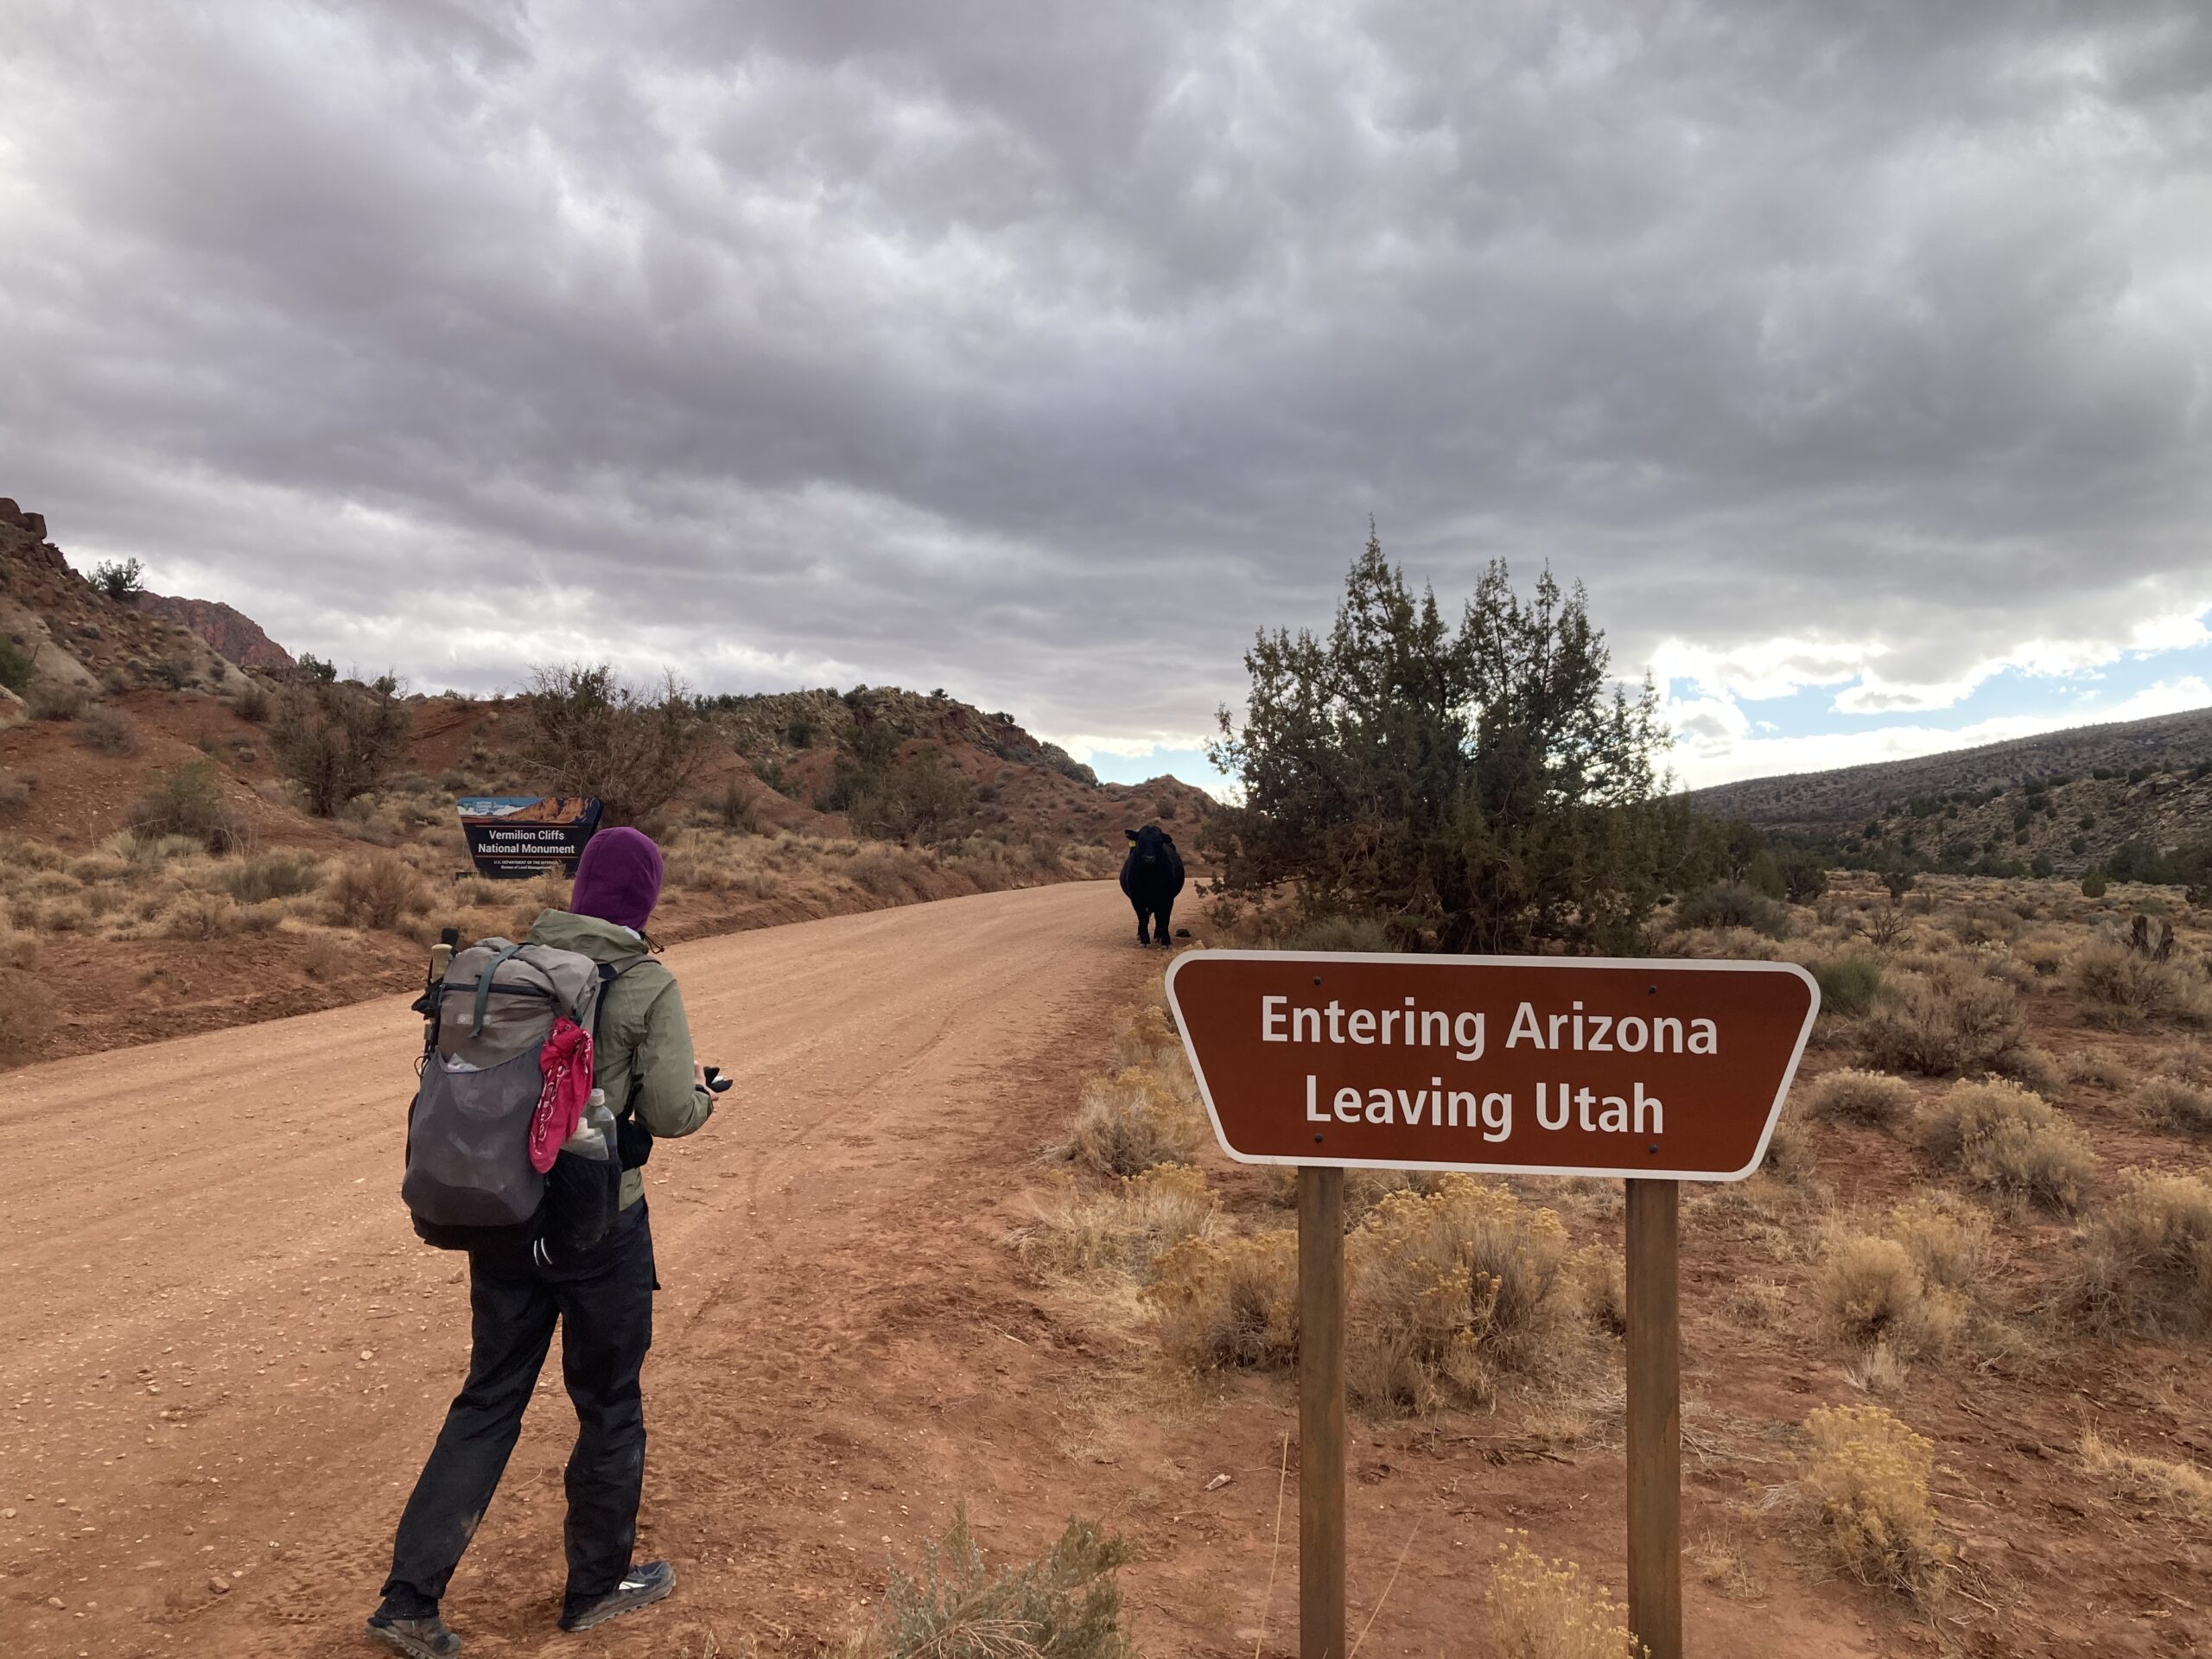
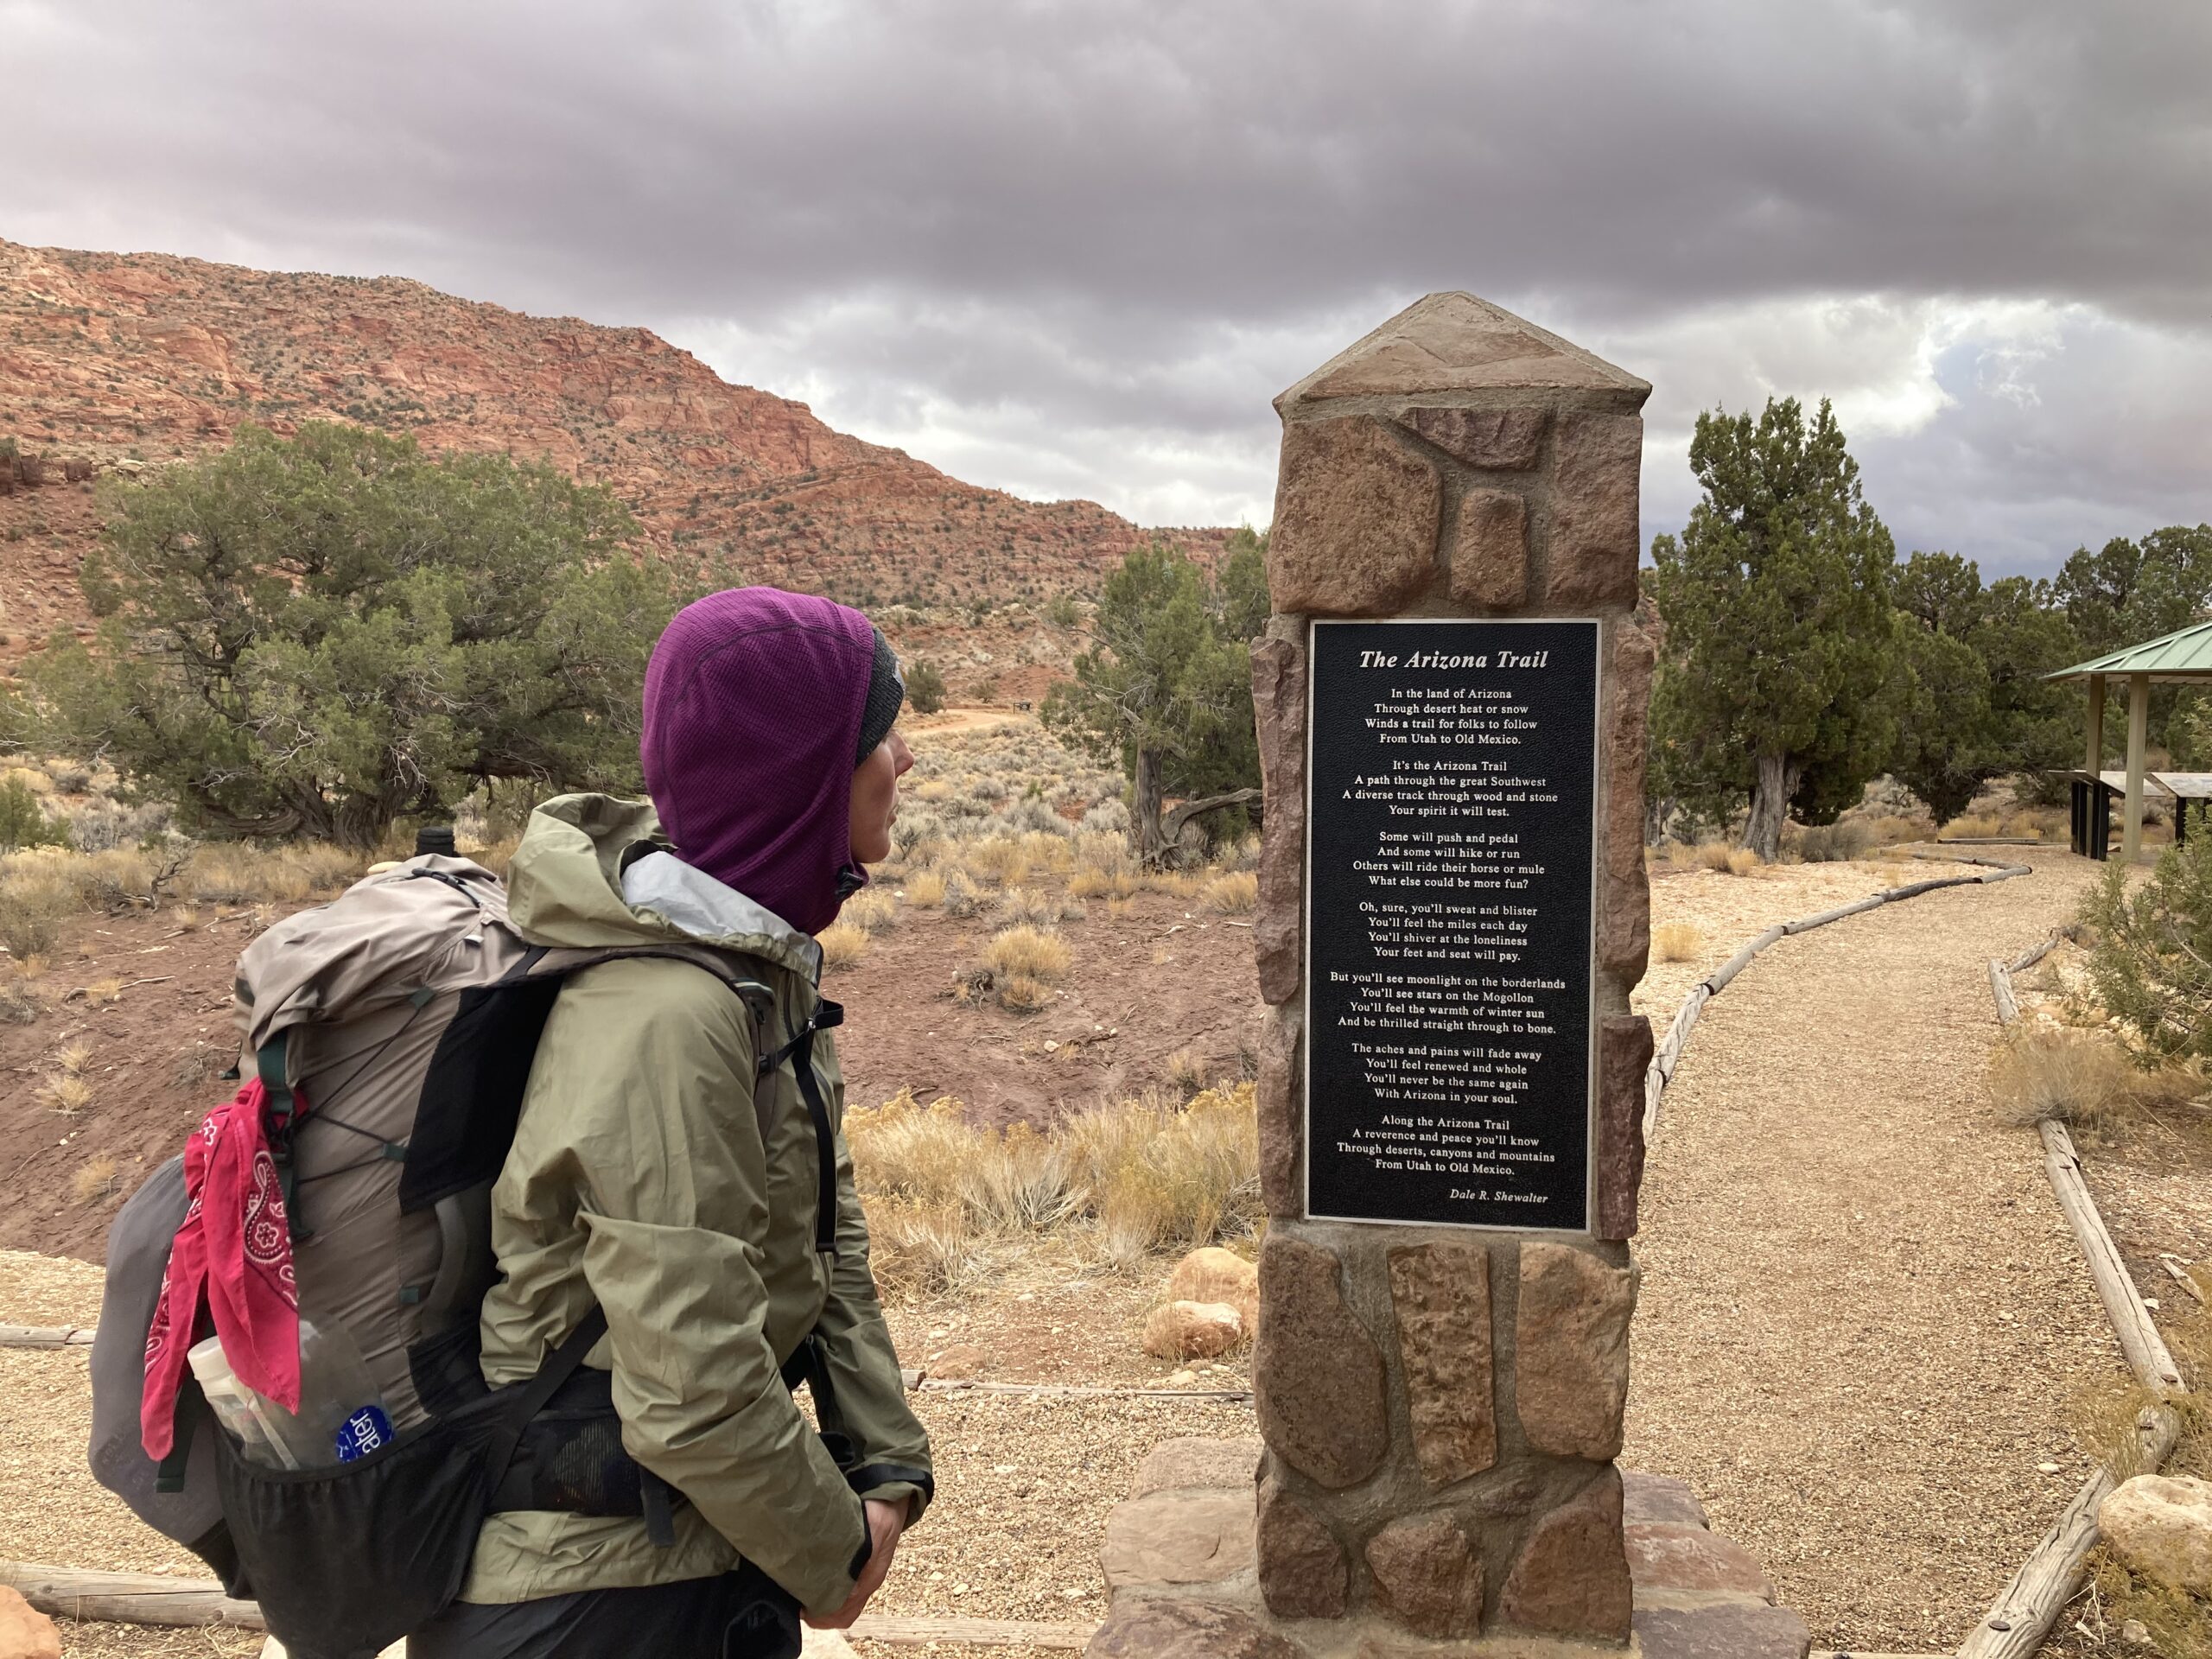
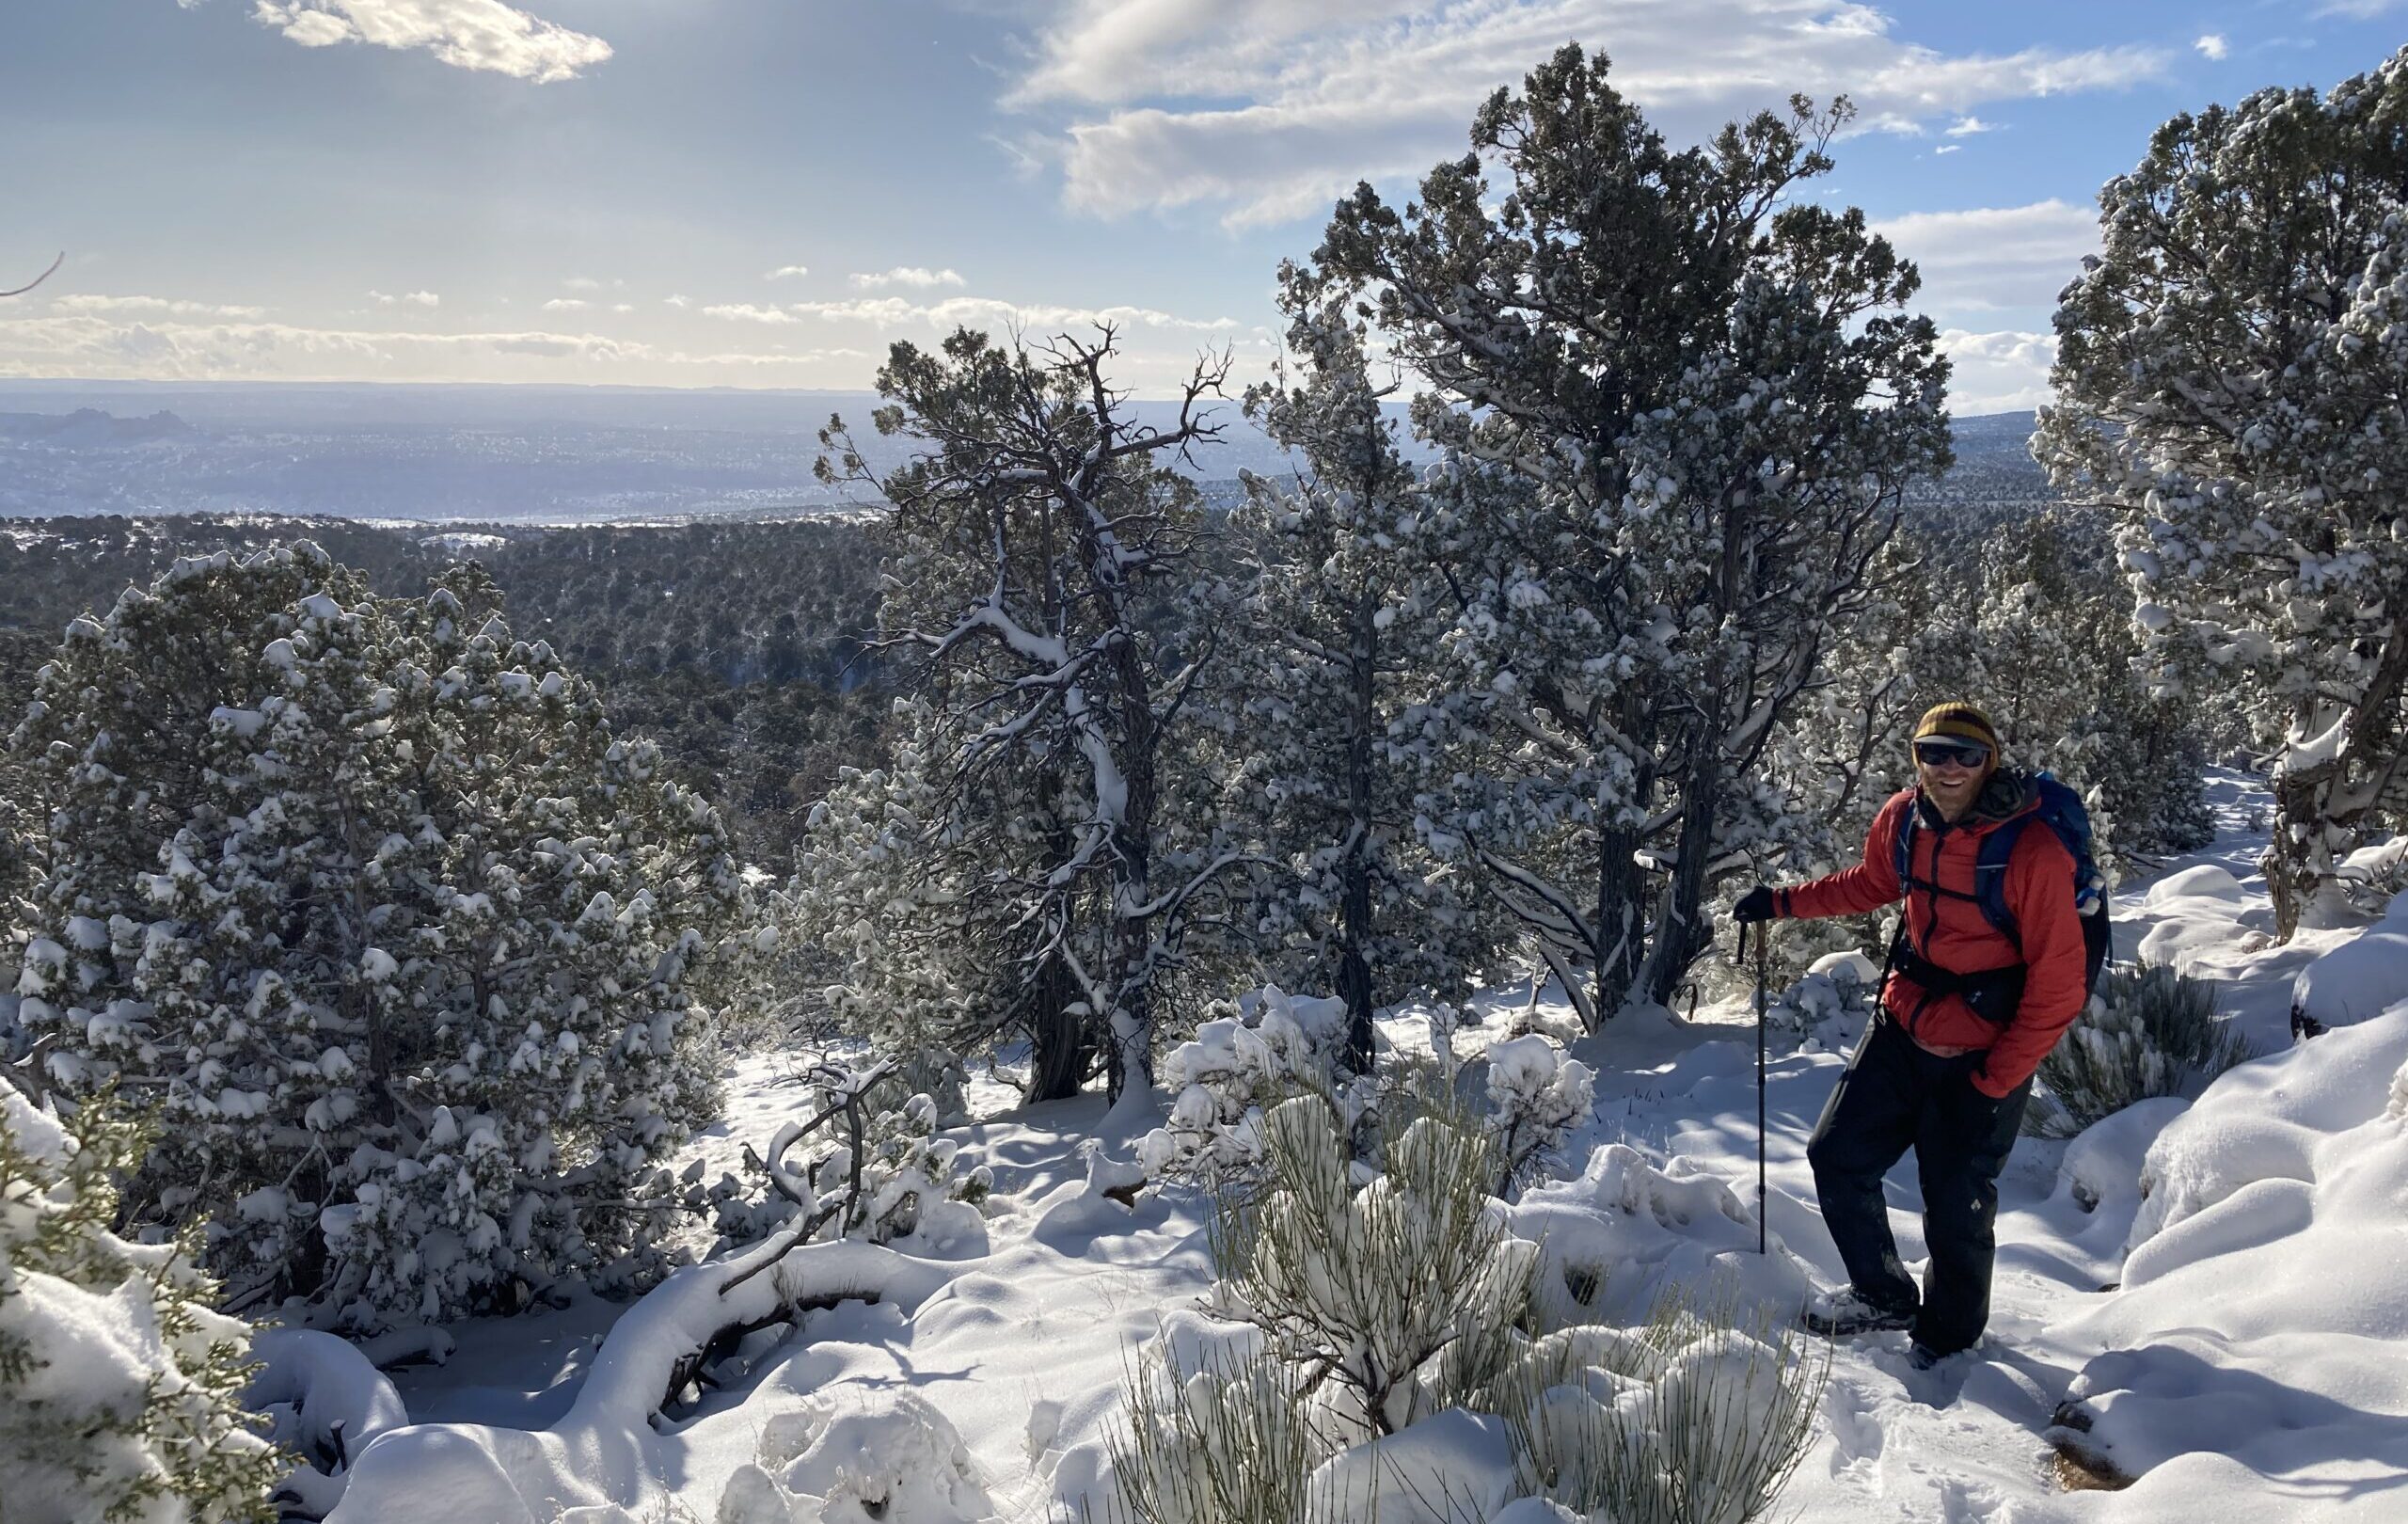
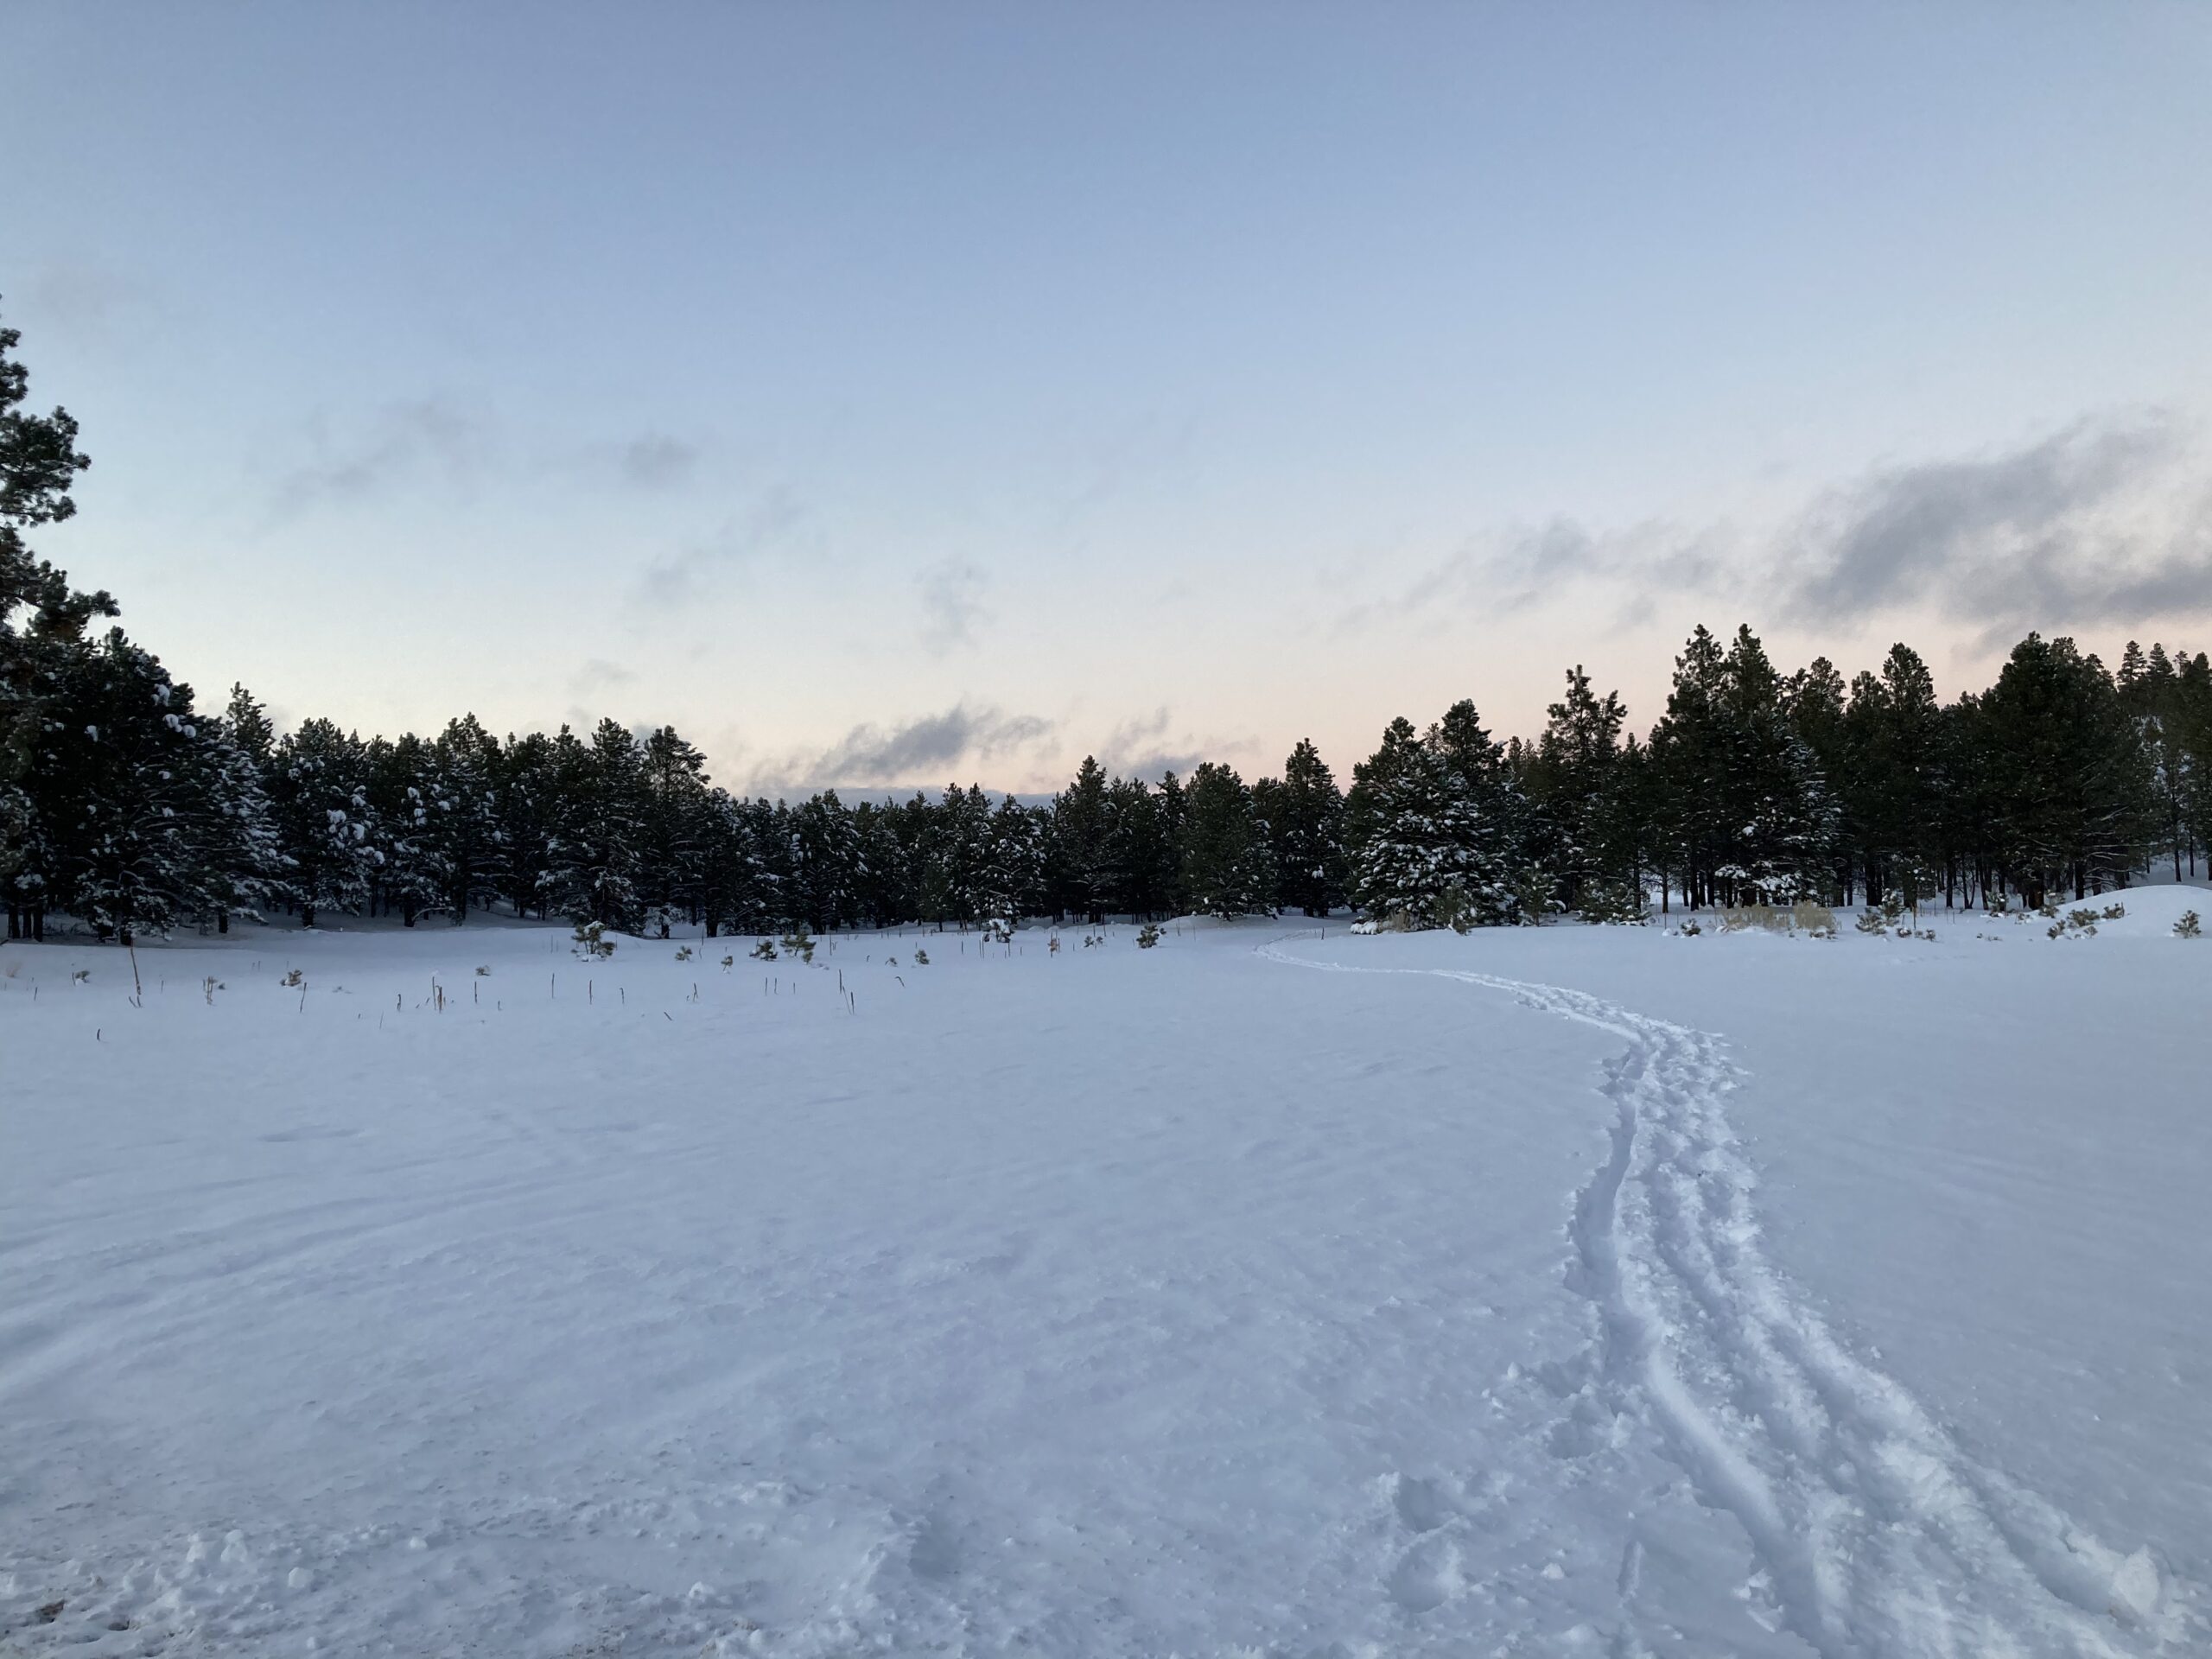
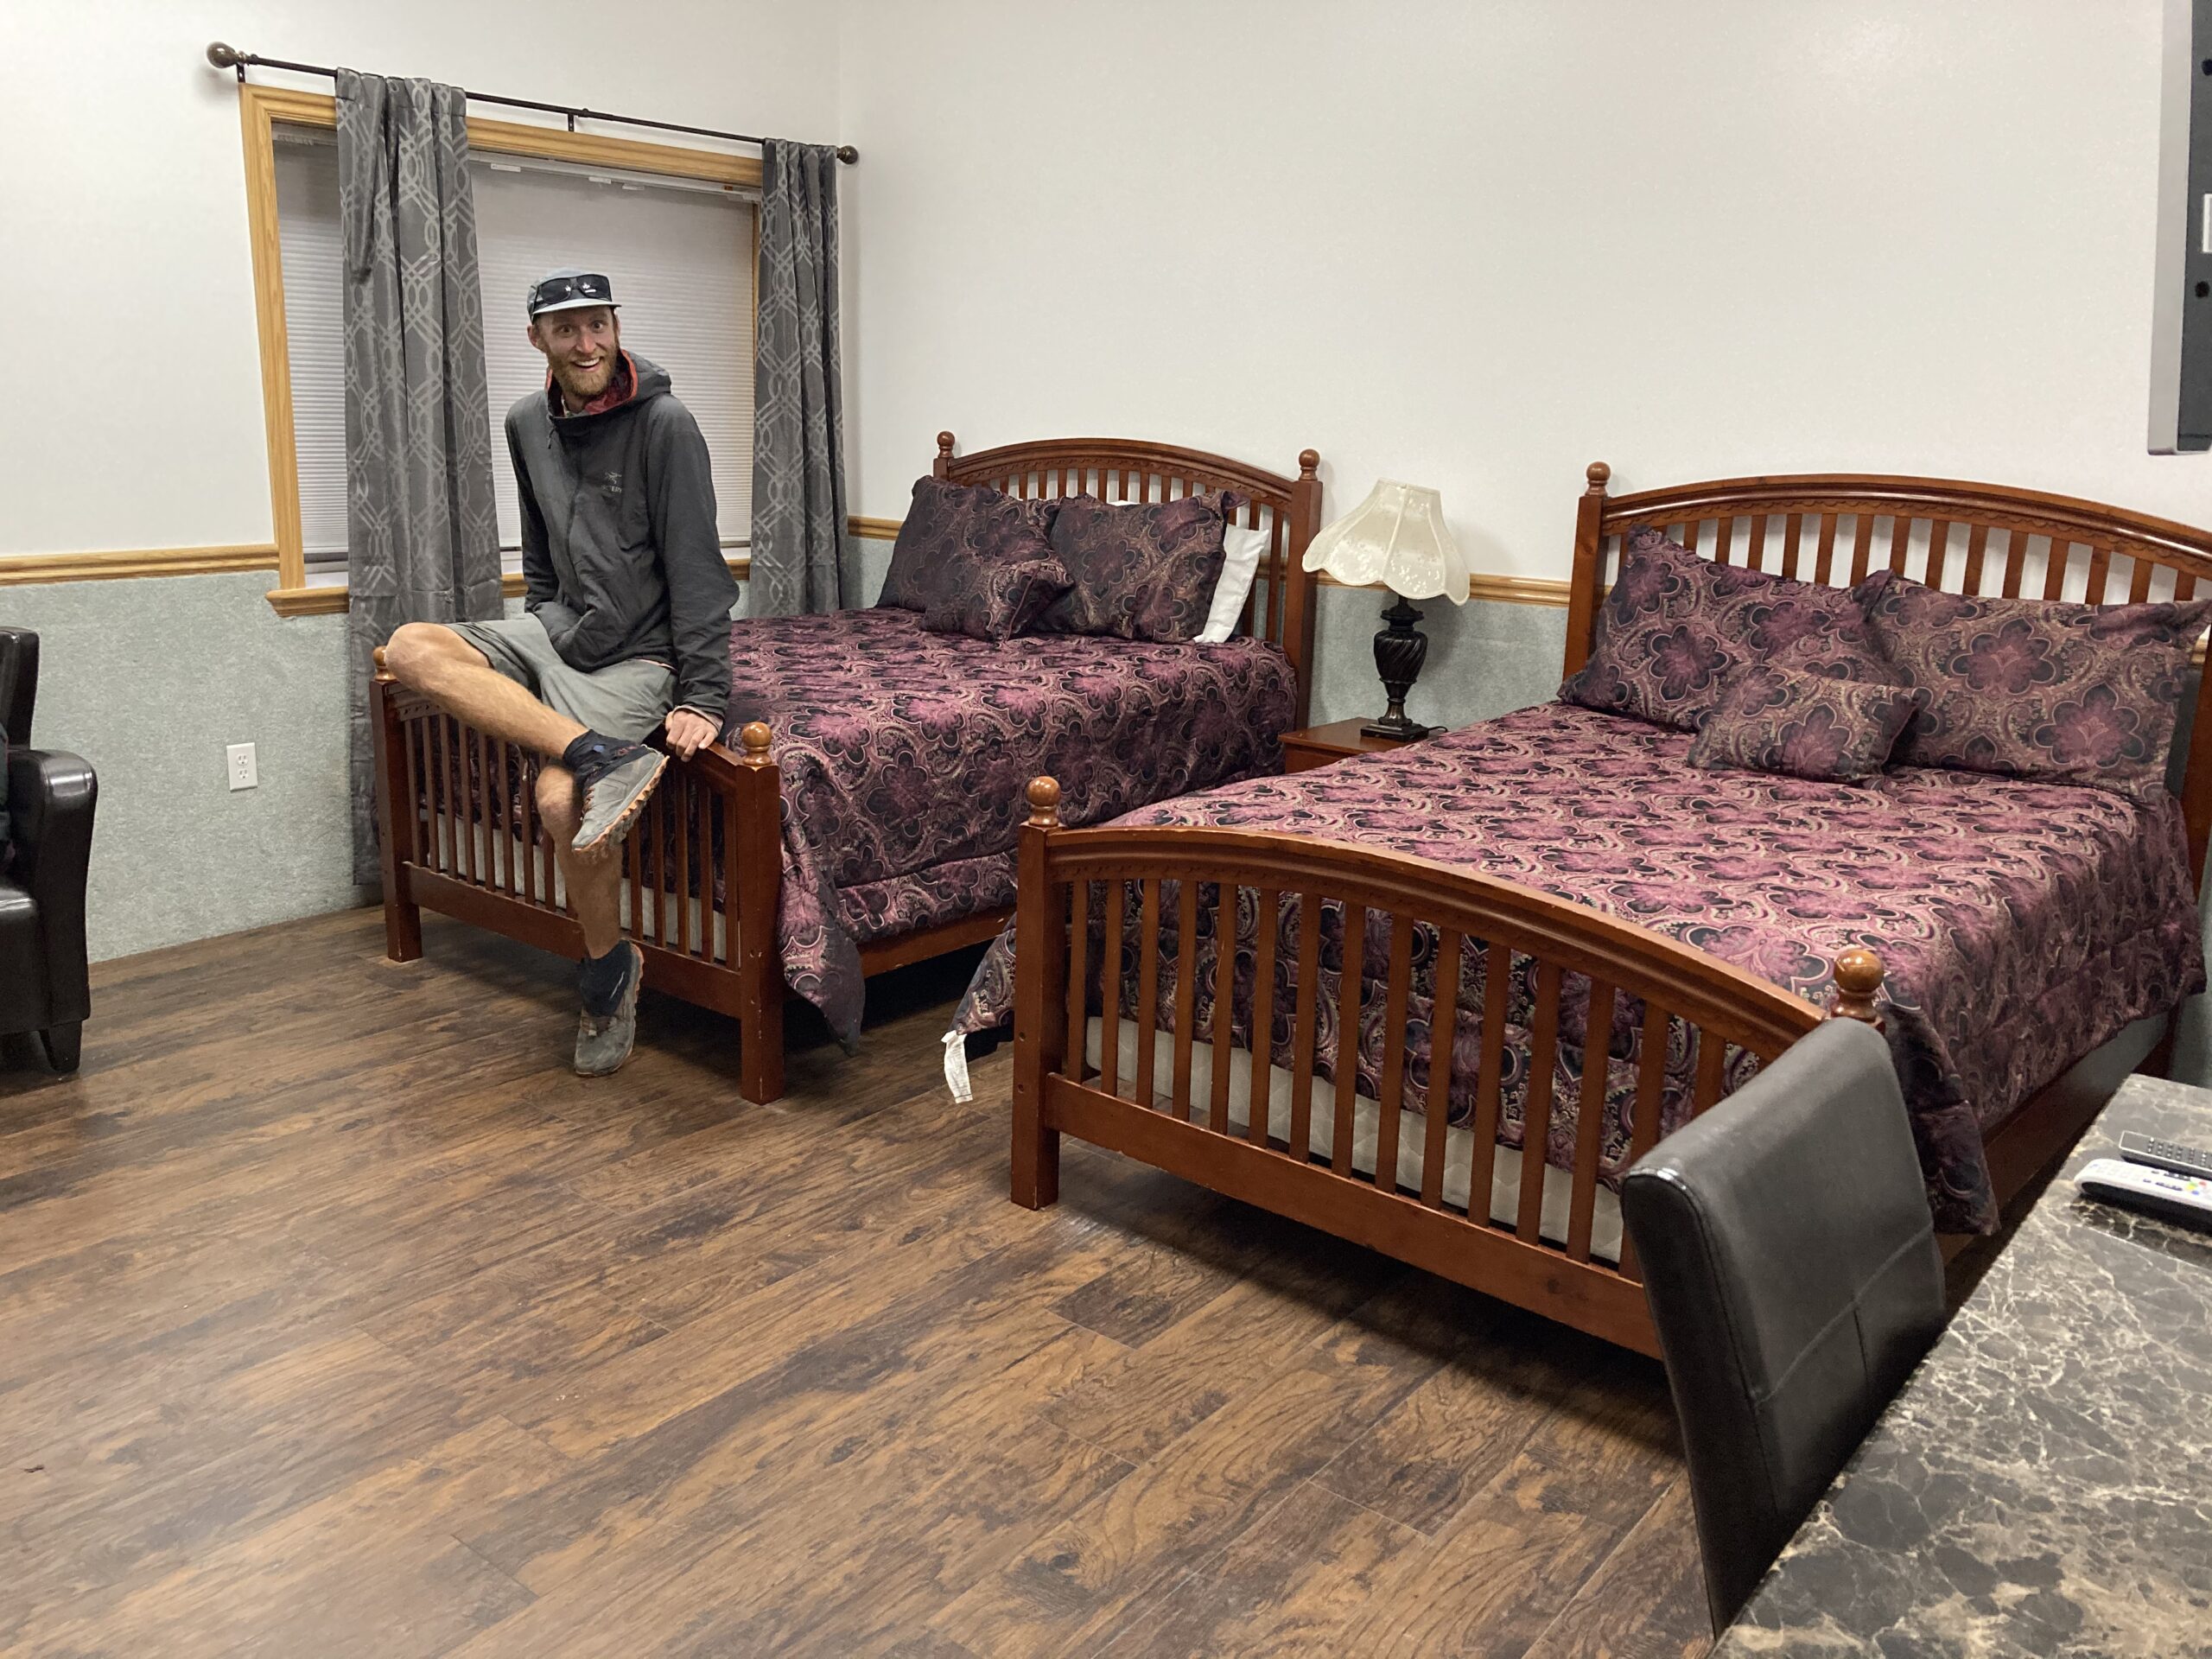
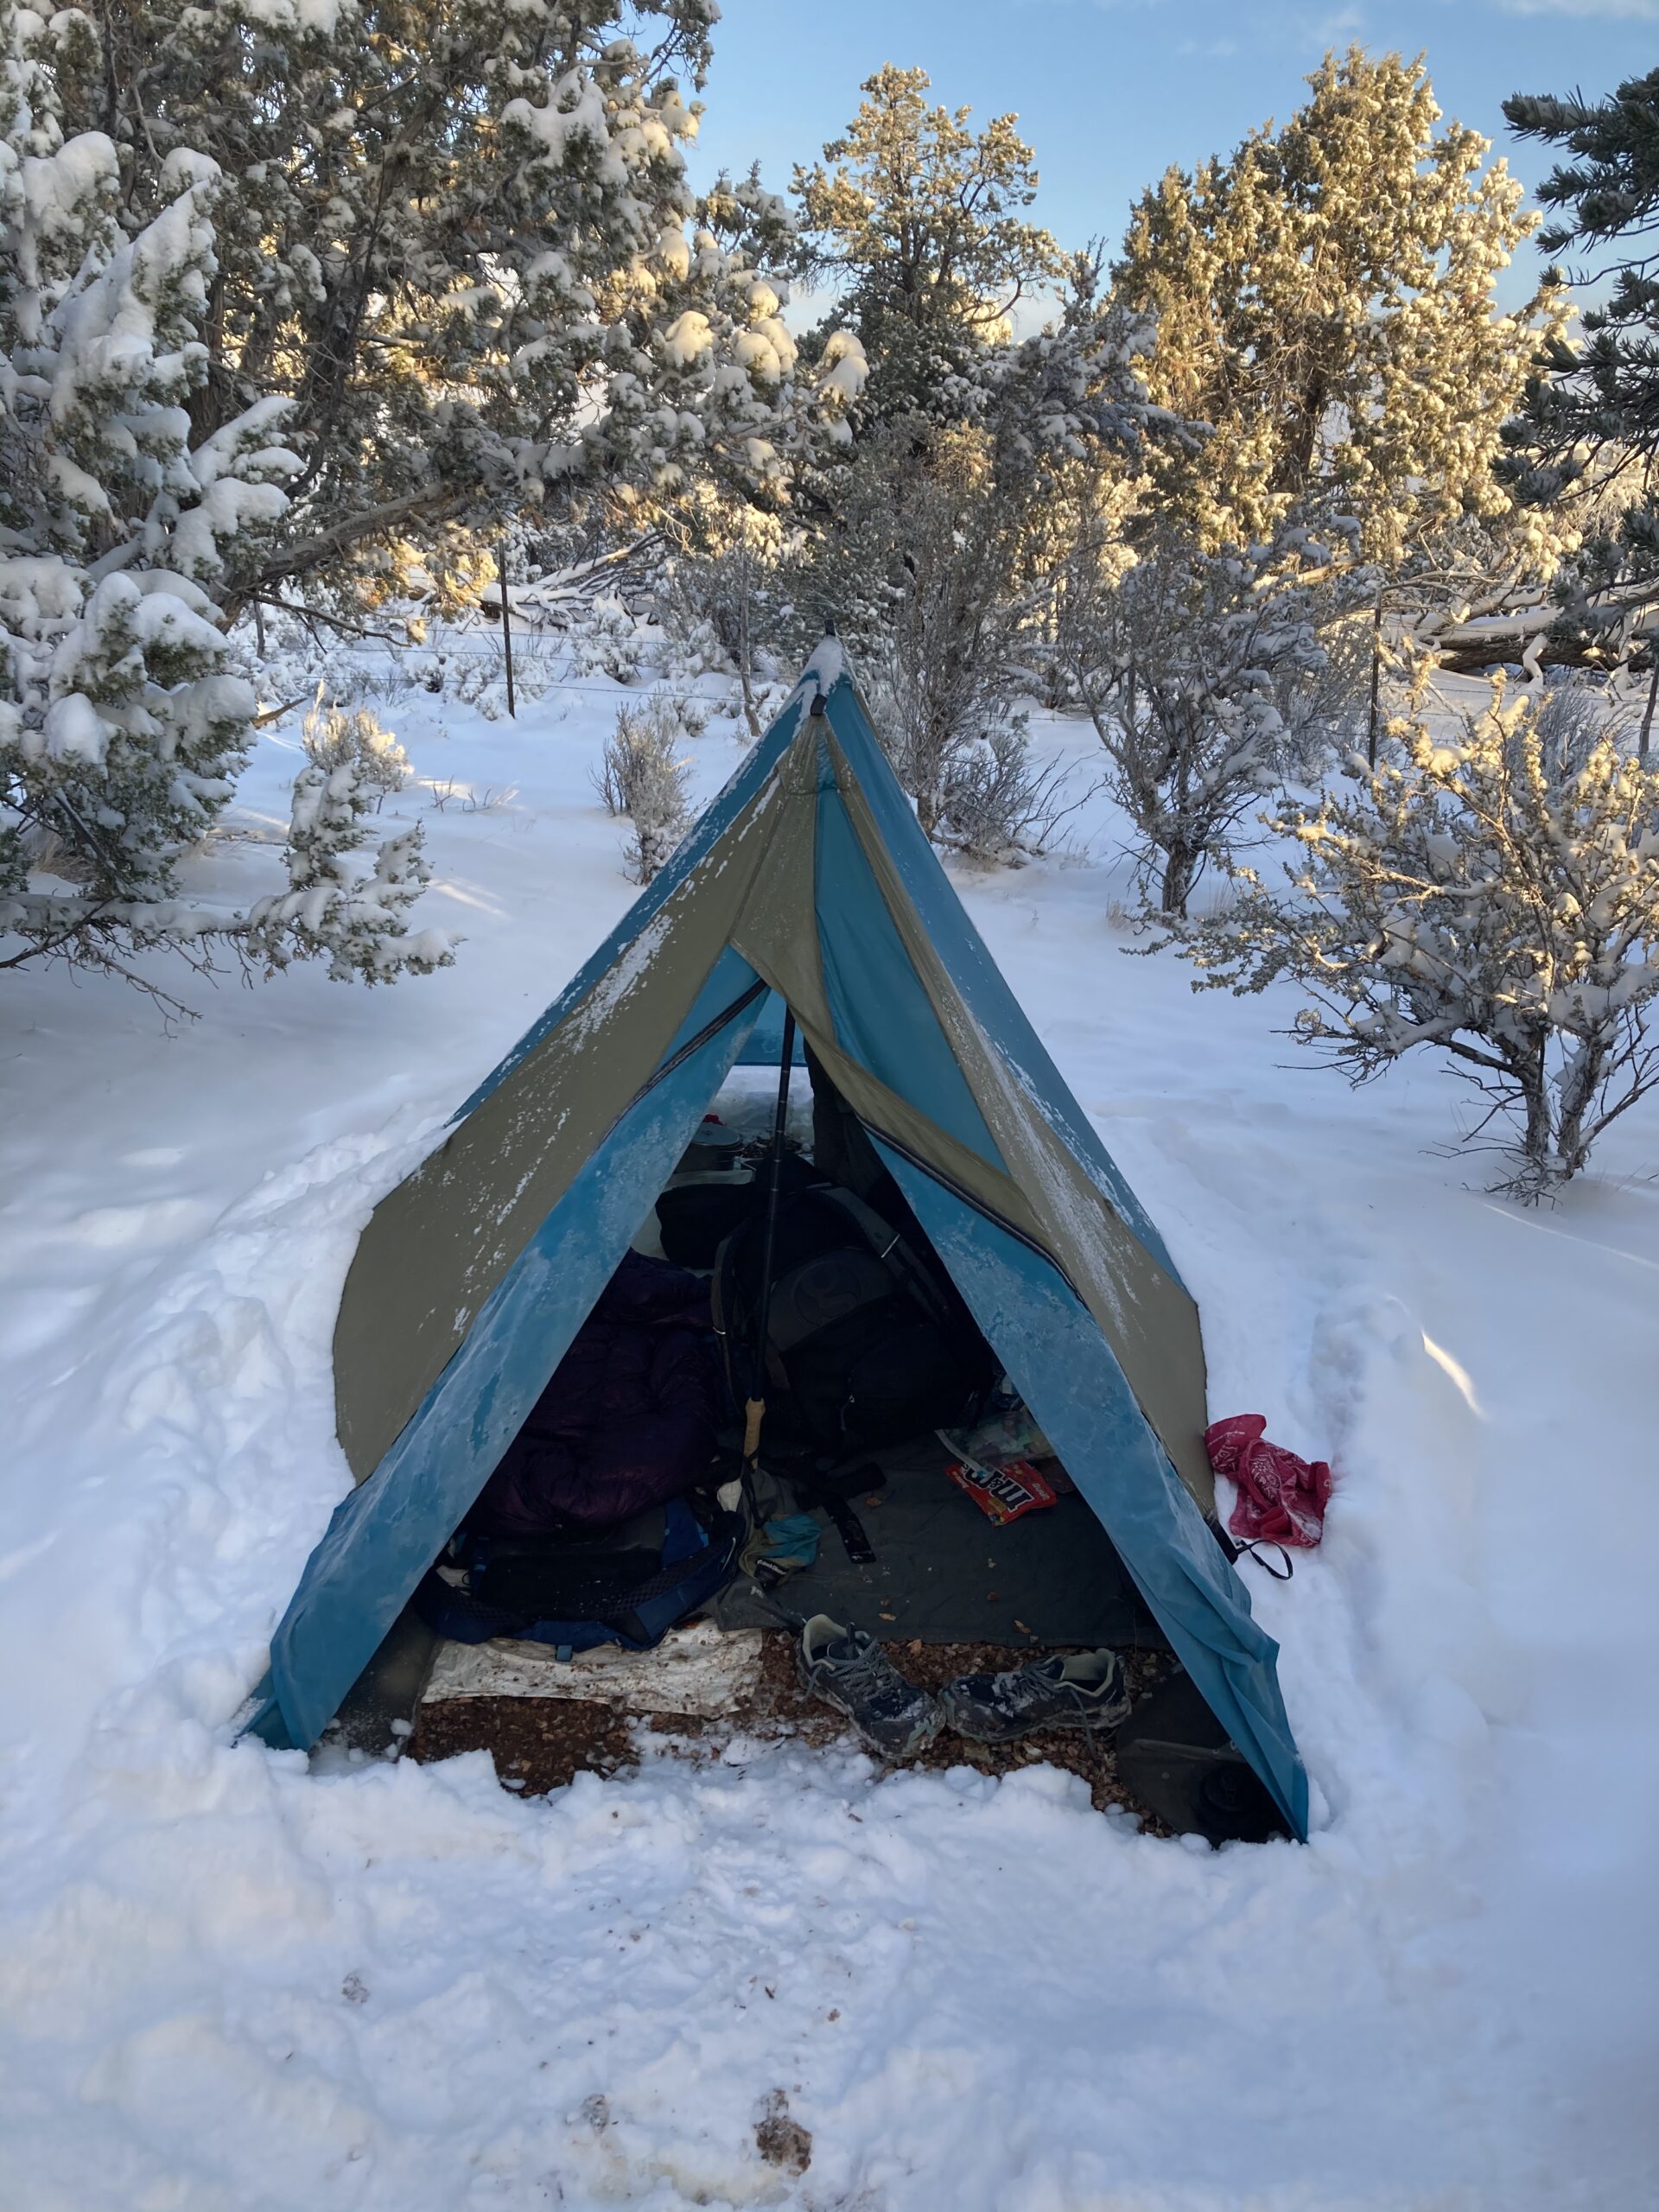
Snow Storm on the Arizona Trail
When we hit the Arizona Trail it was afternoon, and we headed up to the Kaibab Plateau. The night before we had checked the weather and knew there was a snow storm coming. It didn’t seem that it would last long. We made a plan to make camp early before the storm really started. We got our tent up and almost immediately the snow started falling and didn’t stop until morning. The trail was covered in 12 inches of snow, and it was even deeper in windblown sections. We walked 20 miles to Jacob Lake to get a spot at the Inn. It was forcasted to be just 5 degrees that night! When we made it to Jacob Lake, we took a rest day, thankful for a break from the freezing temperatures. The cold continued throughout that week until we finally to dropped in elevation into the Grand Canyon.
Food and Water
The Hayduke really brought us back to the challenge of meeting basic needs. We utilized water and food caches for most of the trail. In a few instances we fell behind on our mileage, and had to stretch our food for an extra day or so. This posed a challenge for us because we were then forced to ration the food we had in our next cache, instead of eating our fill in a town as we normally might while resupplying. We had to get creative for rationing. We learned a lot, and luckily it all worked out in the end.
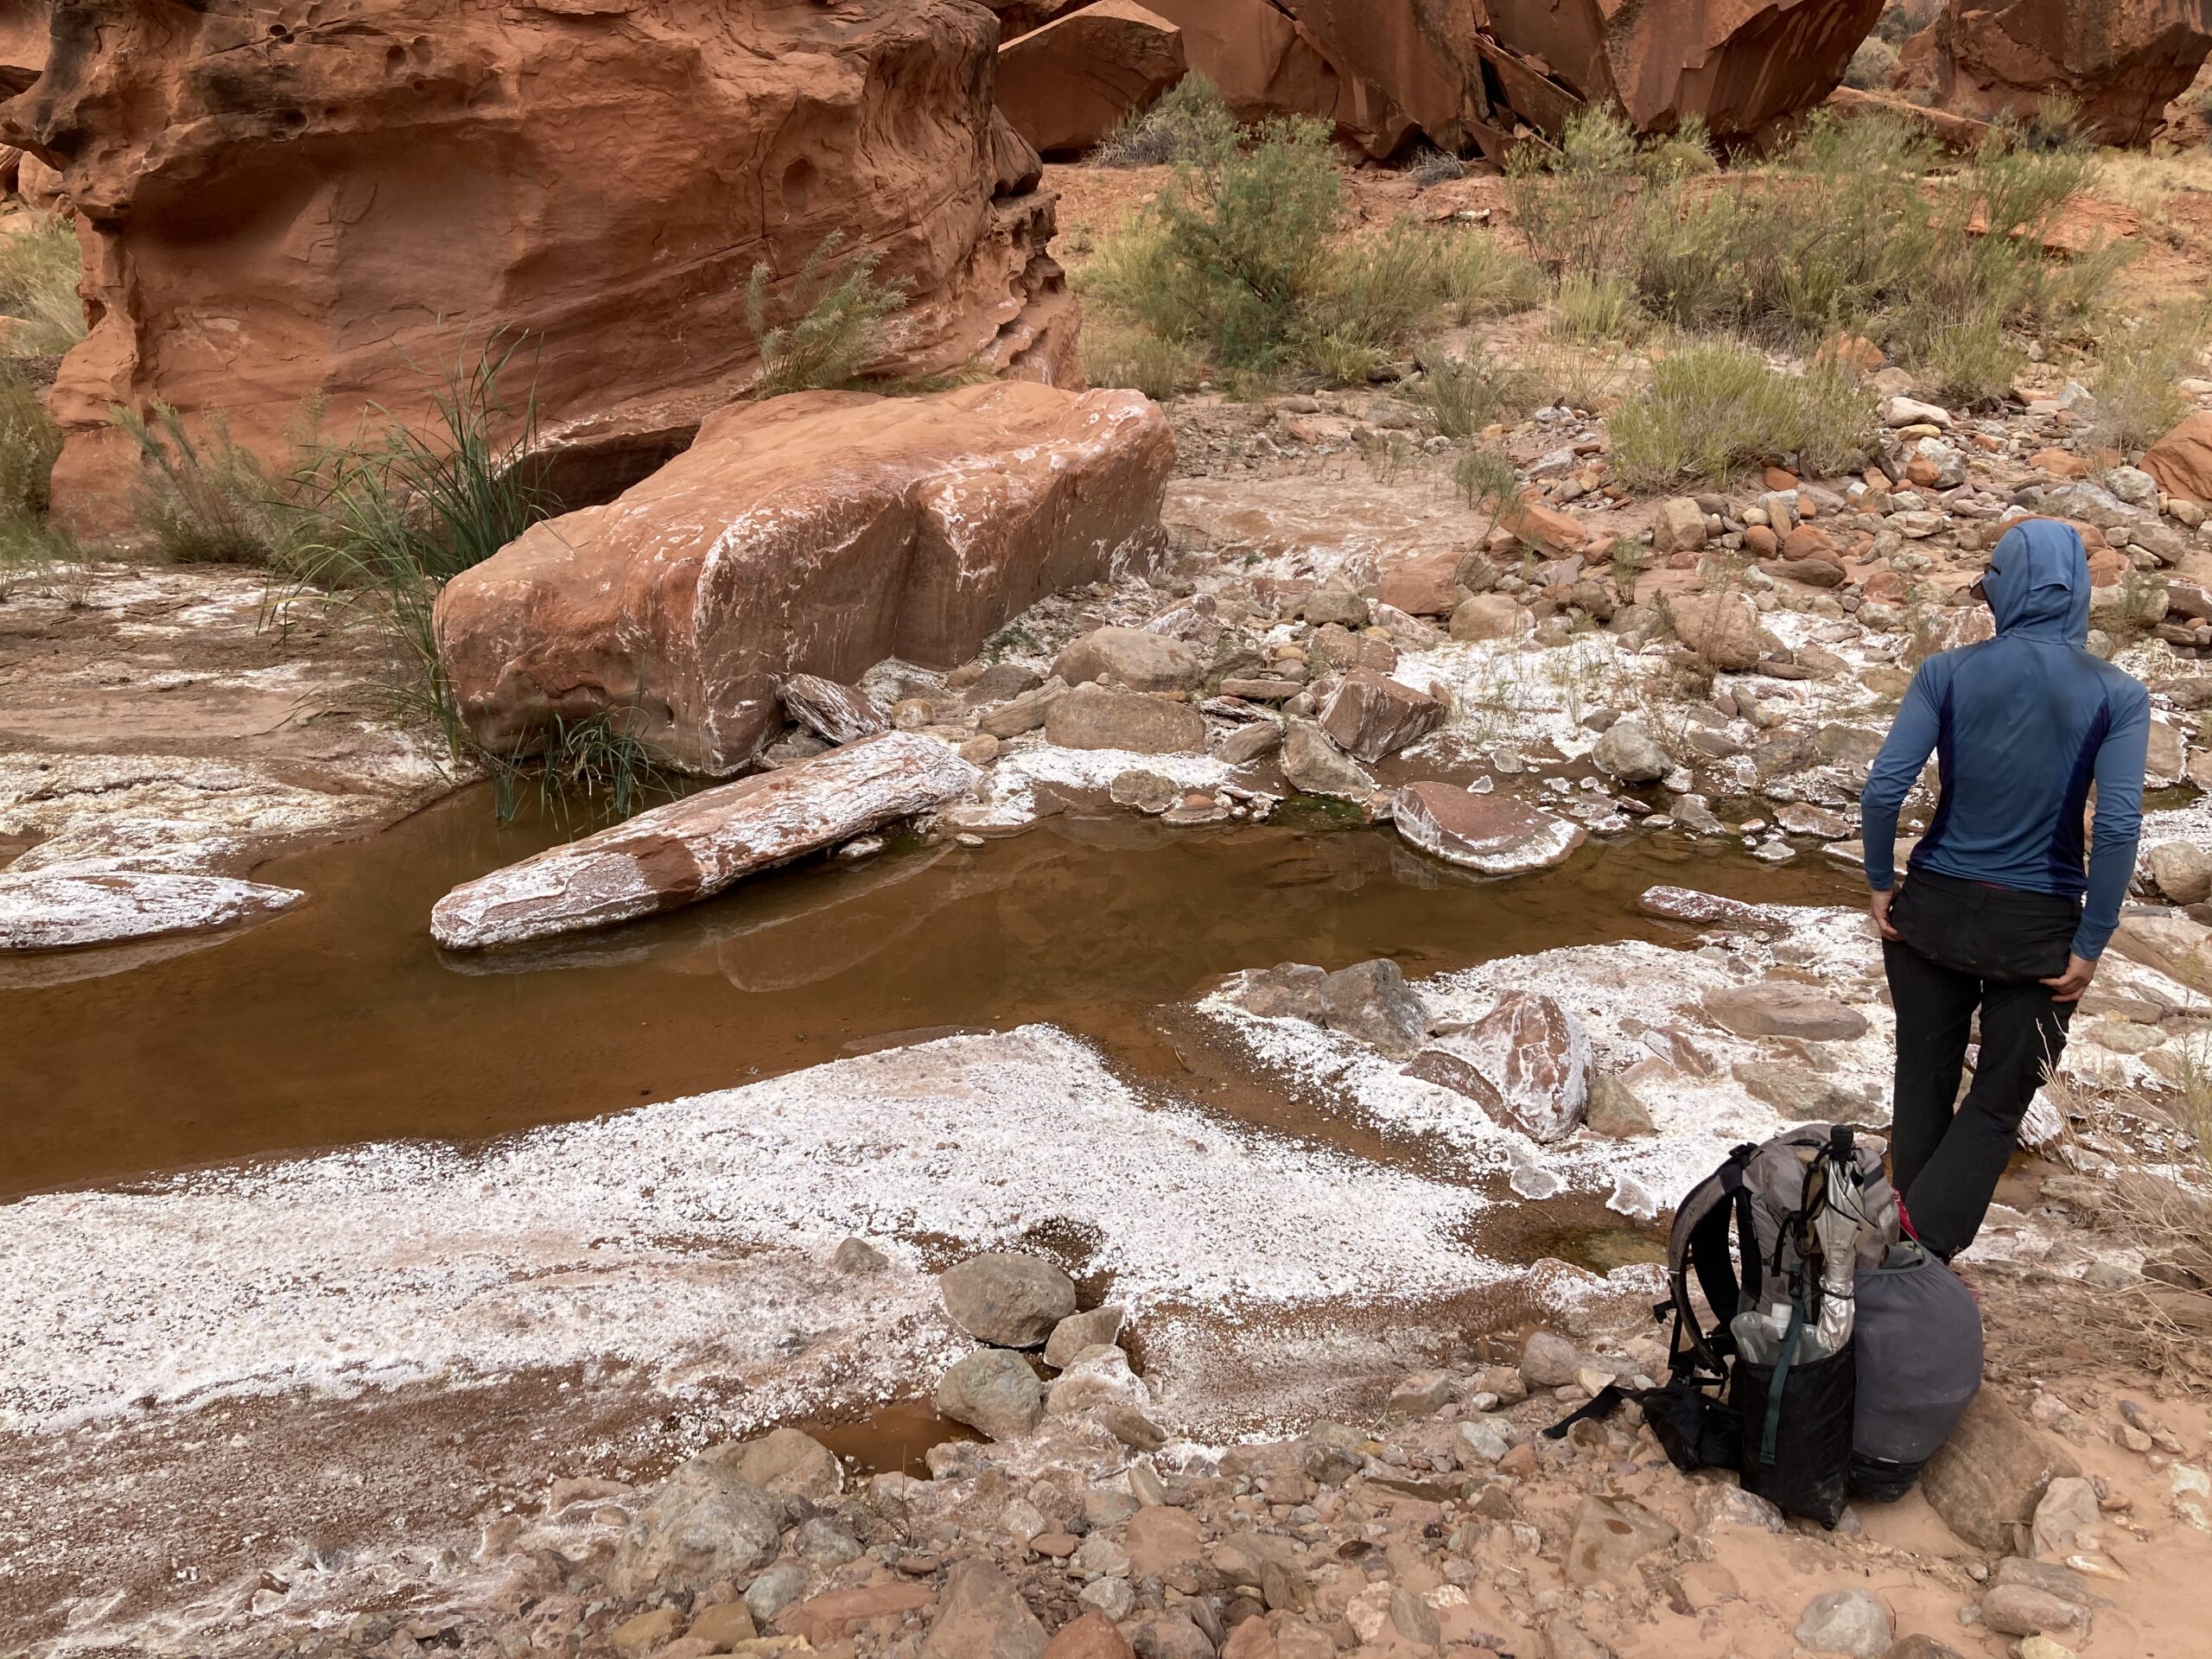
As mentioned above, water was also a challenge. Many of our intended water sources were dry. A few times, our cached water was frozen because of the cold. This posed a unique challenge. Occasionally we asked folks who passed by in their vehicles for water, and in some moments we just got lucky. We should have put more thought into back up options for when our water planning didn’t work out perfectly. After all, it is the desert.
Day to Day Breakdown
Logistics
Route Resources & Information
There are a ton of resources for information on the Hayduke Trail. We started with the Hayduke website. We also found Walking With Wired’s Advice to Future Haydukers to be extremely useful — pointing us toward other helpful sources of information. Additionally, Andrew Skurka has conveniently made up a map set and created a supplement to the guidebook for some of the route. He has outlined a basic overview of the Hayduke on his site. There are many amazing resources others have created!

When To Hike
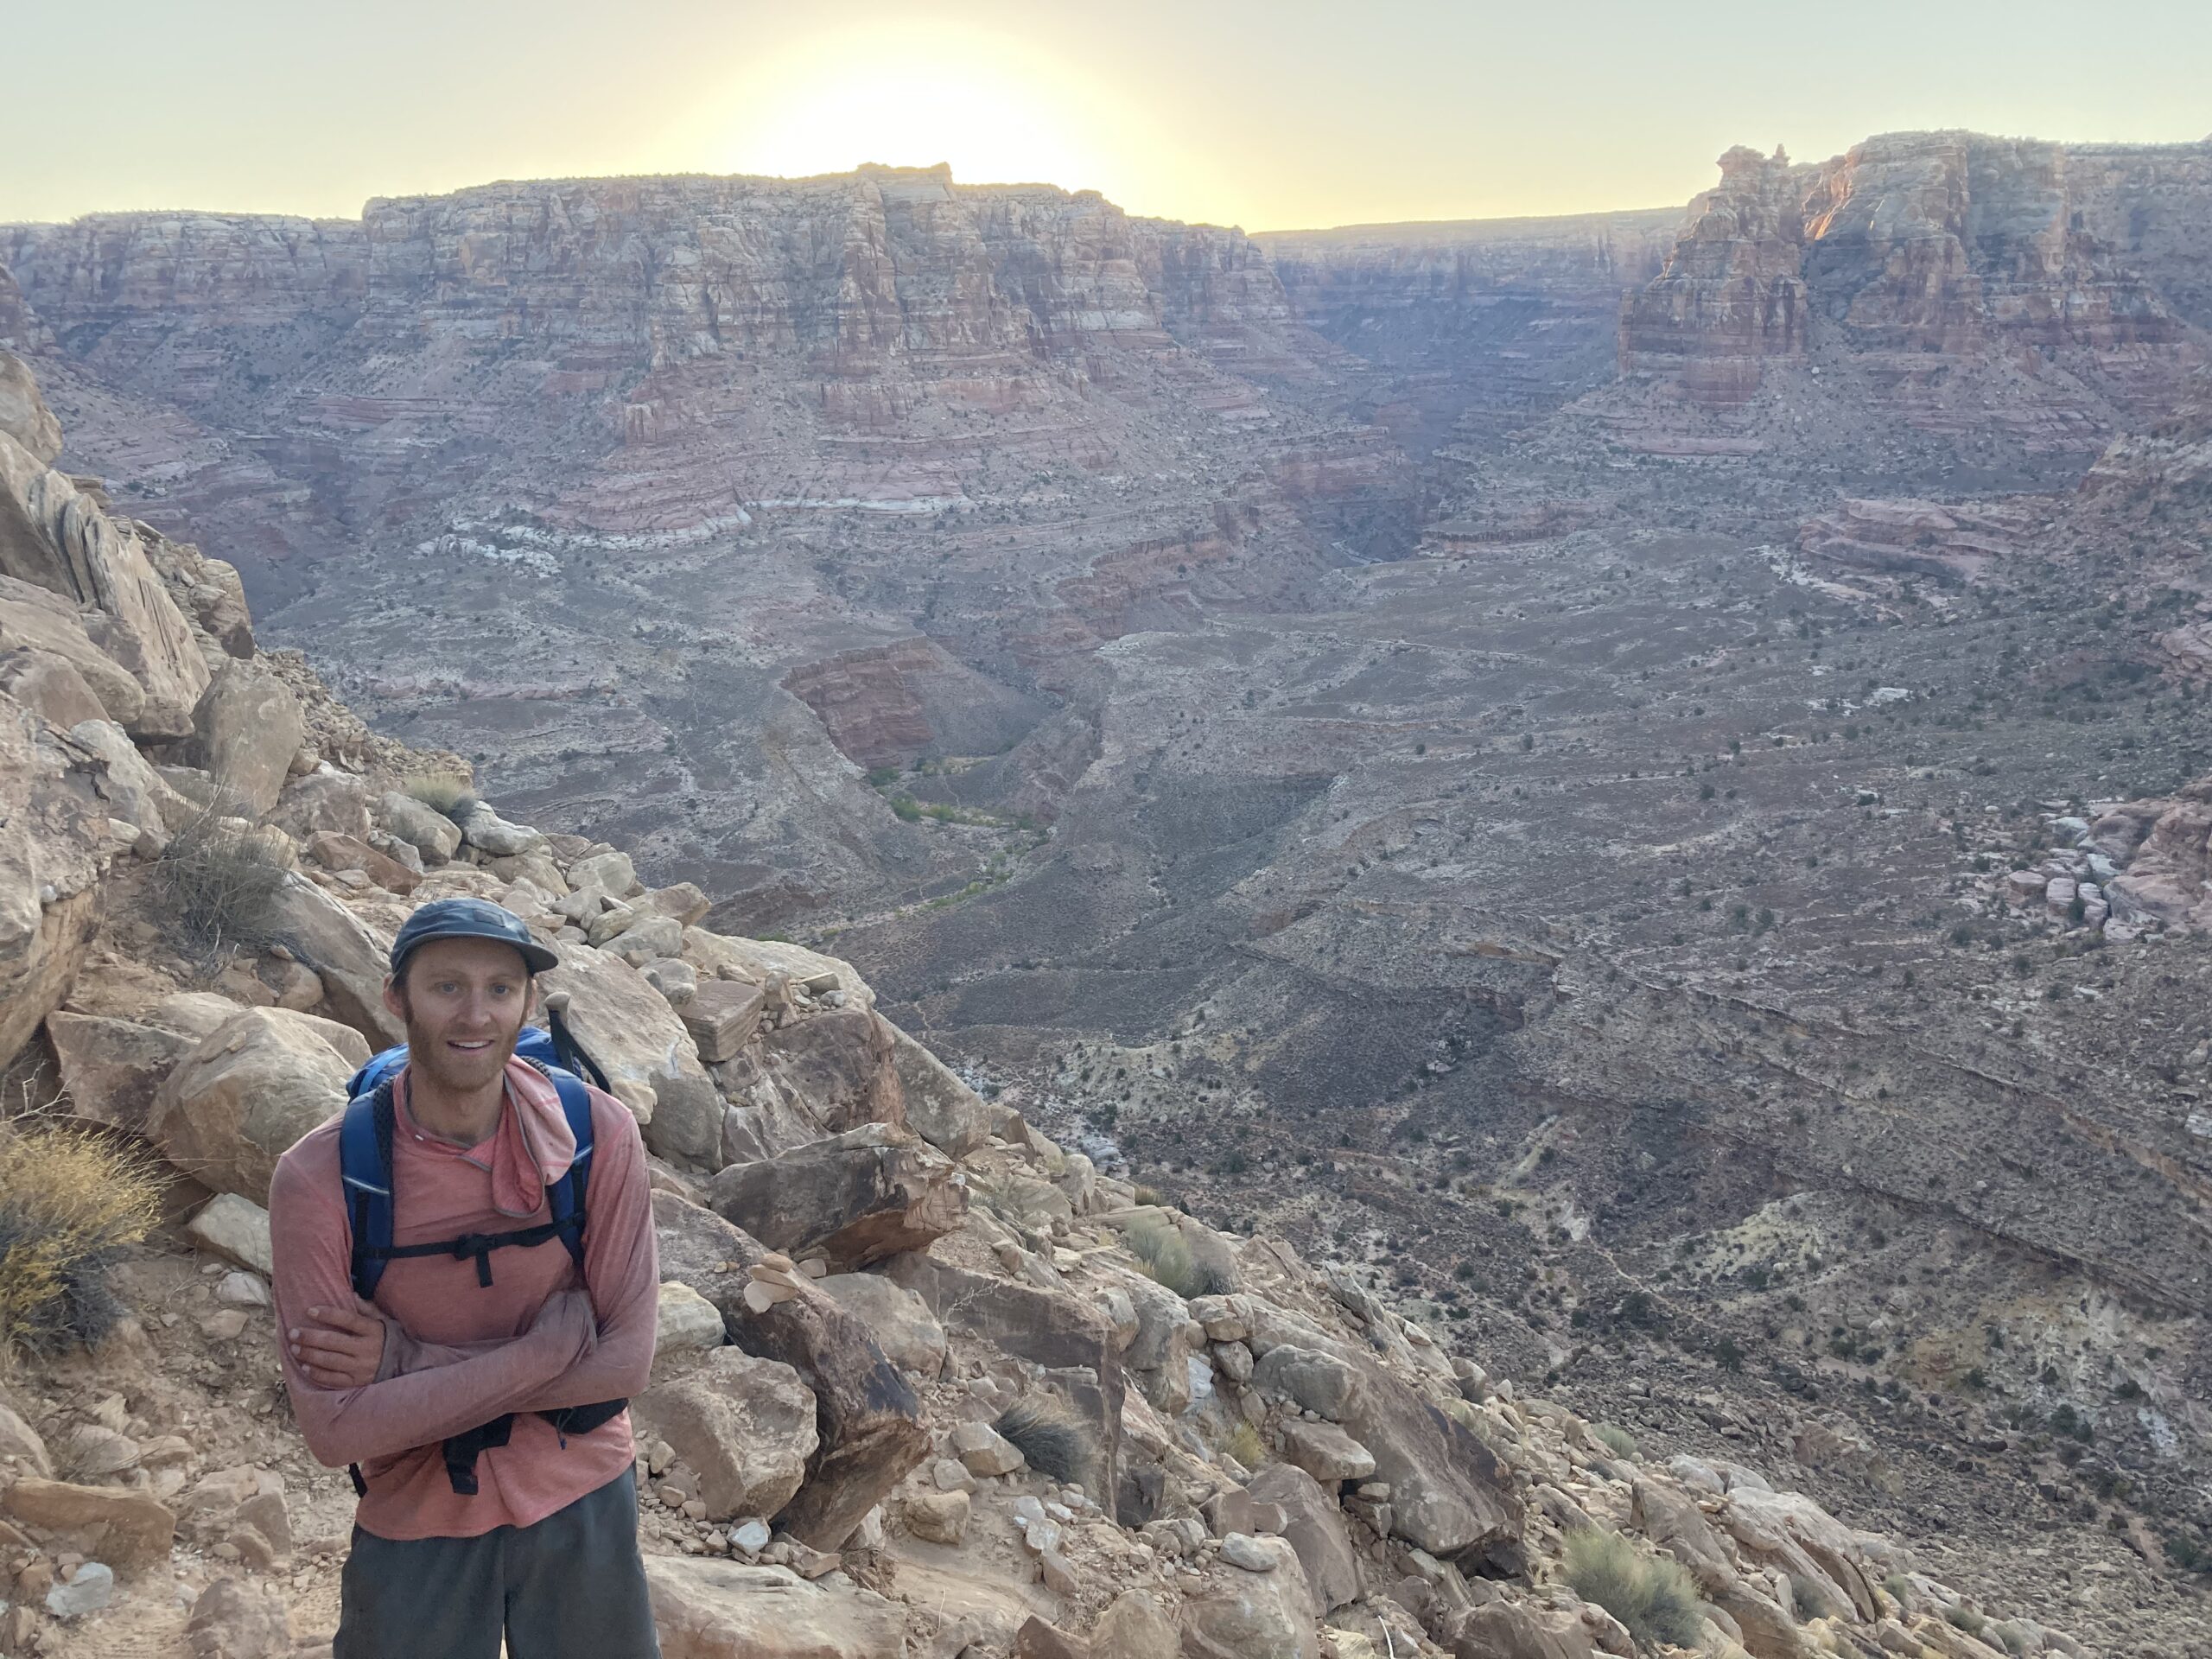
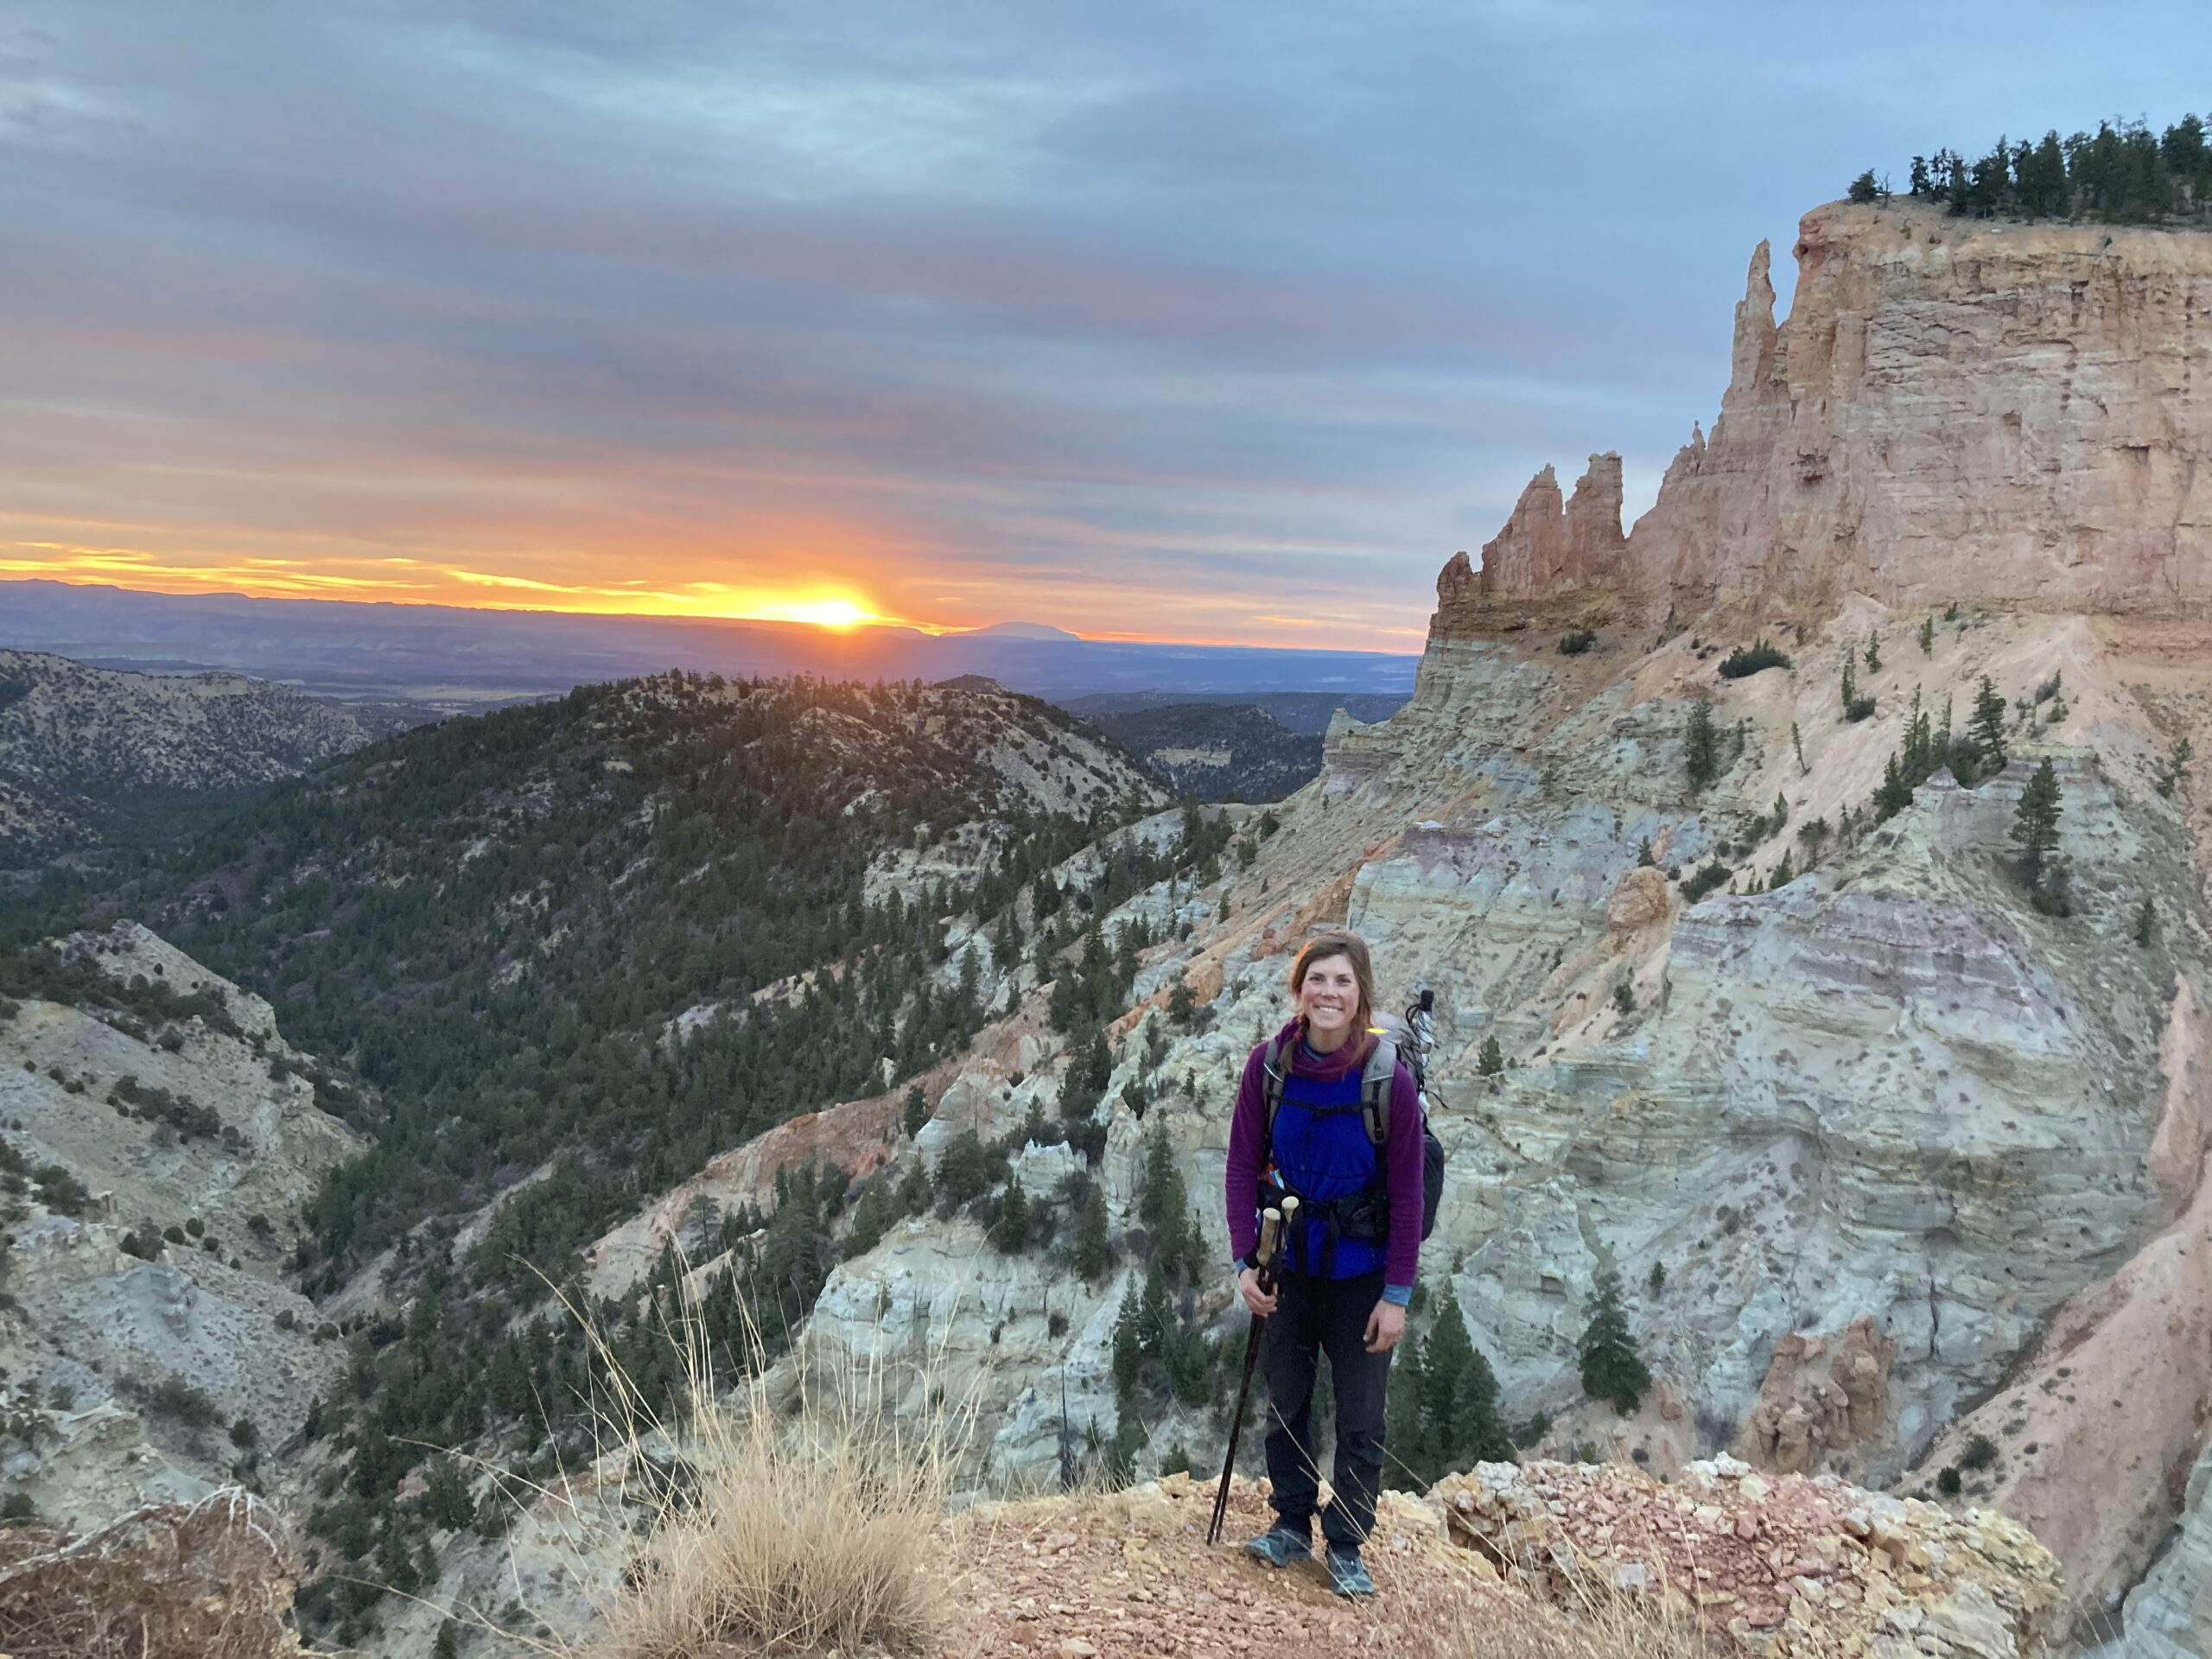
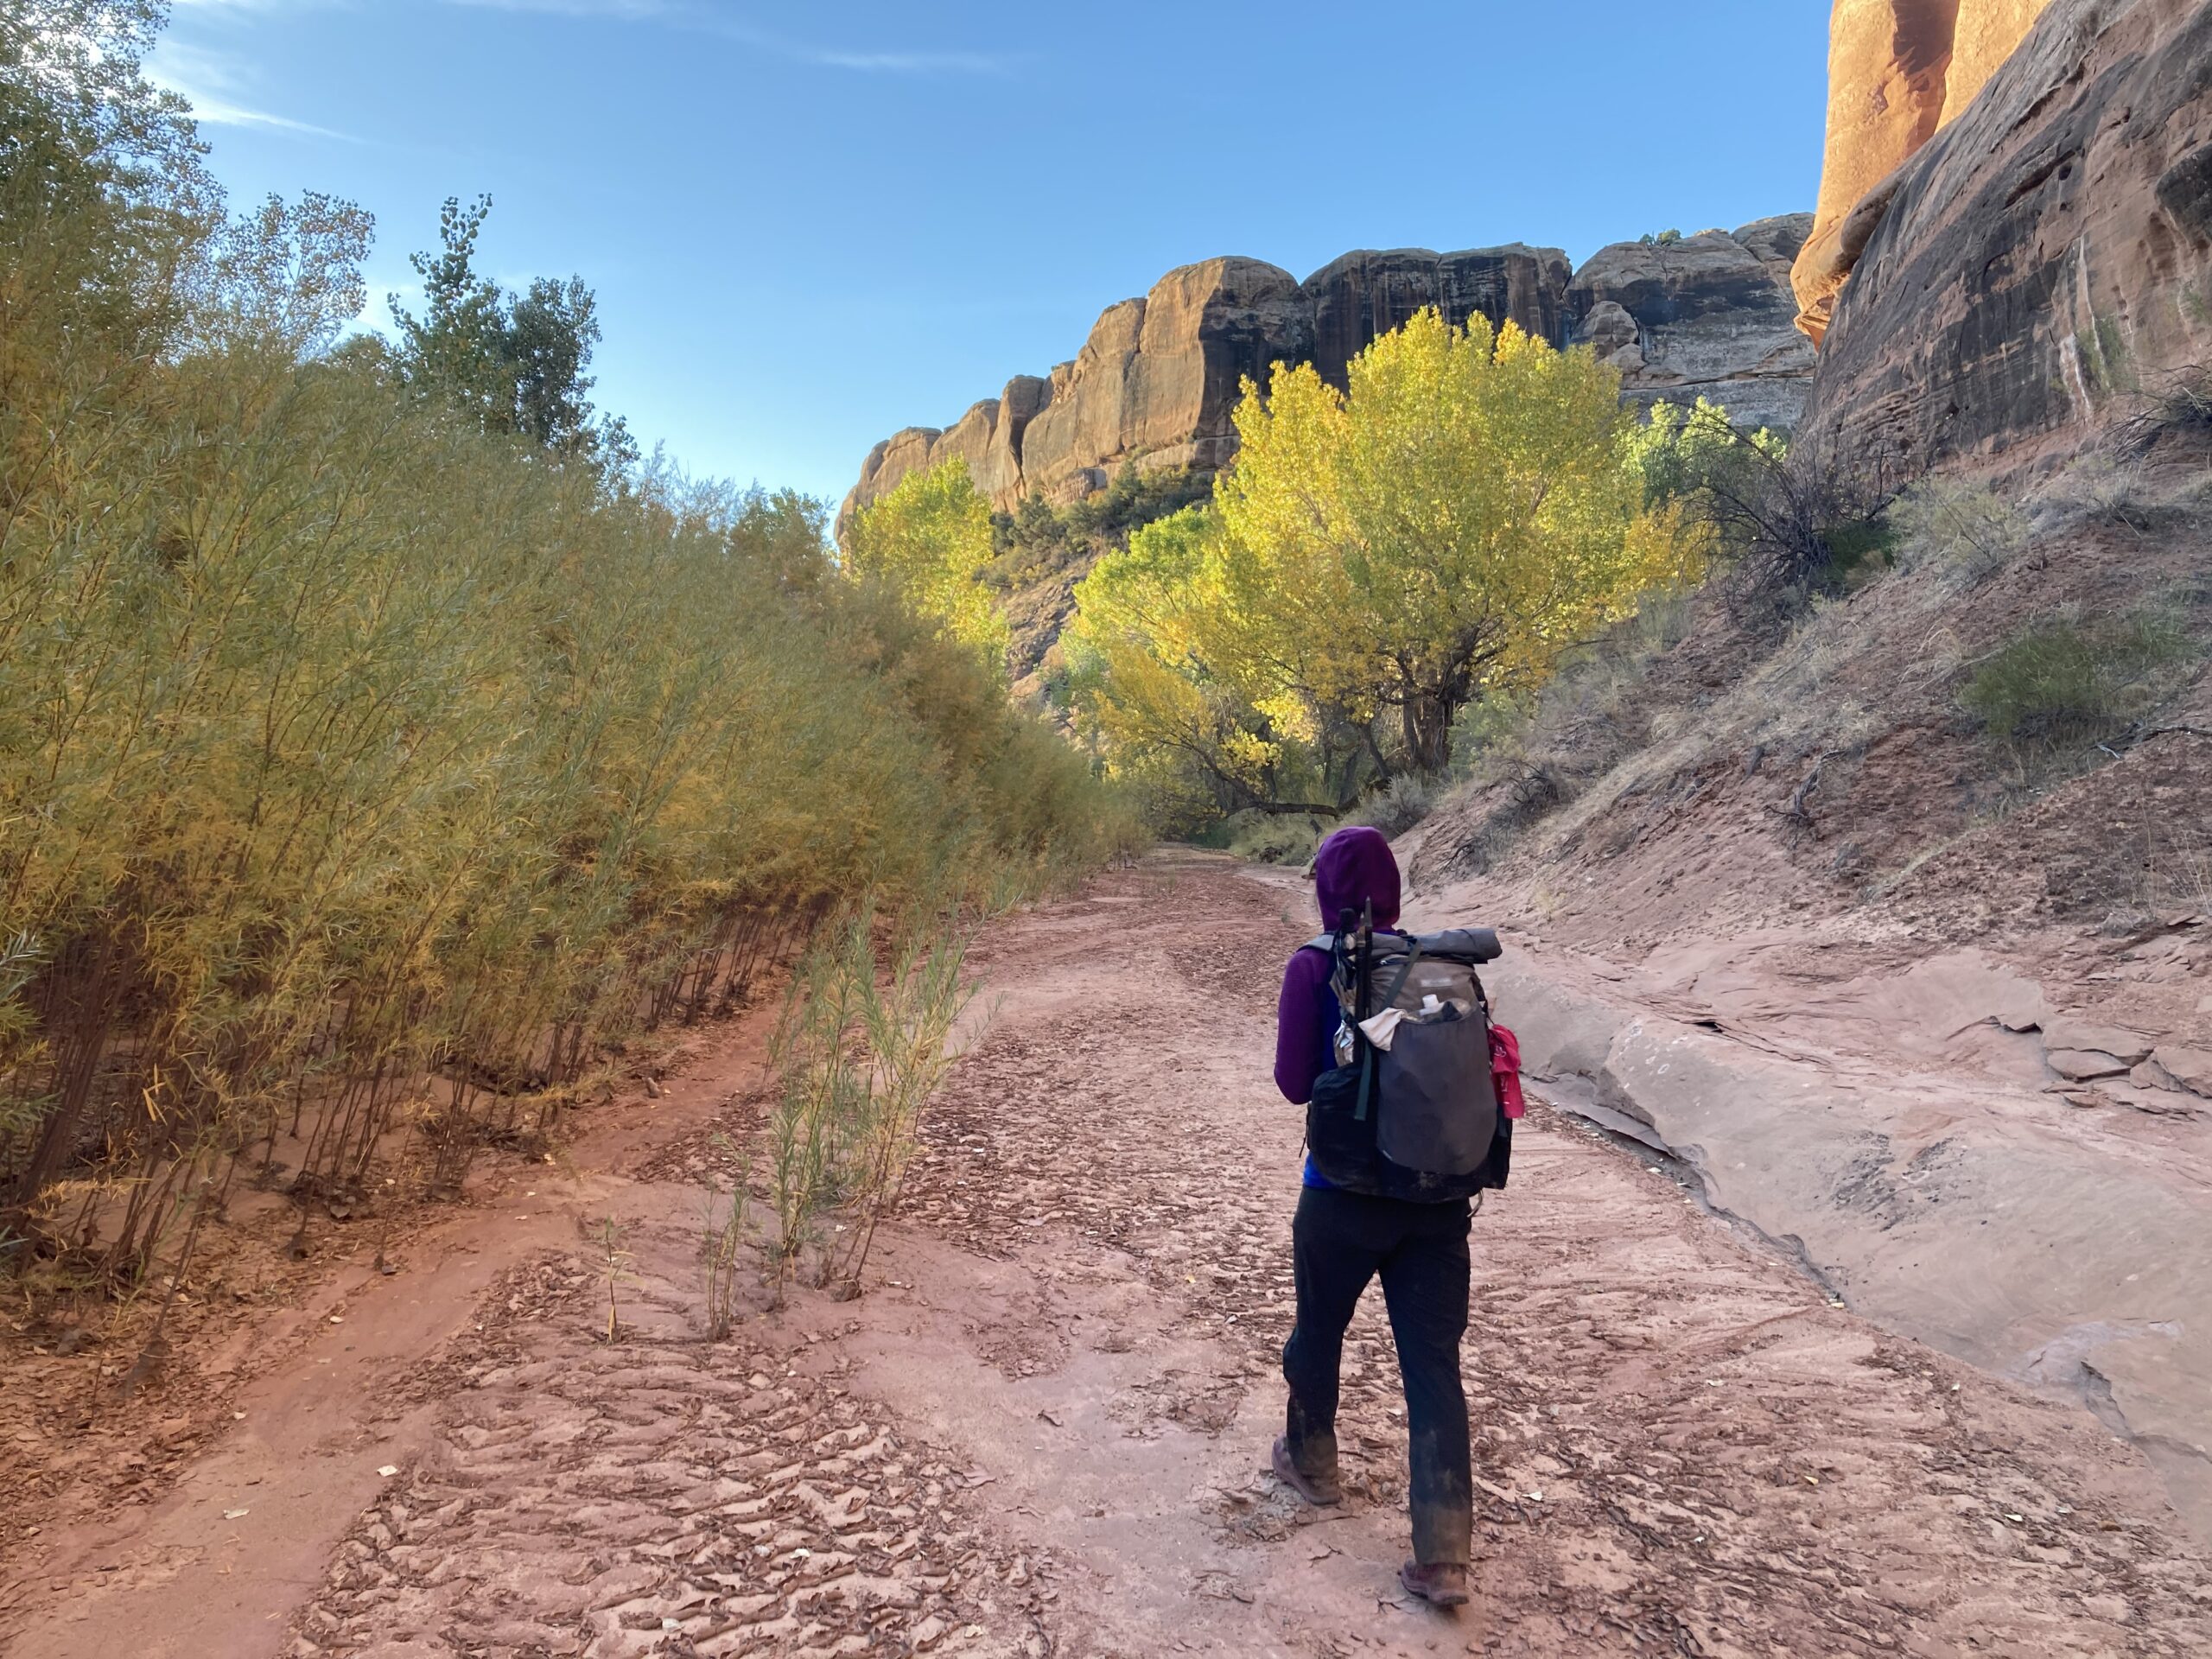
We hiked the Hayduke Trail in fall, October 12th to November 23rd. The weather was really good for us at the start of our trip. Our days were sunny, and our evenings were cool. But by mid November the cold really settled in. Winter was on its way and daylight felt scarce, especially in deep canyons. Looking back we should have started a bit earlier. This also may have helped us avoid a big winter storm that came through the Kaibab Plateau in November. Other than the snow, it was extremely dry during our time on the route. This was especially true because of chronic drought conditions impacting the surrounding areas.
Usually, people plan to walk the Hayduke in spring (March to April/early May) or fall (mid September to late November). You may be able to push these hiking seasons a little bit. That’s all up to you. Here are just a few thoughts to consider:
Fall (mid September to late November)
Pros:
-
- May get by carrying slightly less water (cooloer temps)
- Cooler temperatures can mean great hiking weather
- Flip side, nights can get really cold!
Cons:
-
- Water sources may be dried up (summer just happened)
- Daylight decreasing can mean short days
Spring (March to April/early May)
Pros:
-
- Days are getting longer
- More water sources flowing
- Desert bloom
Cons:
-
- Flip side, some muddy/deeper water travel sections!
- Temperatures could get really hot
Water & Water Treatment
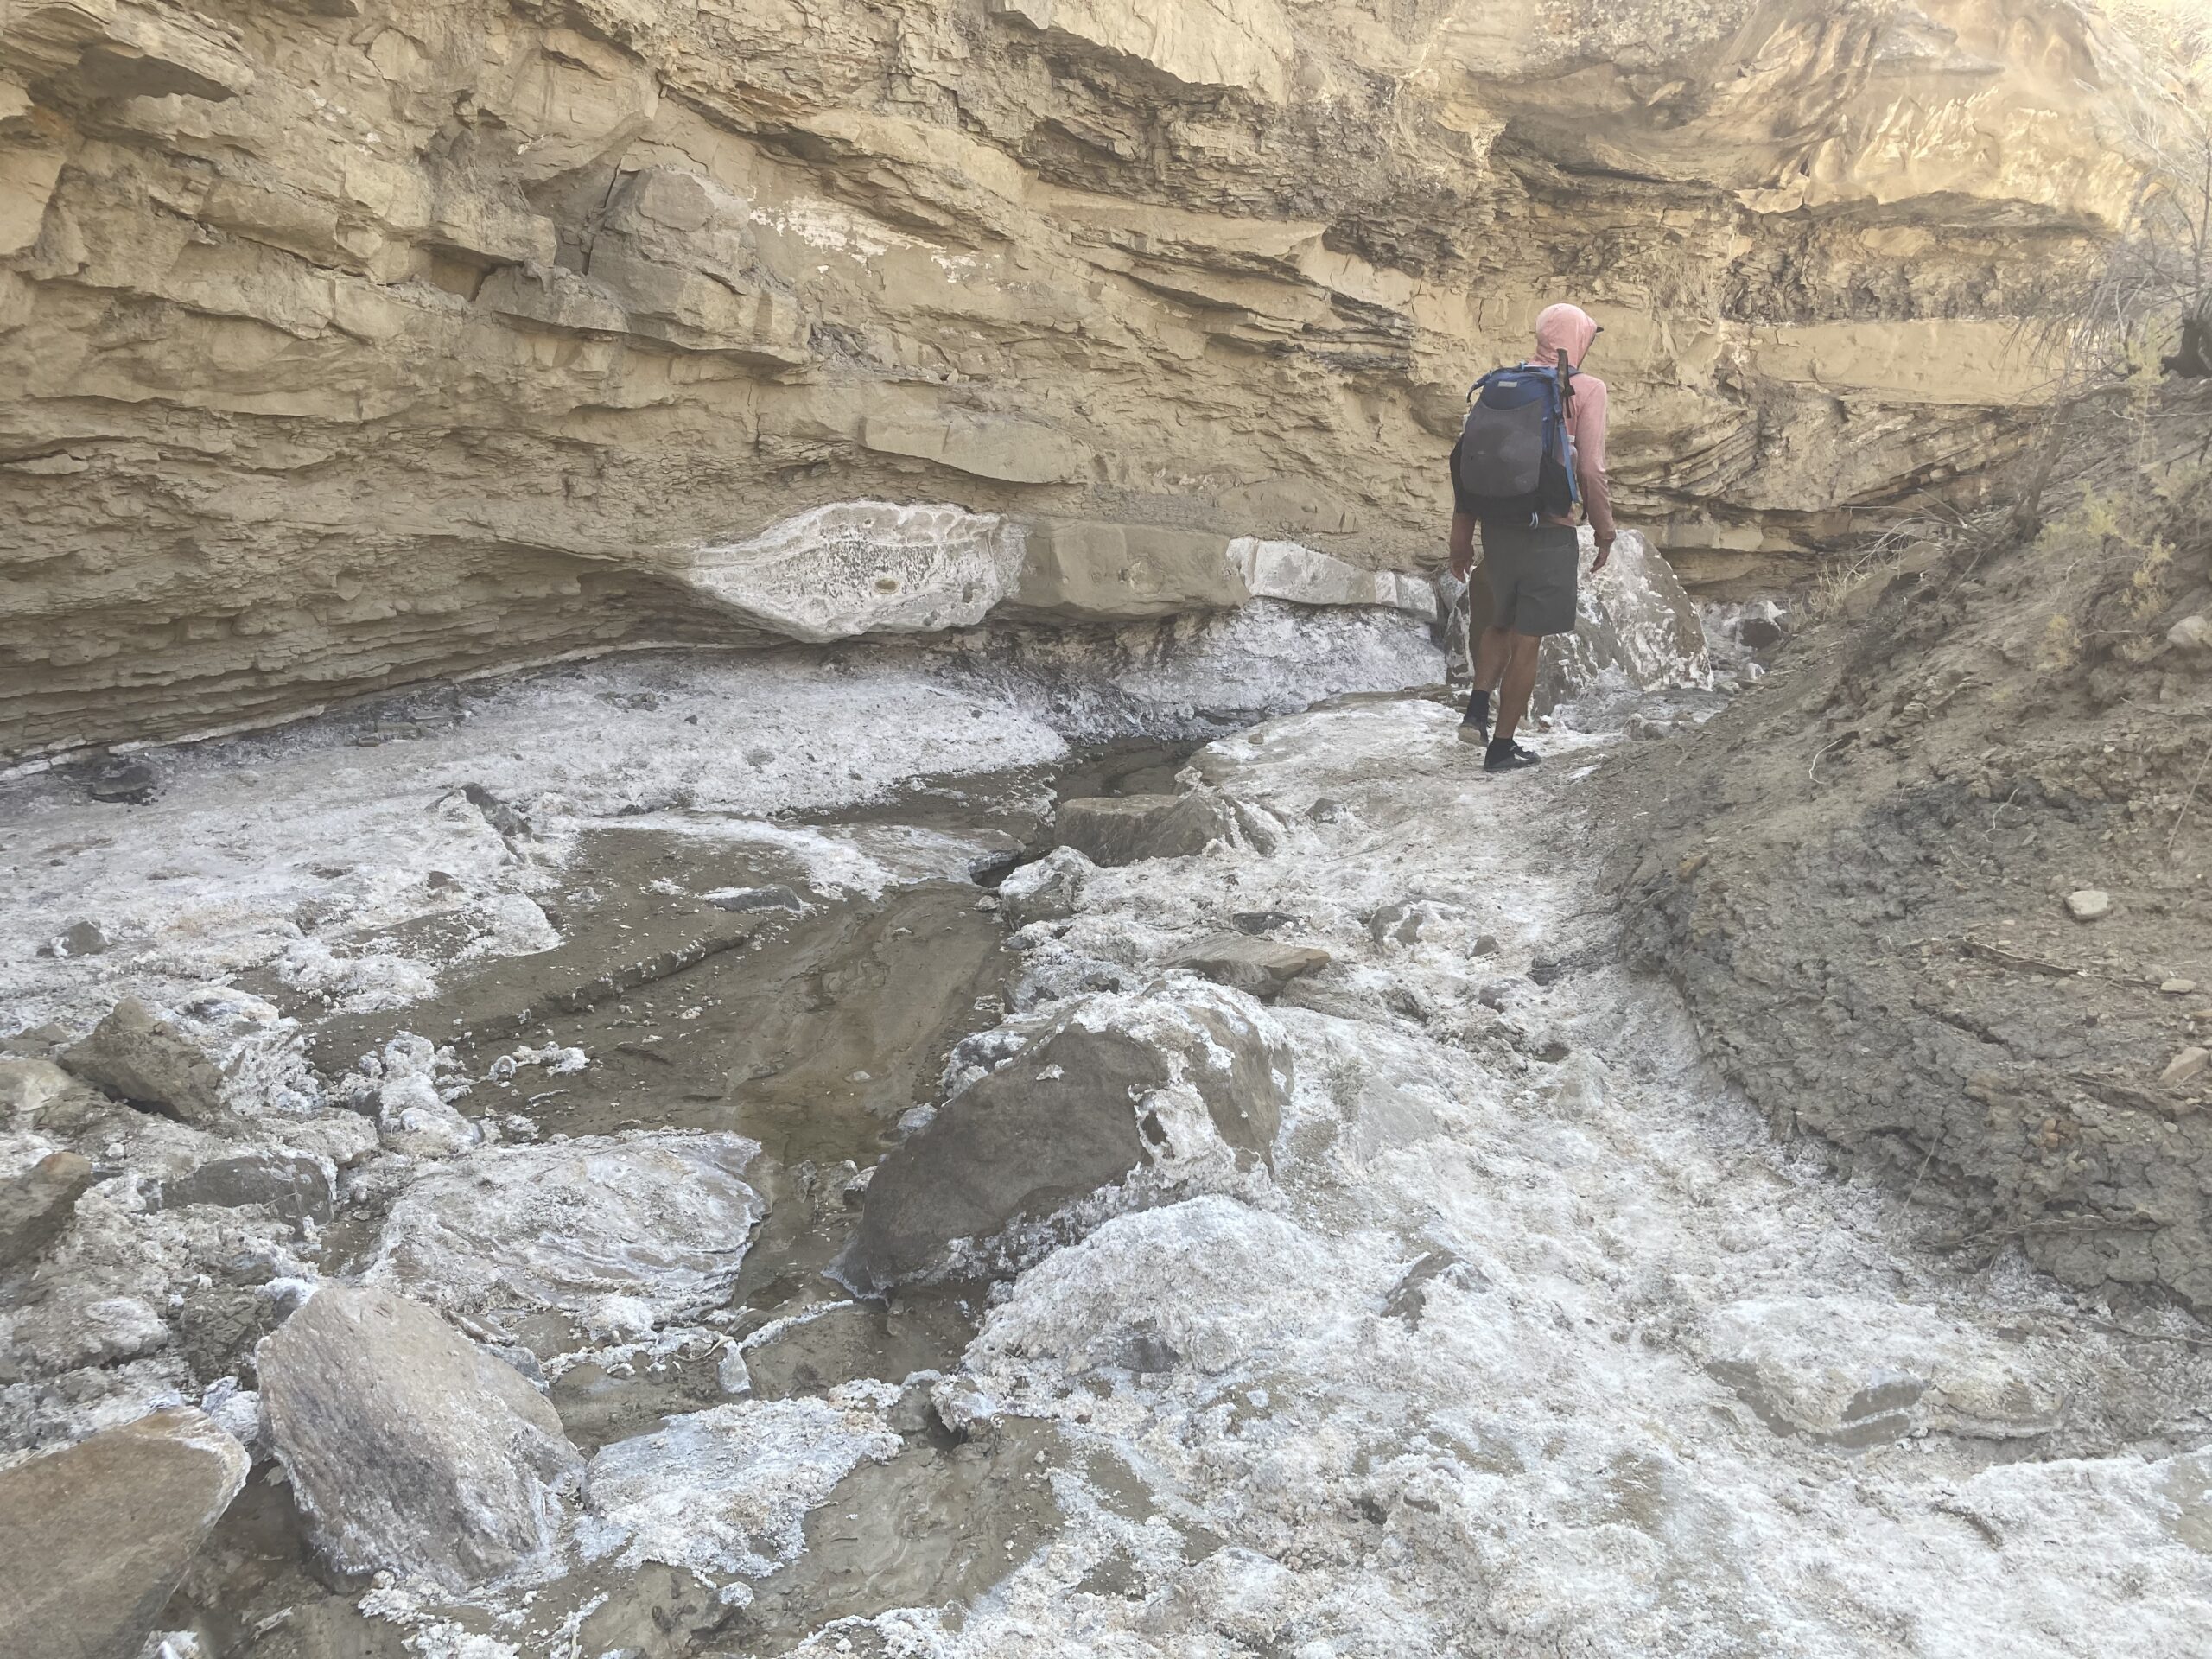
What kind of water would we find out there? This was one of our biggest questions when we started planning for the Hayduke Trail.
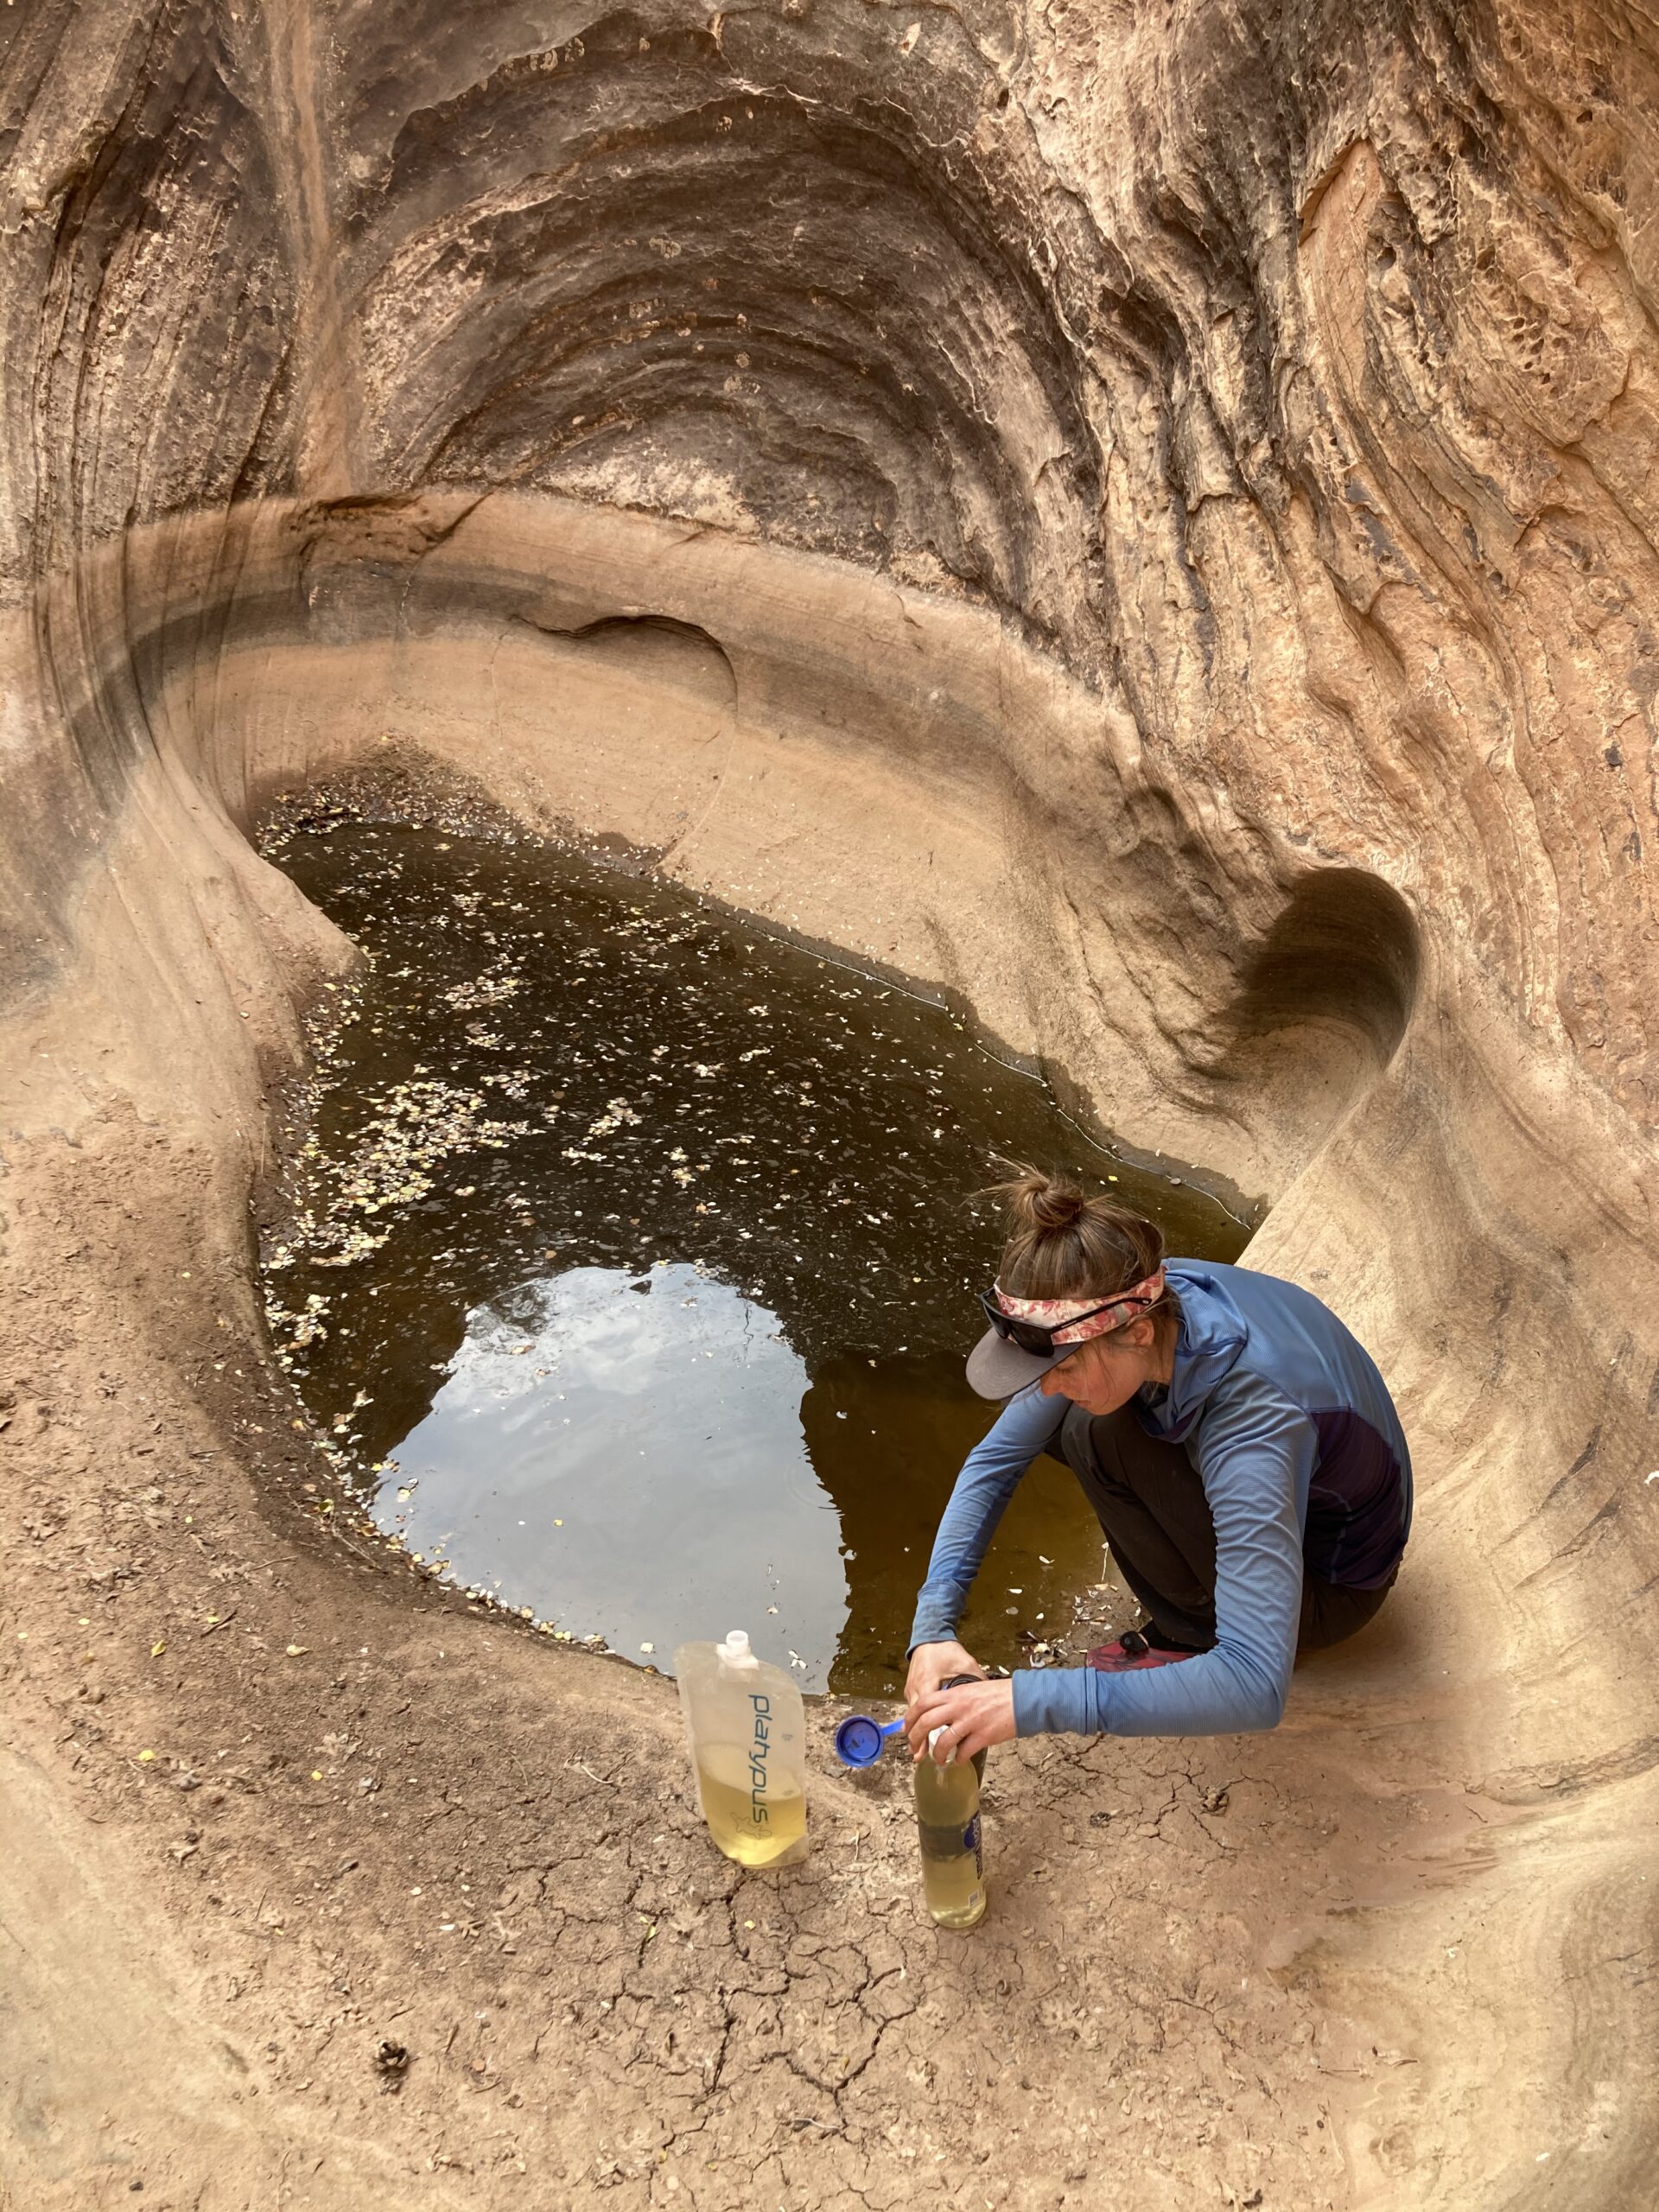
The water sources we encountered had all types of things going on with them. Some were known to be full of agricultural waste, some were silty, some had dead animals floating around, and others were filled with cool, crystal clear water. The point is, you never know exactly what you may find in regards to water on the Hayduke.
The water source reliability chart that was included in Andrew Skurka’s bundle was helpful — especially the accompanying notes from other Hayduke hikers. This hasn’t been updated in recent years though, and some formerly reliable sources are now completely dry. It is worth researching the most recent info you can find on water sources before you start the Hayduke.
We each carried four liters of water per day for cooking and drinking. At points along the way we carried more and less, but overall we used four liters as our daily reference point.
We used a four step water filtration process for the worst water sources we encountered. For details on our specific water treatment strategy, check out Jeff’s post — Water Treatment along the Hayduke Trail.
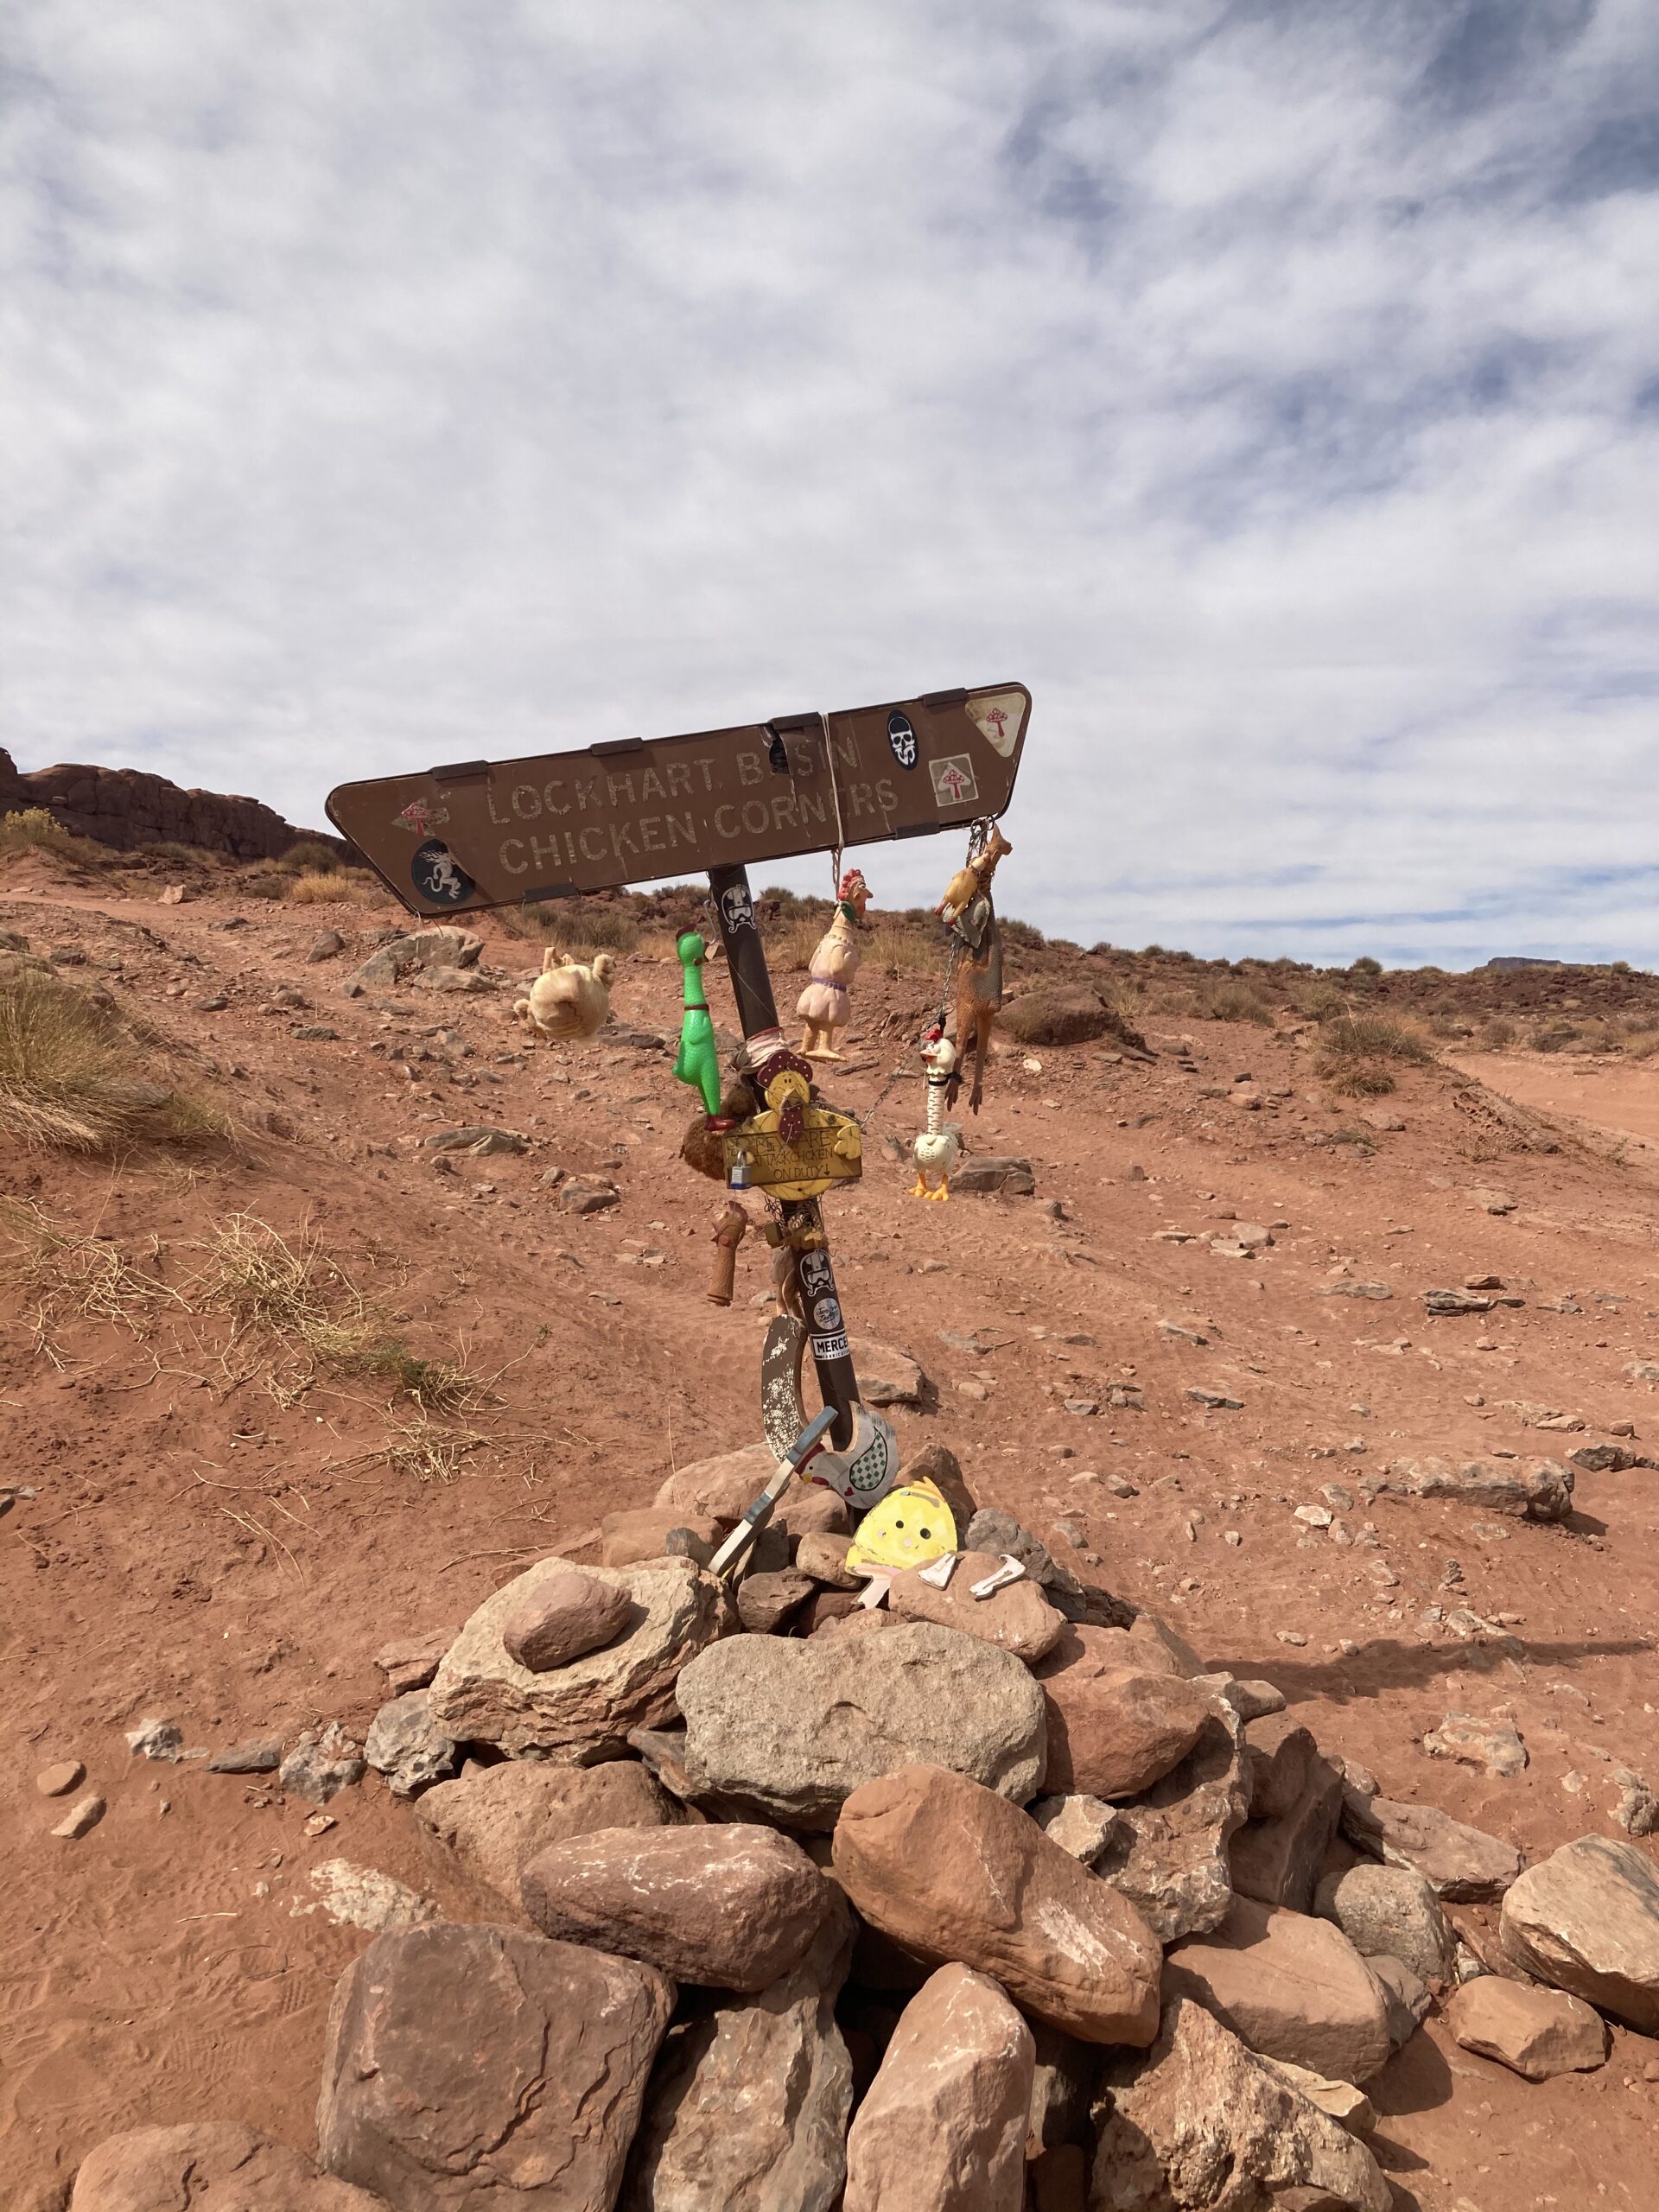
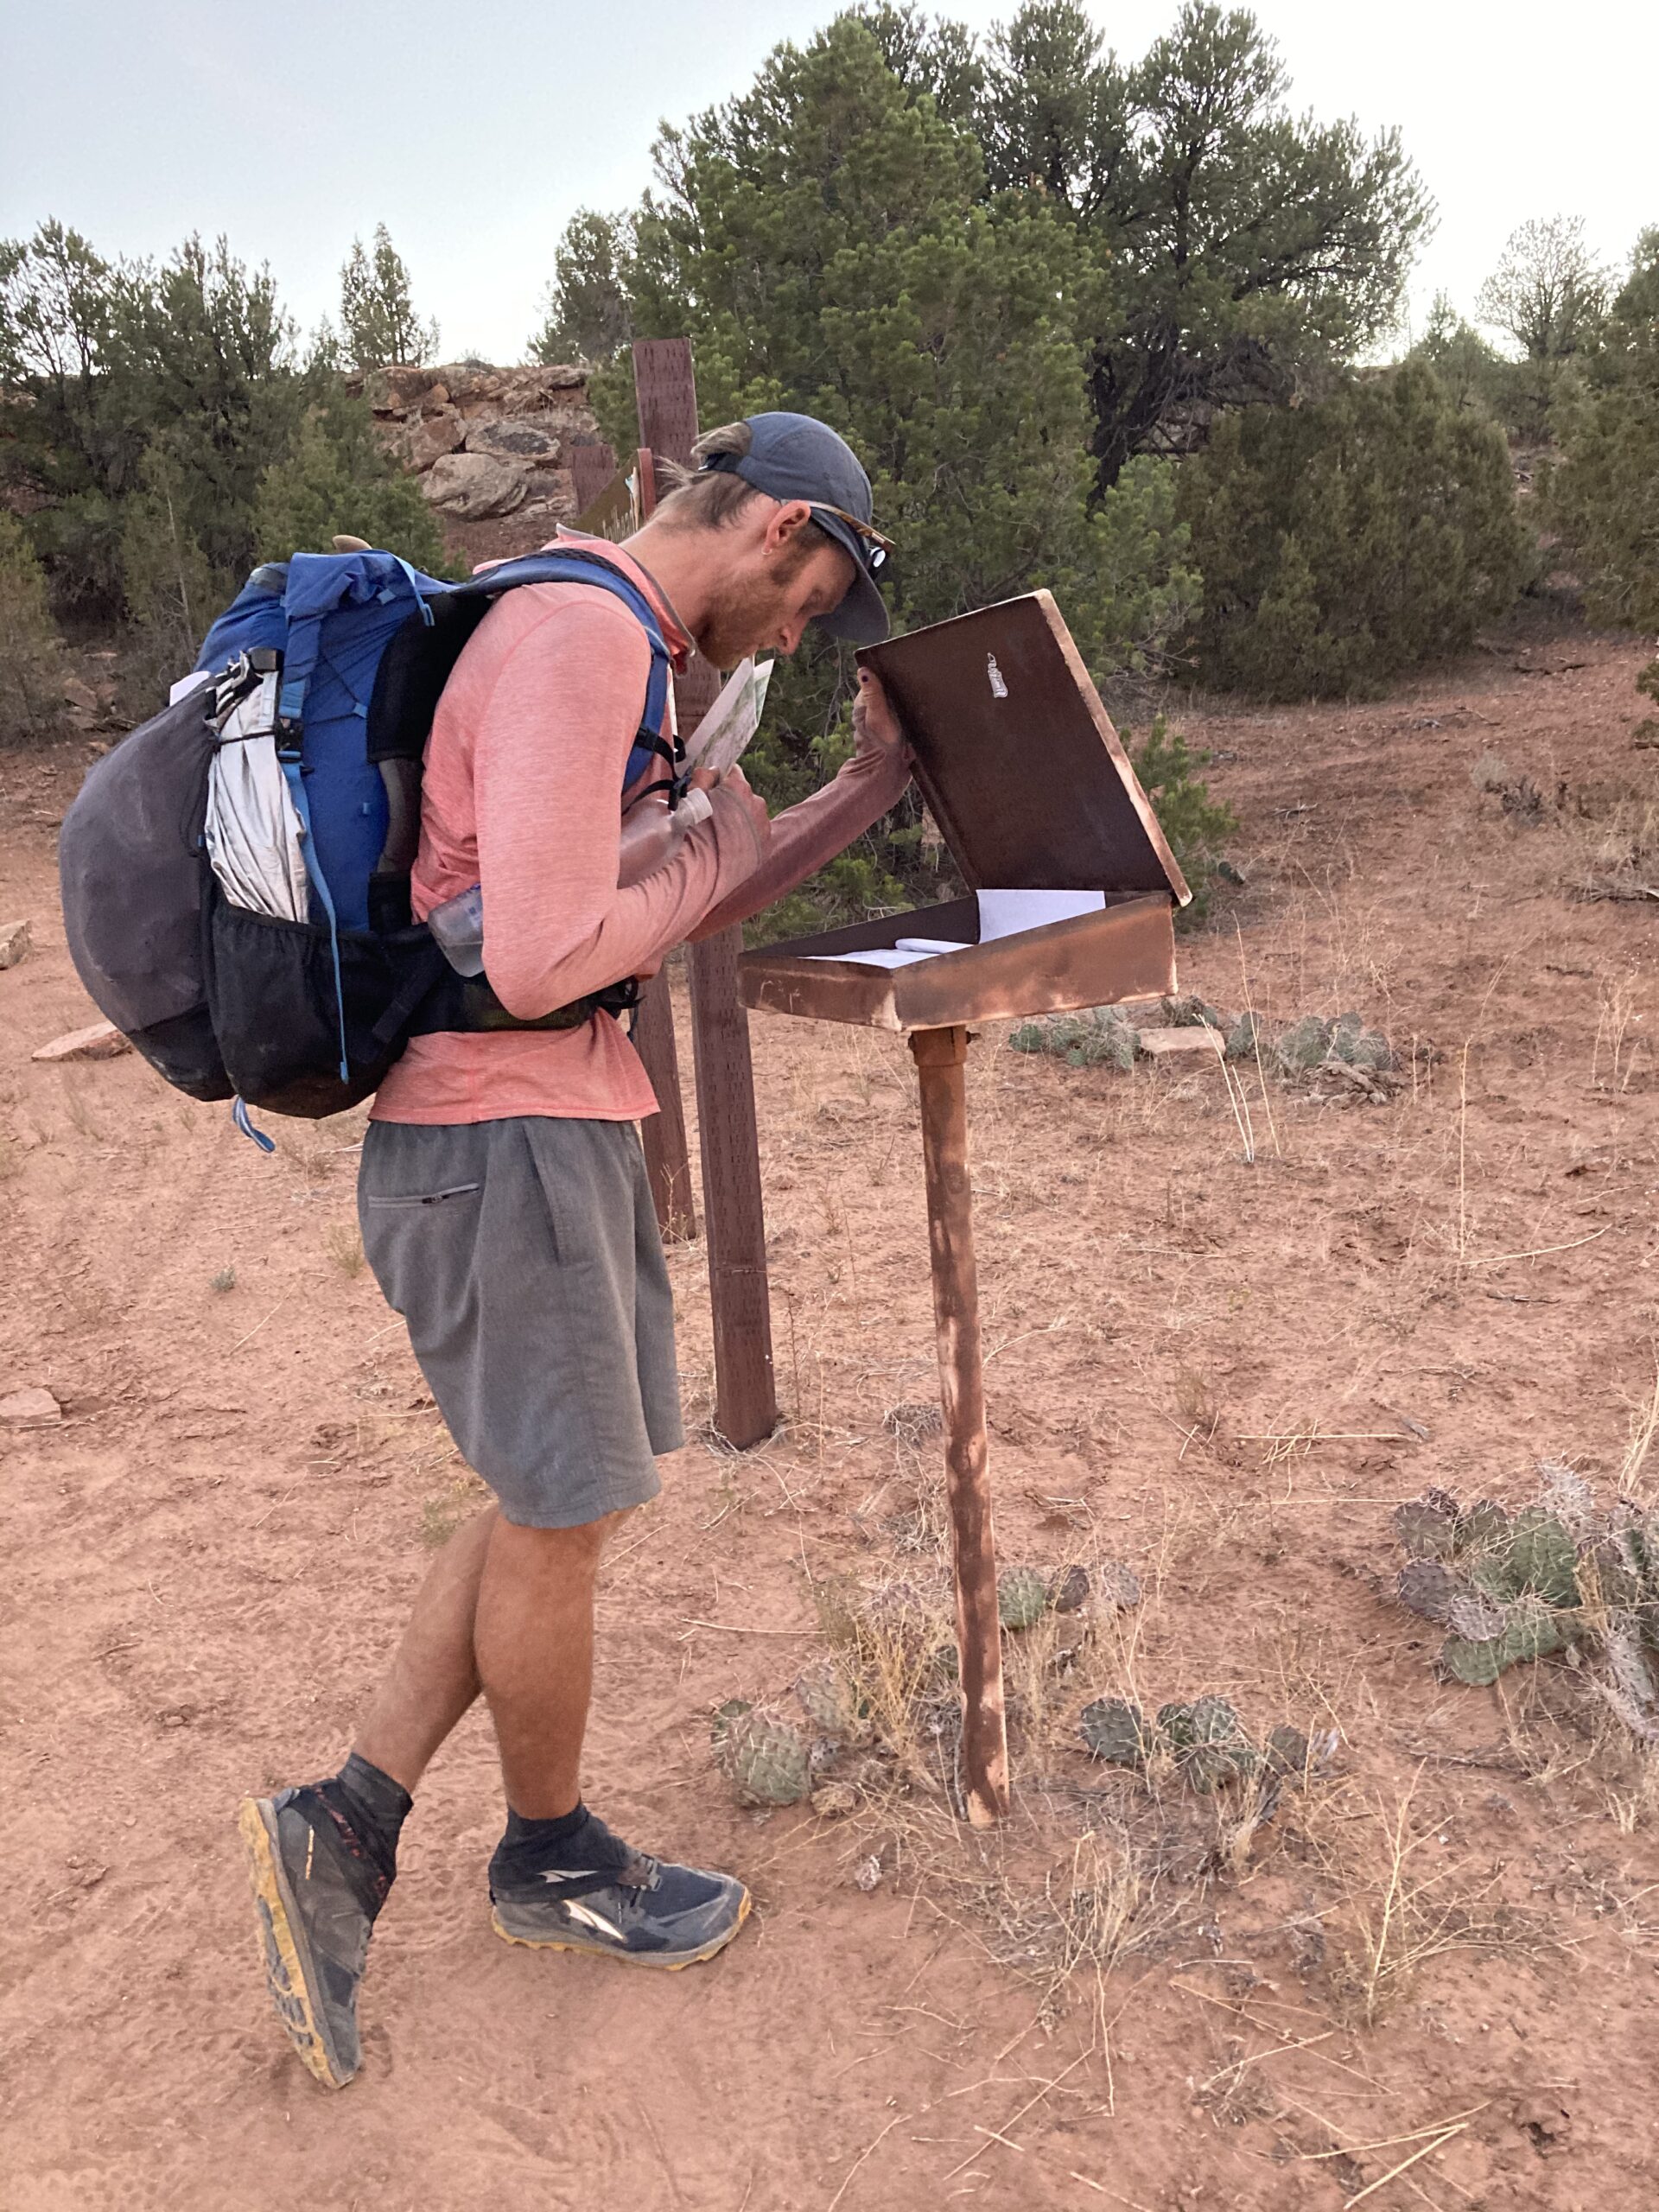
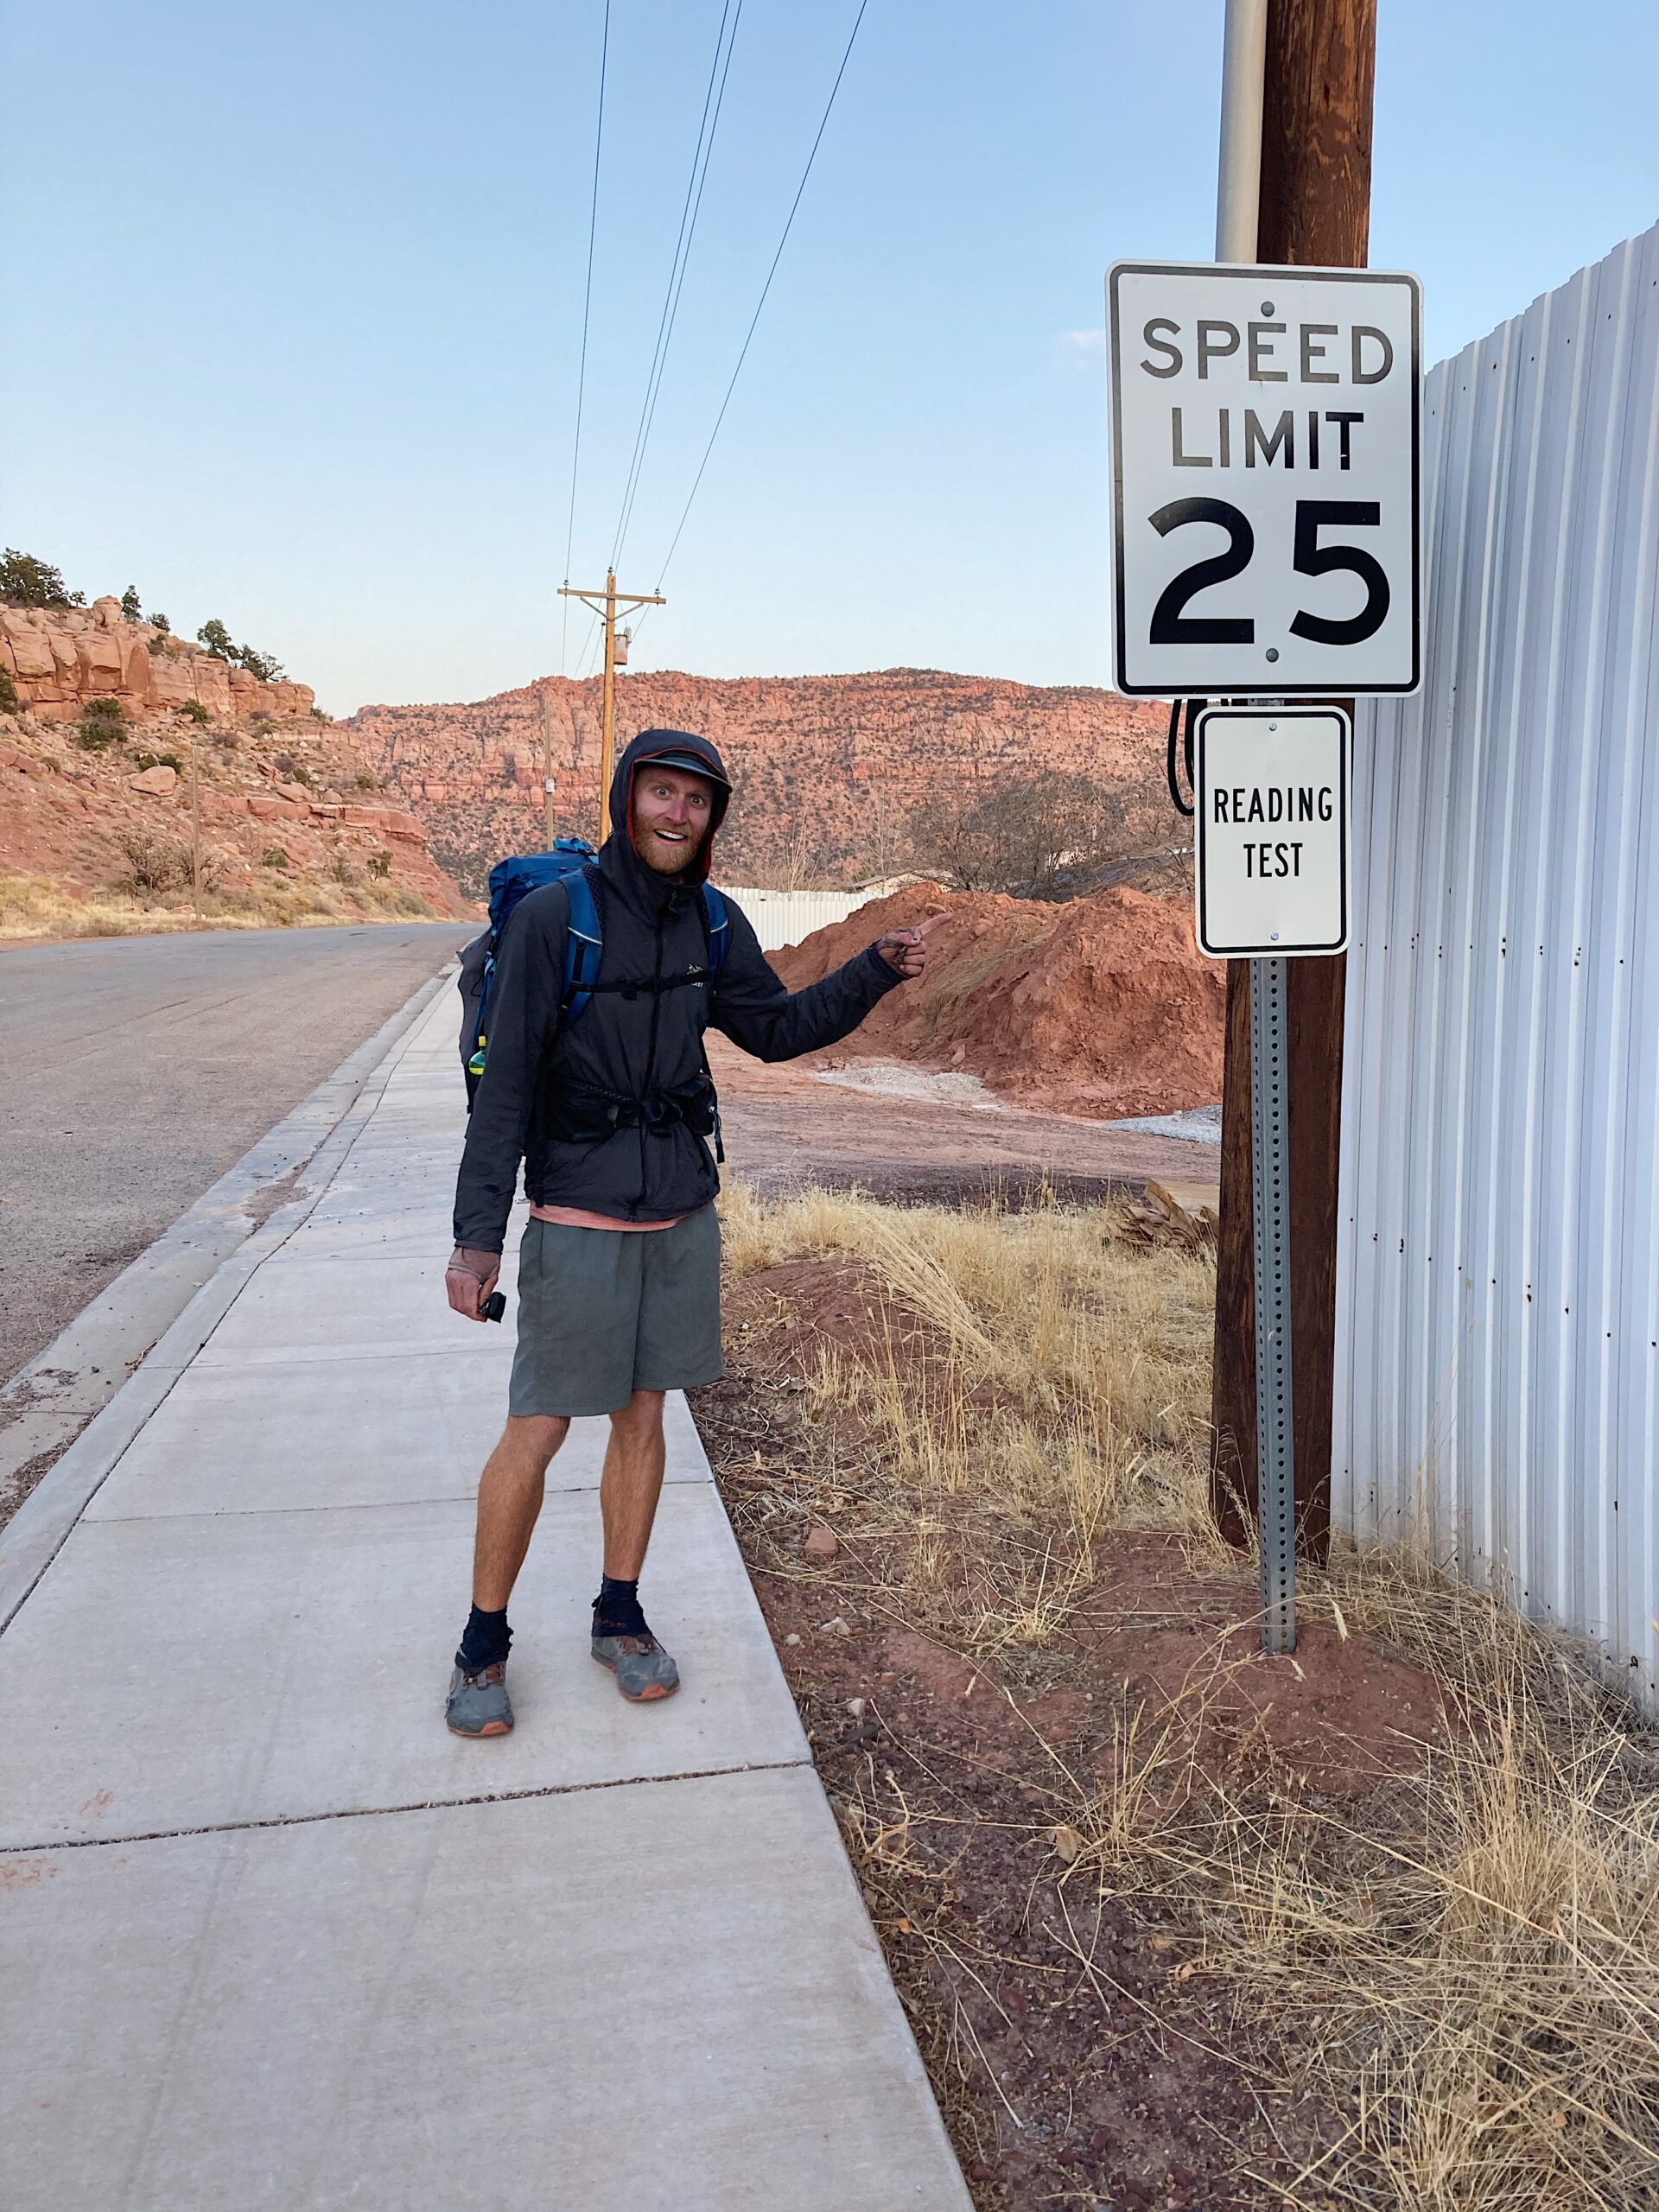
Navigation
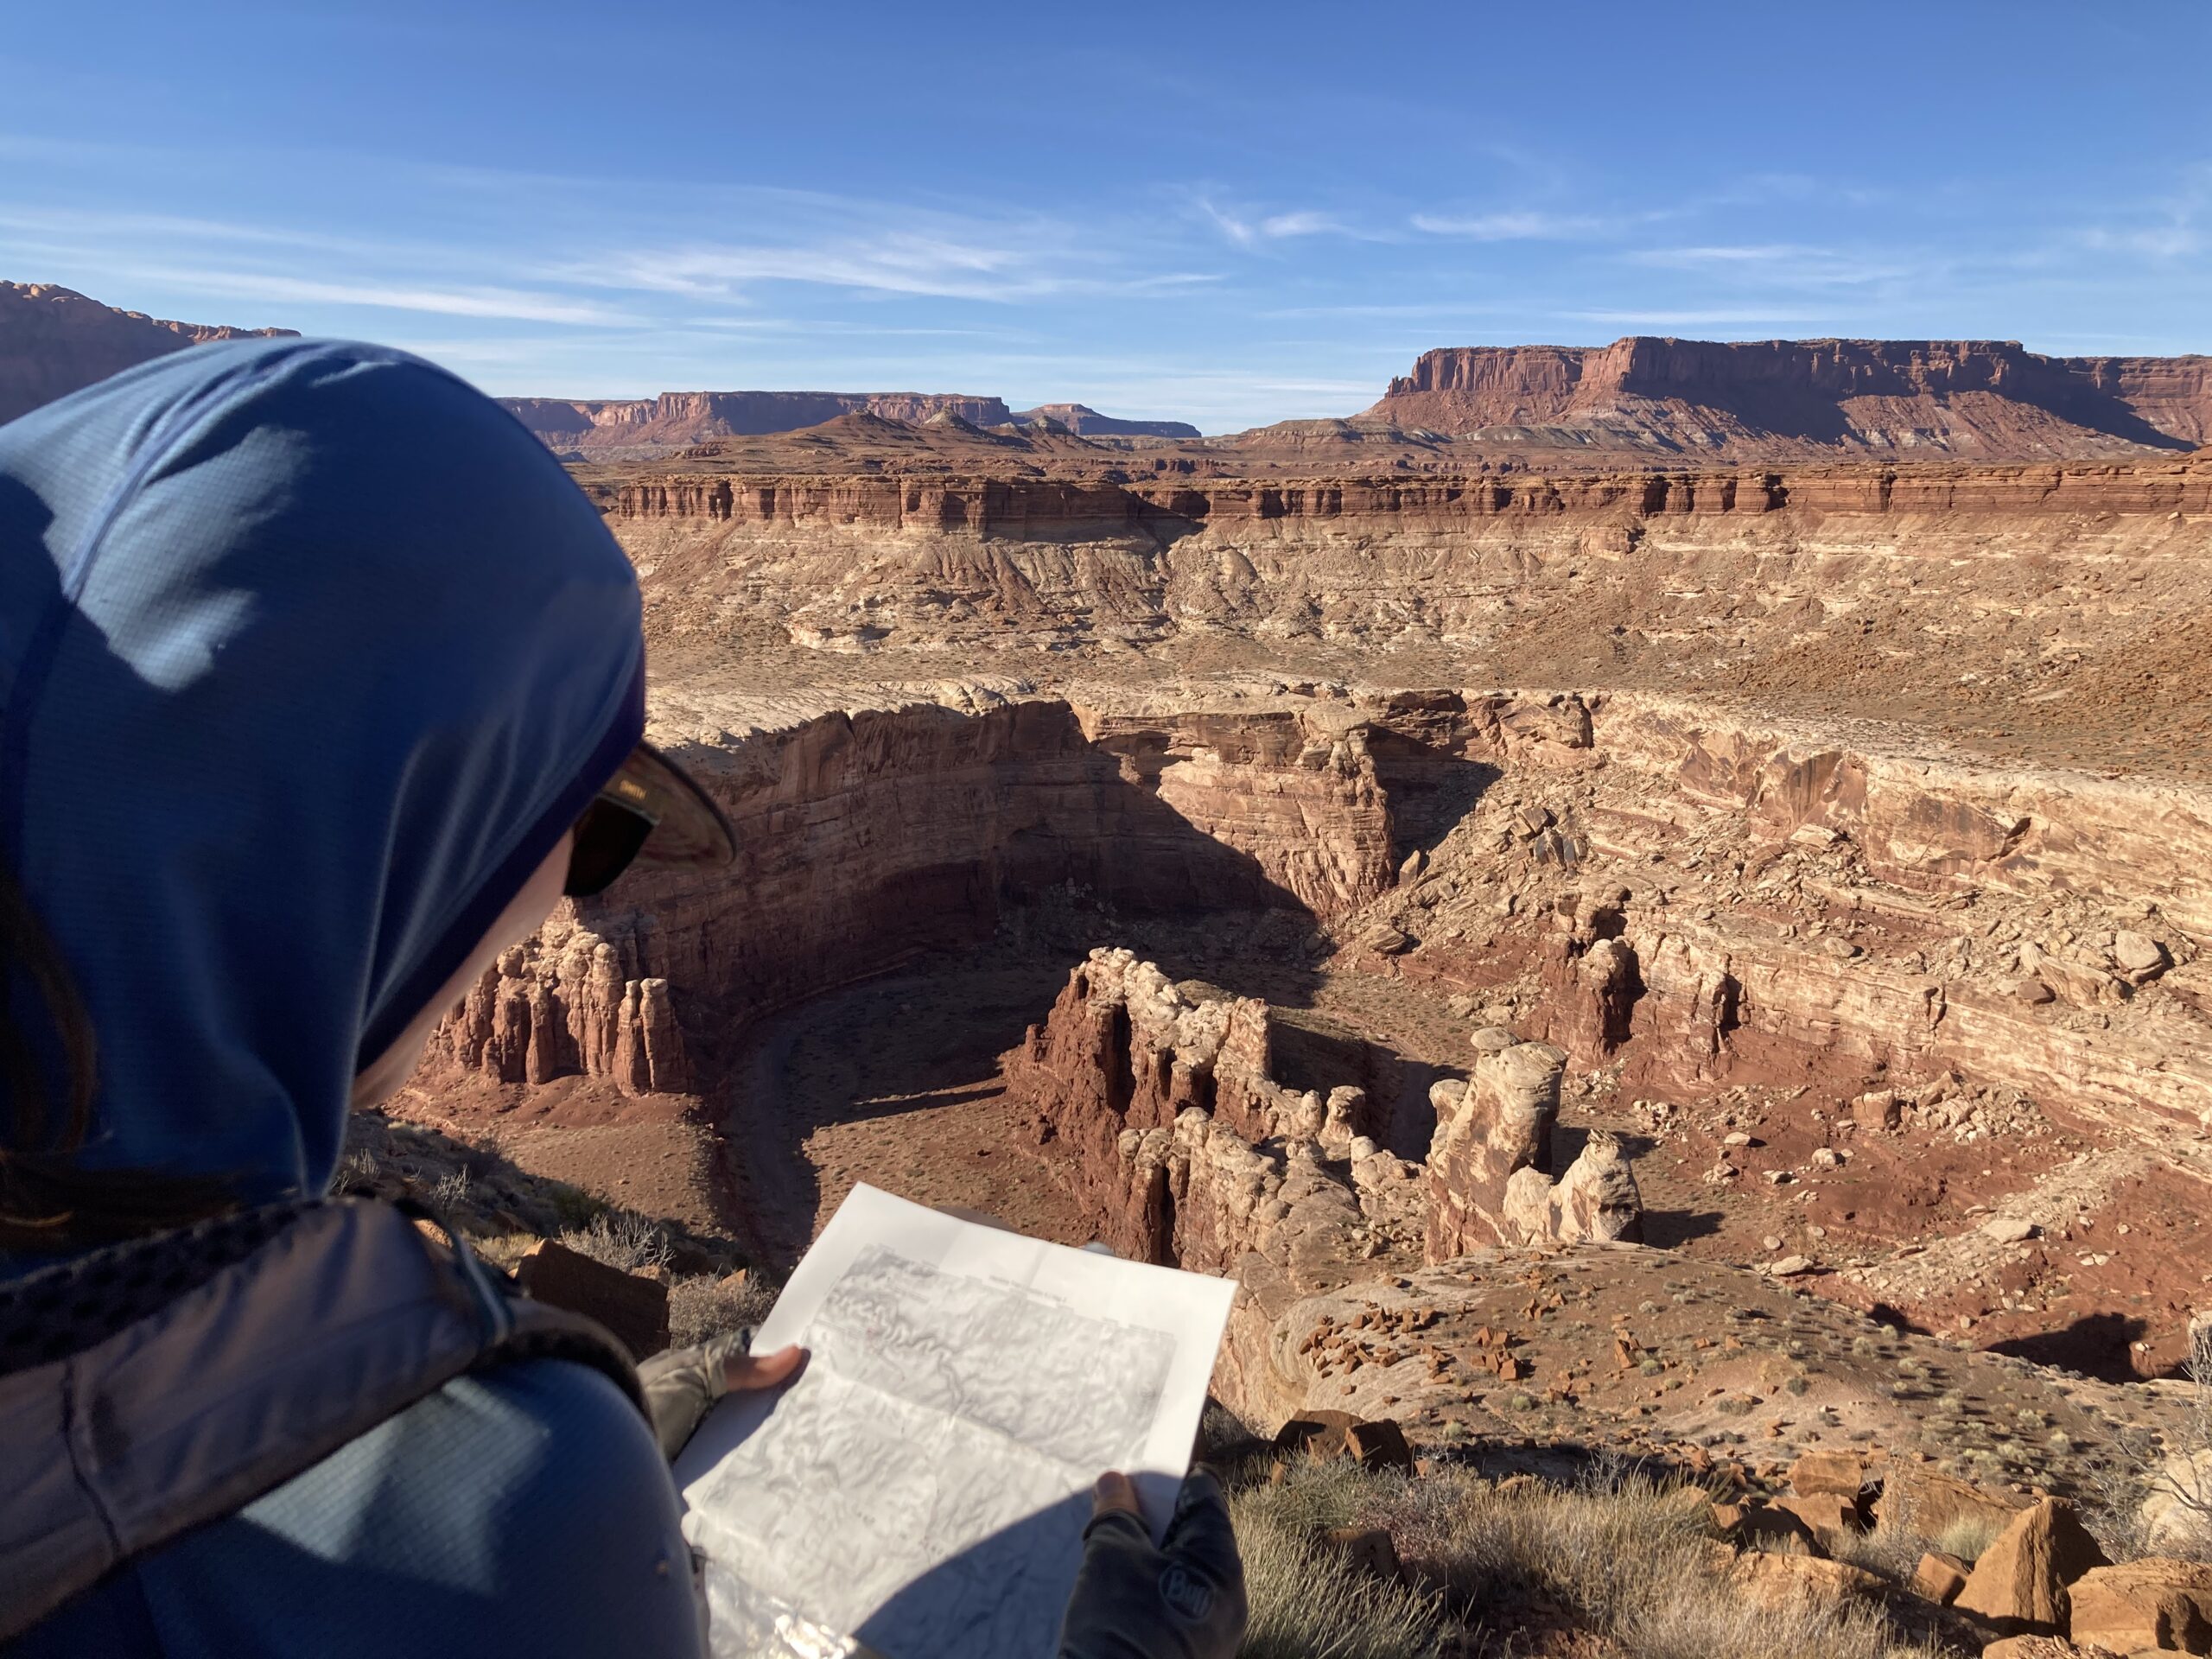
This is one of the most important parts of the Hayduke. Having a navigation plan in the desert is crucial. While we were on the Hayduke, we never saw a sign telling us which direction to go. For the most part, people we saw had no idea what the Hayduke even was. We kept joking that this route is literally just “dots on a map.” All that to say — know how to navigate and have some backup option.
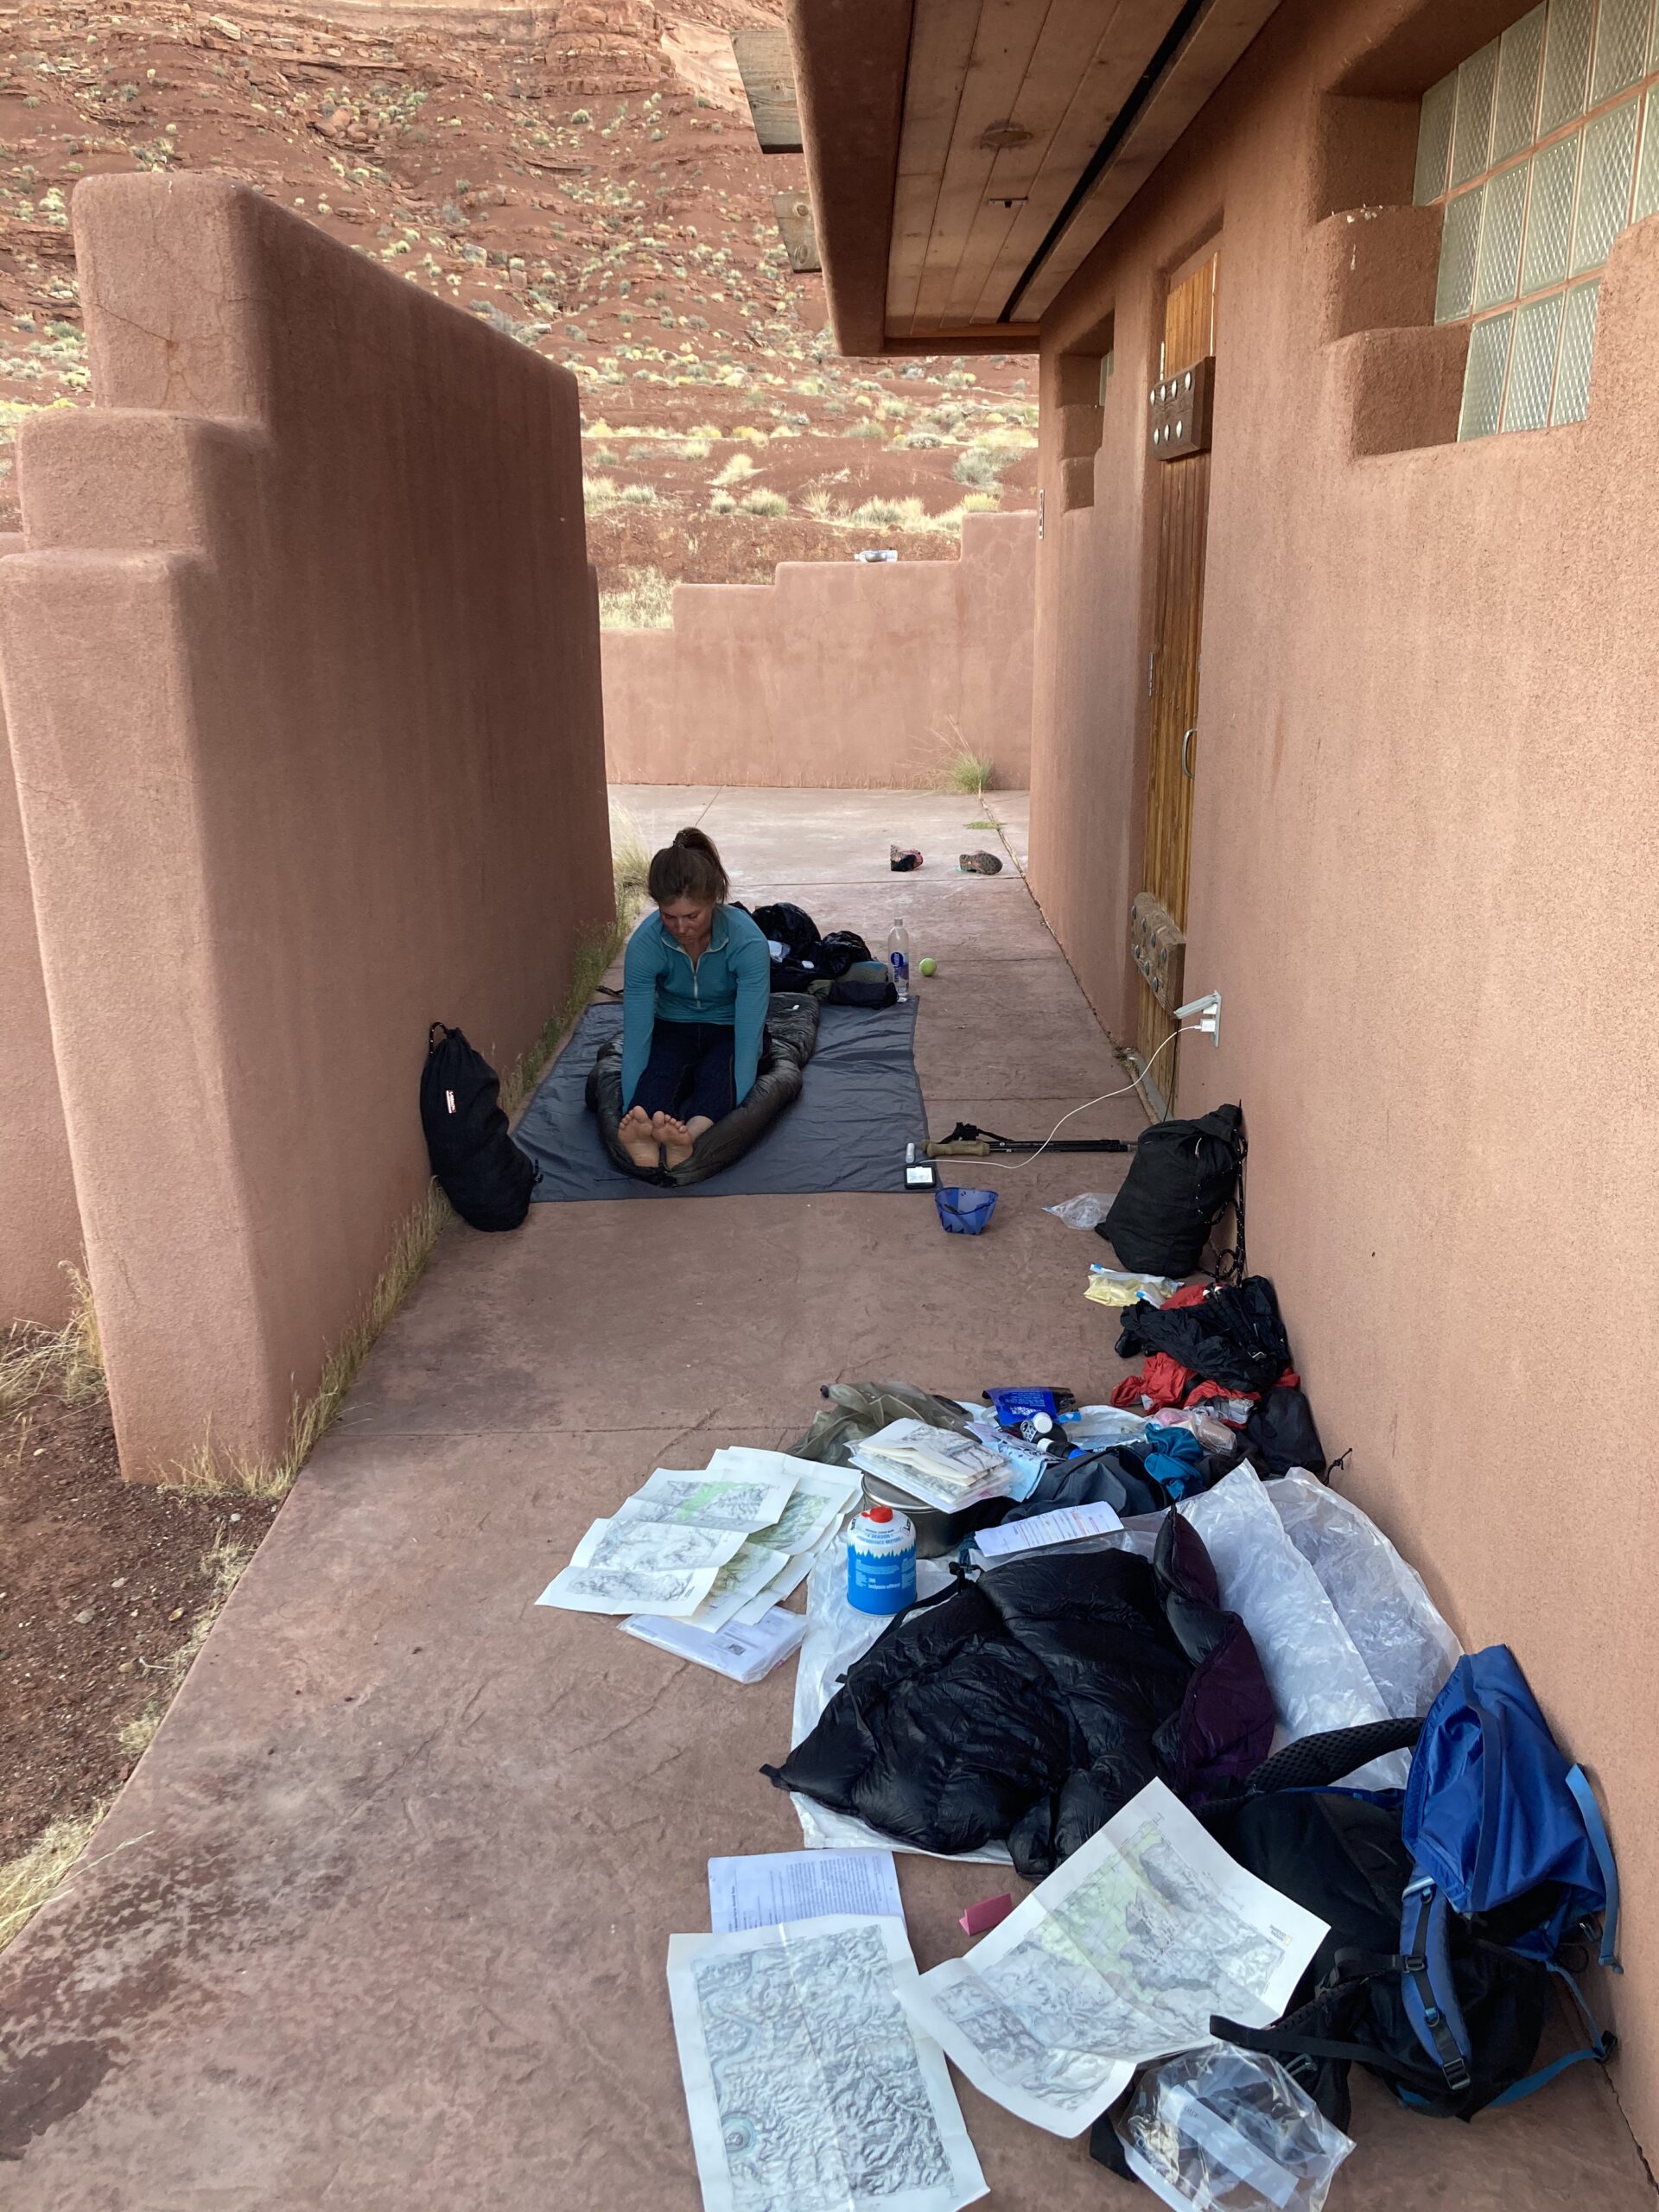
We decided to go strictly map and compass. We did the whole route with Andrew Skurka’s maps printed on 11 by 17 paper, and a reliable Suunto Compass. We also had an overview map of the Grand Canyon area. Looking back, we would recommend having some sort of backup map system on a GPS or phone, just in case. We are always excited about a navigational challenge (and luckily this worked out well for us), but we took a risk using only paper maps. Jeff had actually tried to download a backup mapping option on his phone before the trip, but it ended up not working out there. We probably checked our maps over 100 times a day, and did our best to live by the wisdom — “stay found.” This was a highlight for us and also a challenge — meticulous navigation can definitely slow your pace.
Maps
On our trip we used Andrew Skurka’s map bundle and it was phenomenal. Being able to have an organized map set was extremely helpful. We printed the maps on 11 by 17 paper which was sufficient. It seems like you could probably get away with printing them on 8.5 by 11 paper and also be okay.
The supplemental info that Skurka provides with his guidebook additions are also very helpful (especially in spots with trickier navigation). It is important to note that Skurka did not do the last few sections of the route. Its helpful to do some more of your own research in a few areas to hear what others have to say. There are many variations to explore on the Colorado Plateau.
Guidebooks
The guidebook necessary to complete the route is called The Hayduke Trail, written by route creators Joe Mitchell and Mike Coronella. Even with a guidebook, the Hayduke is designed so that you can be creative and make your own way.
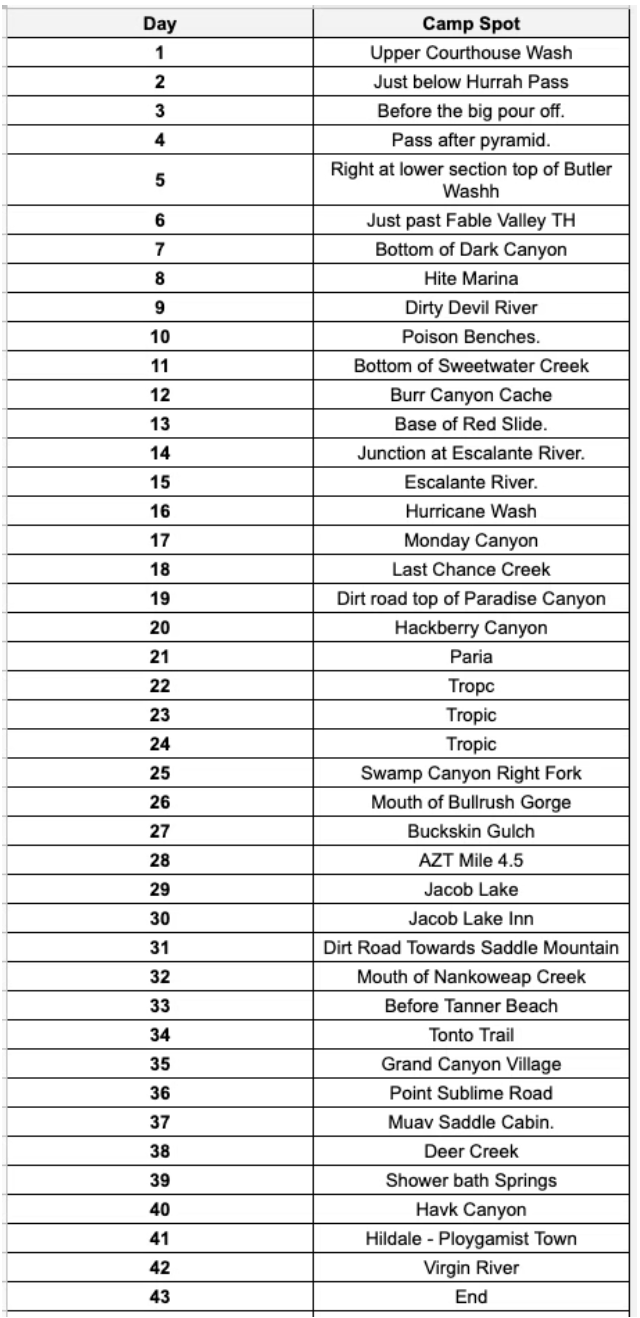
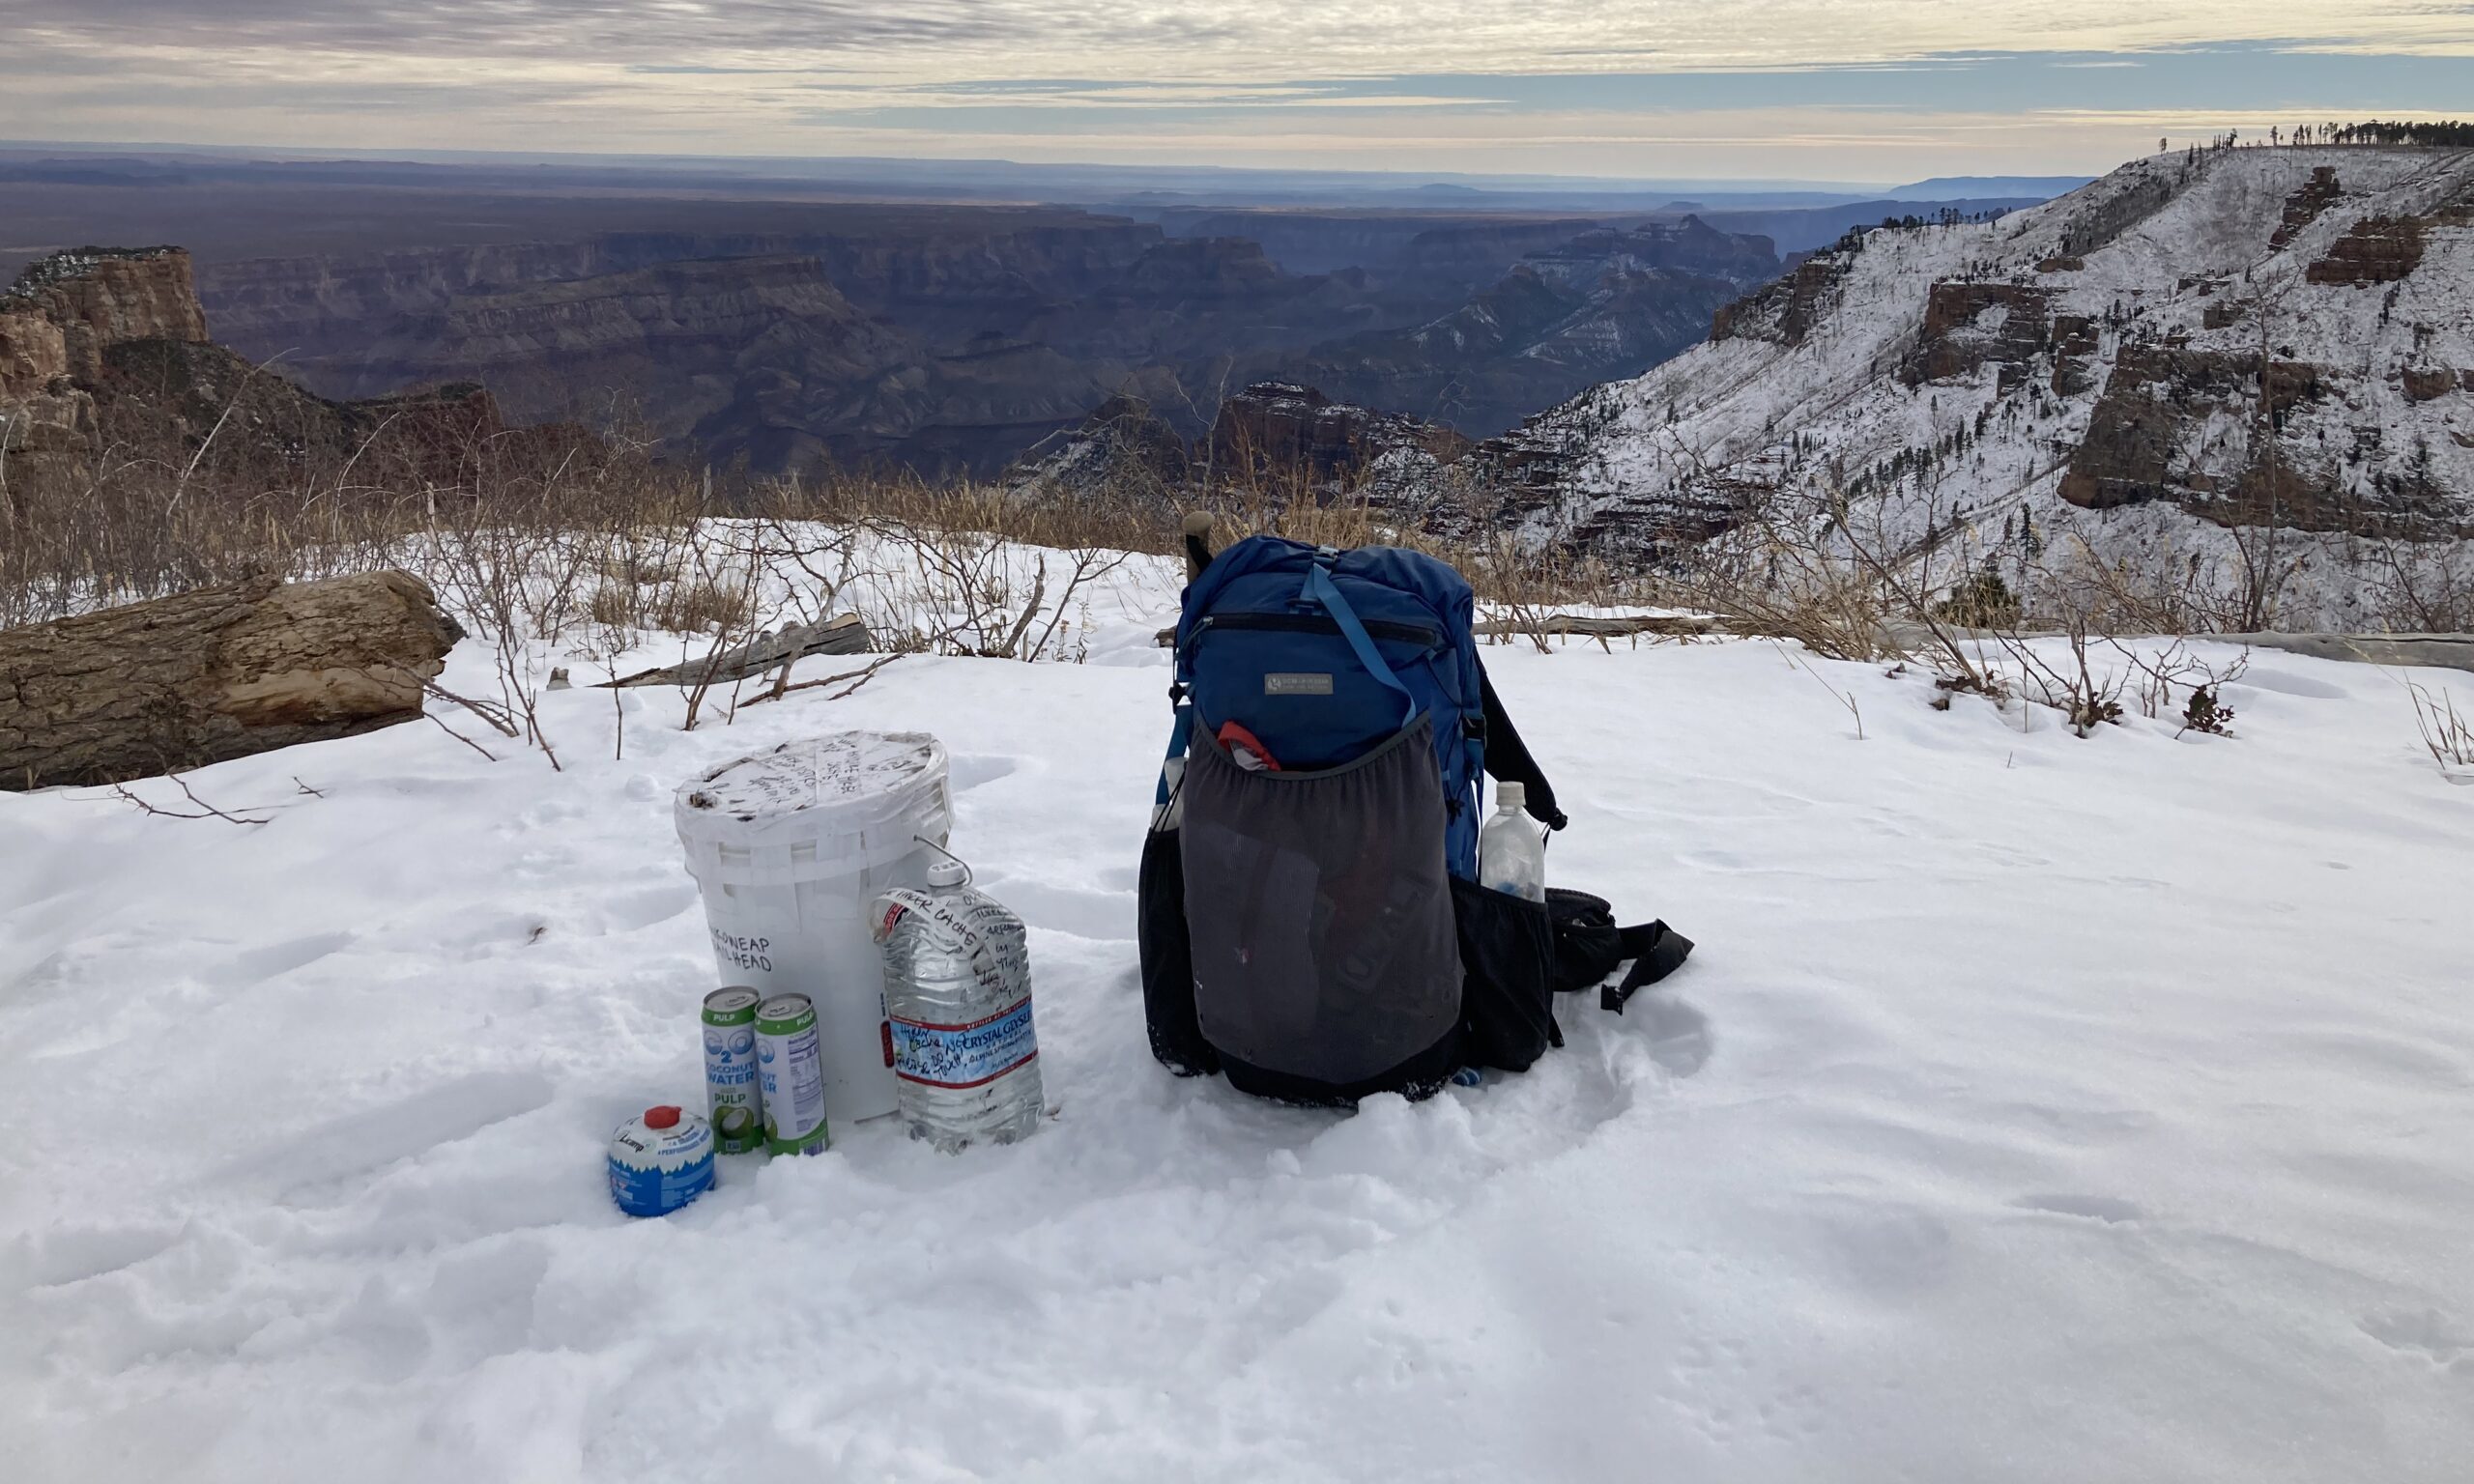
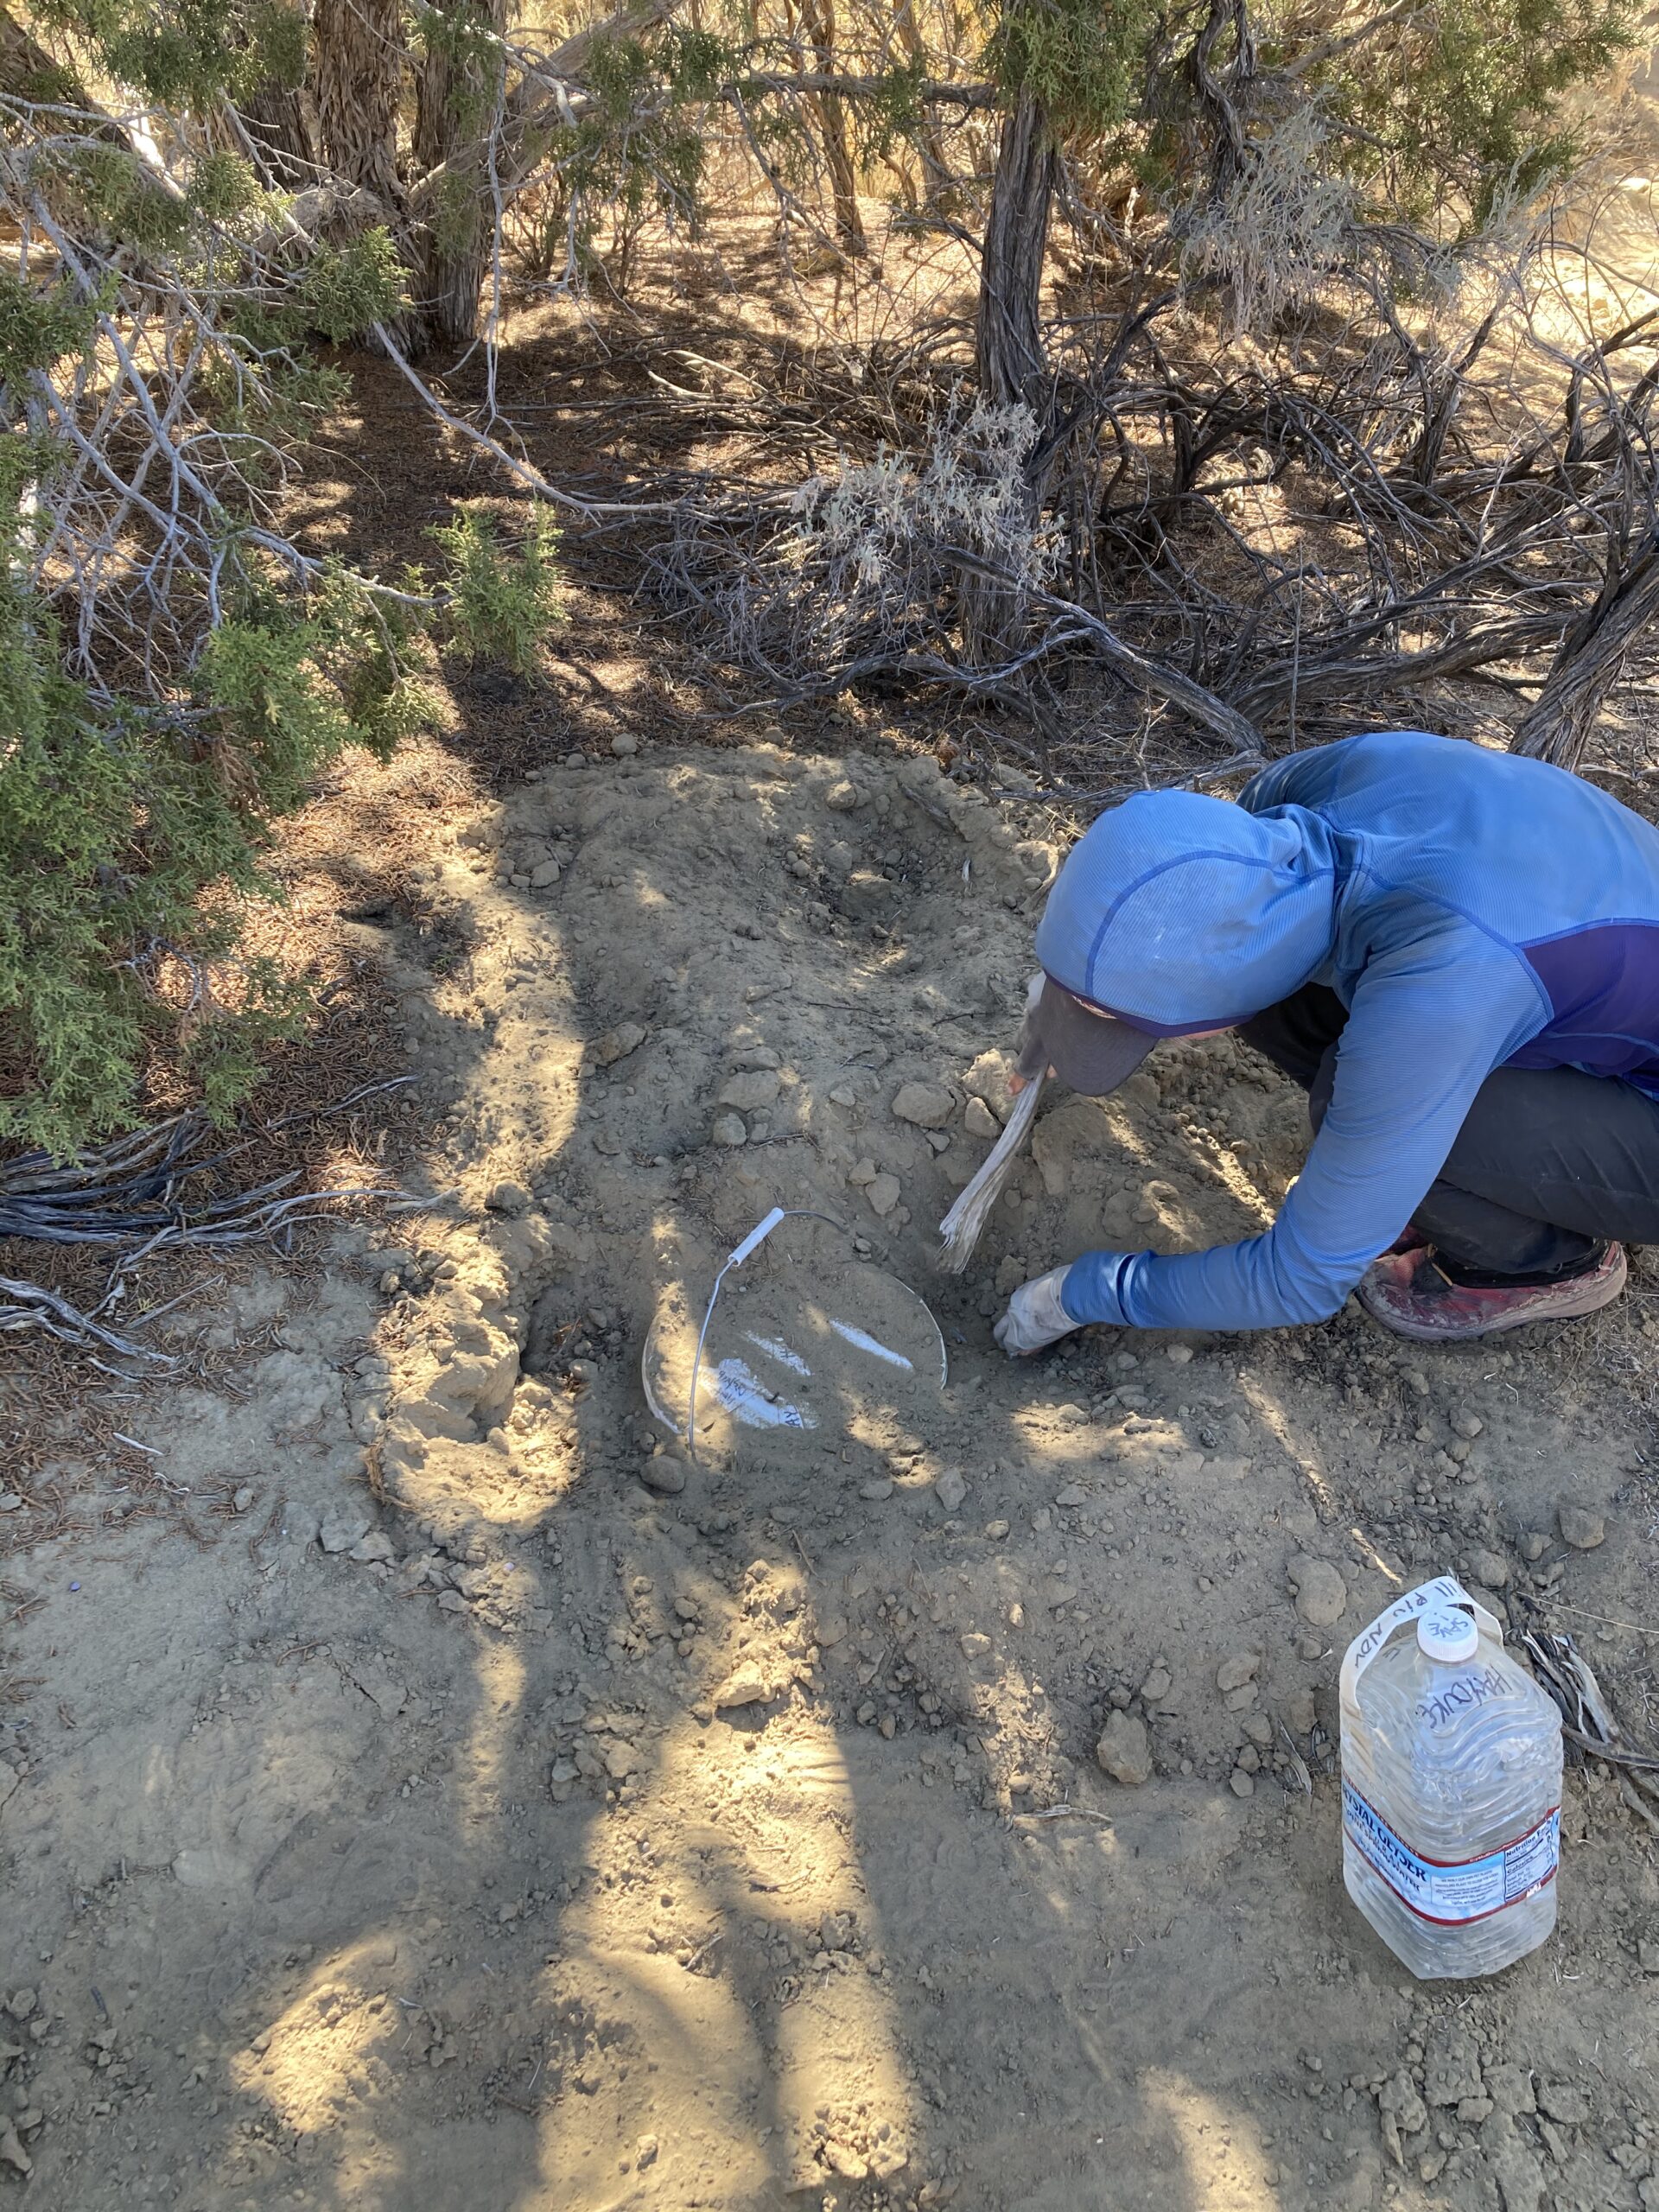
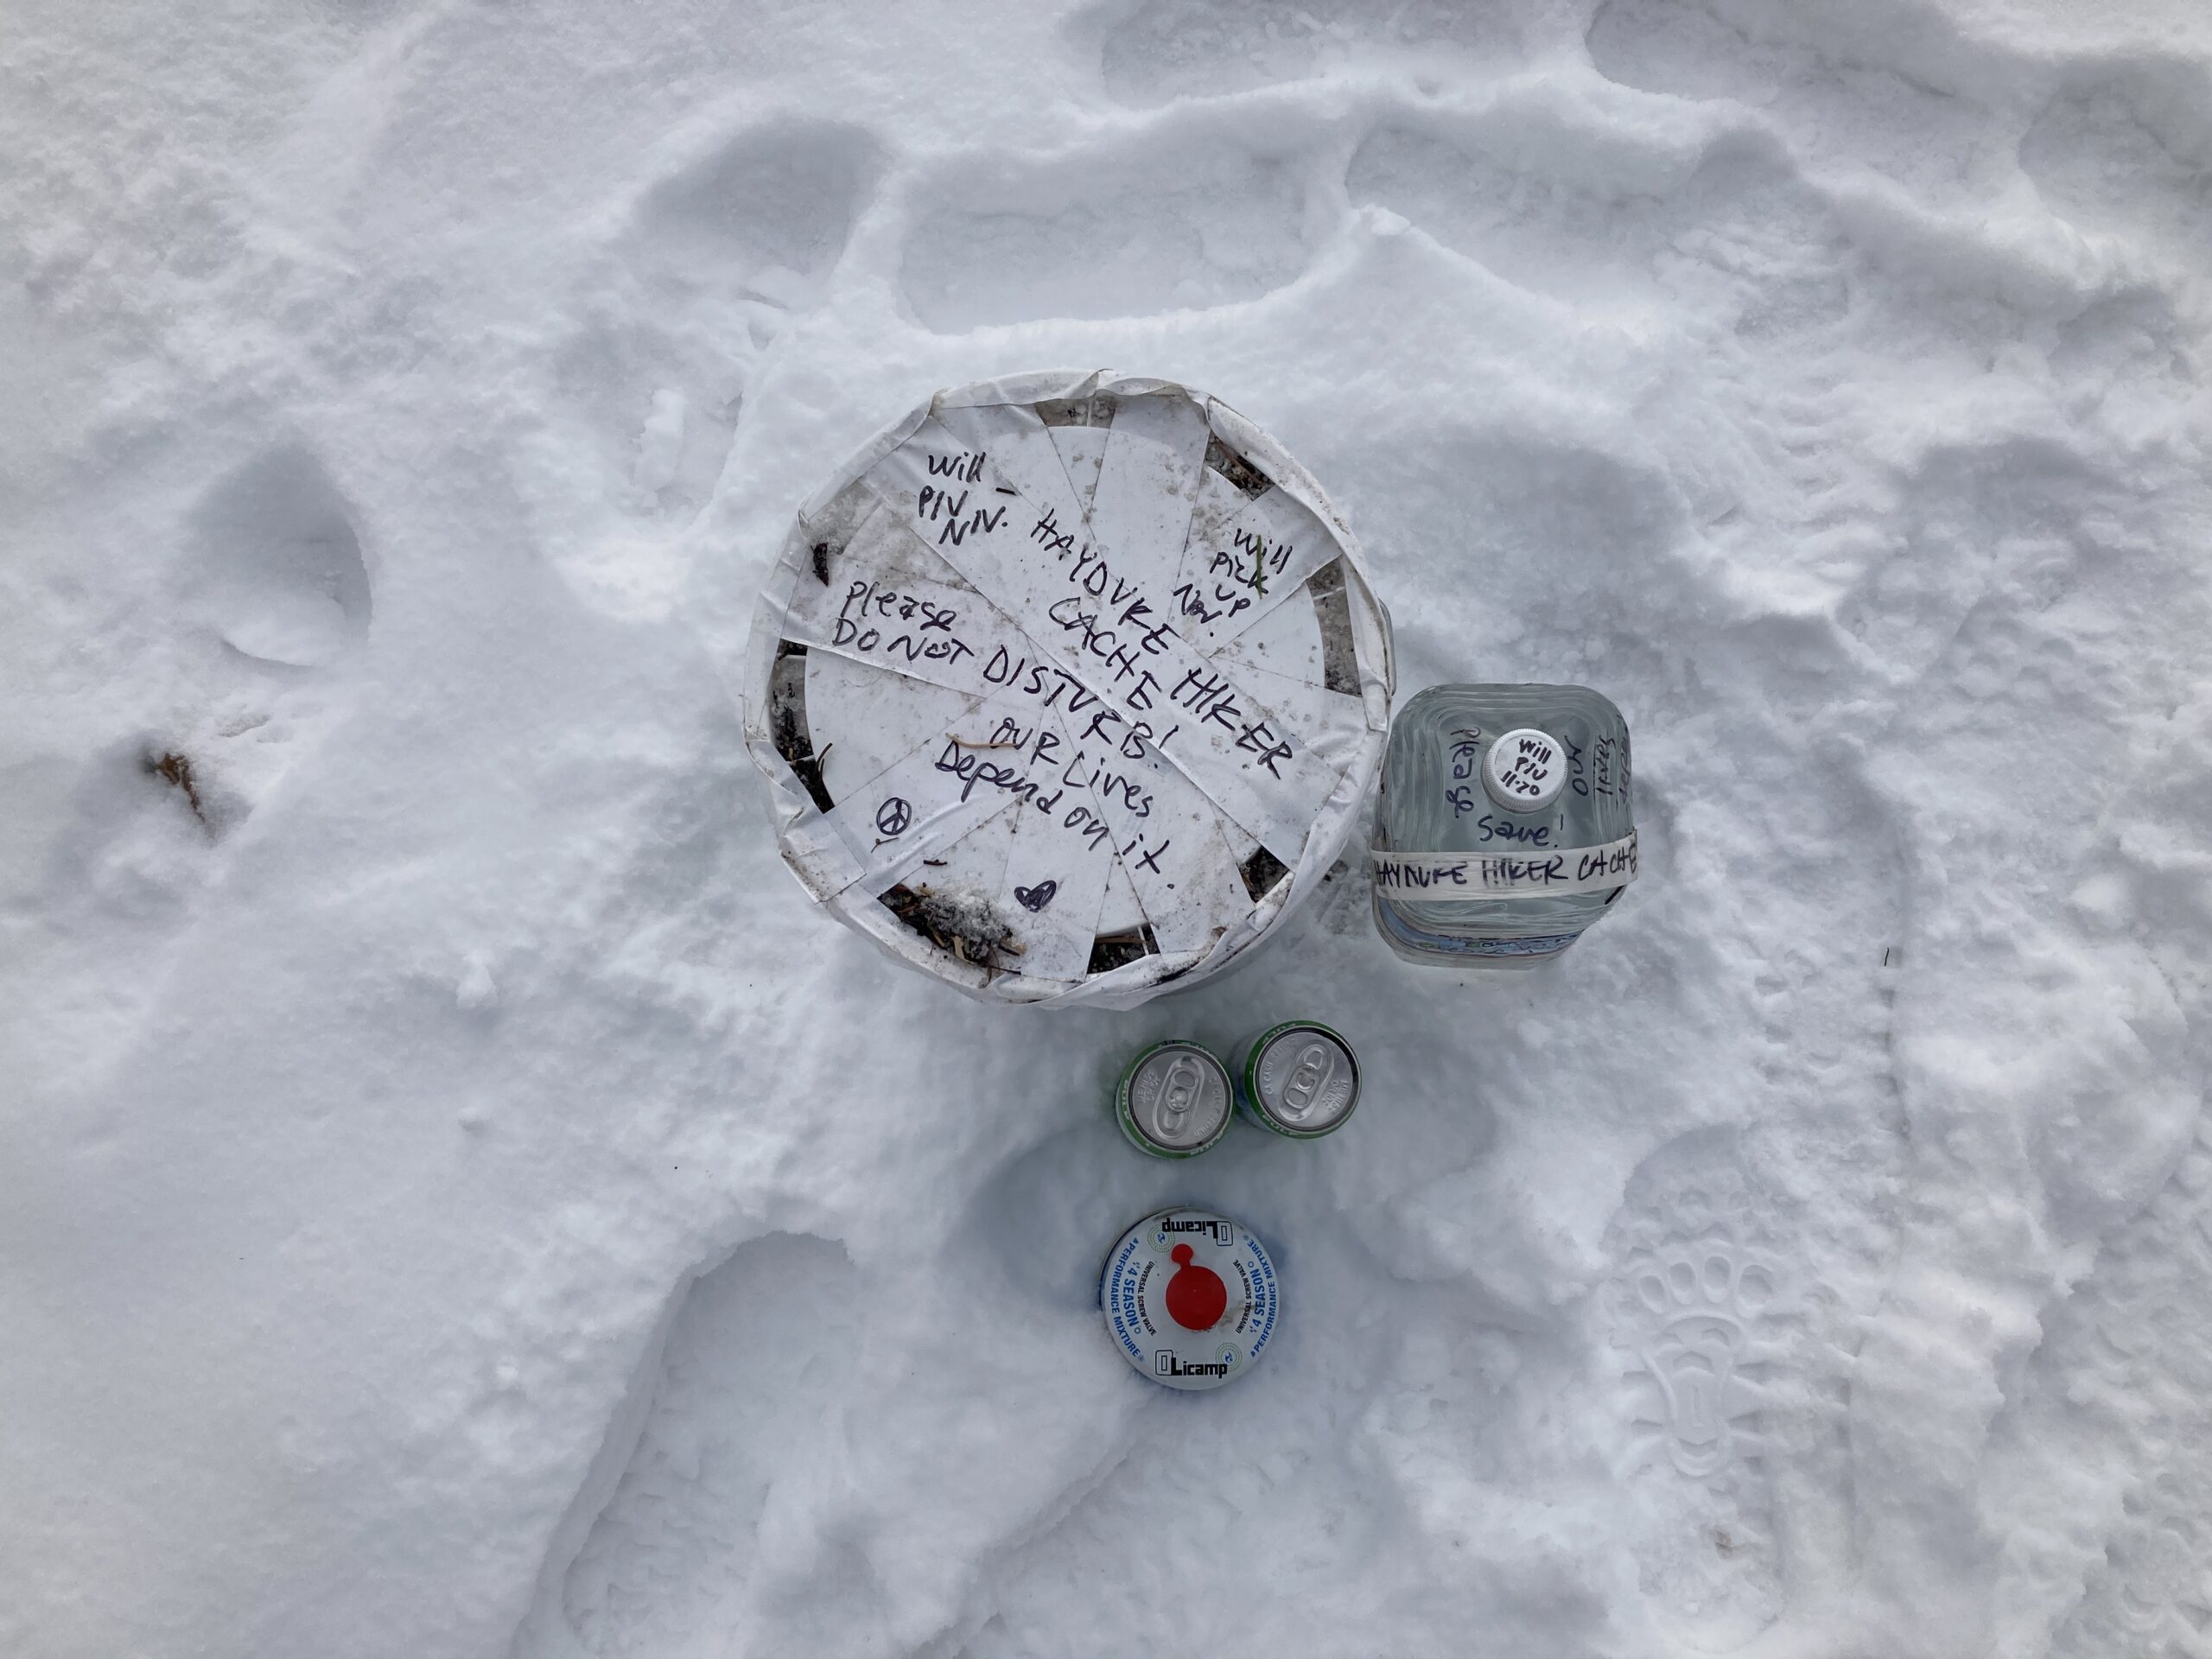
Resupplies & Caching Food and Water
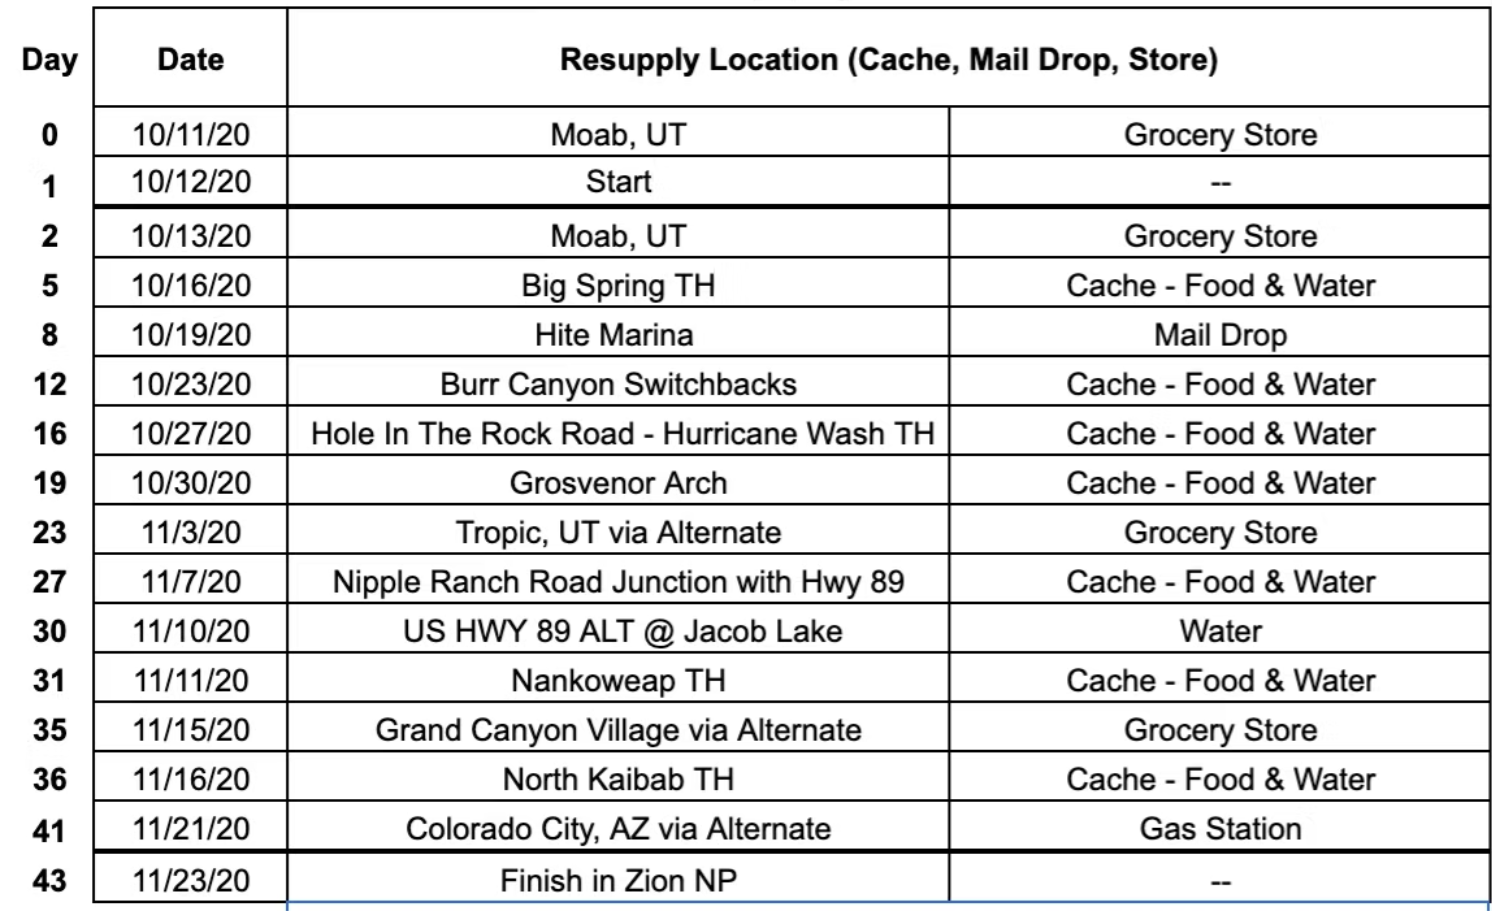
Resupplying on the Hayduke can be done in a variety of ways. The route is designed to be remote, so in many sections you aren’t walking near towns to resupply. This means longer hitches/rides, or more planning for food caching. There are options. On our hike we opted for avoiding towns/longer hitches. We cached a bunch of food and water along the route before we left. This also meant a lot of back end logistics to pick up our buckets and pack out the trash. Read Jeff’s post on Tips for Caching Food Along the Hayduke Trail to see exactly what we did.
Below is a table that shows where we cached food and water along the route. It details each resupply spot, what we used to resupply and on which day of the trip.
Trail Safety
The Hayduke is wild. Its remote, and requires good navigation and comfort on 3rd and 4th class terrain. The challenges it presents are a highlight of the route. At the same time, this means there are places along the way where if something goes wrong — others may not find you for days. Staying safe on the Hayduke requires sound judgment and an ability to honestly assess your skills. We recommend doing this route with another person (or people), but that’s our bias. If that’s not an option or not your style, make sure someone knows your itinerary.
Wild Animals
Lots of animals call the Colorado Plateau their home. We saw a rattlesnake while walking through the Grand Canyon, heard coyotes often, and knew that mice were running around looking for food. Just like any other trip, be aware of wildlife, and keep your food animal-proof so the rodents don’t get habituated.
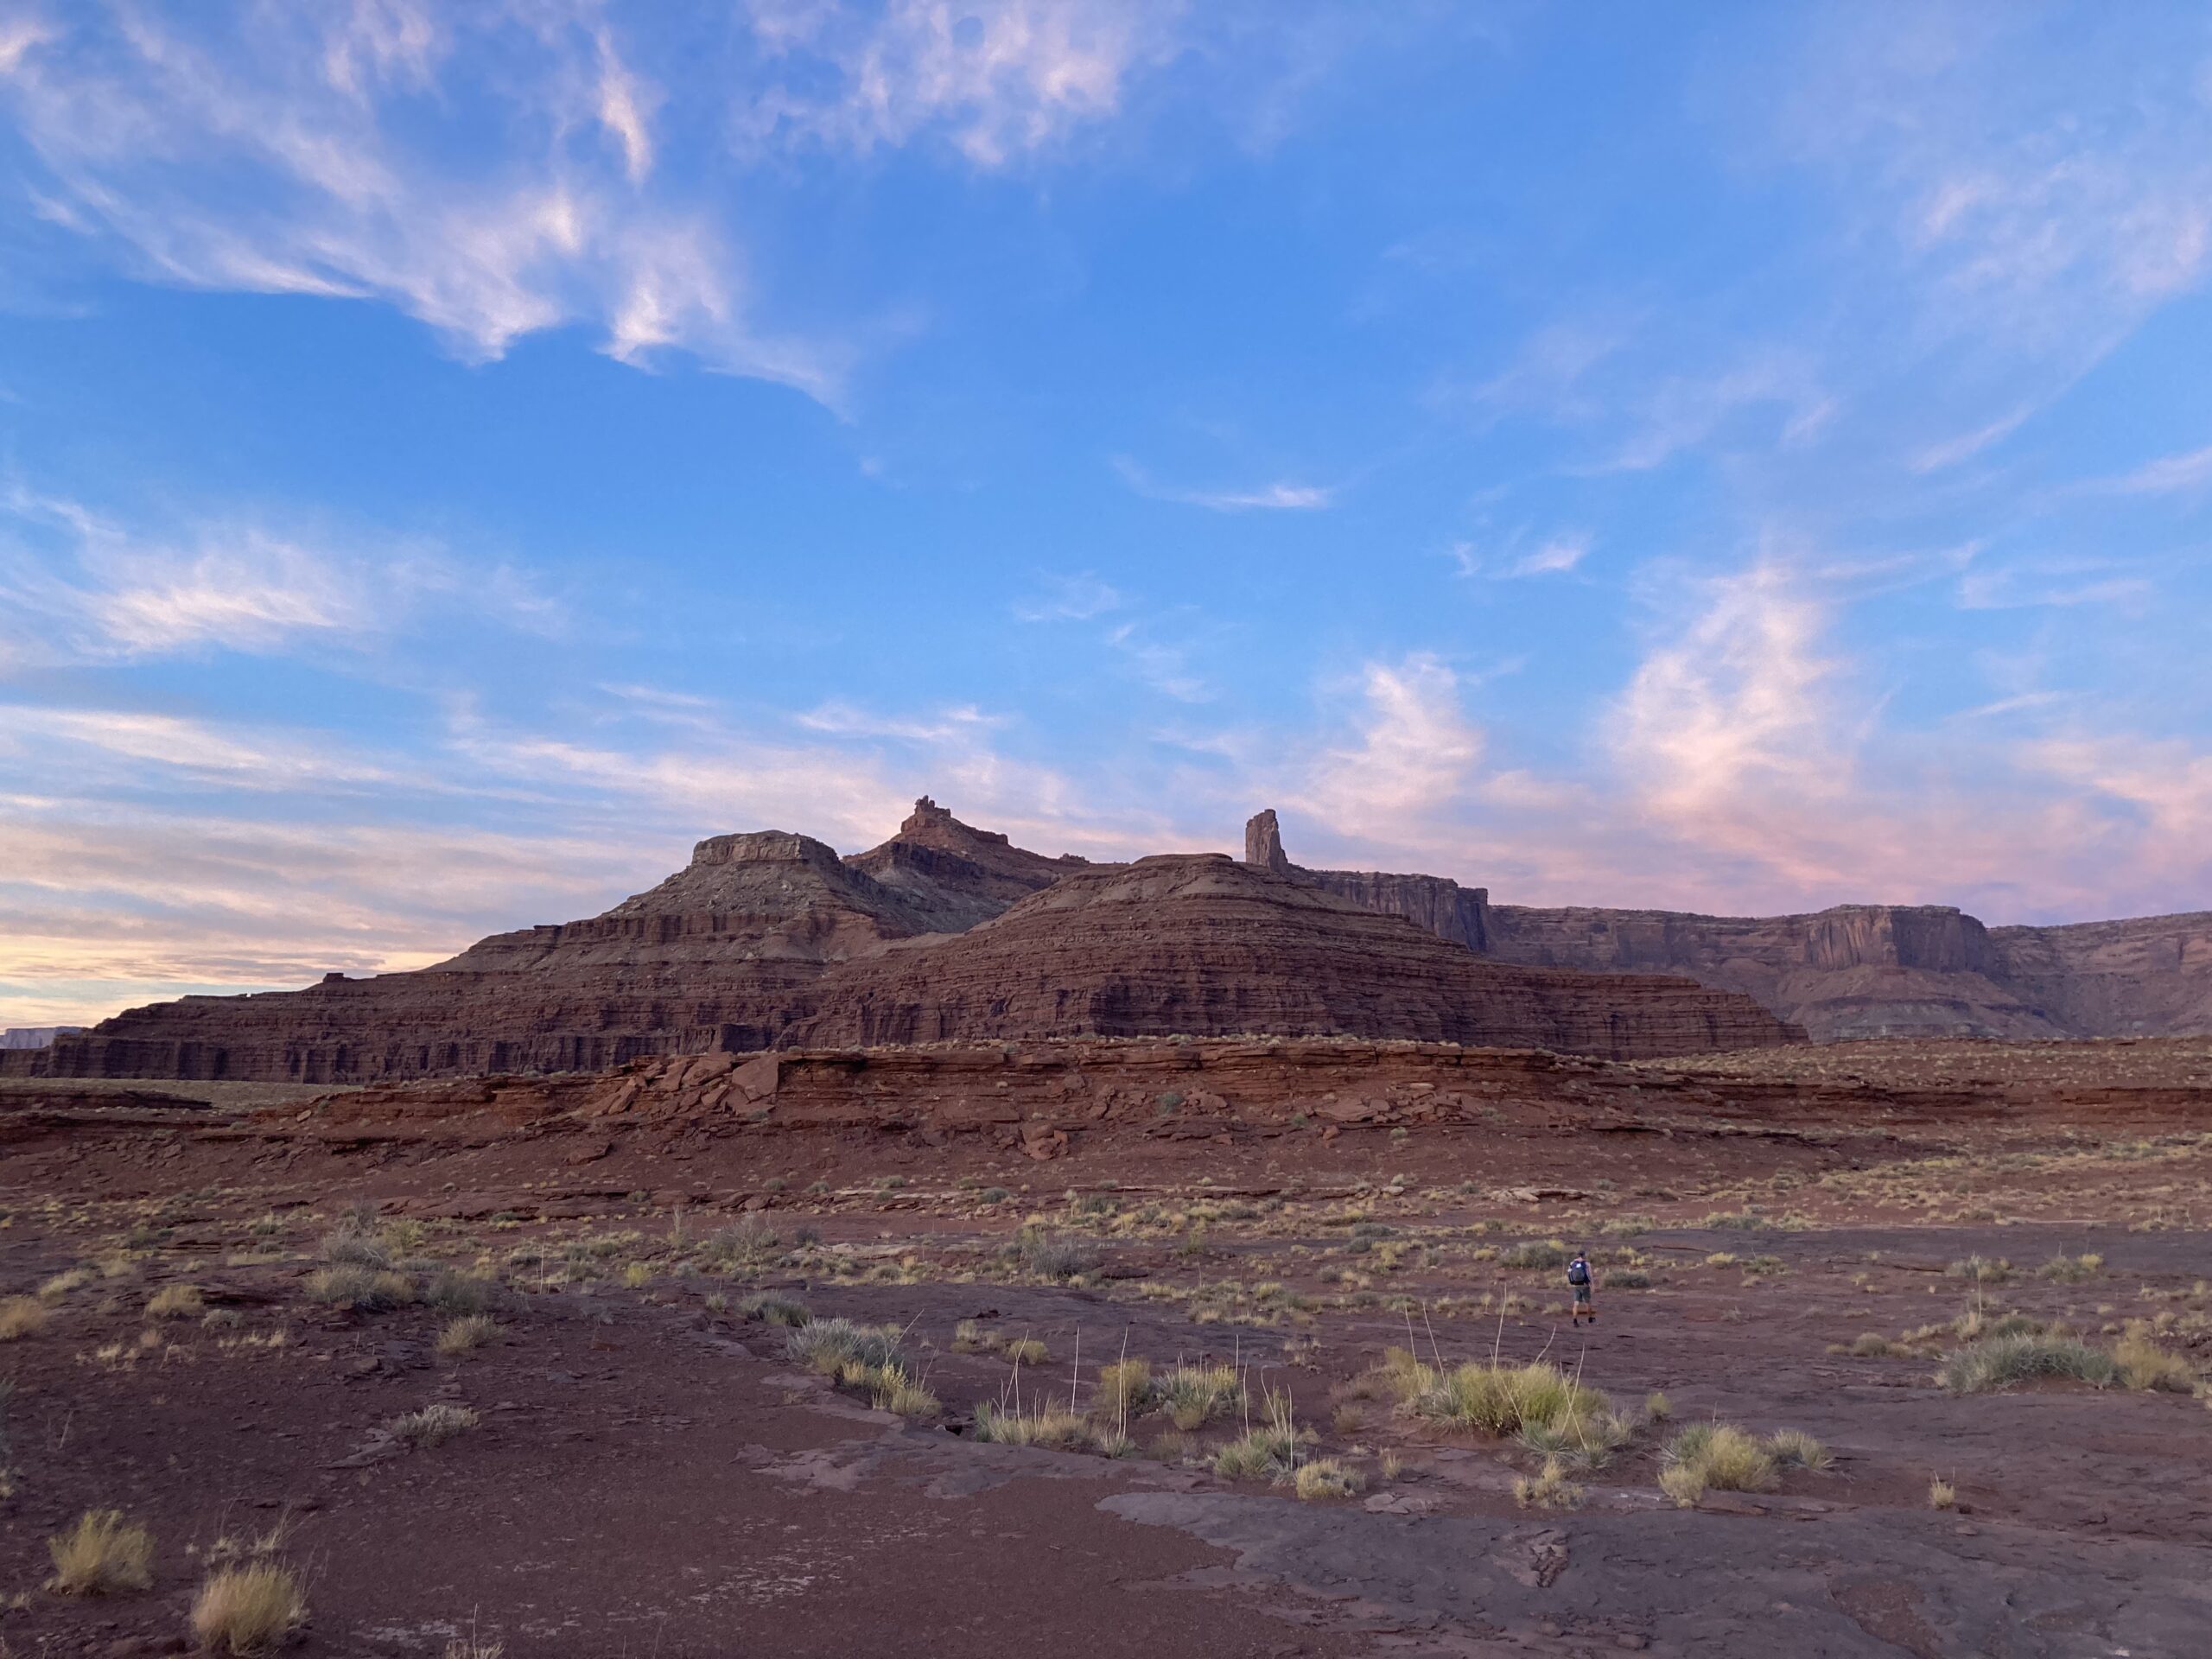
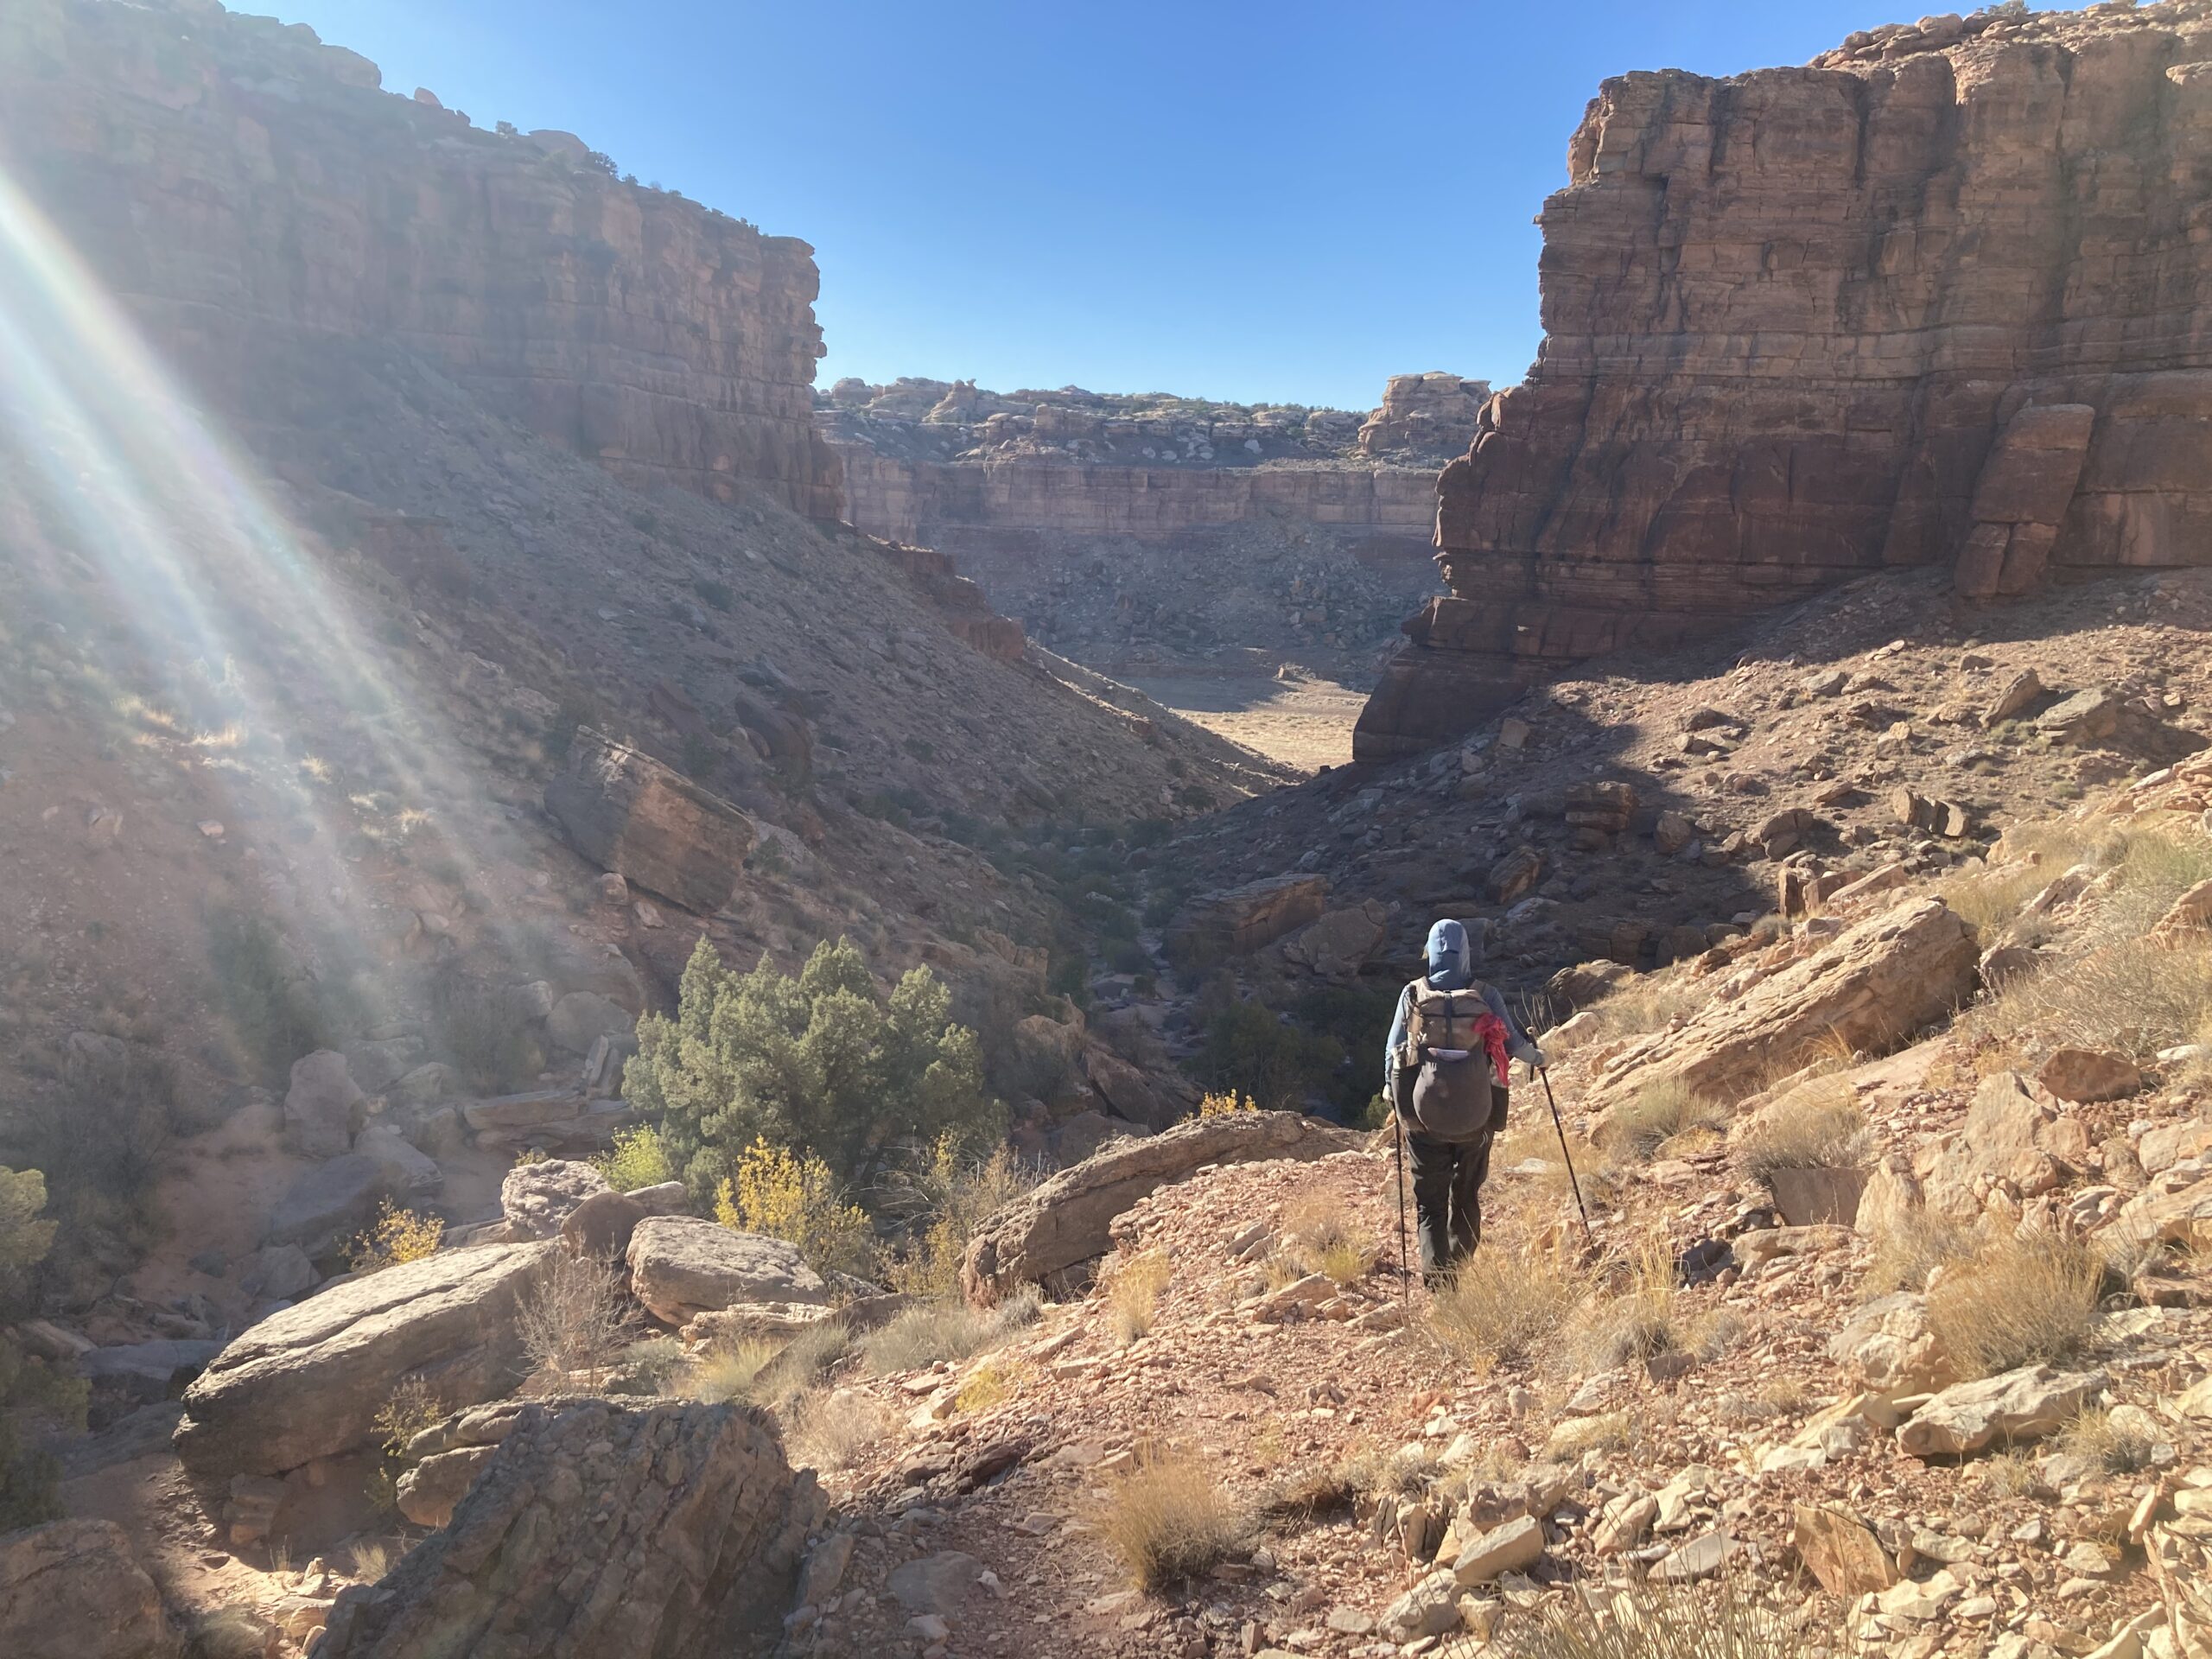
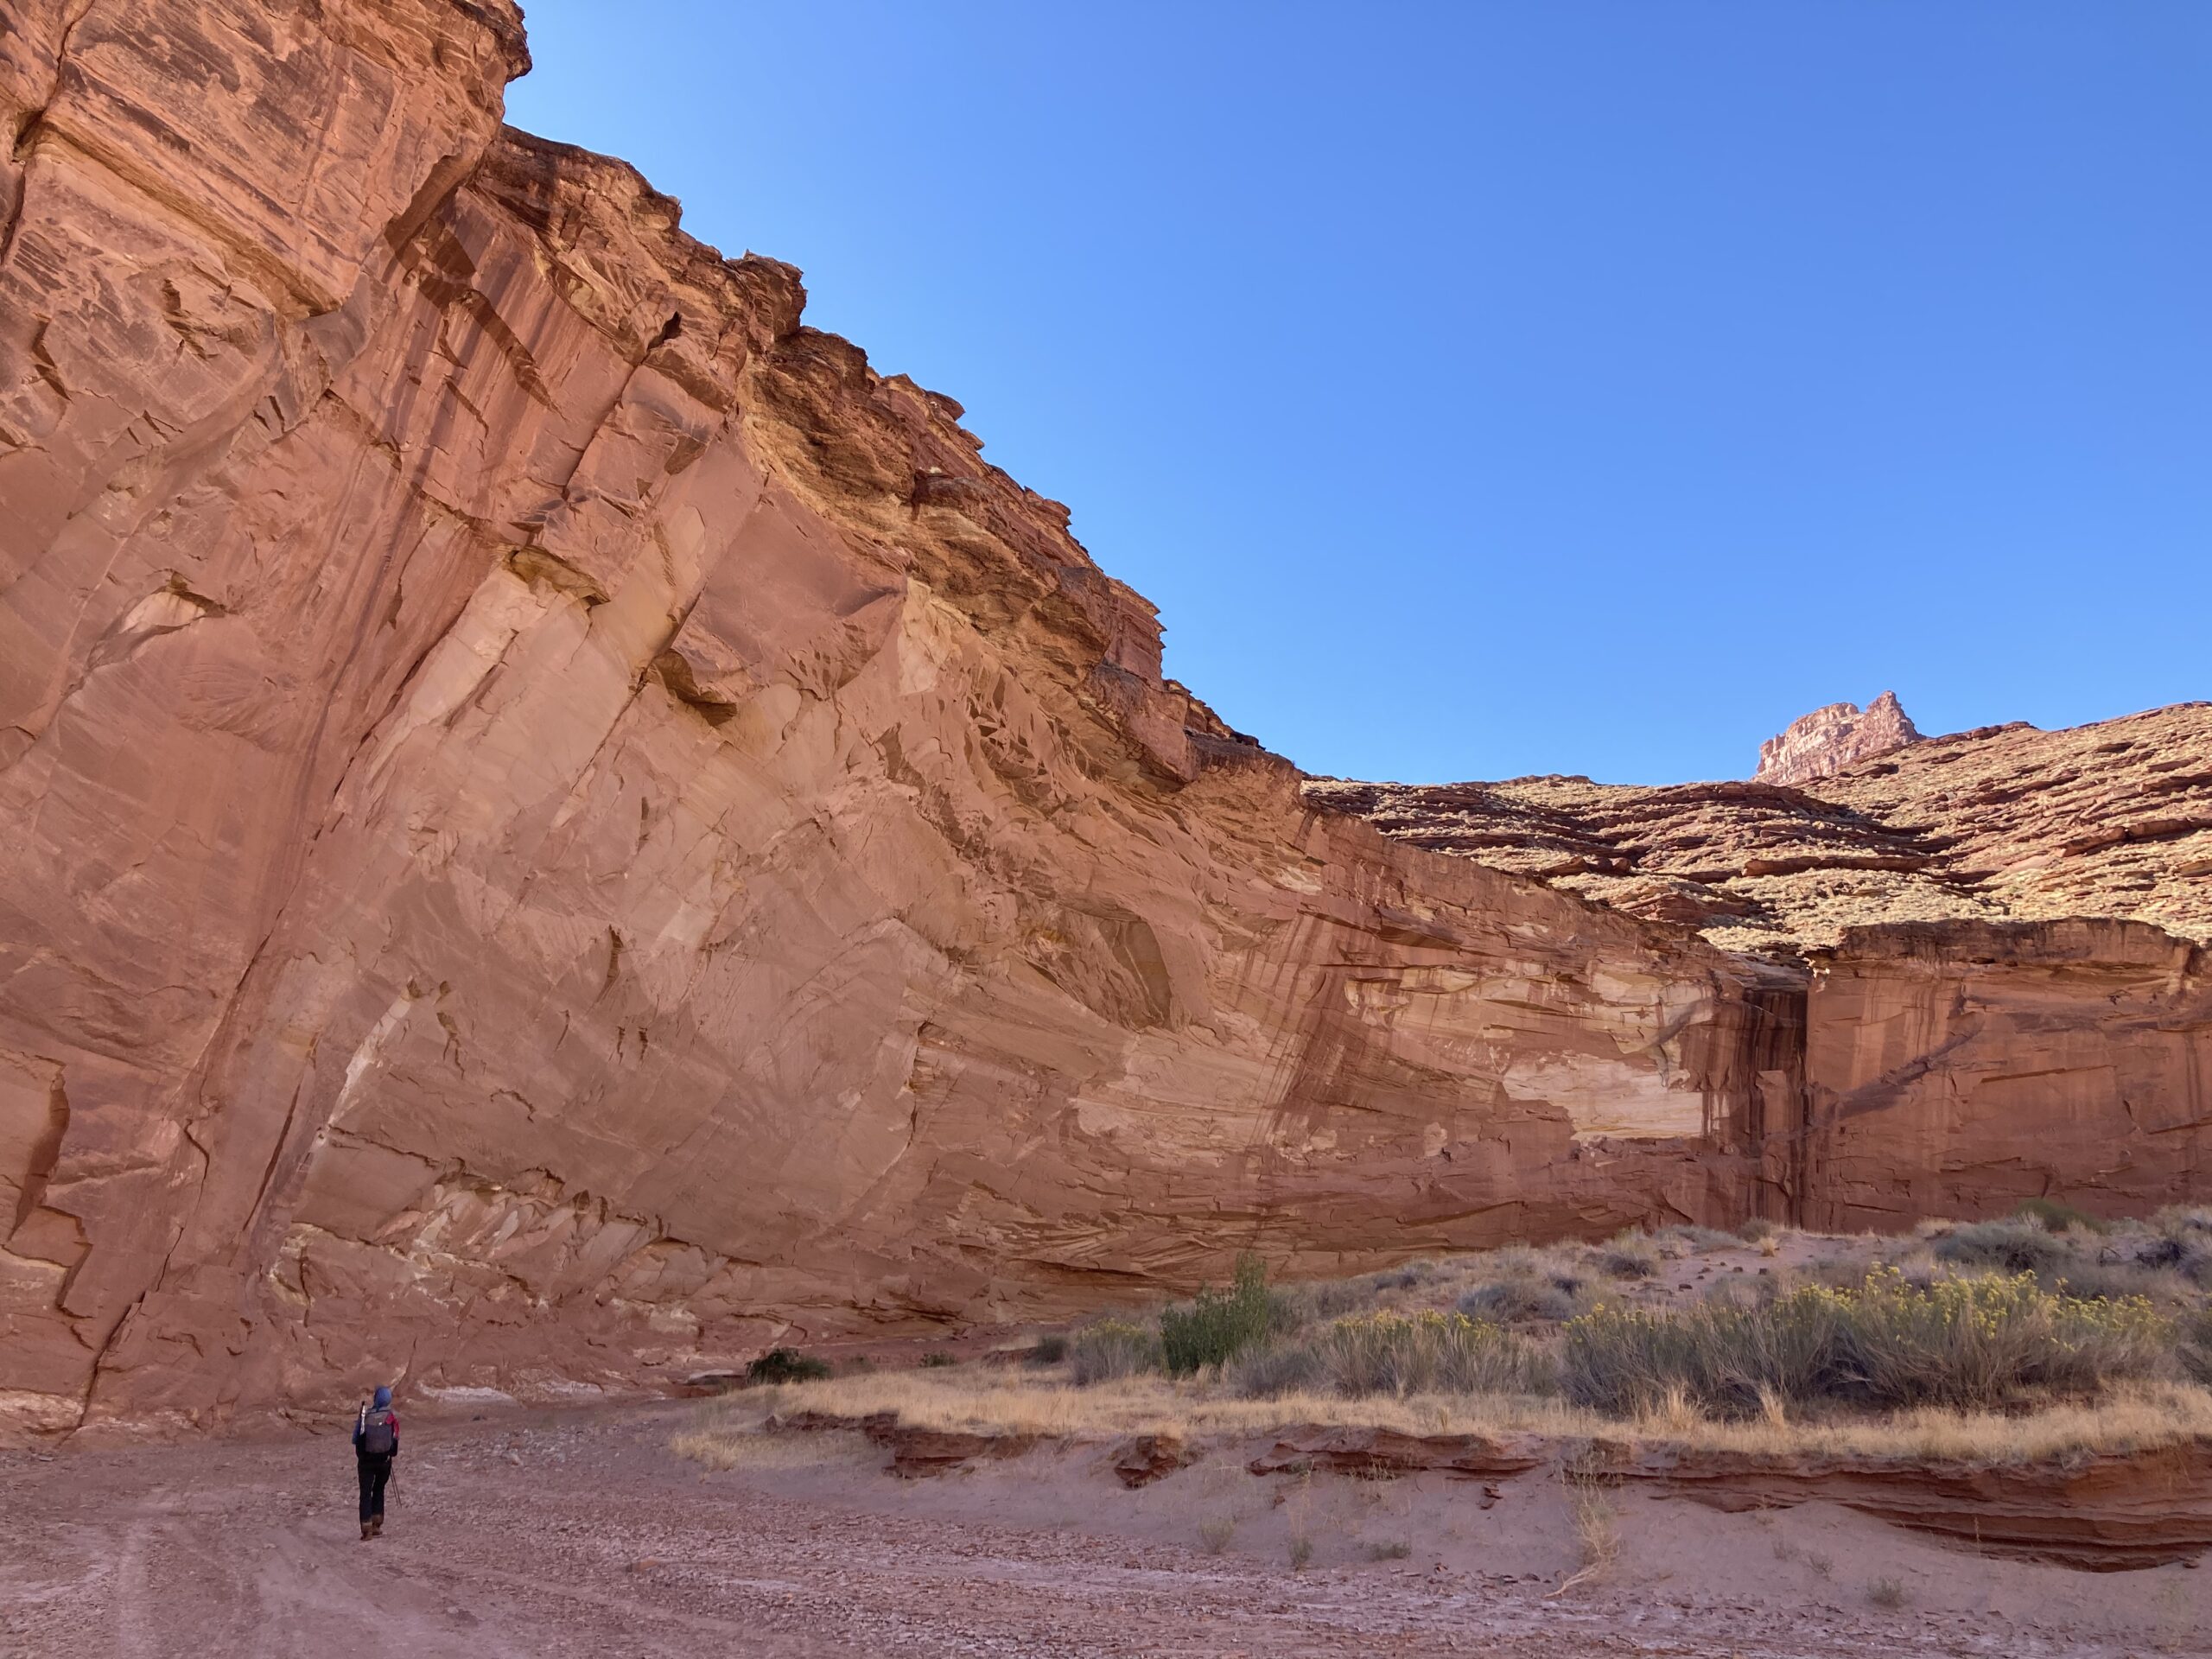
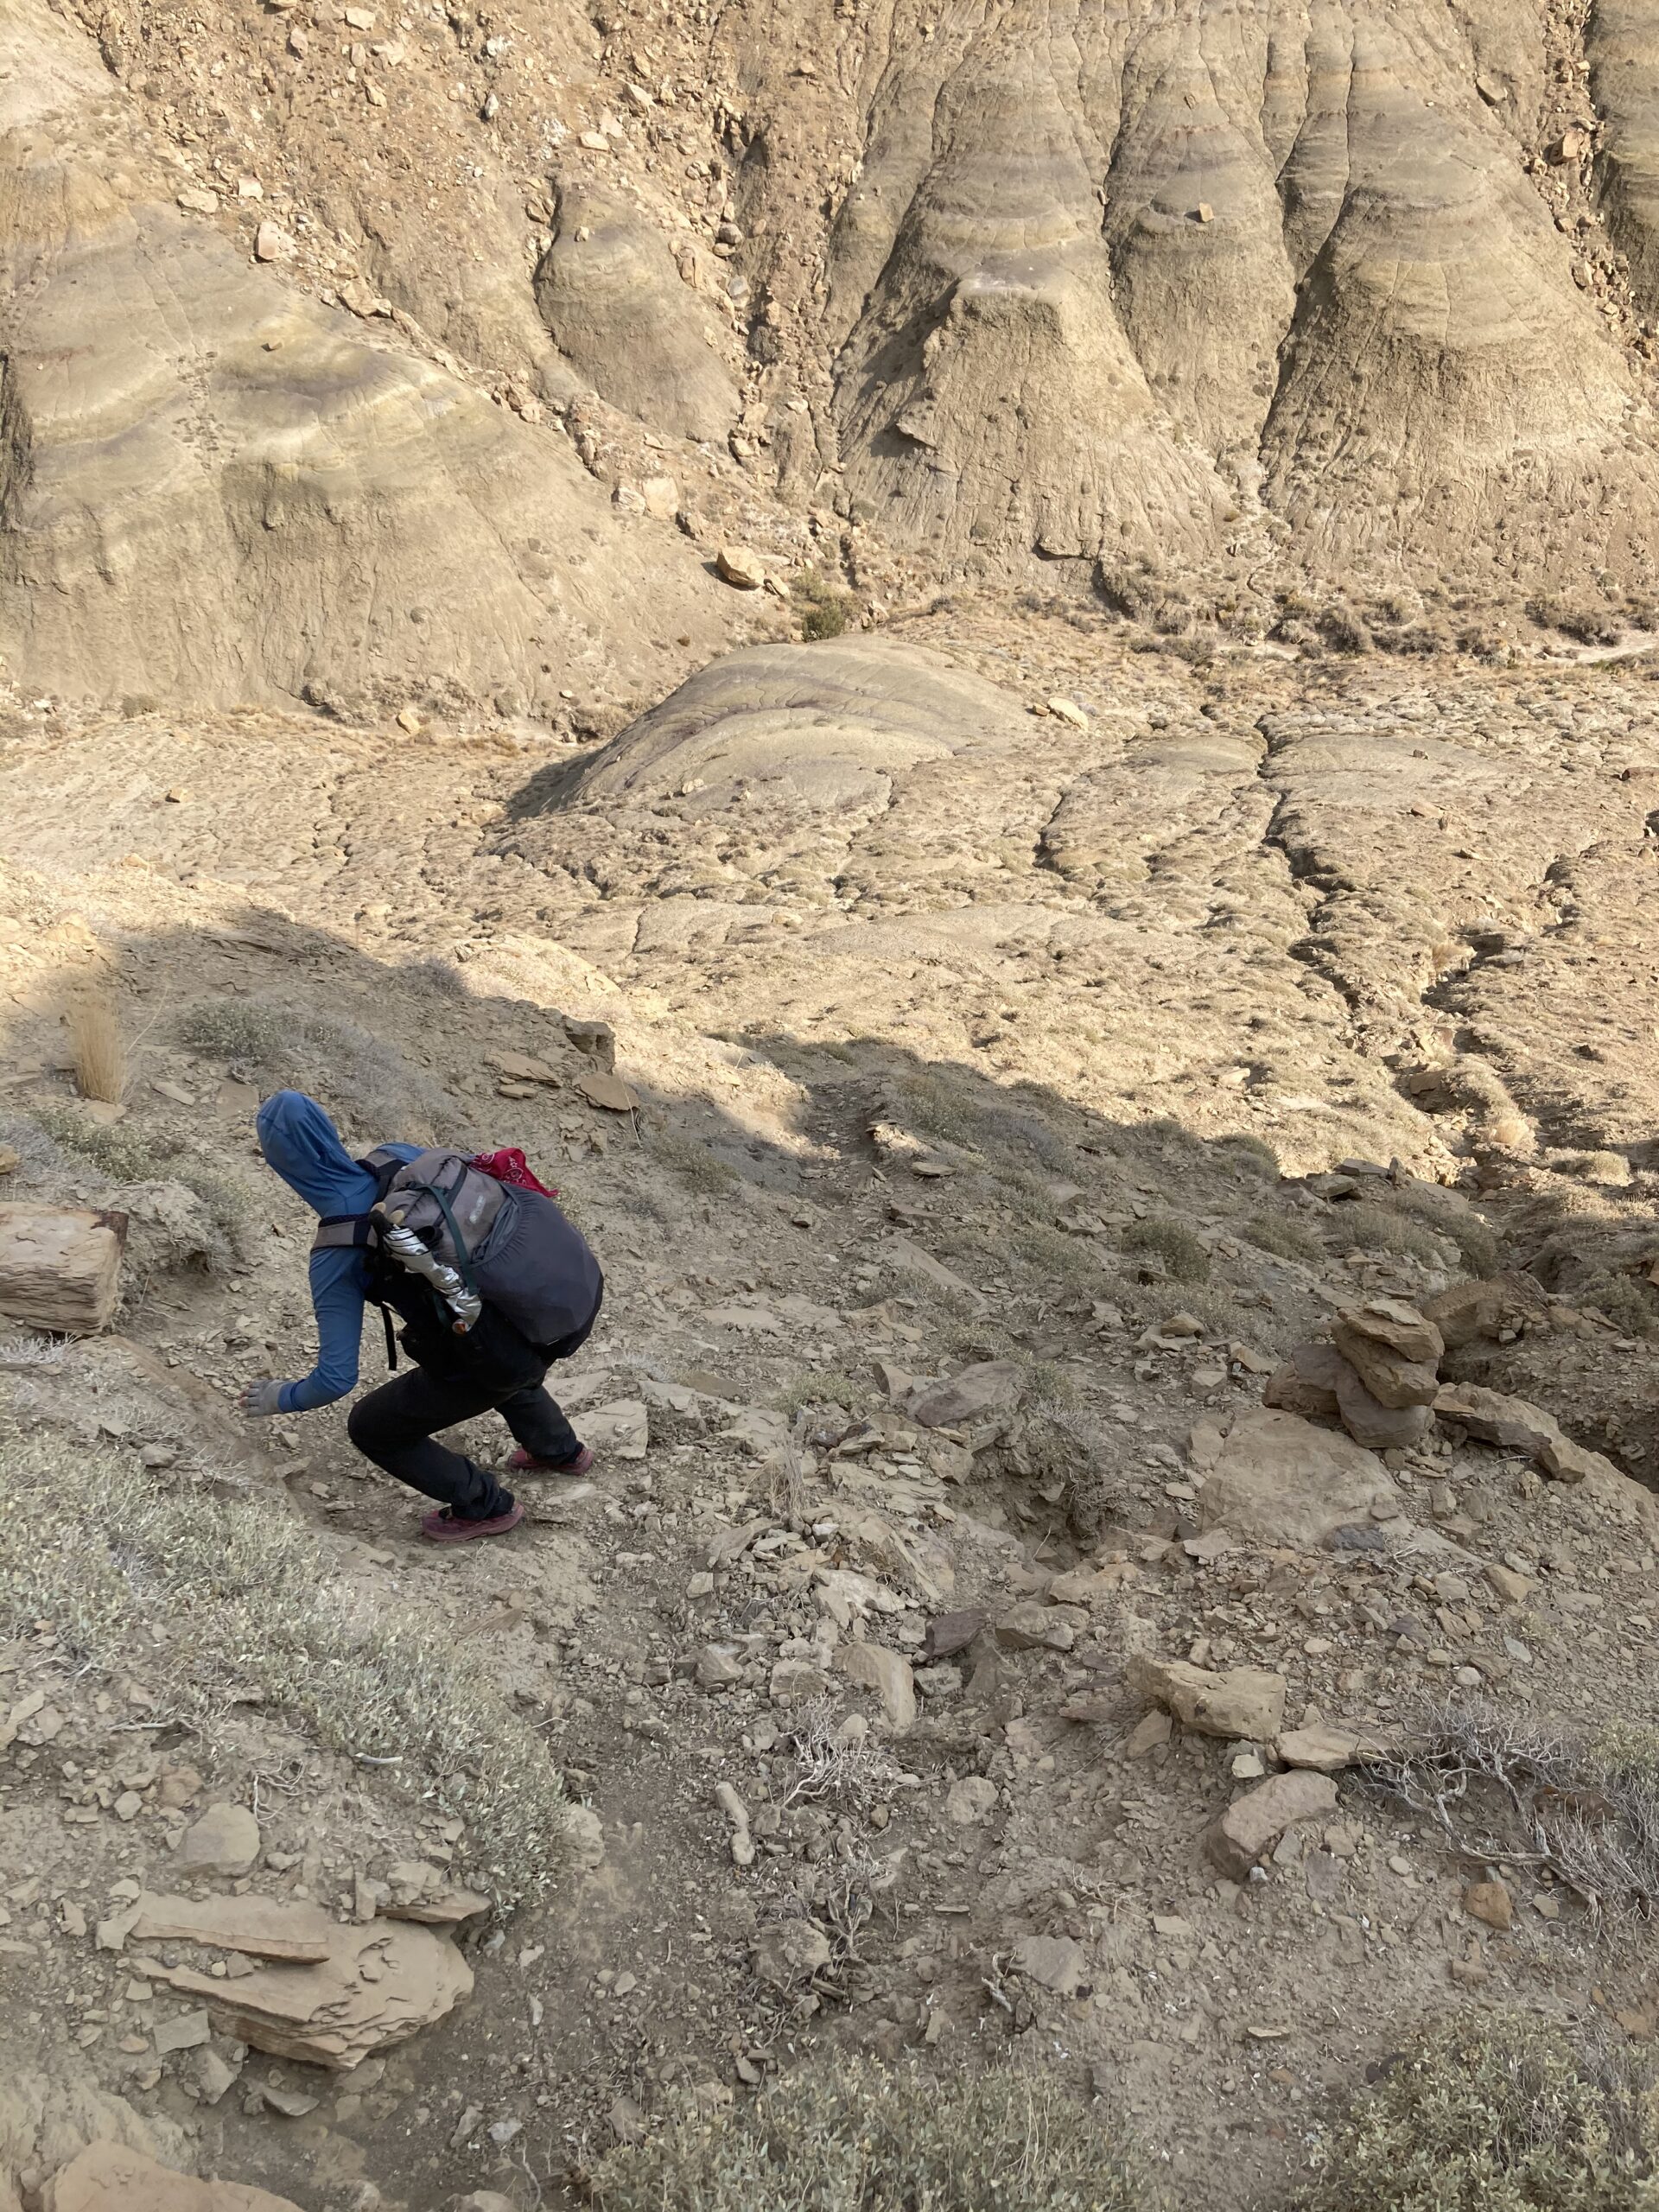
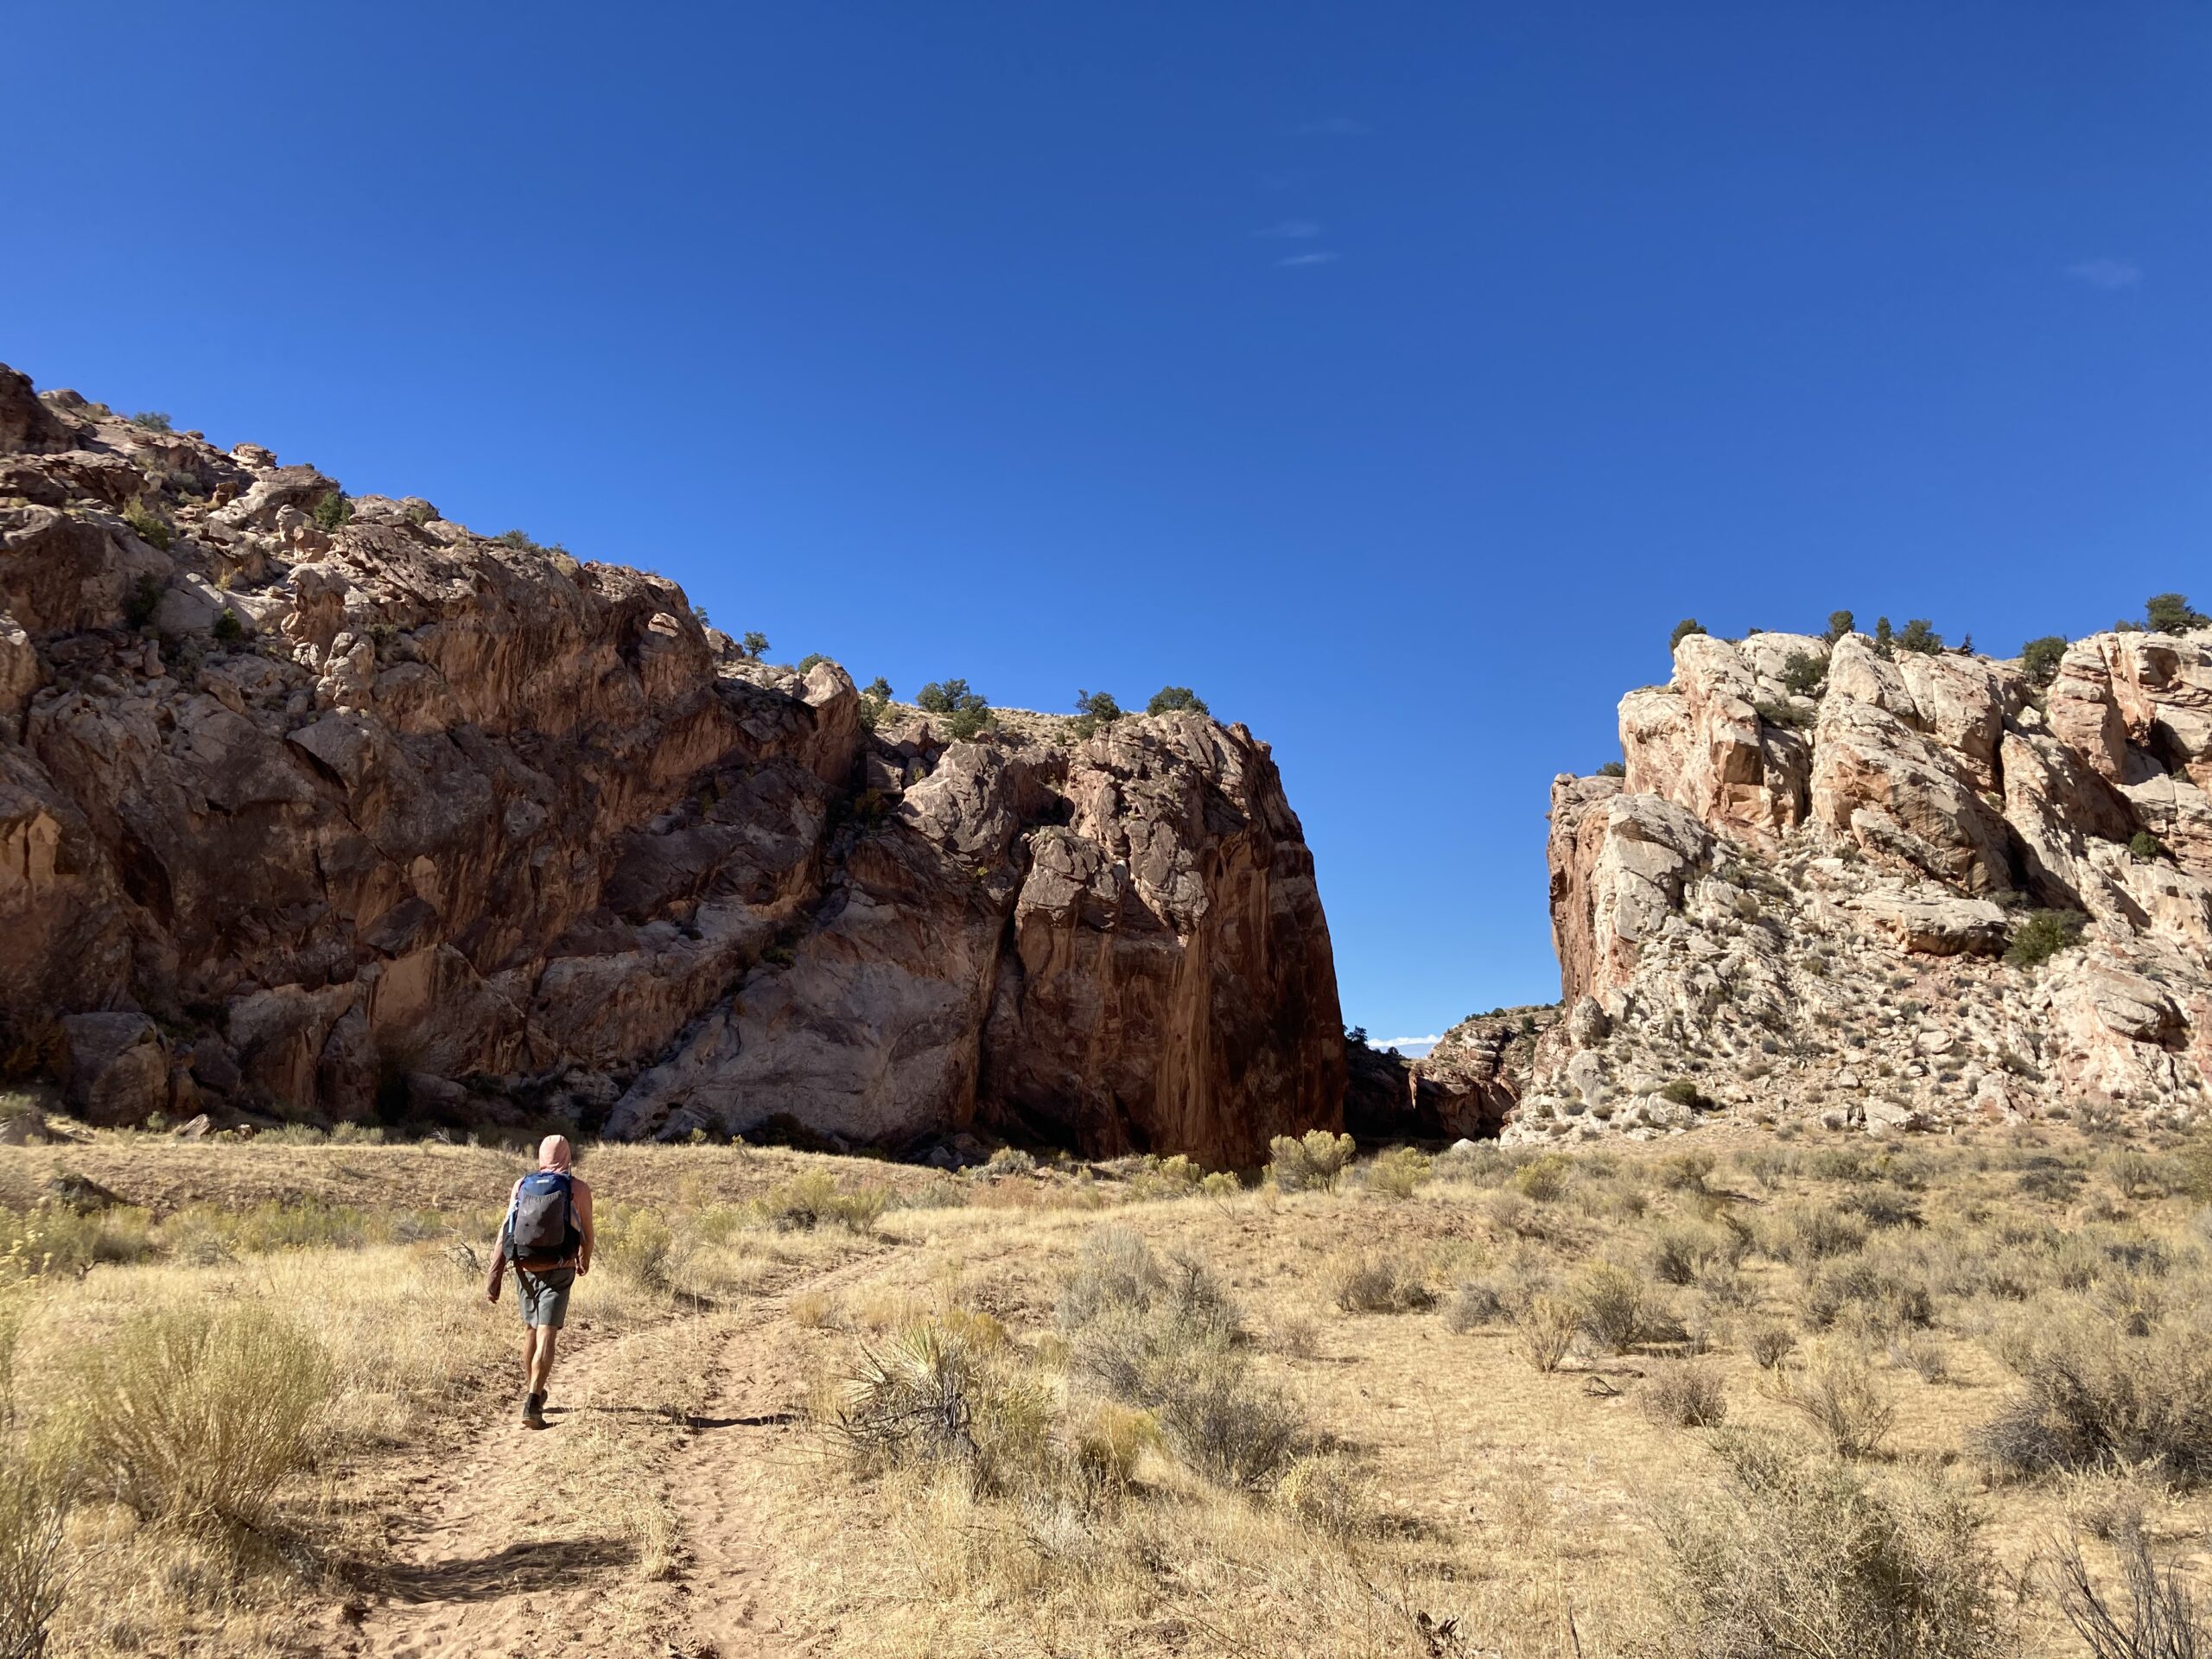
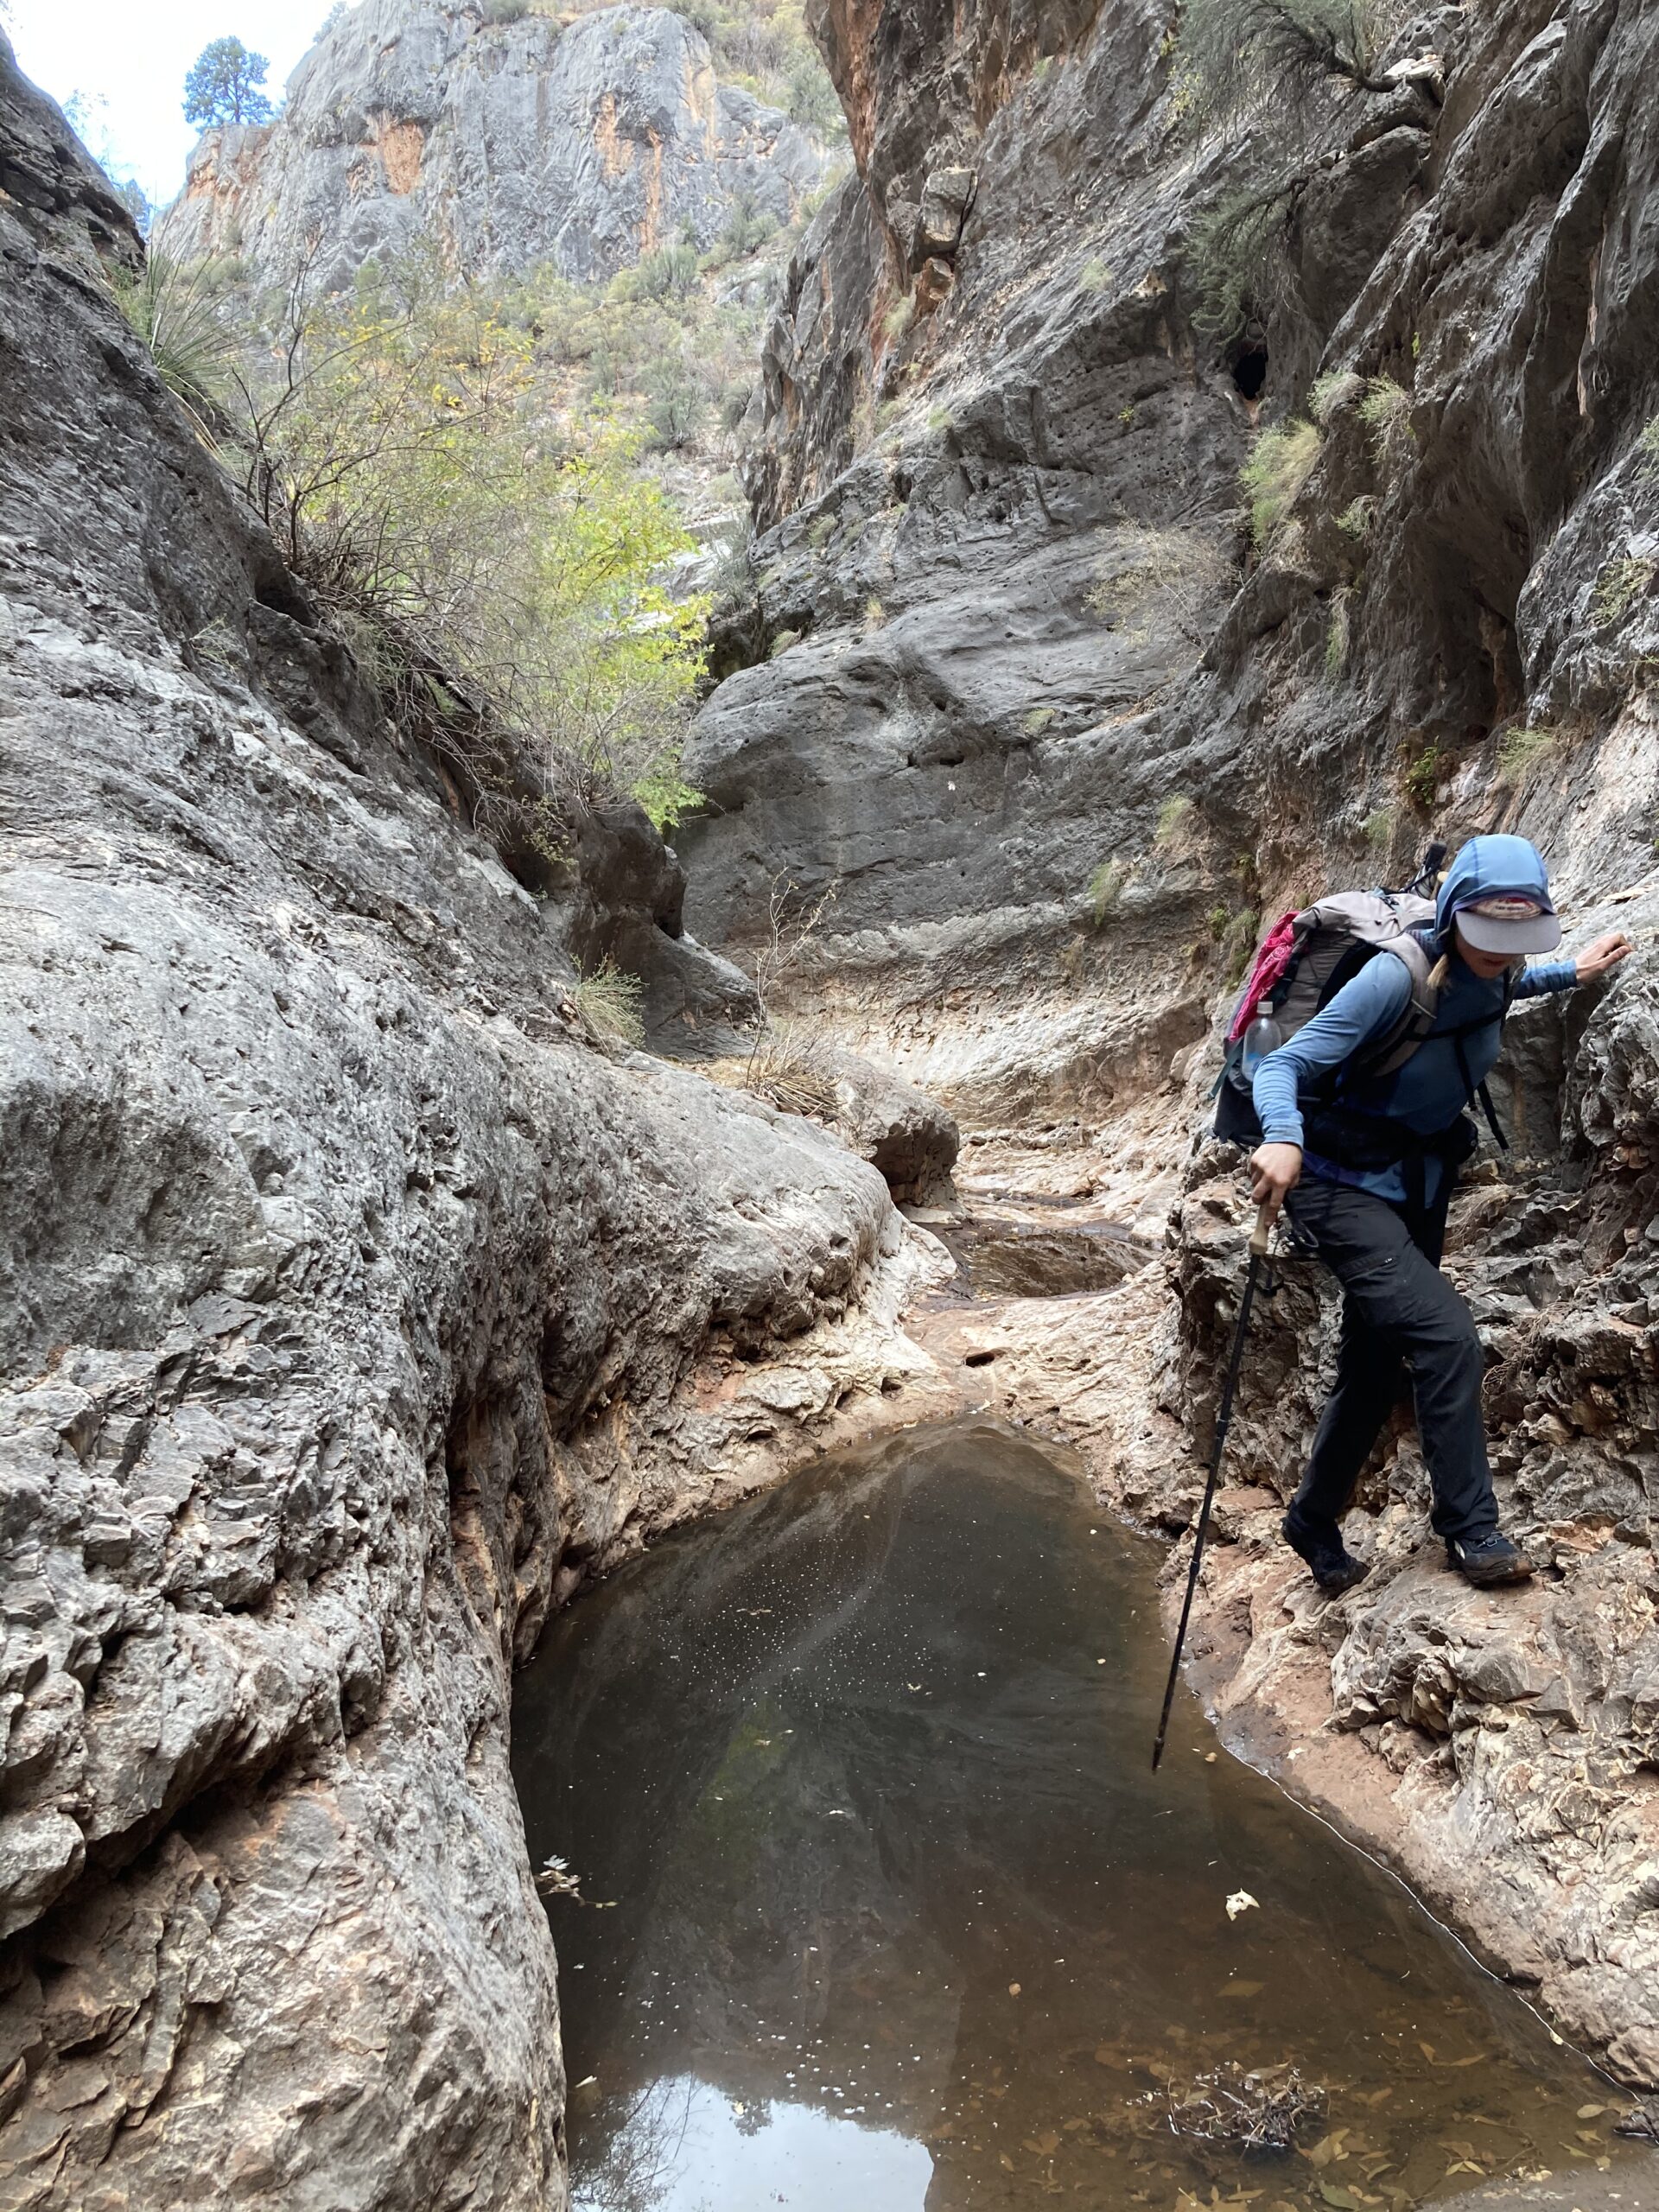
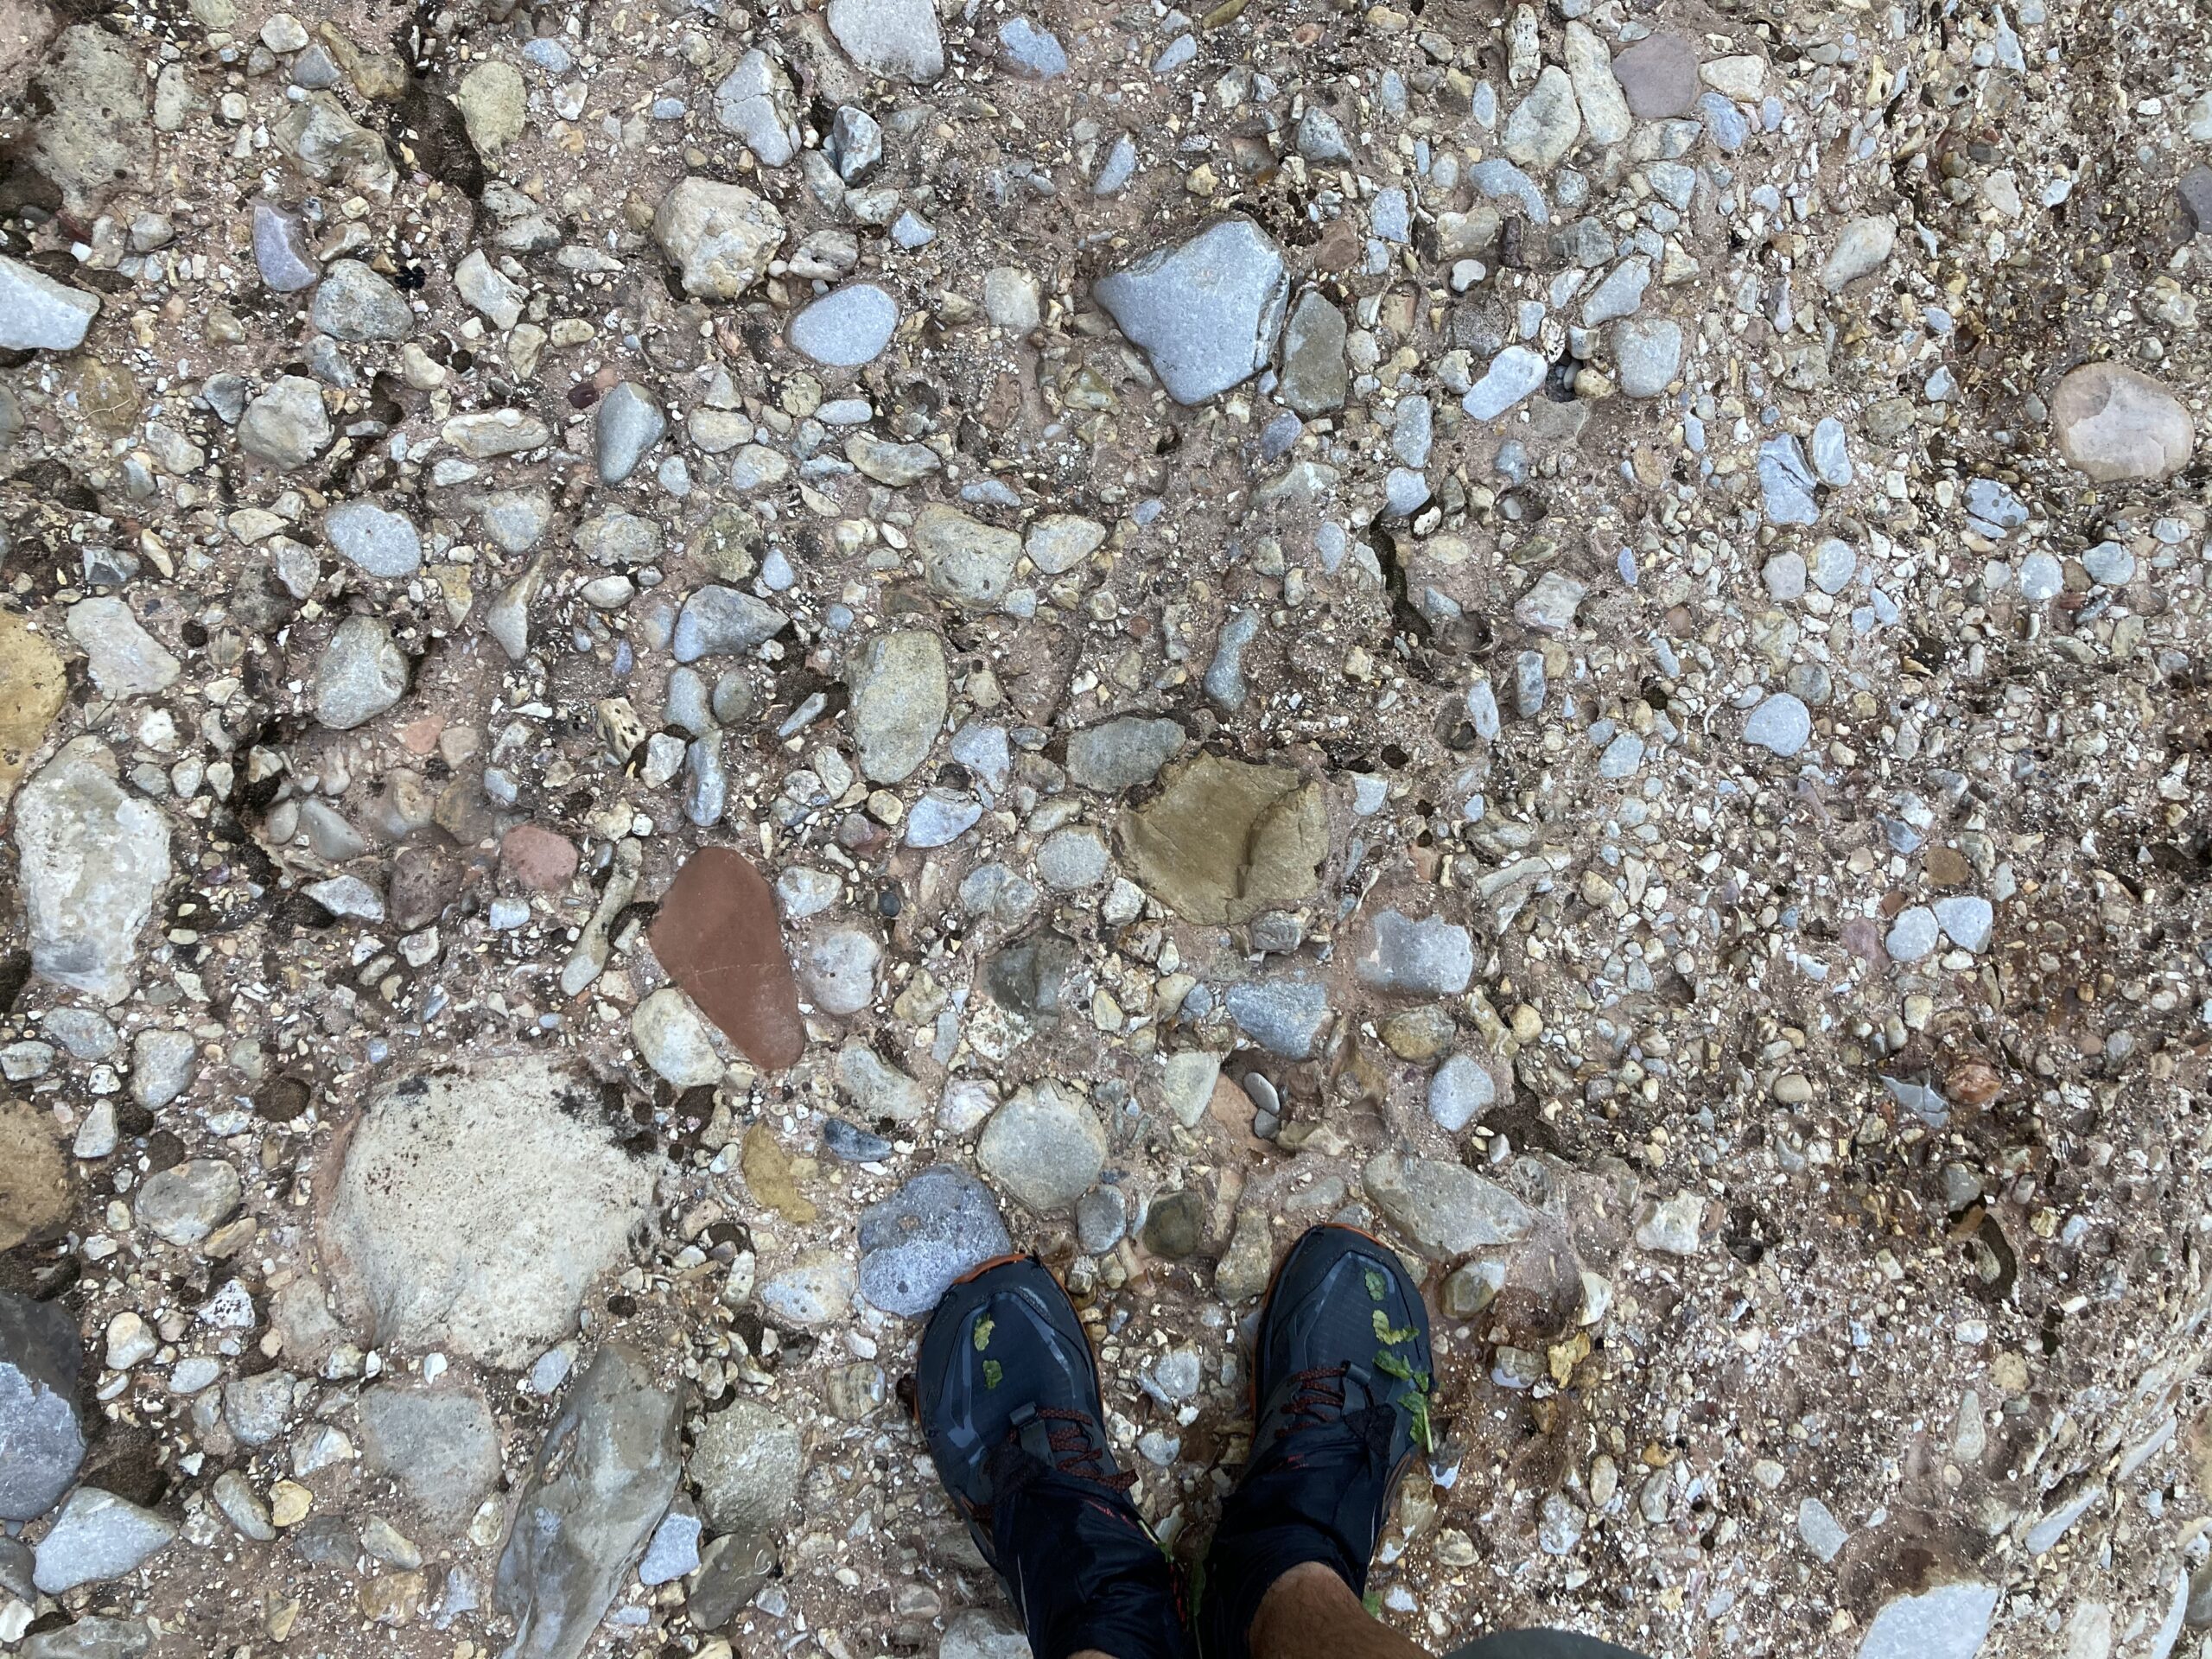
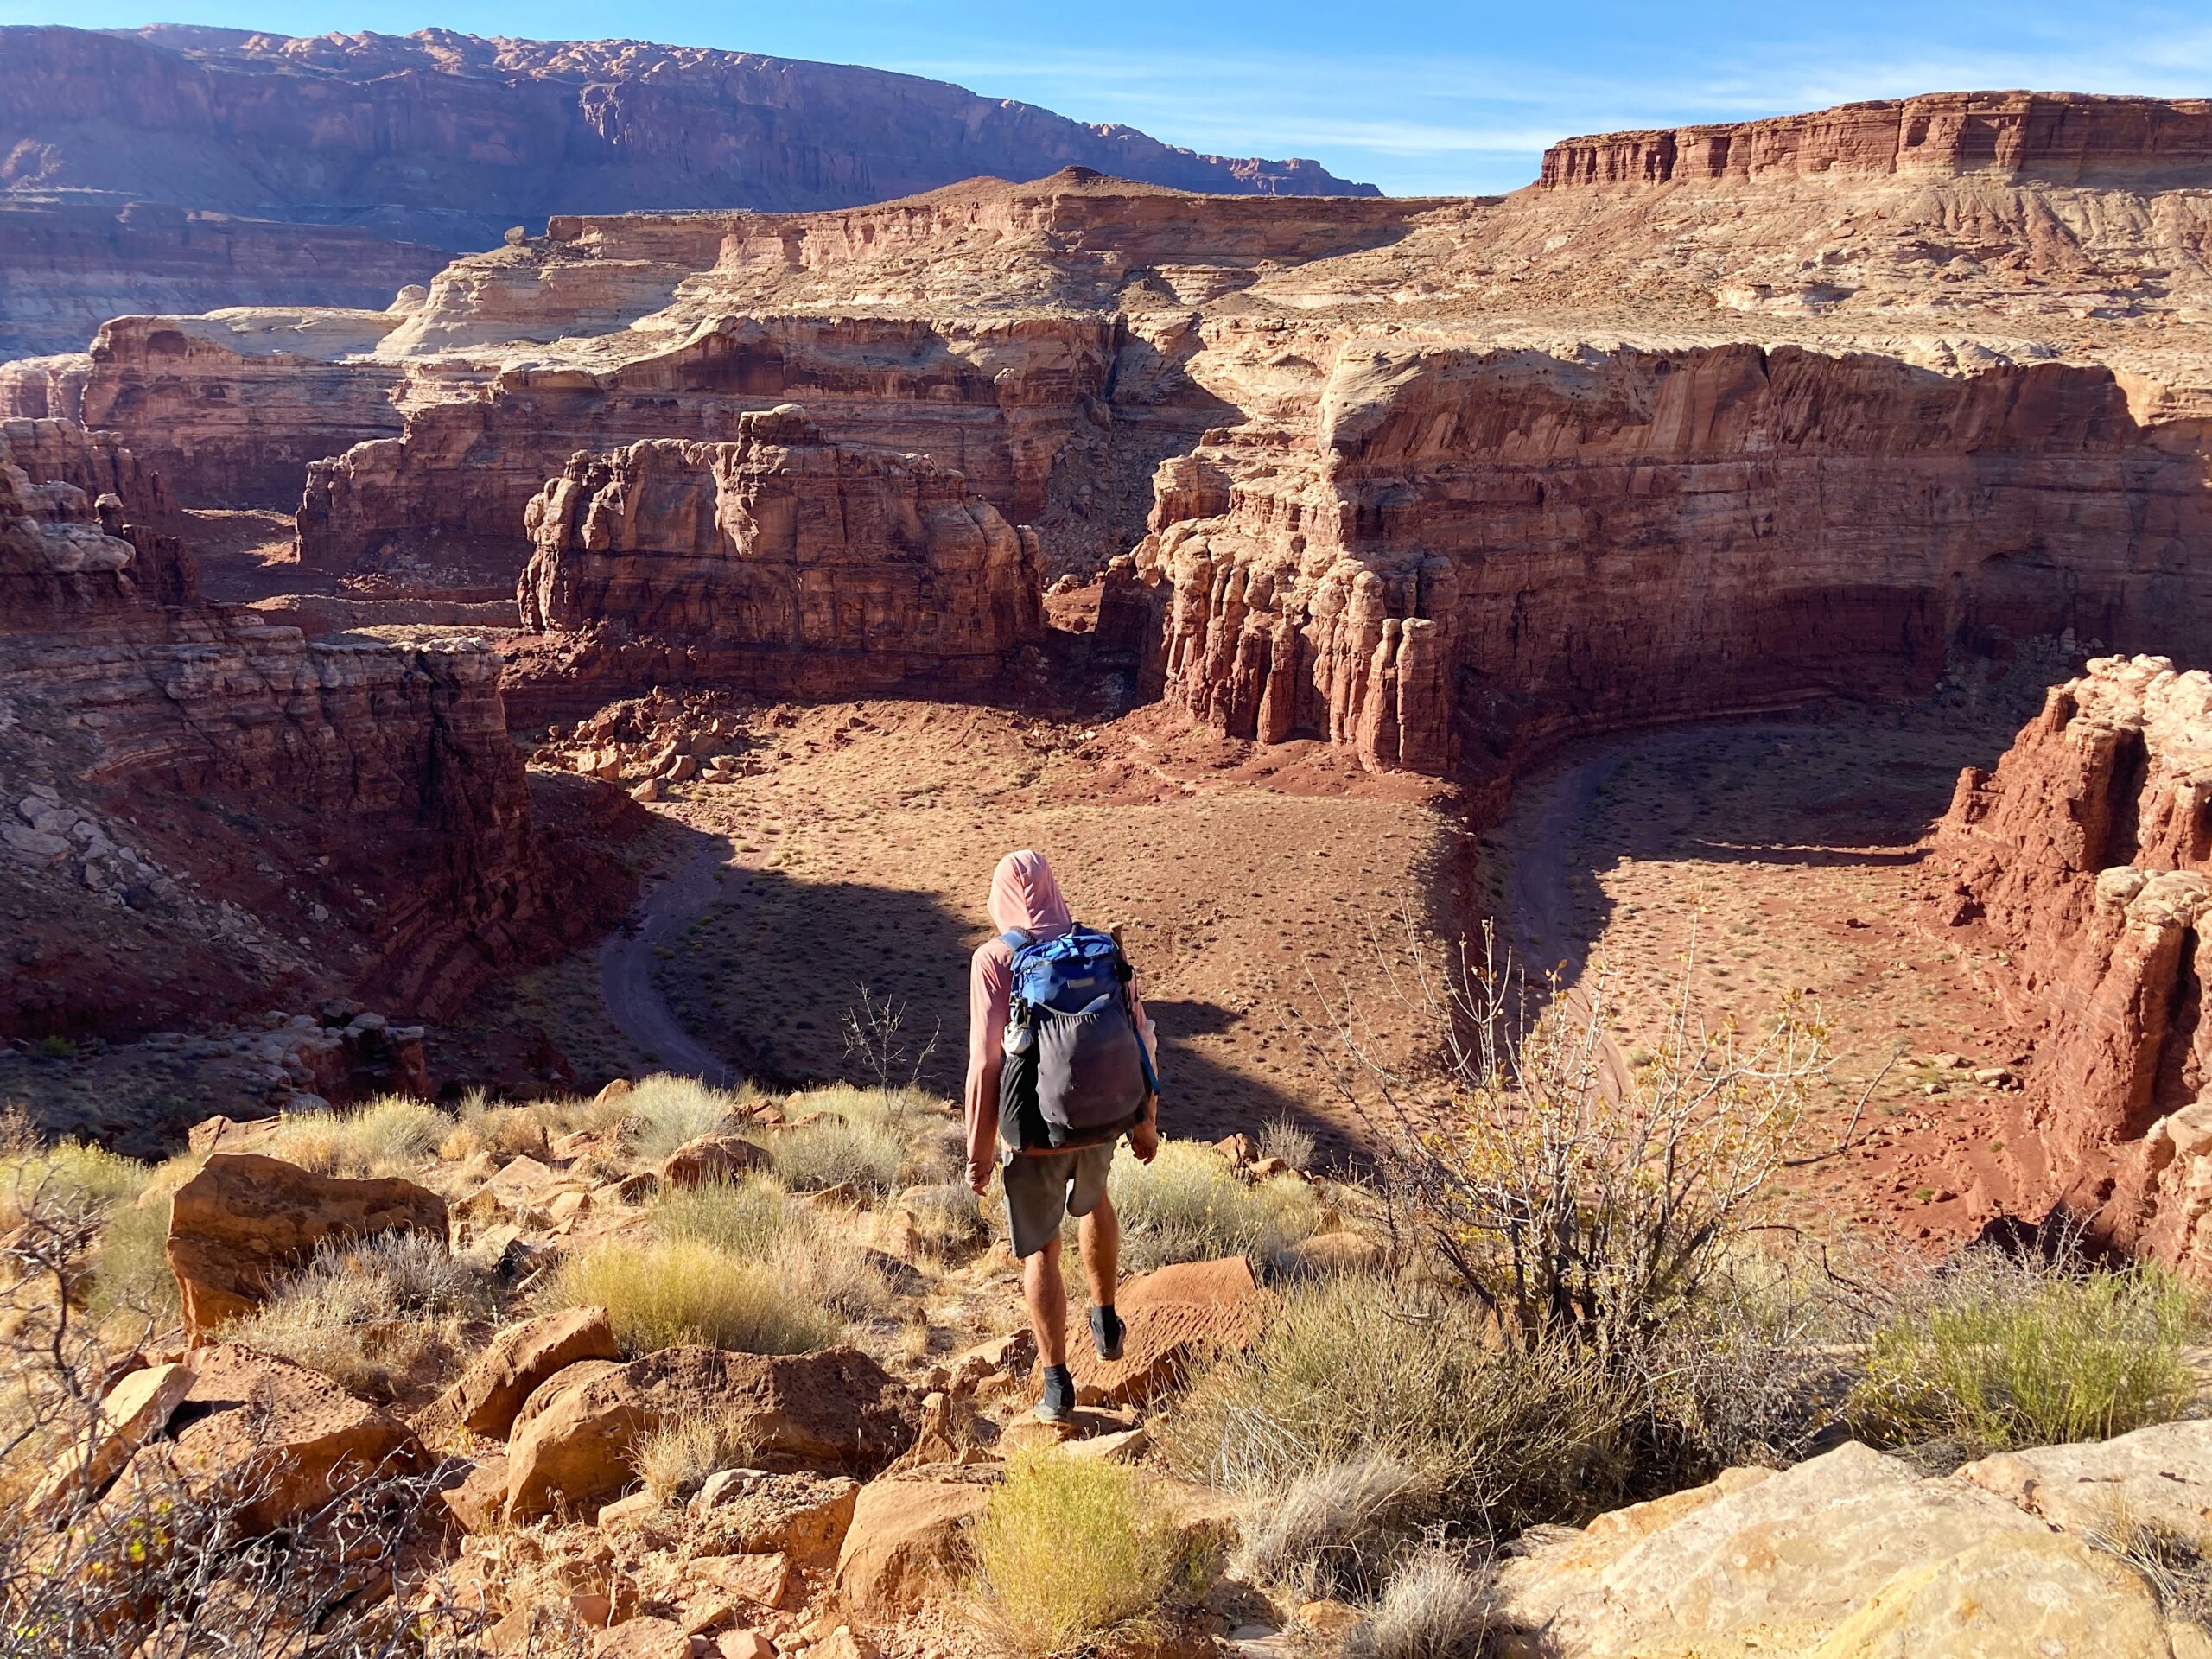
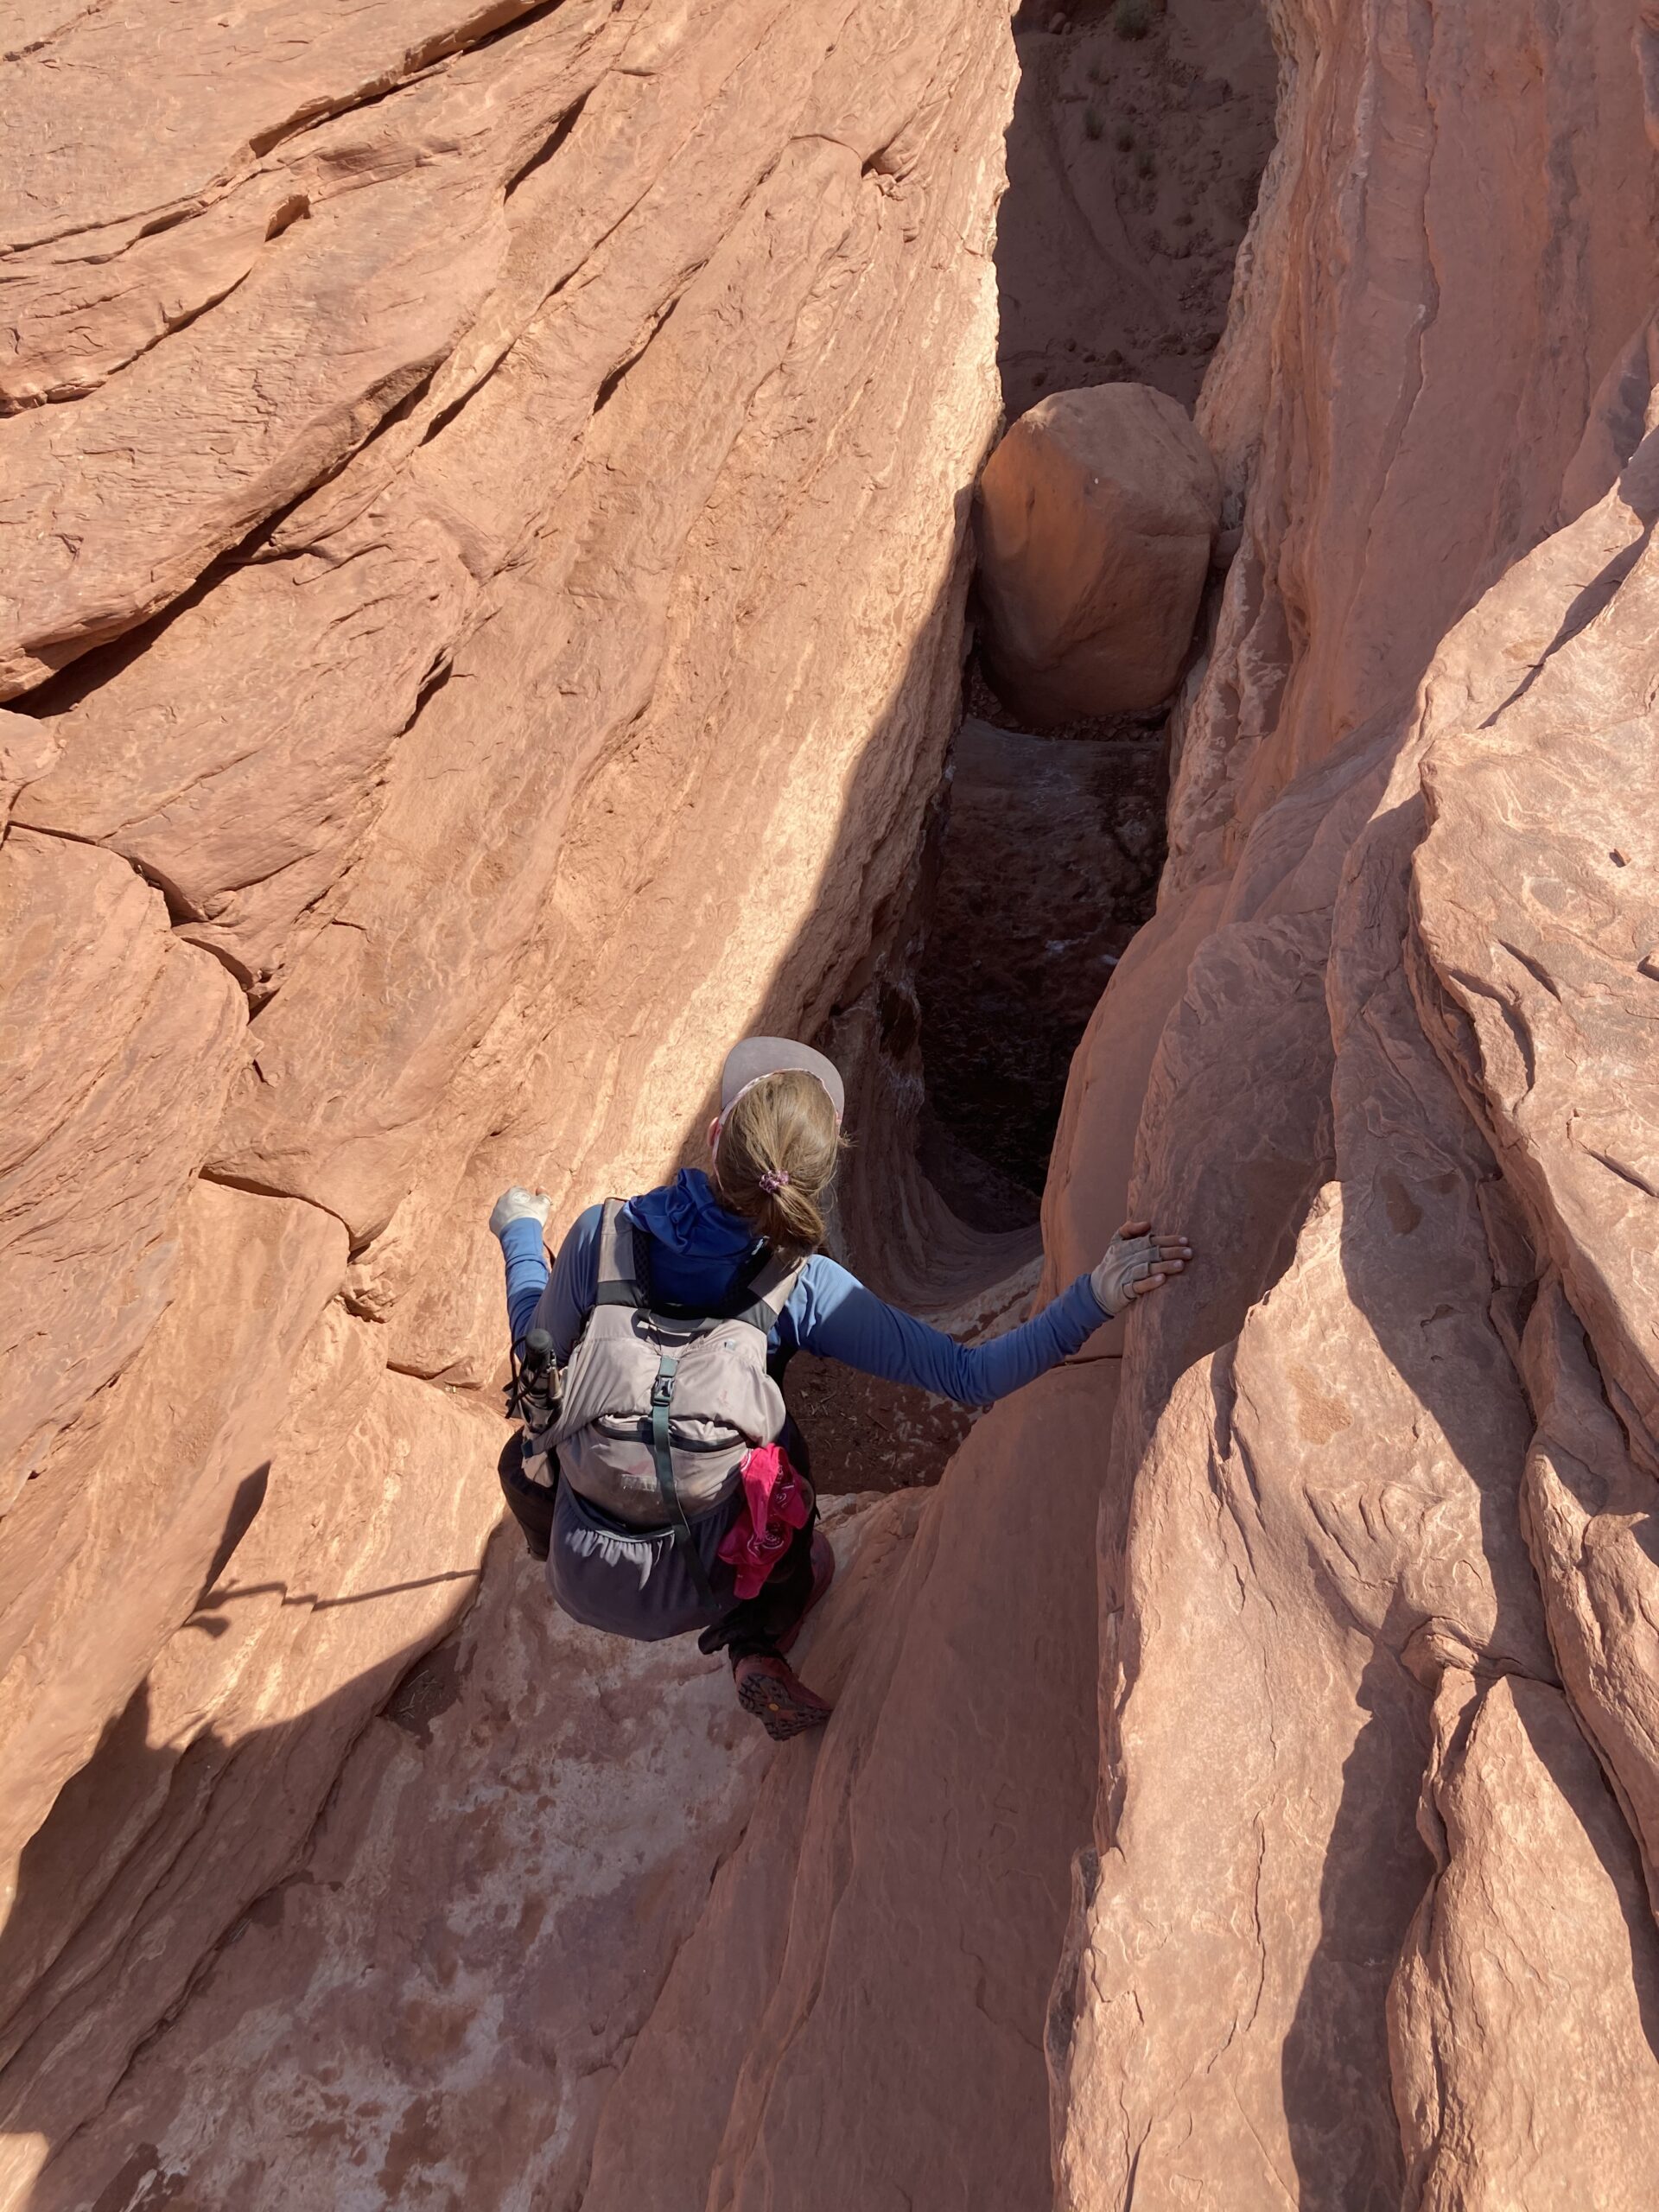
Terrain
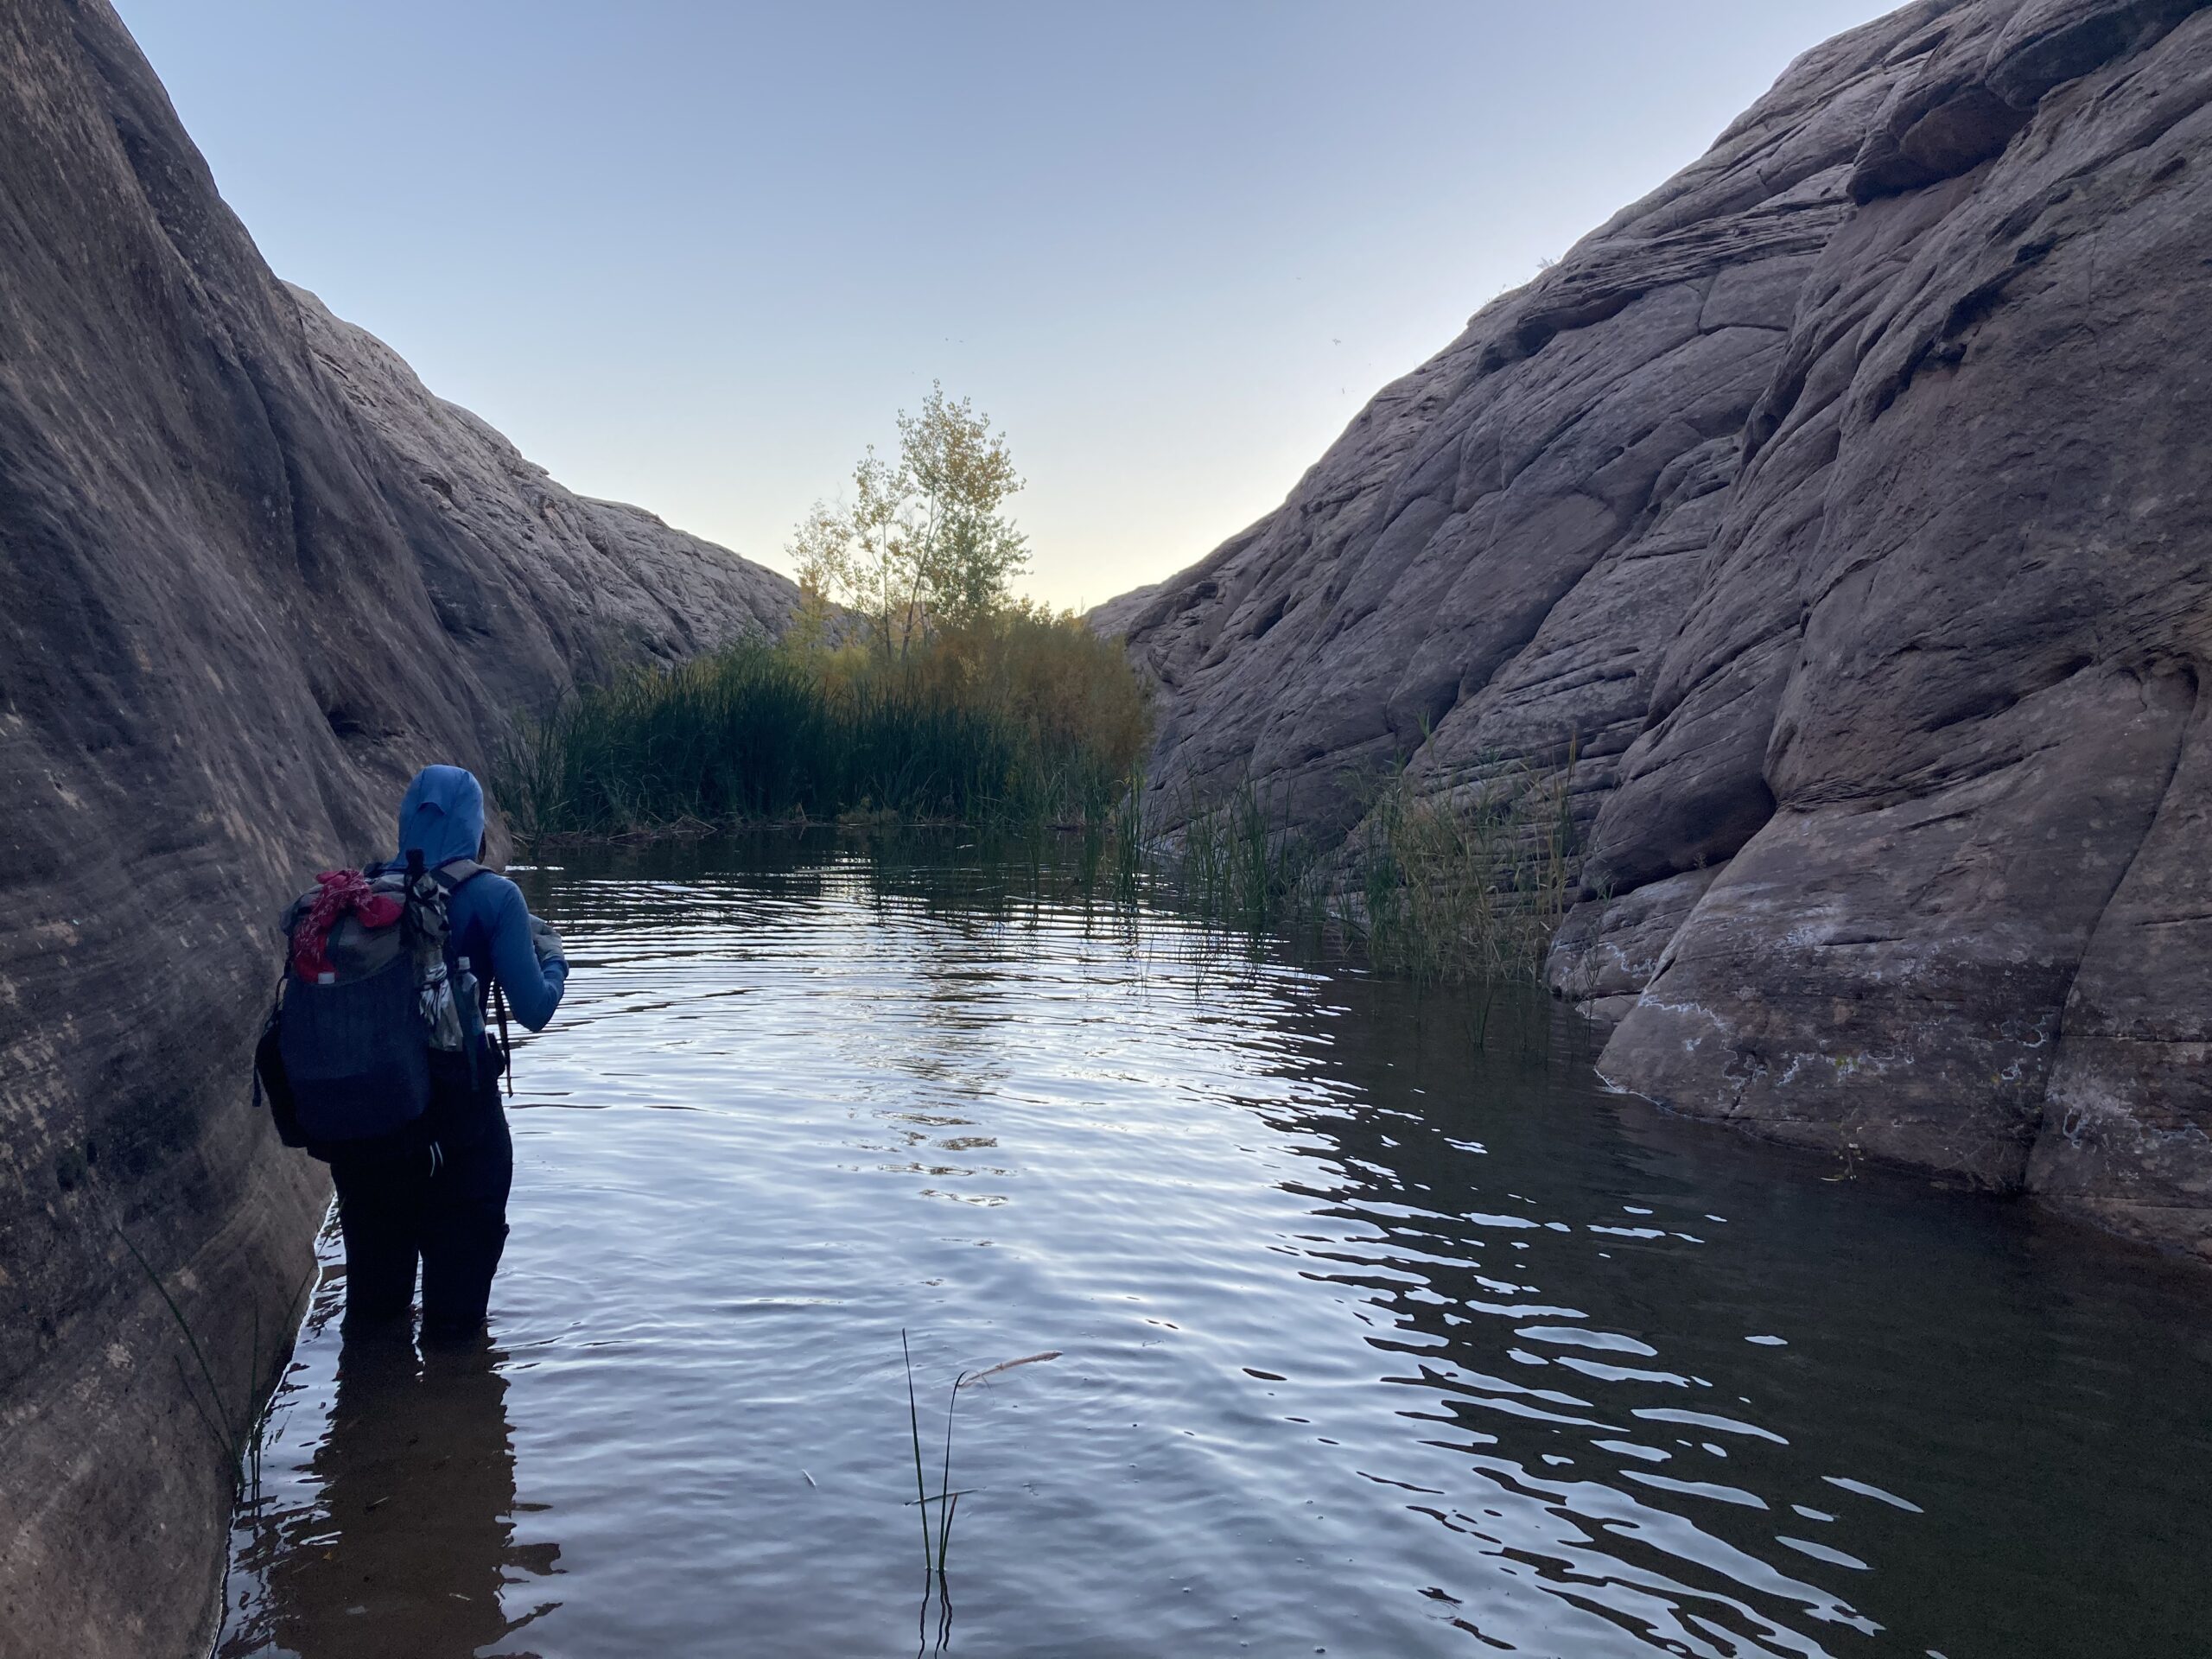
The Hayduke has all kinds of terrain. In general, you aren’t on a trail that often. You will climb into slickrock washes, scramble across loose talus, bushwhack (and crawl) through willow and catclaw, wade through deep mud and cold water, and walk narrow benches high above the canyon floor. In general, make sure your preparation accounts for what this varied terrain will mean for your pace, miles, and food/water plans. On many days we struggled to make our intended mileage because the terrain was so rough. This meant some days of seriously rationing food… which can add stress to any expedition.
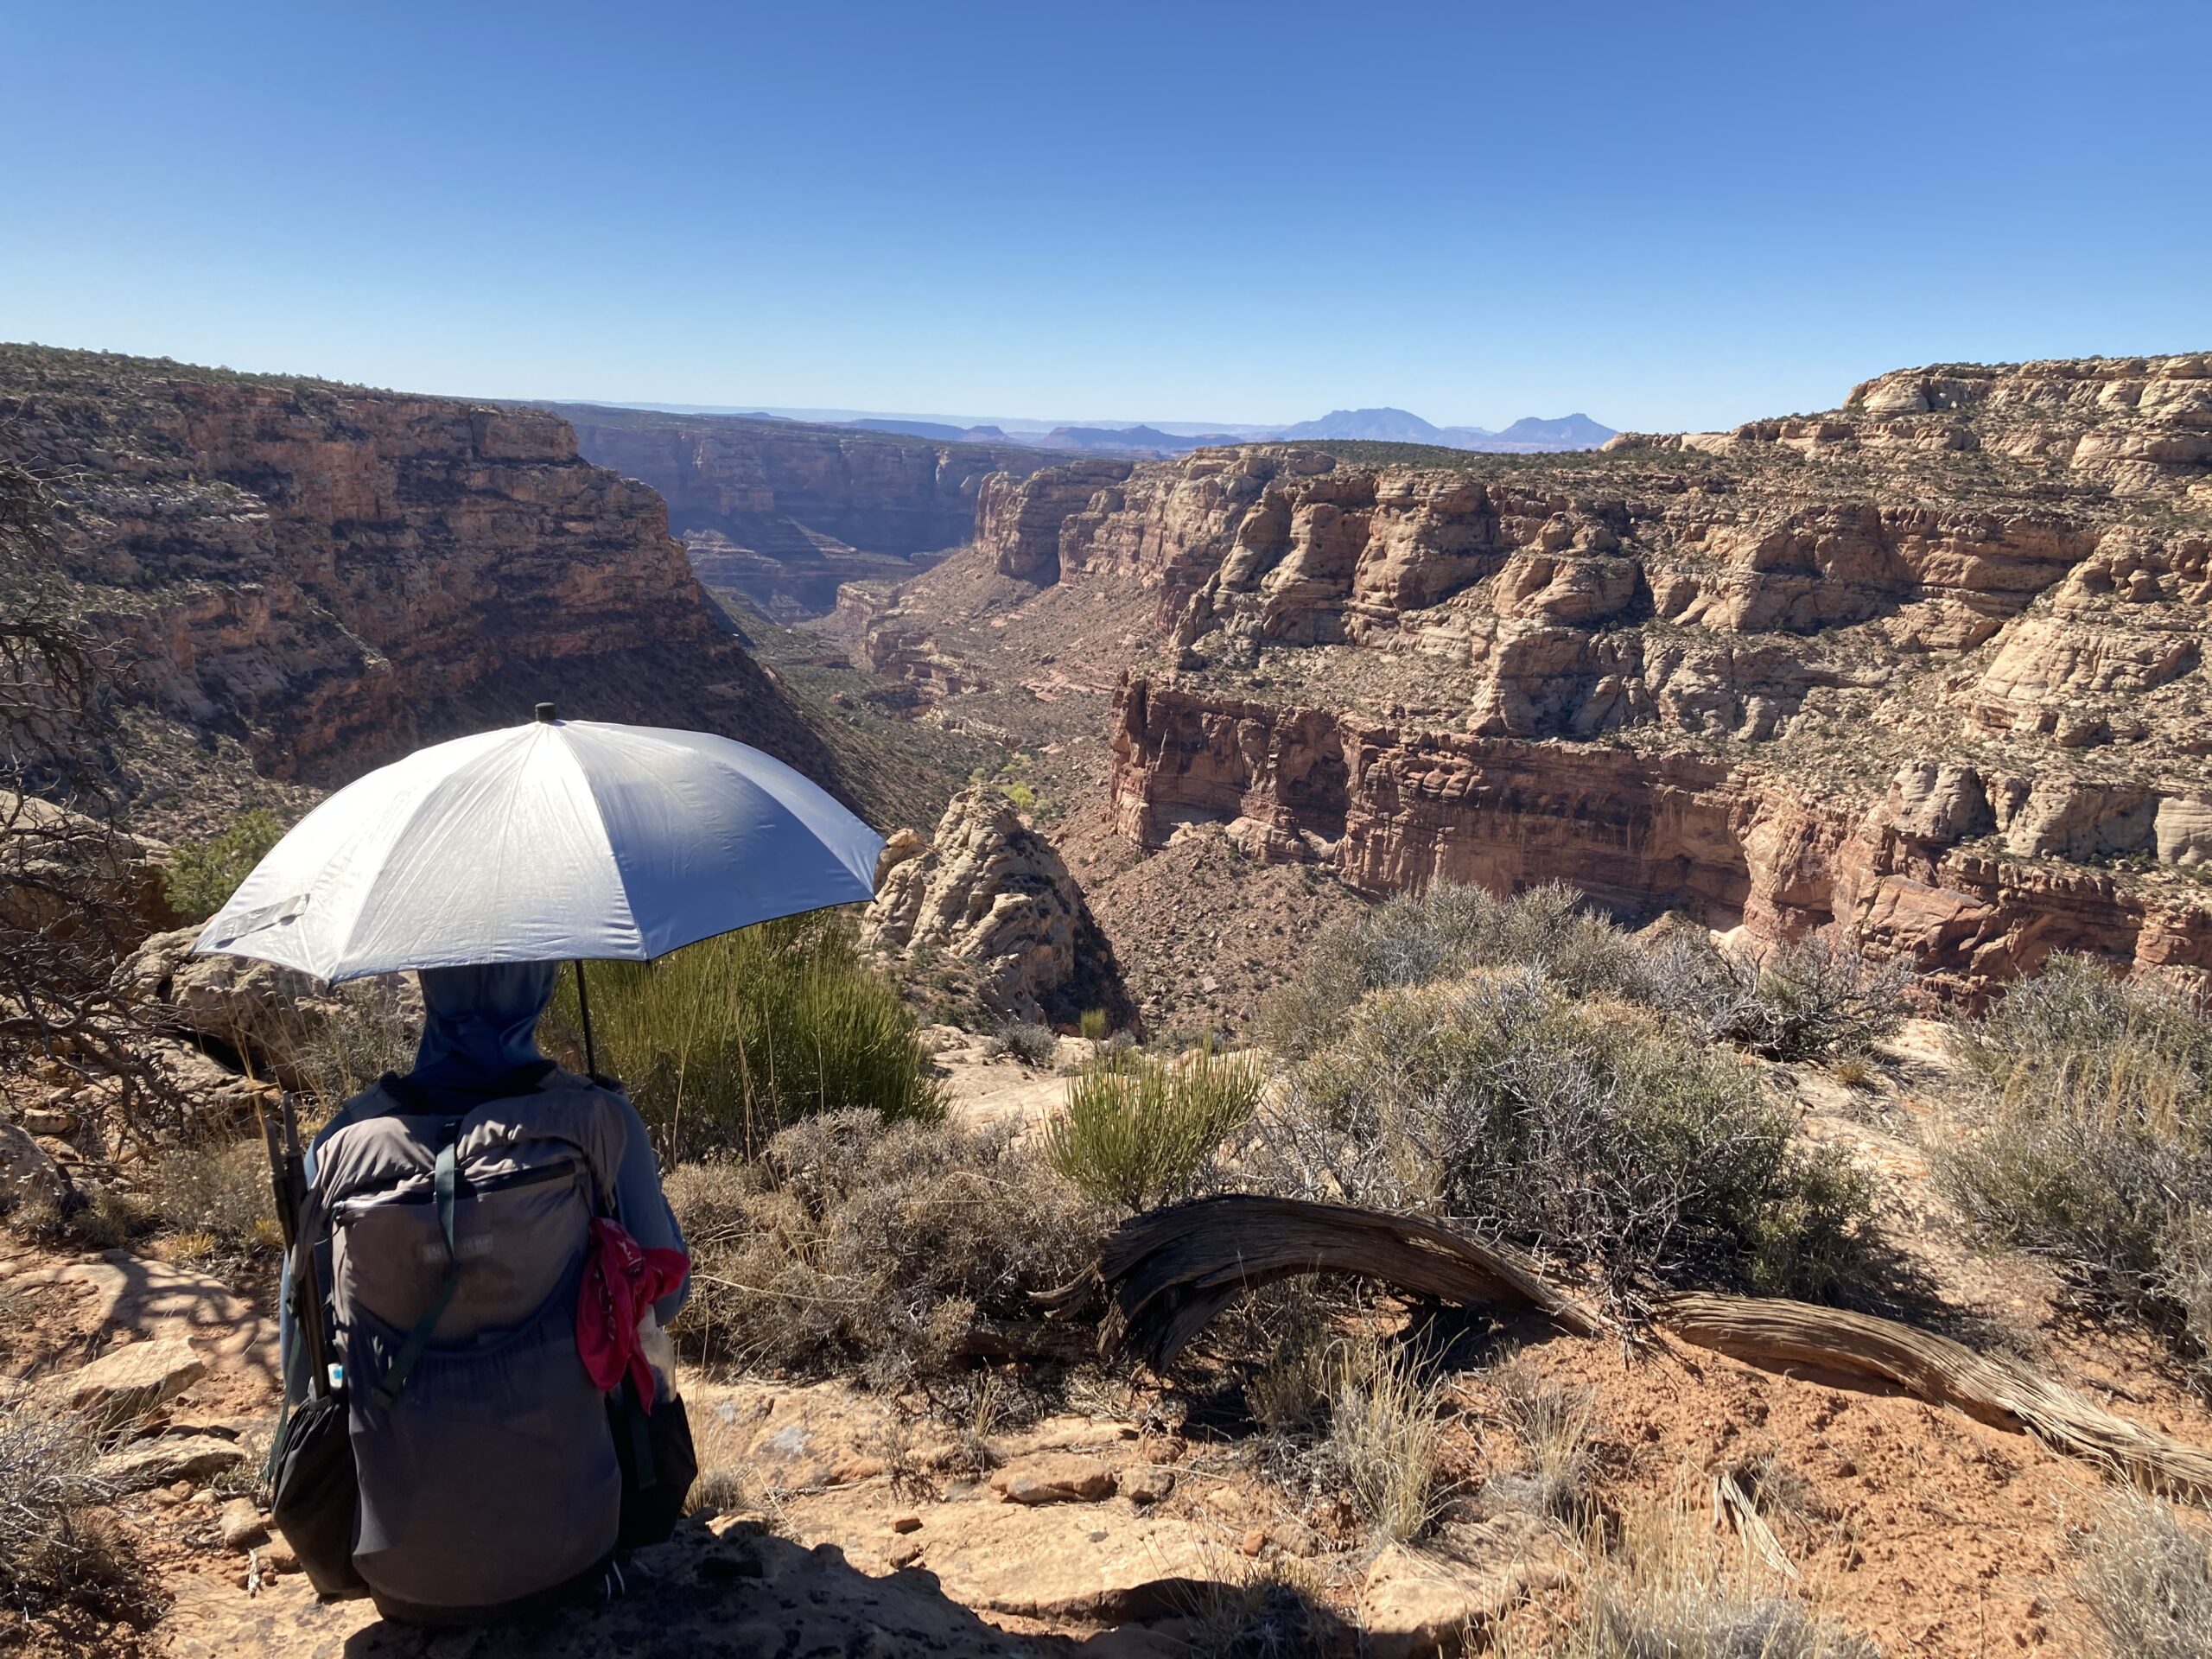
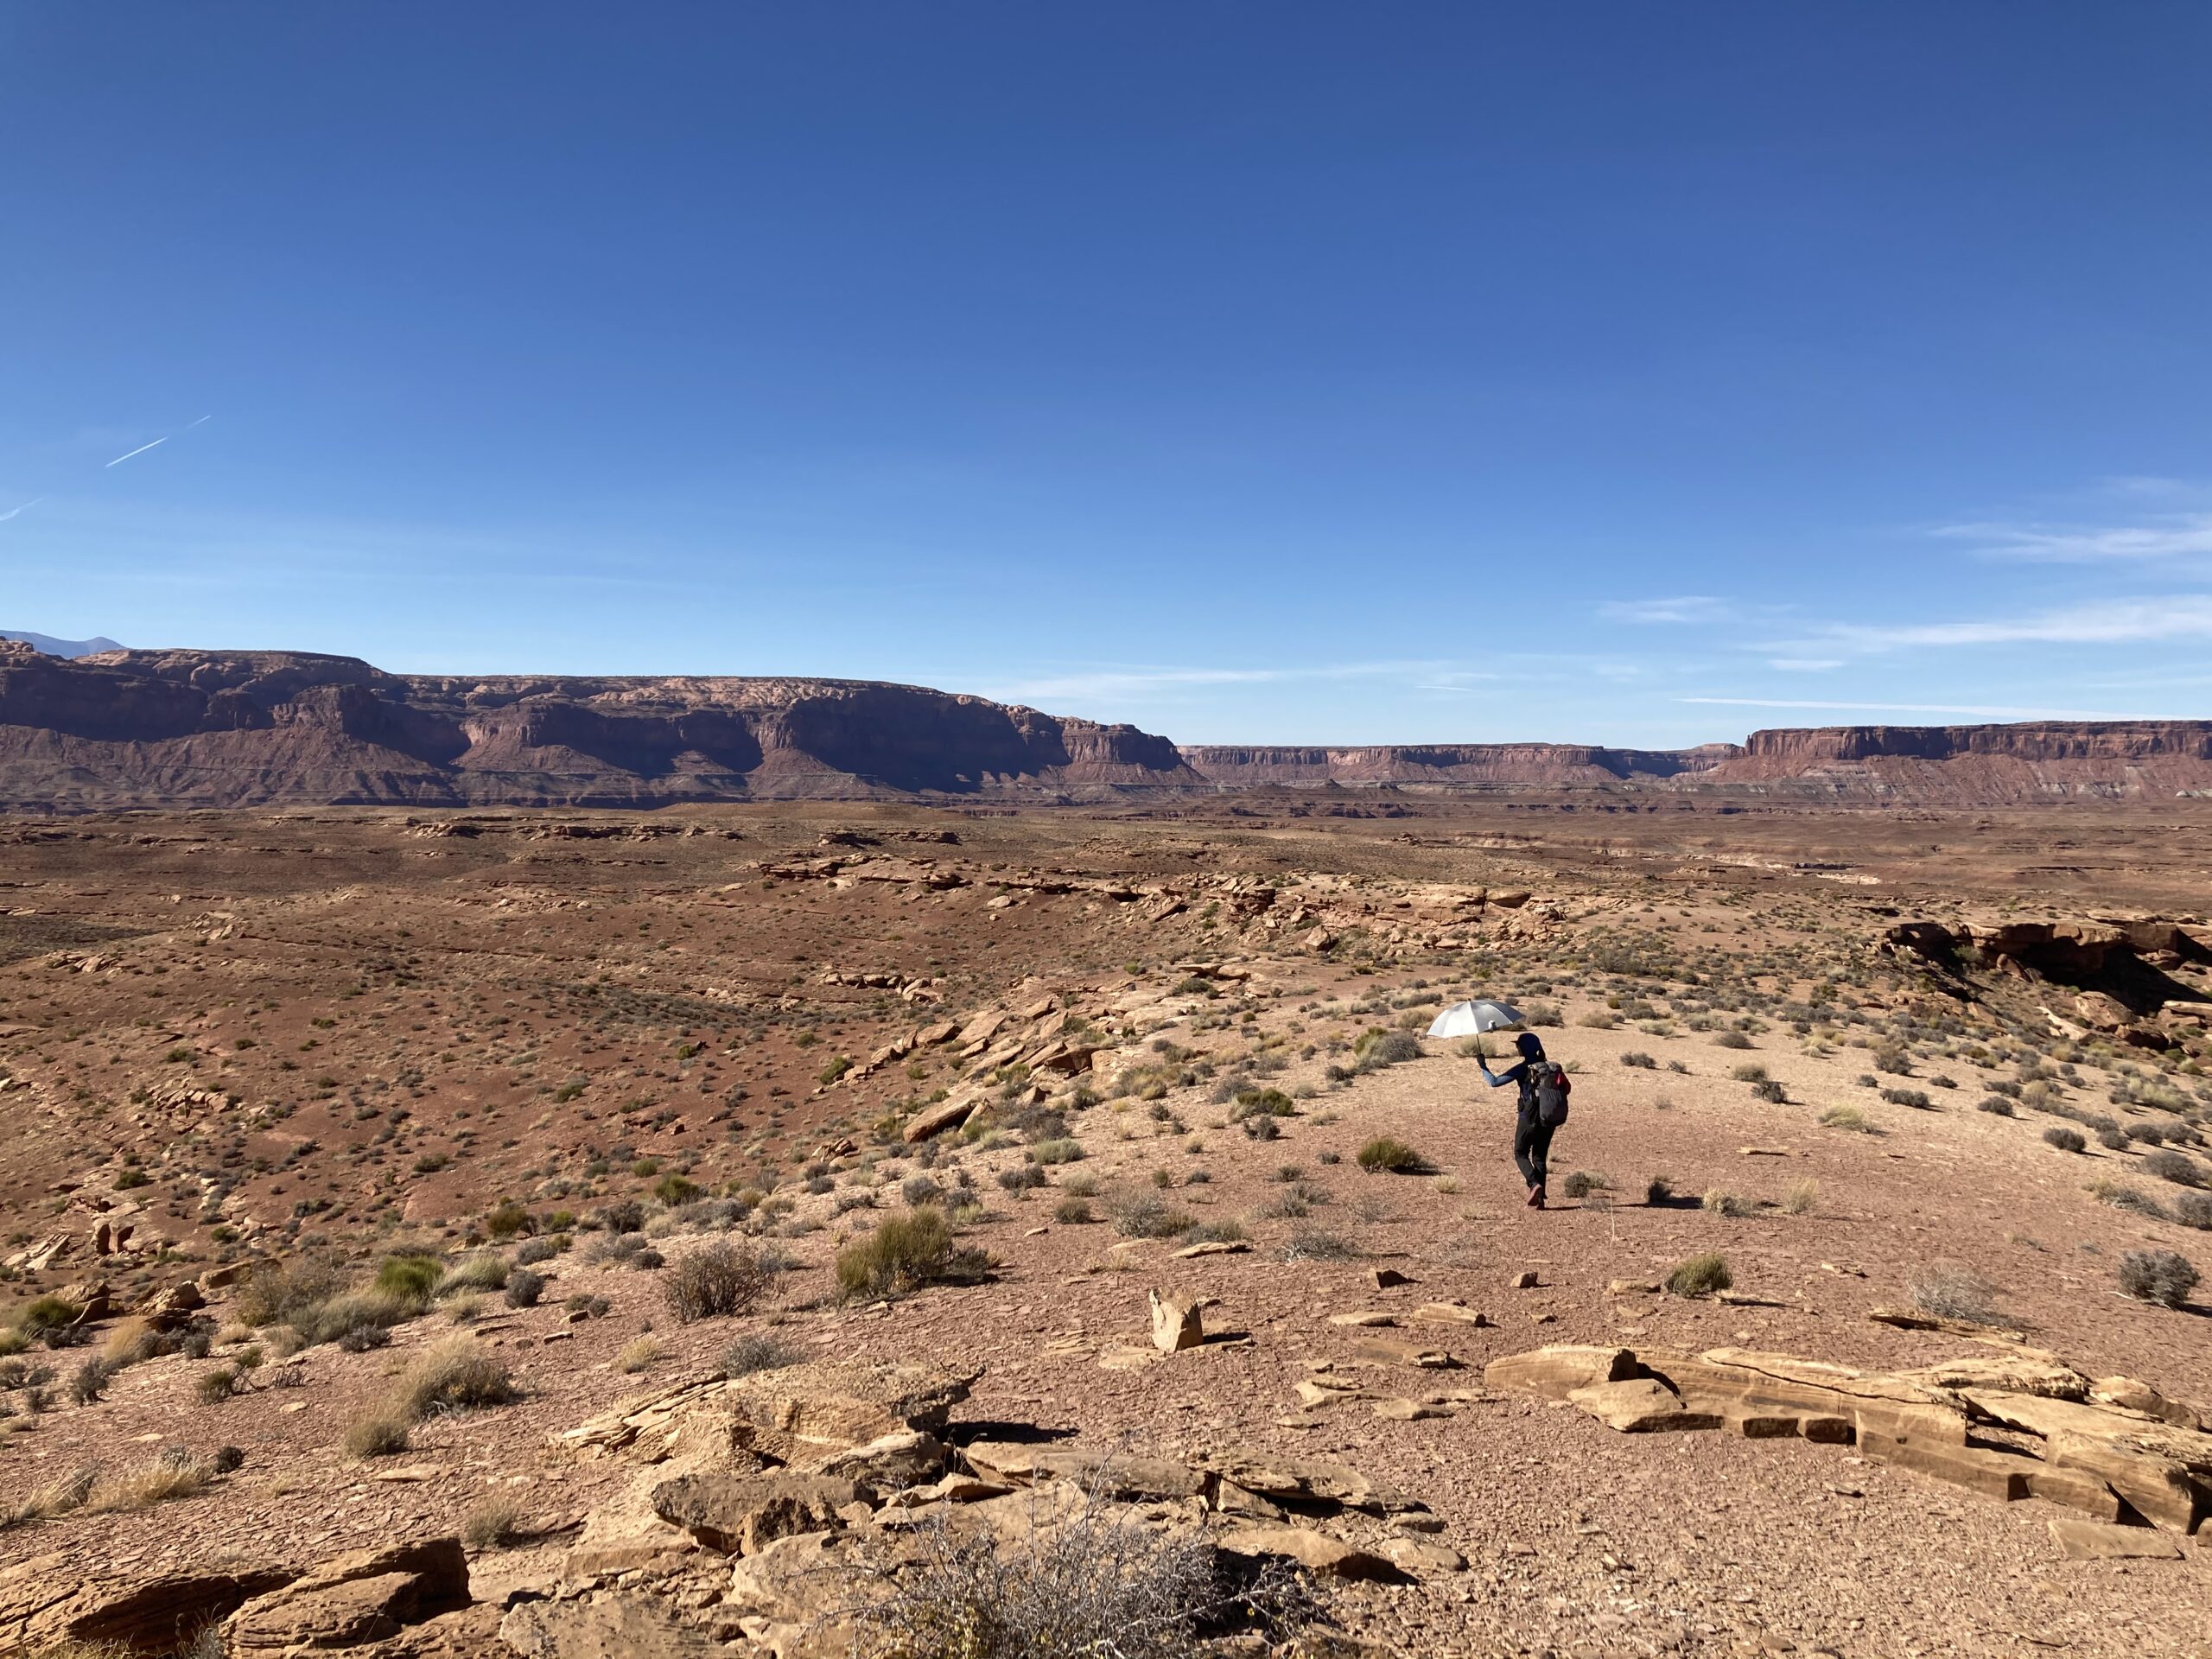
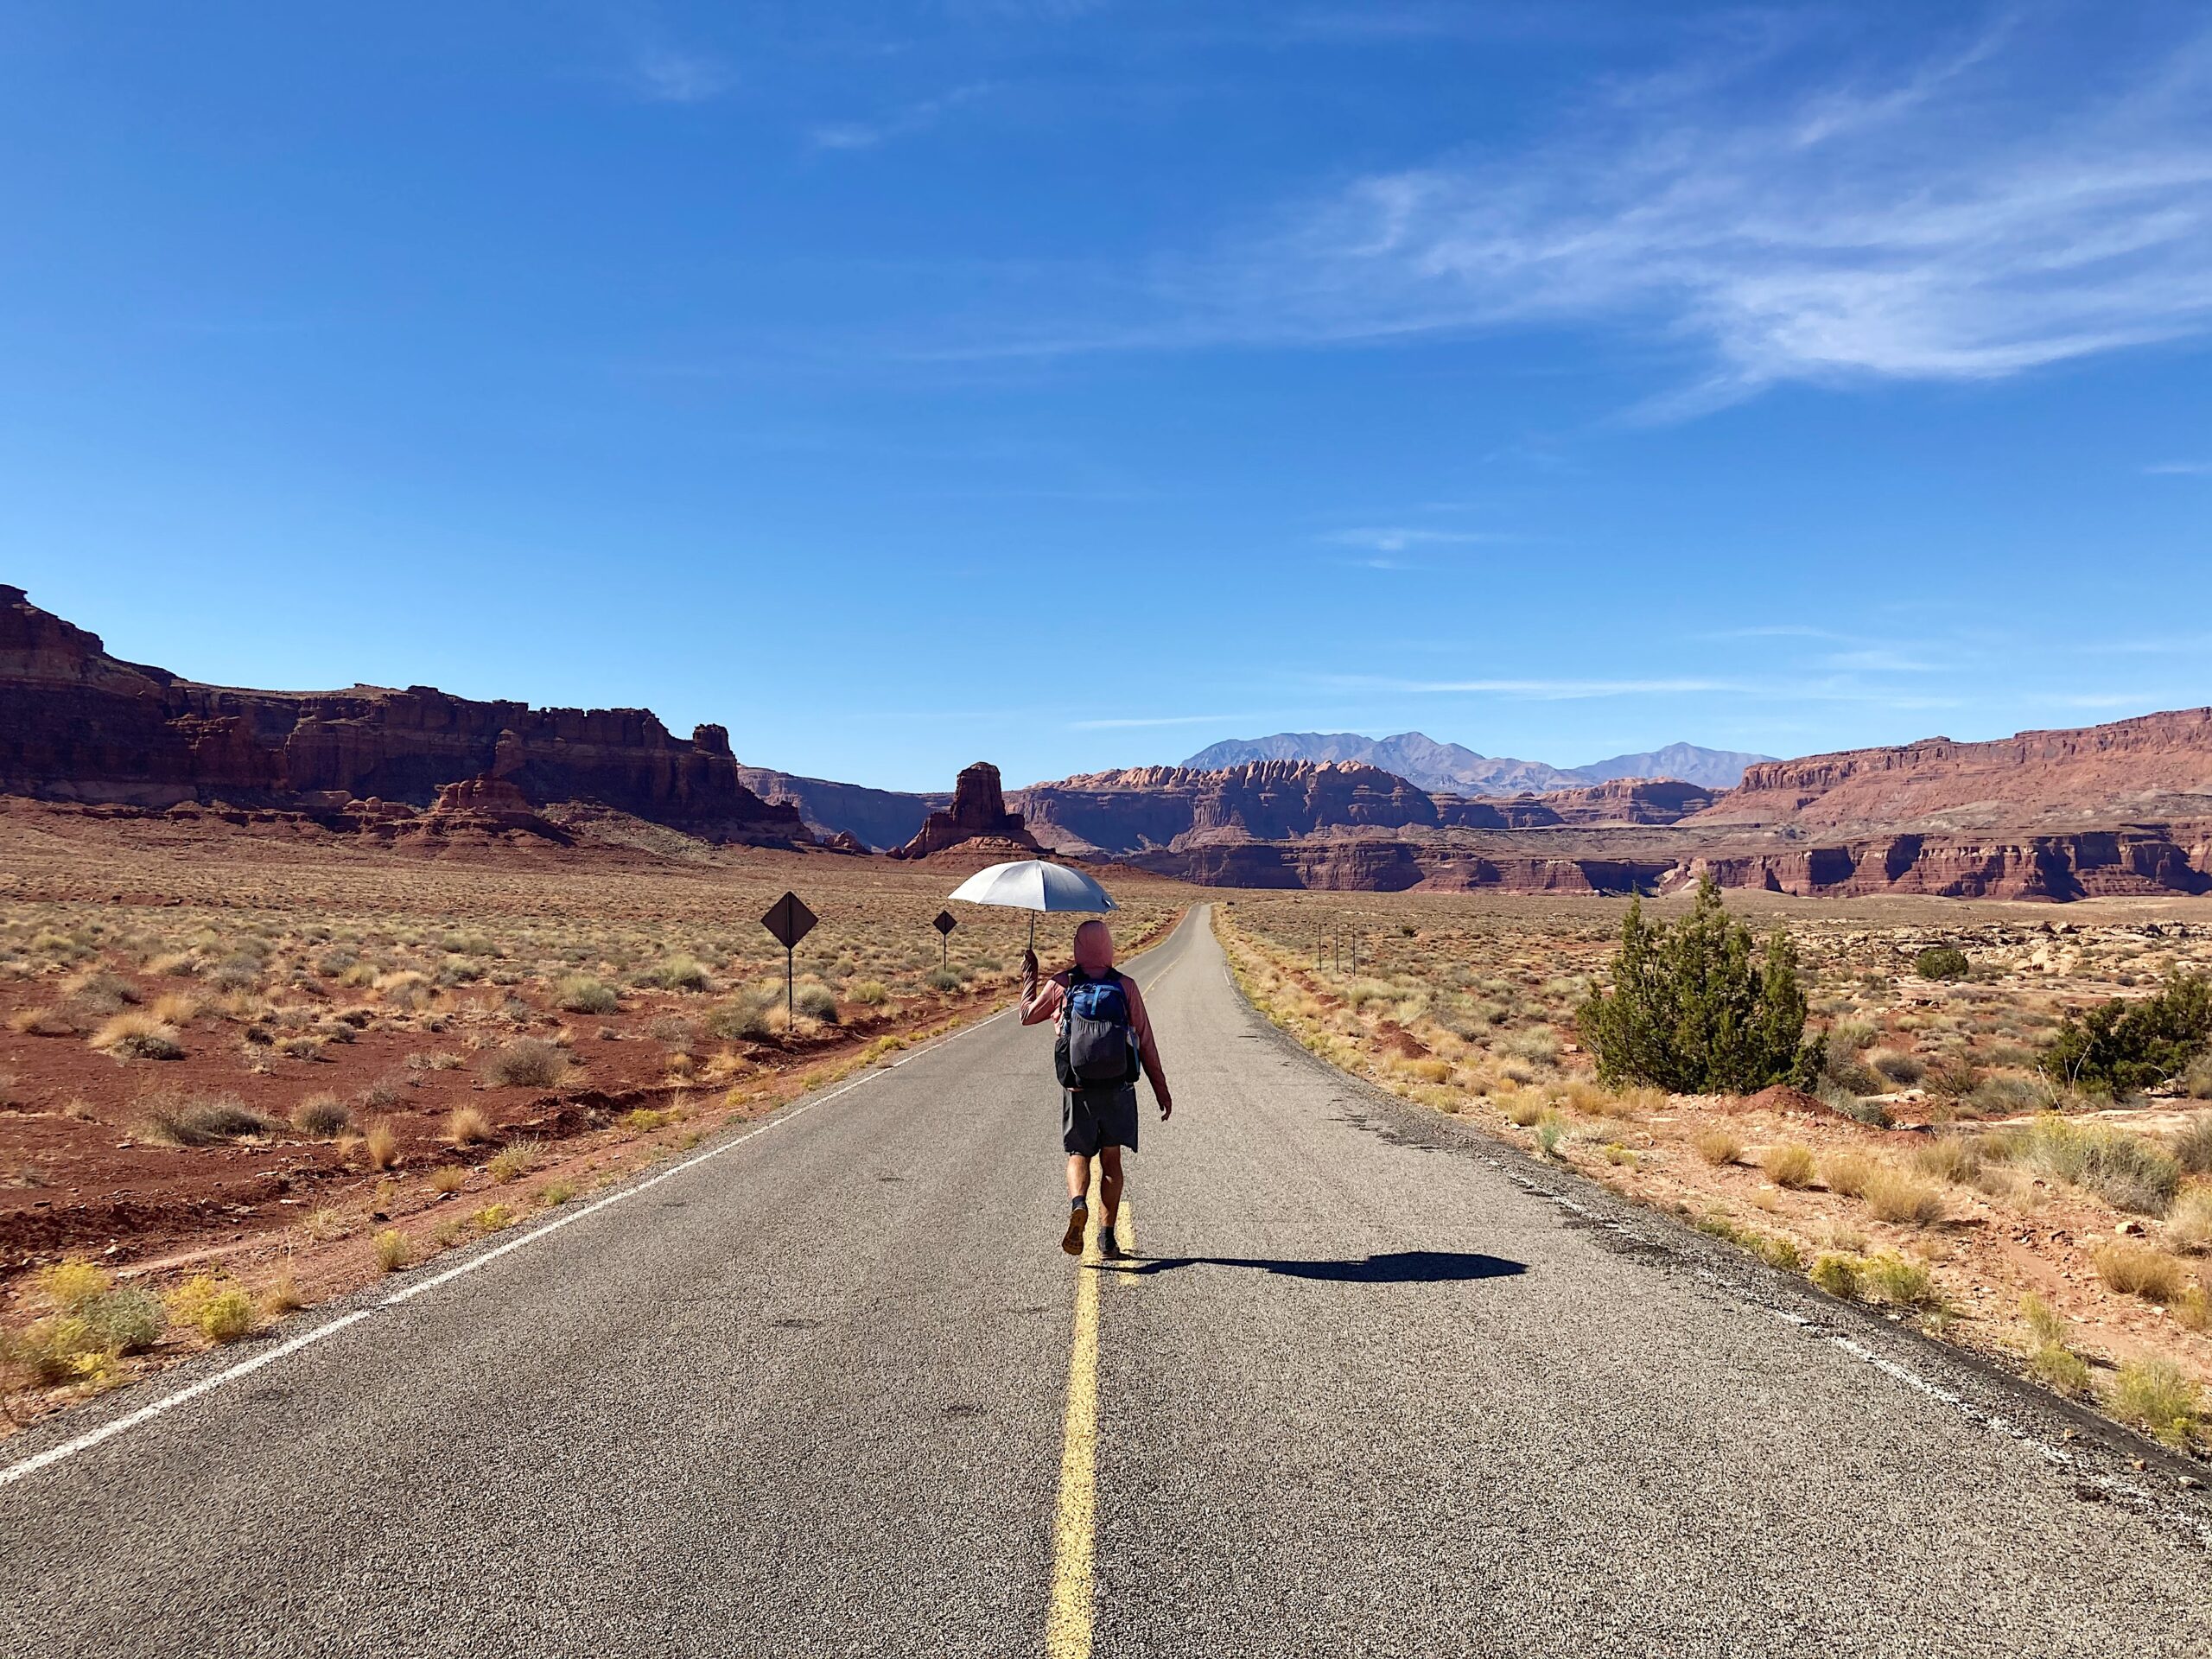
Harsh Weather & Exposure.
It’s the desert. You will be exposed to sun and wind all the time. You might be in snow one day, followed by even more sun and wind the next. Temperatures will vacillate widely, even within one day. You get it, you know. The desert can be a magically harsh place! Come prepared with the ability to create shade (such as an umbrella) or take breaks in the heat of the day. Have a good plan for self care (sunscreen, snacks, water, etc.) when you’re out there.
Emergency Devices.
We 100 percent recommend bringing an emergency S.O.S device on your Hayduke trip. The Hayduke is seriously committing and this can ensure you have a way to get help if you’re in a true emergency. We brought the Garmin inReach Mini. Its light, easy to use, and has a long battery life for daily waypoints.
Permits and Other Requirements
Skurka outlines a bunch of information on permits in his Hayduke bundle. The most important permit to obtain well in advance is for Grand Canyon National Park. You also need permits for Arches, Zion, Canyonlands and a few other areas, but these all seemed slightly easier to obtain.
Specifically for the Grand Canyon, we reserved our permit far ahead, hoping our dates would still line up when we entered the area over a month later. Miraculously, we were able to stay on our permit almost the whole time. We had heard that many Hayduke hikers are off their exact permit dates in the Grand Canyon because its so far into the route. It seems possible to get a permit enough in advance and still work out the details when the time comes closer. Letting the people issuing permits know we were on the Hayduke seemed to help with these logistics.
Applying for a Grand Canyon permit can be involved. The thing that helped us most was having a good overview map. The Trails Illustrated map worked well for us as an addition to the detailed Hayduke route maps through the Grand Canyon. Accounting for any extra time needed to travel on rougher sections of terrain in this area will serve you well.
Transportation
There are a few shuttle services at the termini of the Hayduke. On the east end of the route there is a shuttle service in Maob. We also read that one of the guidebook authors provided rides to a few folks in Arches National Park.
At the west end of the route, in Zion, there are shuttle buses that run in and out of the National Park during certain times of year. It is worth checking on this bus schedule and getting a ticket to ride in advance. As of our hike in 2020, the last 10 miles of trail (to Weeping Rock) is closed due to a rockfall in 2019.

Resources & Links
Photo Gallery