Day Trip
Mount Shuksan – Sulphide Glacier/SE Ridge
Trip Report
Aug 21, 2026 08/21/2026
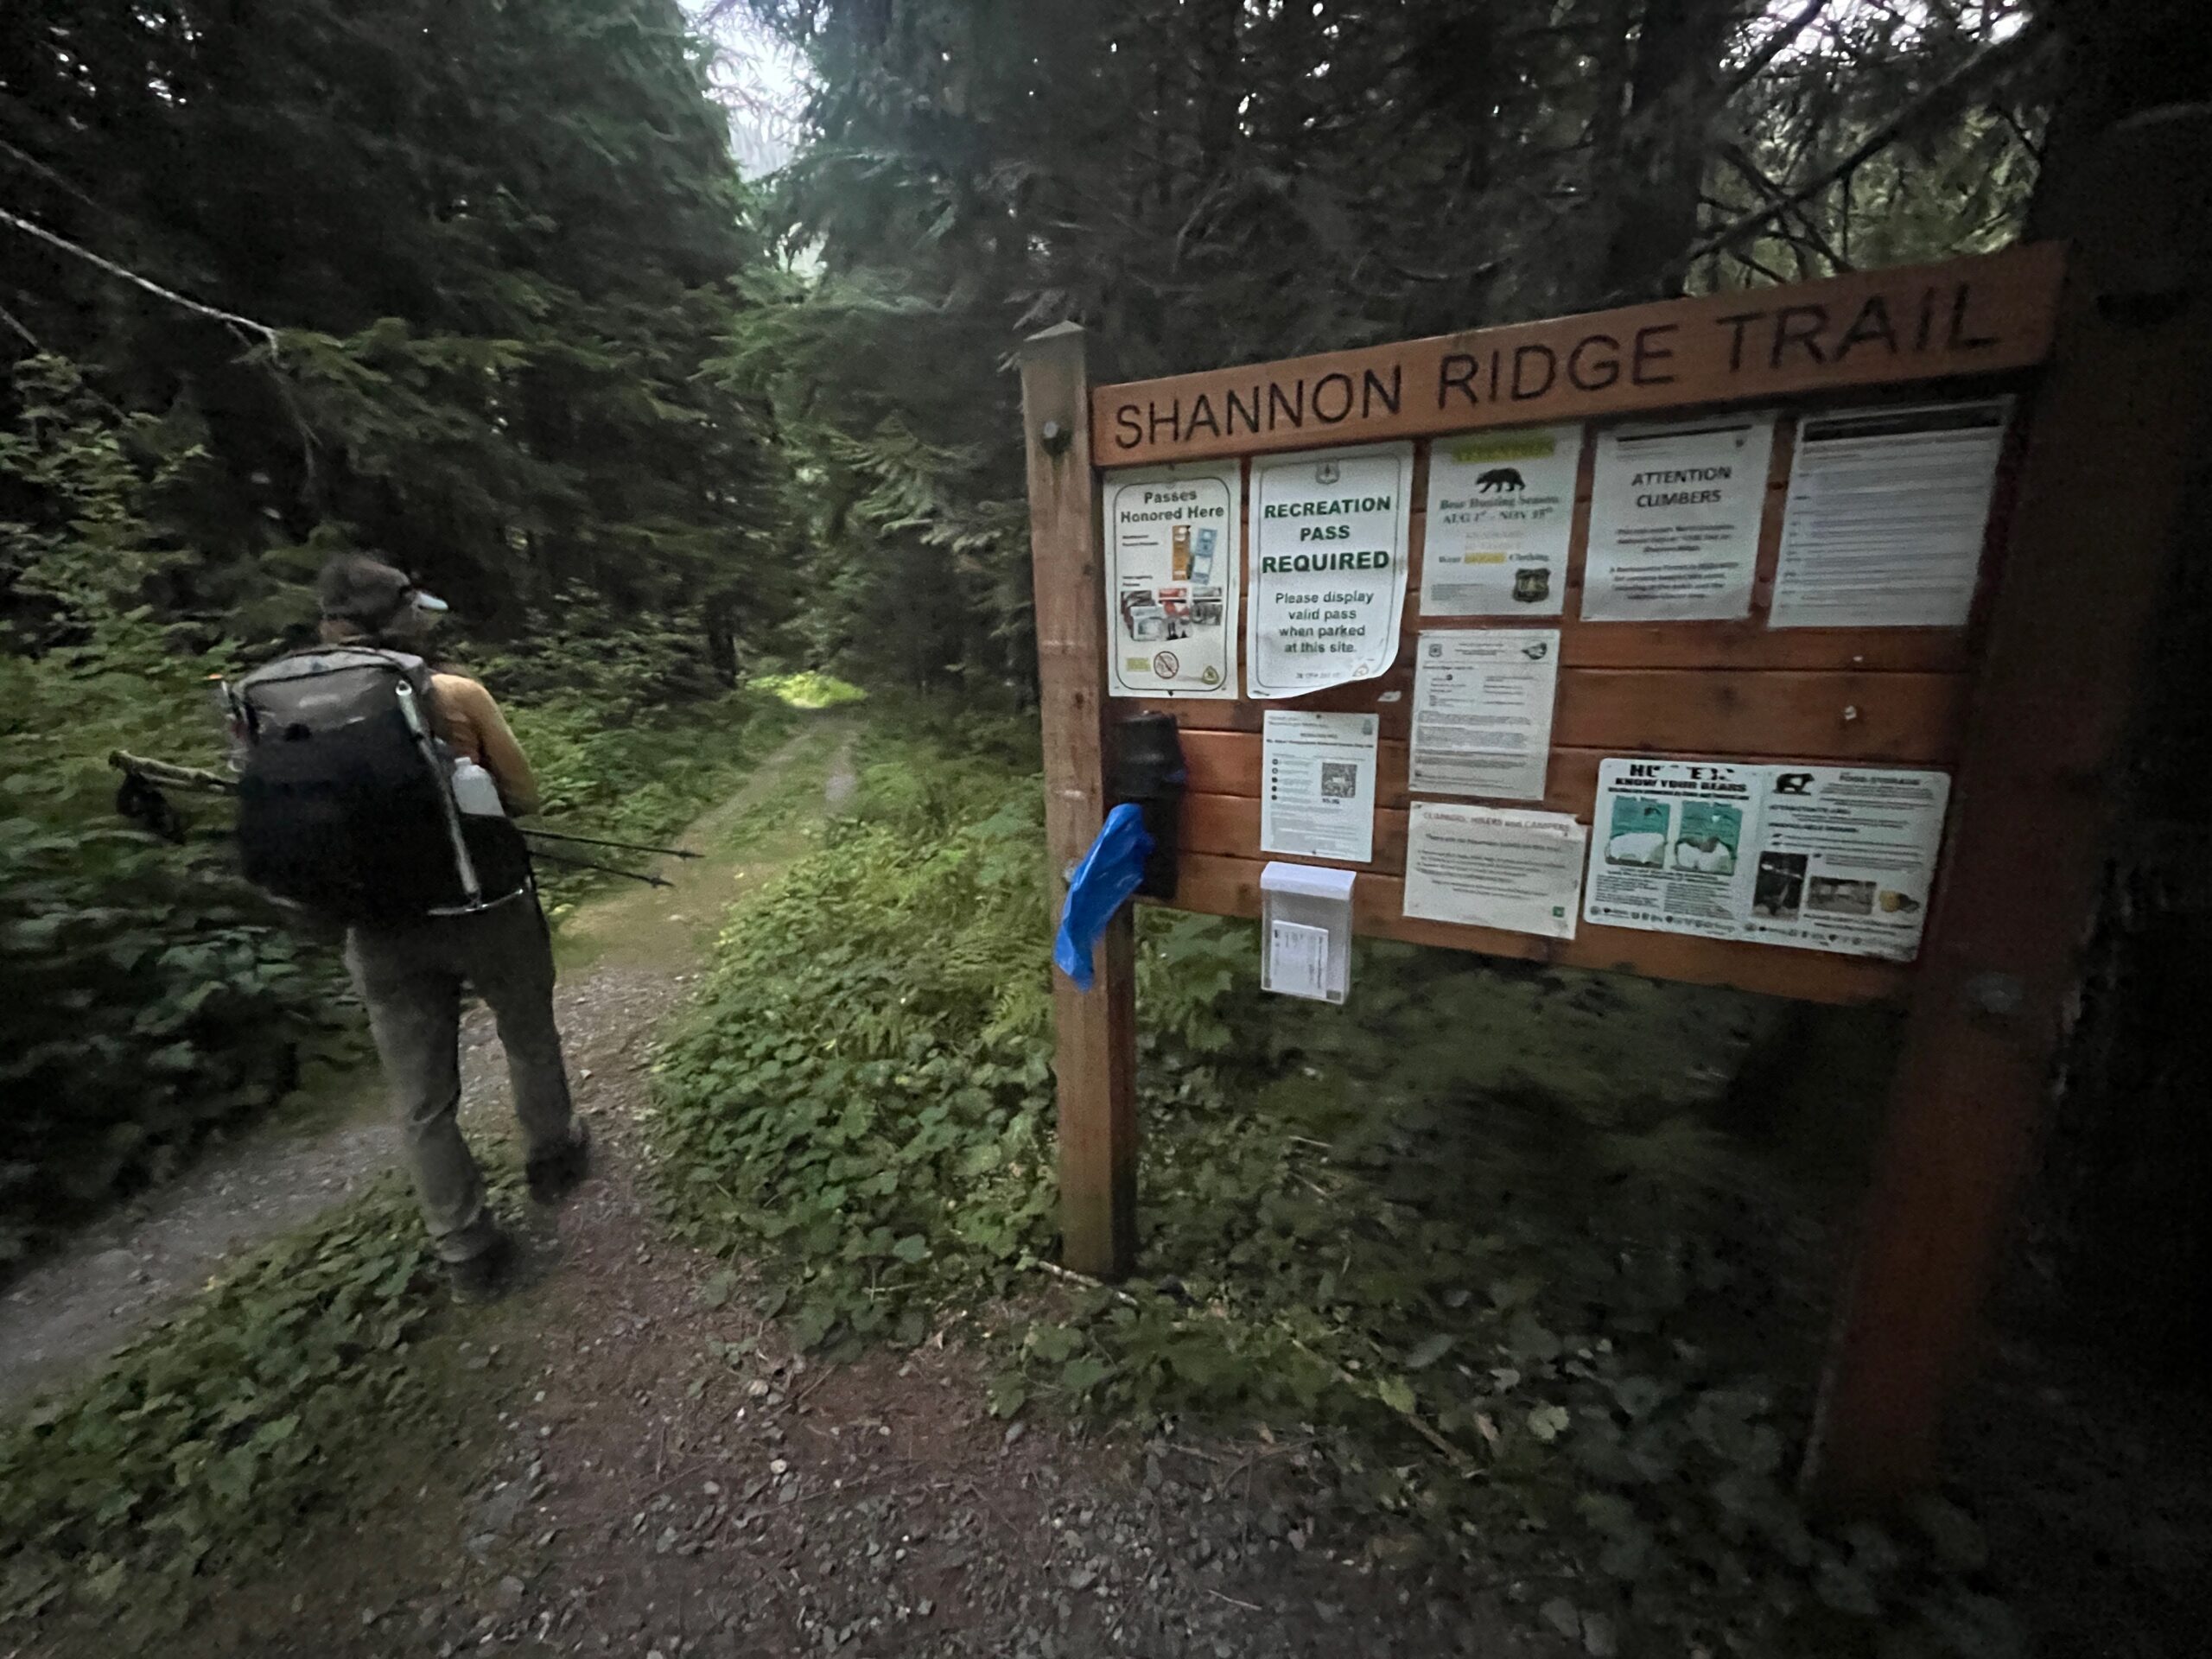
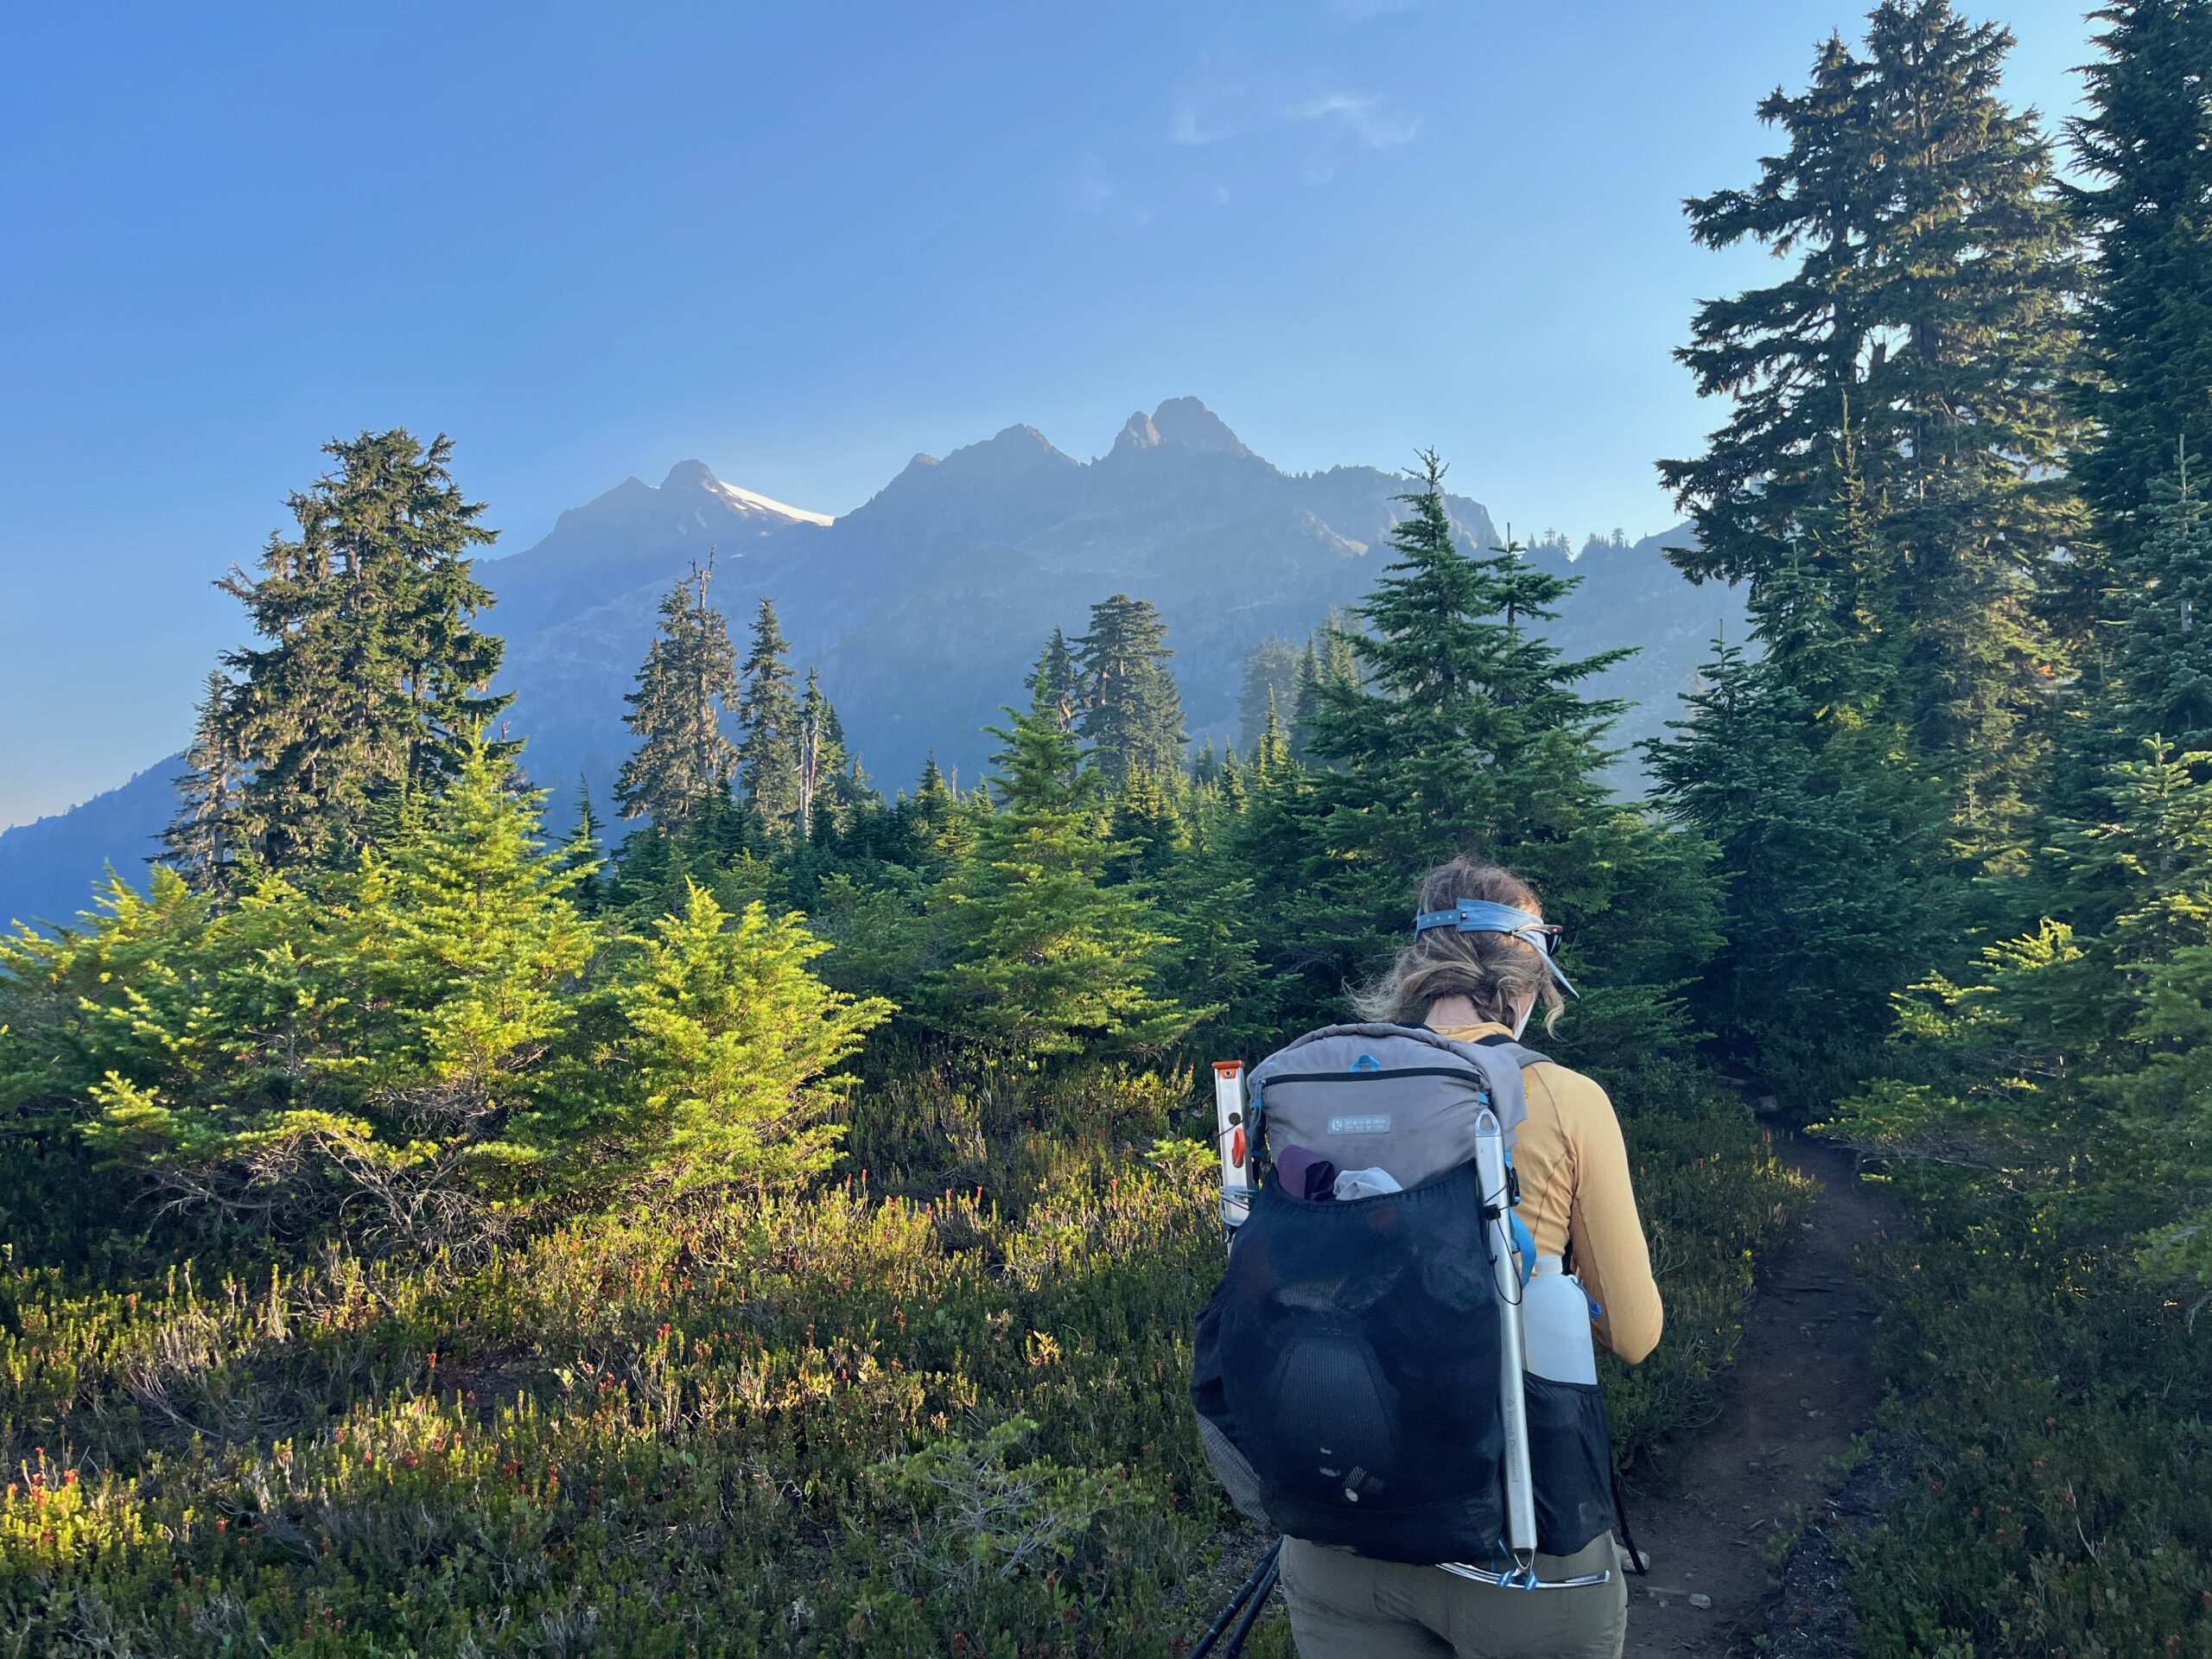
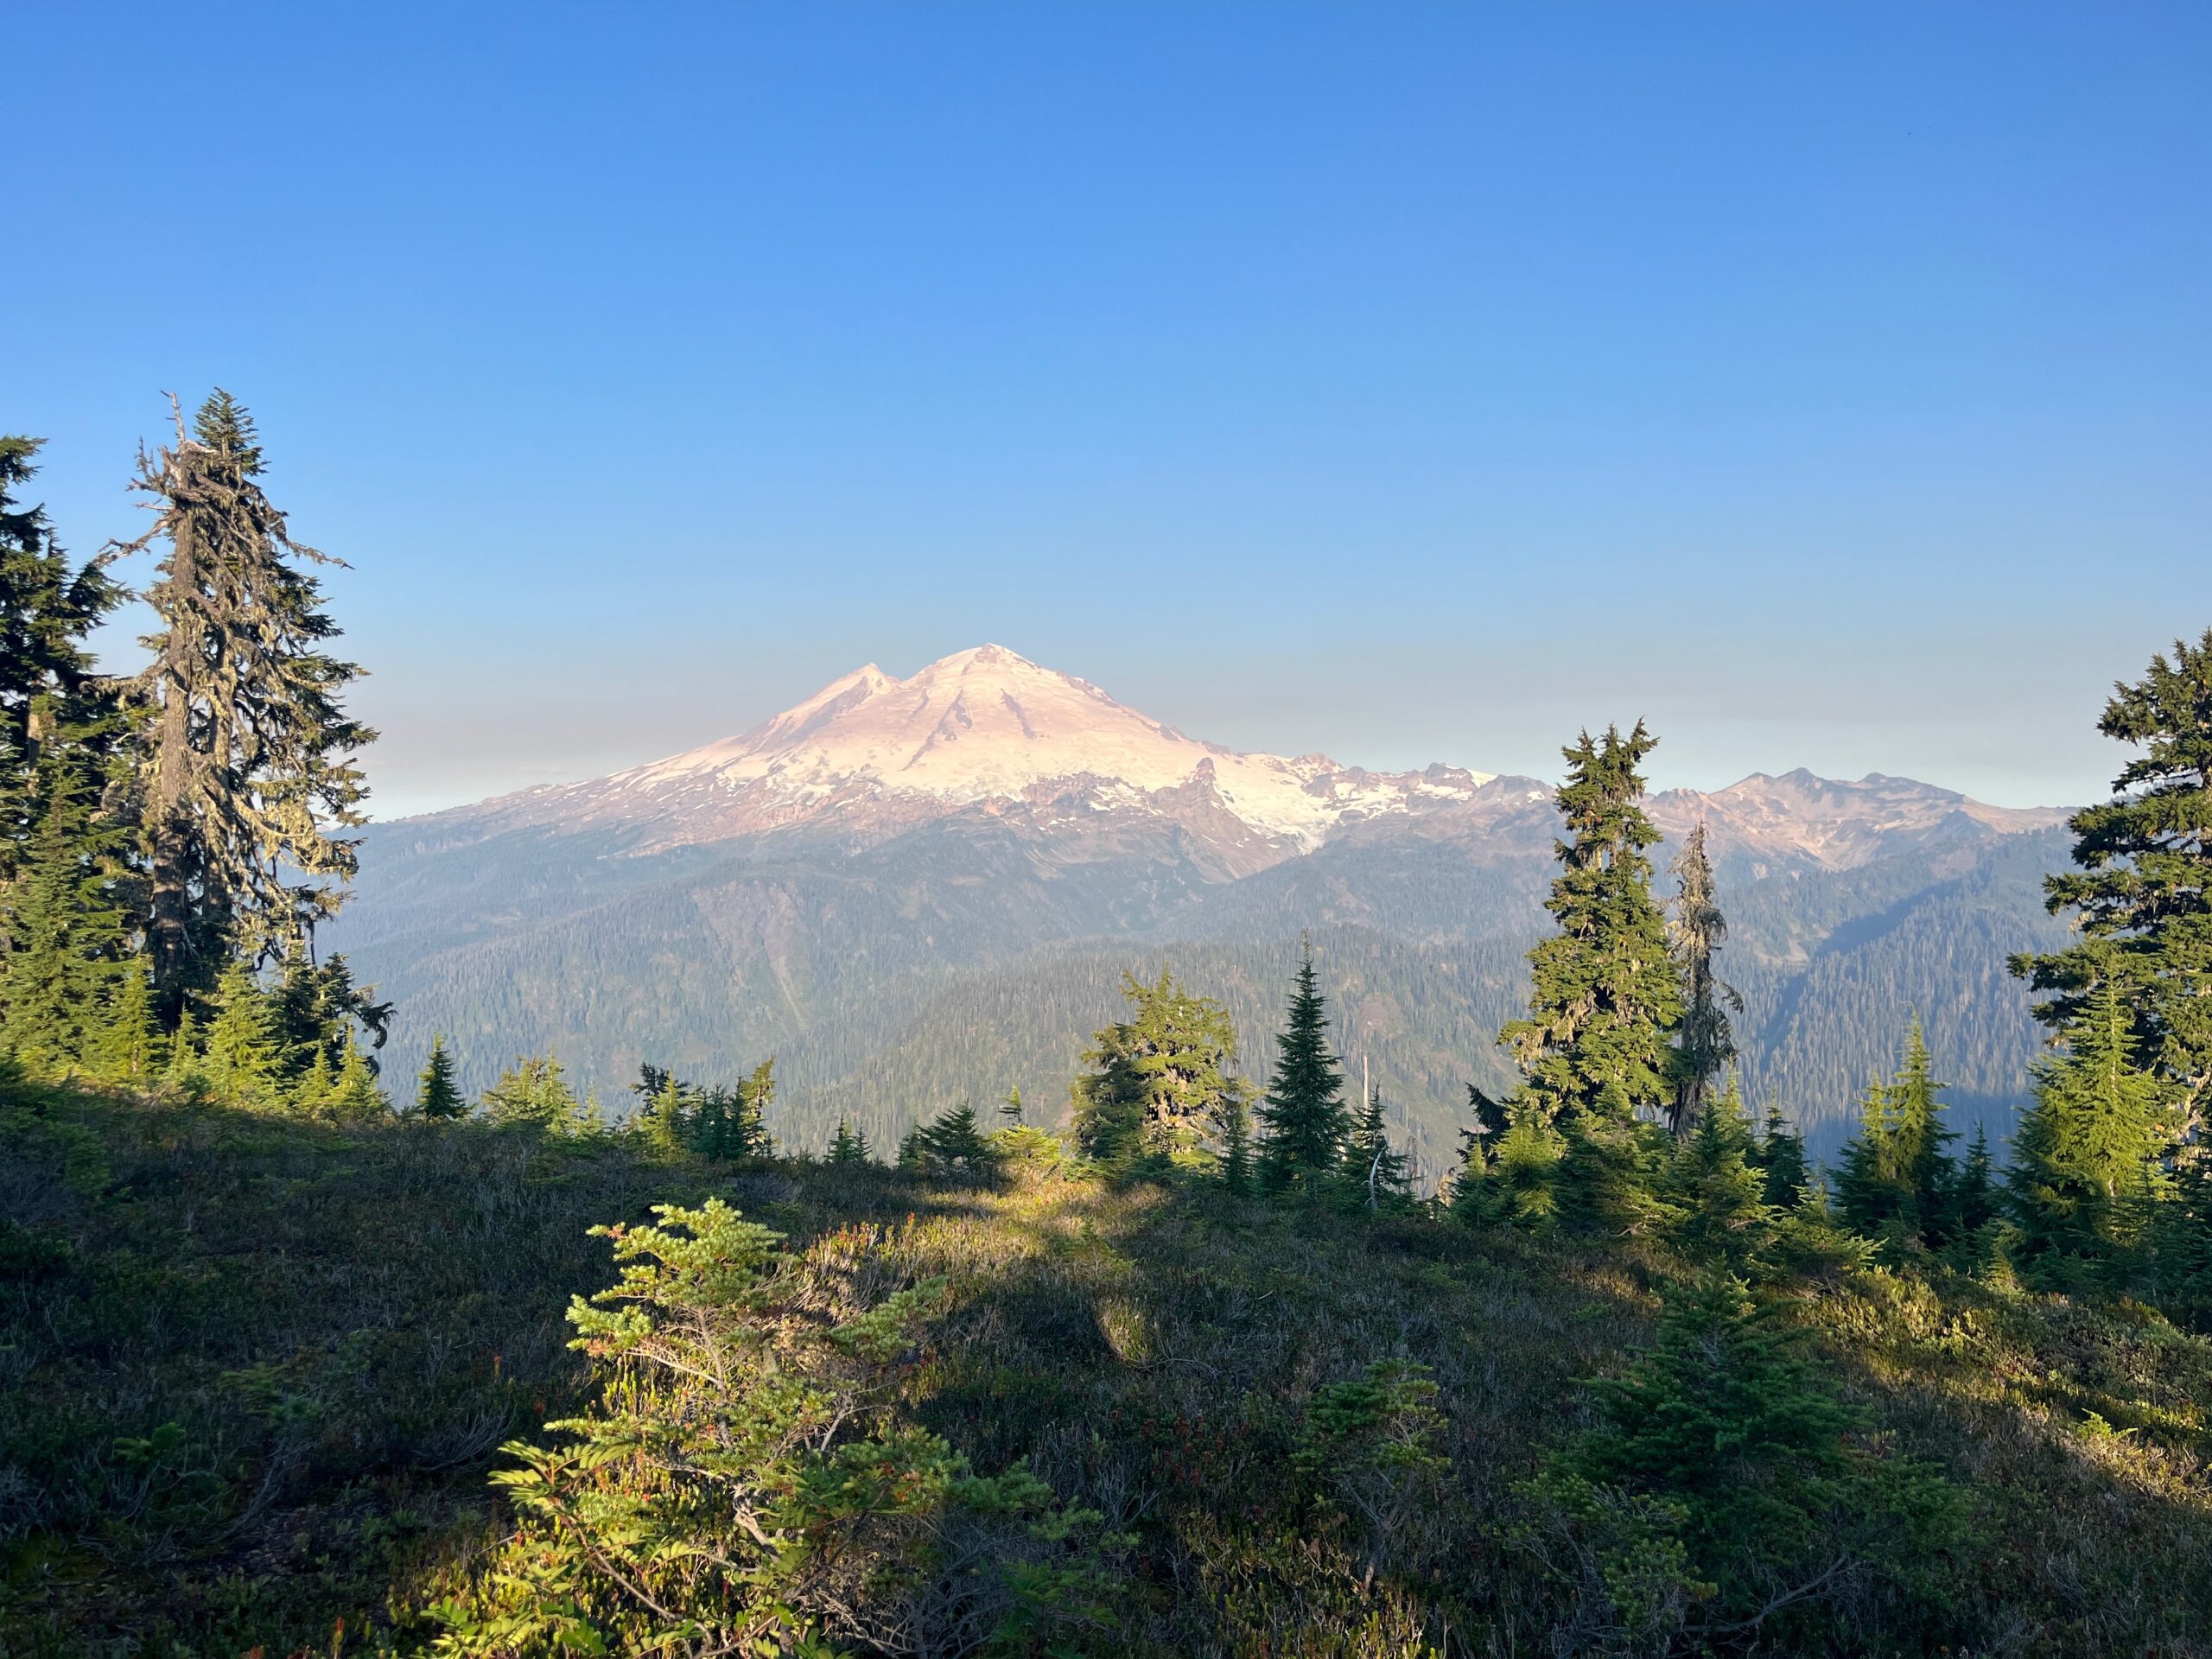
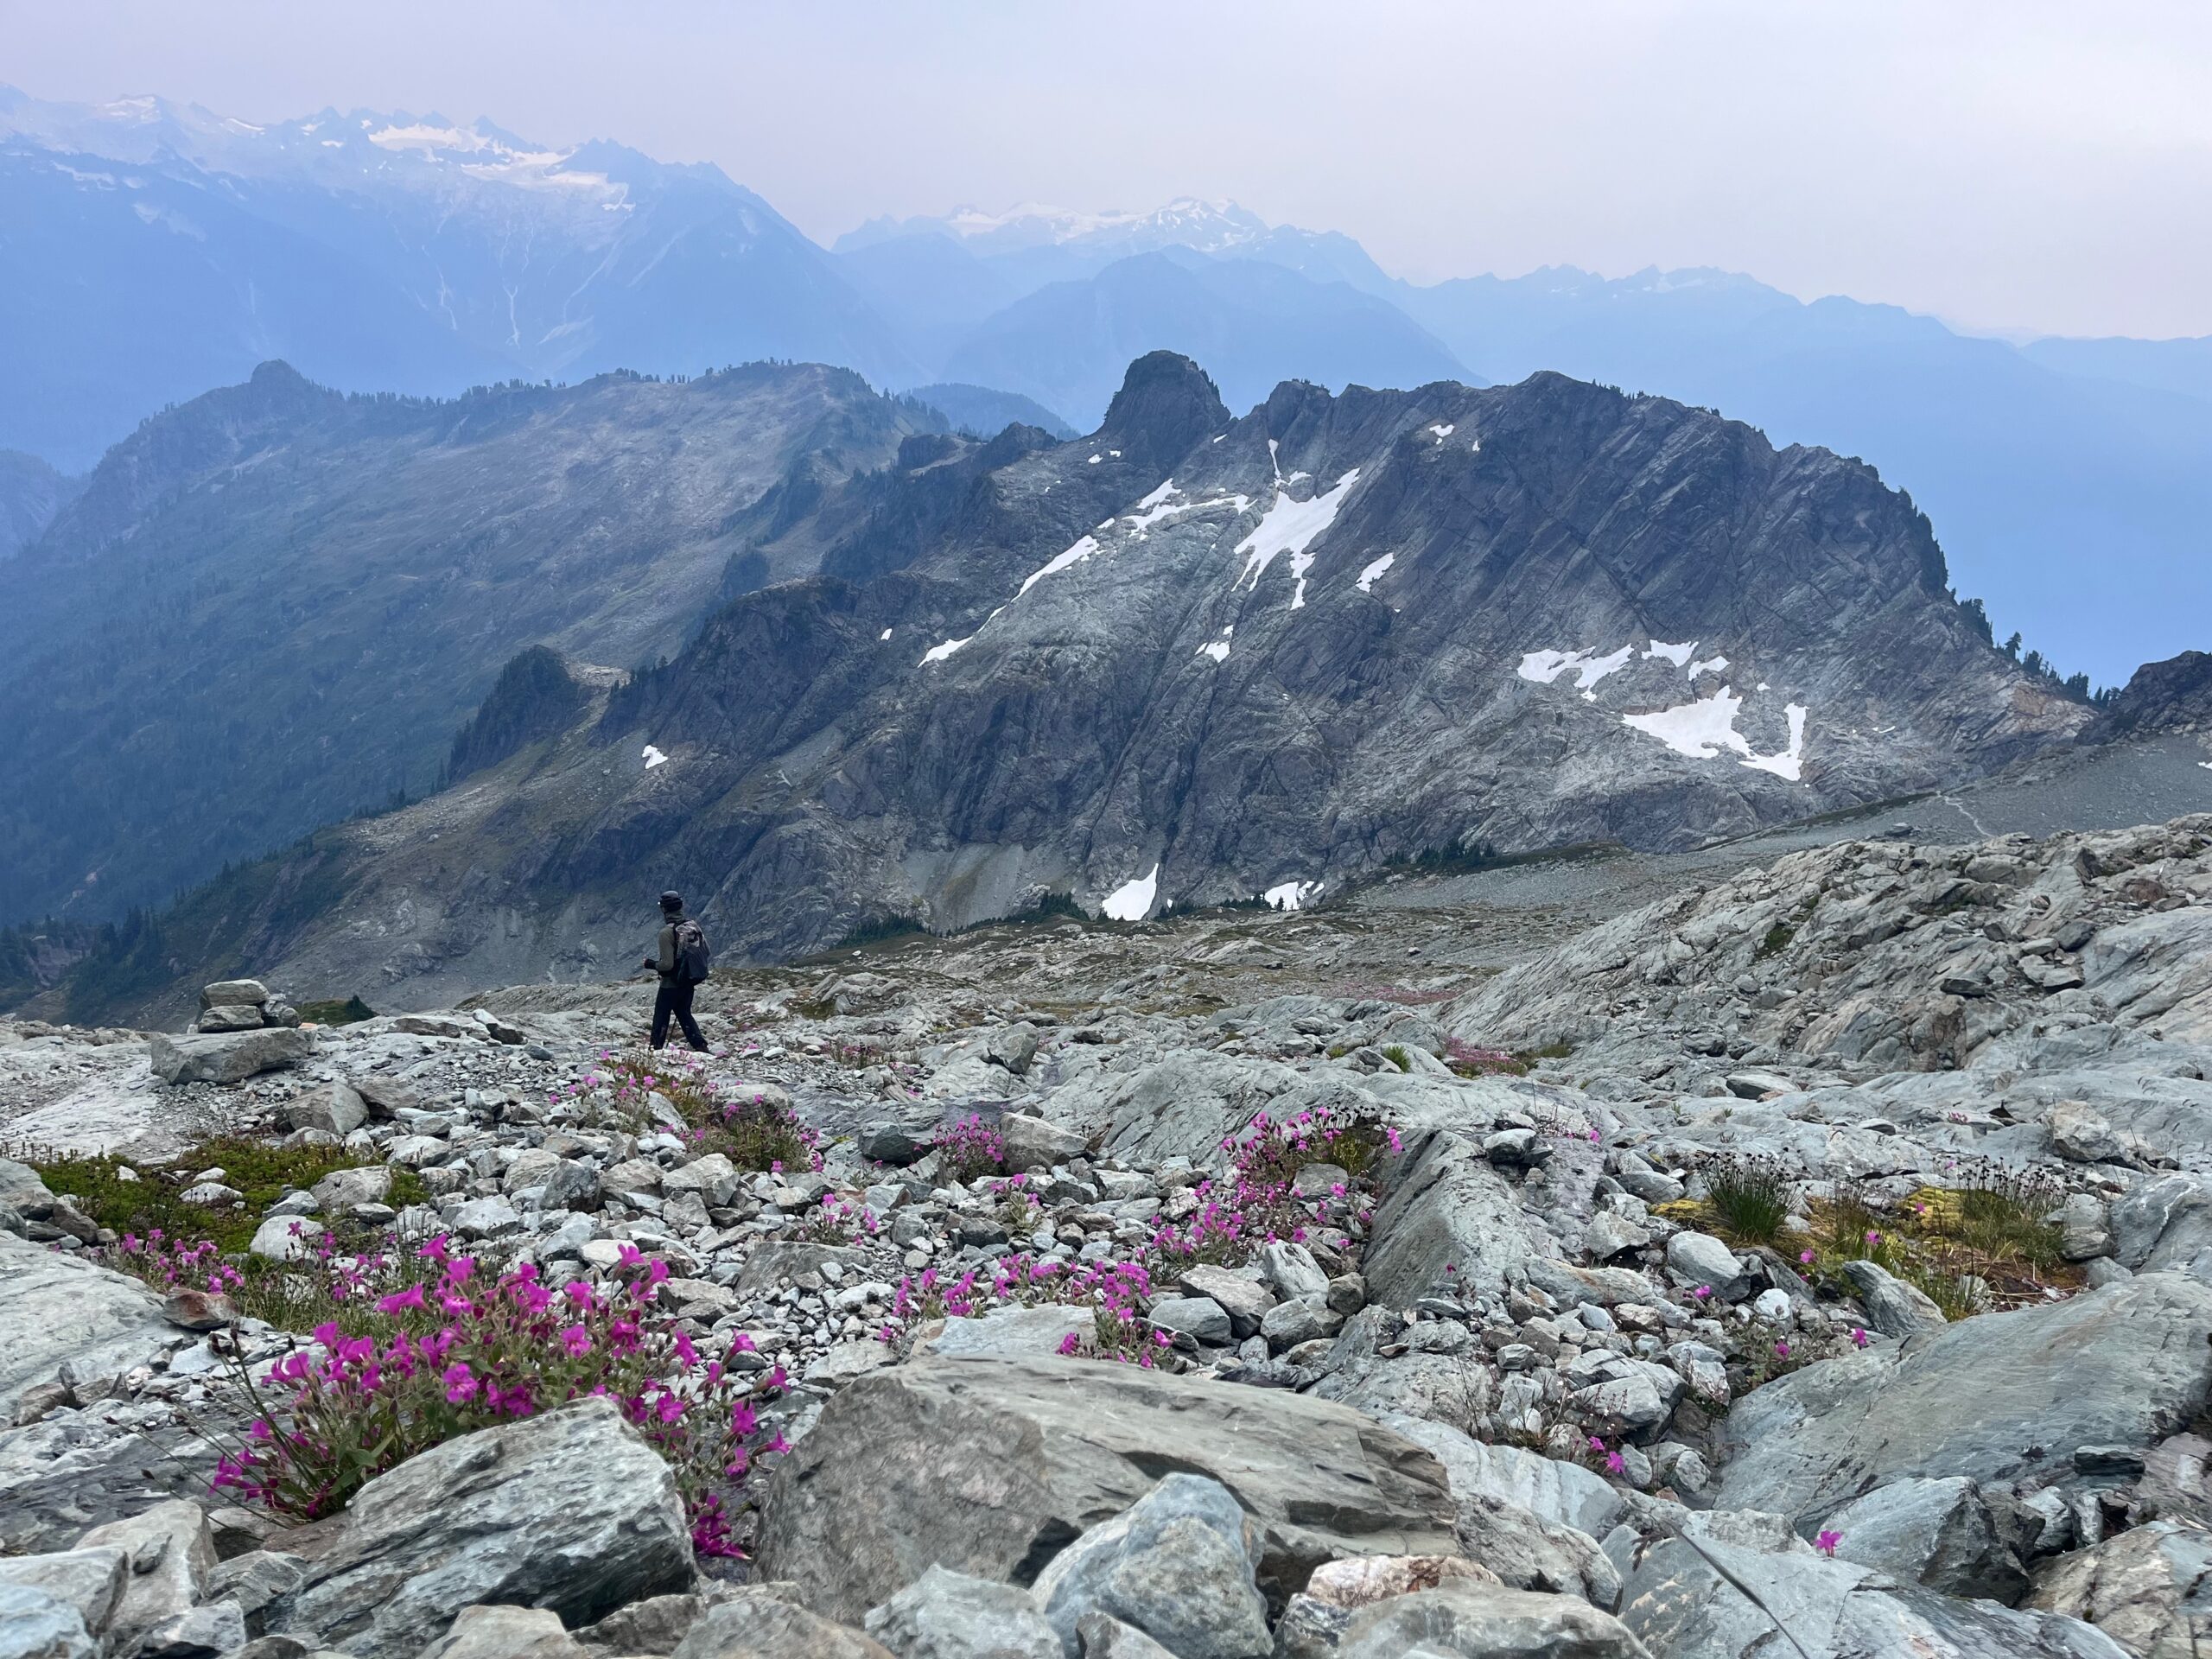
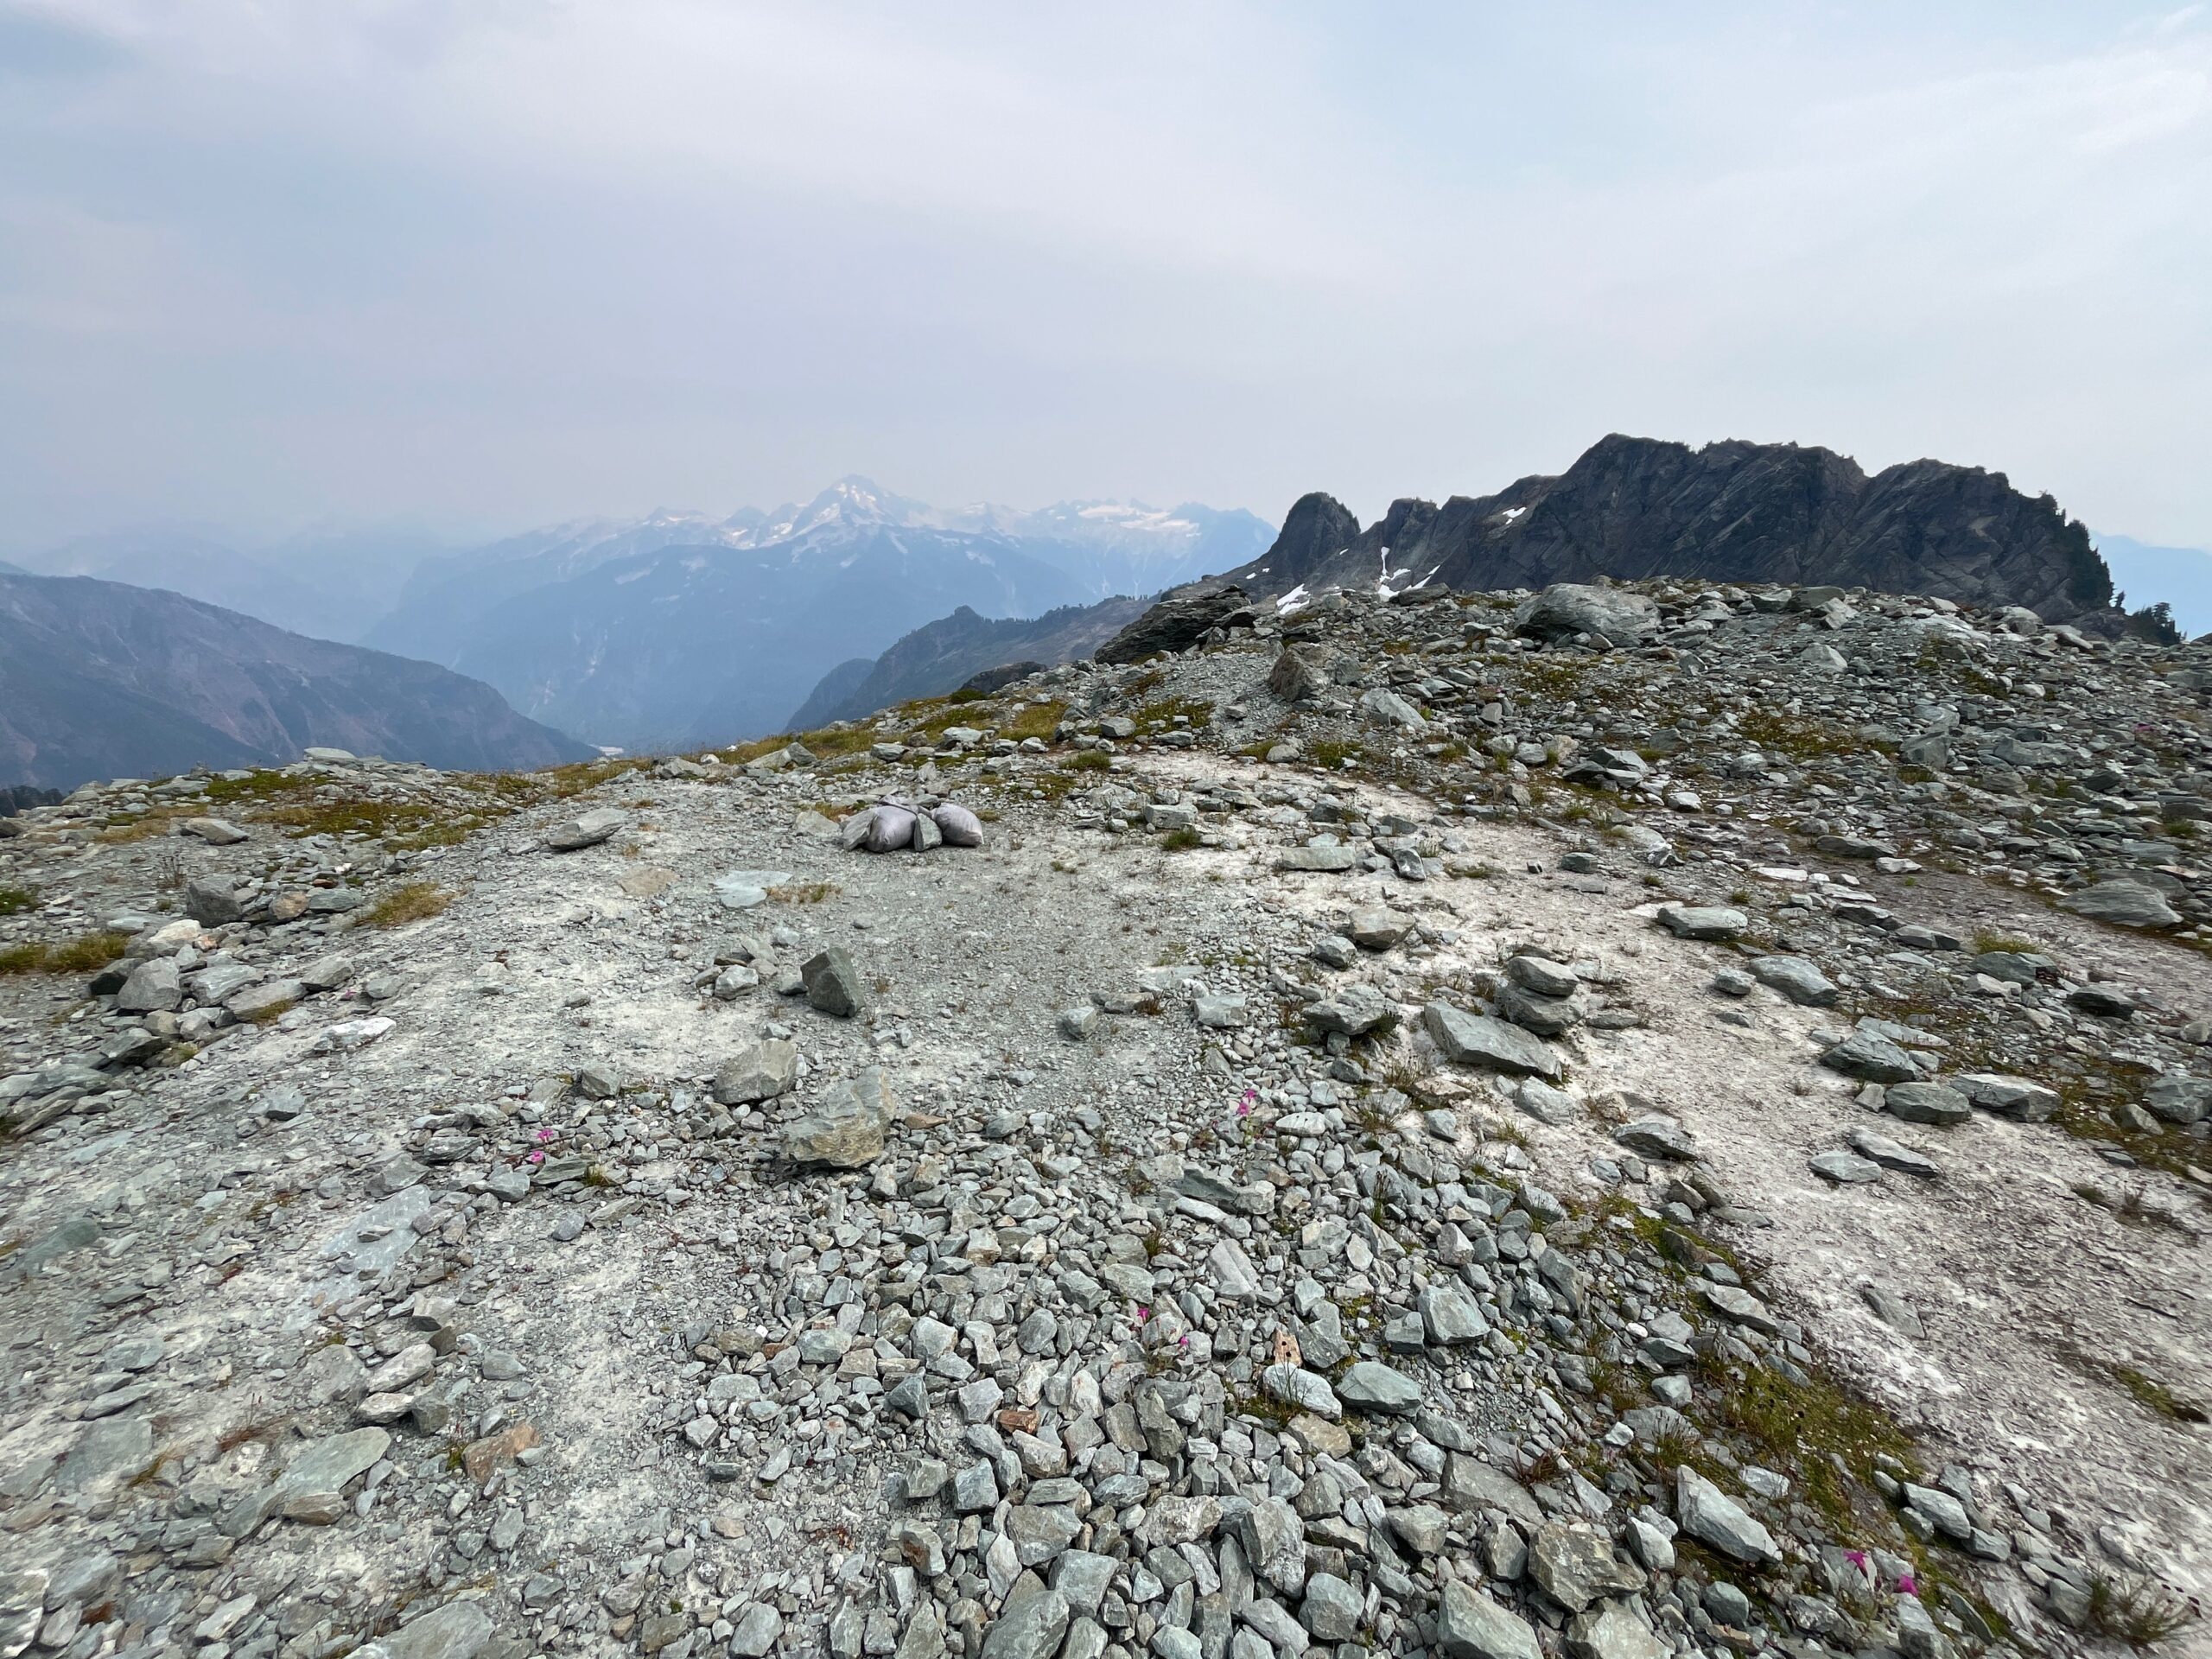
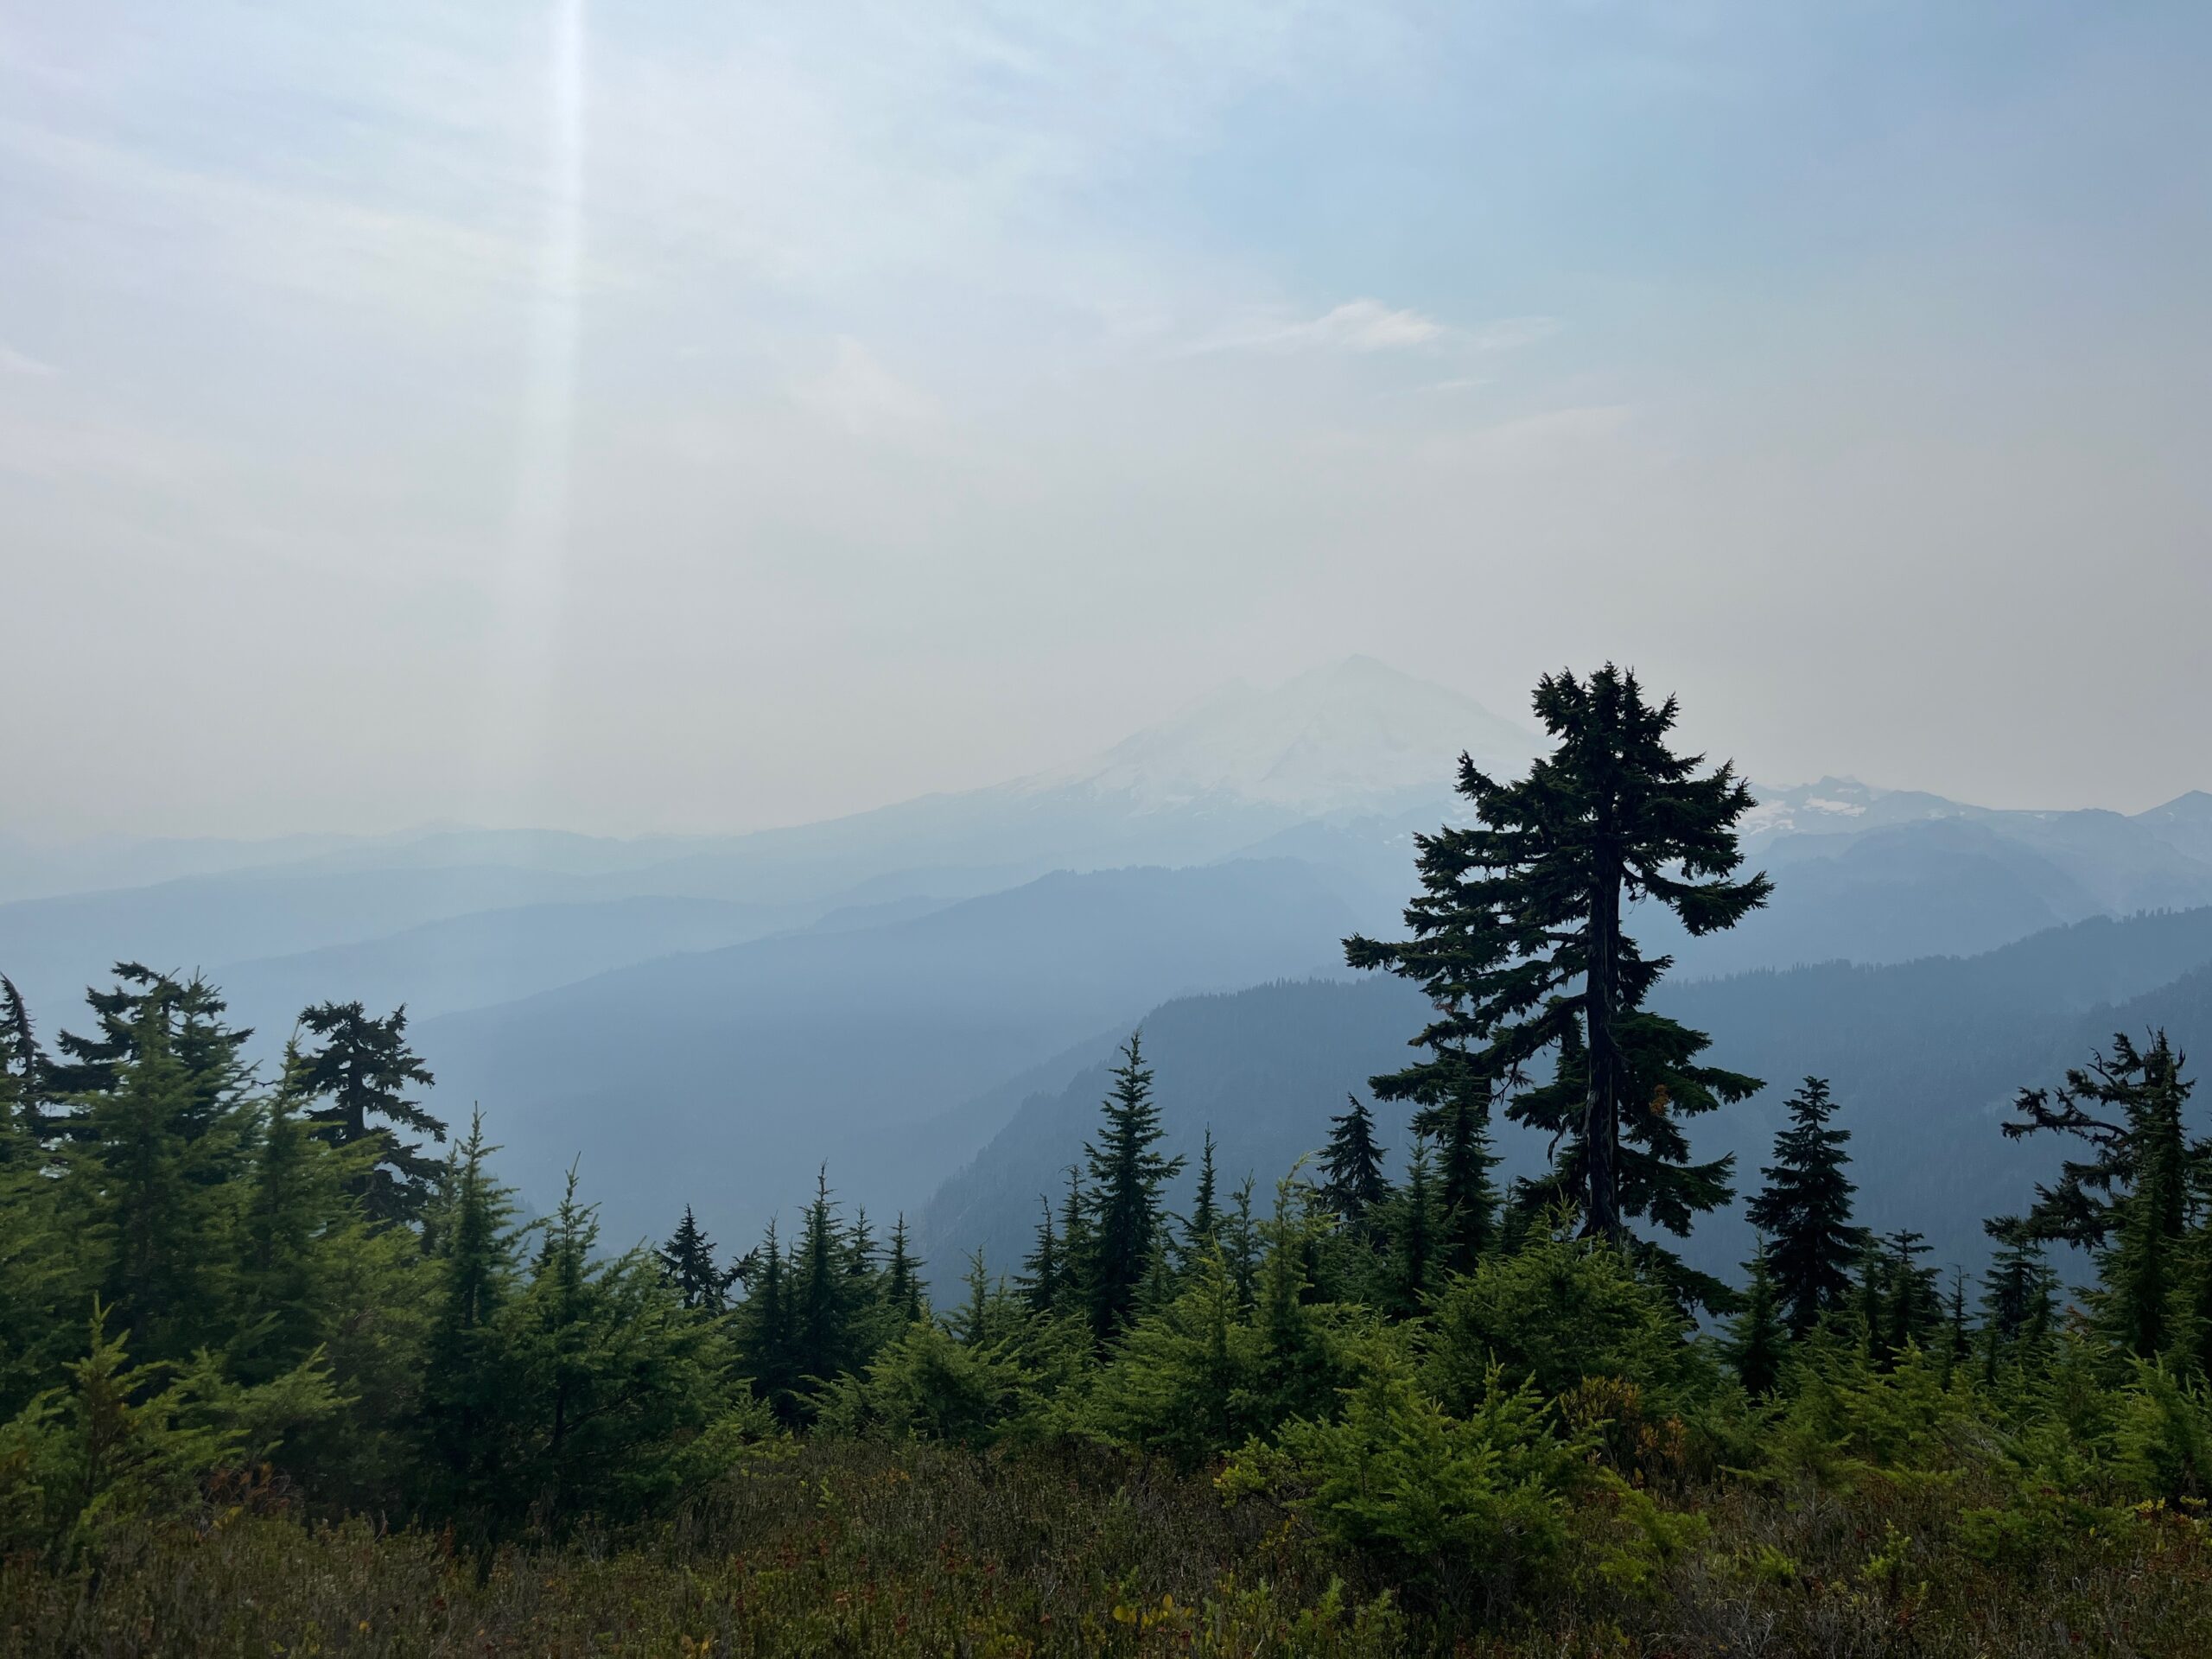
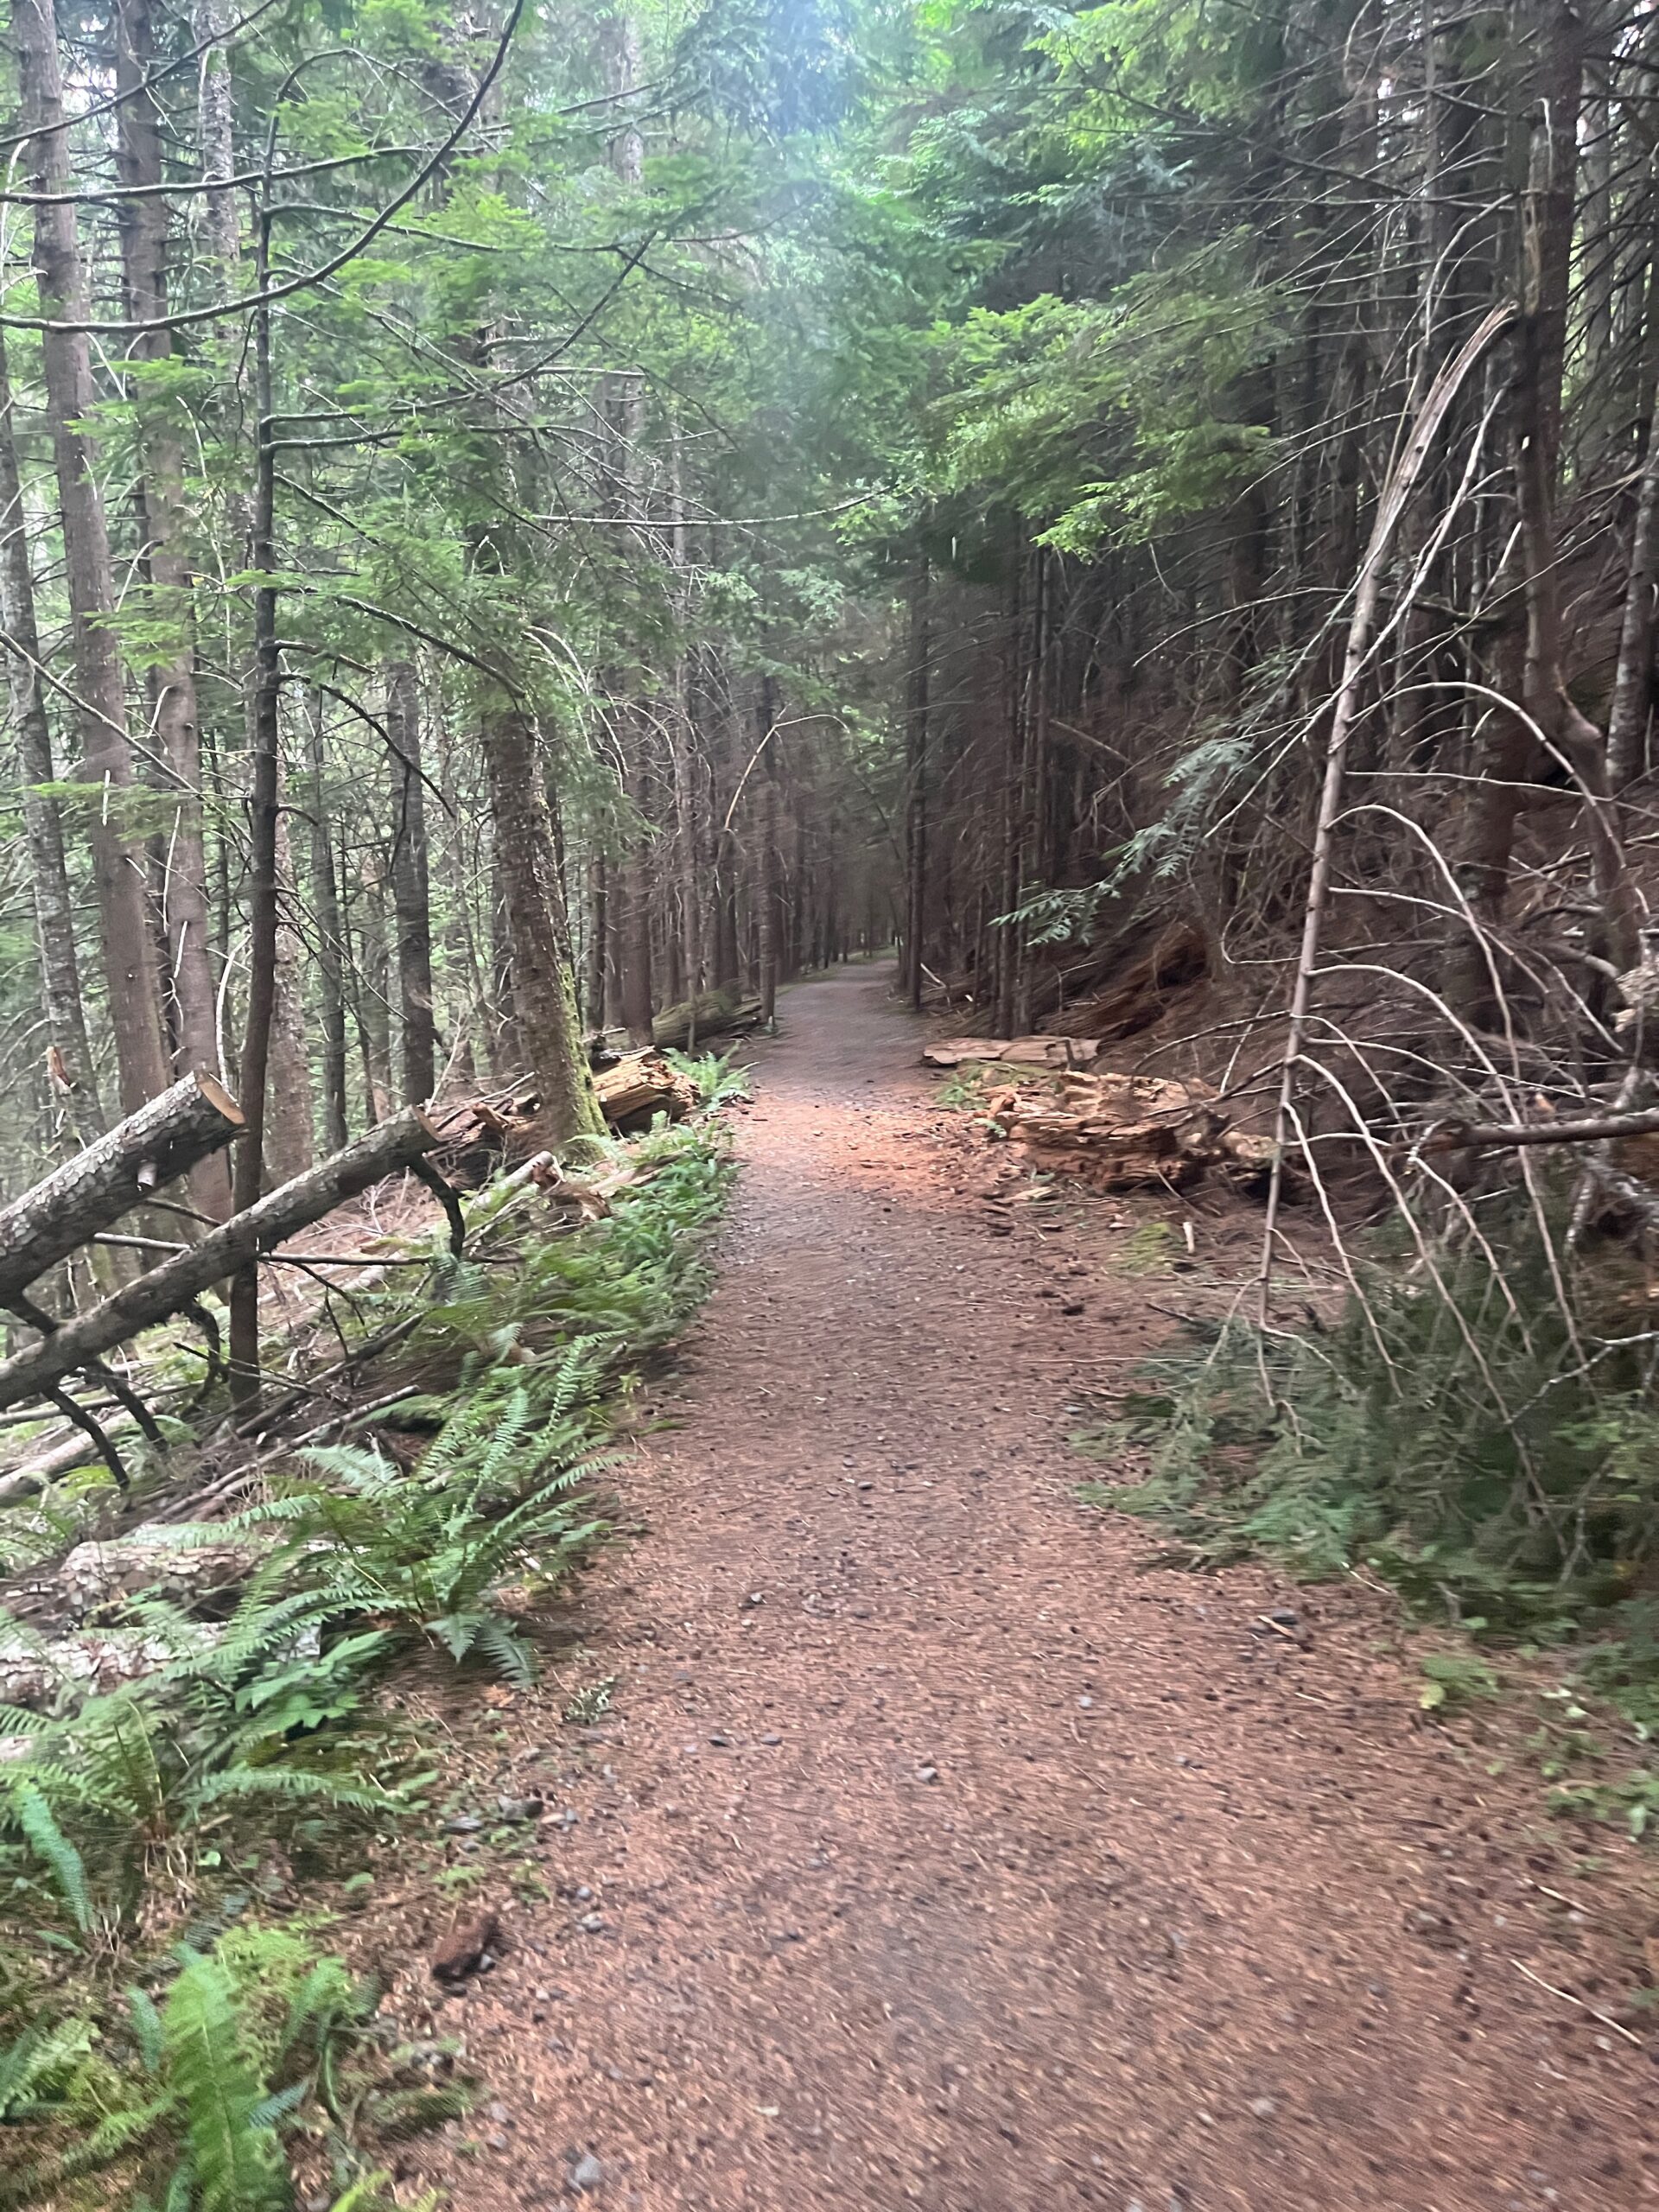
We woke up at our house in Mazama at 3 a.m. and were in the car driving by around 3:30 a.m. We arrived at the Shannon Ridge TH at 6 a.m. and started out around 6:15 a.m. The trail was very gradual with great switchbacks part of the way up, eventually getting a bit steeper until you gain the ridge at around 4,600′. Once on the ridge the views of Mt. Baker are awesome. We crossed the North Cascades National Park boundary and kept following the trail to where it crossed a smaller stream of water at around 5,700′. Just past this small water source we found a small tent spot where we dropped our overnight gear and left our bear can at around 9:15 a.m. We repacked our climbing gear and then started towards the summit.
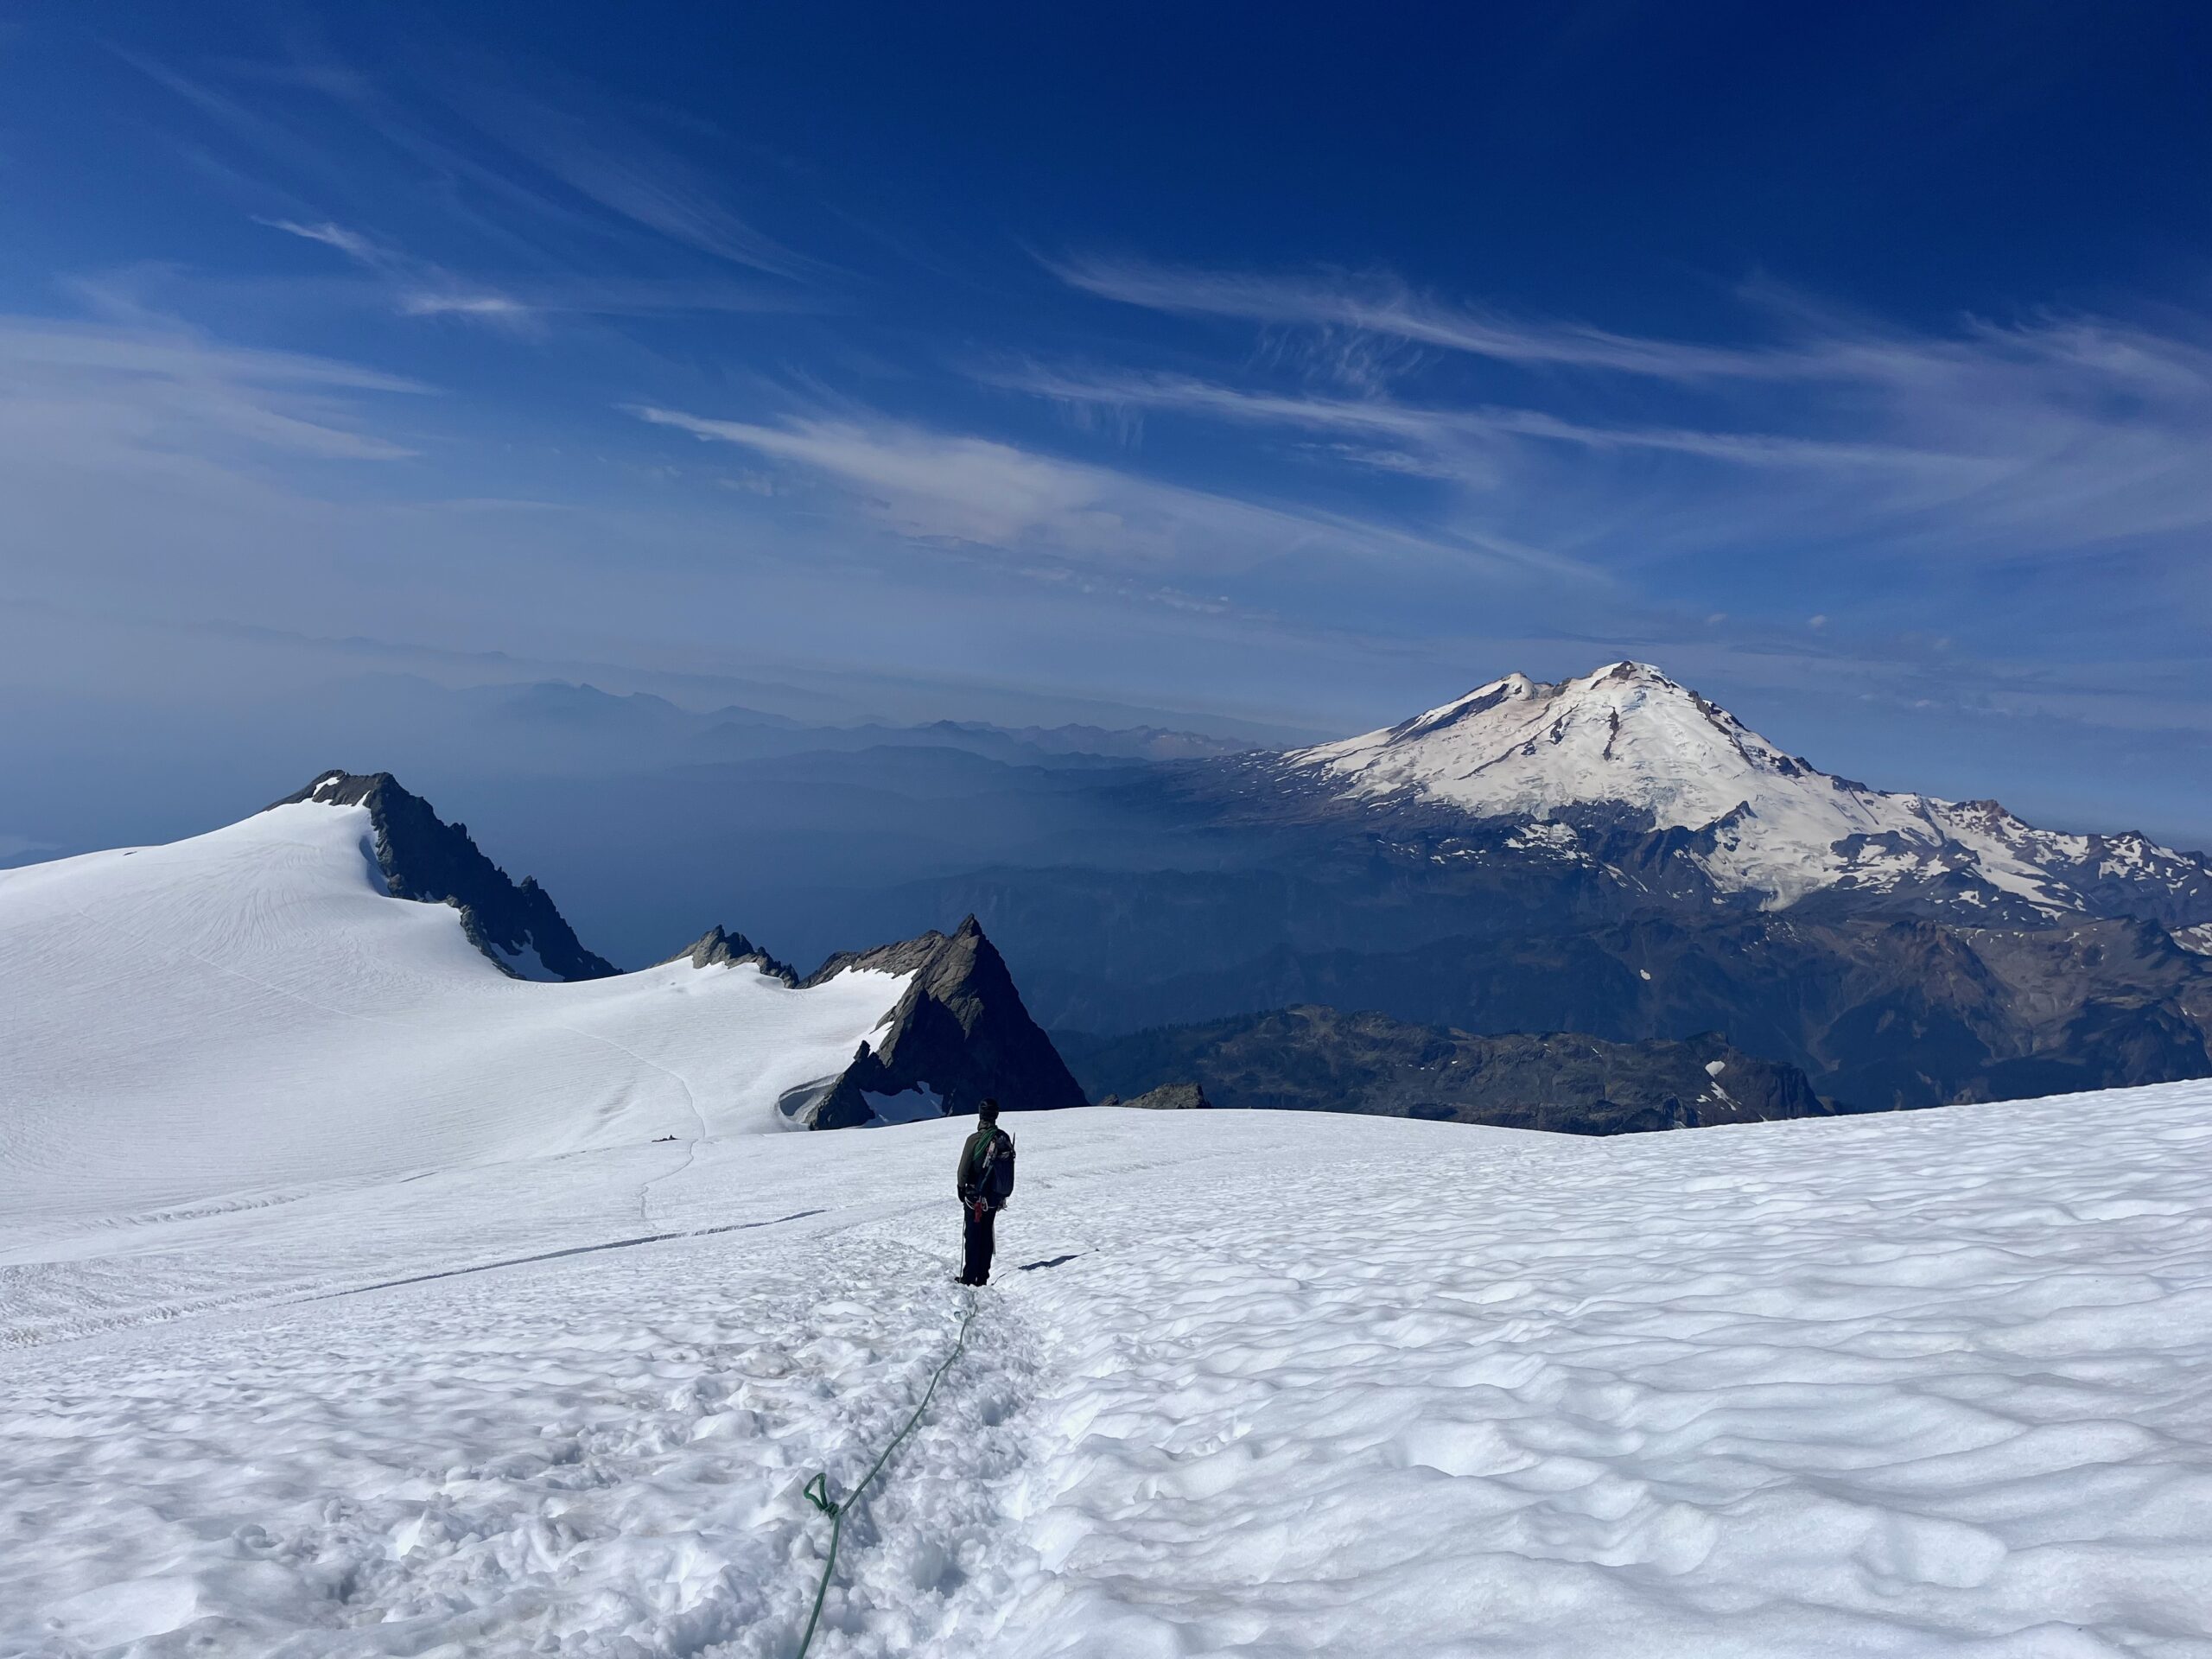
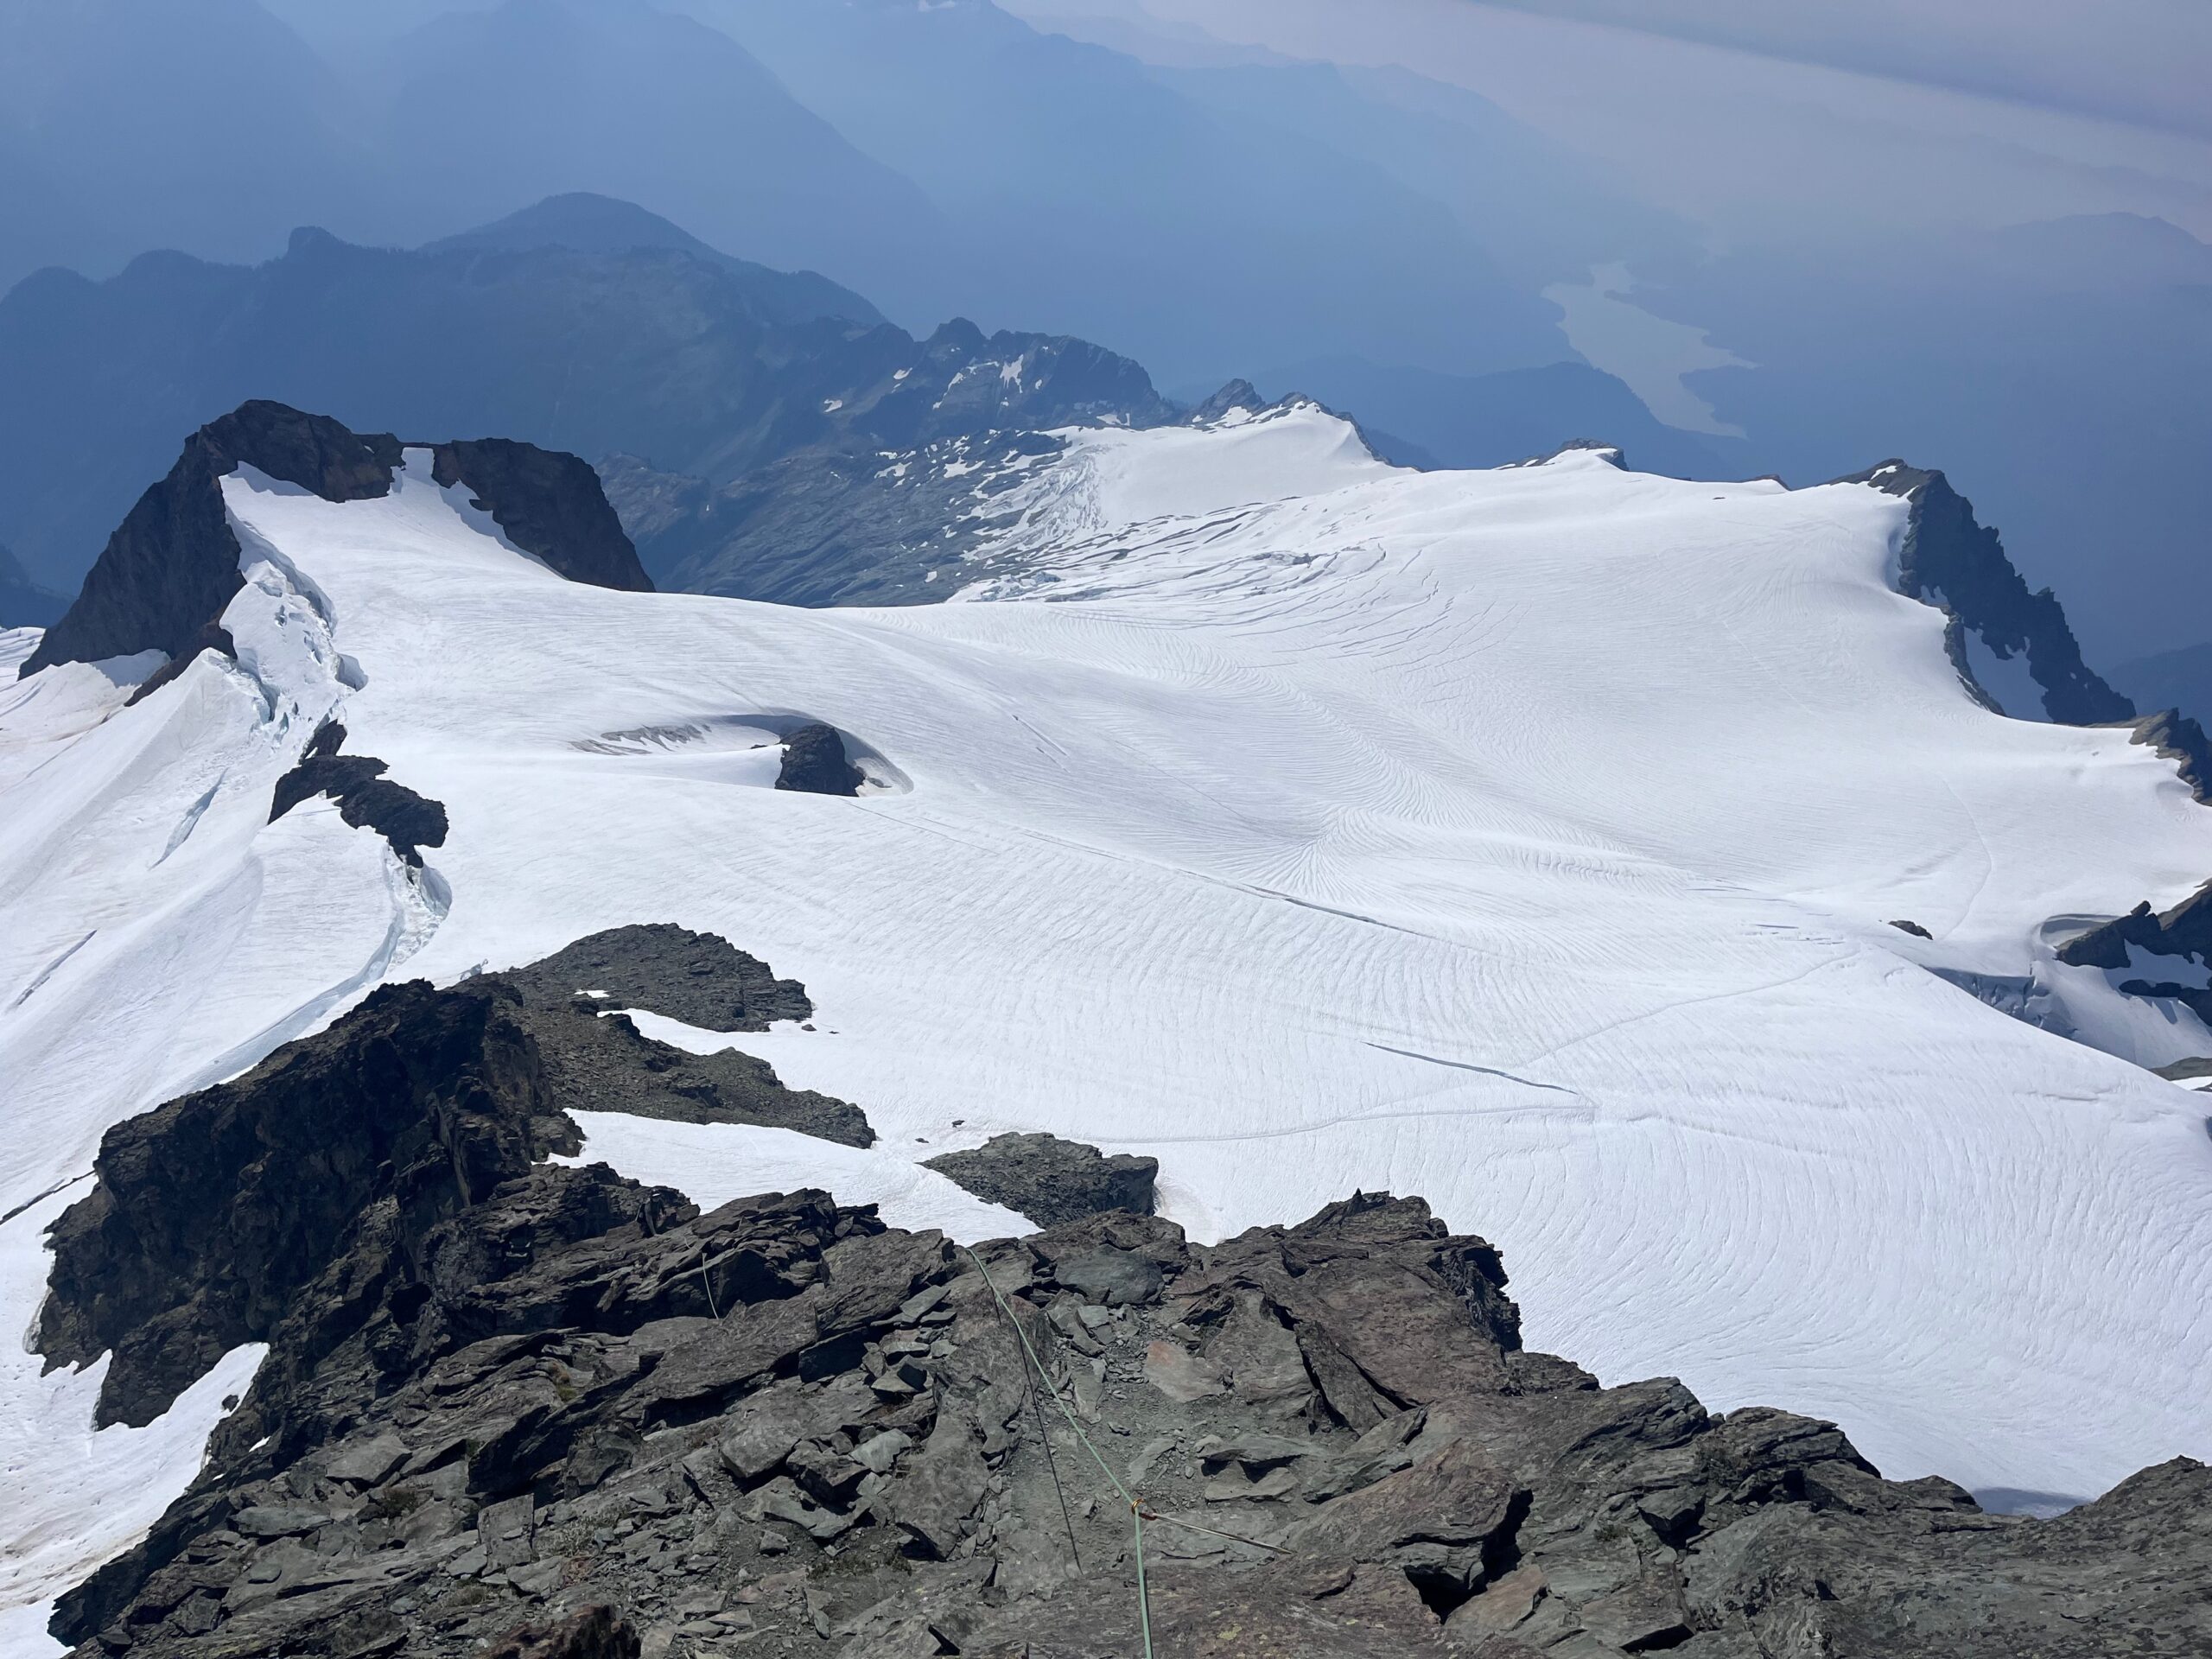
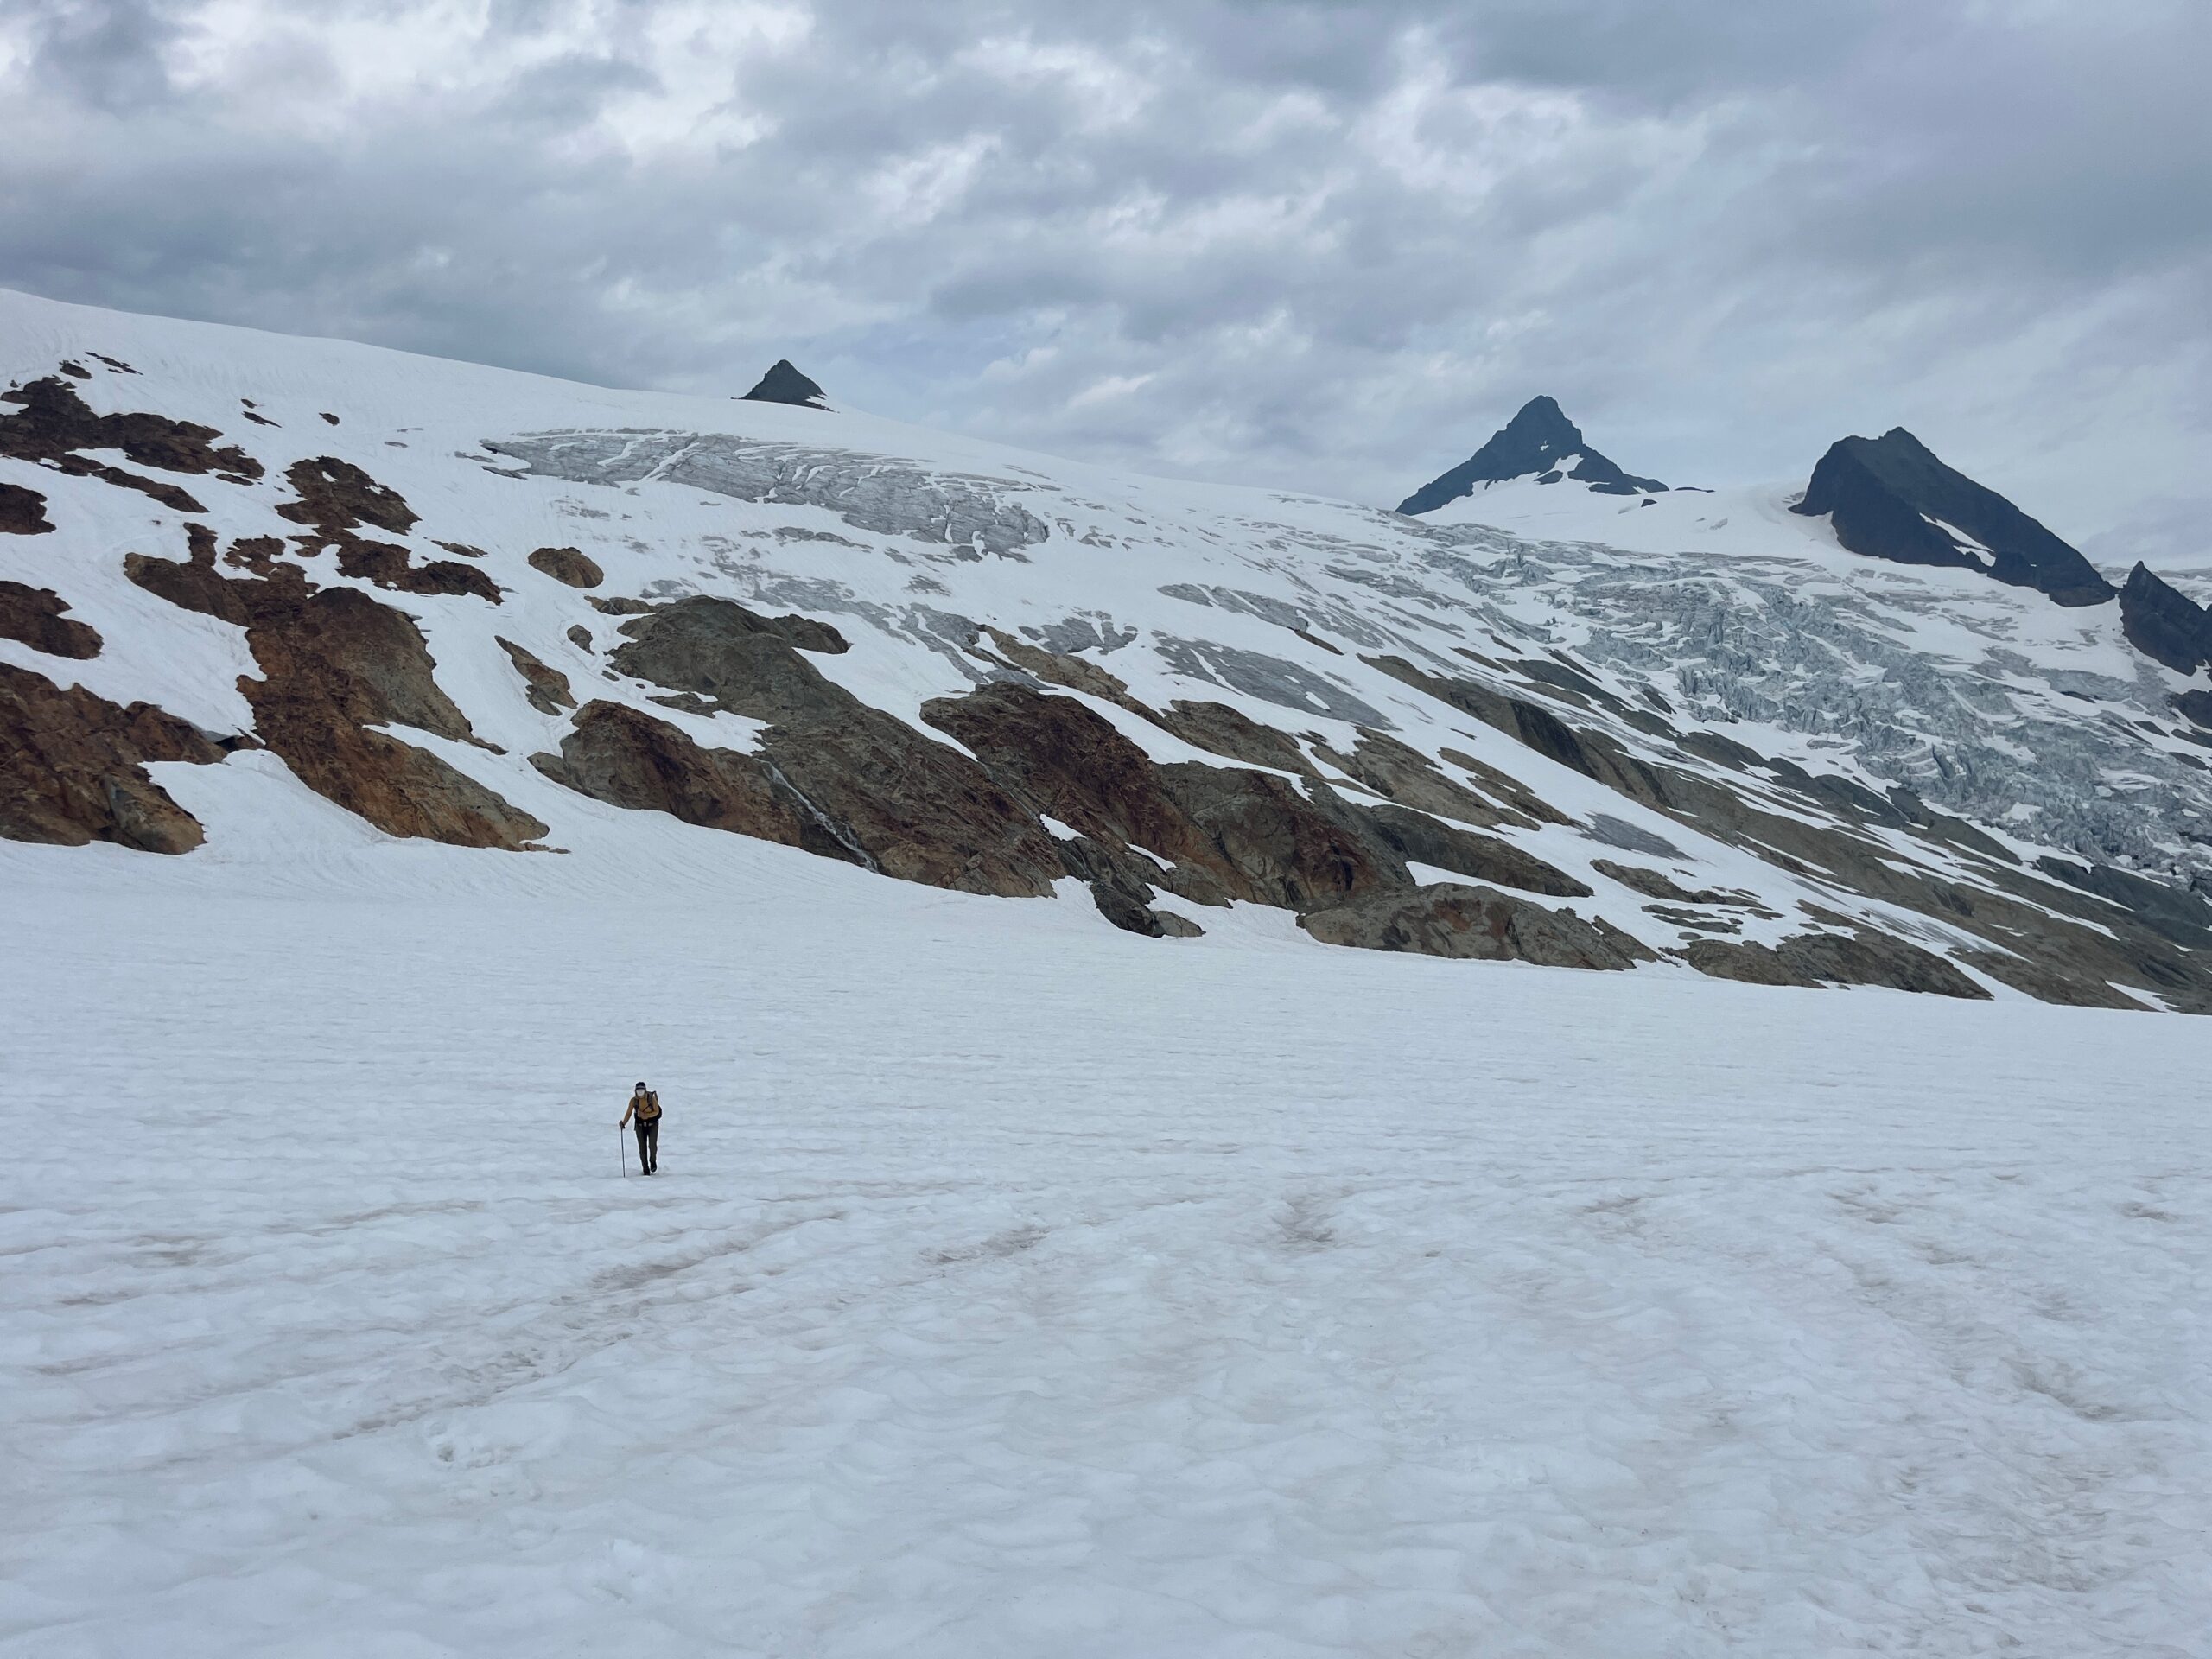
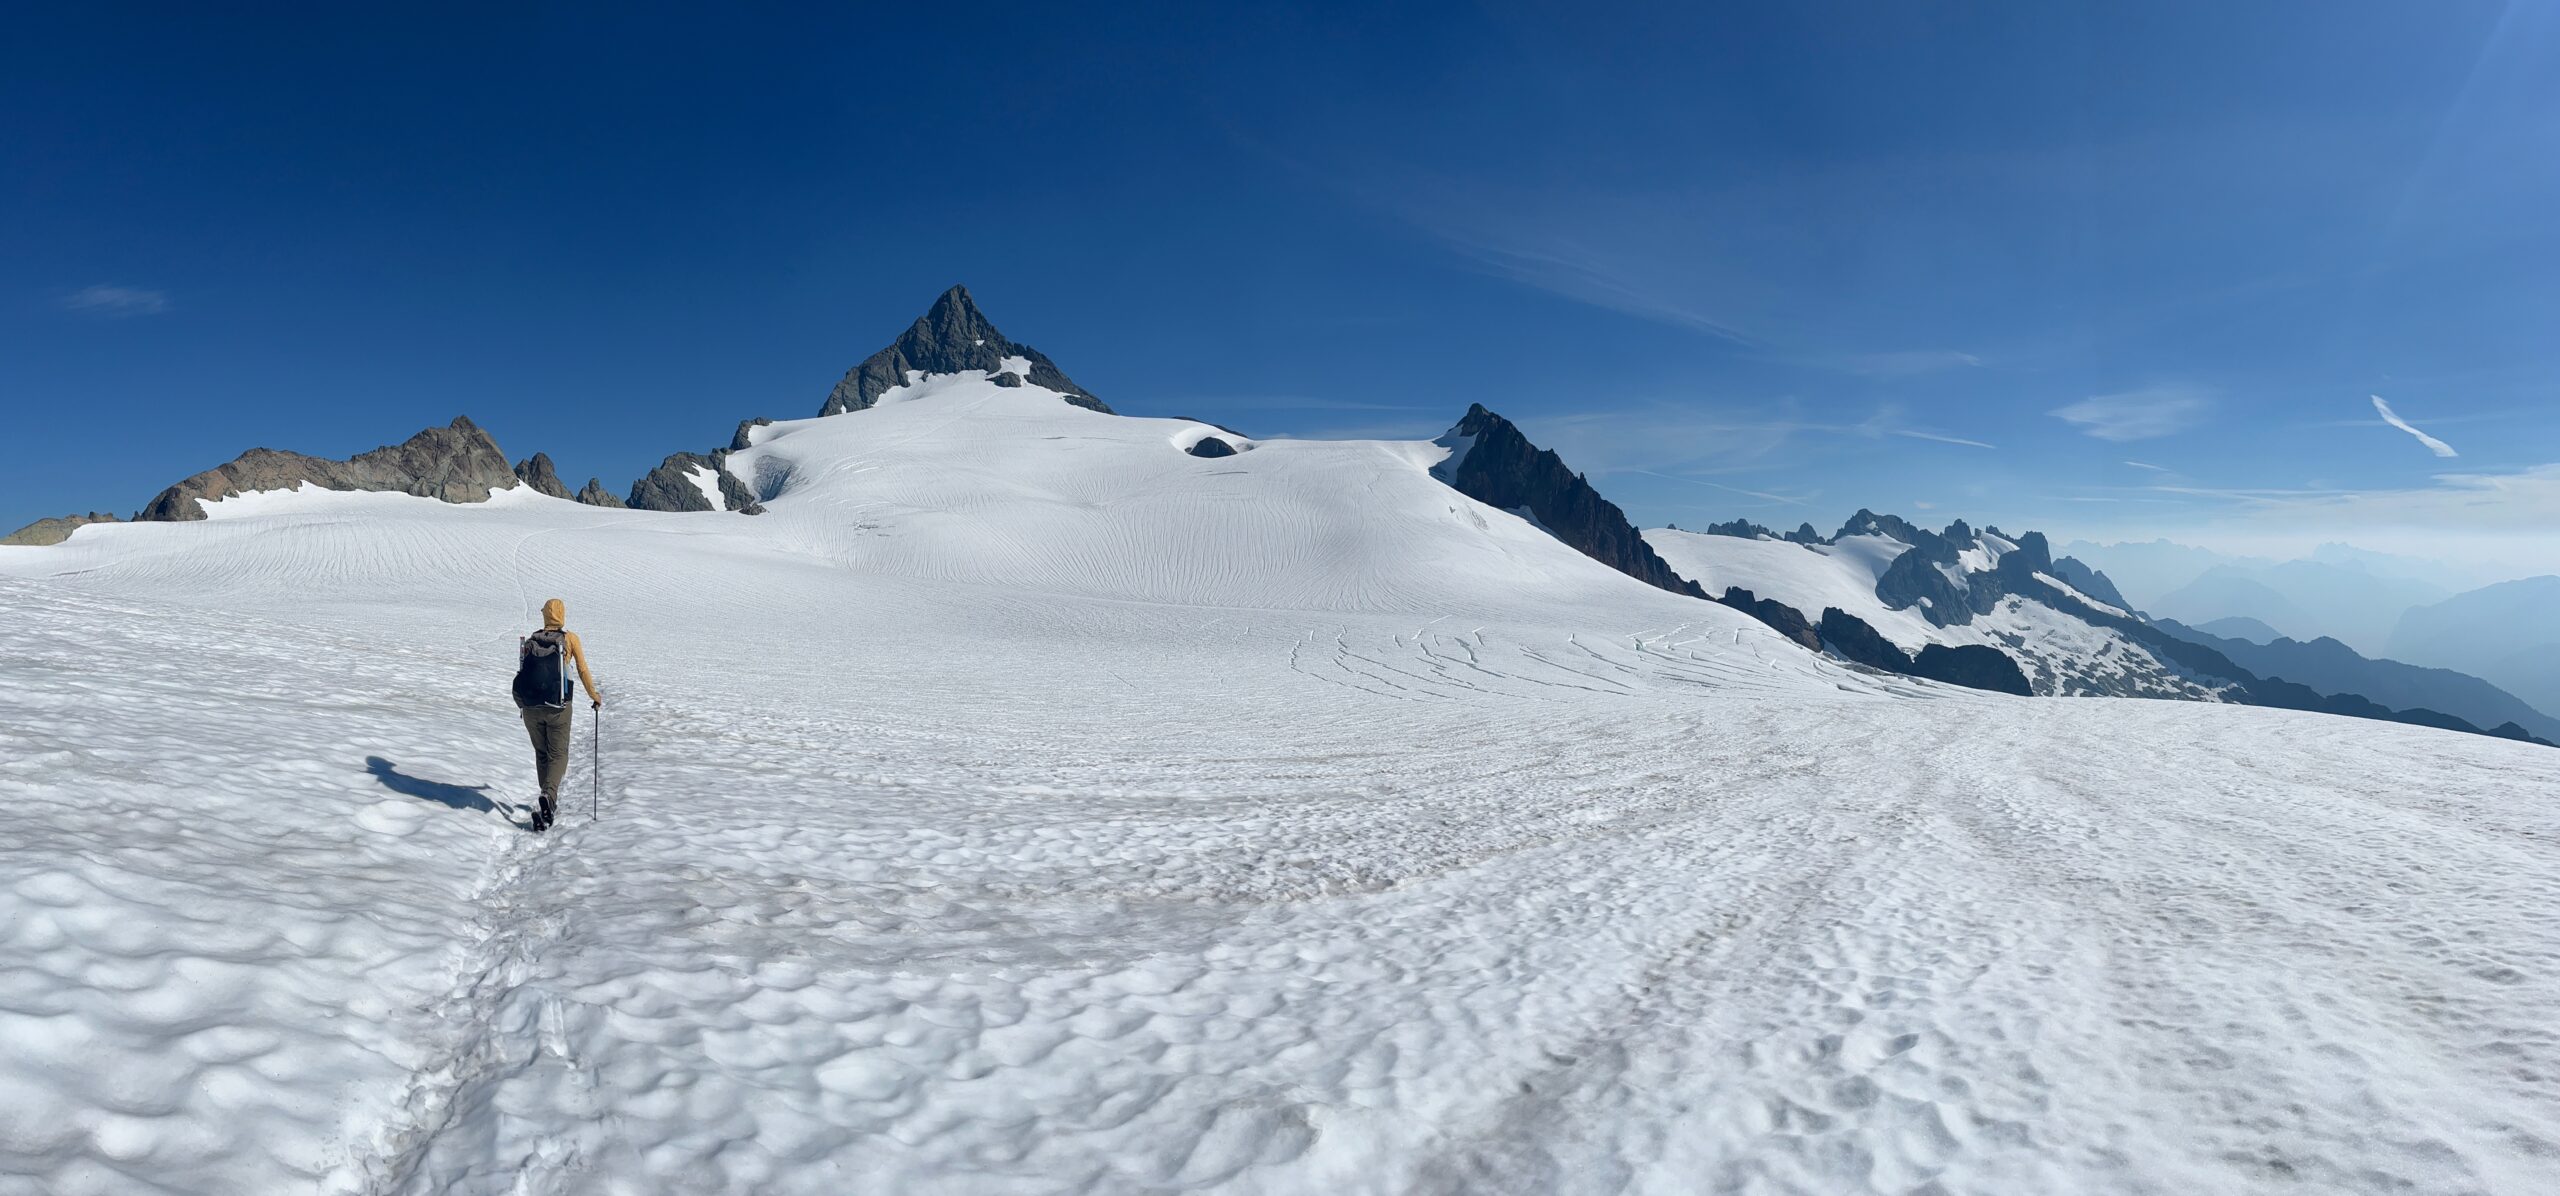
The terrain became a bit rocky from the campsite and there were many ways to go – we just kept heading up. We gained the snow at about 6,400′ where we got our first views of the Sulphide Glacier and summit pyramid. We found our way up the snow slope passing a few water sources on the way and onto the glacier. The snow coverage was good and there was an established boot pack that didn’t have any cracks forming, so we decided not to rope up until a bit later.
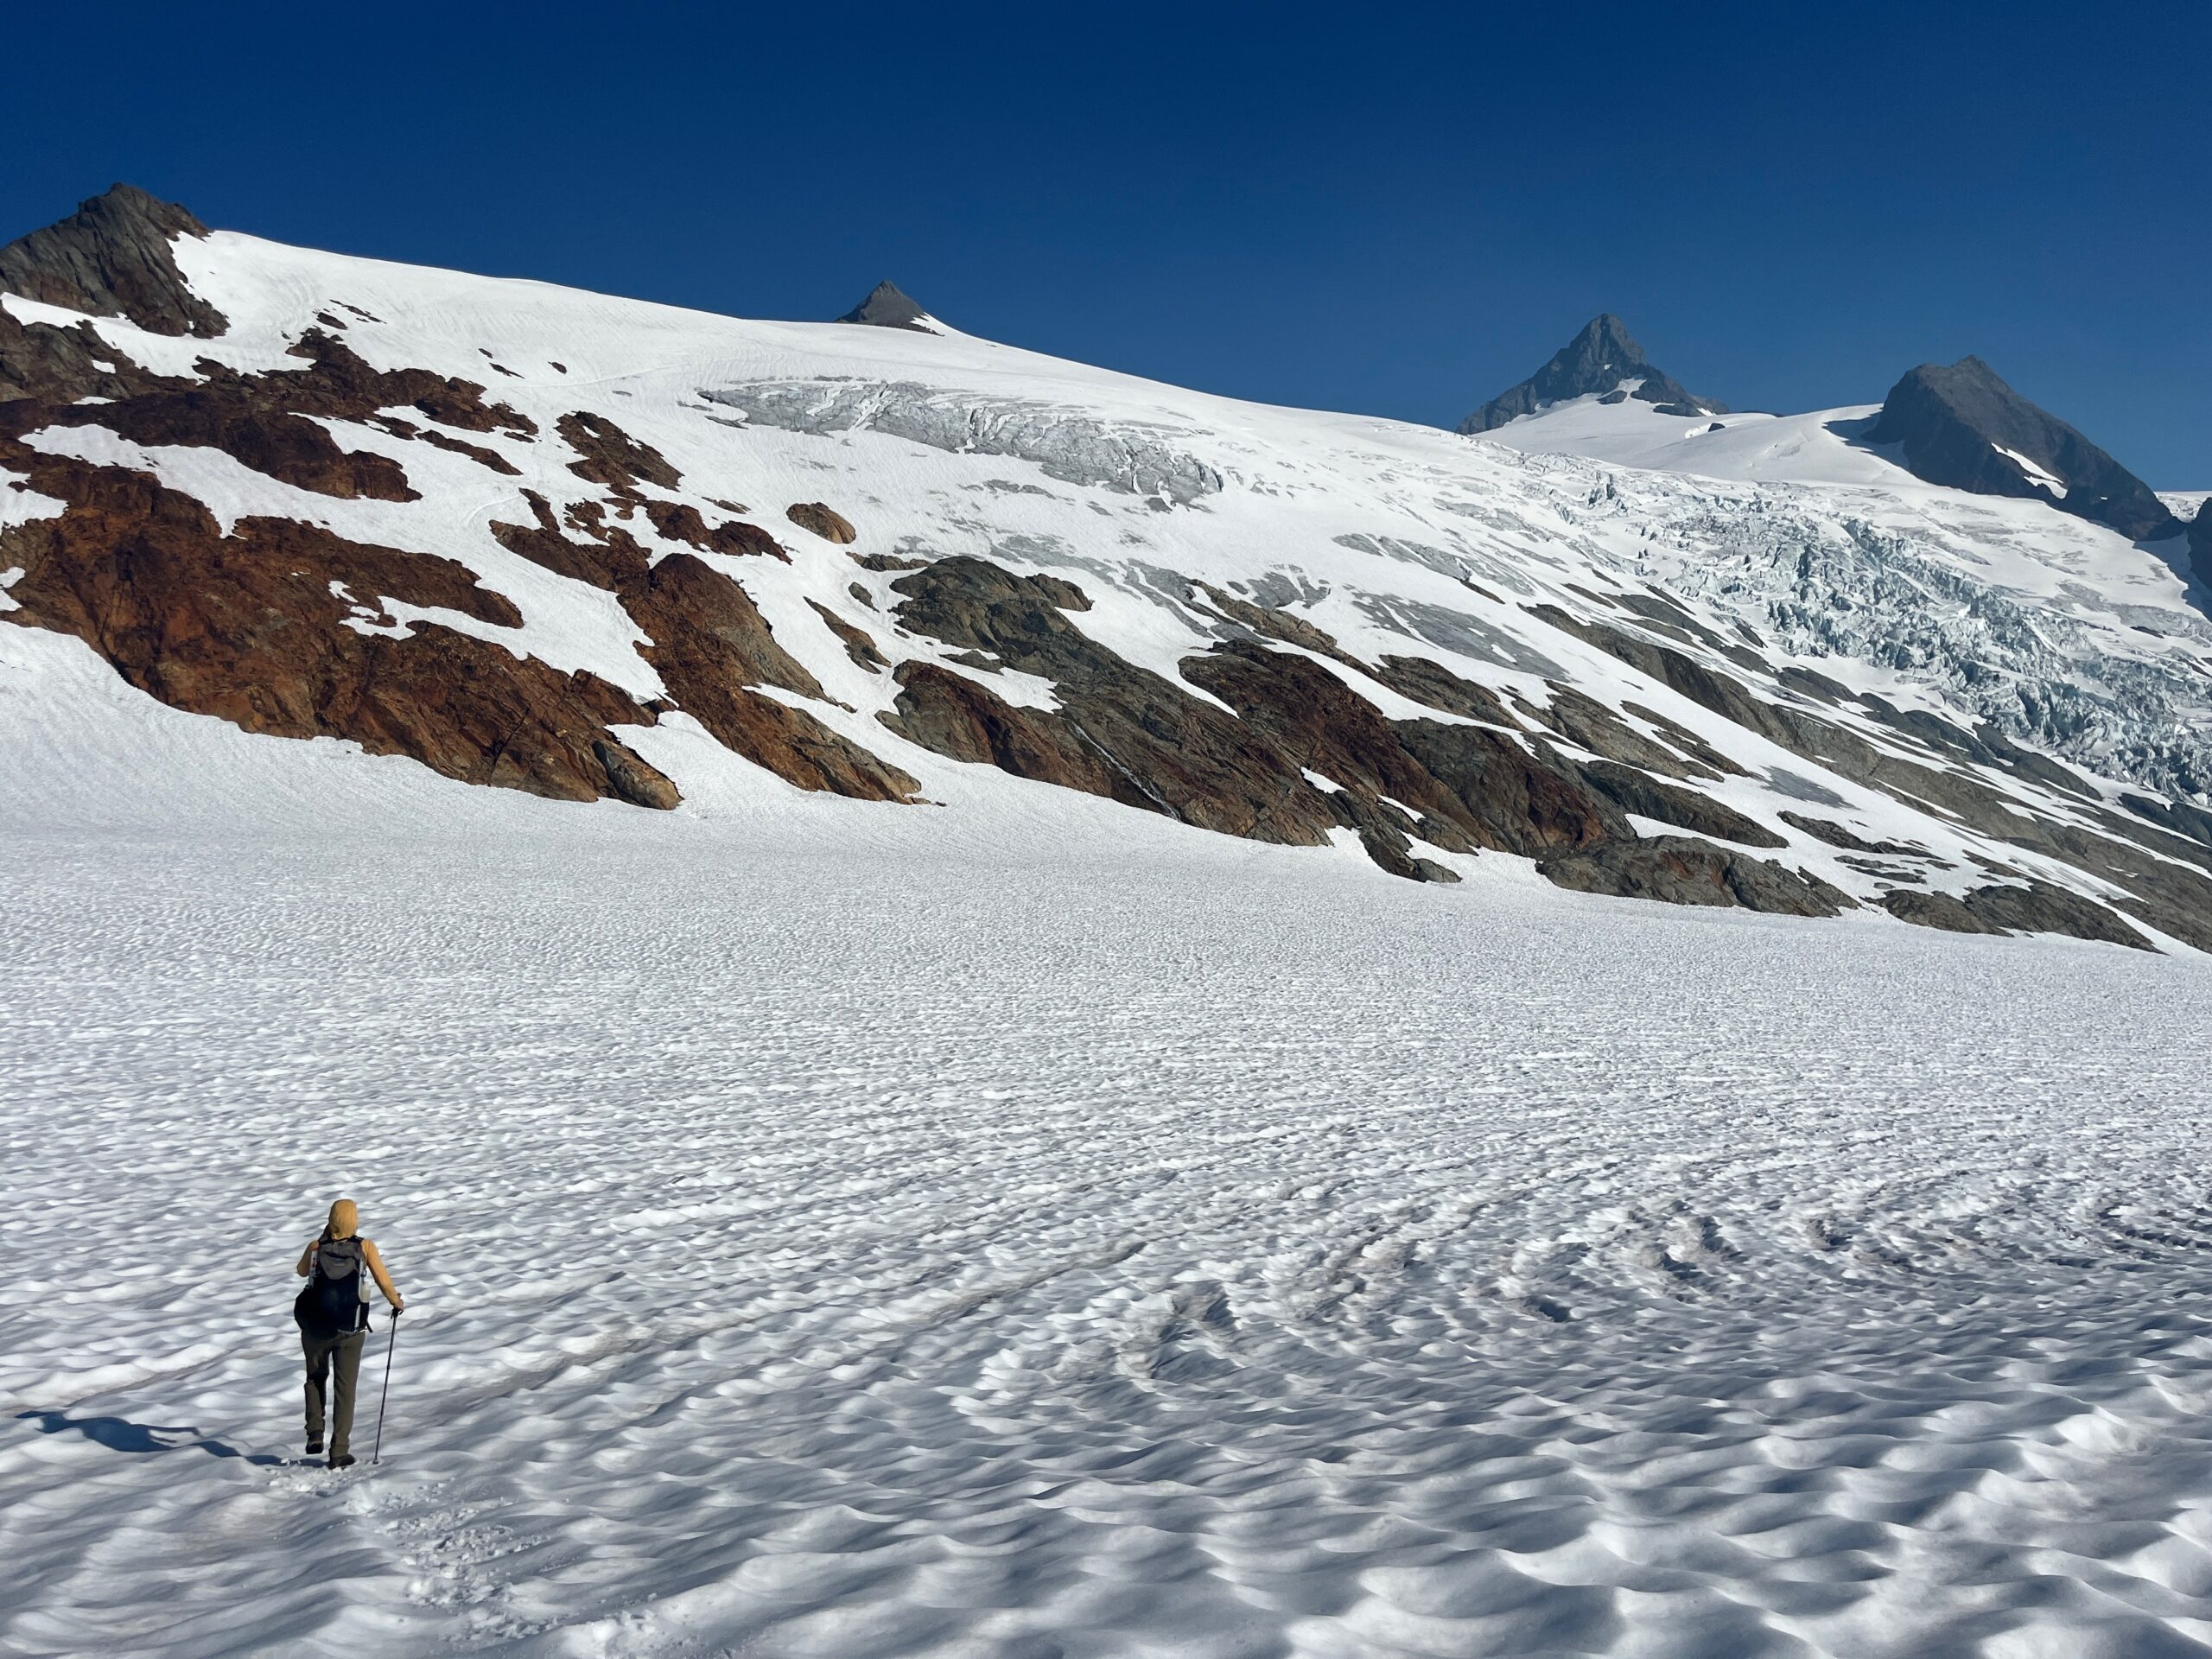
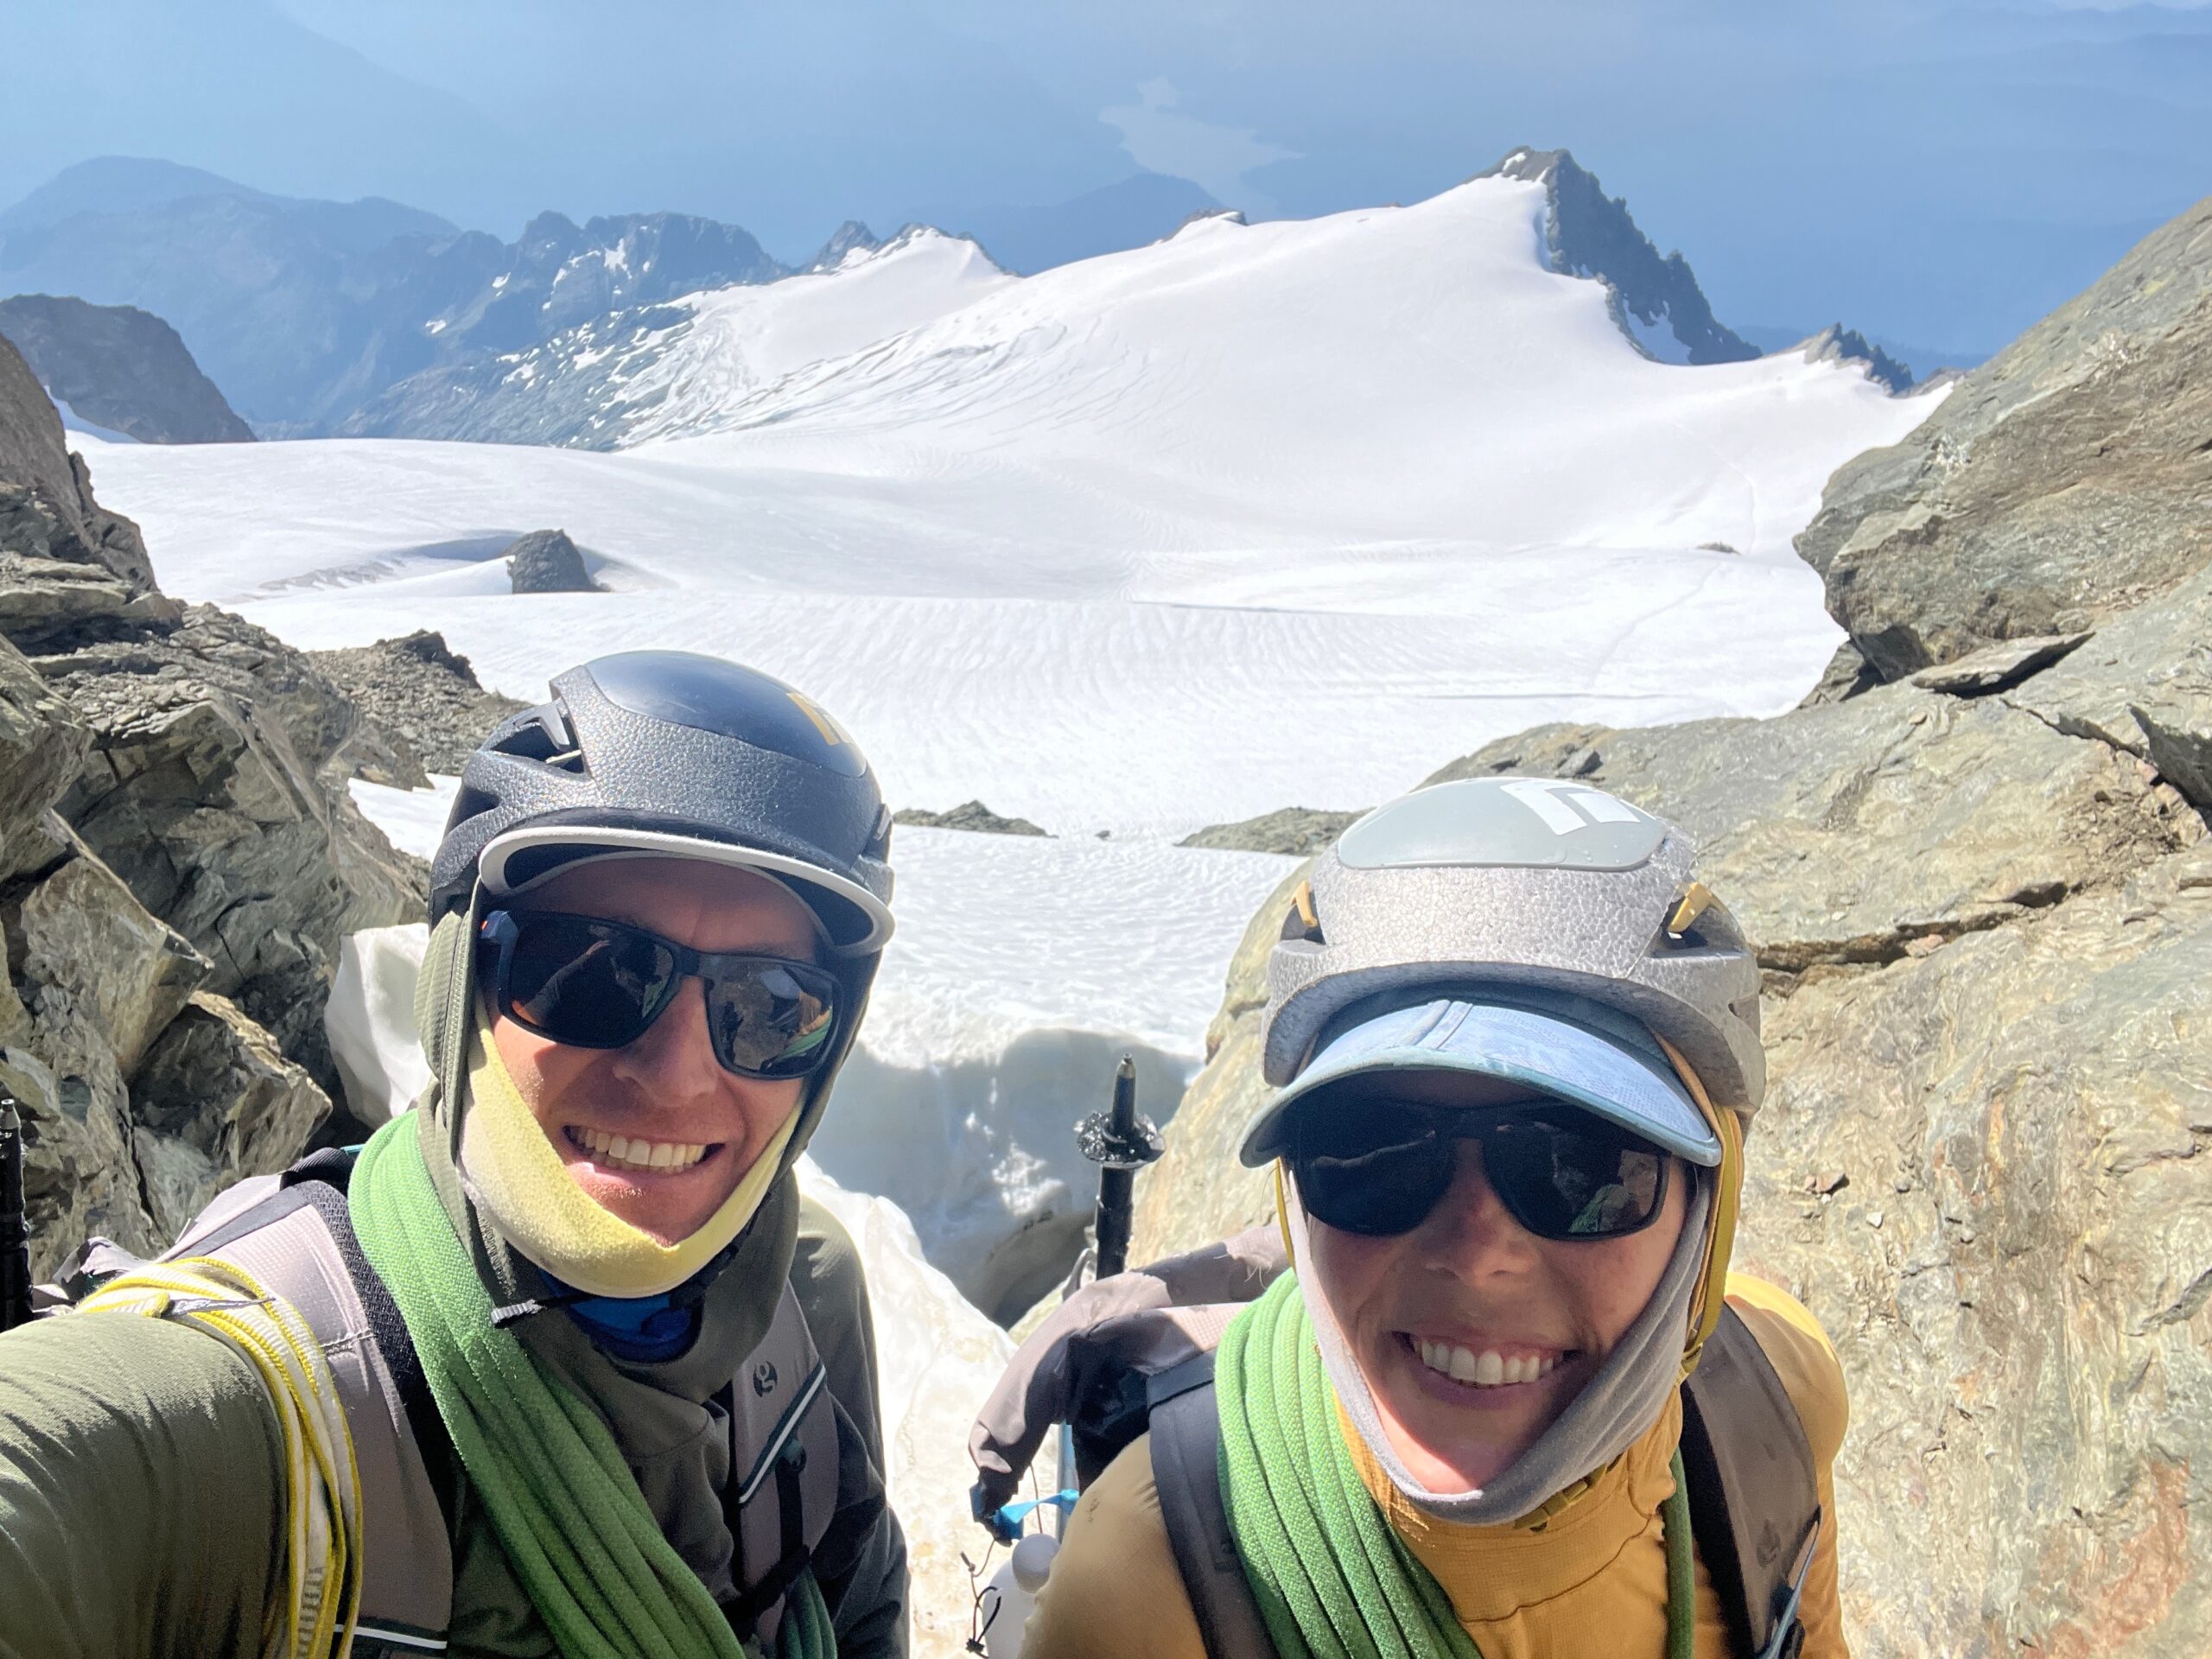
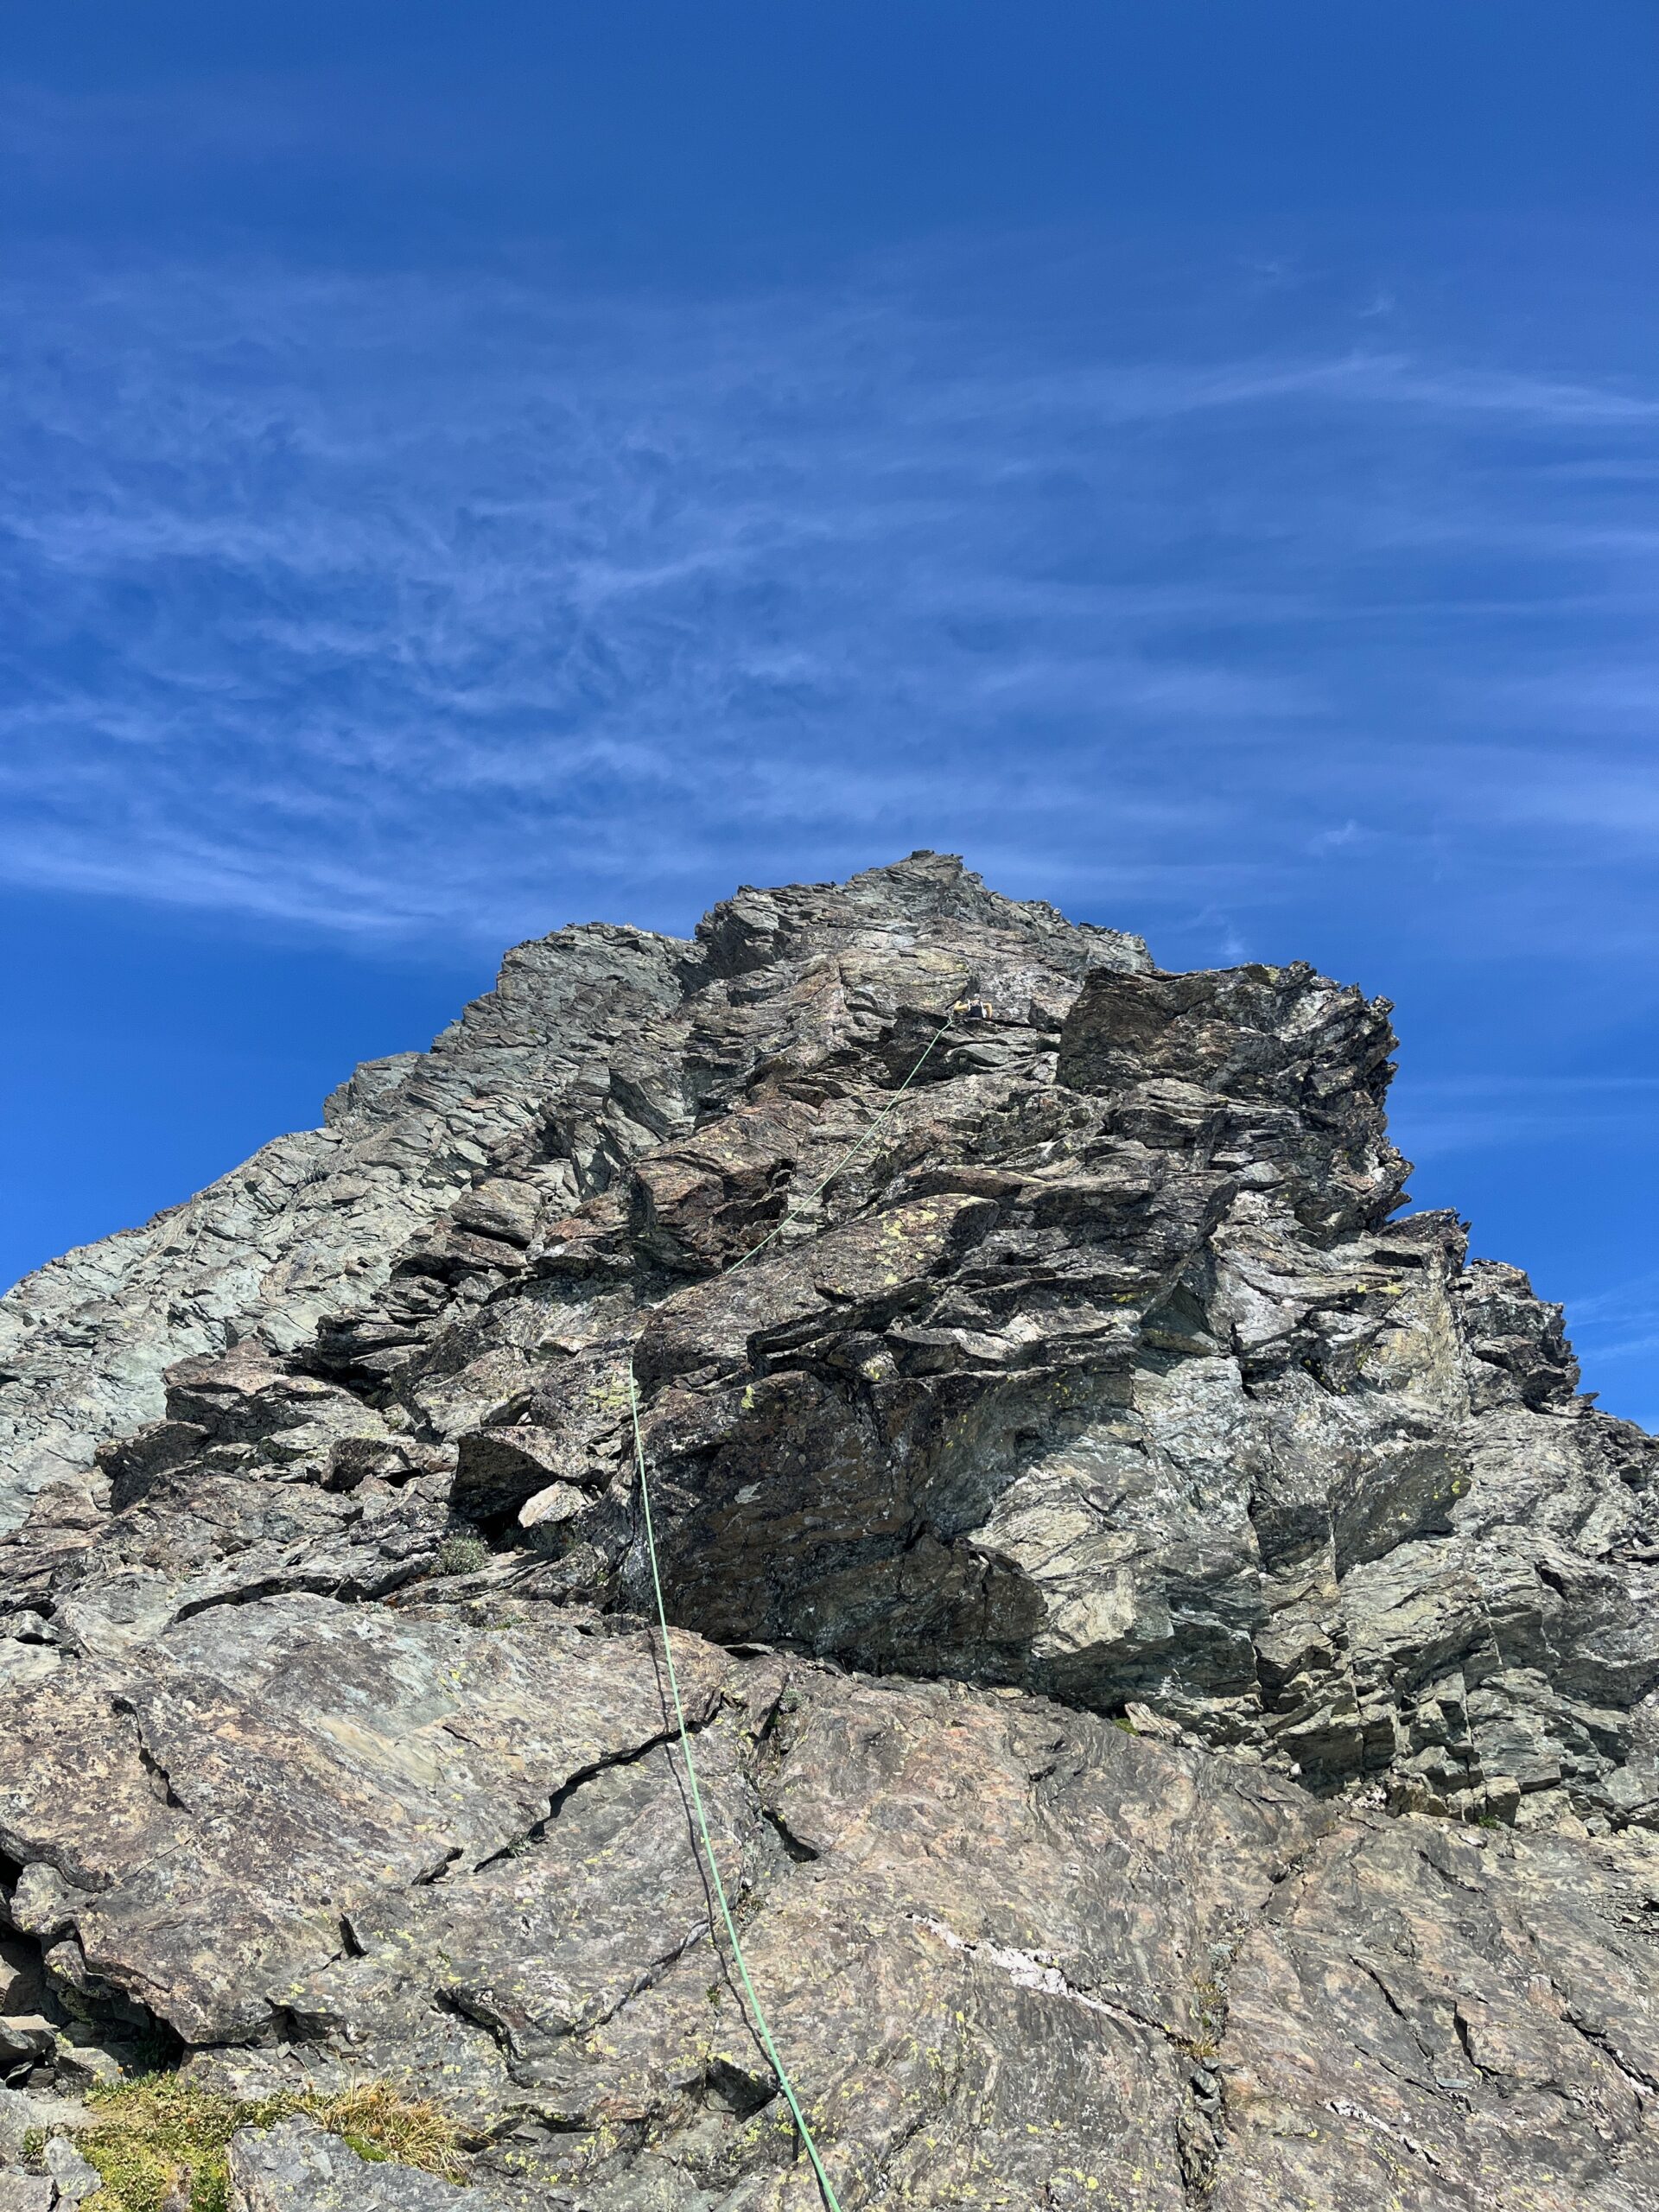
When we got to spot where the Fisher Chimney route and Sulphide Glacier route come together, and before the route steepens, we roped up. We traveled up steeper snow that took us to the SE ridge. We gained the ridge in a 3rd class gully to the left of the obvious notch. It is apparent people gain the ridge right at this notch, as there was a rap station higher up. We started climbing right where we left the snow. We simul-climbed the whole ridge in one long pitch and one shorter pitch. The ridgeline was fun, juggy climbing and fully manageable in our mountaineering boots.
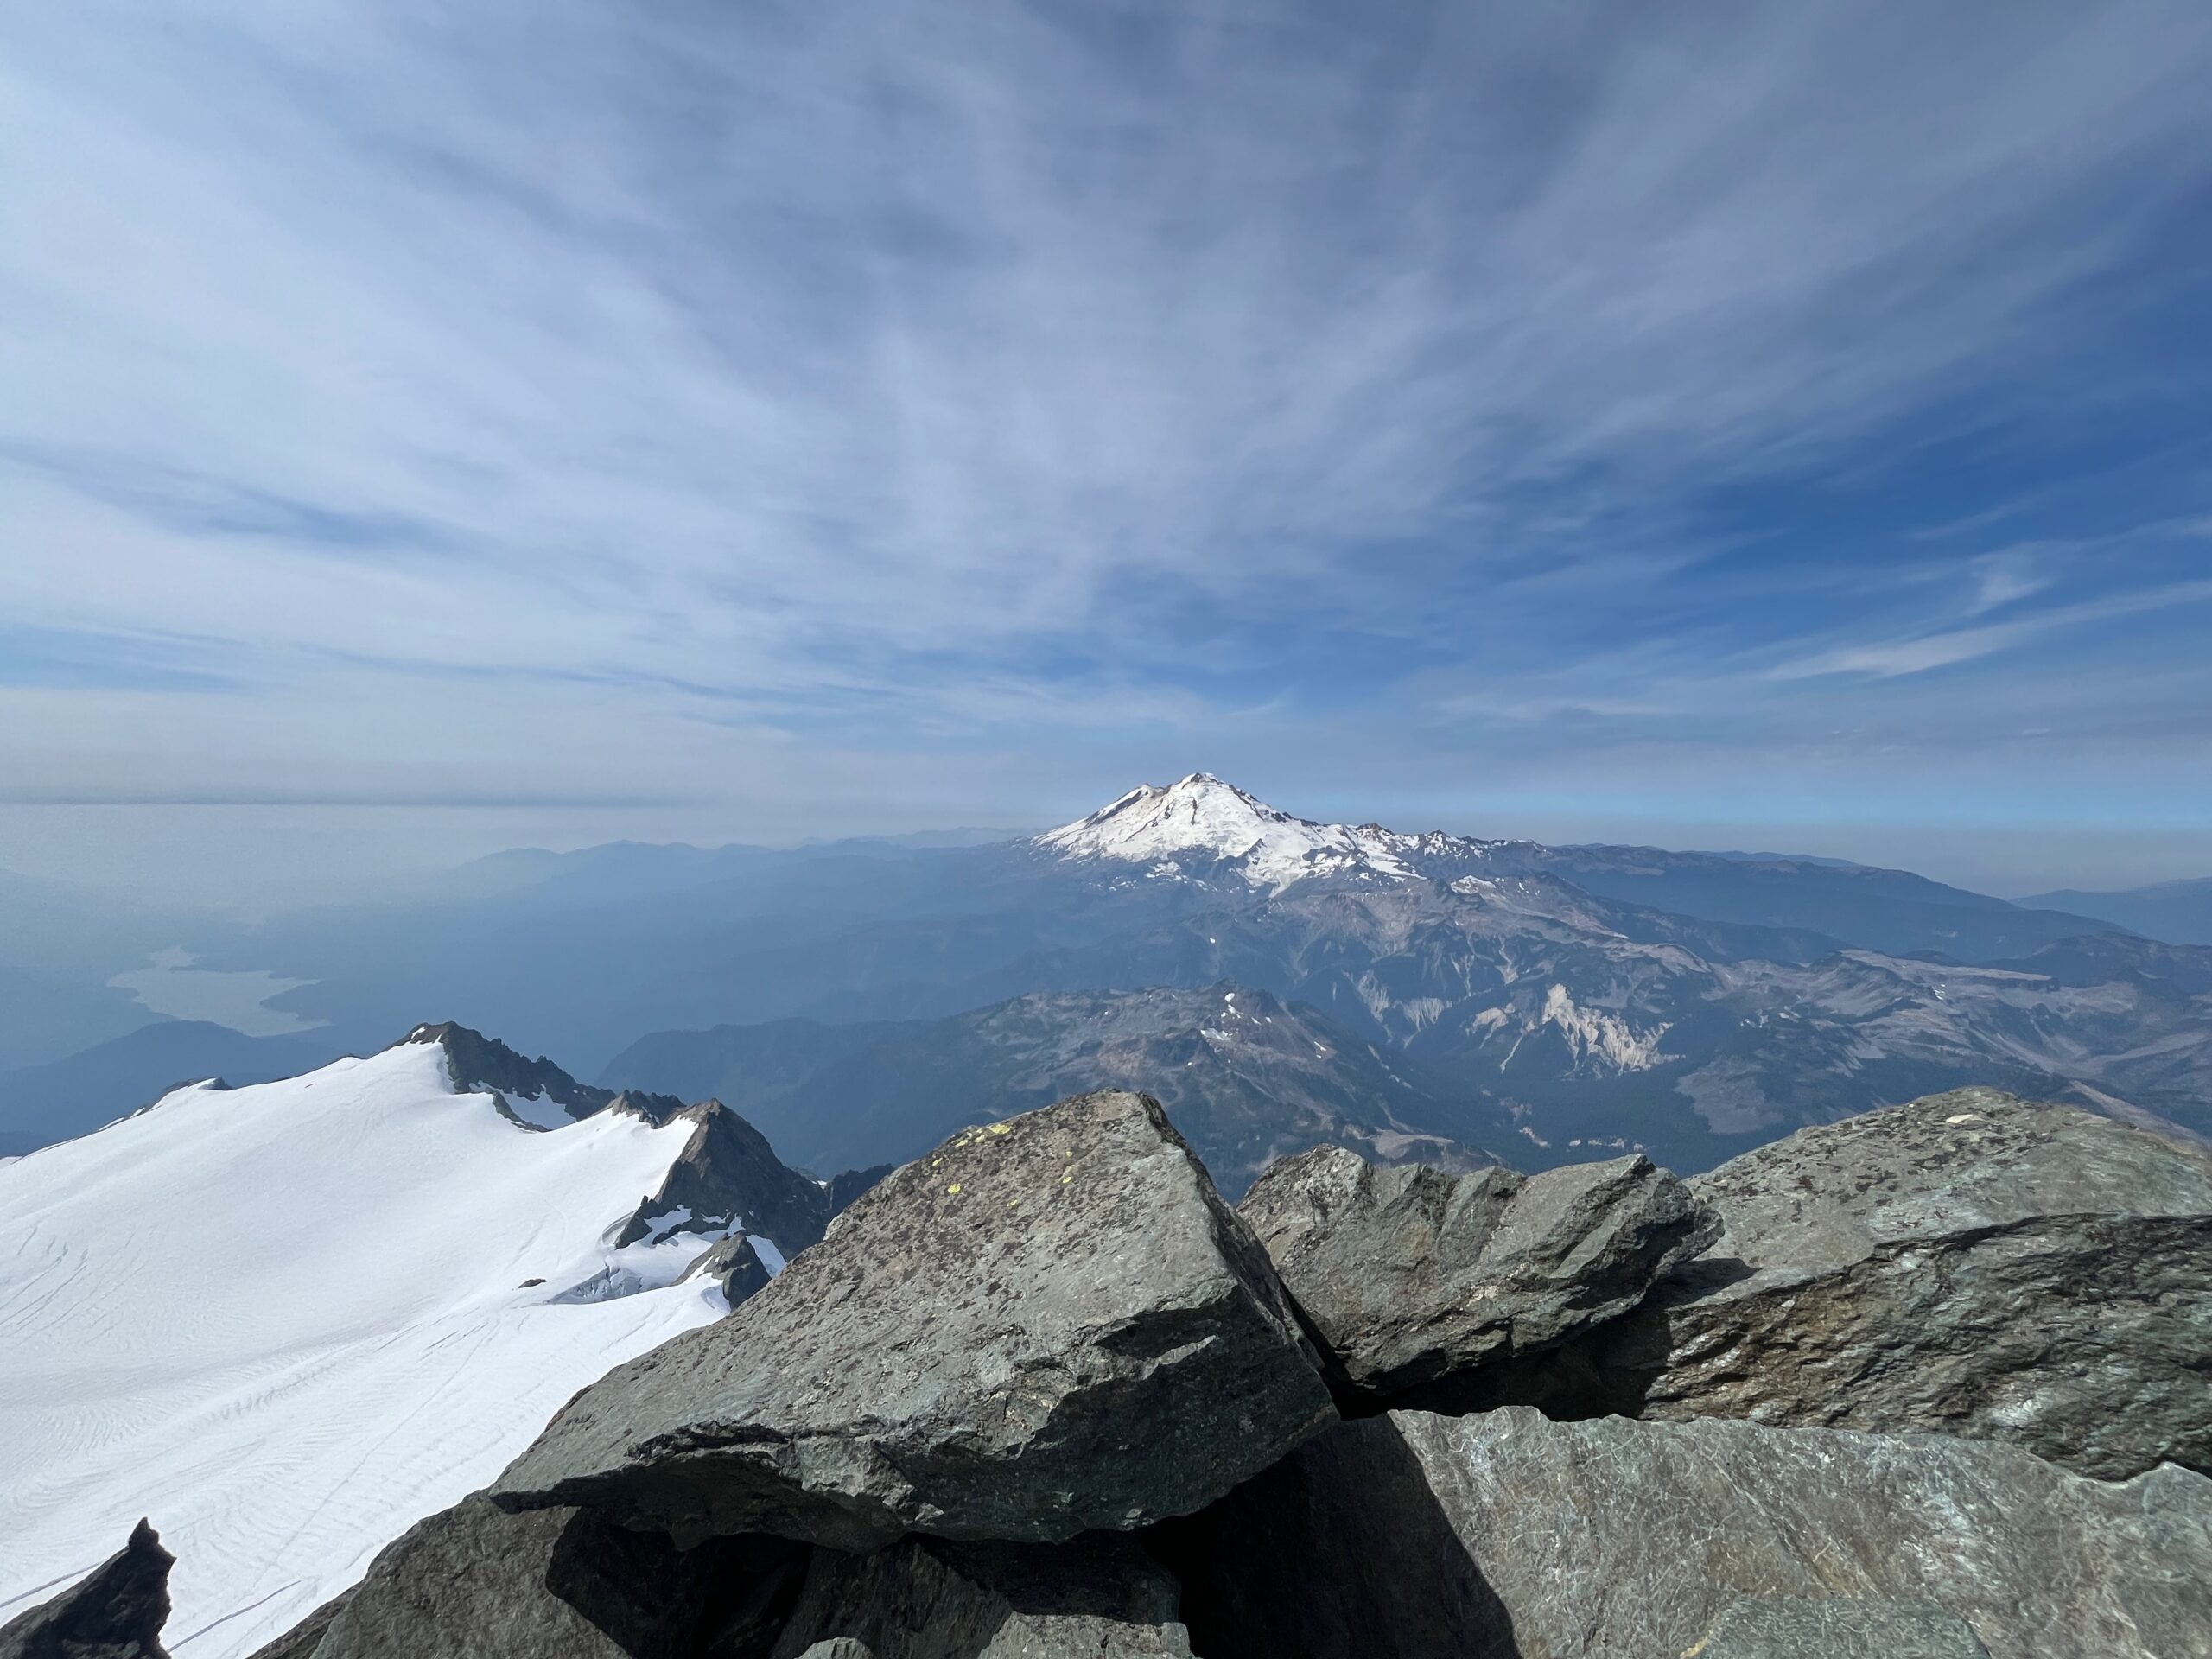
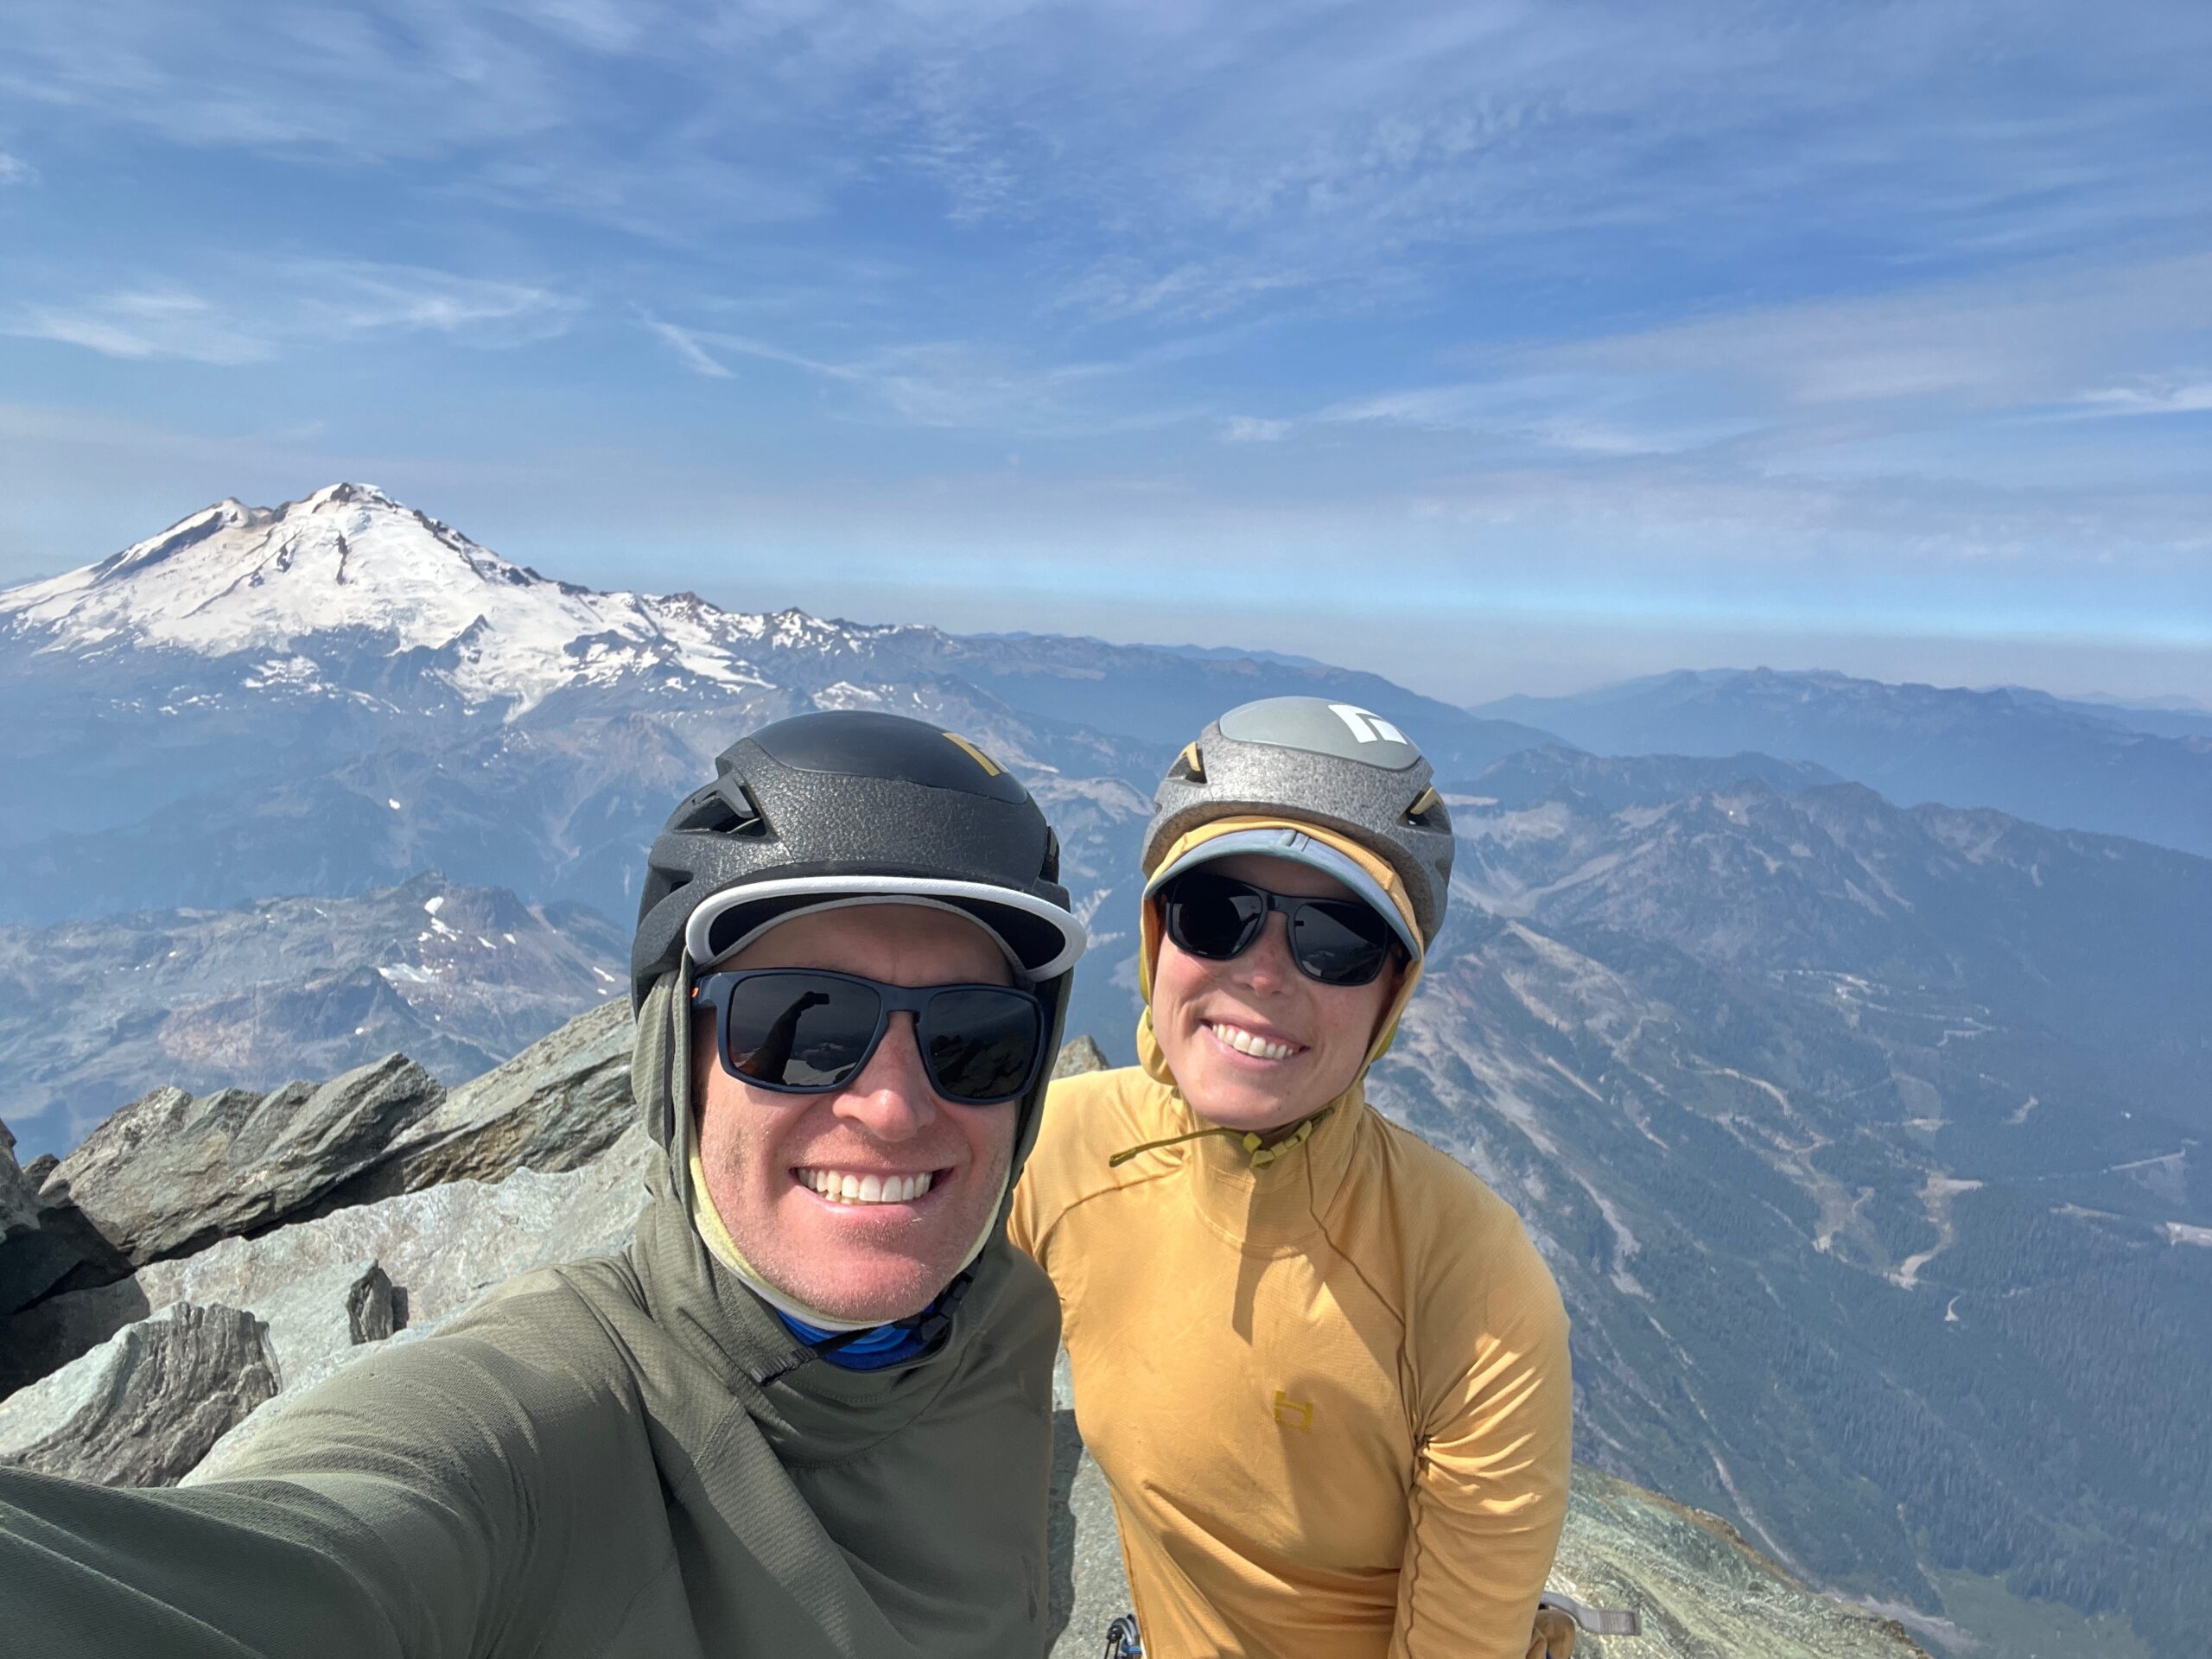
We made it to the summit around 12:30 p.m. and enjoyed the views towards Mt. Baker. It was smoke free on the summit for the most part, but very smokey around us.
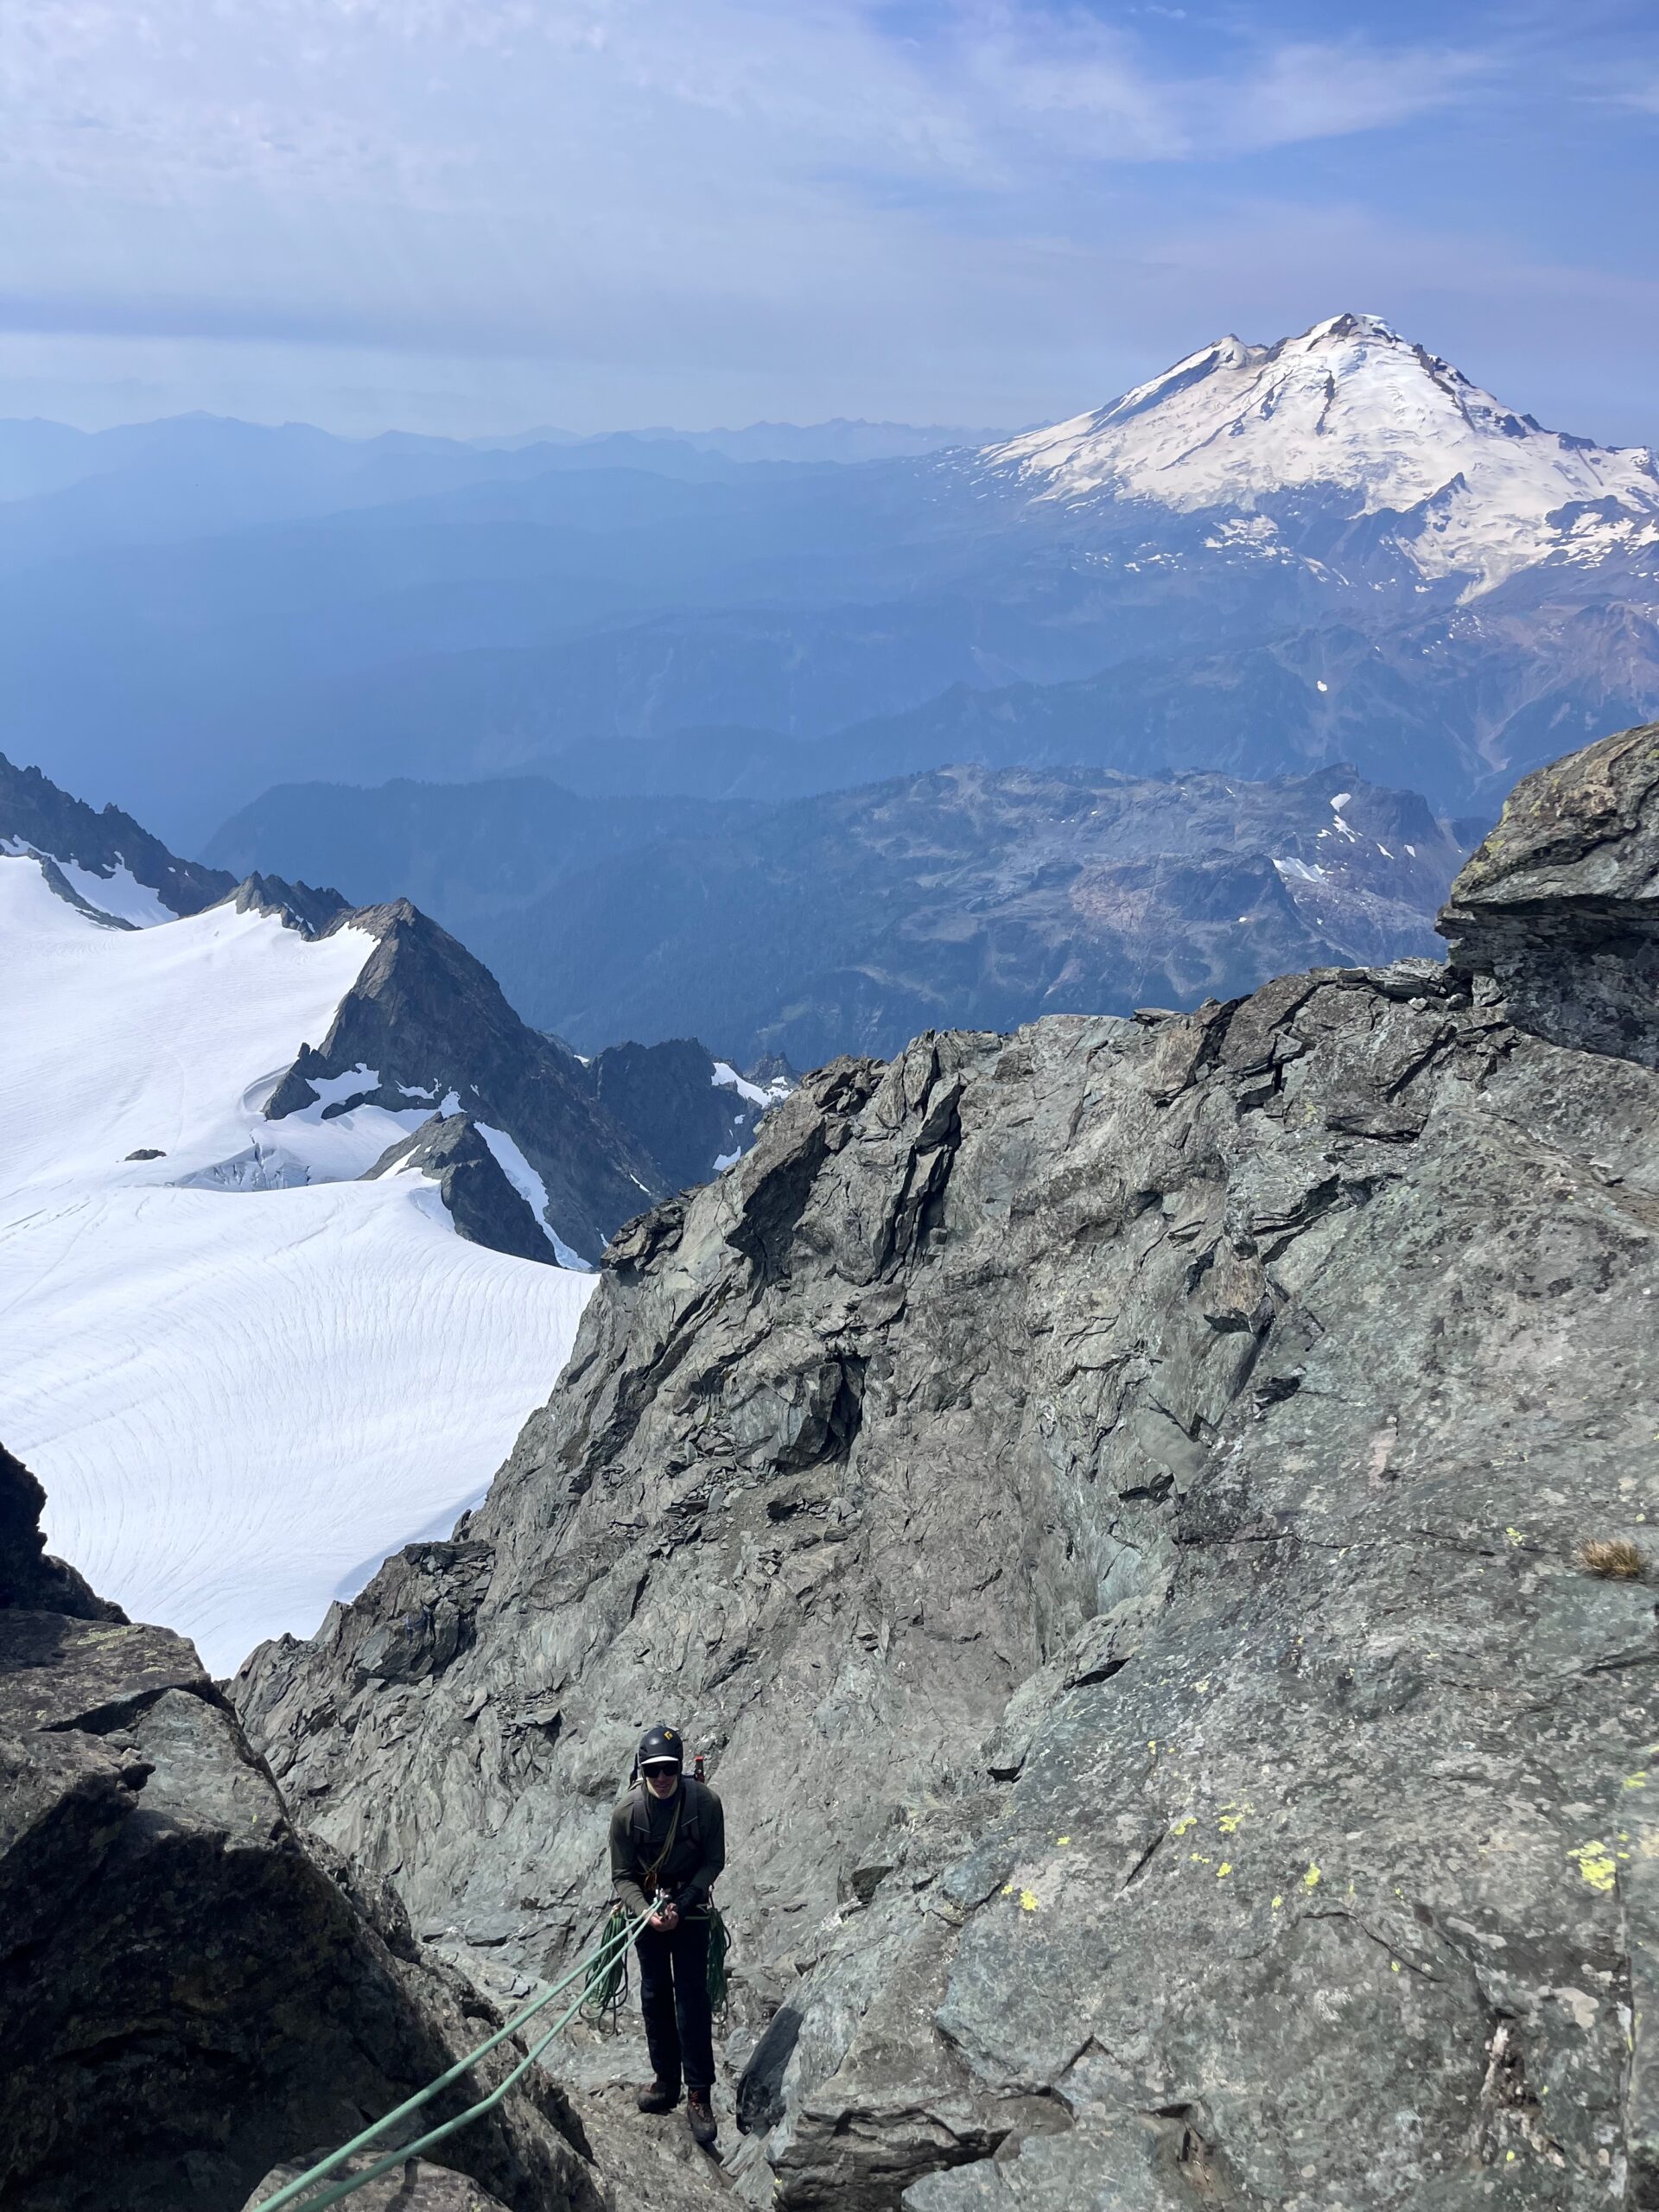
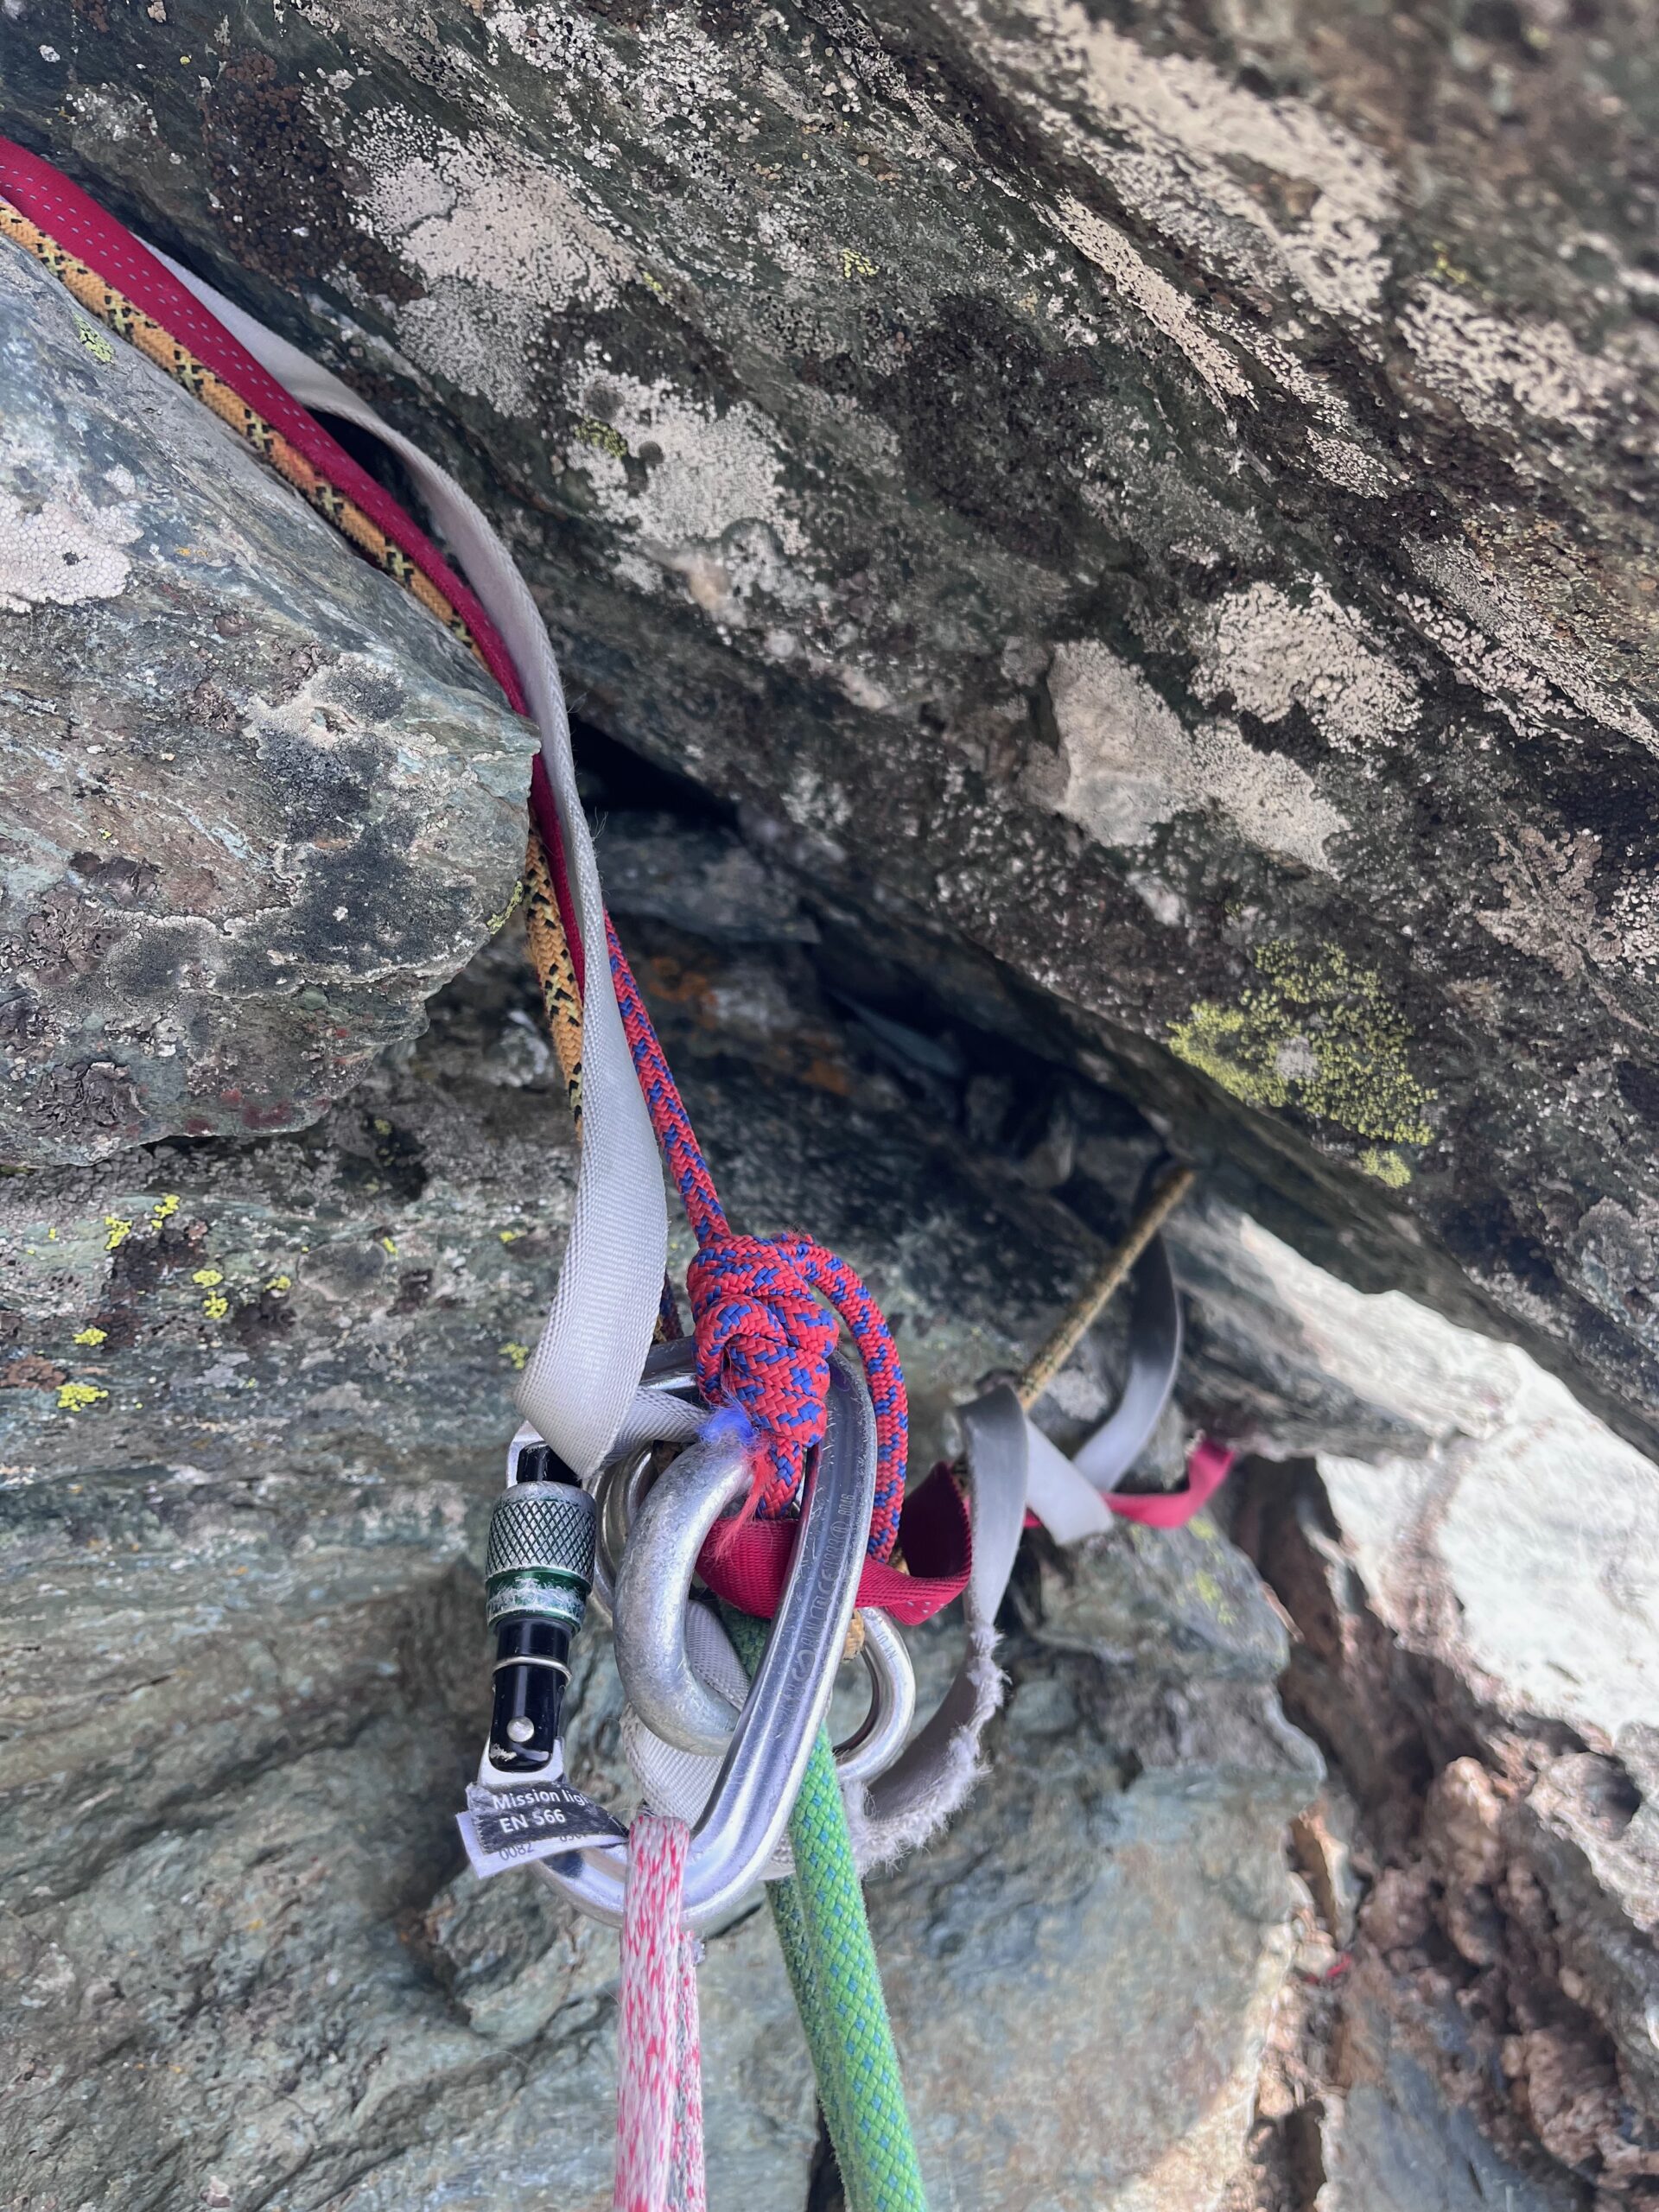
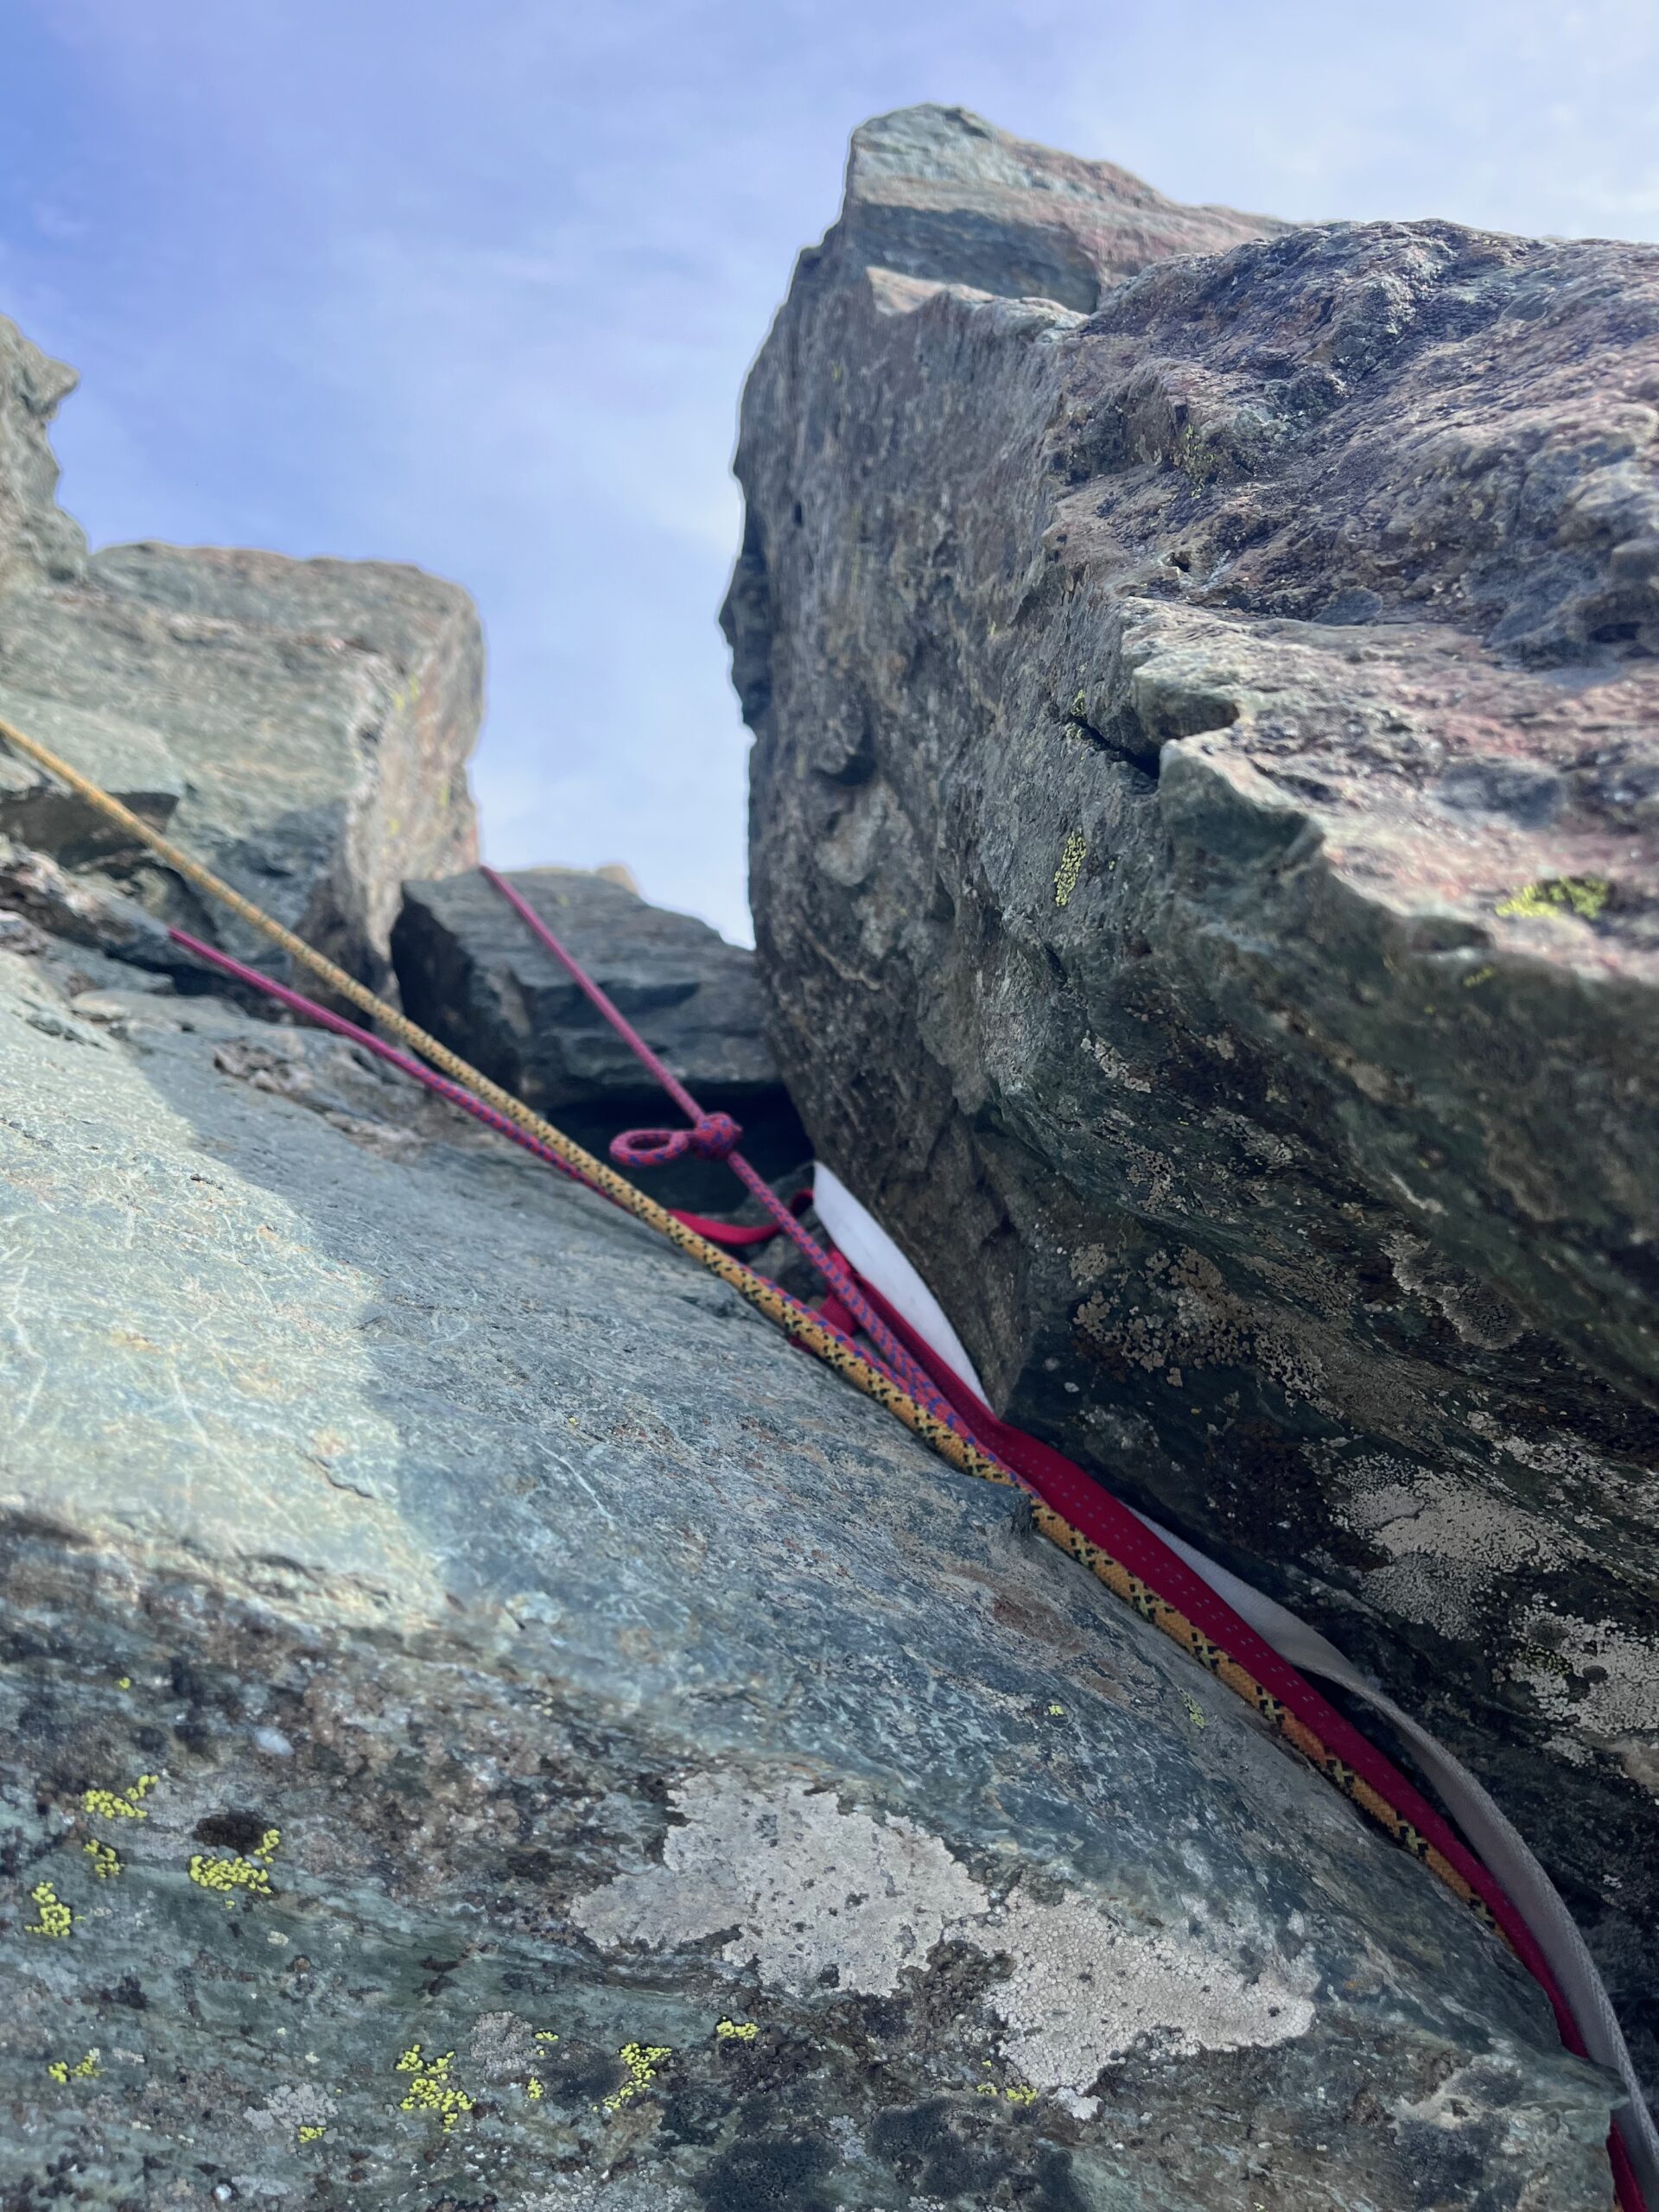
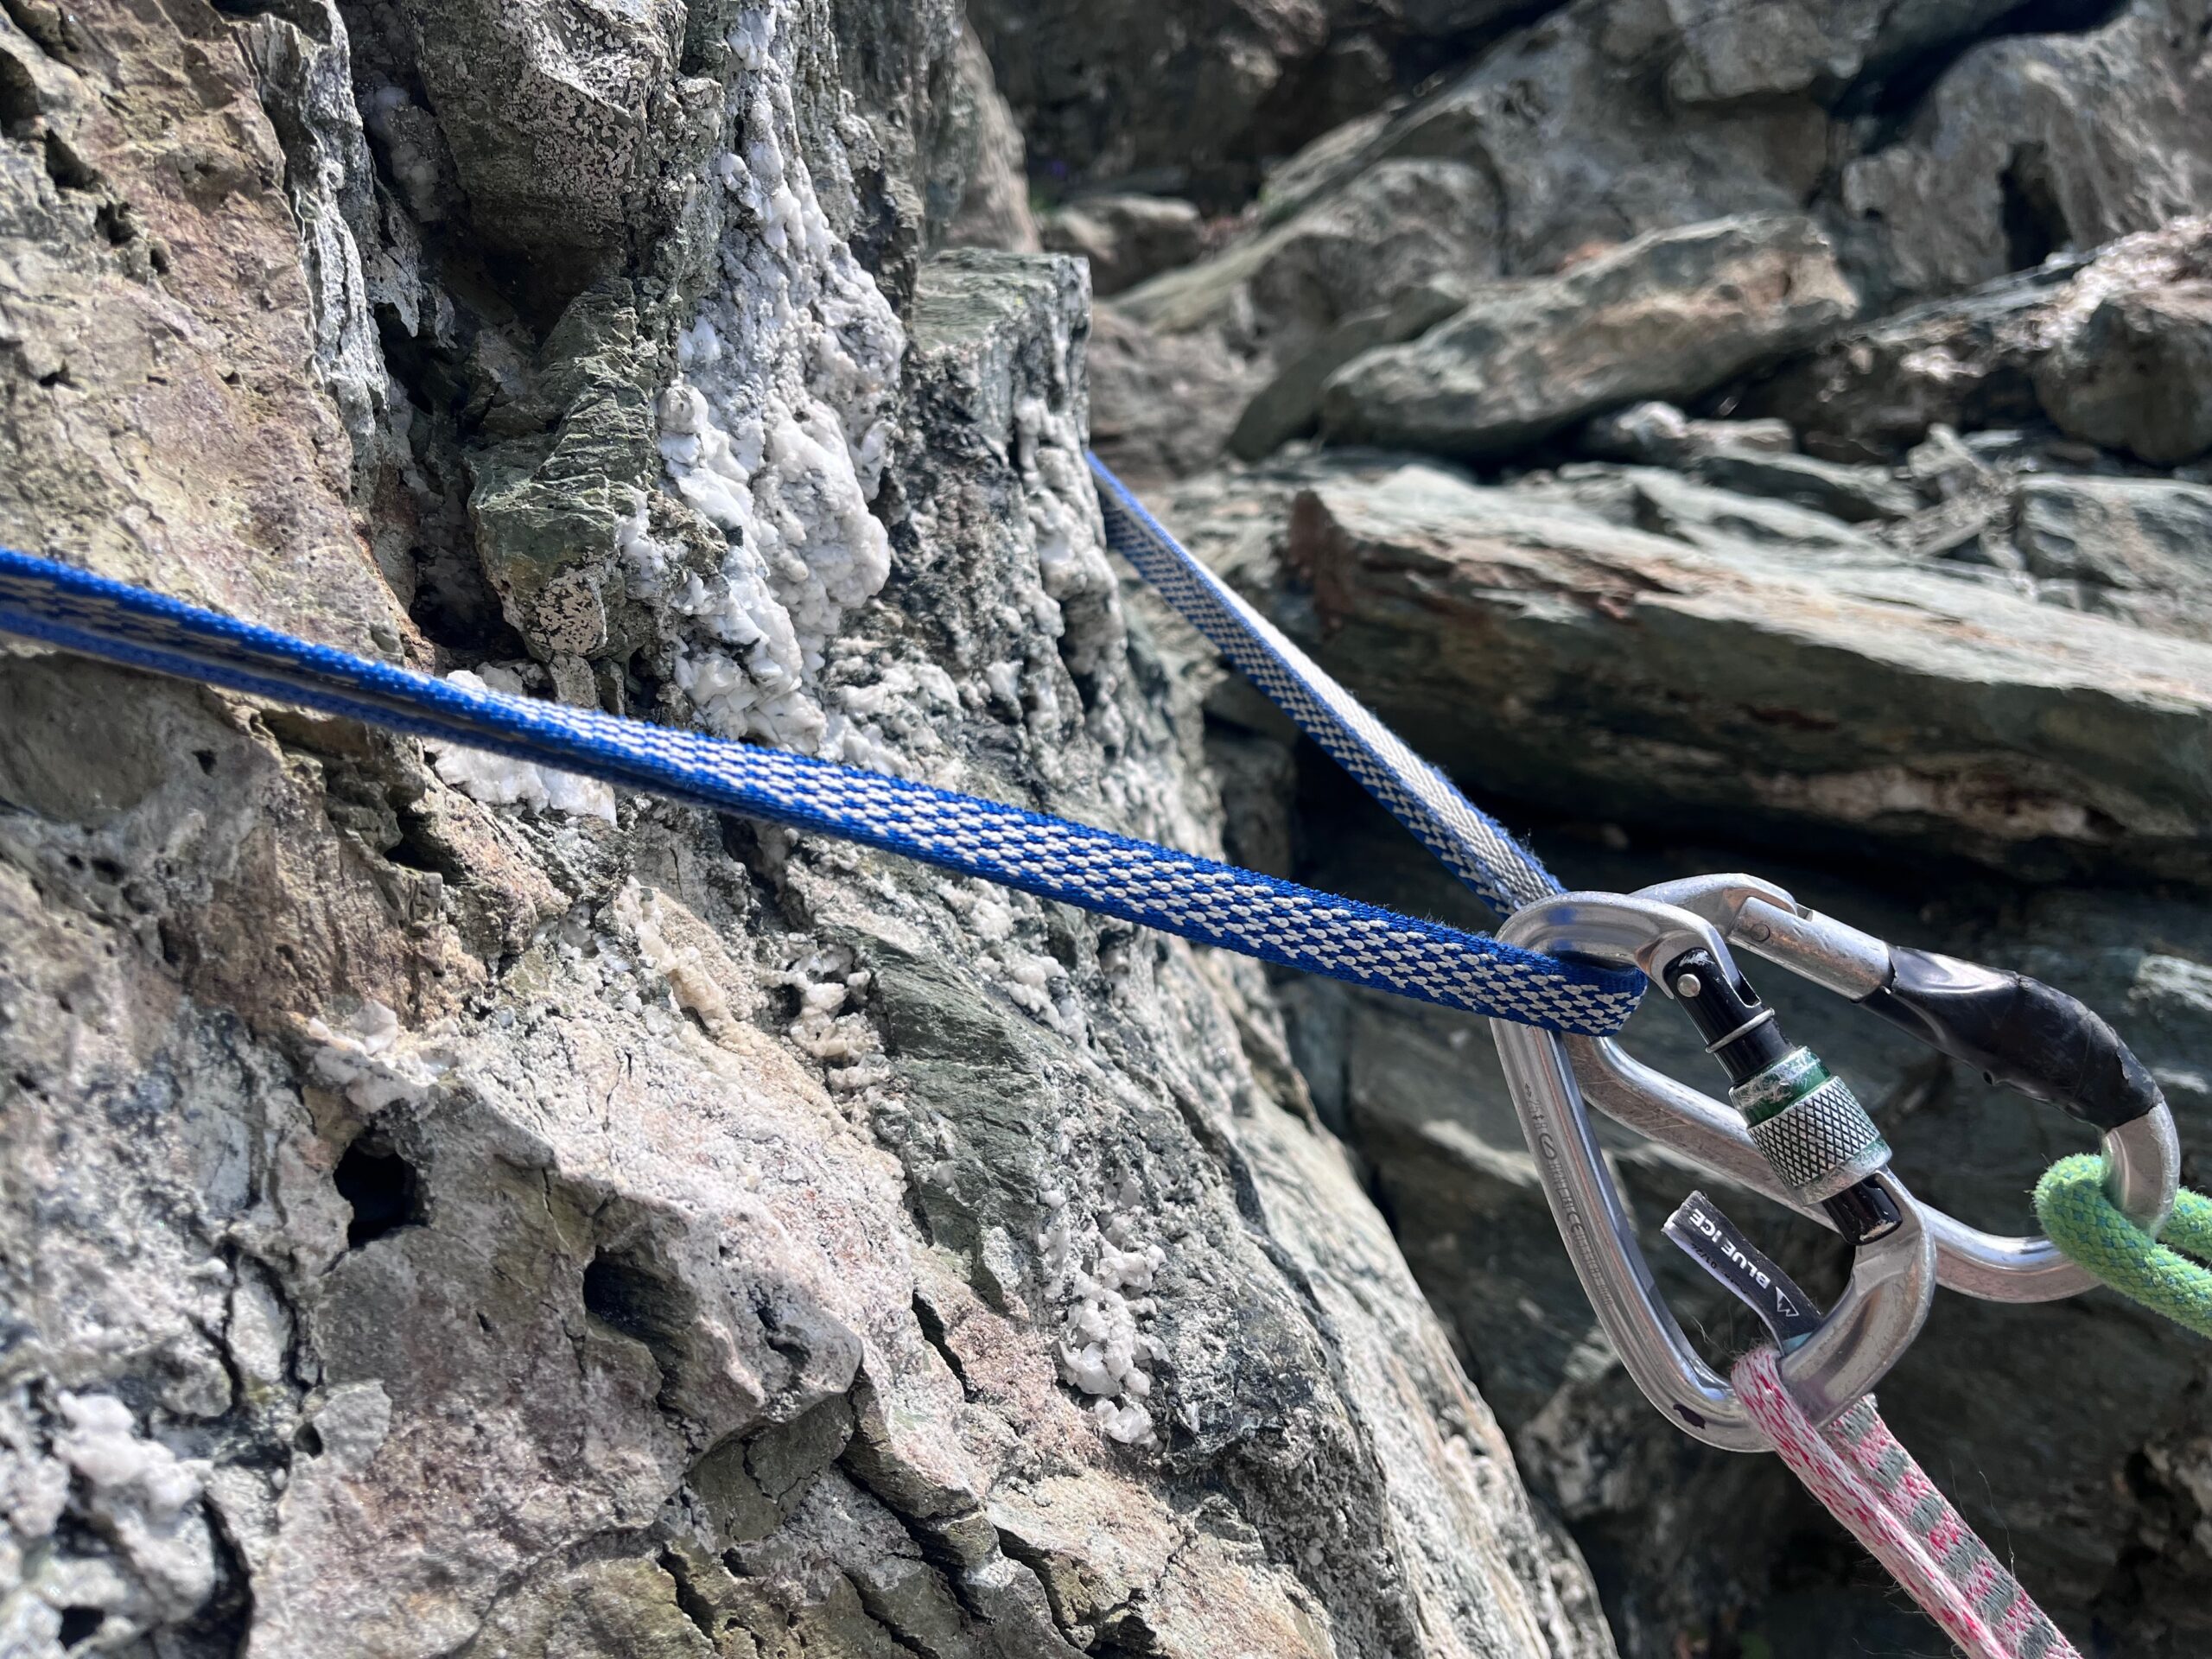
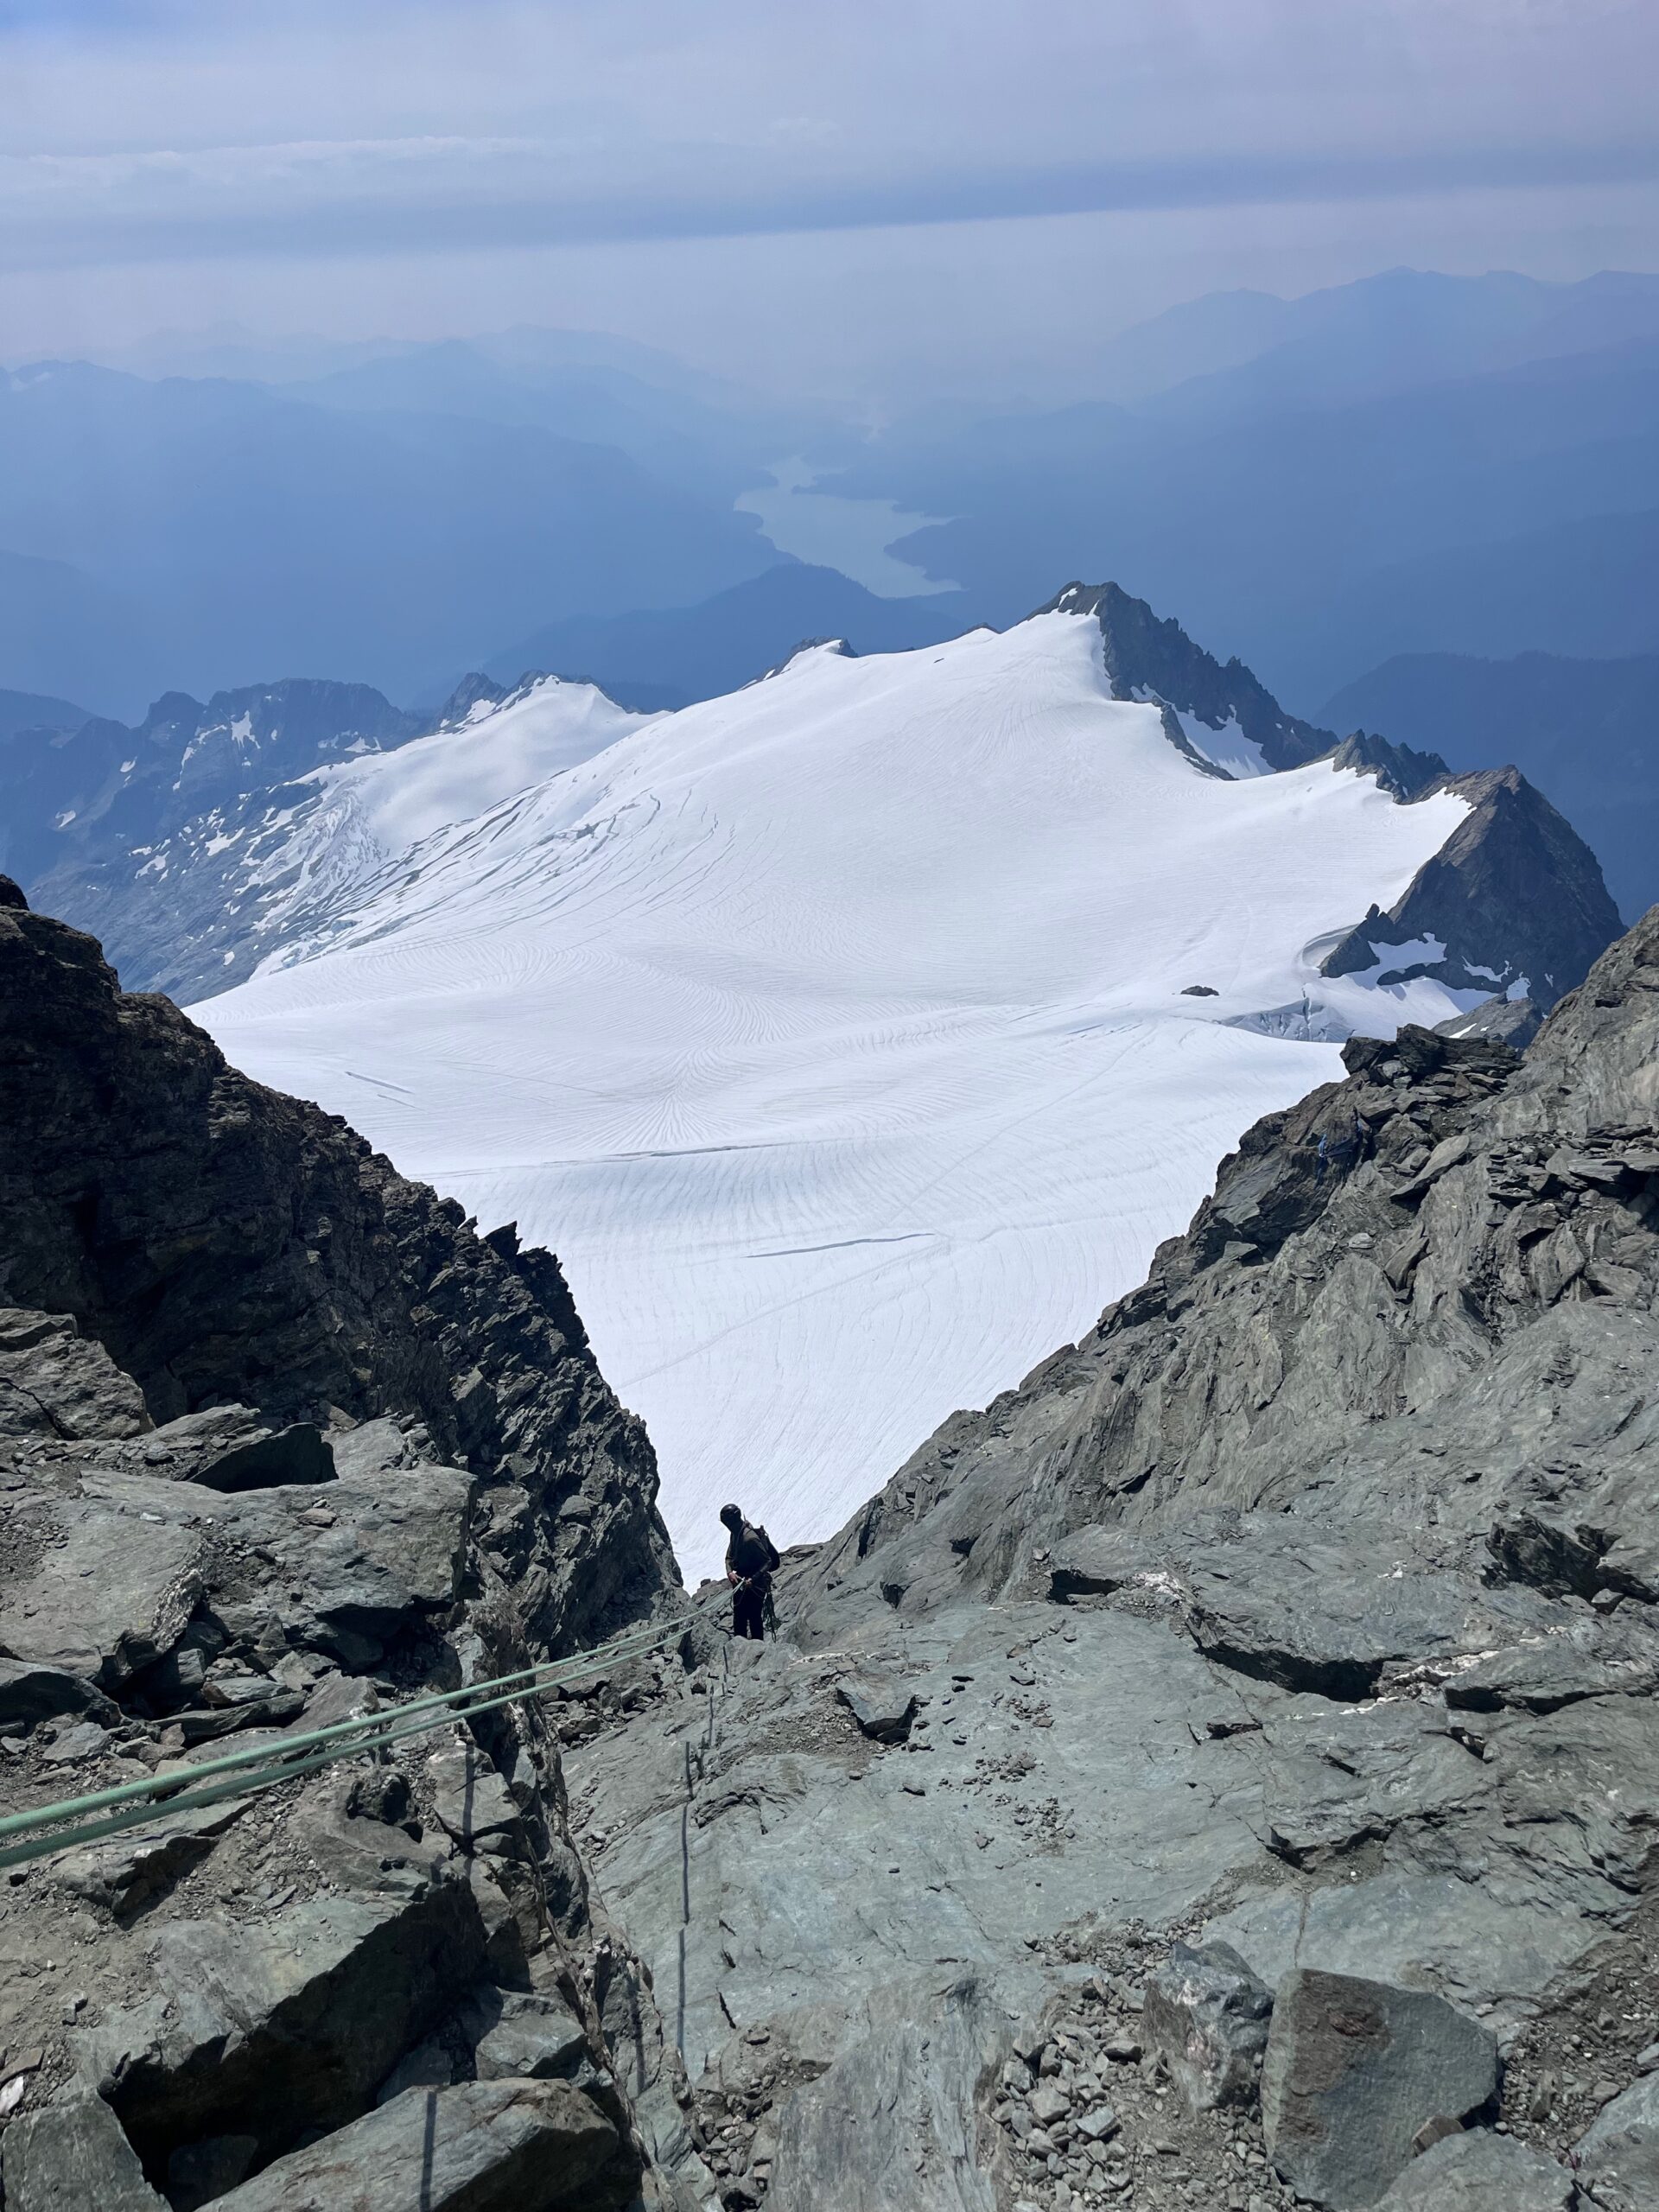
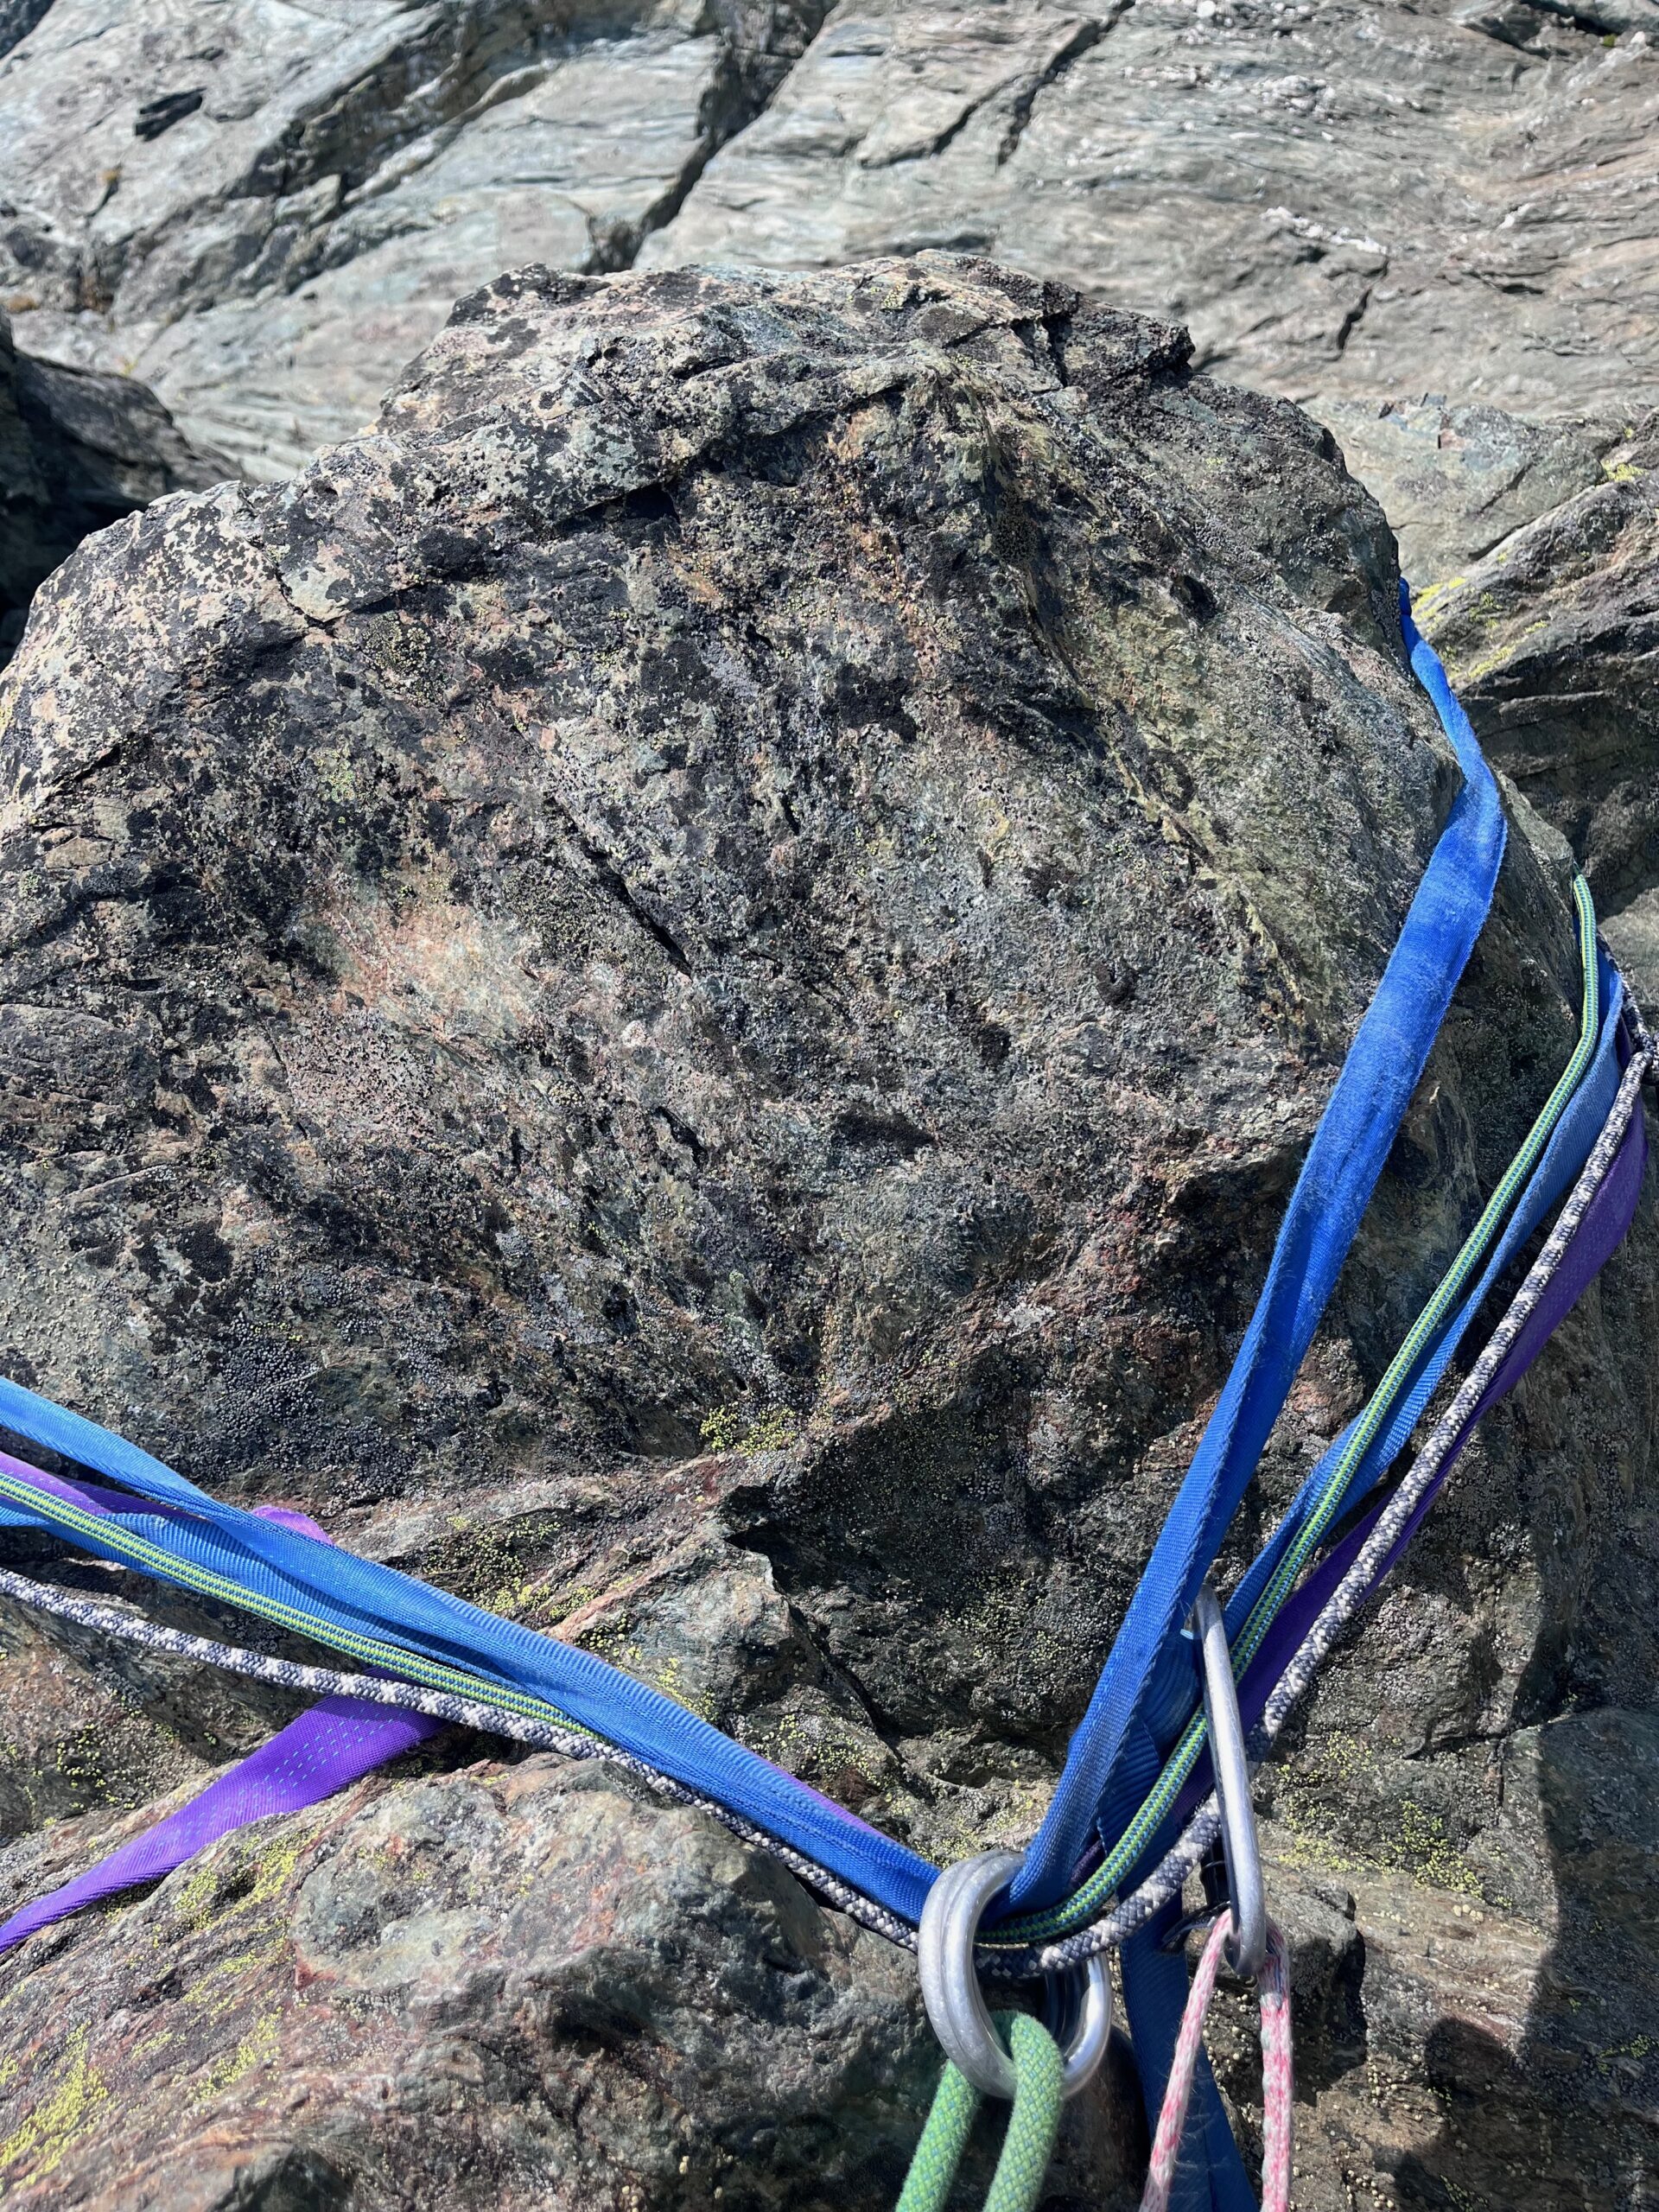
For the descent, we made 4 rappels, described below. In the future we would skip the third one that we did and possibly add one rap at the end instead. The rappel gully has some loose rock. See photo galley for picture of the rap stations.
Descent:
The first rappel was just off the summit on the SE ridge. This took us to a rappel station with two double length slings in good condition and a taped non-locker. We rappelled down from there and traversed skiers right to another rap station with three rings and some blue webbing (we would skip this 3 ring station and just scramble down the gully to the next rappel if we were to do it again). This rap landed us just above a station with red webbing – so we made a few scramble moves down to this rap station which had a nice little ledge.
From this red webbing station we rappelled down – ending near another rap station. We opted to scramble from here, which was fine, but a little loose. It may have been better to go ahead and use that last station to rappell again. Either way, there were many rap stations and many options to descend.
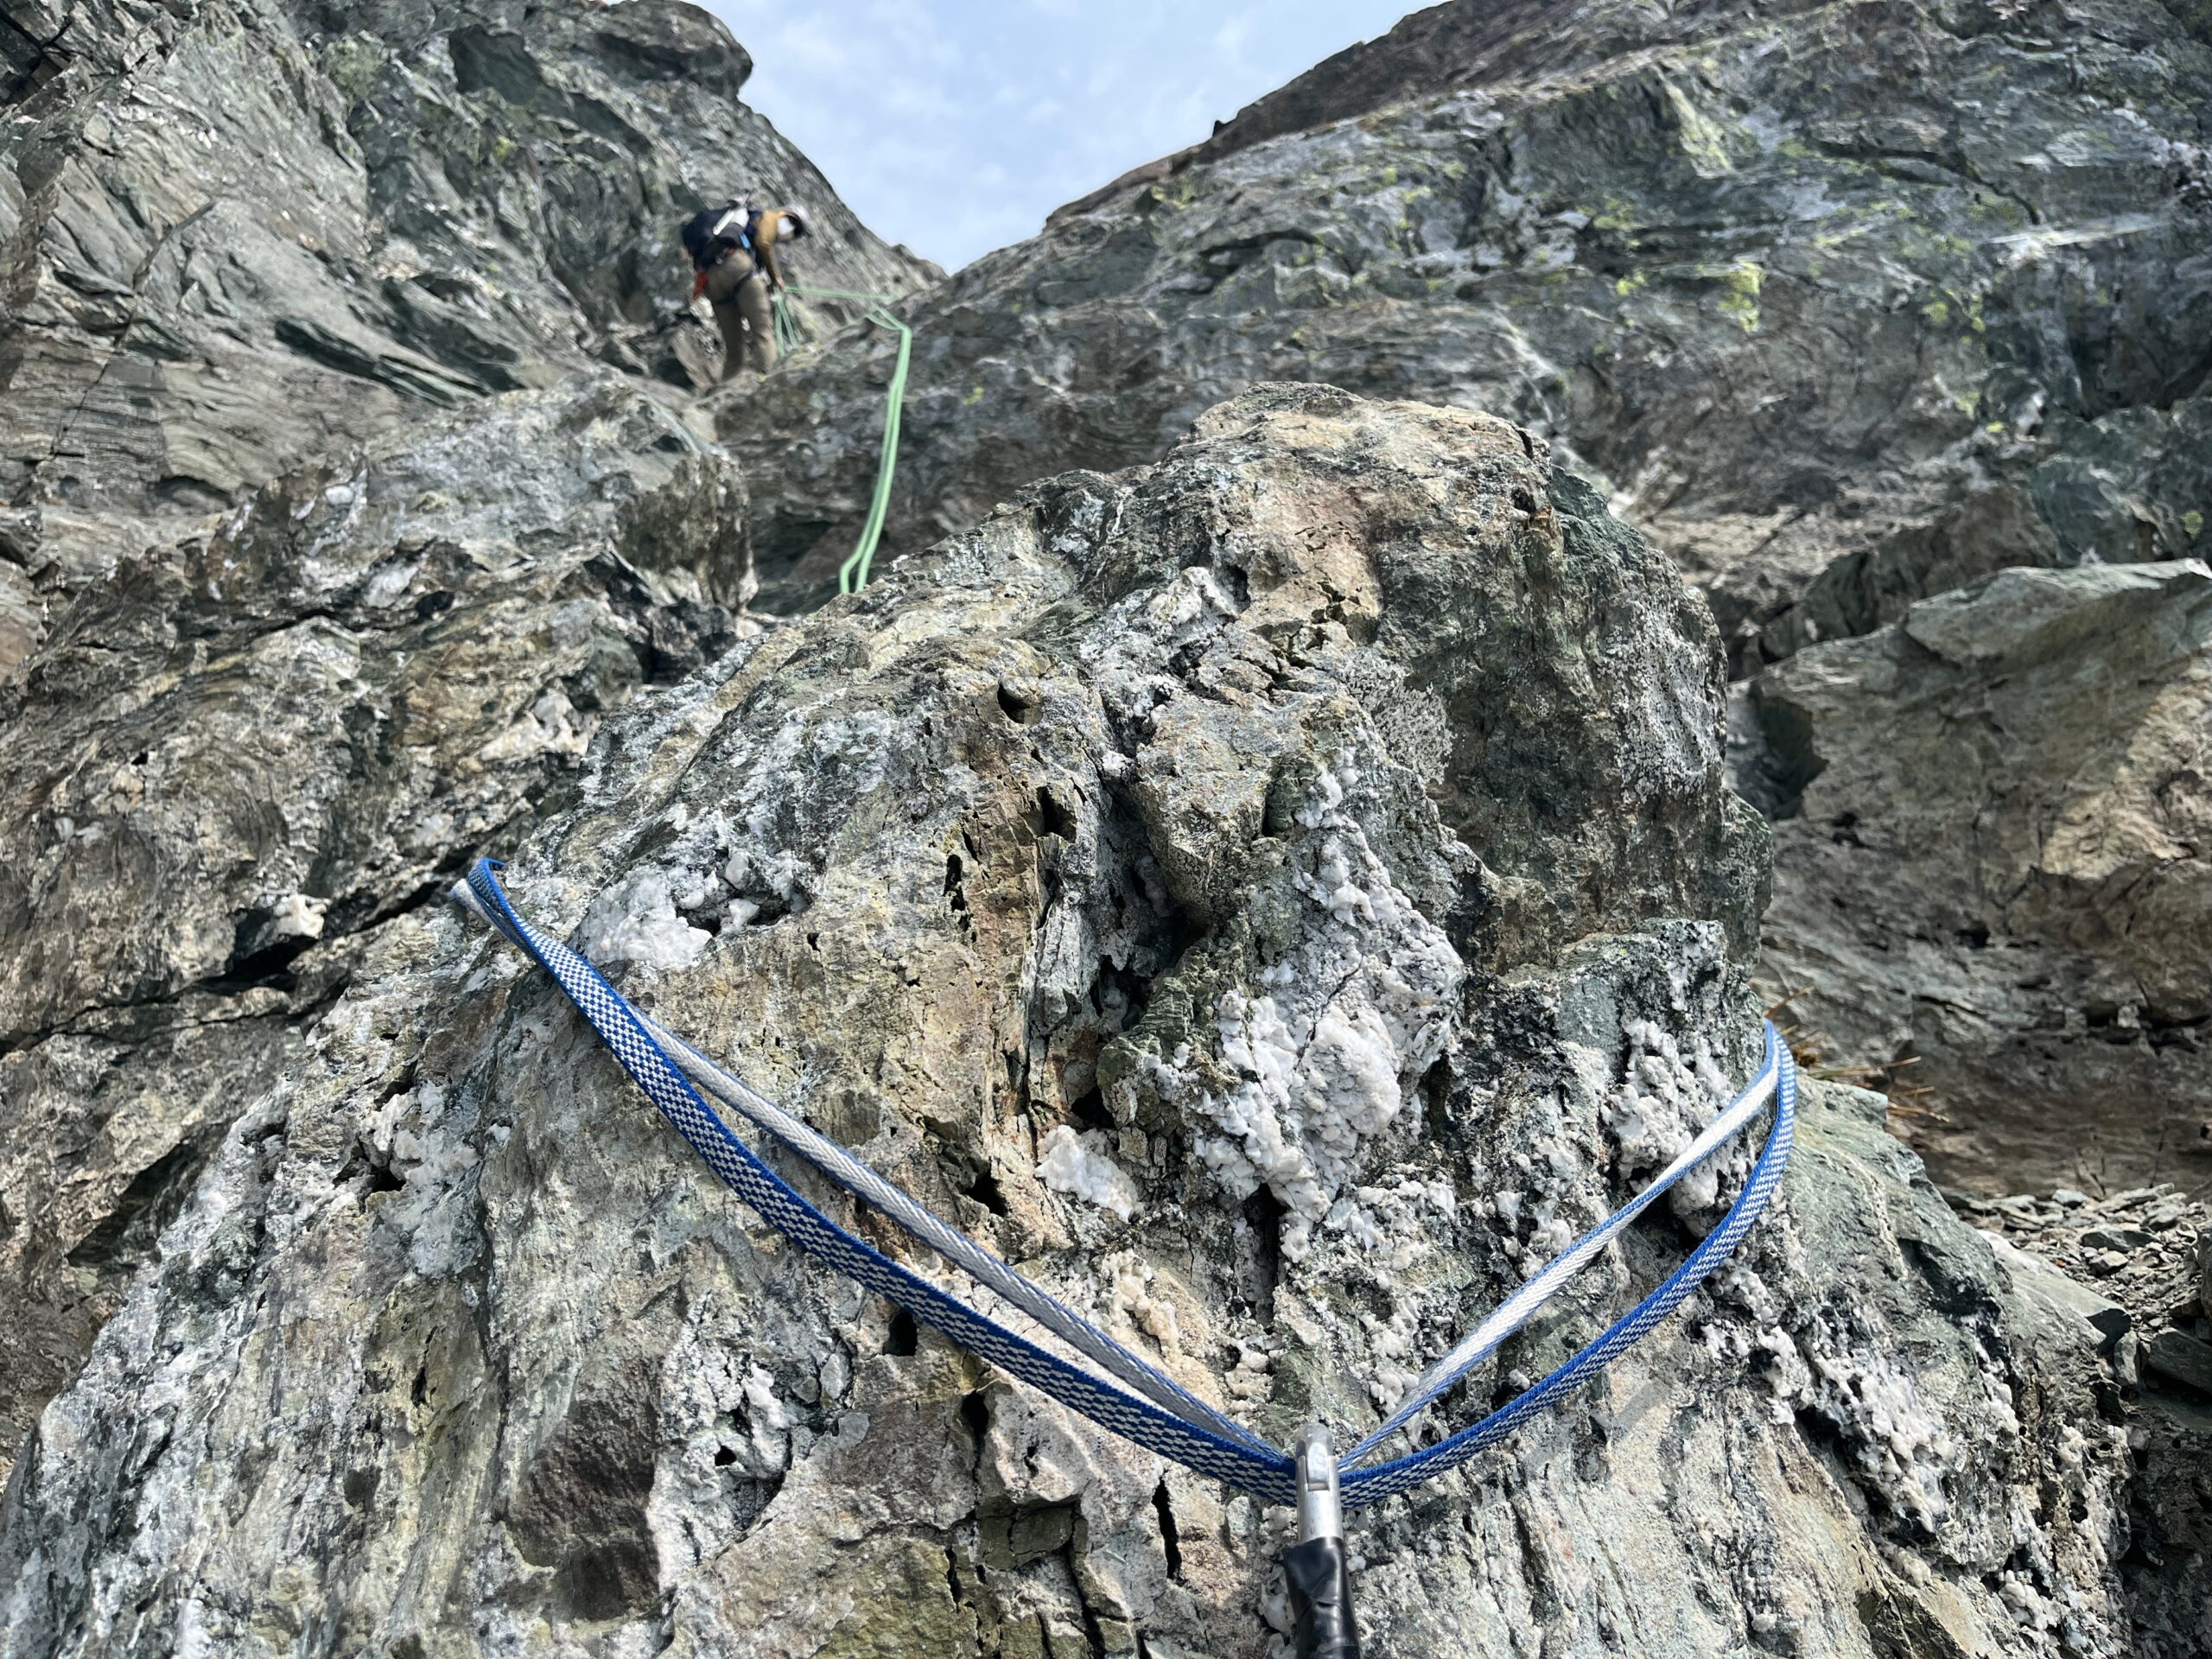
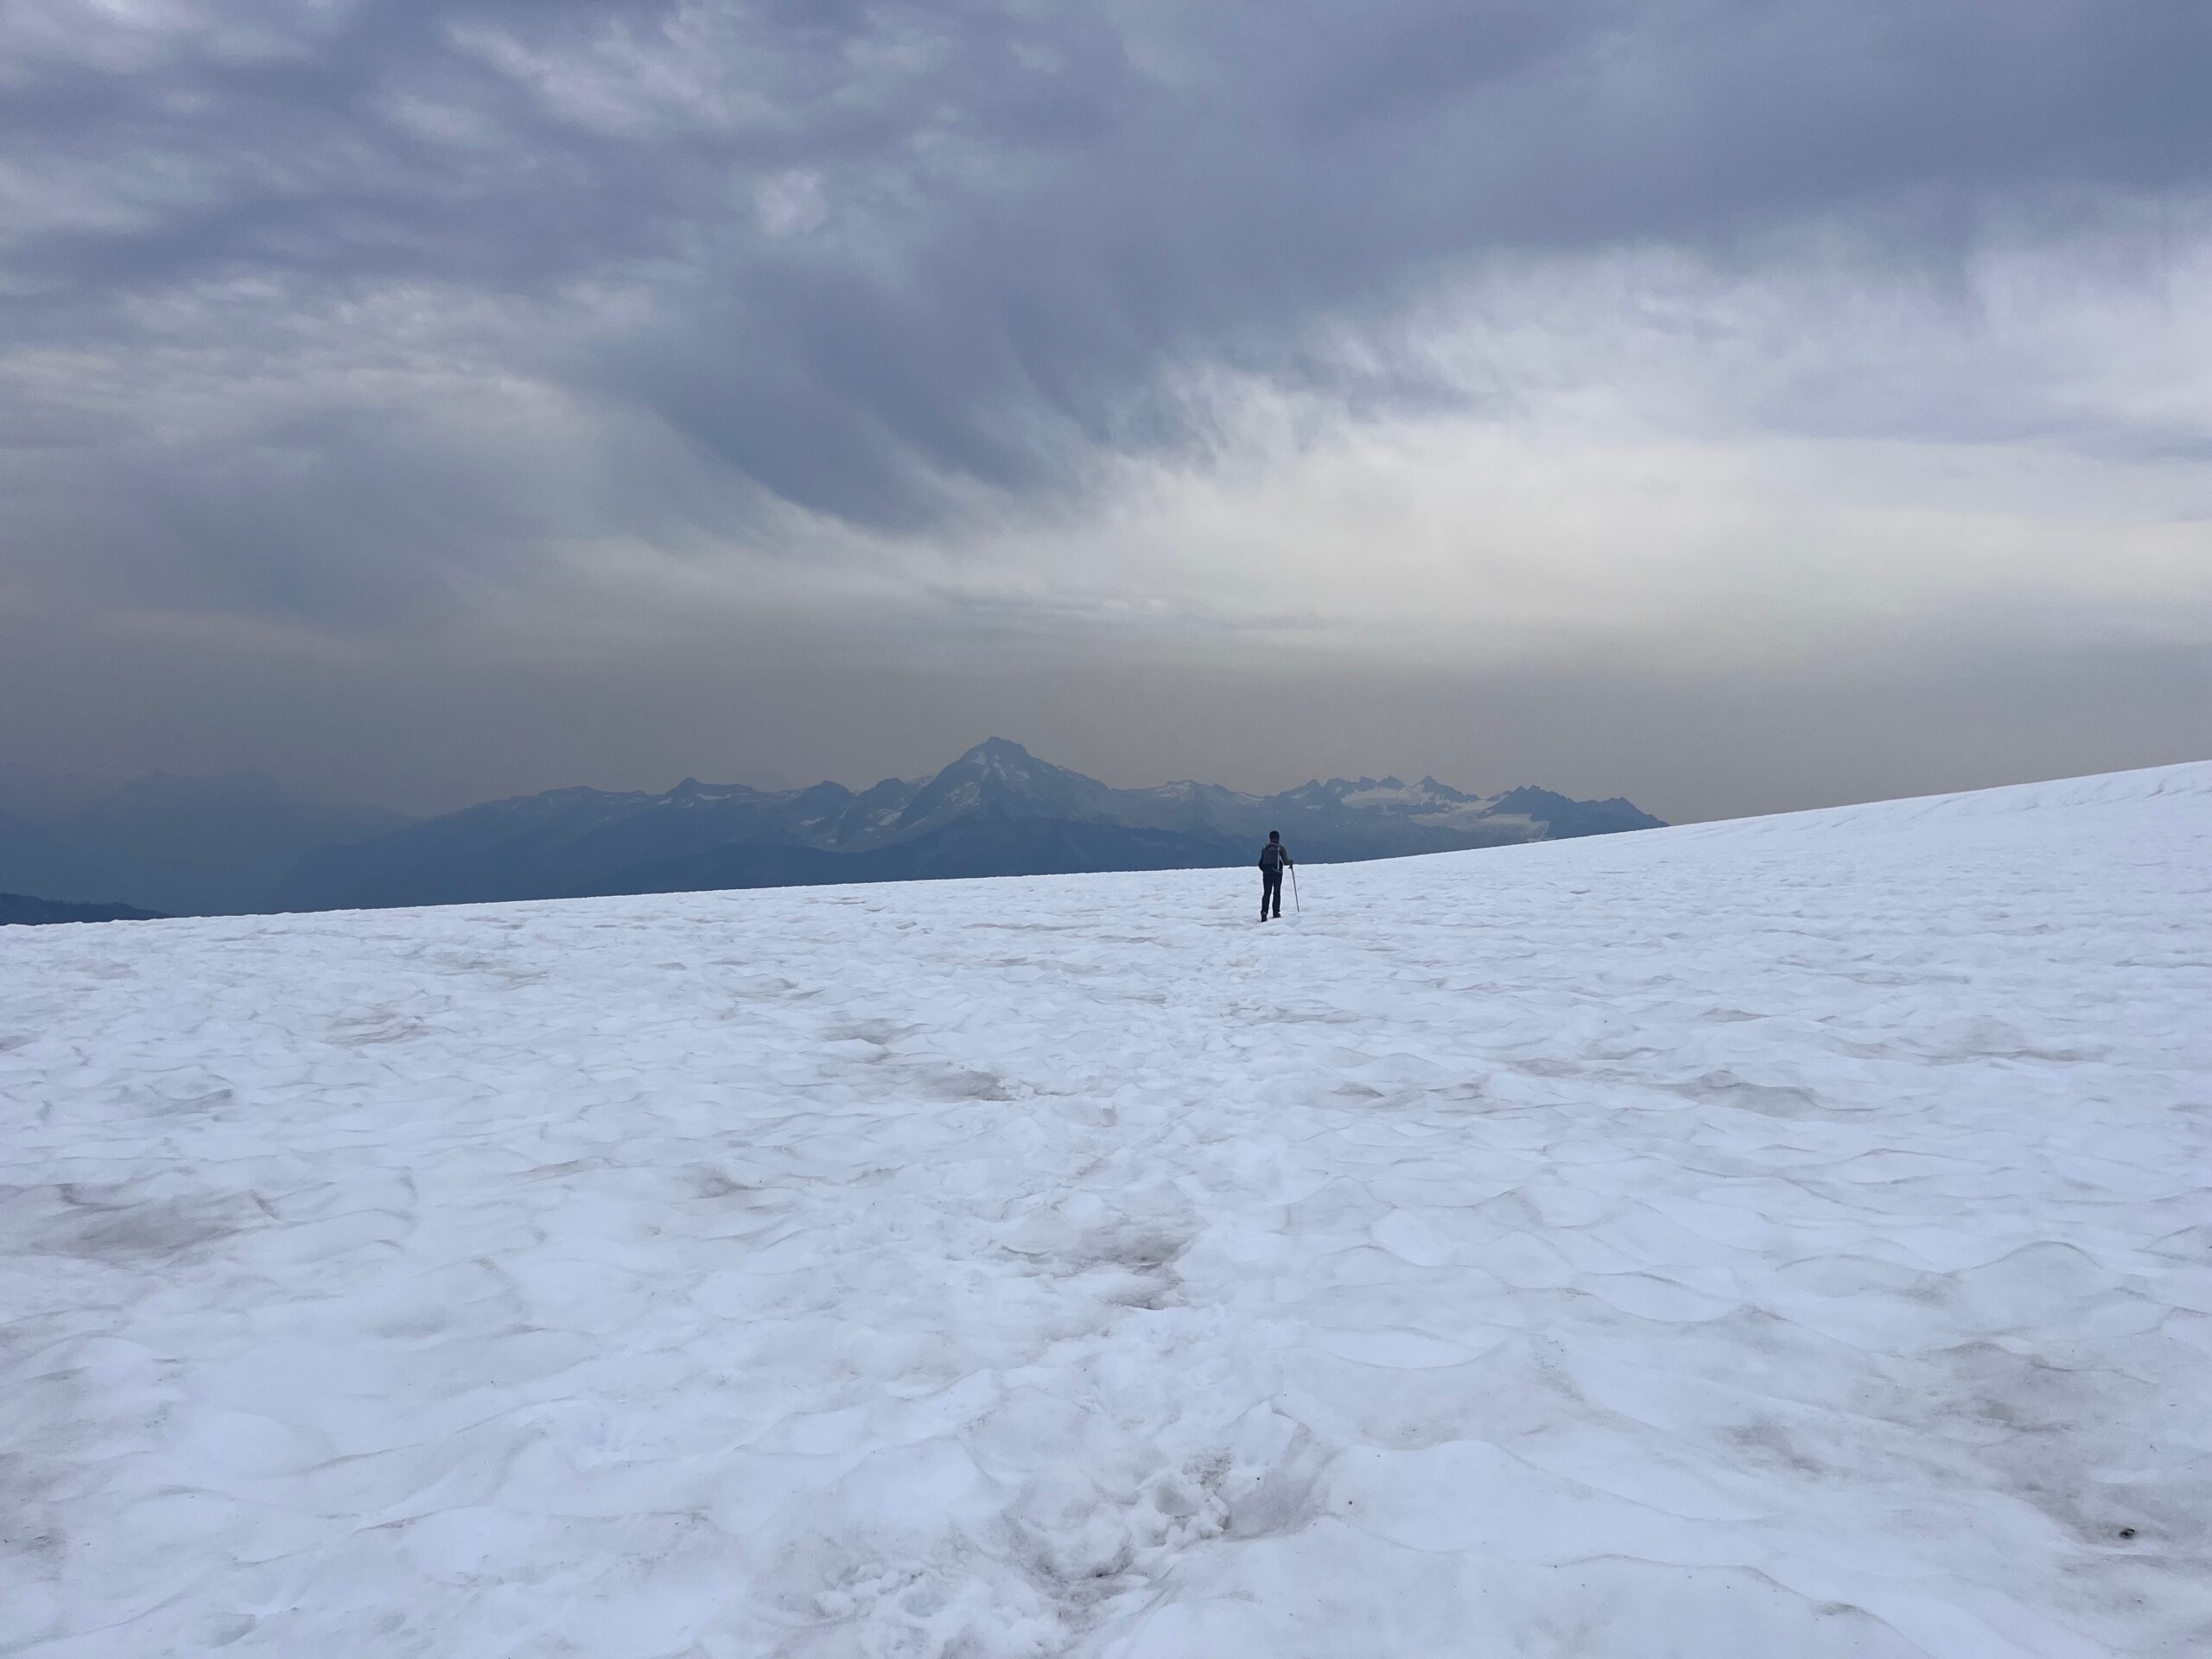
Once we made it back to the snow we put away the rope and walked the glacier down the way we came, filling up water on the exposed rocks at around 6,600′. We made it back to our stuff and decided to pack up as the smoke was getting pretty bad and we were not excited to sleep out in thick smoke. We hiked back to the car, getting there around 5 p.m. for an 11 hour day. We decided it would be best just to drive home since the smoke was so bad. It was a beautiful day on a very cool peak!
Gear
We carried our overnight gear, thinking we were going to spend one night out there, but ended up not because of wildfire smoke. We each wore our mountaineering boots for the whole hike and rock climb and it felt fine. We carried two pickets, crampons (which we never put on because the snow was soft), harness, helmet, ice axe and personal climbing/crevasse rescue kit.
For rock gear:
– 60 meter rope
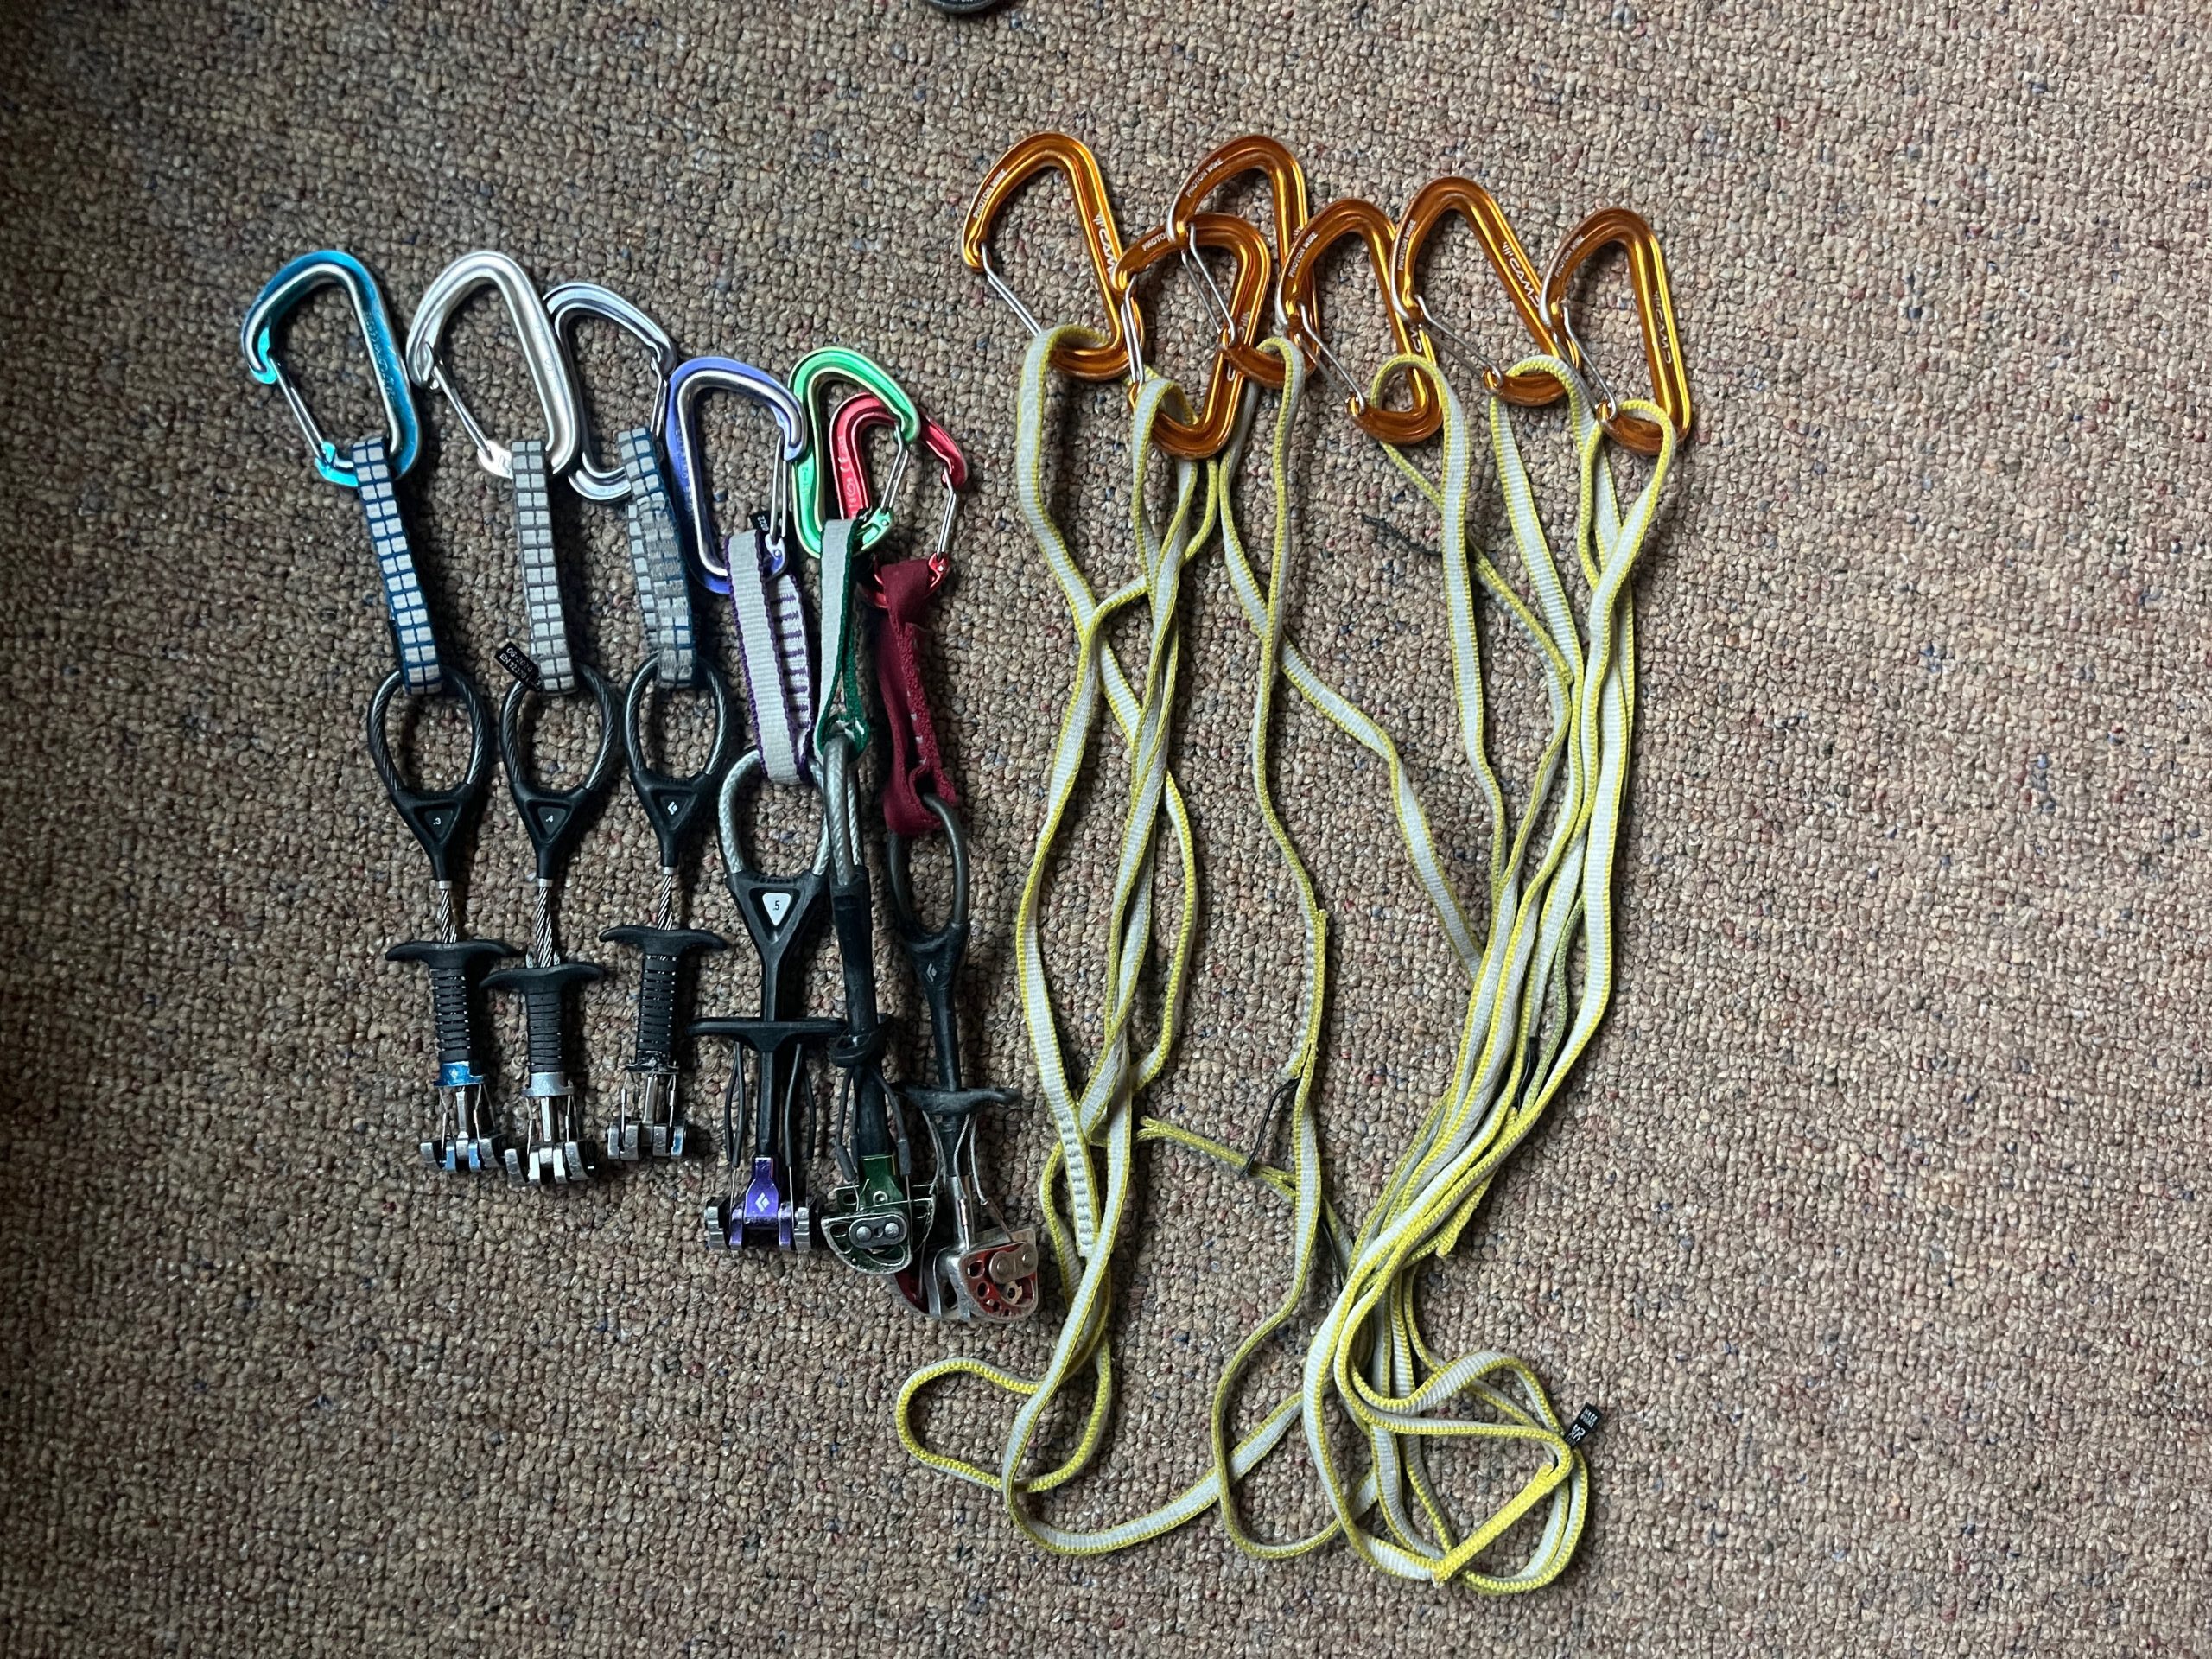
– 6 cams (pictured below)
– 6 alpine slings with one non-lockers for extension (picture below)
Resources & Links
We found the Mountain Project route description to be very accurate and helpful.
Photo Gallery